
How To Keep Your Orchid Alive
By Ava Green
Orchids have become very popular gifts, and a great hobby for indoor plant enthusiasts who discover the wide range of colours and shapes available. Orchids are also loved for their long-lasting and exotic blooms.
While some may choose to only enjoy these tropical plants as long as they’re blooming, orchid-lovers look forward to nurturing the plant and encouraging it to flower regularly. It may be a little daunting at first, but once orchids grace you with their stunningly beautiful blossoms, you will find that a little bit of care is very worthwhile!

It’s estimated that there are 25,000 different species of orchids and over 100,000 hybrids! The ones you’ll find most readily in Ontario stores are Phalaenopsis or moth orchid, because it’s fairly easy to grow. Phalaenopsis are the best choice for beginners.

Other orchids you may find easily are Cattleyas (Corsage Orchids), Cymbidiums (Boat Orchids) and Dendrobium orchids.
While all of these may be orchids, they don’t necessarily require the same care, so it’s a good idea to check the tag for the type you have and its specific care requirements. The following is a general guide to light, water, fertilizer, and growing medium for the most commonly found orchids, but it does not apply to all breeds.
Light and Air
For most orchids, light, and lots of it, is the general rule. Place your plants within 3 feet of a window (not to the side) in the sun. South, east, and west-facing windows are all fine for maximizing the light your plant receives.
Orchids also enjoy a breeze or circulating air in your house. They do not like temperature extremes, though 15 to 20 degrees Celsius is safe. Keep in mind that the more warmth and air movement there is, the more often you will need to water your orchid.
Water
A general rule is to use water that is not hard and has not been softened with salt. Salt will kill an orchid. Rainwater, reverse osmosis, or distilled water are good choices. Chlorinated water is not an issue for orchids - high sodium levels are.
The biggest issue many people have is either over-watering or underwatering their orchids. Here is the method we recommend:
Every 5-7 days, place the pot in a container or the sink, then fill it with enough water to cover the top of the pot. Be careful not to let water collect in the crook at the base of the leaves, as standing water will rot the leaves and the plant. Once the plant’s growing medium is thoroughly soaked, remove it from the water and allow the pot to fully drain in the sink before placing it back in its saucer.
We prefer using a container of water rather than the sink, so the remaining water can be used to water other plants.
Here’s the best watering advice we can give you: look at the overall health of both the plant AND its root system. Full, plump leaves and vibrant, green roots indicate that your plant is getting enough moisture. Puckered leaves and a silver sheen on the roots indicate insufficient water. Mushy, brown leaves and roots are signs of rot caused by too much water.

You may hear of another watering method that involves using ice cubes, but it’s controversial and not widely recommended. To quote the American Orchid Society, “Ice is for cocktails, not orchids. Never use ice on tropical plants to water them.”
“Soil” and Nutrients
Most orchids naturally grow high up in trees, where their roots cling to bark and absorb moisture from the air. At home, we try to mimic those conditions, which is why orchids are typically planted in chunky mediums like bark, coconut husk, charcoal, or perlite rather than traditional soil. While many of the roots stay inside the pot, it’s completely normal for some to grow up and over the edge.

These “escapee” roots might look a little wild, but don’t worry, there’s nothing wrong with your orchid. In fact, those aerial roots are a sign that the plant is healthy and doing exactly what orchids do in nature.
It’s worth noting that not all orchids grow the same way. Many, like Dendrobiums, are epiphytic (growing on trees) or lithophytic (growing on rocks), though some orchid varieties are terrestrial and grow in the ground. The good news is that the growing medium your orchid comes in is chosen specifically for that variety, so you can trust it’s in the right environment.
The bark that your orchid is planted in will slowly break down and become mushy. It’s a very good idea to repot your plant every two years.
It’s generally recommended to feed most orchids, and bloom time dictates which fertilizer to use and how often to feed. Begin by using a water-soluble 20-20-20 fertilizer, mixing it at ¼ the amount recommended for other houseplants. Apply this solution every 2 weeks in the summer and every 3 weeks in the winter.

“The orchid, with its many forms, is a reminder that life is full of surprises.” — Leonardo da Vinci.

Lastly, here’s an orchid fun fact: While we have been talking about tropical orchids in this article, there are also orchids that grow right here in Ontario! That’s right, there are over 50 species in this province, including the much-loved Pink Lady’s Slipper (Cypripedium acaule).
Resources for more detailed and specific information:
Toronto Master Gardeners - https://www.torontomastergardeners.ca/gardeningguides/growing-orchids-a-toronto-master-gardeners-guide/
Canadian Orchid Congress - https://canadianorchidcongress.ca/basics/growing-orchids/
American Orchid Society - https://www.aos.org/orchid-care/indoor-orchid-care
Ontario Wildflowers - https://ontariowildflowers.com/main/group.php?id=18
By Dave Zeldon and Ely Schweyer
This is the time of year that most garden centres will have on display their wide variety of Amaryllis bulbs, including the evermore popular waxed dipped. These enormous bulbs that are appearing now will be ready to burst into bloom within 4-8 weeks after planting.
Non-Wax Dipped: Planting
All Amaryllis need is a bit of commercial potting soil that should not cover the shoulders of the bulb (try leaving about 1/3rd of the bulb showing above the soil line), with the nose (or narrow end) of the bulb peeping well over the top of the pot. Make sure that you use a well-drained container that is 3-4” bigger in diameter than the bulb itself.
☝️A heavy clay pot will prevent this top-heavy plant from toppling over. To achieve continuous bloom, plant at intervals of two weeks for stunning colour in your home.

Non-Wax Dipped: Care
Once leaves emerge, fertilize once a month with a 20-20-20 water soluble fertilizer for houseplants. Water sparingly and wait for the miracle in a warm sunny room. Sub-irrigation or watering from the bottom of the drip tray will keep the surface soil dry, thus keeping and bulb rot organisms and those pesky fungus gnats at bay.
Non-Wax Dipped: It's Not Done Yet!
When blooming is over, remove the scape (or flower stock) and place the plant in a sunny spot and continue to water. This is to allow the leaves to regenerate the bulb. In springtime, when all danger of frost has passed, bring the bulb outdoors and let it spend its holidays in a shady spot. In some varieties the leaves will die back in September to give the plant a rest for a couple months. Stop watering and store the bulb on its side in a cool place for about eight weeks, when the leaves will once again begin to emerge.
Amaryllis can go 3-4 years without repotting as they don’t mind a little crowding. Try growing a couple of bulbs in larger pots to see if you can get a clump of flowers from the offshoots or babies that will develop after a couple of years.
Or, Try One of These Wax Dipped Bulbs!
Now growing more popular are the care-free waxed-bulb Amaryllis!



Experienced growers and beginners alike love that these waxed bulbs do not need to be planted or watered! Each of these robust bulbs are carefully prepared in festive-coloured wax, allowing you the freedom to place them among your holiday decorations.
Simply keep the bulbs at an ambient room temperature of at least 16C (70F) for beautiful blooms in five to six weeks.
These novelty items are low commitment! Their only fault is their lack of longevity - gardeners don’t get to enjoy them after year as these waxed bulbs were designed to be a one-use throwaway item!
BUT with a little luck and perseverance you may be able to save the bulb for next season after blooming. All you have to do is to carefully remove the wax layer, remove the flower stalk and place the bulb and with its remaining leaves into a pot of good growing media, allowing the leaves to regenerate the food stores in the expired bulb.
If you’re looking for more information – or perhaps, Amaryllis – visit Eising Greenhouse and Garden Centre! Happy Holidays! ✨
By: Dave Zeldon and Ely Schweyer
If you’ve ever wondered how the warm weather succulent came to be a seasonally regarded indoor plant, or how to keep one going, read on!
History and Cultural Significance
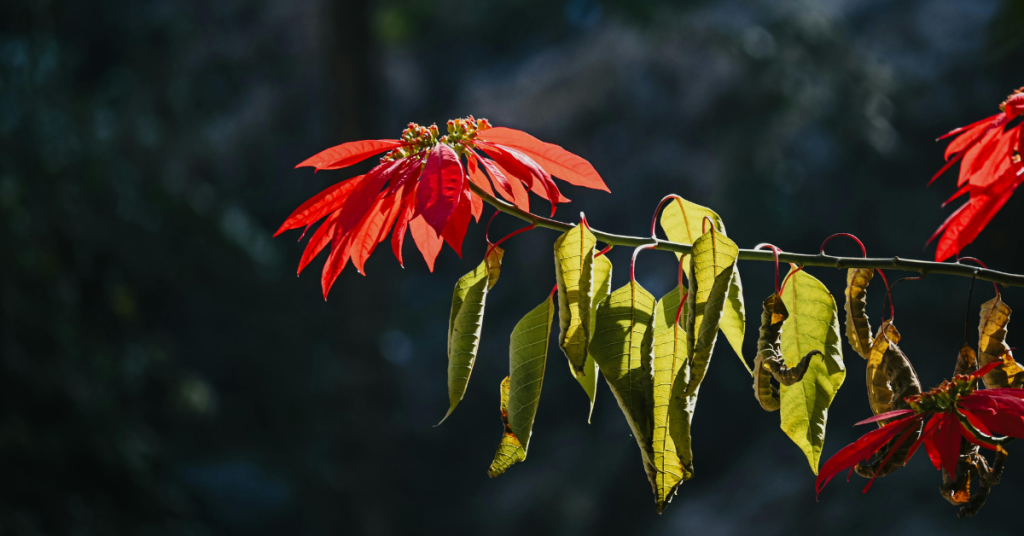
The Poinsettia was named after Joel Roberts Poinsett, the first U.S. Minister to Mexico. He introduced this native Mexican the United States in 1828. In the Mexican Christmas tradition, the star-shaped leaf pattern is said to symbolize the Star of Bethlehem, and the red colour represents the blood sacrifice through the crucifixion of Jesus.
Since the species is native to Mexico and found in the wild in deciduous tropical forest at moderate elevations, we then have a challenge to keep this plant alive and in a healthy form in our colder, northern climate.
It's Just A Rumour!
There is a common misconception that the poinsettia is highly toxic. This is not true.
Yes, it may be mildly irritating to the skin or the stomach if it is eaten, but otherwise, there have been no documented cases of poisoning. The origin of this myth could be found in the fact that most plants of the spurge genus (Euphorbia) are indeed toxic. Fortunately, this family member is a good one!

Here are Some Helpful Hints to Get the Most Longevity Out of Your Plant:
☝️Unsleeve the plant as soon as possible as the leaves may become droopy if left too long in the wrapper. Fortunately, the plant should recover in a few days if this does occur.
☝️If you want to try to keep your plant until next Christmas then fertilize after the blooming season with an all-purpose fertilizer, repot it later in the early Summer and then introduce it to 12 hours of uninterrupted darkness come September.
For more information on Poinsettia care (i.e., temperature, lighting, and watering), visit Ava's blog Caring for Poinsettias.
If you’re looking for more information – or perhaps a Poinsettia – visit Eising Greenhouse and Garden Centre! Happy Holidays! ✨
By: Dave Zeldon and Ely Schweyer
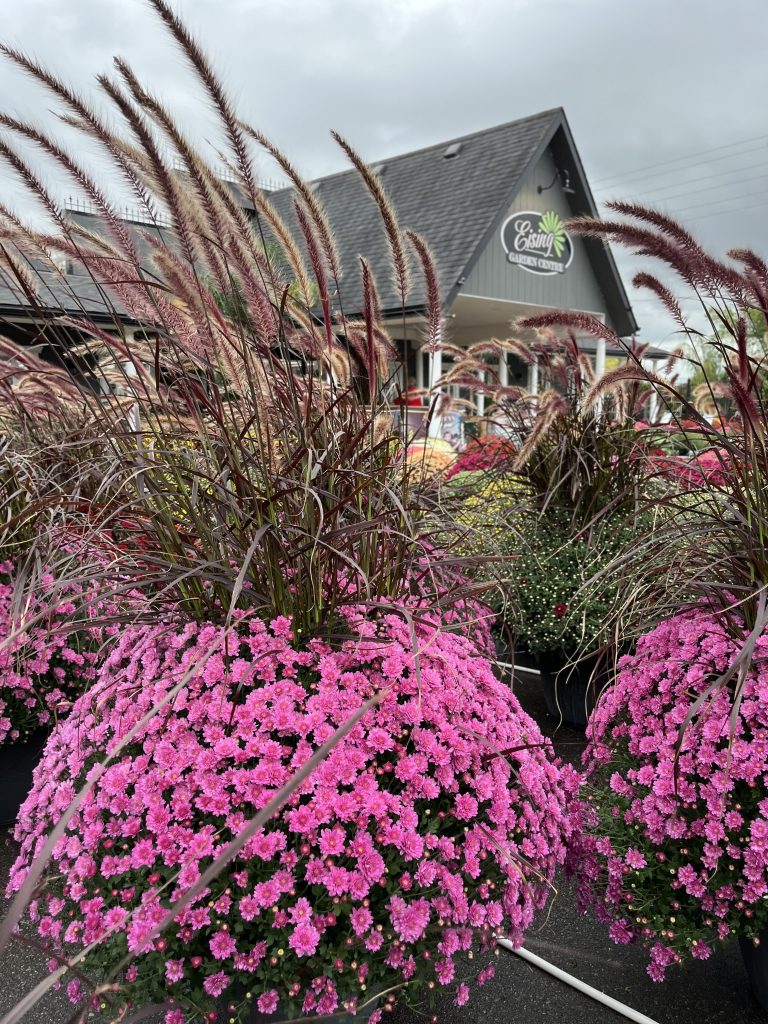
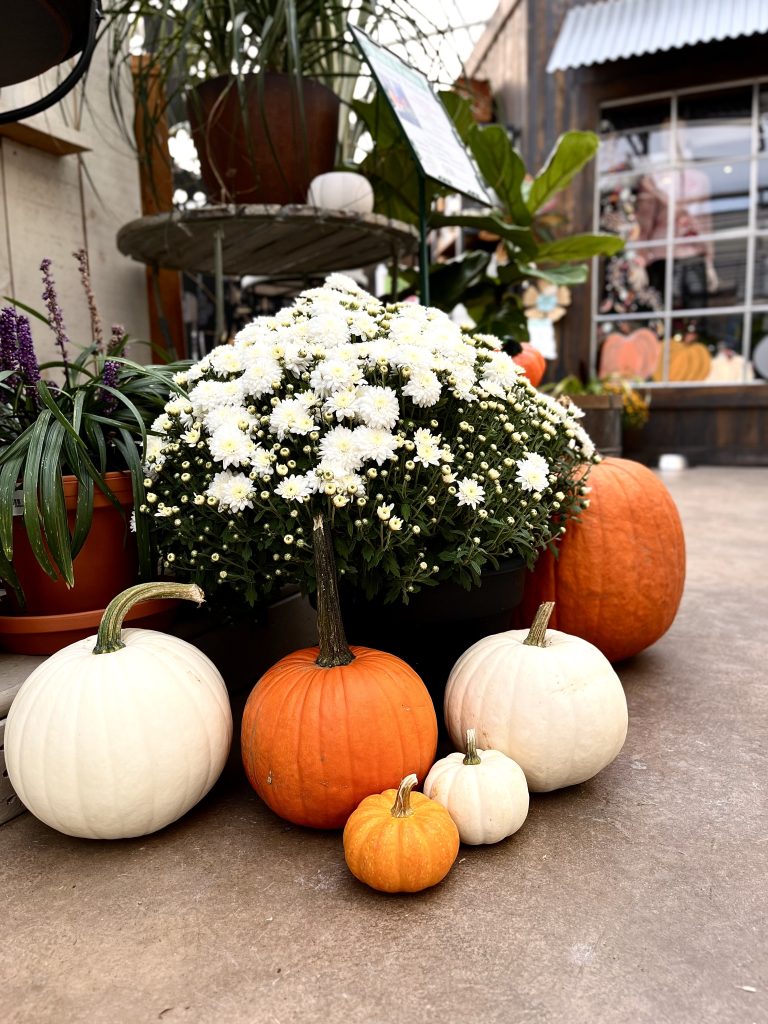
The classic fall-blooming Chrysanthemum varieties of burnt amber, golden yellow, and deep burgundy blooms have been enormously popular for years, and as each new fall season rolls around, there always seems to be new varietal introductions – like multicoloured pinks with the hues of sunrises - to enhance your front porch display of pumpkins, corn stalks, and gourds.
These robust plants will produce blooms for weeks, even in the coolest of autumn weather. Their hardiness even offers versatility when it comes to their display; some gardeners prefer less labour-intensive groundskeeping and leave them in their original store pots, whereas others prefer to transplant these flowers into larger planters, window boxes, or into flowerbeds to add an easy seasonal flair.

While resilient, these plants still need some TLC. Try these tips to keep your Mums looking fresh throughout the fall.
- Choose green plants with tightly closed buds. This way when your Mums do bloom, you will be able to keep those colourful displays for much longer.
- The Mums' foliage should have a deep green colour and lots of growth at the garden centre.
- Also, make sure the soil in the container is moist when purchasing your plant, as dried out Mums may have already suffered damage.
- You'll find out in short order that your potted Mums are very thirsty plants! Water them daily and make sure the soil remains moist. A shot of liquid fertilizer to the irrigation water once a week would be great as well.
Over-Wintering Mums
Modern Mum breeding is aimed primarily at creating plants that look good in their pots at their point of purchase, sacrificing the plant’s hardiness and performance for future years - meaning when home gardeners try to overwinter these big potted plants, they are not usually successful.

All Mum plants at garden centres are hardy, meaning that they are perennials in most climates. However, if these plants are put in the ground from August on, most won't make it through winter. The reason is that Mums planted late in the season are near, or at, the flowering stage, when their energy is focused into blooming, and they won't grow roots to sustain plants through the winter. This is why Mums should be planted in the spring if you want a perennial plant that has a spectacular autumn show!
If you really adore your fall purchase though, you can try to over-winter your Chrysanthemums in the basement or a dark, cold closet, after the first frost. Water well and place in an area where it is totally dark and 0°C to 10°C. The plants will hibernate for the winter if you keep their roots damp. Check the pots weekly.
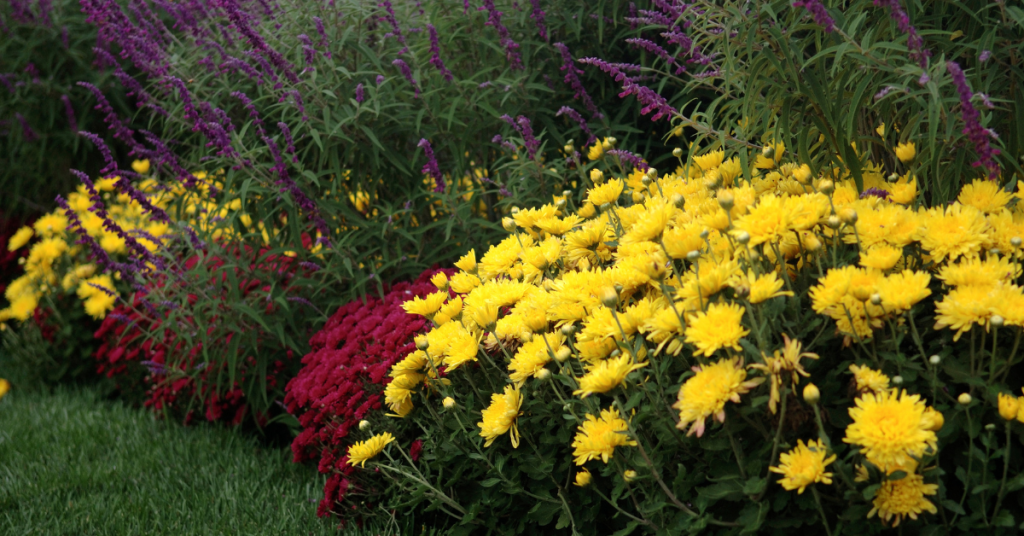
In the spring, gradually acclimate your Mum plants to light and plant them out in the garden after the last killing frost, remembering to pinch them twice prior to the first of August for a full, lush plant.
We hope this helps you to enjoy your Mums just a little bit longer! Use our Plant Finder to search for a sample of our Mum selection by your preferred colour. You can find many Mum varieties and more information at Eising Greenhouse and Garden Centre, please stop in for a visit this autumn!
Whether you’re just starting to explore the world of unusual plants, or you’re already an avid collector, there are a wide array of weird and wonderful houseplants to satisfy your quest for something a little different.
Tropical plants and houseplants come in every shape, size, texture, and colour imaginable, plus some you would never have imagined!
Exotic houseplants often have striking appearances which make them valuable as eye-catching focal points in your decor. The range of distinctive features can also make them a natural choice to express your personality and style.
Like your more common houseplants, unusual varieties can also contribute to indoor air quality, as well as the overall benefits to your well-being that come with having living plants in the home.
The unique characteristics of rare or unusual houseplants often have interesting backgrounds. Learning about their natural habitats and origins only makes them more intriguing!
Here are some wild and wonderful houseplants that will add interesting foliage, blooms, or both to your home right now!
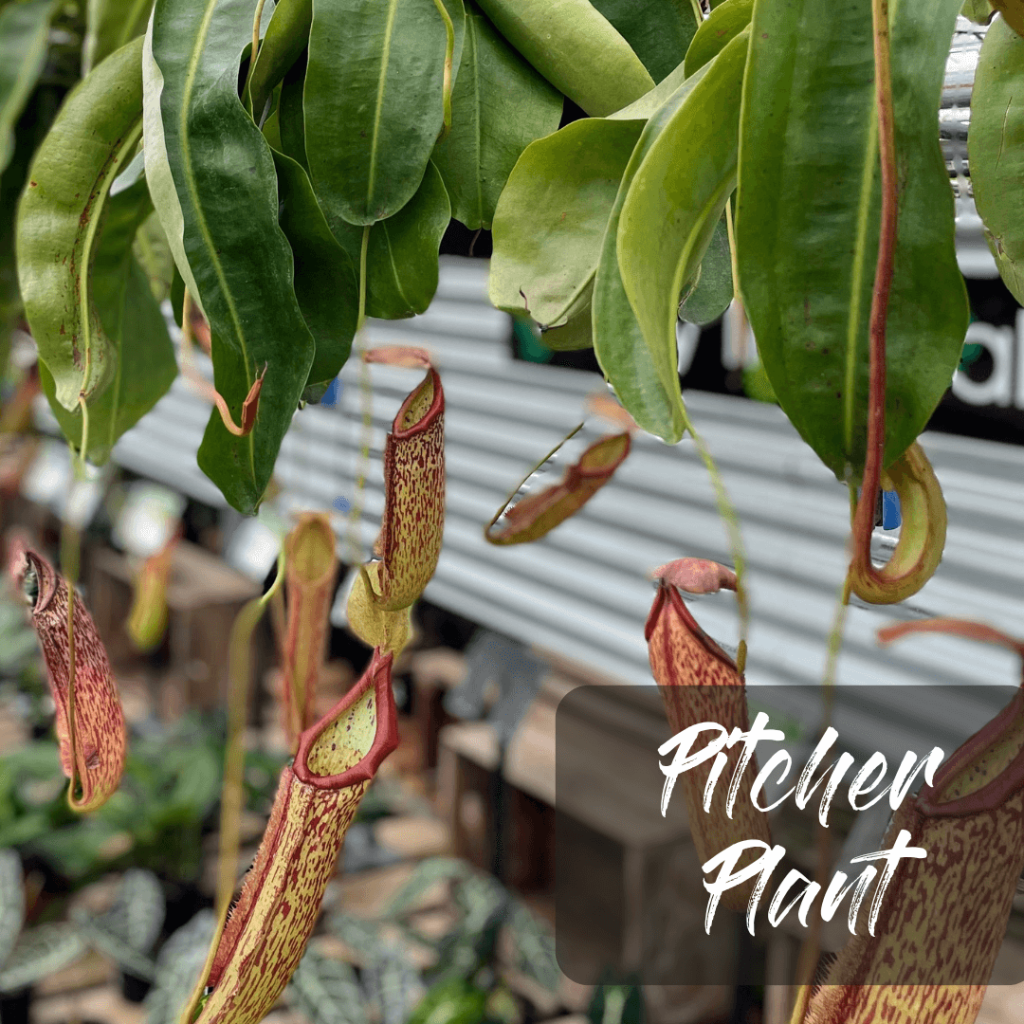
Pitcher Plant
A rare and exotic group of tropical plants with pitcher-shaped leaves that are carnivorous. That’s right, they eat insects to obtain the nutrients they need! This means that with most varieties you do not have to fertilize them. Most are happy catching a bug or two for food.
Keep this plant from drying out completely between waterings by temporarily placing it in a water-filled tray to absorb moisture through the roots. Remove the pot from the tray once it’s saturated, and allow the excess water to drain away. Pitcher plants prefer pure, mineral-free water like rainwater. No tap water for these precious prima donnas!
One Pitcher Plant variety that we love is Miranda (aka Nepenthes x Miranda). From tropical Malaysia, it is a very large pitcher plant with attractive spotted pitchers that can be over 18” wide when fully mature. Because of its size, it is quite effective at catching larger insects like wasps. It’s easy to grow, either in a sunny window or outdoors (only in the summer) and is heat tolerant but not drought tolerant.
ZZ Plants
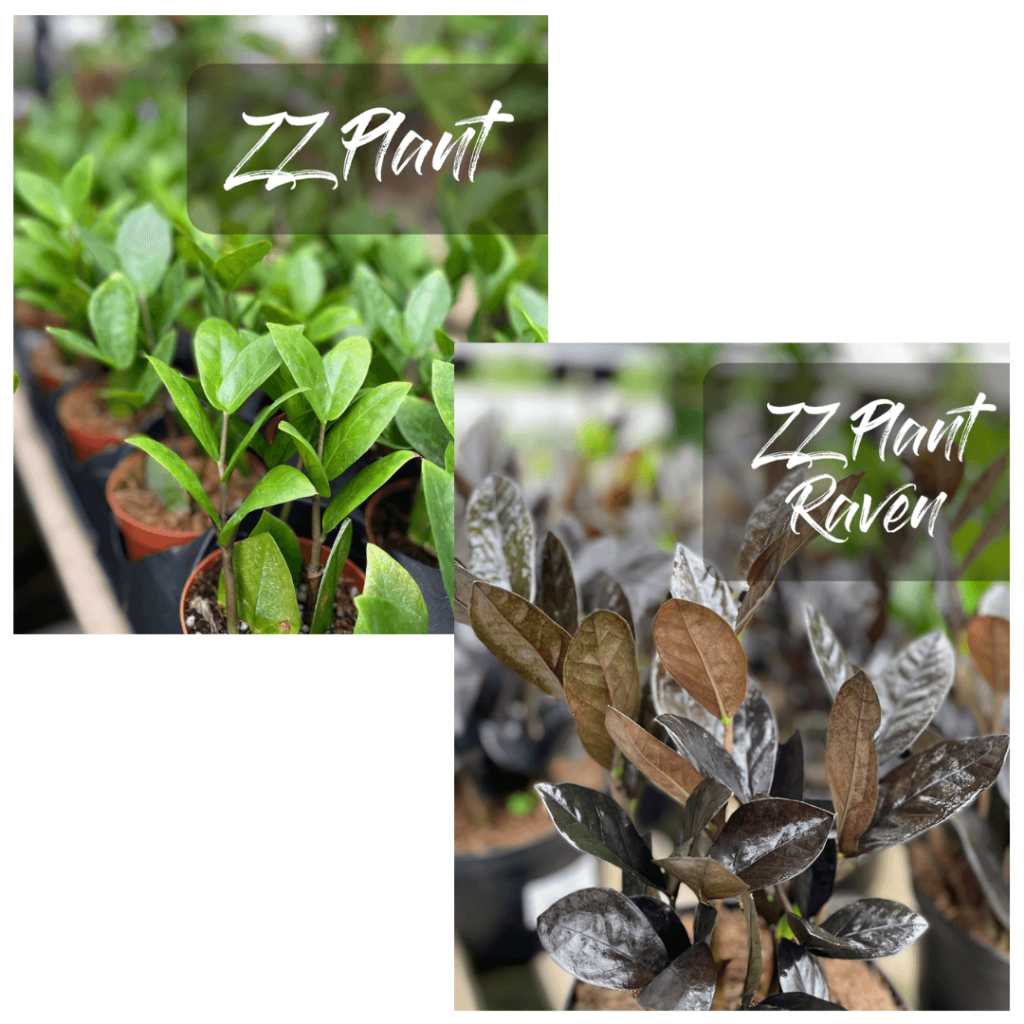
Native to East Africa, Zamioculcas zamiifolia is also known as the houseplant ZZ, or Zanzibar Gem. While the name is complicated, this plant is not fussy at all, making it great for beginners! ZZ will thrive in almost any lighting conditions except direct sunlight, plus it is drought tolerant so you can allow it to dry out between waterings.
The biggest attraction to the Zanzibar Gem though is its thick, dark green and glossy leaves that almost look fake! If that sounds intriguing, hang on. There’s more!
Black Raven ZZ is a new variation with stunningly dramatic black-toned leaves. Unique to be sure, but luckily with the same low care requirements!
Cactus
There are so many weird and wonderful varieties of cacti that come in all shapes and sizes! These sun-loving plants require little care, but here are a couple of tips that will keep them looking sharp. (Ouch!).
- Give their pot a little turn each day so that your plant is eventually exposed to light on all sides. This saves you from having a lopsided cactus.
- Water is essential but monitor how often your cacti need it. In the winter, when they’re dormant, they will need less water. Let the soil dry out completely between waterings. Using room-temperature rainwater is ideal. Tap water contains minerals which can disrupt the flow of nutrients to the cactus. Water it well, then allow the excess moisture to drain away rather than pool under the plant. Cacti don’t necessarily need fertilizer, but they do welcome a feeding during their summer growing season. We can help you choose a fertilizer that’s been specially formulated for cactus to ensure the proper nutrient ratio.

A few varieties of cacti that we love are:
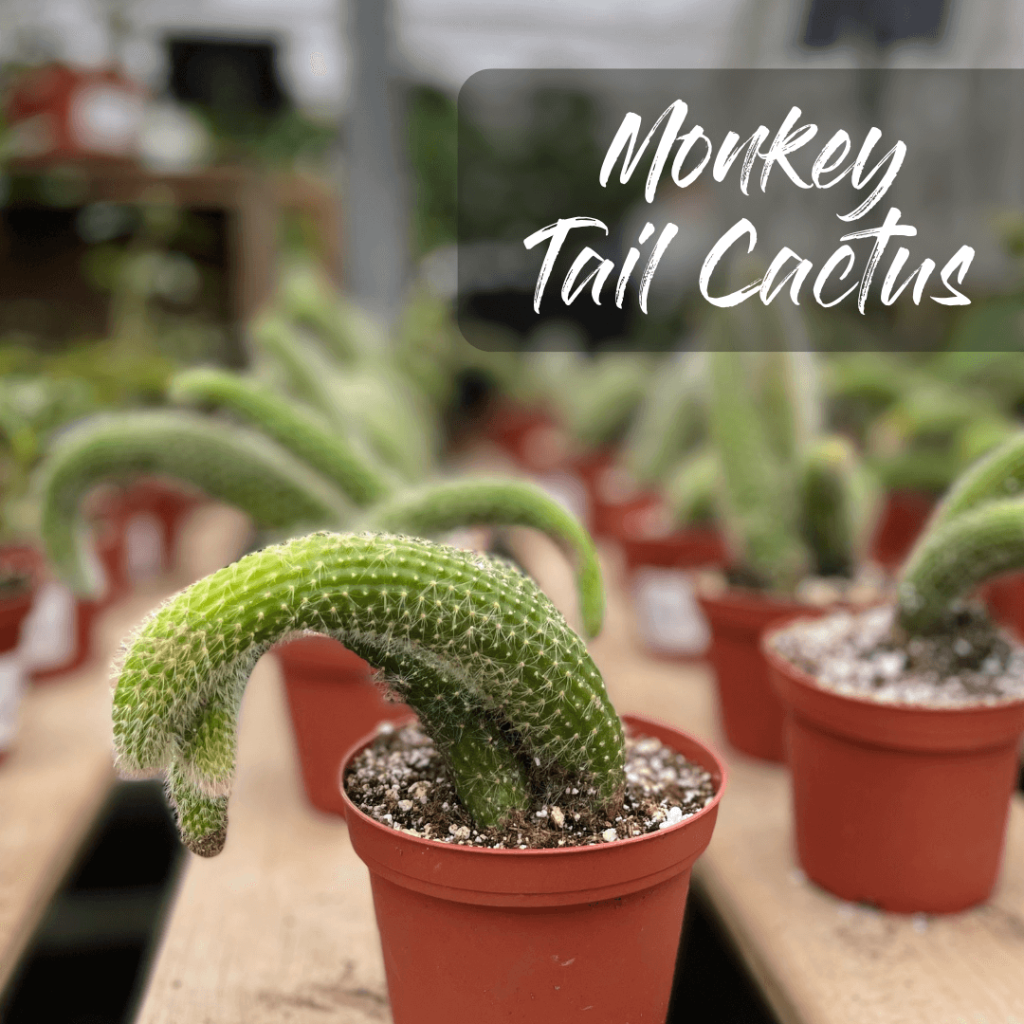
- Monkey Tail (Hildewintera colademonosis)
- Boobie (Myrtillocactus Geometrizans Fukurokuryuzinboku)
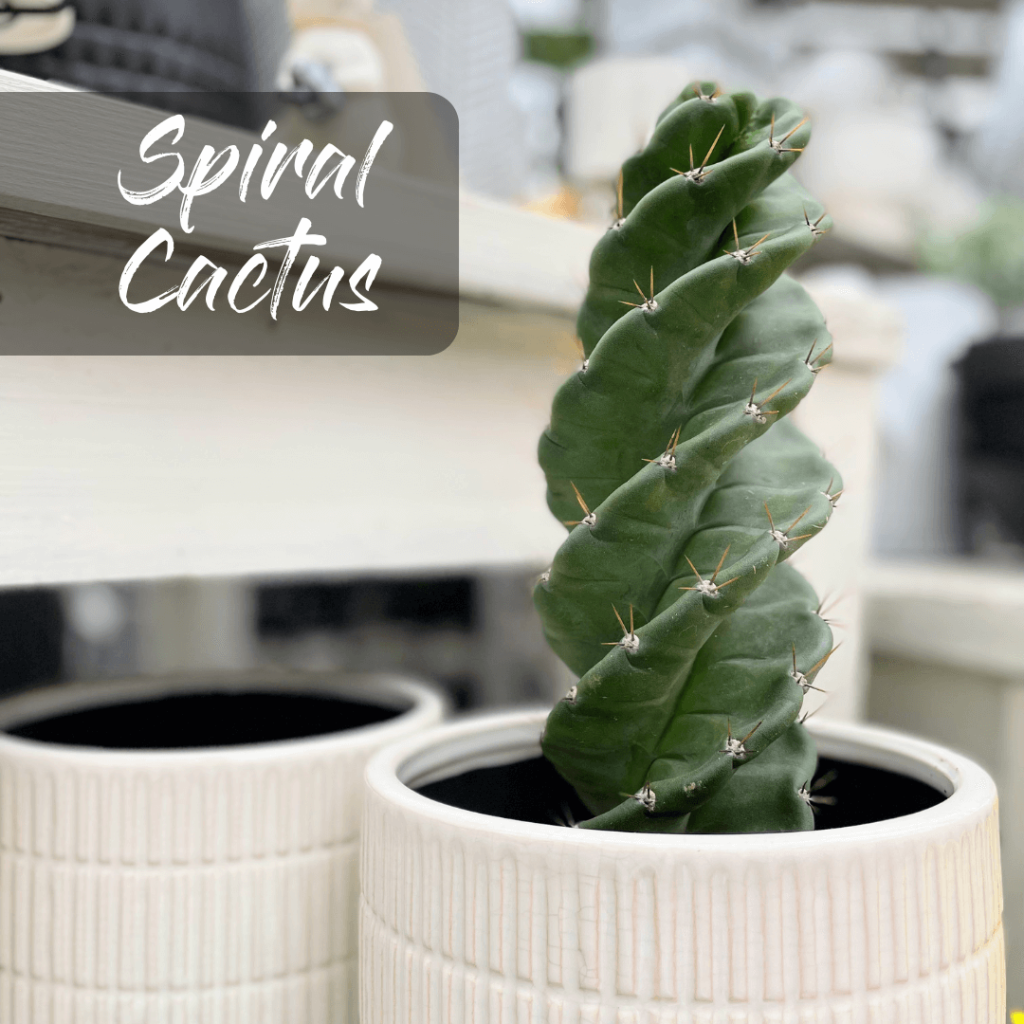
- Spiral (Cereus forbesii Spiralis)
With their evocative names and exotic shapes, cacti are so much fun to grow! And don’t be surprised if the kids want to have a few to call their own.
Stop by Eising Greenhouses and see what we have in store. While you’re here, say hello to Courtney who is always happy to talk about unusual houseplants!
Ah, the smell of fresh greenery! There’s something extra special about decorating for Christmas with fresh evergreen branches.
The holidays are the best time to bring the outdoors in. After all, what better time is there than when we’re longing for some green in a winter world that’s predominantly brown, or snowy white? Or, you may simply be searching for the nostalgic smell and sight of fresh holiday decorations.
In southern Ontario, evergreens last the longest outdoors during our winters. But how do you keep your pine, cedar, fir and spruce branches looking fresh and lovely all season long? Give these tips a try.
Start Fresh
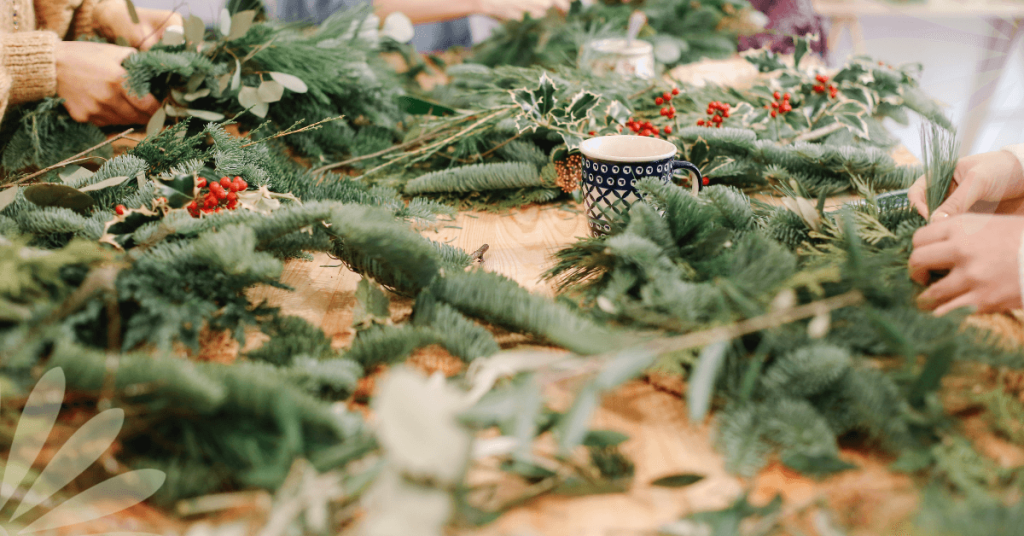
Whether you are making decorations, or buying them, start with freshly harvested branches.
Cut each stem on an angle to increase the water absorption rate, and place the stems in a bucket of water for several hours before using them. As you’re cutting each branch, be sure to check for any pests first.
At this point, your greens are ready to arrange into wreaths, swags, garlands, containers or whatever you’re making.
For indoor arrangements, oasis or floral foam that has been soaked in water, and secured in your container creates a solid base to work with. Fill outdoor urns or containers with moist soil, or a combination of oasis and damp soil to insert the branches into and hold them in place. Both methods will help to keep your plant material hydrated.
Prevent Dehydration
Before adding decorative elements, lightly mist your evergreen arrangements, wreaths, swags and garlands with an anti-dessicant spray. Doing this provides a protective barrier and reduces moisture loss.
Placement and Care
Keep outdoor arrangements sheltered from direct sunlight and strong winds if possible. Likewise, keep indoor arrangements away from sunlight, and heat sources like vents and radiators.
Evergreens can dry out very quickly. Keep arrangements watered (for outdoor arrangements, water when the soil is not frozen), and mist garlands, swags, and wreaths with water frequently. Avoid overwatering though! It’s a good idea to water or mist in the morning so that any excess moisture evaporates or can be drained if not absorbed after about an hour.
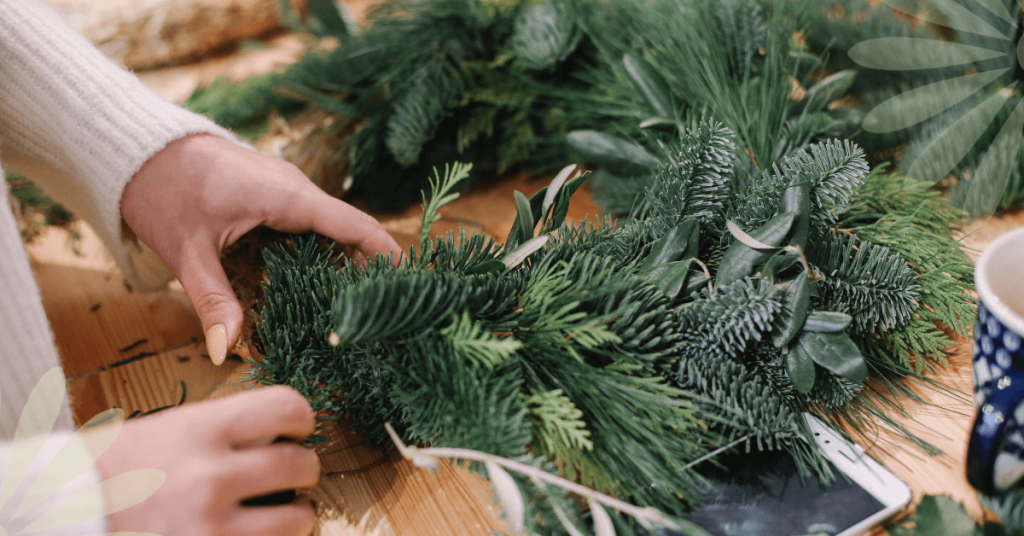
Following these steps should keep your decorations looking fresh through the holiday season and beyond!
If you would like more help with homemade decorating ideas, check out our DIY Fresh Evergreen Decor guide and our Holiday Home Decor Ideas.
Or, stop by and see us at Eising Greenhouses and Garden Centre in Simcoe for inspiration and choose from our selection of:
- fresh greenery branches
- undecorated arrangements
- decorated arrangements
- Poinsettias
- Christmas Cactus
- Kalanchoe
- Amaryllis
- Paperwhites and more!
If you’re heading to a holiday party, we have lots to choose from as gifts, or items to add to your arrangements, or to fill a spot in your home that needs a little extra holiday cheer!

You’ve selected your annual and perennial plants, chosen their location in the garden, amended the soil and everything is planted. Or close to it! Now what? How can you take care of them to maximize their potential? A bit of simple and easy maintenance will keep your plants healthy and blooming.
Once they start blooming, most annuals will flower all season long, until cold temperatures or frost put an end to their display. Many perennials will bloom for several weeks. We listed some of our favourites in this article if you missed it.
Here are some simple tips to keep your plants looking great!
Water
Newly planted annuals and perennials, even drought tolerant plants need to be watered at planting time.
Perennials will need water every week for the first two weeks and during periods without rain. Most perennials do well with a minimum of one inch of water per week.
Water is absorbed through the roots, so water the soil and not the foliage. Low (pressure) and slow (volume) allows water to adequately soak into the soil instead of running all over the place! It’s also best to water in the morning rather than at night because foliage that stays wet all night is susceptible to rot and foliar diseases.
Annuals planted in containers will need to be watered more frequently than annuals in a flower bed. Hanging baskets and planters will most likely need water daily, and in the heat of summer twice a day. For hanging baskets, the water should run out of the bottom.
In planters or the garden, use your finger in the soil to test it out - if it feels dry, your plant needs water.

Mulch
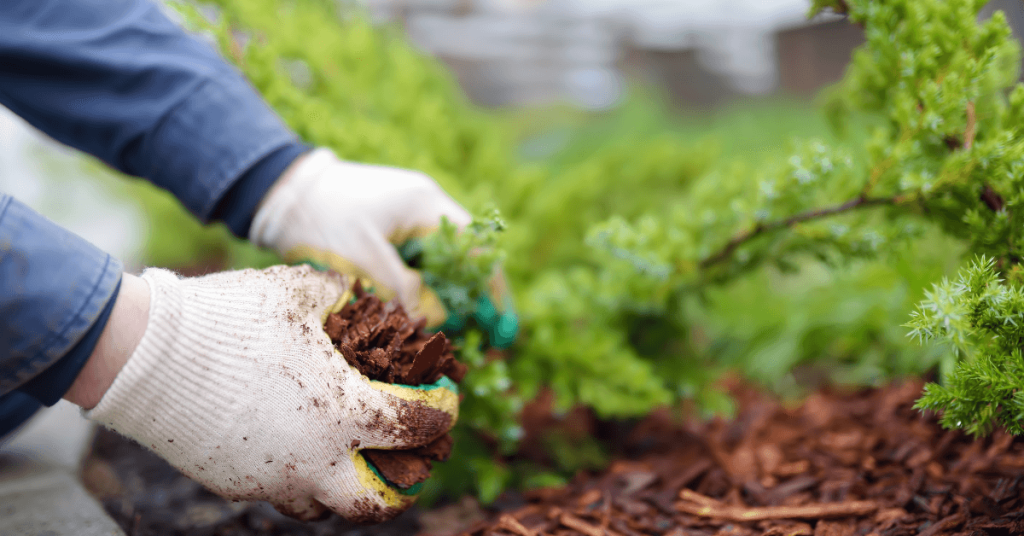
Mulch is always a very good idea to maintain soil health in the garden no matter what you’re planting!
An organic mulch will help enrich your soil, and keep it moist. A layer of at least 2 inches of mulch will also suppress weeds. Who doesn’t love that? The only caveat: don’t allow the mulch to touch your plants.
Deadhead
Deadheading or removing flowers that have finished blooming is important for many plants. Doing this allows the energy from the plant to be sent to producing new blossoms in annuals, and some perennials.
How do you do it? Take sharp, clean scissors or pruners, and cut off any dead flowers just below the base of the flower or above the first leaf. With some plants you can simply break off the spent flowers.
Bonus: your plants will look much better without dead flowers on them!
Note: some annuals don’t need deadheading. For example, Verbena, Lantana, Lobelia, Impatiens, Petunias, and Begonia.
Fertilizer
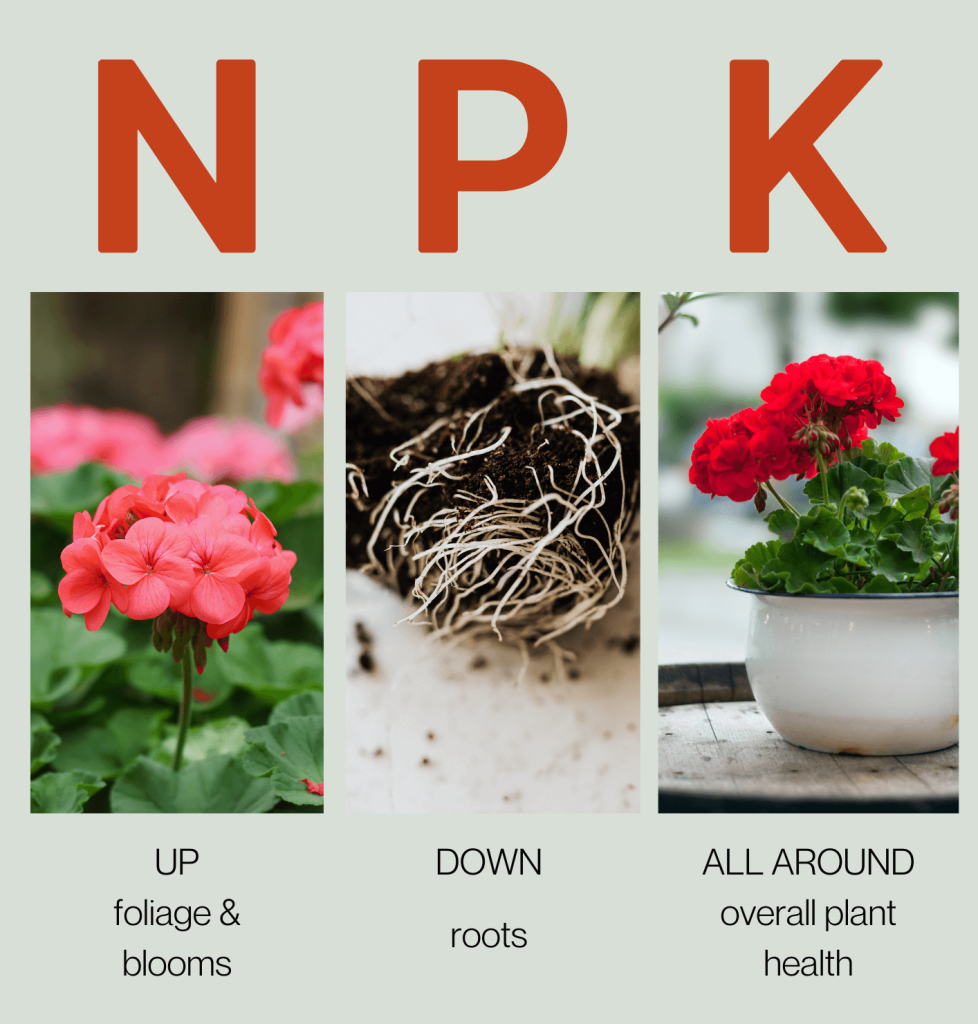
Let’s face it, fertilizer packaging can be confusing. They often feature three letters and three numbers. What does it all mean? What is N-P-K? This Eising article explains all you need to know about fertilizing and is worth the read.
However, in a nutshell, this is a really easy way to remember the function of N (nitrogen), P (phosphorous and K (potassium) when it comes to fertilizing. The numbers are the percentage of each of those nutrients that the fertilizer package contains.
N = UP - foliage and blooms
P = DOWN - roots
K = ALL AROUND - overall plant health
If you used an organic, slow-release fertilizer when you planted your annuals or perennials in the ground, you shouldn’t have to fertilize again during the season.
Most potting soil in planters or hanging baskets contains the nutrients needed to help your plants get started. An easy way to maintain nutrients throughout the season is sprinkling Shake n’ Feed Ultra Bloom 10-18-9 slow release fertilizer on top of the soil. It will slowly feed your plants for three months. For heavy feeders like petunias or plants that are hungry, looking light, and in need of an instant boost, use a water-soluble fertilizer with an NPK ratio of approximately 20-20-20 every two weeks to keep them blooming.
For perennials, trees and shrubs that need more nutrients during the year, Shake n’ Feed slow release 18-6-12 fertilizer can be applied in the spring and it will feed your plants for three months during the growing season. The same fertilizer can be used for trees, shrubs and perennials in subsequent seasons.
As a rule of thumb, it’s better to under-fertilize and watch how your plants respond. Over-fertilizing can lead to sick plants that have yellow or brown leaves. In your garden, the only way to know what your plants need is to test the soil. Otherwise you’re guessing! To test your soil in Ontario, samples can be sent to The University of Guelph.

We tend to get a lot of questions about rose care, and while roses do require more maintenance than other common shrubs, they’re by no means difficult to look after. A little bit of regular upkeep leads to some pretty impressive results, so if you’re a gardening novice, it’s definitely a worthwhile project. Here’s how you can grow and care for roses in Simcoe, Ontario.
Planting Roses In Southern Ontario
Depending on the variety you choose, you can use roses for border plants, garden bed accents, climbing plants to train over arbours and patio lattice, or as container plants. Whatever location or growing medium you select, just ensure it’s suited to the size and growth habit of your chosen rose variety, since there are so many different kinds to choose from. That being said, almost all roses will need at least 6 hours of direct sun every day, so make sure your chosen location has plenty of light.

The best soil for roses has excellent drainage and high nutrients, to set your rose bushes off to a good start, you’ll want to loosen up the soil thoroughly. Ideally, you’ll want sandier, loamy soil with a lot of compost mixed in.
If you’ve purchased a rose bush with bare roots, you’ll want to soak the root ball in water for up to 24 hours before planting. If it’s a potted rose, you won’t have to worry about that step. Plant your roses about 1.5–2 feet deep to fit their large root system, then fill the hole back up with the soil, compost and bone meal mix. Mound it up slightly around the base of the plant.
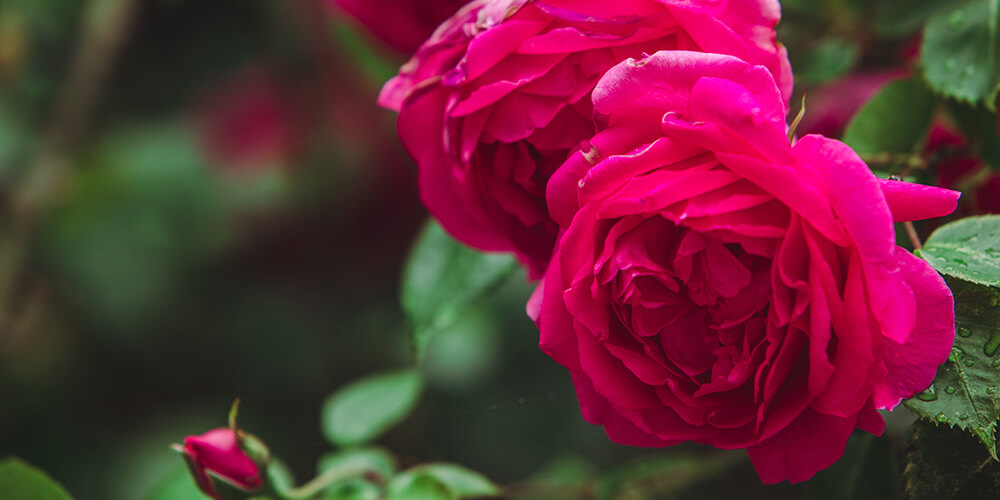
How Often Should I Water Roses?
Generally, roses need about 1-3 inches of water per week. The thing is, roses are pretty susceptible to mildew and other fungal diseases if they get soggy and don’t receive much air circulation. That means you’ll want to avoid getting the leaves wet whenever possible and stick to watering the soil directly. The easiest way to do this is with a trickle hose set up near the base of the plant. Just turn it on and leave it for a while, so it thoroughly saturates the ground.
If we experience a lot of rain in a short period, you can skip on watering, and should check your roses regularly for any signs of bacteria or fungal growth. Remove any damaged pieces with sanitized shears, wiping the blades clean between every cut, and disposing of the damaged parts safely in the garbage, not the compost bin.
Rose Care: Mulch, Fertilizer, And More
Applying a layer of mulch on top of the soil around your roses will help to retain moisture and control weeds. Some gardeners insist that cocoa bean shells are the best mulch for roses, but we’ve found that classic bark mulch still works perfectly fine.

In spring, feed your roses with a fertilizer formulated specifically for roses. For best performance and blooms, apply the fertilizer every 2-3 weeks during the growing season. There are also special fertilizers made for transplanting, easing the transition when planting your rose. Be sure to water your rose before and after applying fertilizer as their roots are susceptible to being burnt.
Since there are so many types of roses, this means there are different times of the seasons and different styles of pruning. Use a pruning saw or hand pruners to remove any damaged branches or awkward pieces that jut out too far. If there are some densely packed areas with branches, it may help to thin them out a bit to help prevent fungal growth.
We have so many spectacular colours and varieties of roses to grow in Southern Ontario. Visit Eising to see our full collection, or check out our online store! We have citywide delivery and curbside pickup available all summer long.
Knowing how to stake plants properly is a valuable skill for any gardener, especially when you're growing vegetables. Some grow pretty tall and need a little extra help to stay off the ground so their fruits won't sit in a pile in the dirt and get funky. It can get pretty windy here as well, so providing some extra support will help prevent damage from heavy winds and rain.
Staking may look pretty straightforward, but there are some best practices you should follow to ensure good results. If you're planning on growing some tall, or vining garden plants, or if your mature plant keeps falling over, follow these tips on proper staking in the garden.
5 Tips For How To Stake Tomatoes And Other Garden Plants
Tomatoes, cucumbers, peppers, beans—there are so many garden greens that benefit from extra support. It keeps them from bunching up on the ground, allows full sunlight exposure, and prevents the wind and rain from totally pummeling them. Now that summer is approaching, many of your garden veggies are getting taller, and you'll need to step in before they flop right over. Here's how to do it correctly, so your vegetables grow big, bright, and delicious, according to plan.
Pick The Right Kind Of Stake
If you've got a plant with one stem, you can get away with using a simple wooden stick or pole. If there are multiple stems, then a cage might work a bit better, because you'll have more spots to tie on to. The cage must be at least one foot taller than the plant. If you're using a wood stake, make sure it's made with untreated wood so chemicals won't leach into the soil and contaminate your veggies. Bamboo stakes are also another great option. If you've got a vining plant, you may want to use a trellis. These can be quite beautiful with so many sizes and shapes to choose from; now, it's time to get out and find a creative way to integrate it into your backyard decor!
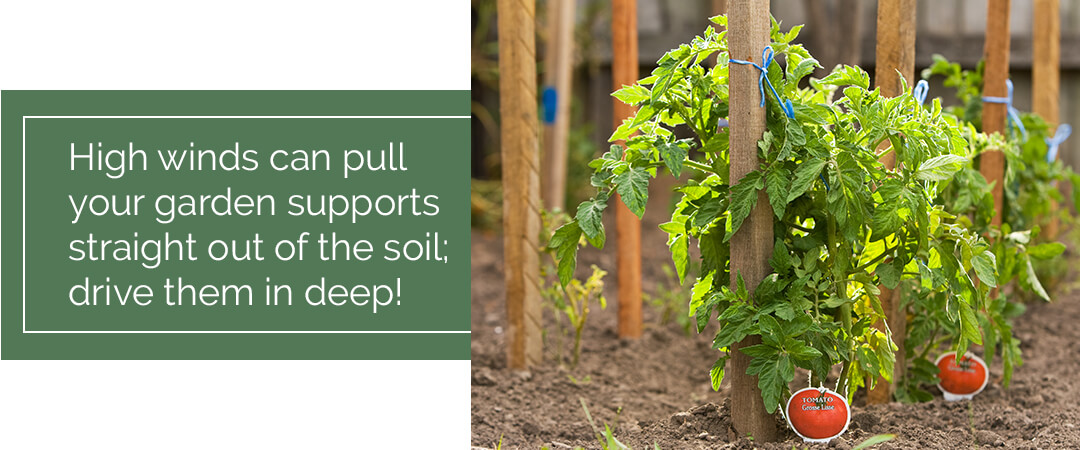
Drive The Stake Down 14 Inches And Facing North
High winds can pull your garden supports straight out of the soil, and that can do some serious damage to your veggies. If you drive your stakes down into the dirt deeply, you won't have to worry about that happening. Making sure they're on the Northern side of the stem will be helpful too, especially if your supports are thicker, then they won't block any of the sunshine!
Tie Stems As They Grow Every 6 Inches
As your plants continue to grow, you need to keep securing them along the way so they don't flop. Monitor the development, and every time there's at least 6 inches of new growth, tie the stem to the support. Use material like gardeners tape, thick twine, velcro ties, or even strips of old pantyhose for securing.
Don't Tie Stems Too Tight
Leave a little bit of wiggle room—about one inch around the stem. If the ties are too tight, they could cut into the stems and hinder proper development. Try to avoid spots where leaf shoots are likely to emerge, so they don't get all bunched up. Instead, try to stick them a bit above the leaf shoots, so they'll stay in place and won't slide down the stem.

Replace Stakes When Needed
If your supports become too small, you need to replace them to accommodate for more growth. Some fast-growing plants may need to be re-staked every couple of months, or even sooner. Drive your new supports into the same hole as before, to avoid disturbing the roots. It helps if you use a mallet to drive it in deeply.
Are you in need of some supports and equipment to help your veggie garden along? Visit Eising, or place an order over the phone for curbside pickup or delivery. If you have any questions, don't hesitate to ask—we love to help our fellow gardeners!
If you haven’t gotten started on your summer vegetable garden yet, don’t worry—there are still plenty of veggies you can plant now for a late-season harvest! That means more fresh produce to enjoy through the fall, and with the help of our trusty freezers, many can be enjoyed well through winter and spring. You can find all kinds of seeds and starters for vegetables and fruits on our brand new webstore, so feel free to browse online and place an order for curbside pickup or citywide delivery.
What Are The Best Vegetables To Plant In Summer?
Generally speaking, vegetables that can be planted in summer are either fast-growing and love the sun, or slow-growing and tolerant of the cooler temperatures in the fall. Many garden edibles can get scorched from the hot sun if planted too early, so it’s best to delay so that they’re ready to go once the temperature is less extreme.

Late Summer Vegetables You Can Direct Seed
Many folks assume that spring is the best time for planting vegetable seeds, but every plant is different! So, if you want to start planting seeds in summer, there are more than a few good options for you to choose from. Here are the best late summer vegetables to plant in Simcoe through direct seeding:
Beans: Perhaps one of the easiest and most kid-friendly veggies to grow, beans are always a favourite. Plus, they deposit nitrogen into the soil, which helps improve soil quality.
Beets: These hearty root vegetables make excellent comfort food, and their ultra-vibrant colour indicates super-high levels of vitamins, nutrients and antioxidants. Your beets will be ready for harvest around September or October.
Broccoli: Even the pickiest of eaters aren’t likely to turn down a delicious bowl of broccoli cheese soup, or a Chinese beef and broccoli stir fry. Sow broccoli seeds in June for a harvest that’s ready right at the start of back-to-school season.
Carrots: Before you sow your carrot seeds, make sure your soil is super loose and free of rocks and compacted areas. If it’s all clumped together, the roots won’t grow long and pointy, so you’ll be left with stumpy, misshapen carrots.

Leafy Greens: Lettuce, kale and spinach can all be sown directly into the soil in June. They don’t take too long to develop, and they thrive in cooler temperatures, so you can even get away with planting a second round in early autumn!
Parsnips: Slow-growing parsnips need around four months to mature, but there’s no need to rush! Parsnips taste best if you harvest them after the weather has turned chilly. If we get hit with a few frosty nights in autumn, this will actually help them! Just make sure you pull them up before the ground freezes.
Potatoes: While not technically seeds, you can put potato tubers in the soil in June to enjoy an autumn harvest. Wait for the plants to mature, turn brown, and wither, then leave them in the soil for another three weeks before pulling them up! Store them in a cool, dry spot, and don’t wash them before storing—this will cause them to rot.
The Best Starter Plants For Late Summer Crops
The waiting game can get a little long when you directly seed certain plants, so sometimes it’s better to get a starter plant to transplant into containers or your garden bed. Here are some excellent starters to pick up later in the season:

Zucchini: “Zoodles,” or spiralized zucchini noodles, are quickly gaining popularity as a delicious alternative to carb-heavy spaghetti. If (like many of us) you’ve been kinda overdoing it on the pasta lately, you’ll definitely enjoy having this tasty squash in your garden.
Celery: This ultra-healthy, crunchy veggie adds some great crunch to tuna salad, chilli, and stews, but it takes a pretty long time to develop from seed, so you may as well skip ahead and opt for a starter.
Cucumbers: Technically, you can either transplant or direct seed cucumbers in June, but getting a starter will ensure you get to enjoy your harvest earlier in the season!
Peppers: With their thin, delicate skins, peppers aren’t too tolerant of chilly temperatures and will taste much better if they get lots of sunlight. Planting a starter in June will ensure these sun-loving veggies get peak sunshine in July and August, right when it counts.
Tomatoes: We especially love growing small tomatoes in hanging baskets! The little fruits look like strings of colourful porch lights changing from green, to yellow, to red!
Fresh garden produce can be enjoyed well into autumn, and even early winter, if you pick the right crops and time them just right. If you have any questions about late-season planting, feel free to give us a call at the shop, and we’ll be happy to help!