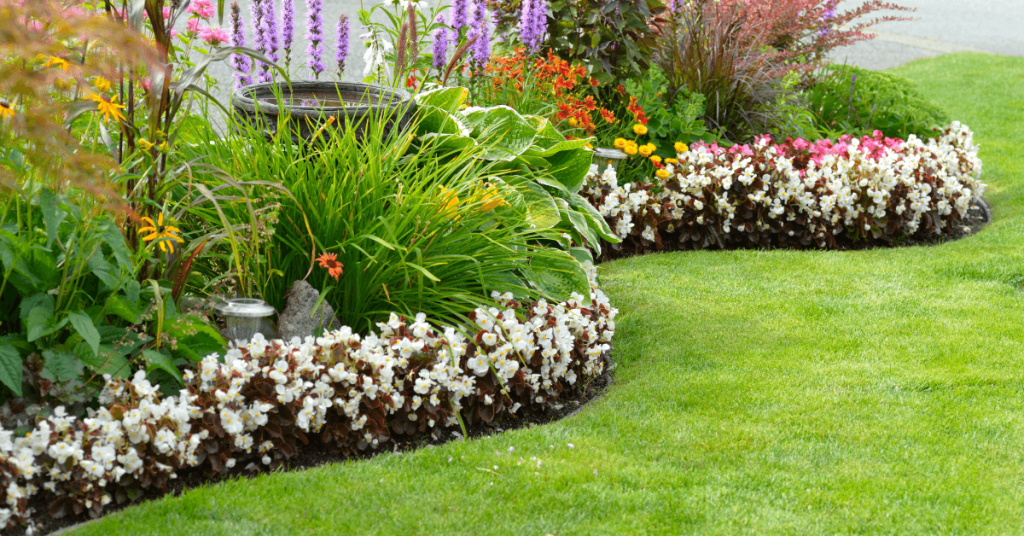
How to Keep Your Hanging Basket as Gorgeous as the Day You Brought it Home, All Summer Long!
By Dave Zeldon and Ely Schweyer
Remember your Mother's Day hanging basket with its variety of colours, textures, and plant combinations? Maybe there was Verbena cascading elegantly with their colourful star like blossoms, double Begonias for the porch in spectacular shades of reds, pinks, and burgundies, and of course the vigorously growing Petunias and Geraniums, to name just a few. But as the Summer goes on, they just don’t seem to have that same stamina.
To keep your hanging baskets in great shape and avoid the dry, wilted, bald spotted, leggy look that occurs to containers every August, one should follow these easy tips.
Watering
Plastic, fibre, and especially moss lined baskets dry out quickly. They should be checked twice daily and watered every day. Be sure to wet the moss sides as well.
Try to maintain uniform soil moisture. When watering, fill the top of the container with pooling water until it ‘pees,’ and allow it to drip out of the bottom of the basket every time you apply water. Frequent severe wilting will impact upon the quality of the basket.
At this time of year, one could take the basket down and soak it in a tub of water for 20 minutes to hydrate the entire root ball, once every week.
Deadheading
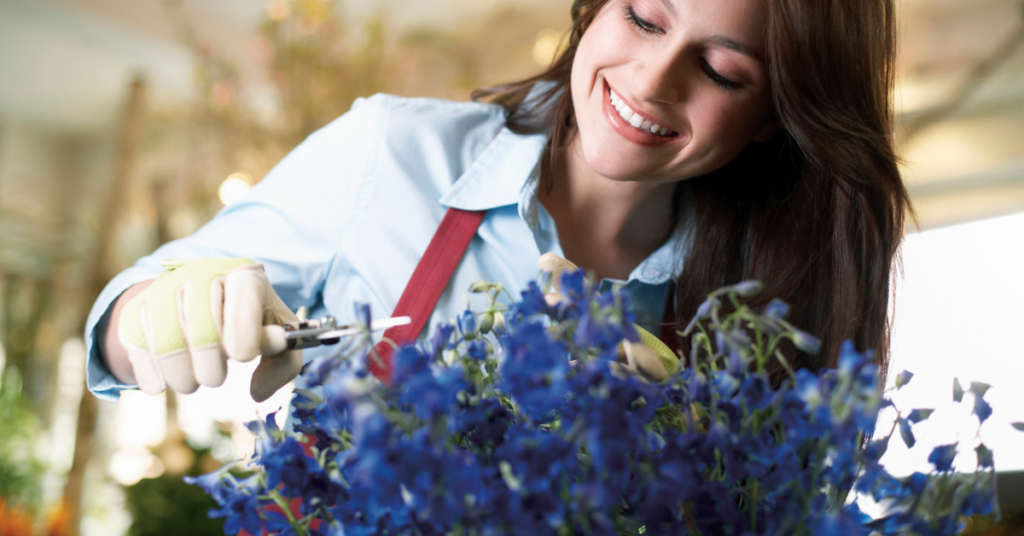
Remove spent flowers on a weekly basis (this is called deadheading) to prevent plants from going to seed. This will encourage more flower production. Part of the beauty of the mixed basket is its prolonged display, just like in your garden.
Check for Pests!
During your weekly deadheading, keep a watchful eye out for aphids, whiteflies, and caterpillars. If you see any, try a quick spray of insecticidal soap to keep them from becoming an infestation.
🖱️ If you're noticing fungus gnats in your hanging baskets, find more on eradicating them here!
Pruning
Not every plant in the basket will be at its peak all season.
Cutting plants back after a flush of bloom will tidy them up and prepare them for a fresh crop of flowers. Meanwhile, other varieties will begin putting on a show. This is especially true for Petunias.
A good cut back of long, lanky branches will reap benefits.
Fertilizing
Daily watering means nutrients can leach out of the soil before the plants can absorb them. The baskets should have both slow release granular added to the growing media and a weekly feeding of 15-30-15 soluble fertilizer. Use a solution containing micronutrients, as plants like Petunias need extra iron.
Sheltering
It has been suggested, if possible, that during stretches of extreme heat, give your baskets a break and move them to a cooler, shaded spot to de-stress for a couple of days. This is also suggested when heading on vacation. Your flowers will rebound to their former beautiful selves!
We hope this long term hanging basket care guide helps you enjoy your purchase all summer long! For more information - and beautiful plants – visit Eising Greenhouse and Garden Centre! 🌸
By: Dave Zeldon and Ely Schweyer
Most experts agree that we shouldn't bother bringing in our favourite summer potted plants for the winter and that we should buy new again the next season. But this seems to go against our sensibilities after paying good money earlier in the season. Why not try to save that bay tree, those Rosemary, and French Tarragon containers, as well as expensive Phormium, Mandeville, Passionflower, and Jasmine plants?
The secret to indoor survival for summer plants is to slow down their growth during the winter, so they’re ready to be put outside again once all the danger of frost has passed. How? A few weeks before fall frosts are expected, gradually introduce plants to life indoors by moving them inside (to a quarantined spot*) for half a day, working up to a full day over a week or so. Don't wait until nighttime temperatures are only slightly above freezing as the plants may go into shock and drop leaves!
How to Keep These Guys Comfy During the Winter Months?
- It is suggested that you should prune back excessive growth and re-pot with new lighter growing media.
- Place them in the sunniest location you have and then water sparingly but regularly over the Winter.
- Raising humidity by using a humidifier helps too.
- Resist the urge to fertilize these plants until just before you reintroduce them to outdoor living.
- Perhaps just for fun, you could repot them into the appropriate seasonal pots and planters!
It Seems They Brought Others in With Them - And They're Not Nice House Guests
*Before long, you may notice some unwanted guests, such as thrips and spider mites, on and around your precious plants as their natural predators are no longer present to keep their populations at bay. In many cases, it may be too late, and your plants may have to be discarded before the Holidays, but that’s not always the case!
Common problems that make themselves apparent indoors would be the brown soft scale insect, whiteflies, mealybugs, aphids, spider mites and most often, fungus gnats (those pesky little black flies).
Fungus gnats are considered to be the most common nuisance in houseplants. Sometimes their sheer numbers just hovering around an attractive plant take away from its appeal.
Basic Fungus Gnat Control Measures:
The fastest and easiest method of control is to catch the flying adults with yellow sticky cards. The large cards can be cut into little strips and mounted onto little wooden splints (popsicle sticks) then placed around the base of the plant out of the line of sight.
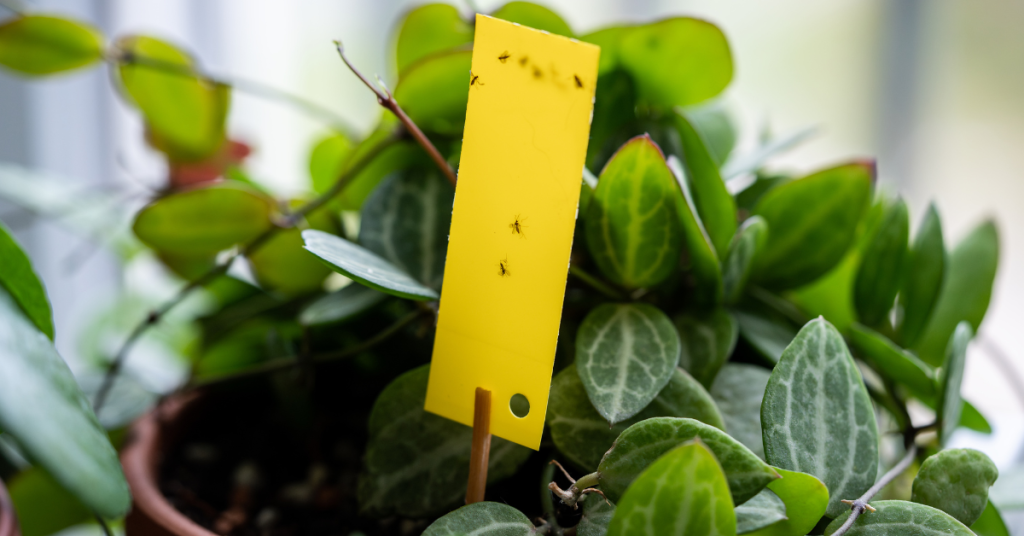
The chances are that the adults have already deposited eggs in the growing media (soil) of the plant as it is rich in organic matter, so we can disrupt its life cycle by:
- Subirrigation - water your potted plant from the bottom by adding water to the saucer it is sitting in. This will dry out the soil surface making it uninhabitable for the hatching larvae.
- Trapping larvae - If the surface soil it already very wet, try placing a few potato discs or slices on the surface of the soil. This will attract the larvae as they migrate to the potato to feed. Simply replace the discs every five days or so with fresh slices to eliminate the next generation of adults.
- Inoculating the soil with beneficial nematodes. Most garden centres will carry the Guardian line of beneficial nematode products.
We hope this helps your plants enjoy your winter abode as much as you do this season, for more information - and plants – visit Eising Greenhouse and Garden Centre!
By: Dave Zeldon and Ely Schweyer
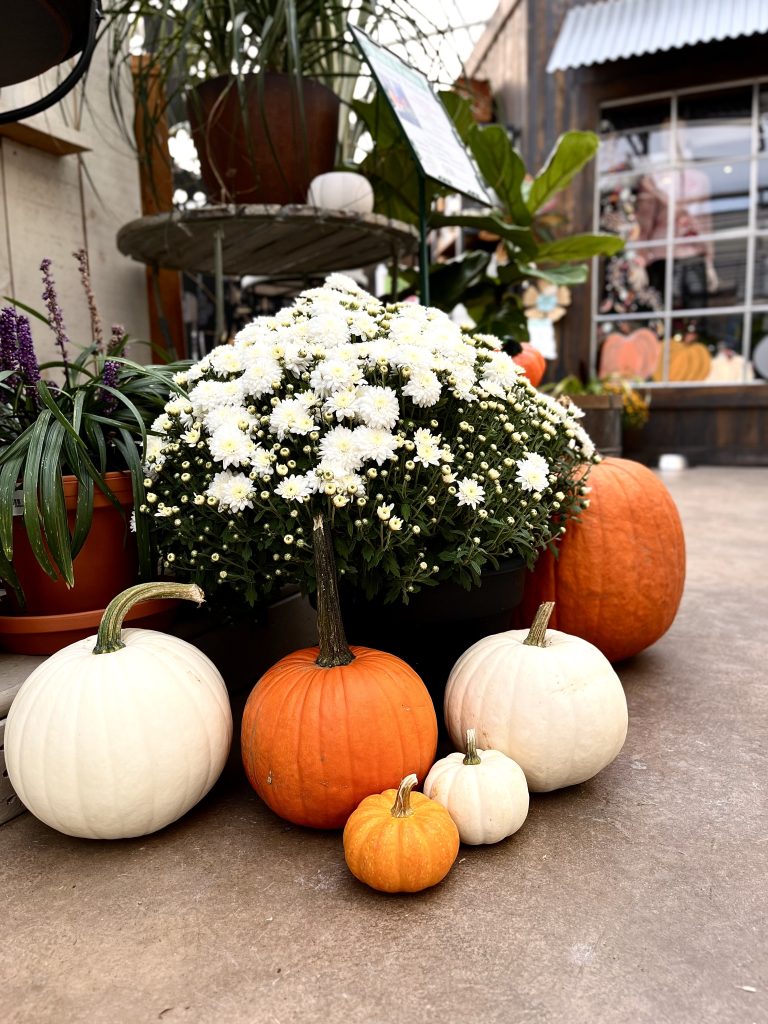
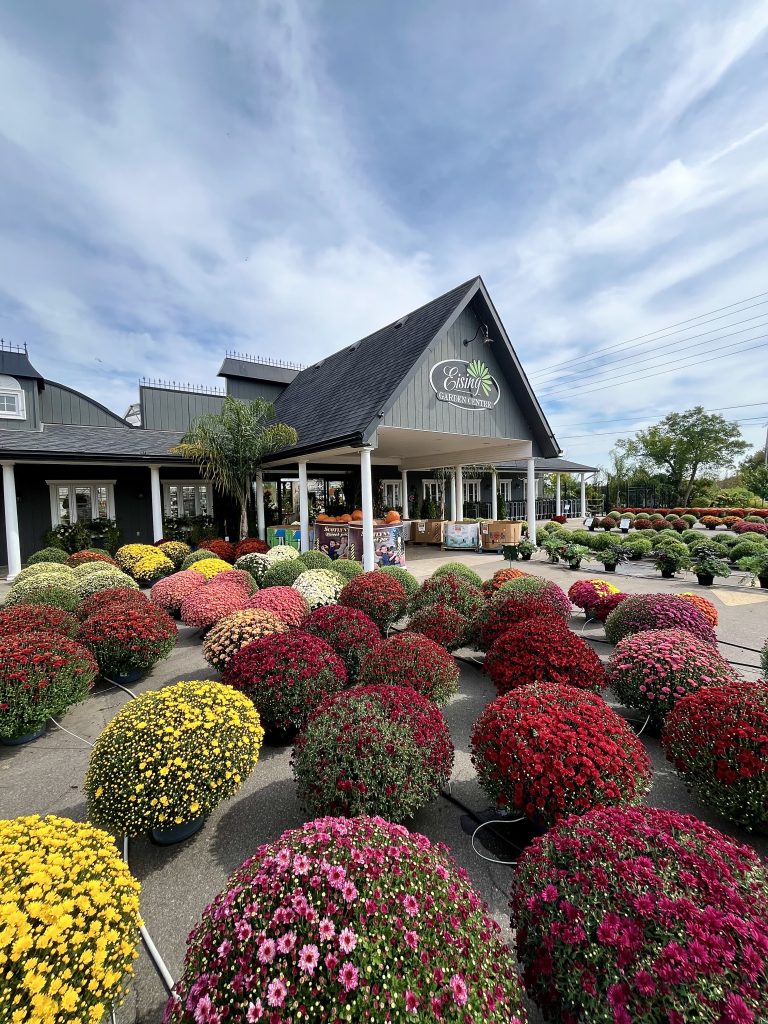
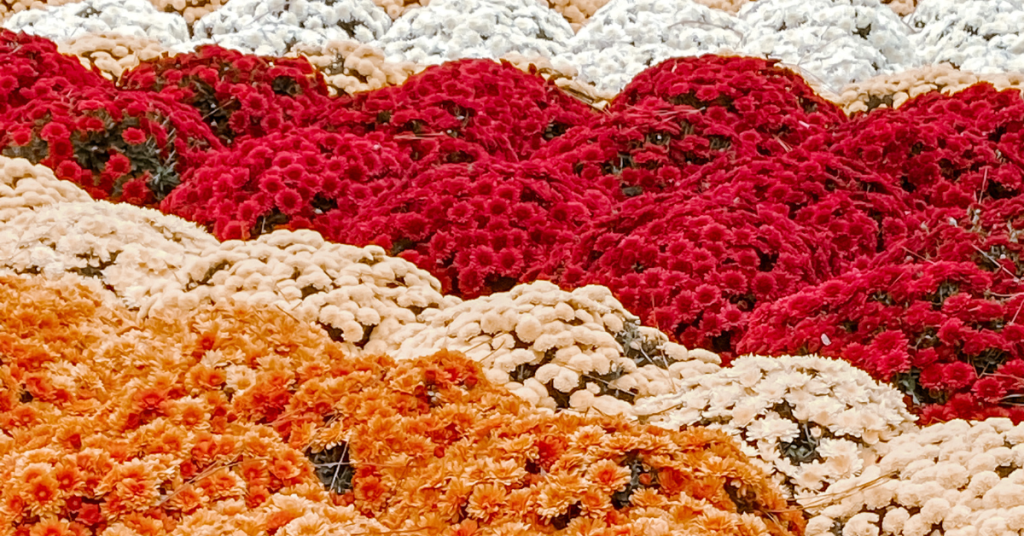
The classic fall-blooming Chrysanthemum varieties of burnt amber, golden yellow, and deep burgundy blooms have been enormously popular for years, and as each new fall season rolls around, there always seems to be new varietal introductions – like multicoloured pinks with the hues of sunrises - to enhance your front porch display of pumpkins, corn stalks, and gourds.
These robust plants will produce blooms for weeks, even in the coolest of autumn weather. Their hardiness even offers versatility when it comes to their display; some gardeners prefer less labour-intensive groundskeeping and leave them in their original store pots, whereas others prefer to transplant these flowers into larger planters, window boxes, or into flowerbeds to add an easy seasonal flair.
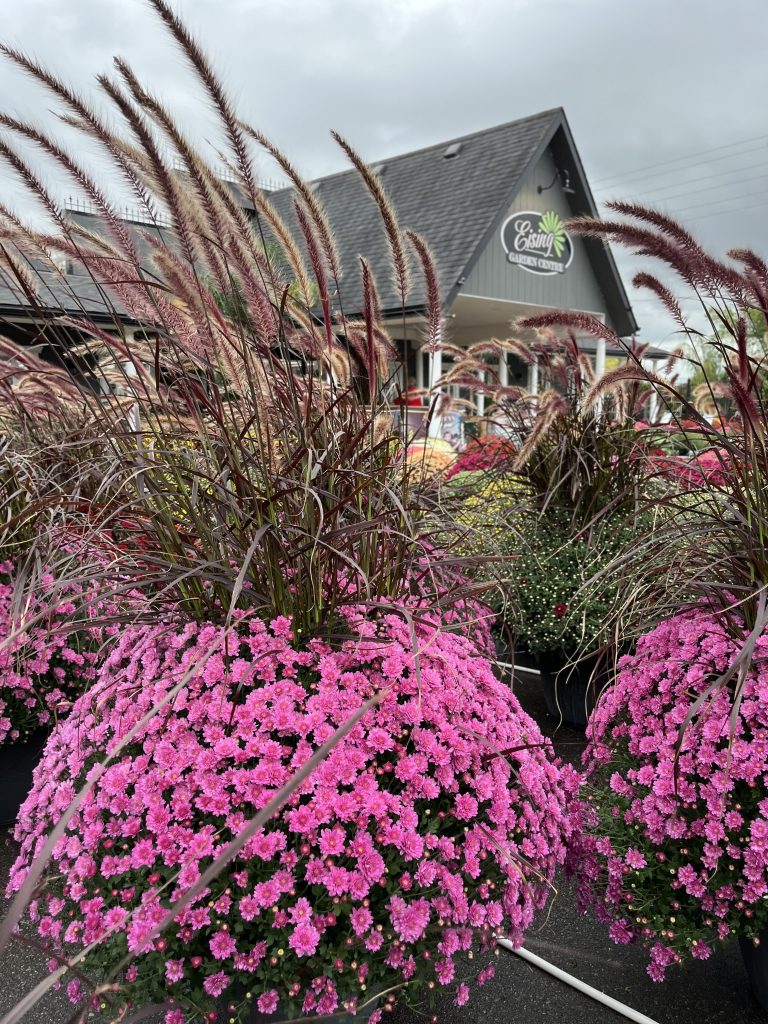
While resilient, these plants still need some TLC. Try these tips to keep your Mums looking fresh throughout the fall.
- Choose green plants with tightly closed buds. This way when your Mums do bloom, you will be able to keep those colourful displays for much longer.
- The Mums' foliage should have a deep green colour and lots of growth at the garden centre.
- Also, make sure the soil in the container is moist when purchasing your plant, as dried out Mums may have already suffered damage.
- You'll find out in short order that your potted Mums are very thirsty plants! Water them daily and make sure the soil remains moist. A shot of liquid fertilizer to the irrigation water once a week would be great as well.
Over-Wintering Mums
Modern Mum breeding is aimed primarily at creating plants that look good in their pots at their point of purchase, sacrificing the plant’s hardiness and performance for future years - meaning when home gardeners try to overwinter these big potted plants, they are not usually successful.
All Mum plants at garden centres are hardy, meaning that they are perennials in most climates. However, if these plants are put in the ground from August on, most won't make it through winter. The reason is that Mums planted late in the season are near, or at, the flowering stage, when their energy is focused into blooming, and they won't grow roots to sustain plants through the winter. This is why Mums should be planted in the spring if you want a perennial plant that has a spectacular autumn show!
If you really adore your fall purchase though, you can try to over-winter your Chrysanthemums in the basement or a dark, cold closet, after the first frost. Water well and place in an area where it is totally dark and 0°C to 10°C. The plants will hibernate for the winter if you keep their roots damp. Check the pots weekly.
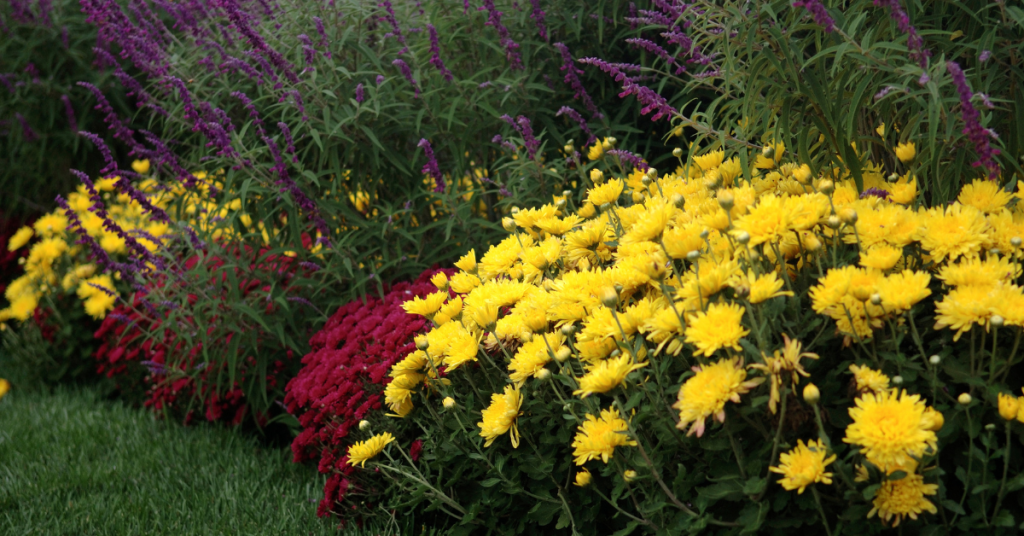
In the spring, gradually acclimate your Mum plants to light and plant them out in the garden after the last killing frost, remembering to pinch them twice prior to the first of August for a full, lush plant.
We hope this helps you to enjoy your Mums just a little bit longer! Use our Plant Finder to search for a sample of our Mum selection by your preferred colour. You can find many Mum varieties and more information at Eising Greenhouse and Garden Centre, please stop in for a visit this autumn!
Growing Vegetables in Pots!
A few years ago, I was walking through town with a friend as we discussed planting vegetables in our tiny front gardens. It seemed like an unusual idea until we spotted not one but two front gardens with pumpkin vines rambling amongst the shrubbery. What a novel way to cover the ground without mulch and have the bonus of showy, bright blossoms and bold foliage! Of course, this is eventually followed by the standout feature of brightly coloured pumpkins. It’s built-in fall decorating!
Right now, everyone is looking for ways to reduce grocery bills, and growing a few vegetables amongst the flowers and shrubs can make a big difference. If your garden is on a patio or balcony, there are lots of ways to add edible plants to maximize your space and beautify it at the same time. Who says vegetables can’t be ornamental and beautiful?!

Gaps and Small Spaces
If you have a new shrub and flower garden that has gaps or there’s a space in your garden where you’re not sure what to plant, consider tucking in a potted vegetable. In a cool, shady space, try some luscious lettuce bowls. Shade allows lettuce to grow more slowly in the heat of the summer. Keeping lettuce in a cool, shady spot will prevent it from bolting and becoming bitter.
If you have a small garden, a patio or a balcony, pots with compact varieties and hanging baskets are a terrific alternative for growing vegetables, herbs, and some fruits. These are some of the options we offer at Eising Garden Centre (based on availability) that can be purchased fully planted, or you can grow your own from seed if you have time, space and lights.
Trellised Planters and Patio Pots
For patios, balconies, or even a gap in the garden, there are lots of vegetables that can be grown in a trellised planter.
Tomatoes, peppers, cucumbers and eggplant all love warm soil and growing in pots provides the heat to help them thrive. Eising trellis pots are planted with specific varieties that are smaller but pack a flavourful punch.
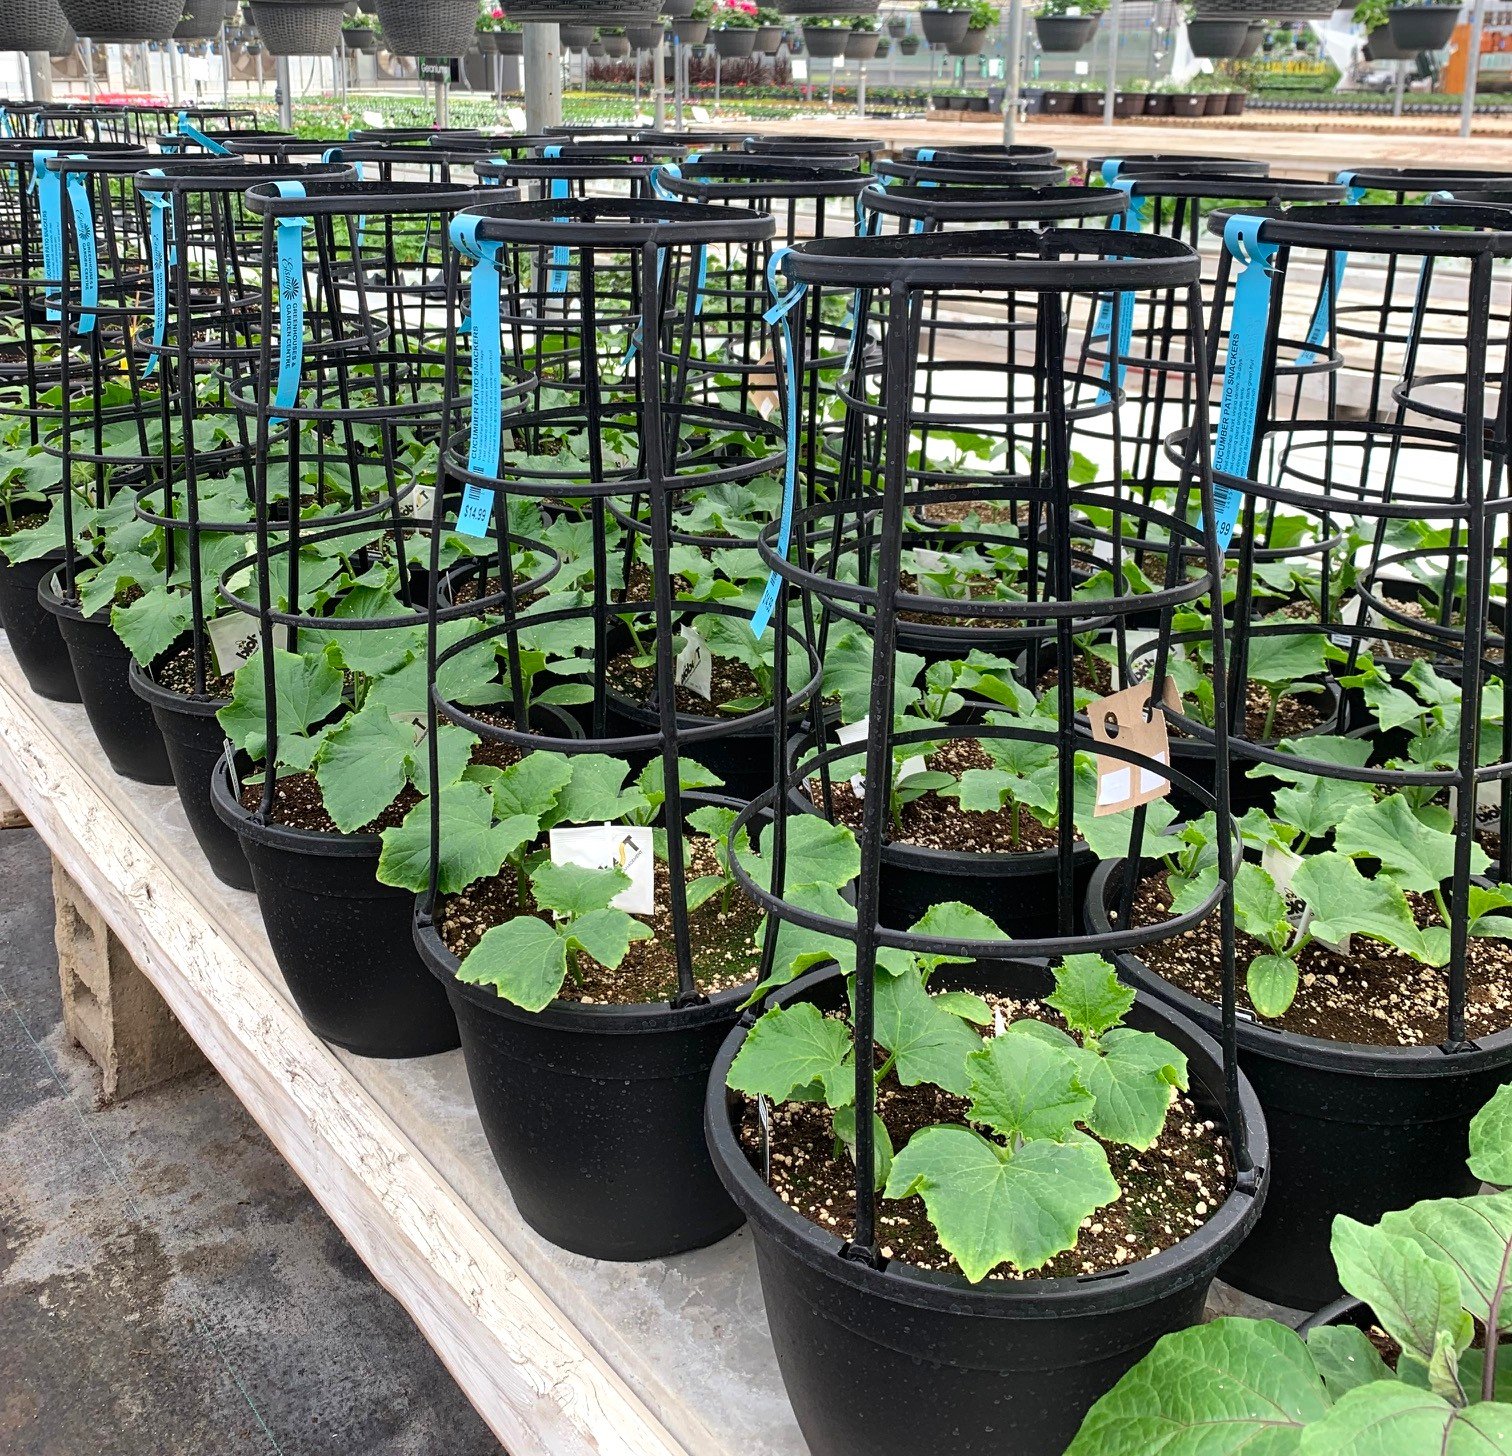
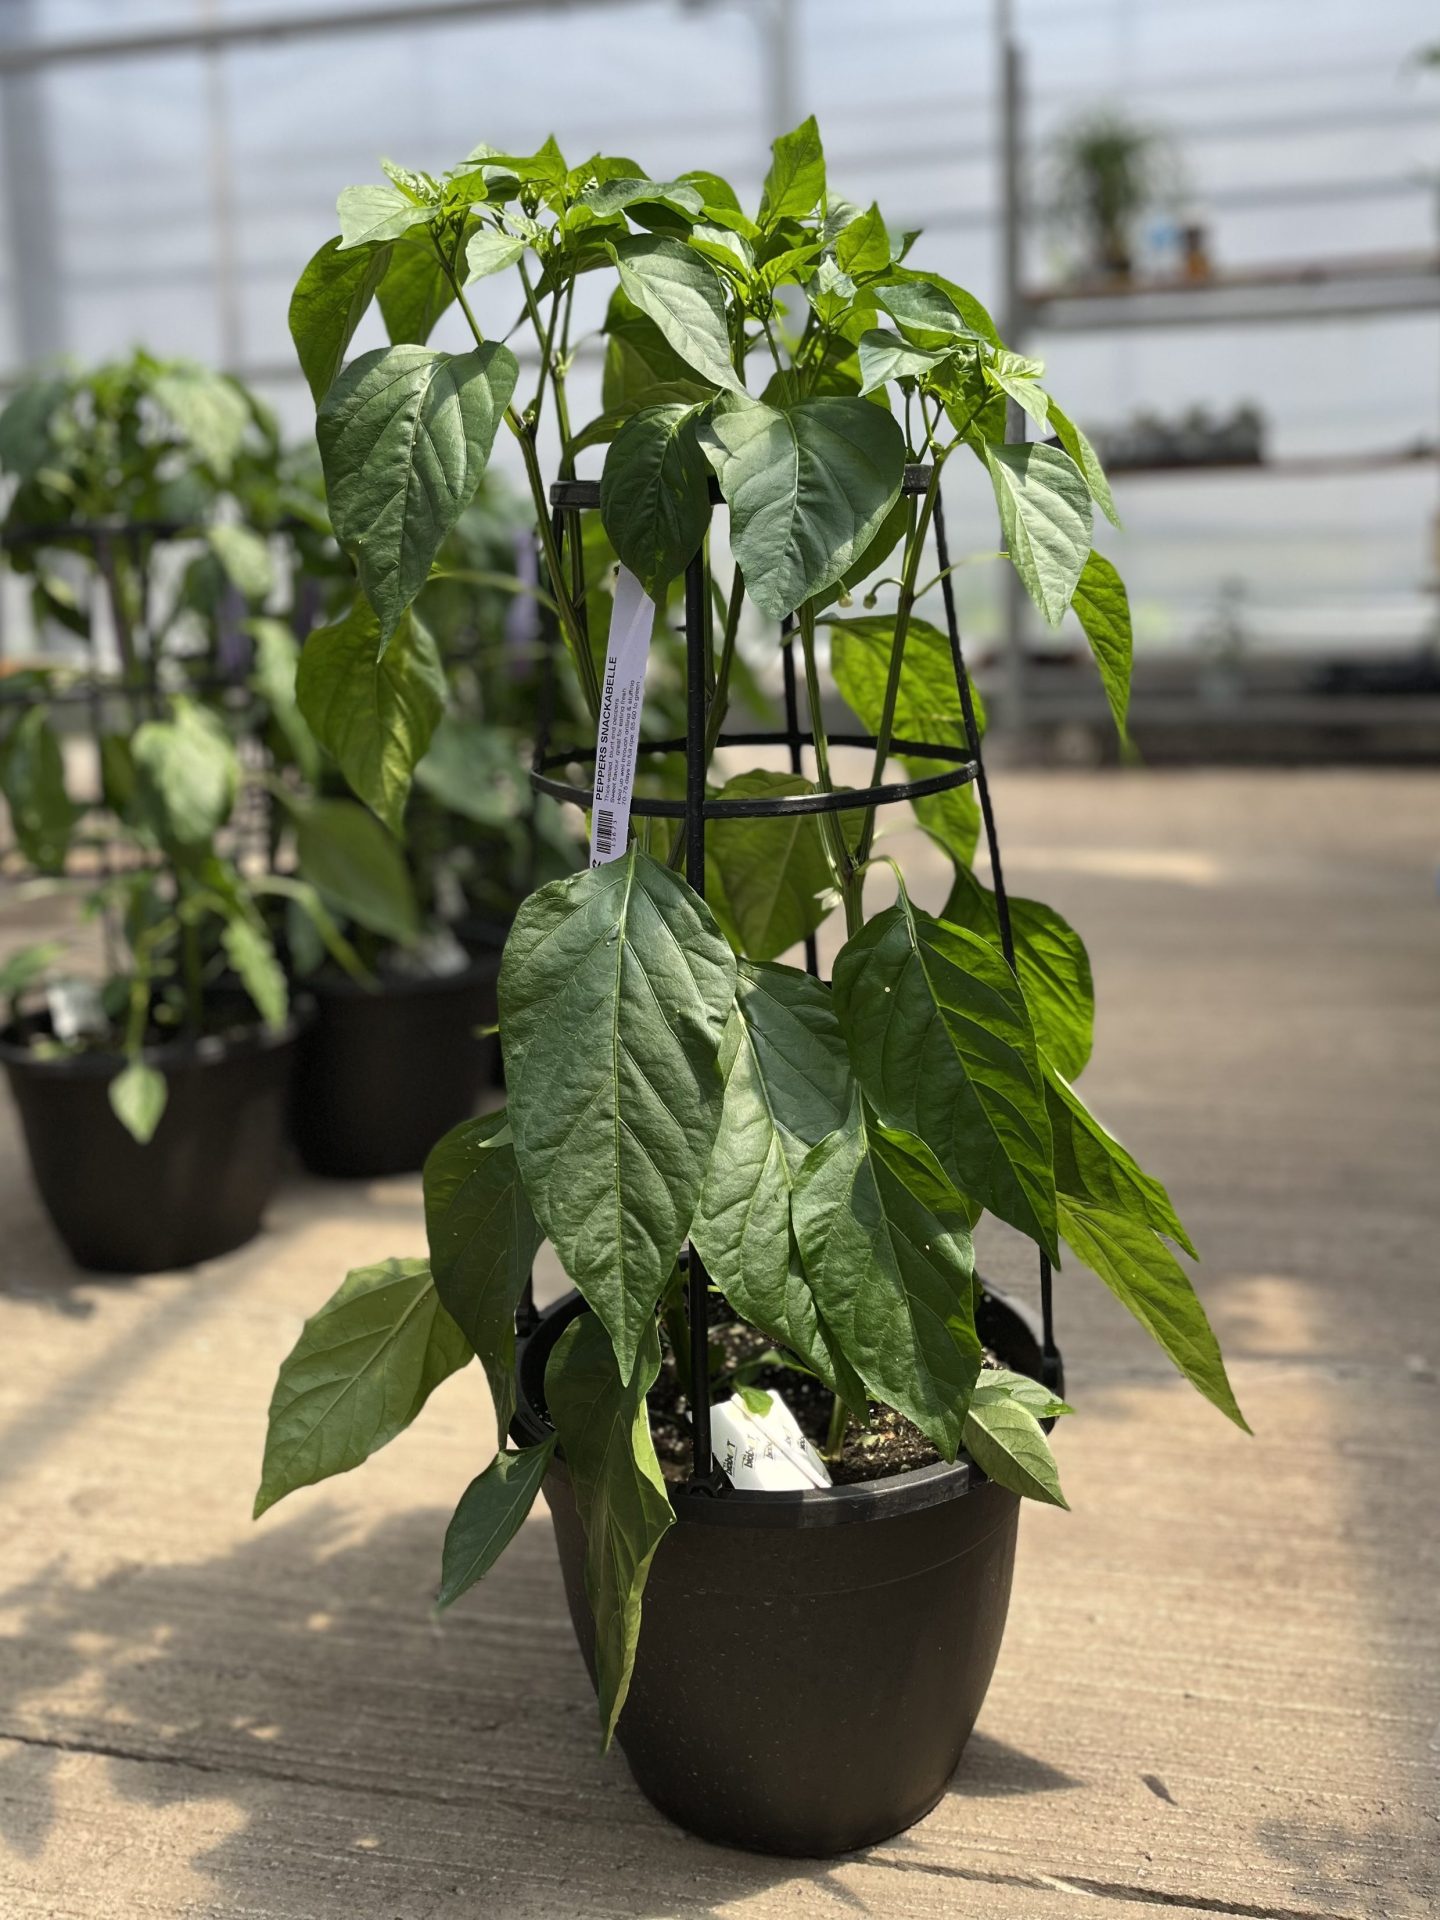
Sweet Snackabelle, Candycane Chocolate Cherry or Red, Mocha Swirl and Fresh Bites peppers.
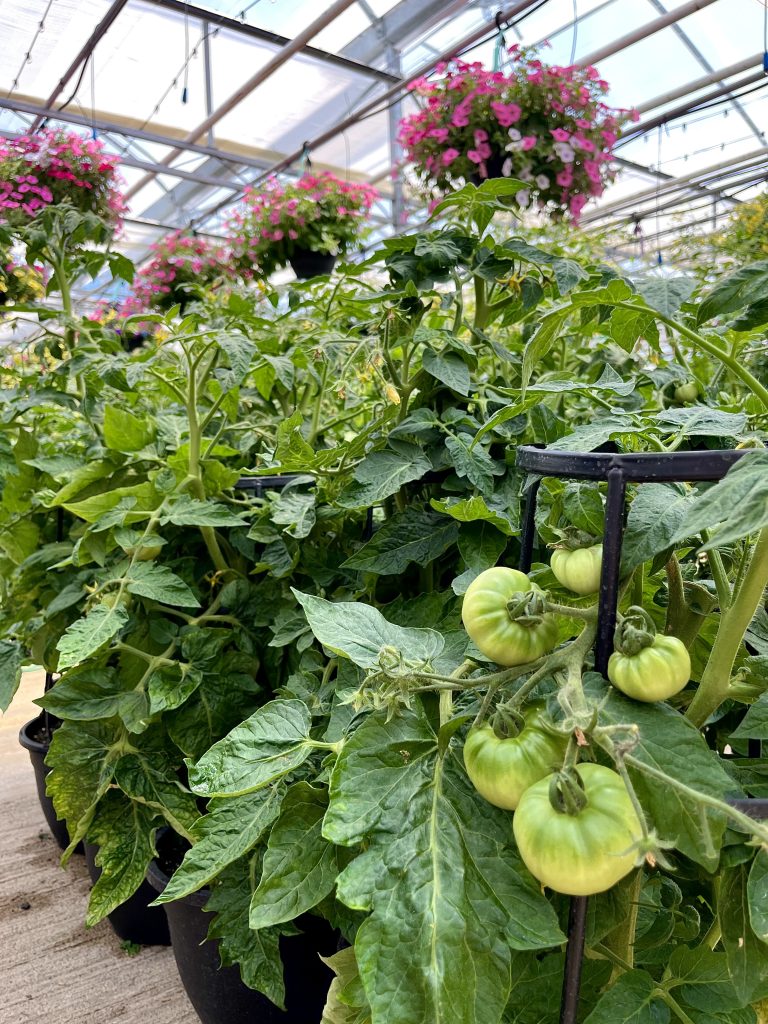
Little Sicily, Patio Hybrid, Candyland Red, Rapunzel and Tidy Treats tomatoes.
Eising Greenhouse also carries eggplants in trellised pots - a patio pot with Patio Baby eggplants is a perfect choice if ratatouille is on the menu!
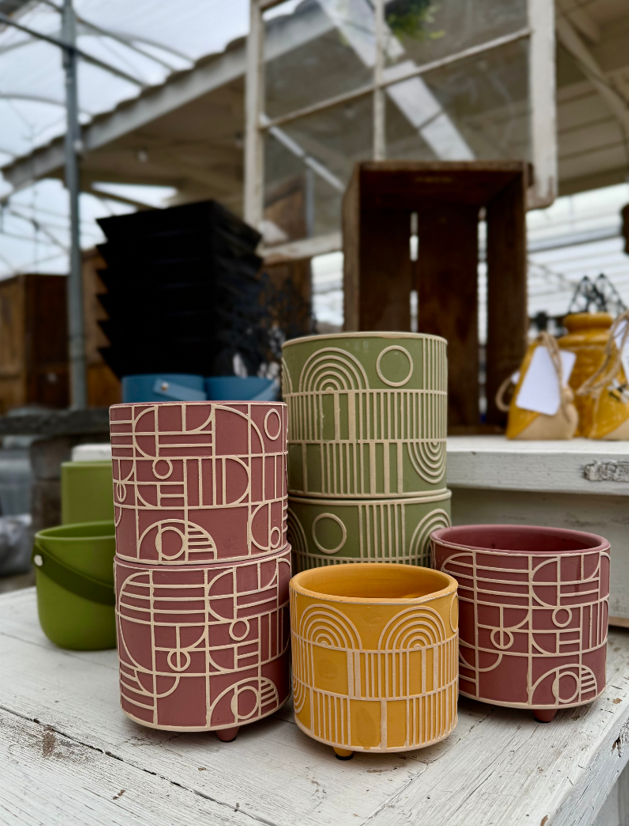
All of Eising's trellised planters would look lovely plopped into one of our decorative outdoor cover pots!
Herb Planters
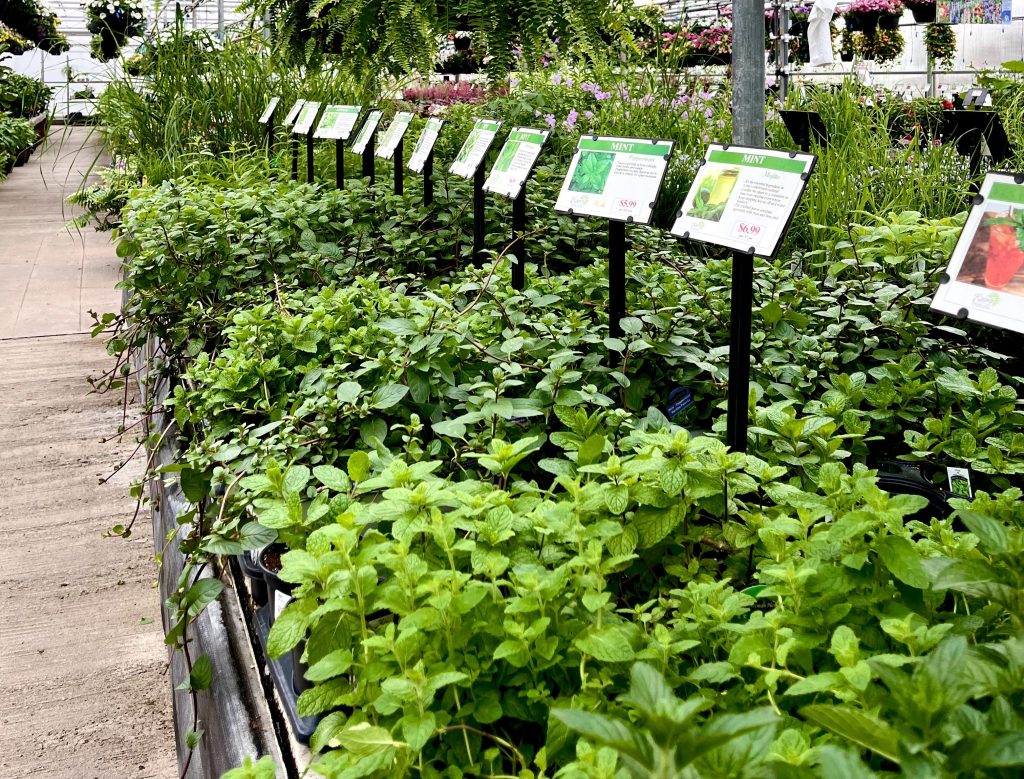
Many herbs thrive in a sunny and warm spot with well-drained soil, making a pot the perfect container for them. Herbs also make great companion plants with other vegetables and can be tucked into other pots. Most herbs also love to be harvested frequently, especially when they’re given these ideal conditions.
Lettuce Bowls
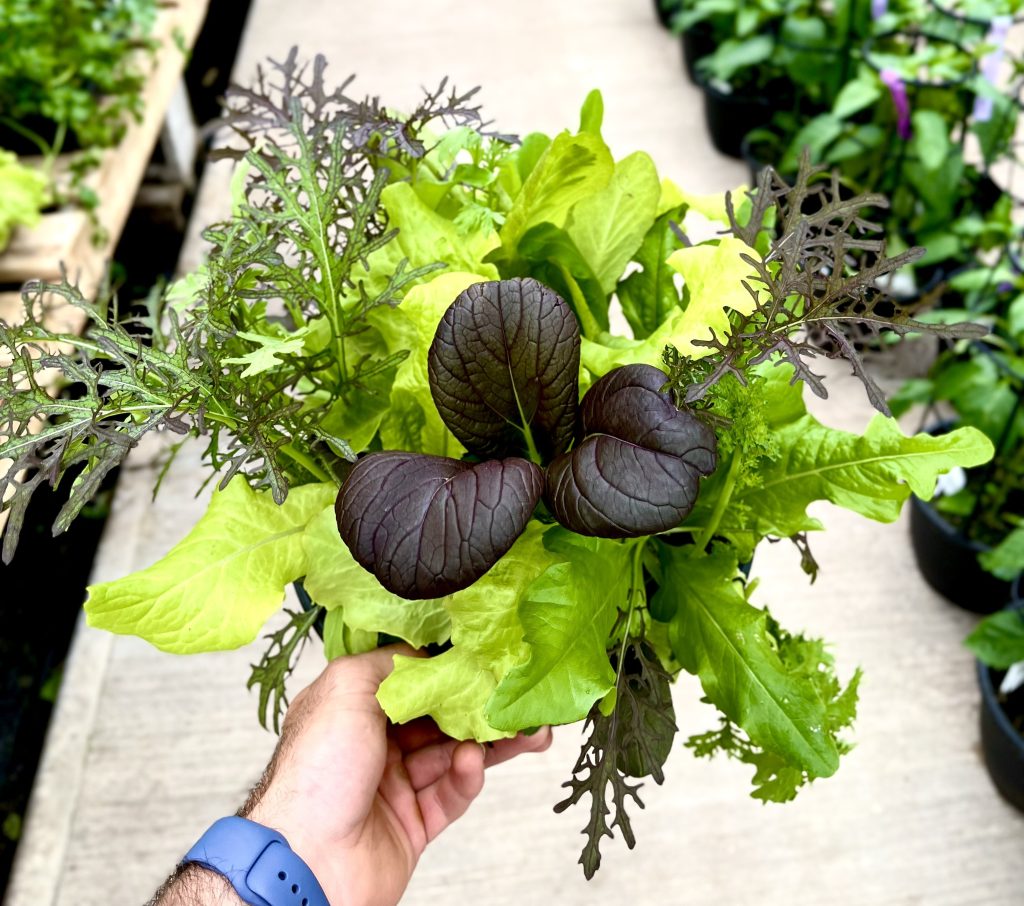
Lettuce bowls are a great way to grow greens in small spaces. Our 10” bowls are chock full of a variety of lettuces and are never boring!
👍Tip: Try the “cut and come again” method for harvesting lettuce, which prolongs the plant’s life. Simply pinch off the outer, mature leaves each time you pick the lettuce and leave the centre of the plant to keep growing.
Hanging Baskets
If there’s a spot to hang a basket or place a shepherd’s hook, you will want to grow one of the edible options we offer.

Topsy Tom tomatoes.
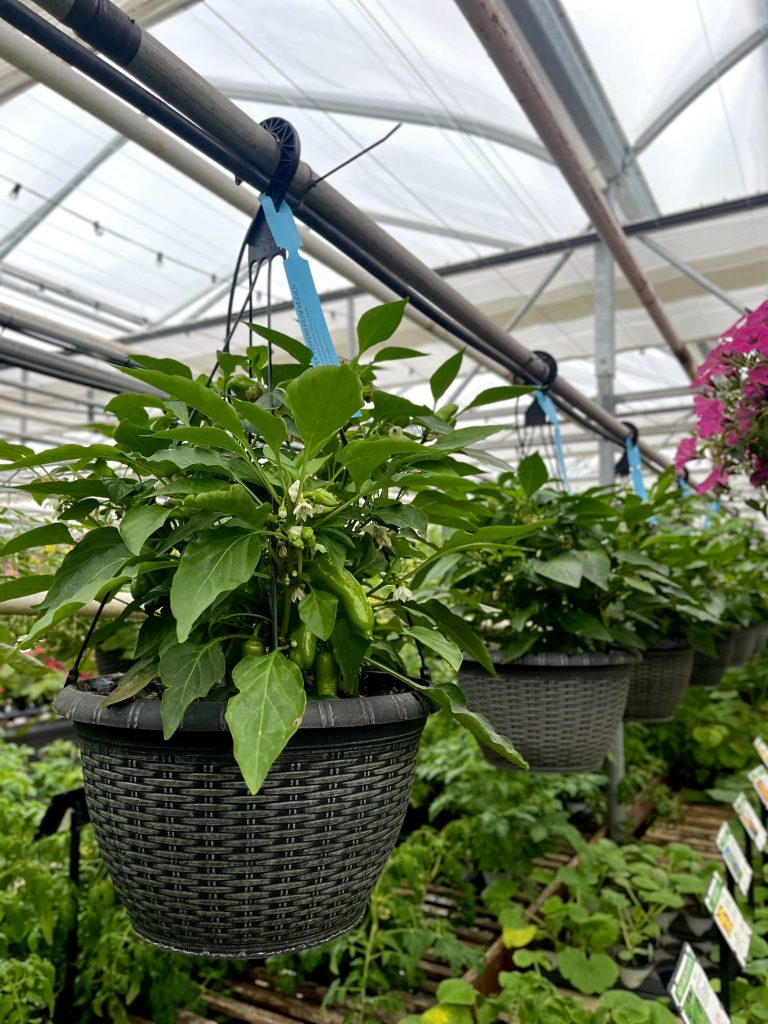
Pot-a-Peno and Peppers From Heaven peppers.
Tomatoes, peppers, and strawberries are all available in hanging baskets. Our deliciously sweet everbearing strawberries are also available in 4.5" pots and bareroot, which are great options for window boxes.
👍Tip: Pick strawberries as they ripen to encourage your plants to produce more. Also, remove runners as they grow to allow your plants to send energy into growing fruit instead of bigger plants. Painting rocks to look like strawberries is said to deter birds from feasting on ripe berries.
Citrus and Figs
Consider growing a beautiful and fragrant lemon, orange, fig or grapefruit tree in a patio pot. Just keep in mind that it will need to come indoors in the fall.
Container Plant Care
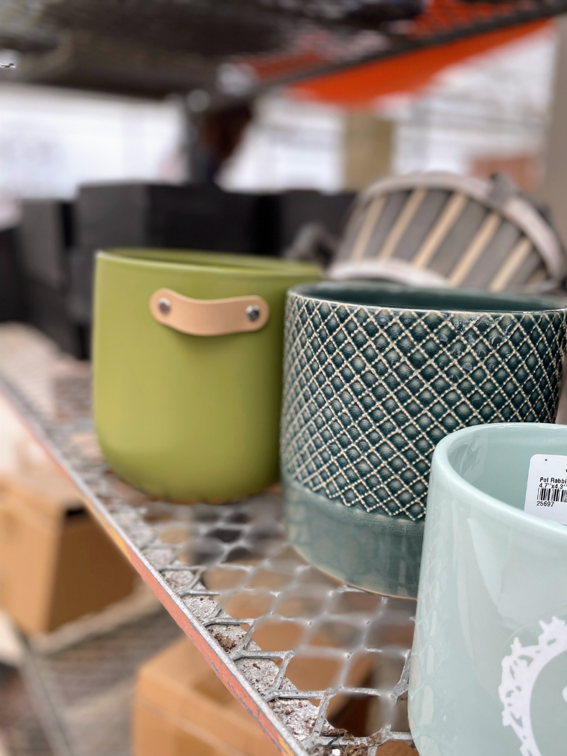
Whether you’re growing edible plants in the garden, a pot or a hanging basket, don’t forget to give them the care they need to maximize productivity:
- Water regularly, deeply and in the heat of the summer, frequently. Watering early in the morning is ideal. Pour water on the soil, not the foliage to prevent diseases like powdery mildew.
- Feed your vegetables and fruits throughout the growing season with fertilizer or compost.
- Remove dead foliage and prune plants as needed. Especially herbs.
Once you start foodscaping by including vegetables with your flowers and ornamental plants we’re sure you’ll want to keep looking for innovative ways to grow your own food! Who knows, maybe even pumpkins by the front porch!
November. It’s not quite winter, but pumpkin season is officially over. After you’ve put away the Fall decorations and cooked your pumpkin, it’s time to head outdoors to green up your decor again!
This is the perfect time to drop by Eisings to gather fresh greenery and decorations that are weather-resistant and hardy for your outdoor urns. Perfect because it’s that in-between time of year when autumn’s splendour starts to fade and temperatures begin to drop.
You can purchase urns that are already artistically filled with beautiful greenery and decorations, or you can find the supplies you need to fill an urn or pot you already have. Whether embellishing a premade urn or creating your own, here are some handy tips to help create a dramatic display.
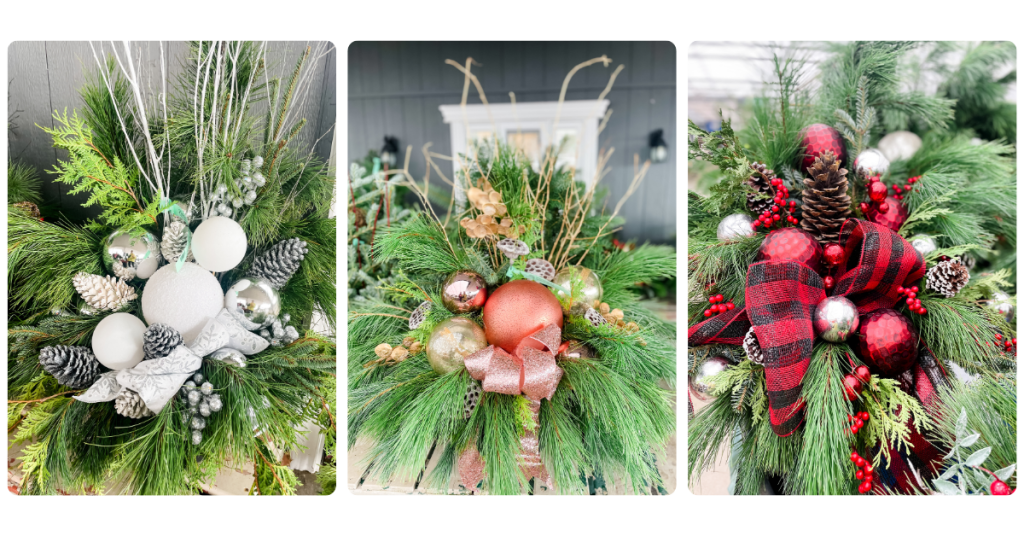
“Planting” Medium
If you have had annuals or perennials in outdoor planters, don’t empty the soil - reuse it for your winter greenery! You may need a bag of soil to top it up, or ideally, you can use blocks of floral foam which can be purchased from our shop. These foam blocks can be nestled into the top of the soil and secured by crisscrossing a few pieces of tape across the top of the pot. If you’re starting with a fresh urn, find a pot that fits inside it and fill it with your planting medium. Soil and floral foam retain moisture for your fresh greens, and they also hold the plant material in place.
A Little Inspiration
Find some pictures online, or draw inspiration from the decorated planters at Eisings. Having a picture to work from will help you determine the supplies that you’ll need and how to arrange the items in your urn.
Gather Greens
Evergreen boughs will keep your planter looking fresh and green. Spruce, fir, pine and cedar branches will hold up well and retain their shape and colour throughout the holiday season.
Focal Points and Accents
Birch branches, curly willow, grapevine decorations, and dogwood branches all provide upright focal points with height in your planter.
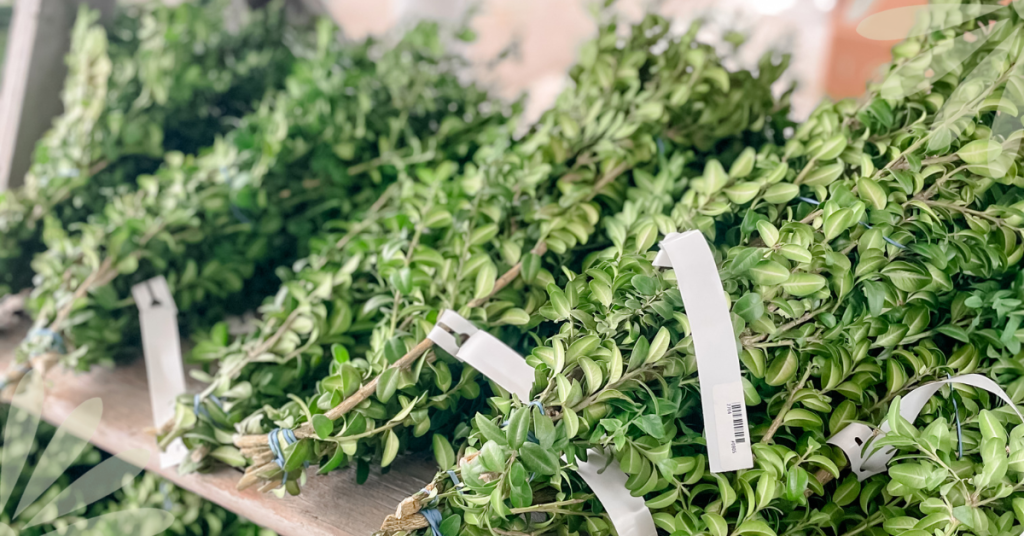
Magnolia leaves, boxwood, inkberry and holly branches add texture and interest. Use pine cones, rose hips, faux berries, moss balls, seed pods, ornaments, and bows for some great final touches.
Adding lights will make the planter stand out and give it an ambiance that’s warm and inviting.
Build It!
1. Start by placing the item that you’ve chosen as the focal point in the middle of the planter. Pick a side that will become the front of the planter, and add everything else while you’re facing that side.
This is a good time to add battery-operated LED lights to upright posts and branches or insert a solar lantern.
2. Surround your focal point with evergreens by layering different boughs like cedar and pine, which are soft and hang down with more firm fir and spruce on top. This becomes the base or background for everything else in your planter.

3. Add accent pieces like dogwood, willow, holly and inkberry branches.
4. Embellish with decorations. This is a great way to fill in any blank spaces and draw your eyes in to focus on the details.
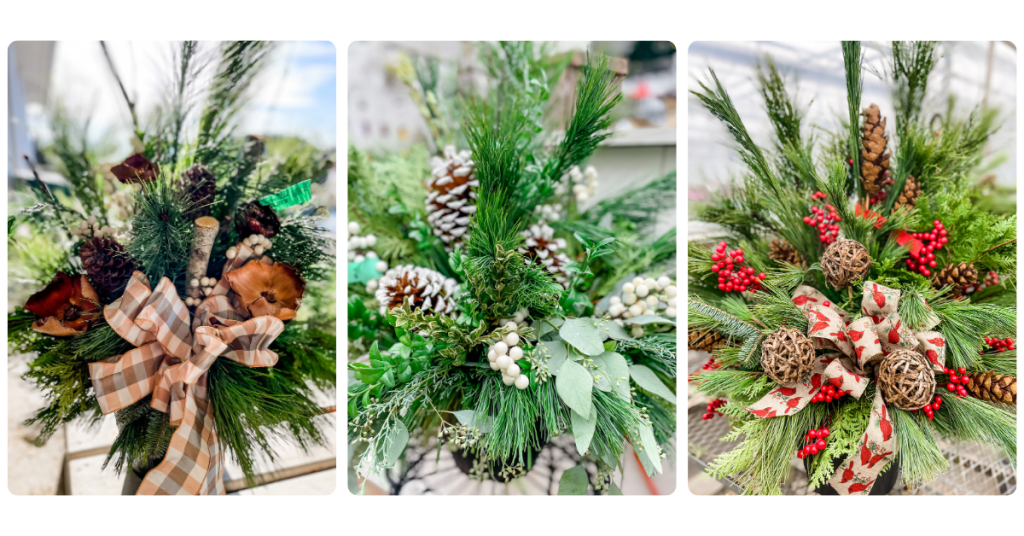
Begin by decorating with a cluster of pine cones, a bow or any decoration grouping in a lower section of the planter, then space out other decorations around the planter. Later, as the holidays draw near, you may want to add some Christmas decorations as well.
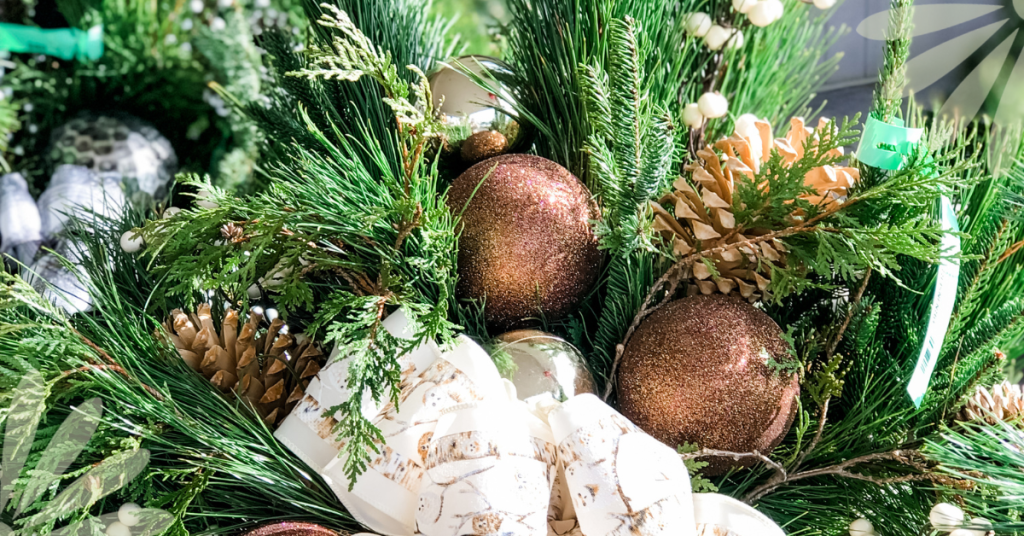
Helpful Tips:
- Find a good sturdy “poker” (a screwdriver or a strong bamboo stake) to make holes in the soil or foam blocks, allowing you to insert smaller branches and delicate seed pods or ornaments easily. You may need to secure smaller items onto sticks or some of the stronger branches in the planter by wrapping wire around them.
- Don’t forget to water your arrangement to help your greens stay fresh longer!
In winter, the blanket of snow and grey winter skies can create a somewhat monotonous landscape. That’s when greenery urns make a big difference. Blending evergreen boughs with rustic and seasonal accents and some lights creates a welcoming outdoor display for November and beyond. Just be sure to use materials that can hold up to the frost, wind and snow that will be coming!
Other Resources
https://eising.ca/how-to-decorate-with-fresh-greenery-for-christmas/
https://eising.ca/holiday-home-decor-ideas-you-can-make-yourself/
https://eising.ca/holiday-decorating-tips/
Christmas gatherings are special, even without any holiday decorations. A certain Cindy Loo Who schooled the Grinch on that! But oh how special a gathering feels when you’re surrounded by festive lights, and some fresh greenery to liven things up. It truly does make a dinner or party more magical.
While there are folks who can’t wait to unleash the holiday spirit and begin decorating, it may seem a little too overwhelming for some. We’re here to help, no matter which camp you’re in!
If decorating comes easy to you, stop by Eising Greenhouses when you’re ready for fresh greenery, planters and some new decor.
If the thought of decorating is daunting, here are five simple steps to make it easier - for Christmas, or any special holiday!
5 Simple Steps for Easy Christmas Decorating
1 - Where to decorate. Even if it seems like it’s too early, pour yourself a cup of tea, crack open a notepad and let your imagination begin to percolate. Think about the area(s) you would like to “spruce” up! Front entrance? Living room? Dining room? Think about things like where in the house your party will take place, and whether or not you want a theme or a specific colour palette. Pinterest can help if you need inspiration and we have some Holiday Home Decor Ideas You Can Make Yourself to inspire you as well.
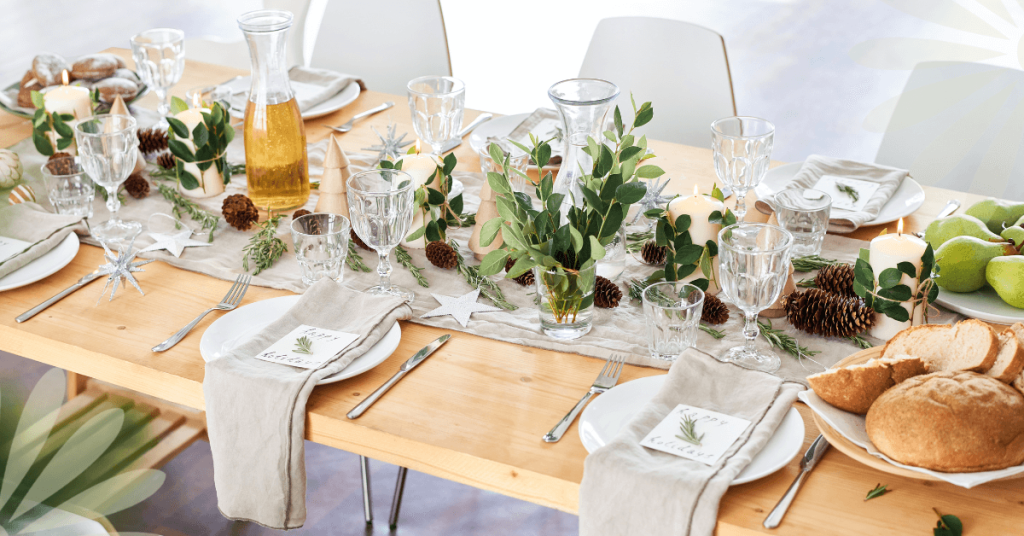
2 - Plan early. Look at your ‘Where To Decorate’ ideas and begin to create a wish list. What will you need to decorate the space(s) you’re imagining? Garland? Wreaths? Centrepieces? A tree? Once you have a wish list, make a plan for what to buy, and what to make.
3 - Schedule it. One of our family’s mottos is that if it’s not scheduled and on the calendar, it never happens. If you find that’s the case for you, use the plan you’ve made and begin to schedule dates to pick up the things you will need, and when you will make or decorate. Next, invite family and friends to join in. Why do this alone? Decorating can be a big part of holiday fun. For example, have everything ready to make or decorate while you watch your favourite holiday movies with friends or family.

4 - Declutter. Now that you have a plan and dates are set, reducing what is in the space will make decorating easier when that day comes. Move, or pack away anything that will limit space or detract from the new holiday decor you’re planning. Editing and clearing out what you have will really draw attention to the Christmas items you’re about to add!
5 - Incorporate natural elements. The holidays are the best time of year to incorporate natural decorations. It’s the only time of year we bring evergreens to the front porch and into our living room. If you’ve never used them, here is our How to Decorate with Fresh Greenery for Christmas guide.
Then, come see us at Eising Greenhouses, and pick out your fresh greenery, wreaths and decorations. You can also select from holiday plants like Amaryllis, Paperwhites and Christmas Cactus, and our arranged-for-you planters, urns and centrepieces. We can even create a custom arrangement in one of your favourite vases, urns, or that big Grinch-themed gravy boat from Aunt Martha if you leave it with us!
We hope these five tips and our holiday decorations help to make your Yule celebrations brighter, so you can sit back and enjoy the beauty of the holiday season!

You’ve selected your annual and perennial plants, chosen their location in the garden, amended the soil and everything is planted. Or close to it! Now what? How can you take care of them to maximize their potential? A bit of simple and easy maintenance will keep your plants healthy and blooming.
Once they start blooming, most annuals will flower all season long, until cold temperatures or frost put an end to their display. Many perennials will bloom for several weeks. We listed some of our favourites in this article if you missed it.
Here are some simple tips to keep your plants looking great!
Water
Newly planted annuals and perennials, even drought tolerant plants need to be watered at planting time.
Perennials will need water every week for the first two weeks and during periods without rain. Most perennials do well with a minimum of one inch of water per week.
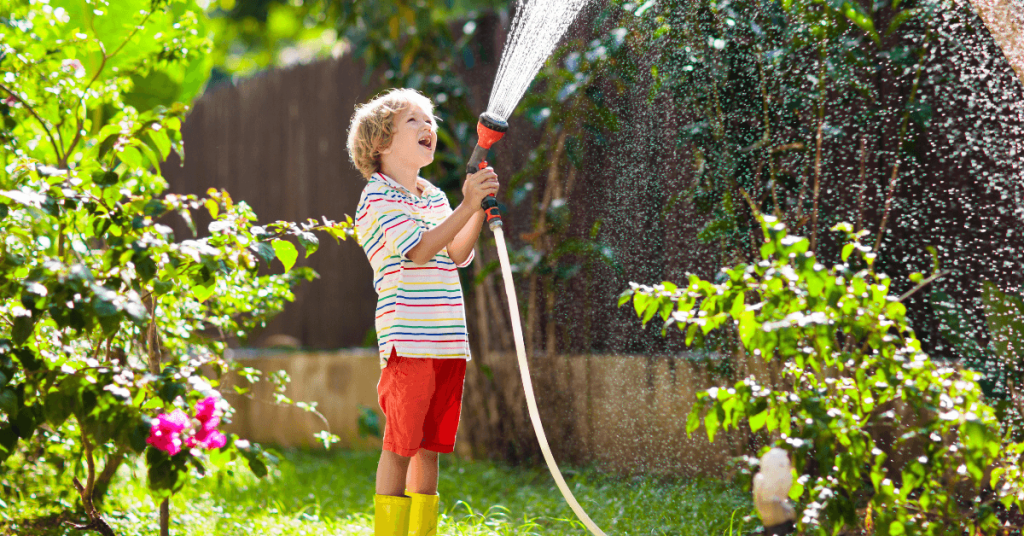
Water is absorbed through the roots, so water the soil and not the foliage. Low (pressure) and slow (volume) allows water to adequately soak into the soil instead of running all over the place! It’s also best to water in the morning rather than at night because foliage that stays wet all night is susceptible to rot and foliar diseases.
Annuals planted in containers will need to be watered more frequently than annuals in a flower bed. Hanging baskets and planters will most likely need water daily, and in the heat of summer twice a day. For hanging baskets, the water should run out of the bottom.
In planters or the garden, use your finger in the soil to test it out - if it feels dry, your plant needs water.
Mulch
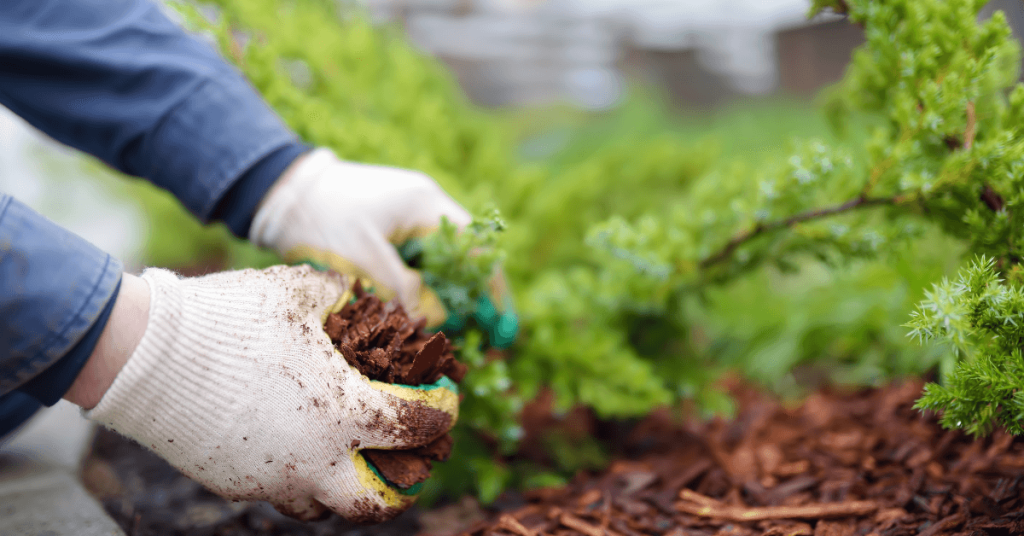
Mulch is always a very good idea to maintain soil health in the garden no matter what you’re planting!
An organic mulch will help enrich your soil, and keep it moist. A layer of at least 2 inches of mulch will also suppress weeds. Who doesn’t love that? The only caveat: don’t allow the mulch to touch your plants.
Deadhead
Deadheading or removing flowers that have finished blooming is important for many plants. Doing this allows the energy from the plant to be sent to producing new blossoms in annuals, and some perennials.
How do you do it? Take sharp, clean scissors or pruners, and cut off any dead flowers just below the base of the flower or above the first leaf. With some plants you can simply break off the spent flowers.
Bonus: your plants will look much better without dead flowers on them!
Note: some annuals don’t need deadheading. For example, Verbena, Lantana, Lobelia, Impatiens, Petunias, and Begonia.
Fertilizer
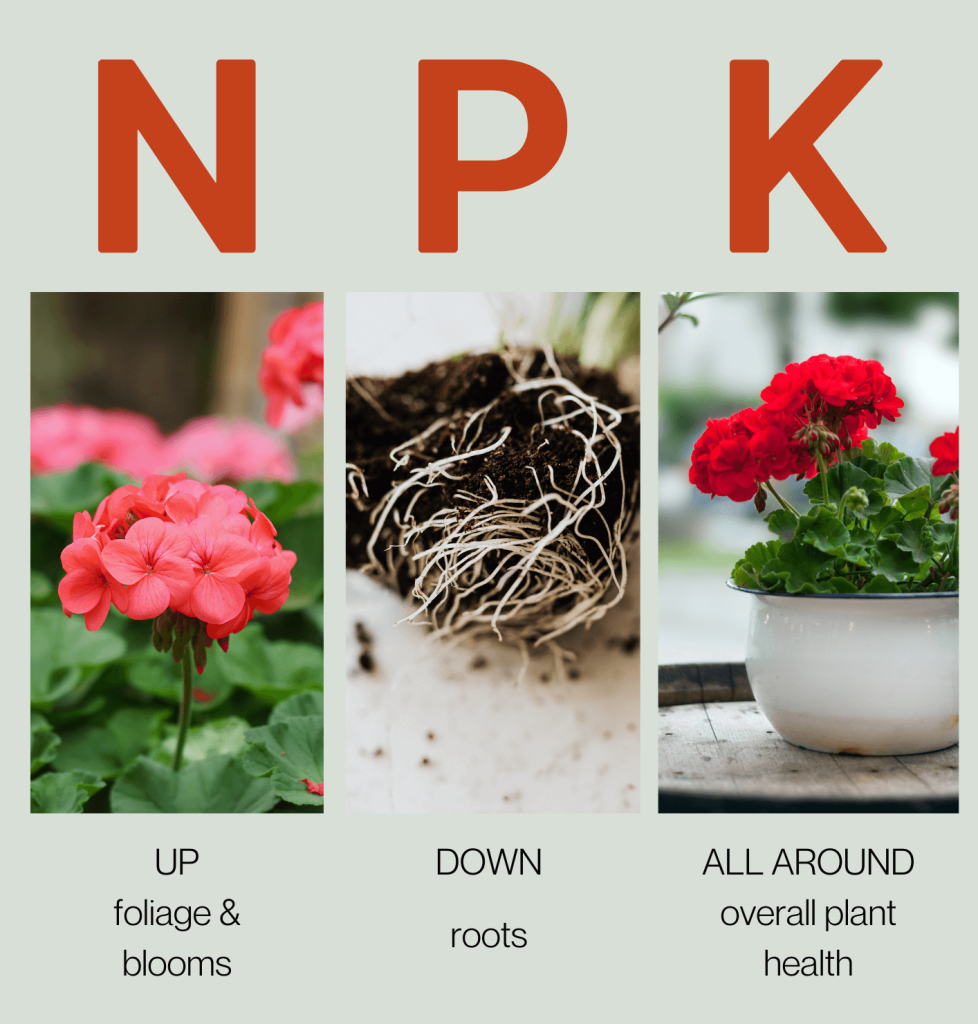
Let’s face it, fertilizer packaging can be confusing. They often feature three letters and three numbers. What does it all mean? What is N-P-K? This Eising article explains all you need to know about fertilizing and is worth the read.
However, in a nutshell, this is a really easy way to remember the function of N (nitrogen), P (phosphorous and K (potassium) when it comes to fertilizing. The numbers are the percentage of each of those nutrients that the fertilizer package contains.
N = UP - foliage and blooms
P = DOWN - roots
K = ALL AROUND - overall plant health
If you used an organic, slow-release fertilizer when you planted your annuals or perennials in the ground, you shouldn’t have to fertilize again during the season.
Most potting soil in planters or hanging baskets contains the nutrients needed to help your plants get started. An easy way to maintain nutrients throughout the season is sprinkling Shake n’ Feed Ultra Bloom 10-18-9 slow release fertilizer on top of the soil. It will slowly feed your plants for three months. For heavy feeders like petunias or plants that are hungry, looking light, and in need of an instant boost, use a water-soluble fertilizer with an NPK ratio of approximately 20-20-20 every two weeks to keep them blooming.
For perennials, trees and shrubs that need more nutrients during the year, Shake n’ Feed slow release 18-6-12 fertilizer can be applied in the spring and it will feed your plants for three months during the growing season. The same fertilizer can be used for trees, shrubs and perennials in subsequent seasons.
As a rule of thumb, it’s better to under-fertilize and watch how your plants respond. Over-fertilizing can lead to sick plants that have yellow or brown leaves. In your garden, the only way to know what your plants need is to test the soil. Otherwise you’re guessing! To test your soil in Ontario, samples can be sent to The University of Guelph.