
You’ve selected your annual and perennial plants, chosen their location in the garden, amended the soil and everything is planted. Or close to it! Now what? How can you take care of them to maximize their potential? A bit of simple and easy maintenance will keep your plants healthy and blooming.
Once they start blooming, most annuals will flower all season long, until cold temperatures or frost put an end to their display. Many perennials will bloom for several weeks. We listed some of our favourites in this article if you missed it.
Here are some simple tips to keep your plants looking great!
Water
Newly planted annuals and perennials, even drought tolerant plants need to be watered at planting time.
Perennials will need water every week for the first two weeks and during periods without rain. Most perennials do well with a minimum of one inch of water per week.
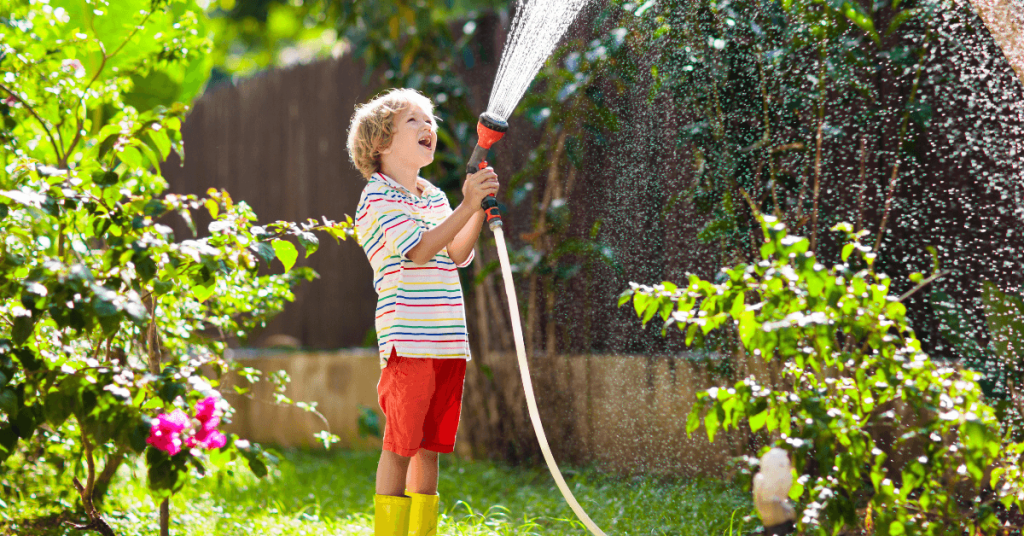
Water is absorbed through the roots, so water the soil and not the foliage. Low (pressure) and slow (volume) allows water to adequately soak into the soil instead of running all over the place! It’s also best to water in the morning rather than at night because foliage that stays wet all night is susceptible to rot and foliar diseases.
Annuals planted in containers will need to be watered more frequently than annuals in a flower bed. Hanging baskets and planters will most likely need water daily, and in the heat of summer twice a day. For hanging baskets, the water should run out of the bottom.
In planters or the garden, use your finger in the soil to test it out - if it feels dry, your plant needs water.
Mulch
Mulch is always a very good idea to maintain soil health in the garden no matter what you’re planting!
An organic mulch will help enrich your soil, and keep it moist. A layer of at least 2 inches of mulch will also suppress weeds. Who doesn’t love that? The only caveat: don’t allow the mulch to touch your plants.
Deadhead
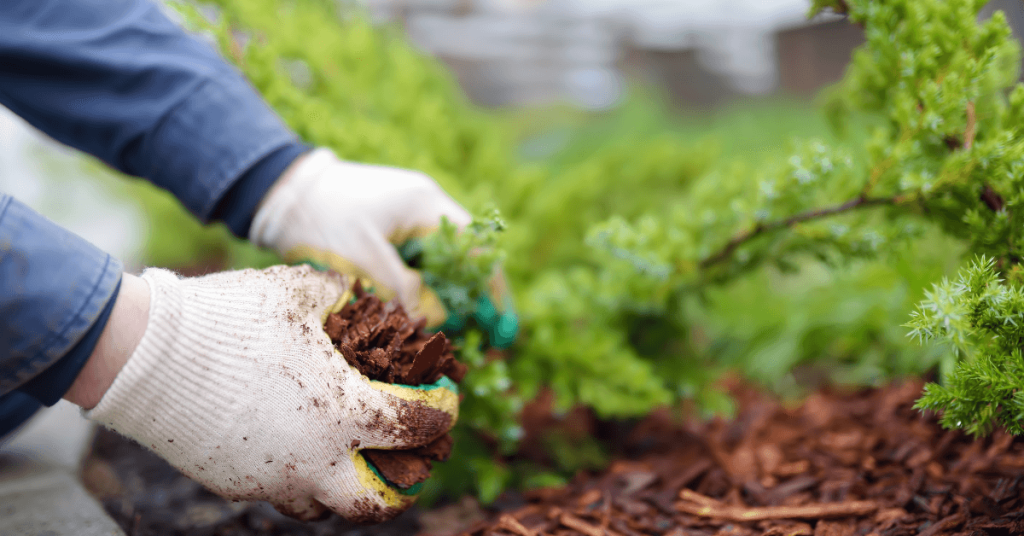
Deadheading or removing flowers that have finished blooming is important for many plants. Doing this allows the energy from the plant to be sent to producing new blossoms in annuals, and some perennials.
How do you do it? Take sharp, clean scissors or pruners, and cut off any dead flowers just below the base of the flower or above the first leaf. With some plants you can simply break off the spent flowers.
Bonus: your plants will look much better without dead flowers on them!
Note: some annuals don’t need deadheading. For example, Verbena, Lantana, Lobelia, Impatiens, Petunias, and Begonia.
Fertilizer
Let’s face it, fertilizer packaging can be confusing. They often feature three letters and three numbers. What does it all mean? What is N-P-K? This Eising article explains all you need to know about fertilizing and is worth the read.
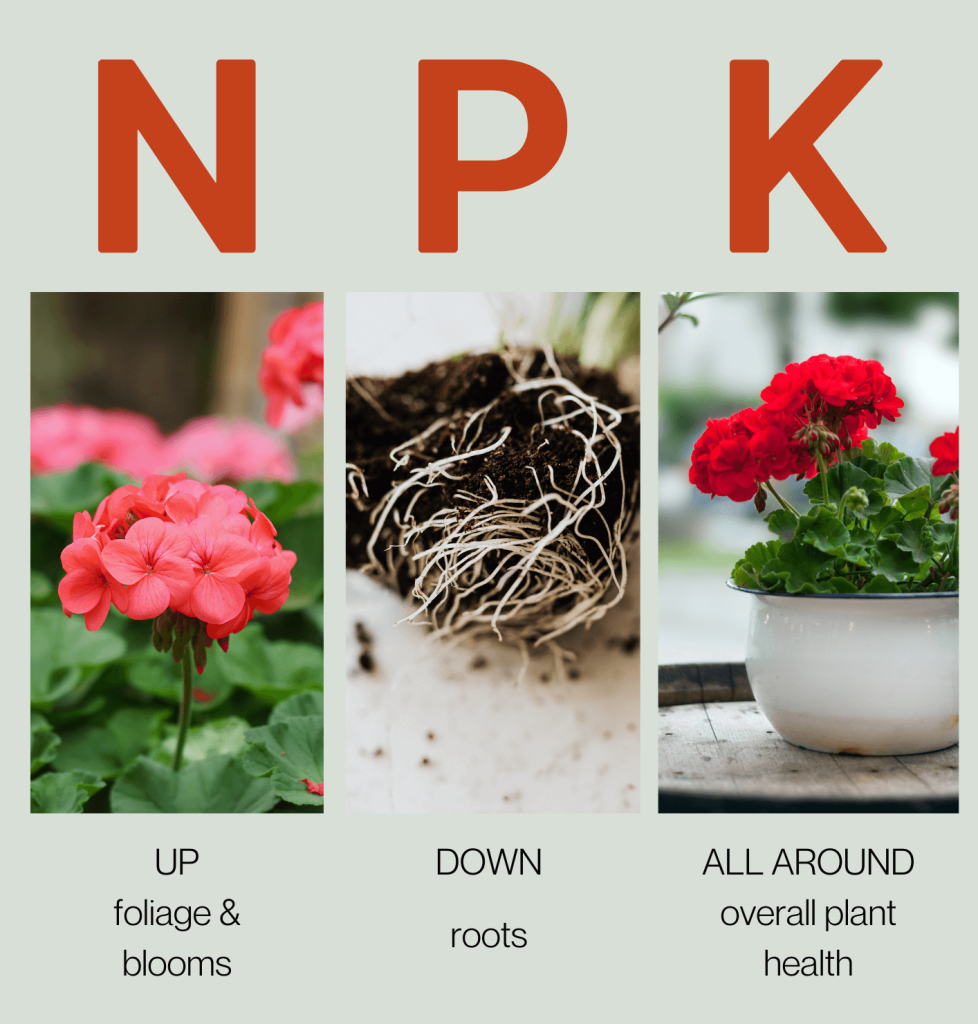
However, in a nutshell, this is a really easy way to remember the function of N (nitrogen), P (phosphorous and K (potassium) when it comes to fertilizing. The numbers are the percentage of each of those nutrients that the fertilizer package contains.
N = UP - foliage and blooms
P = DOWN - roots
K = ALL AROUND - overall plant health
If you used an organic, slow-release fertilizer when you planted your annuals or perennials in the ground, you shouldn’t have to fertilize again during the season.
Most potting soil in planters or hanging baskets contains the nutrients needed to help your plants get started. An easy way to maintain nutrients throughout the season is sprinkling Shake n’ Feed Ultra Bloom 10-18-9 slow release fertilizer on top of the soil. It will slowly feed your plants for three months. For heavy feeders like petunias or plants that are hungry, looking light, and in need of an instant boost, use a water-soluble fertilizer with an NPK ratio of approximately 20-20-20 every two weeks to keep them blooming.
For perennials, trees and shrubs that need more nutrients during the year, Shake n’ Feed slow release 18-6-12 fertilizer can be applied in the spring and it will feed your plants for three months during the growing season. The same fertilizer can be used for trees, shrubs and perennials in subsequent seasons.
As a rule of thumb, it’s better to under-fertilize and watch how your plants respond. Over-fertilizing can lead to sick plants that have yellow or brown leaves. In your garden, the only way to know what your plants need is to test the soil. Otherwise you’re guessing! To test your soil in Ontario, samples can be sent to The University of Guelph.
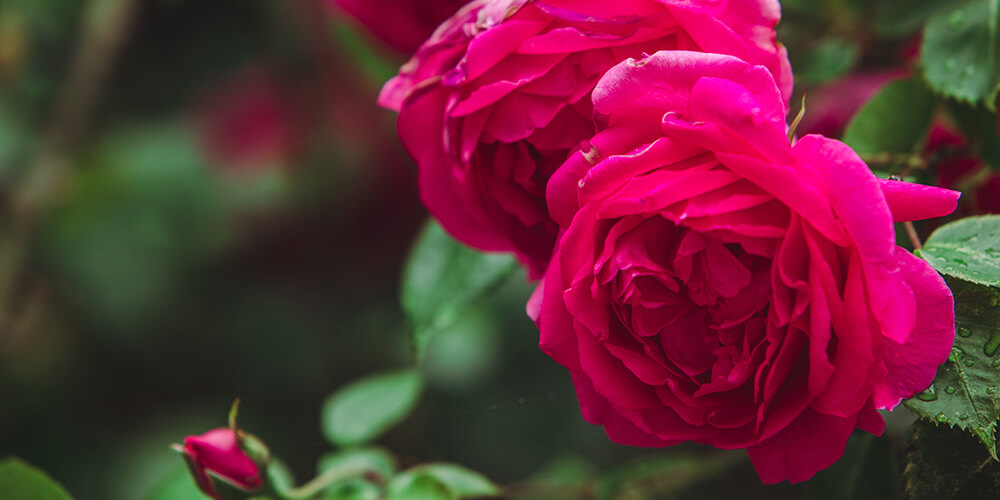
We tend to get a lot of questions about rose care, and while roses do require more maintenance than other common shrubs, they’re by no means difficult to look after. A little bit of regular upkeep leads to some pretty impressive results, so if you’re a gardening novice, it’s definitely a worthwhile project. Here’s how you can grow and care for roses in Simcoe, Ontario.
Planting Roses In Southern Ontario
Depending on the variety you choose, you can use roses for border plants, garden bed accents, climbing plants to train over arbours and patio lattice, or as container plants. Whatever location or growing medium you select, just ensure it’s suited to the size and growth habit of your chosen rose variety, since there are so many different kinds to choose from. That being said, almost all roses will need at least 6 hours of direct sun every day, so make sure your chosen location has plenty of light.

The best soil for roses has excellent drainage and high nutrients, to set your rose bushes off to a good start, you’ll want to loosen up the soil thoroughly. Ideally, you’ll want sandier, loamy soil with a lot of compost mixed in.
If you’ve purchased a rose bush with bare roots, you’ll want to soak the root ball in water for up to 24 hours before planting. If it’s a potted rose, you won’t have to worry about that step. Plant your roses about 1.5–2 feet deep to fit their large root system, then fill the hole back up with the soil, compost and bone meal mix. Mound it up slightly around the base of the plant.
How Often Should I Water Roses?
Generally, roses need about 1-3 inches of water per week. The thing is, roses are pretty susceptible to mildew and other fungal diseases if they get soggy and don’t receive much air circulation. That means you’ll want to avoid getting the leaves wet whenever possible and stick to watering the soil directly. The easiest way to do this is with a trickle hose set up near the base of the plant. Just turn it on and leave it for a while, so it thoroughly saturates the ground.
If we experience a lot of rain in a short period, you can skip on watering, and should check your roses regularly for any signs of bacteria or fungal growth. Remove any damaged pieces with sanitized shears, wiping the blades clean between every cut, and disposing of the damaged parts safely in the garbage, not the compost bin.
Rose Care: Mulch, Fertilizer, And More
Applying a layer of mulch on top of the soil around your roses will help to retain moisture and control weeds. Some gardeners insist that cocoa bean shells are the best mulch for roses, but we’ve found that classic bark mulch still works perfectly fine.

In spring, feed your roses with a fertilizer formulated specifically for roses. For best performance and blooms, apply the fertilizer every 2-3 weeks during the growing season. There are also special fertilizers made for transplanting, easing the transition when planting your rose. Be sure to water your rose before and after applying fertilizer as their roots are susceptible to being burnt.
Since there are so many types of roses, this means there are different times of the seasons and different styles of pruning. Use a pruning saw or hand pruners to remove any damaged branches or awkward pieces that jut out too far. If there are some densely packed areas with branches, it may help to thin them out a bit to help prevent fungal growth.
We have so many spectacular colours and varieties of roses to grow in Southern Ontario. Visit Eising to see our full collection, or check out our online store! We have citywide delivery and curbside pickup available all summer long.
If you haven’t gotten started on your summer vegetable garden yet, don’t worry—there are still plenty of veggies you can plant now for a late-season harvest! That means more fresh produce to enjoy through the fall, and with the help of our trusty freezers, many can be enjoyed well through winter and spring. You can find all kinds of seeds and starters for vegetables and fruits on our brand new webstore, so feel free to browse online and place an order for curbside pickup or citywide delivery.
What Are The Best Vegetables To Plant In Summer?
Generally speaking, vegetables that can be planted in summer are either fast-growing and love the sun, or slow-growing and tolerant of the cooler temperatures in the fall. Many garden edibles can get scorched from the hot sun if planted too early, so it’s best to delay so that they’re ready to go once the temperature is less extreme.

Late Summer Vegetables You Can Direct Seed
Many folks assume that spring is the best time for planting vegetable seeds, but every plant is different! So, if you want to start planting seeds in summer, there are more than a few good options for you to choose from. Here are the best late summer vegetables to plant in Simcoe through direct seeding:
Beans: Perhaps one of the easiest and most kid-friendly veggies to grow, beans are always a favourite. Plus, they deposit nitrogen into the soil, which helps improve soil quality.
Beets: These hearty root vegetables make excellent comfort food, and their ultra-vibrant colour indicates super-high levels of vitamins, nutrients and antioxidants. Your beets will be ready for harvest around September or October.
Broccoli: Even the pickiest of eaters aren’t likely to turn down a delicious bowl of broccoli cheese soup, or a Chinese beef and broccoli stir fry. Sow broccoli seeds in June for a harvest that’s ready right at the start of back-to-school season.
Carrots: Before you sow your carrot seeds, make sure your soil is super loose and free of rocks and compacted areas. If it’s all clumped together, the roots won’t grow long and pointy, so you’ll be left with stumpy, misshapen carrots.

Leafy Greens: Lettuce, kale and spinach can all be sown directly into the soil in June. They don’t take too long to develop, and they thrive in cooler temperatures, so you can even get away with planting a second round in early autumn!
Parsnips: Slow-growing parsnips need around four months to mature, but there’s no need to rush! Parsnips taste best if you harvest them after the weather has turned chilly. If we get hit with a few frosty nights in autumn, this will actually help them! Just make sure you pull them up before the ground freezes.
Potatoes: While not technically seeds, you can put potato tubers in the soil in June to enjoy an autumn harvest. Wait for the plants to mature, turn brown, and wither, then leave them in the soil for another three weeks before pulling them up! Store them in a cool, dry spot, and don’t wash them before storing—this will cause them to rot.
The Best Starter Plants For Late Summer Crops
The waiting game can get a little long when you directly seed certain plants, so sometimes it’s better to get a starter plant to transplant into containers or your garden bed. Here are some excellent starters to pick up later in the season:

Zucchini: “Zoodles,” or spiralized zucchini noodles, are quickly gaining popularity as a delicious alternative to carb-heavy spaghetti. If (like many of us) you’ve been kinda overdoing it on the pasta lately, you’ll definitely enjoy having this tasty squash in your garden.
Celery: This ultra-healthy, crunchy veggie adds some great crunch to tuna salad, chilli, and stews, but it takes a pretty long time to develop from seed, so you may as well skip ahead and opt for a starter.
Cucumbers: Technically, you can either transplant or direct seed cucumbers in June, but getting a starter will ensure you get to enjoy your harvest earlier in the season!
Peppers: With their thin, delicate skins, peppers aren’t too tolerant of chilly temperatures and will taste much better if they get lots of sunlight. Planting a starter in June will ensure these sun-loving veggies get peak sunshine in July and August, right when it counts.
Tomatoes: We especially love growing small tomatoes in hanging baskets! The little fruits look like strings of colourful porch lights changing from green, to yellow, to red!
Fresh garden produce can be enjoyed well into autumn, and even early winter, if you pick the right crops and time them just right. If you have any questions about late-season planting, feel free to give us a call at the shop, and we’ll be happy to help!
By now, if you've been caring diligently for your seedlings, they're likely bursting out of your starter trays or pots! You've watched them grow up, and now it's time for them to graduate into the garden. But you may be wondering how to take the next steps. How do I transplant, and when? Answering these questions is key to success at this pivotal moment.
Transplanting Overview
Transplant timing hinges upon our last frost date, which is May 19 in Simcoe. Frost-hardy veggies can be transplanted before then, but tender plants should wait a little longer. Sometimes seedlings can outgrow their trays before their graduation time. Don't worry, that means they're growing well! The solution is simply to move them into a bigger pot.
How to Repot
Your young ones are ready for a larger home when their roots have filled their containers and their leaves are crowding out their neighbours. The new pot should be twice as large as the old one.
Begin by watering the seedlings. The damp soil will adhere to the roots and keep them from drying out. Don't tug on the stems. Instead, use a butter knife to carefully lift them from the container or squeeze them out from the base. If a few are intertwined, gently tease them apart. With a pencil or your finger, dig a hole into their new pot or plug tray. Place the seedling, firm the soil around it, and water them all once you finish. The roomier pot will give them a chance to stretch their legs before their big move.
When to Transplant into the Garden
Historic weather averages tell us when to take the next step. Often, we need to adapt to unusual weather or unique conditions each year, but here is a general guide for our climate.
April 15 - 25
Frost hardy: asparagus, broccoli, Brussels sprouts, cabbage, lettuce, onions, radishes, peas, spinach, parsnips, early potatoes.
April 25 - May 10
Semi-frost hardy: beets, carrots, cauliflower, celery, late potatoes, early sweet corn.
May 15 - 25
Semi-frost tender: snap beans, sweet corn, tomatoes.
May 25 - June 5
Frost tender: cucumbers, eggplant, melons, peppers, pumpkins, squash.
Hardening Off
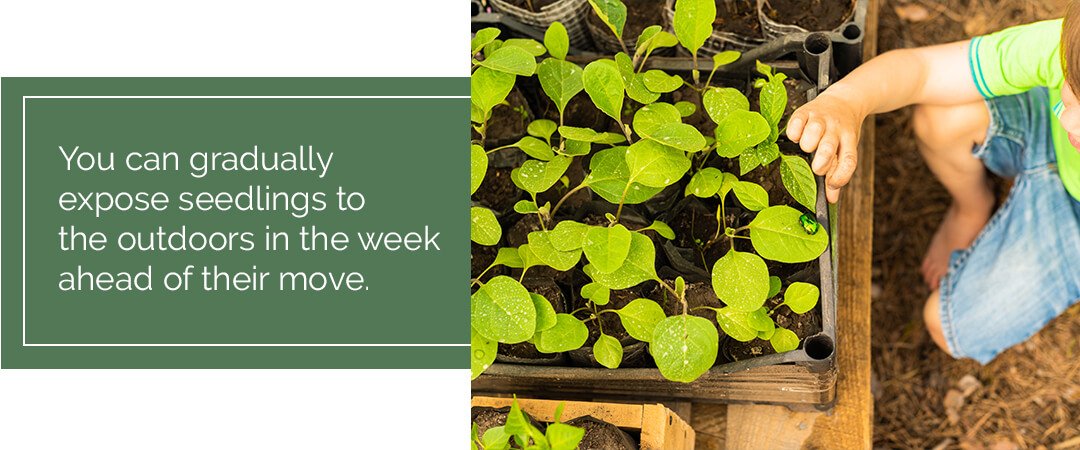
You can gradually expose seedlings to the outdoors in the week ahead of their move. While not absolutely necessary, your veggies, especially the tender crops like tomatoes, will be strengthened by the gradual transition.
Begin by setting them in a shady spot away from the wind for a few hours each day. Slowly increase their exposure to sunlight and breeze until they spend a whole day and night outside. Make sure to keep them well-watered, as their small pots can quickly desiccate. When the time comes to graduate, they'll be ready to brave the elements.
How to Transplant into the Garden
Follow these steps for transplanting success:
- First, make sure you've loosened and enriched the soil with compost or another organic fertilizer.
- Choose a warm overcast day and plant in the morning or evening.
- Water the seedlings to hydrate their roots.
- Determine the correct garden spacing in advance.
- Gently squeeze the tray around each plug to remove them. Only remove each seedling just before moving to minimize the roots' exposure to air.
- Using a trowel or your fingers, make a hole and drop the seedling into it, firming up the soil around it as you plant. Leggier seedlings can be planted a little deeper as long as you don't bury the first leaves.
- Water the newly planted area immediately after finishing.
- They will likely need to be watered daily for a few weeks afterwards. Check the soil moisture and water as needed to prevent them from drying out.

There are a few more tricks for particular plants like tomatoes and cucumbers. But in general, these are the basics for transitioning your veggies into the ground. If you haven't started your seedlings, check out our selection of starter plants in our online catalogue. If you need more advice, our garden centre would be happy to share more tips for success!
It’s always nice to take some time away during the holiday season, but it’s kind of a hassle to arrange for a house sitter simply to take care of your houseplants. So, we recommend doing some thorough holiday-proofing before you go. With the right tools and a little prep work before you head off, you should be able to leave your plants for several weeks without worrying about them drying up. Here are the basics of holiday-proofing, so you can rest assured that your precious plants will be safe and sound through your vacation.
Holiday-Proofing Your Houseplants
Is it about time to start holiday-proofing your houseplants in Simcoe? Follow these simple steps for getting them all holiday ready for while you’re away.
First, water them thoroughly. Make sure the soil is thoroughly saturated, but if your pot doesn’t have drainage holes, try not to overdo it. If your pot has drainage holes and is placed on a dish, make sure you’ve watered it enough that water begins to collect on the dish. Be sure to dump the water in the dish before you leave so it doesn’t end up getting funky.
Remove any dead plant material. When dried up plant parts remain on a plant, it will still end up directing its energy toward those limbs. Nipping off those pieces should help your plant to grow stronger and use up resources and nutrients more efficiently.
Move them away from cold drafts and direct sunlight. An icy breeze sneaking in through a frozen window could shock your plant, and a ton of sun will end up drying the soil out too quickly. To maintain a safe temperature and reduce sun exposure without depriving your plants of light, try moving them a few feet away from the window.
Turn the thermostat down a bit. Indoor plants don’t mind a cooler base temperature as opposed to being in warm air. This will also help prevent the soil moisture from evaporating too quickly.
Huddle your plants together. It’s all about retaining that moisture, and plants that are all huddled in a bunch will be much better at conserving water.

How To Water Indoor Plants While On Vacation
If you’re going to be away on a holiday for over a week, you’ll want to put together a plan to keep your plants watered while you’re gone. There are a few ways to keep your plants watered while you’re lounging on a beach on the other side of the world, so try some of these methods for self-watering.
Purchase a drip-irrigation system. These automatic watering systems slowly release water over an extended period. There are several different models and designs to choose from, ranging from high-end electronic drip systems, and more budget-friendly options like glass water globes or spikes. Evaluate the size and quantity of your plant collection and select your irrigation system accordingly.
Build a DIY irrigation system. If you’re a crafty type who enjoys saving money by going the DIY route, there are tons of tutorials online for creating your own irrigation system using everyday household materials like mason jars or wine bottles. Browse through Pinterest to see if you can find one that works for your plants.
Mimic a humid climate with a water tray. If you’ve got plants that prefer humid environments and need to be misted occasionally, this is a great way to increase the moisture in the air. Simply fill a tray with pebbles or river stones, then pour some water in. Place your potted plant on top of the tray so it can enjoy some humid tropical air while you’re out soaking in the tropical sun!

Houseplants For Frequent Flyers
If holiday travelling is common practice for you, it might be worth sticking to plants that are low-maintenance and more tolerant of dry spells. These are our favourite options for all you globetrotters out there:
- Snake plants
- ZZ plants
- Succulents
- Cacti
- Chinese evergreens
- Ponytail palms
There’s no need to go to the trouble of paying a house sitter to come by your home just to water your plants. These tricks should keep your plants well-watered while you’re away on vacation. If you need to purchase any irrigation systems for while you’re away, come visit Eising and we’ll help you pick out the right models for your plant collection. Enjoy your holiday!