Christmas Gift Buying Made Easy
By Ava Green
The Eising Holiday Gift Guide has become a popular tradition, and this year, I asked staff members to share their favourite gifts. We have some great picks to brighten anyone’s holidays: family, friends, teachers, hosts/hostesses, the cat sitter, the dog sitter - anyone you would like to wish a Merry Christmas to!
Everlasting Decorations

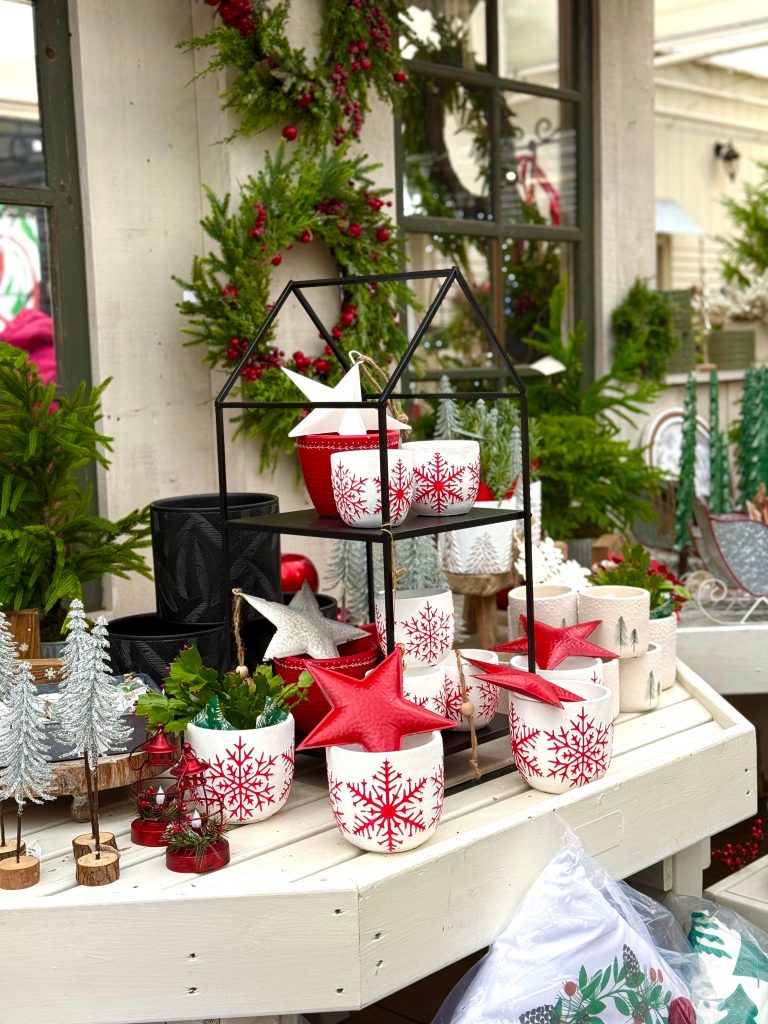

What looks good every year? Everlasting decorations! Kirsten’s favourites are natural wreaths with just a bit of an embellishment. Elegant, timeless and oh-so-festive!
An ornament from our Giving Tree is Arlene’s choice because she can gift the beautiful glass cardinal, and the proceeds go to the local toy drive. Now that’s a gift that keeps on giving!
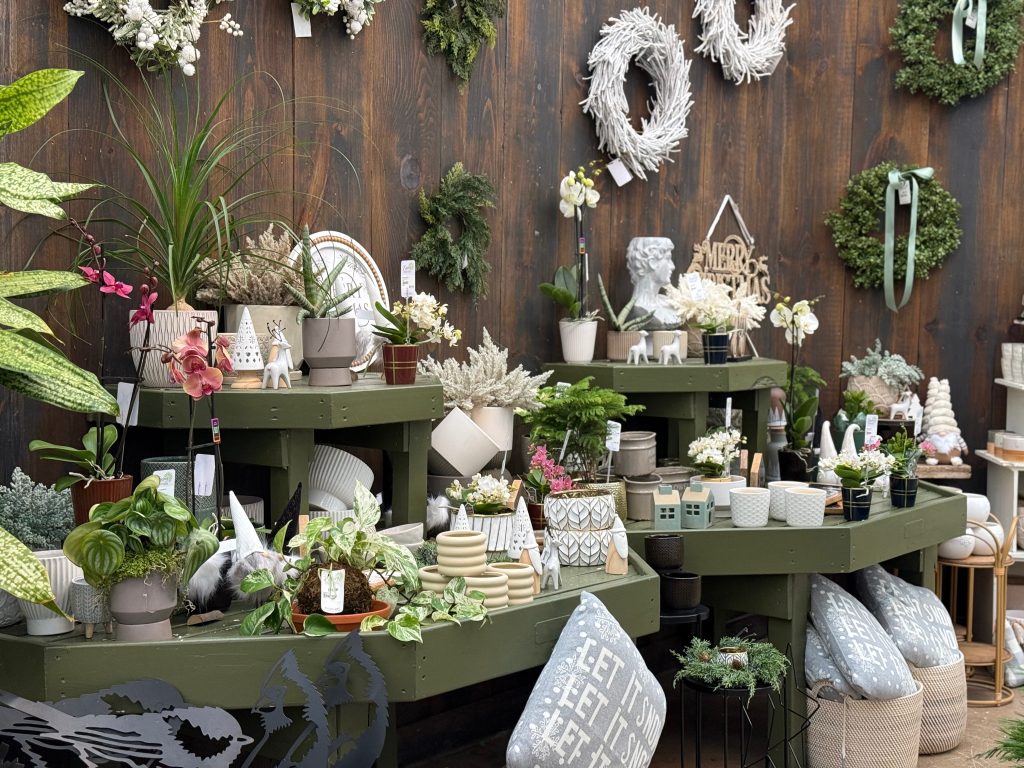
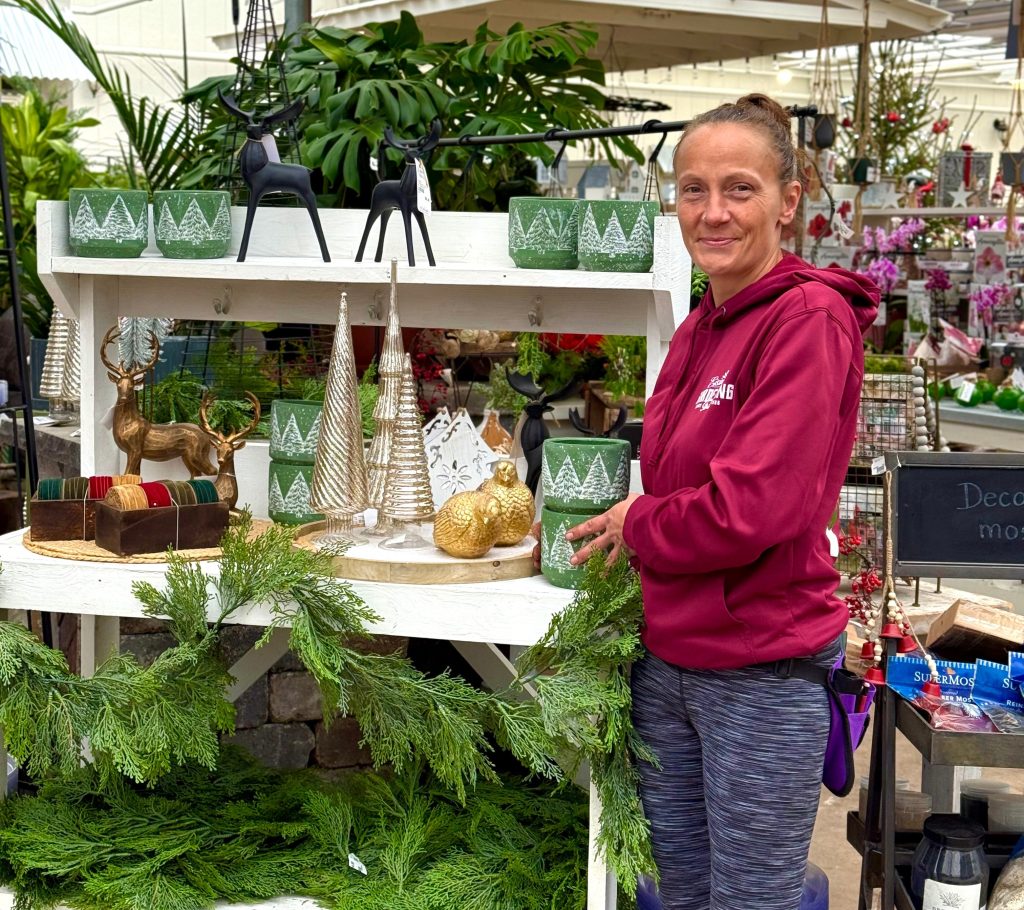
We also have lots of beautiful everlasting garlands, and Lindsey’s favourites: holiday-themed decorative containers to choose from. These festive plant pots transform any houseplant into a Christmasy gift or are perfect for holding other treasures if you’re creating a gift basket.
Fresh Greenery
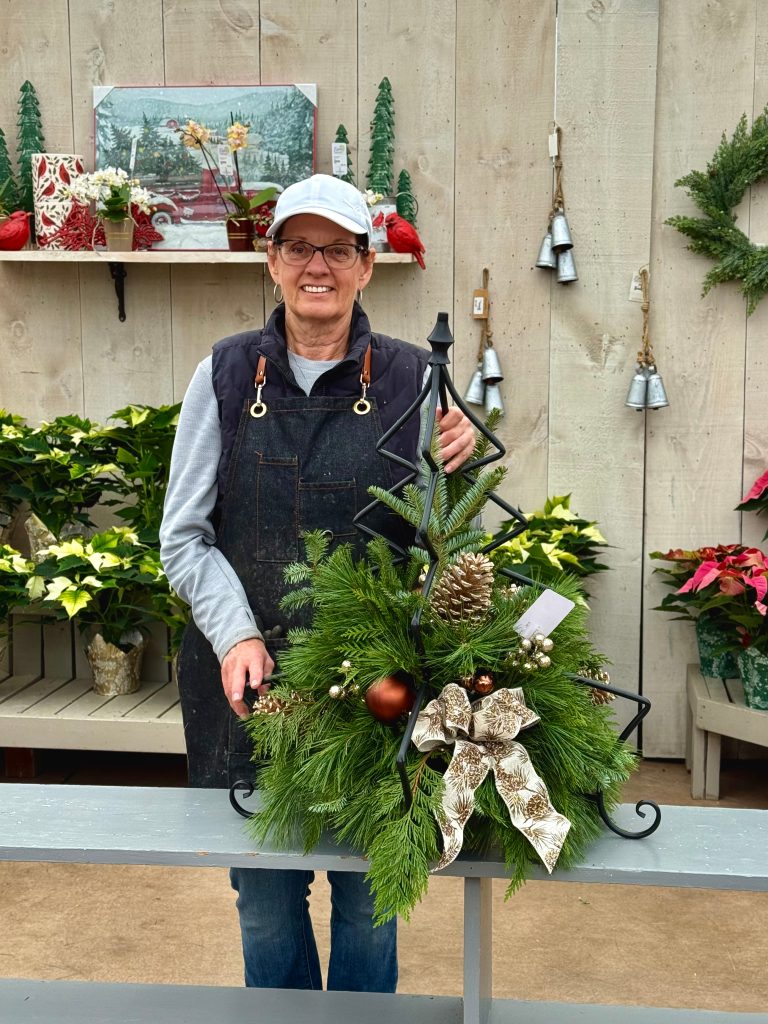
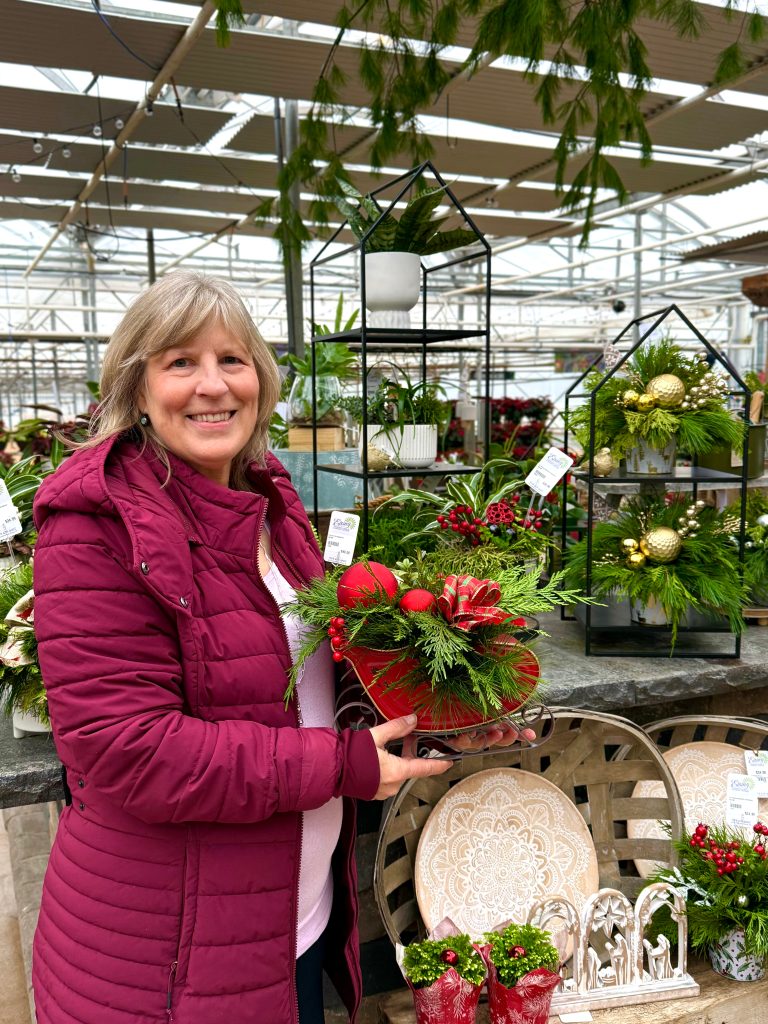

There’s an entire team of decorators, no…creators, no….elves, no…very talented staff members who spend the holiday season making the most beautiful urns, planters, and fresh greenery centrepieces. Donna and I are holding two of our favourites. Mary stopped making festive urns just long enough for this photo to be taken! She really pours her heart into it.
Tropicals, Holiday Plants, and Bulbs
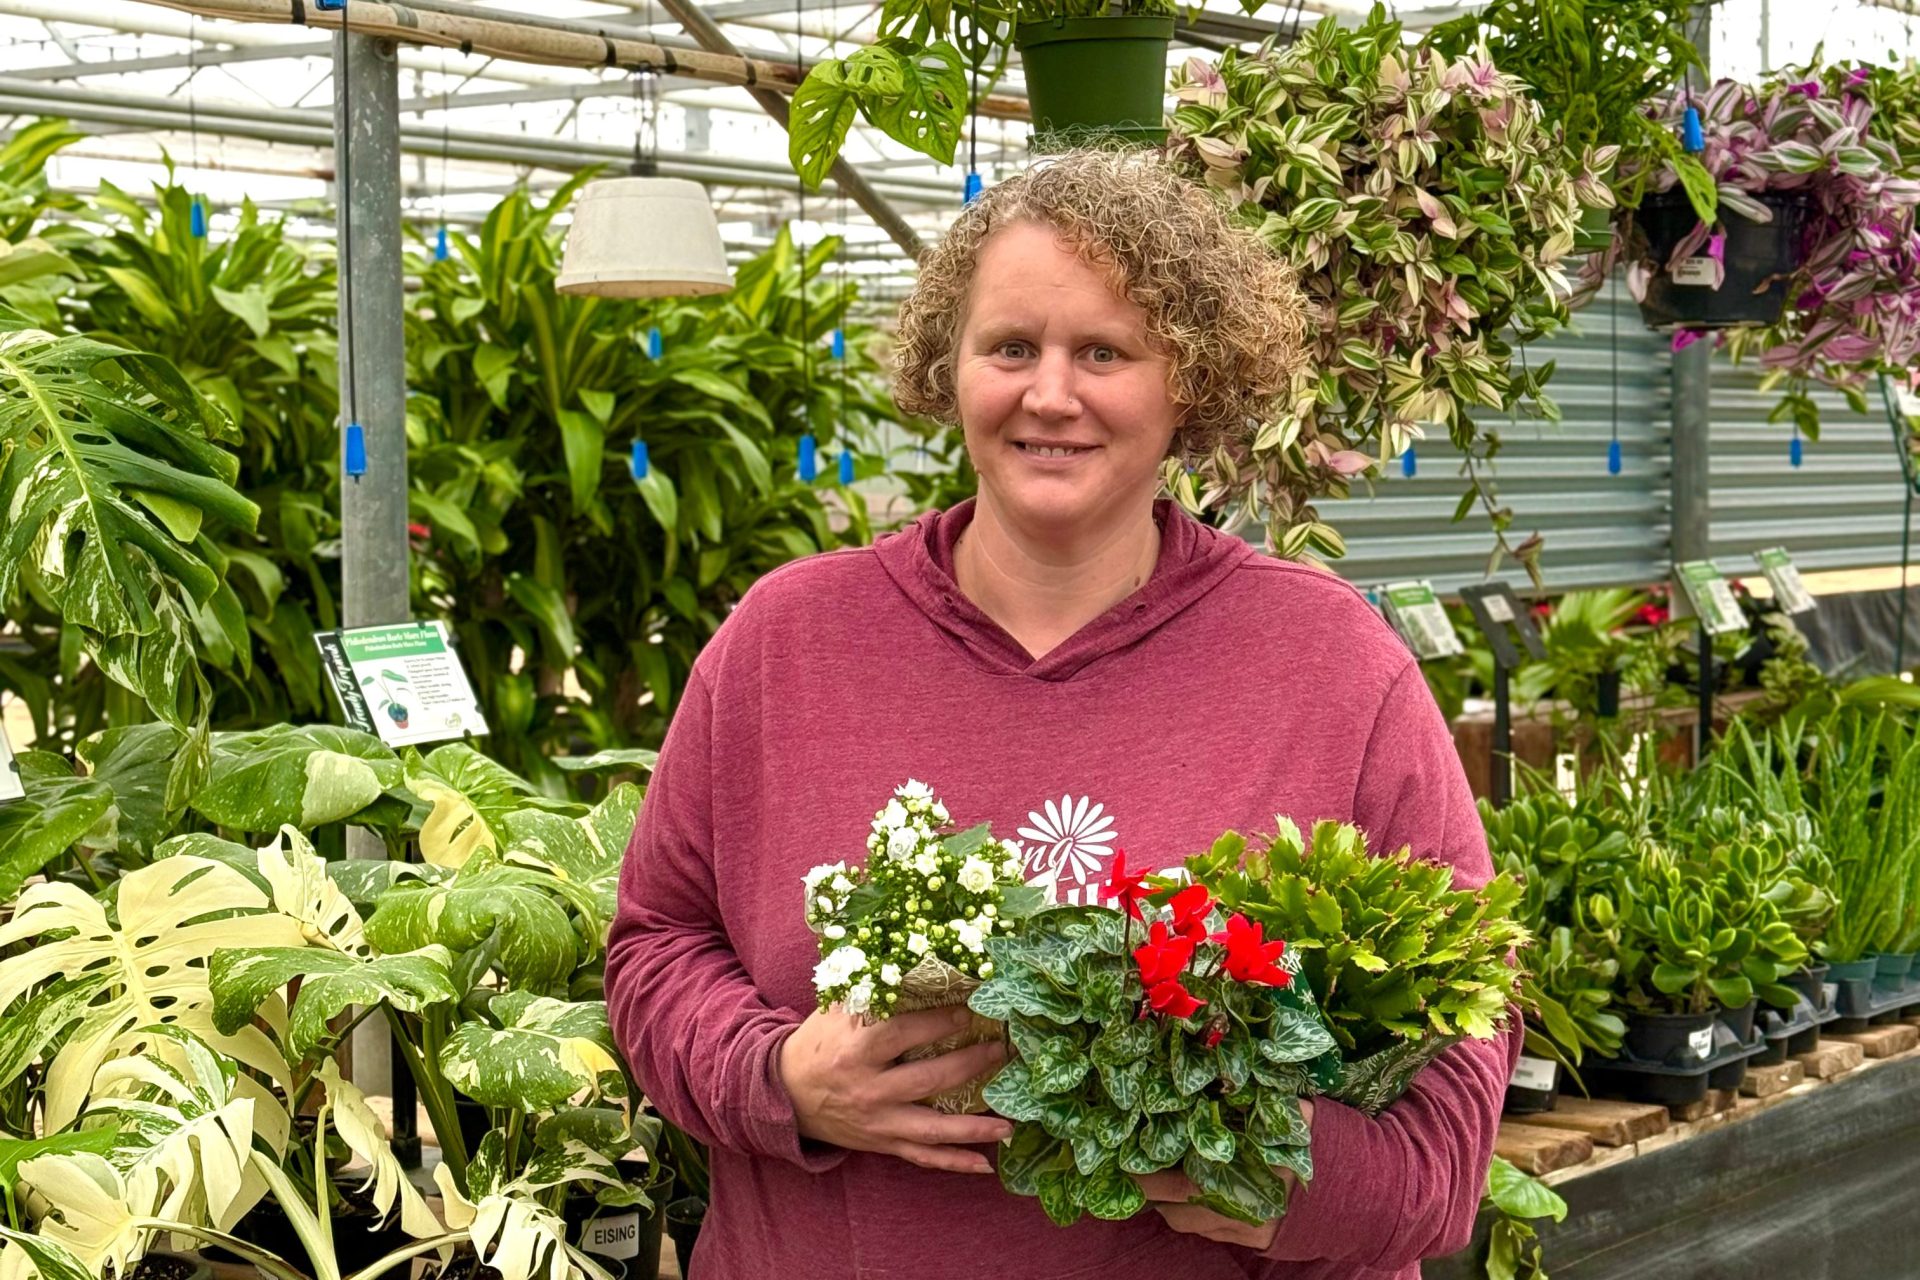
As always, Courtney has a phenomenal selection of tropical plants to choose from. Do not ask her which one is her favourite. Trust me. Too many to count.
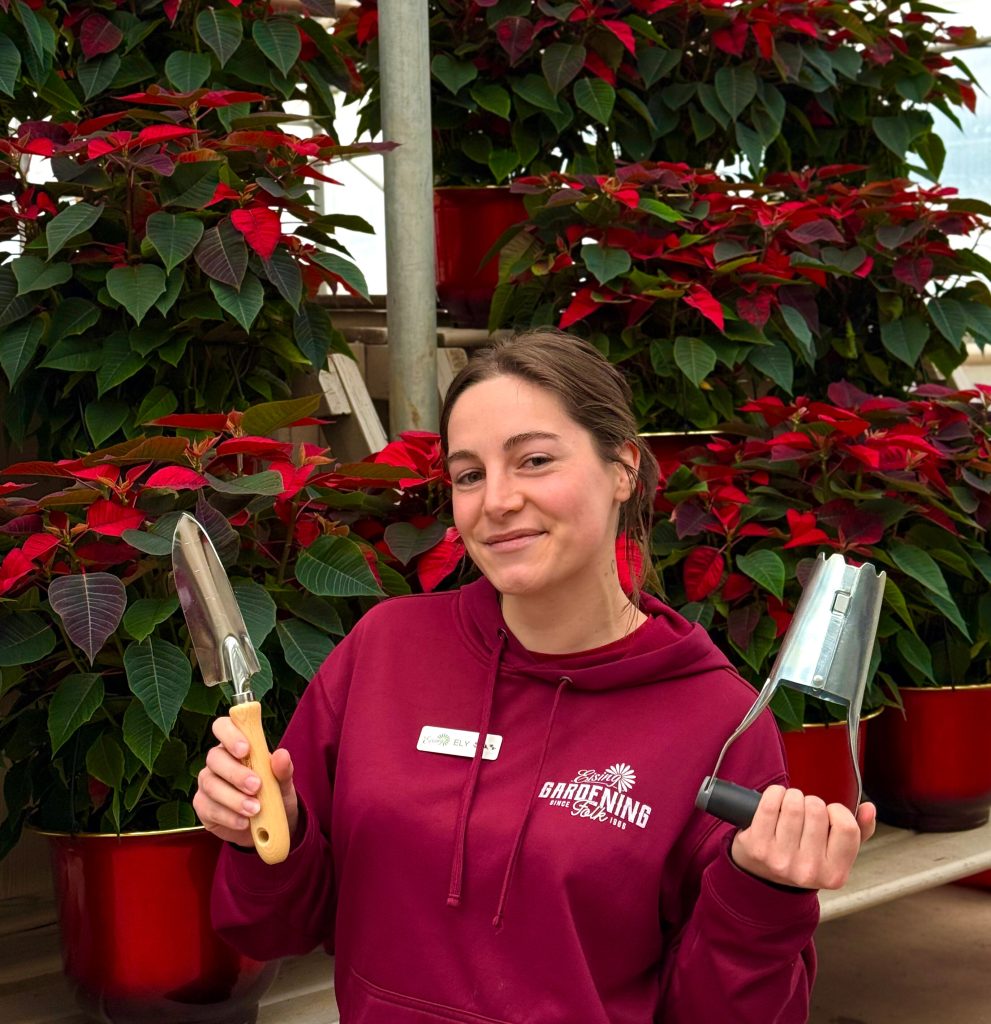
Ely is hoping for some gardening tools under the tree this year, and what gardener couldn’t use an array of trowels?!
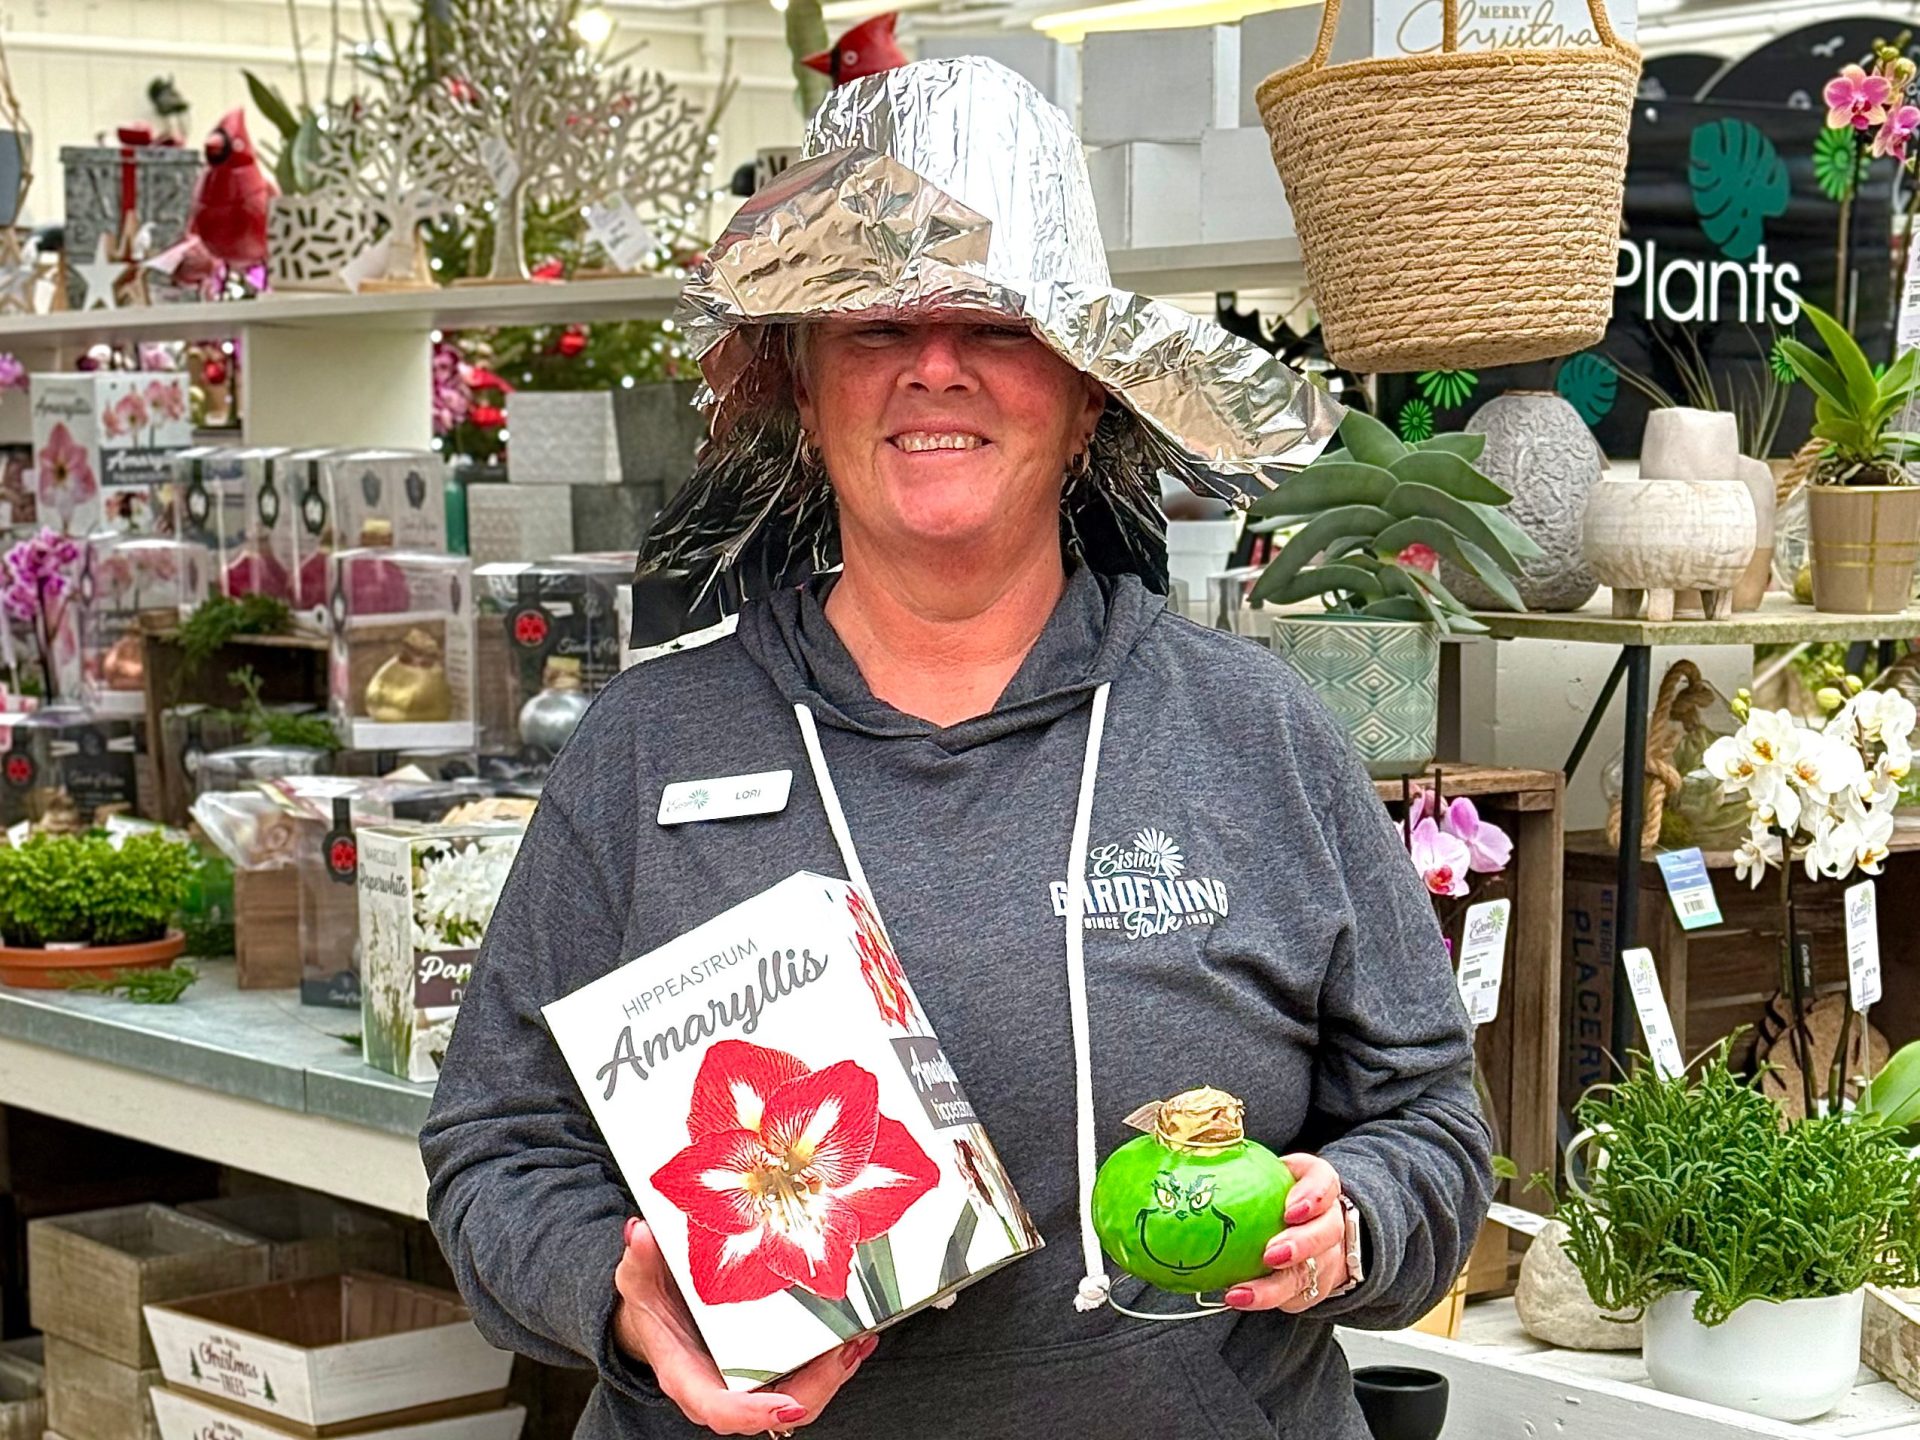
Lori is ready for a party with her favourite hostess gifts - Amaryllis bulbs. Apparently, the Grinch likes plants, too. Who knew? Cindy Lou Who, possibly, and Lori.
Sassy Fashion

Donna is wearing and holding some of her favourite clothes, jewelry, accessories, and products from Sassyfras Boutique inside Eising Greenhouse. Yes, she has many favourites. In her defence, who can pick just one thing from Sassyfras?! Not us.
For Your Favourite People!
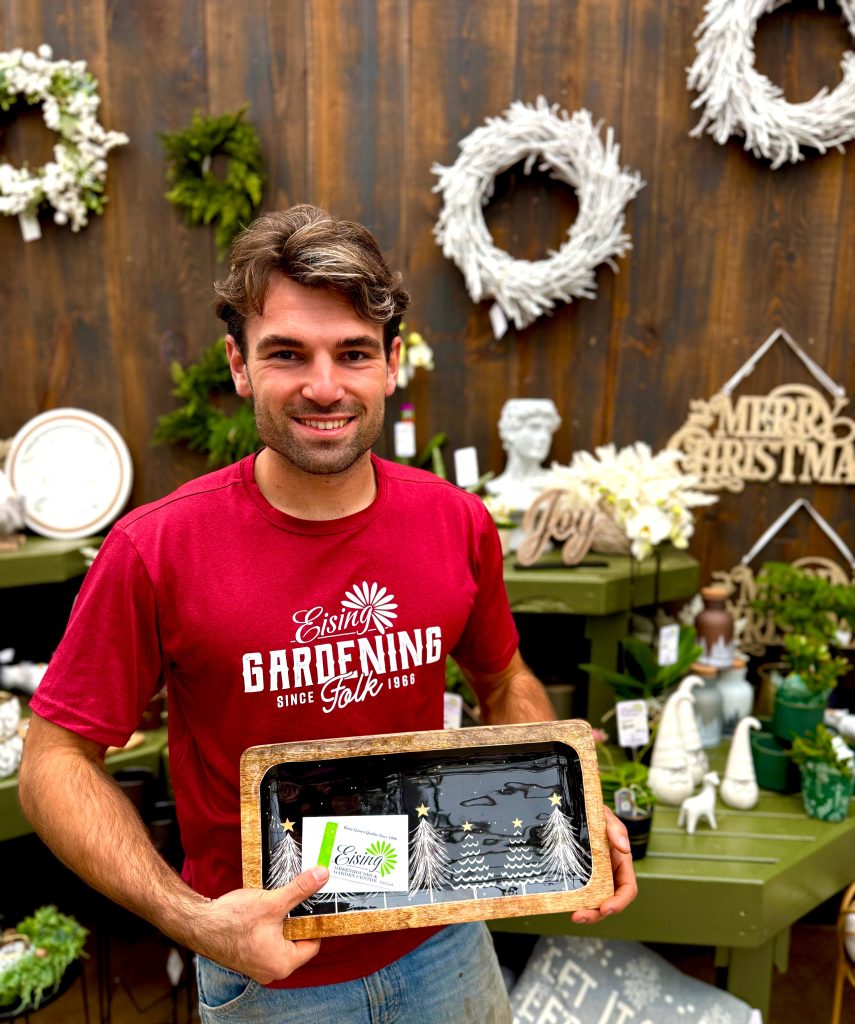
Finally, this is THE most flexible item in the guide, our Eisings gift card. It can also be the perfect solution for the person who has everything already and is hard to buy for. Why is this Lucas’s favourite? Eising gift cards can be used for plants, landscaping, trees, shrubs, perennials, annuals, seeds, tropicals, decor, pots, garden tools, and any other items sold in the greenhouse. And that’s not all! Gift cards can also be used for anything in Sassyfras Boutique. So many options!
Good Tidings To All!
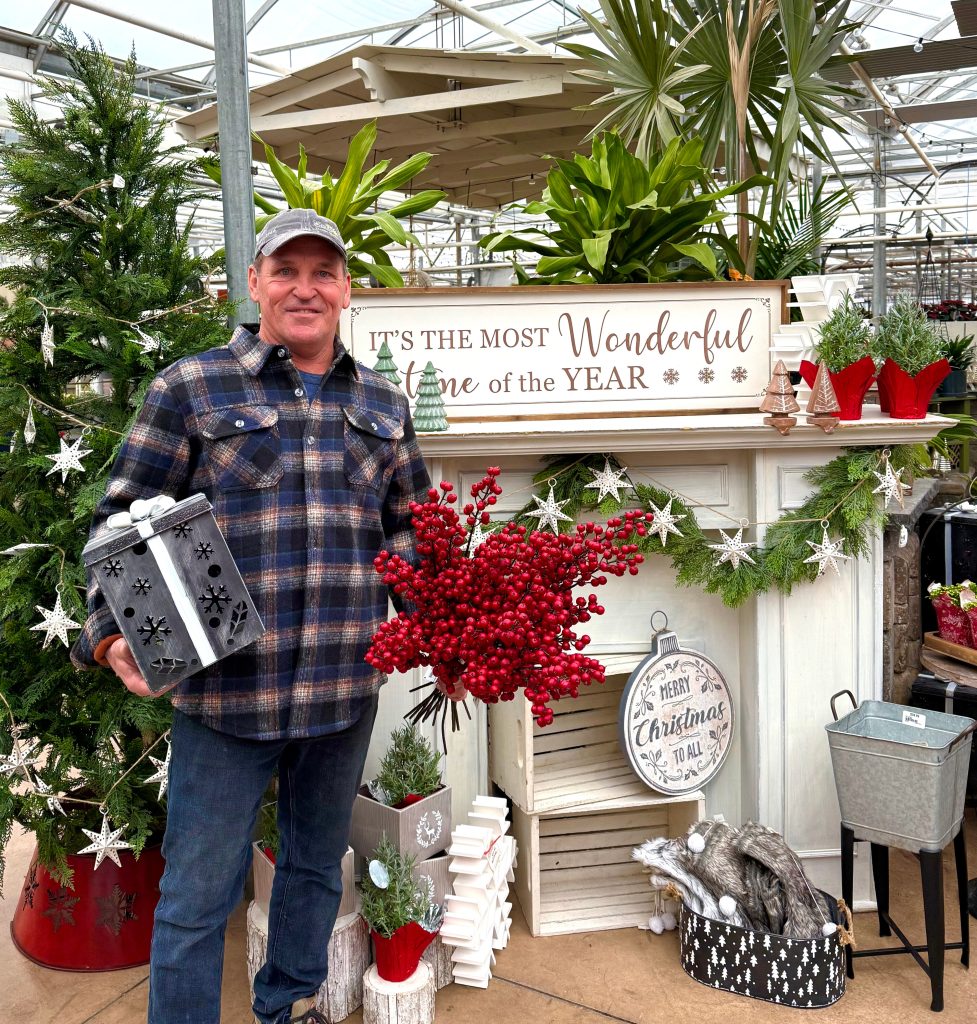
During this season of abundance, Henry and all of us at Eisings hope you get all of your favourite things, but mostly we wish you a safe and happy holiday season! ✨
By Dave Zeldon and Ely Schweyer
This is the time of year that most garden centres will have on display their wide variety of Amaryllis bulbs, including the evermore popular waxed dipped. These enormous bulbs that are appearing now will be ready to burst into bloom within 4-8 weeks after planting.
Non-Wax Dipped: Planting
All Amaryllis need is a bit of commercial potting soil that should not cover the shoulders of the bulb (try leaving about 1/3rd of the bulb showing above the soil line), with the nose (or narrow end) of the bulb peeping well over the top of the pot. Make sure that you use a well-drained container that is 3-4” bigger in diameter than the bulb itself.
☝️A heavy clay pot will prevent this top-heavy plant from toppling over. To achieve continuous bloom, plant at intervals of two weeks for stunning colour in your home.

Non-Wax Dipped: Care
Once leaves emerge, fertilize once a month with a 20-20-20 water soluble fertilizer for houseplants. Water sparingly and wait for the miracle in a warm sunny room. Sub-irrigation or watering from the bottom of the drip tray will keep the surface soil dry, thus keeping and bulb rot organisms and those pesky fungus gnats at bay.
Non-Wax Dipped: It's Not Done Yet!
When blooming is over, remove the scape (or flower stock) and place the plant in a sunny spot and continue to water. This is to allow the leaves to regenerate the bulb. In springtime, when all danger of frost has passed, bring the bulb outdoors and let it spend its holidays in a shady spot. In some varieties the leaves will die back in September to give the plant a rest for a couple months. Stop watering and store the bulb on its side in a cool place for about eight weeks, when the leaves will once again begin to emerge.
Amaryllis can go 3-4 years without repotting as they don’t mind a little crowding. Try growing a couple of bulbs in larger pots to see if you can get a clump of flowers from the offshoots or babies that will develop after a couple of years.
Or, Try One of These Wax Dipped Bulbs!
Now growing more popular are the care-free waxed-bulb Amaryllis!



Experienced growers and beginners alike love that these waxed bulbs do not need to be planted or watered! Each of these robust bulbs are carefully prepared in festive-coloured wax, allowing you the freedom to place them among your holiday decorations.
Simply keep the bulbs at an ambient room temperature of at least 16C (70F) for beautiful blooms in five to six weeks.
These novelty items are low commitment! Their only fault is their lack of longevity - gardeners don’t get to enjoy them after year as these waxed bulbs were designed to be a one-use throwaway item!
BUT with a little luck and perseverance you may be able to save the bulb for next season after blooming. All you have to do is to carefully remove the wax layer, remove the flower stalk and place the bulb and with its remaining leaves into a pot of good growing media, allowing the leaves to regenerate the food stores in the expired bulb.
If you’re looking for more information – or perhaps, Amaryllis – visit Eising Greenhouse and Garden Centre! Happy Holidays! ✨
By: Dave Zeldon and Ely Schweyer
If you can’t wait for Mother Nature’s next great colour show, the time is now (mid September) to get rolling on those early spring flowering bulbs! Even though you can start planting in October or early November, buying bulbs now is advantageous as the selection at your local garden centre is at their best. Being the very first to bloom during the last dreary days of winter, bulbs announce that spring is returning once more, and as you think about the colourful show of tulips and daffodils next year, remember all spring’s groundwork begins now!
Your bulbs may be planted in your lawn, rock beds, at the foot of trees and bushes, in annual or perennial flower beds, or even in flower stands and pots. Combining the emerging fresh colors and textures of bulbs with the established foliage creates a harmonious relationship opportune for a complimenting or contrasting garden-scape. With a bit of planning and creative selection you can easily extend the joy of having spring flowering bulbs in your garden from a few weeks to several months, furthermore, planting bulbs amongst perennials offers that the new growth of the perennials will hide the fading foliage of the bulbs once they have finished flowering! Not long after the fading of the bulbs most perennials themselves will bloom, smoothly extending the sequence of flowering plants for you to enjoy.
Read on for all there is to know about planting bulbs!
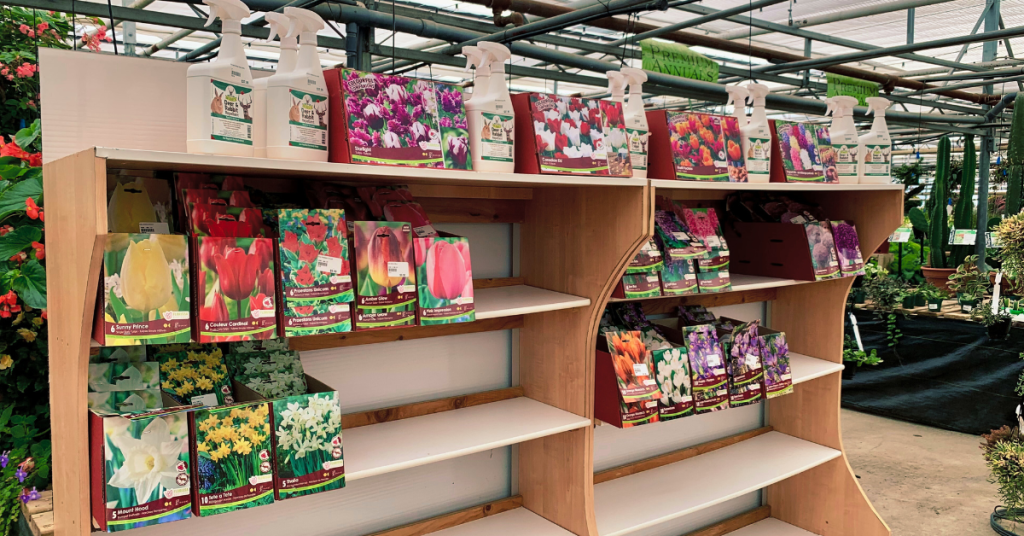
Buying Your Bulbs:
When buying, look for nice, plump, firm, bulbs. Avoid those with scars or that feel spongy to the touch. The general rule is the larger the bulb the bigger the plant. If you're buying daffodils, look for bulbs that have two or more "noses" as you will get extra flowers for free!
To have a good display of colour in your garden, right from March to the end of June. Be sure to check the blooming times on the packages and get a variety of early, mid and late-blooming spring bulbs.
👉 Tip: To extend the season, plant some bulbs in places where the sun beats down in early spring and some in cooler, shady areas of the garden allowing them to emerge in later spring.
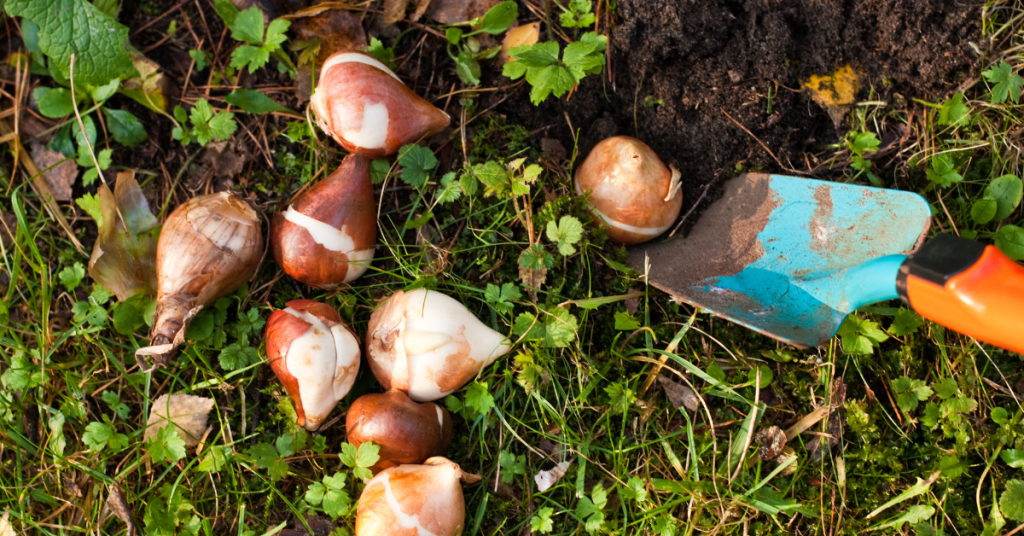
Planting Your Bulbs:
When planting, the soil must be warm enough under the surface to stimulate a little root growth prior to the winter freeze. Winter chilling is necessary to break the flower bud dormancy (vernalization) to have our bulbs produce blooms in the spring (see below how to force bulbs if you’re reading this in the spring).
Remember to plant your bulbs with the pointed end up! If it doesn't seem to have a pointed end, look for the flatter side and evidence of roots, which is the end that goes down. If you still can't be sure, plant the bulb on its side and it will figure out the proper direction by itself!
The rule of thumb is to plant the bulb two or three times as deep as the bulb is tall. The depth is to the base of the bulb, not the top. Typically, 8 inches (20 cm) for big bulbs such as daffodils, tulips and hyacinths and 5 inches (13 cm) for small bulbs like grape hyacinths and crocus. Plant in well-drained soil, cover up, water well and wait for spring.
In a wide hole, place bulbs - so they aren't touching - in threes, fives, or sevens per hole for the most natural look. You can throw a handful of bonemeal in the planting hole and mix it lightly with the soil, this will give your bulbs a good boost for the best bloom. Water to the depth of the hole.
Tulips, daffodils and other spring-flowering bulbs require a long period of cool temperatures to undergo the biochemical process that allows them to flower. So, in the fall, get them in the ground ideally six weeks before hard freezes to give them the time they need to develop strong roots.
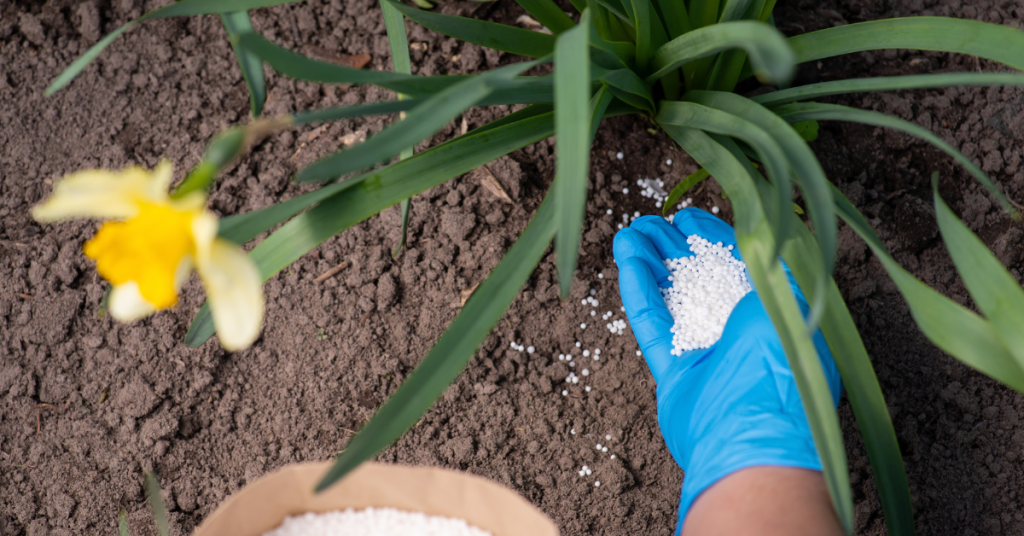
Fertilizing Bulbs:
Bulbs contain the nutrients they need to bloom their first year, but a fertilizing program will keep plants healthy and ward off diseases and pests. Compost and manure are two good organic fertilizers that not only enrich the soil but ensure a good soil structure for bulbs. Additionally, organic supplements can be used to add nutritional balance. Compound mineral fertilizers can also be applied, however, check the label to see if fertilizing is appropriate for your bulbs and the best time of year to do so. Top-dressing with fertilizers like 9-9-6 slow release or either 8-8-8 or 10-10-10 soluble fertilizers are examples.
Once a bed of spring flowering bulbs are established, the process of naturalizing occurs which simply means that a bulb flowers again after the first year and starts producing more bulbs on their own. However, they will need your help to get the food they require to recharge and regenerate for the next season's bloom.
Some Helpful Tips:
- Squirrels enjoy the taste of tulip bulbs if they are easily accessible but not so with daffodil bulbs; interplanting the two together and/or mulching the garden will help protect them.
- Resist the urge to tidy up fading foliage or mow over it as the plants require about six weeks to build up reserves for the next season.
- Deadhead the tulips as the formation of seeds will sap the energy from the bulb. Daffodils & other bulbs do not require this action.
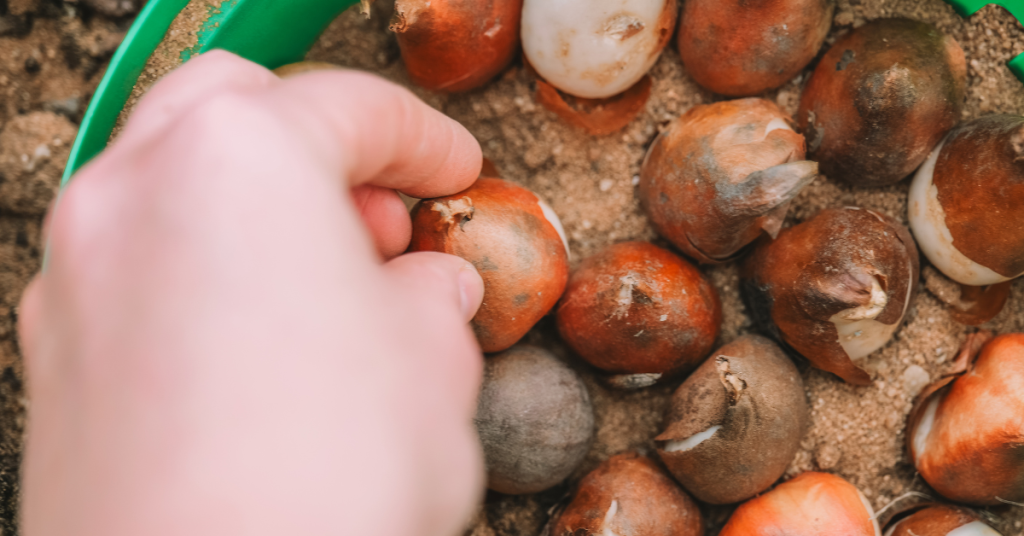
Forcing Bulbs:
Now if you can't wait for spring to smell the fragrant hyacinths, or you missed the fall planting, why not try your hand at bulb forcing?
All you have to do is plant any extra bulbs in a pot with a drainage hole. Choose a pot that is at least twice as deep as the bulbs to allow for proper root growth. Fill the pot half full of soilless potting mix. Then place as many bulbs as possible in the pot, without letting them touch. For a thick show, layer more than one kind of bulb in the same pot; place larger bulbs on the bottom as they will grow around the smaller ones. A six inch-wide pot holds up to six tulips, three narcissus (daffodils), or 15 minor bulbs, such as crocuses or grape hyacinths.
Cover the bulbs with potting mix, leaving their tips showing. Water the bulbs thoroughly. Label with name and date; loosely cover pot with a paper bag. Place in cool (1-7 degrees Celsius or 35-45 degrees Fahrenheit), dark place for chilling such as an unheated attic, basement, or attached garage or in a 12 inch-deep trench covered in a tarp.
Check moisture in pot periodically keeping the soil damp but not wet. When chilling is complete, you'll see roots poking out of the bottom of the pot and green sprouts emerging at the bulb tips. It's time to move the potted bulbs into a warm room.
Chilling and Blooming Times:
- Daffodils: 12-15 weeks of chilling; 2-3 weeks to bloom after chilling.
- Tulips: 10-16 weeks of chilling; 2-3 weeks to bloom after chilling.
- Crocus: 8-15 weeks of chilling; 2-3 weeks to bloom after chilling.
- Grape hyacinth (Muscari): 8-15 weeks of chilling; 2-3 weeks to bloom after chilling.
- Iris reticulata: 13-15 weeks of chilling; 2-3 weeks to bloom after chilling.
- Snowdrop (Galanthus): 15 weeks of chilling; 2 weeks to bloom after chilling.
- Hyacinth: 12-15 weeks of chilling; 2-3 weeks to bloom after chilling.
We wish you all the best with your bulb planting this autumn! For more information - and bulbs - stop by Eising Greenhouse and Garden Centre this fall!
By: Dave Zeldon and Ely Schweyer
The classic fall-blooming Chrysanthemum varieties of burnt amber, golden yellow, and deep burgundy blooms have been enormously popular for years, and as each new fall season rolls around, there always seems to be new varietal introductions – like multicoloured pinks with the hues of sunrises - to enhance your front porch display of pumpkins, corn stalks, and gourds.
These robust plants will produce blooms for weeks, even in the coolest of autumn weather. Their hardiness even offers versatility when it comes to their display; some gardeners prefer less labour-intensive groundskeeping and leave them in their original store pots, whereas others prefer to transplant these flowers into larger planters, window boxes, or into flowerbeds to add an easy seasonal flair.
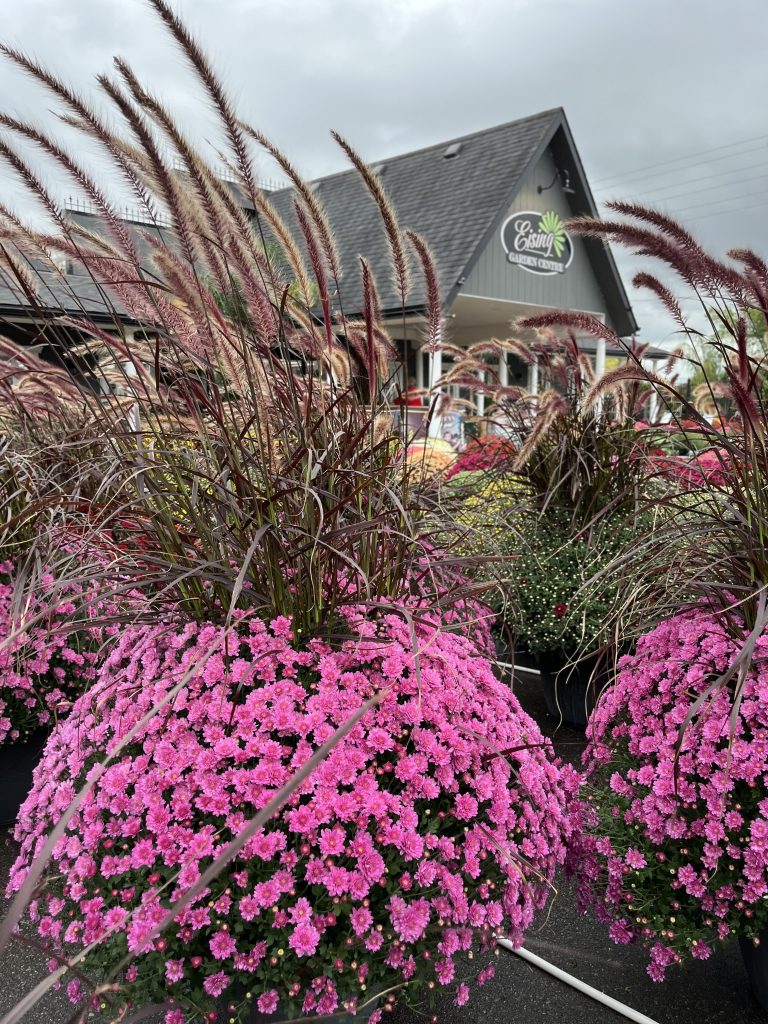
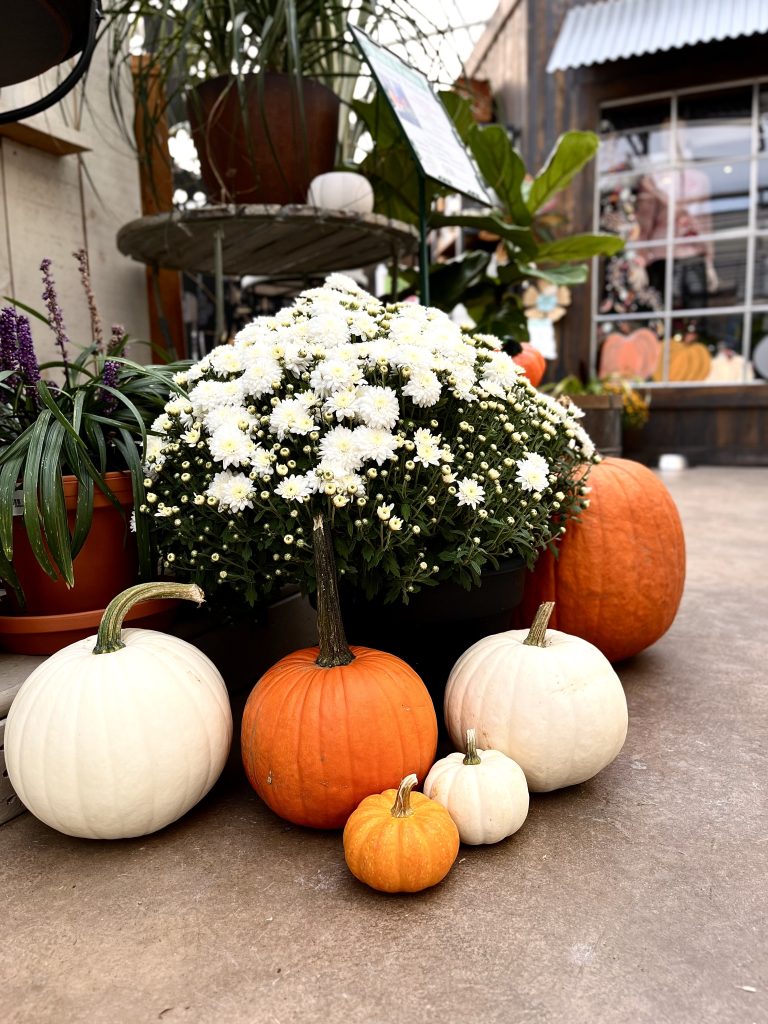

While resilient, these plants still need some TLC. Try these tips to keep your Mums looking fresh throughout the fall.
- Choose green plants with tightly closed buds. This way when your Mums do bloom, you will be able to keep those colourful displays for much longer.
- The Mums' foliage should have a deep green colour and lots of growth at the garden centre.
- Also, make sure the soil in the container is moist when purchasing your plant, as dried out Mums may have already suffered damage.
- You'll find out in short order that your potted Mums are very thirsty plants! Water them daily and make sure the soil remains moist. A shot of liquid fertilizer to the irrigation water once a week would be great as well.
Over-Wintering Mums
Modern Mum breeding is aimed primarily at creating plants that look good in their pots at their point of purchase, sacrificing the plant’s hardiness and performance for future years - meaning when home gardeners try to overwinter these big potted plants, they are not usually successful.

All Mum plants at garden centres are hardy, meaning that they are perennials in most climates. However, if these plants are put in the ground from August on, most won't make it through winter. The reason is that Mums planted late in the season are near, or at, the flowering stage, when their energy is focused into blooming, and they won't grow roots to sustain plants through the winter. This is why Mums should be planted in the spring if you want a perennial plant that has a spectacular autumn show!
If you really adore your fall purchase though, you can try to over-winter your Chrysanthemums in the basement or a dark, cold closet, after the first frost. Water well and place in an area where it is totally dark and 0°C to 10°C. The plants will hibernate for the winter if you keep their roots damp. Check the pots weekly.
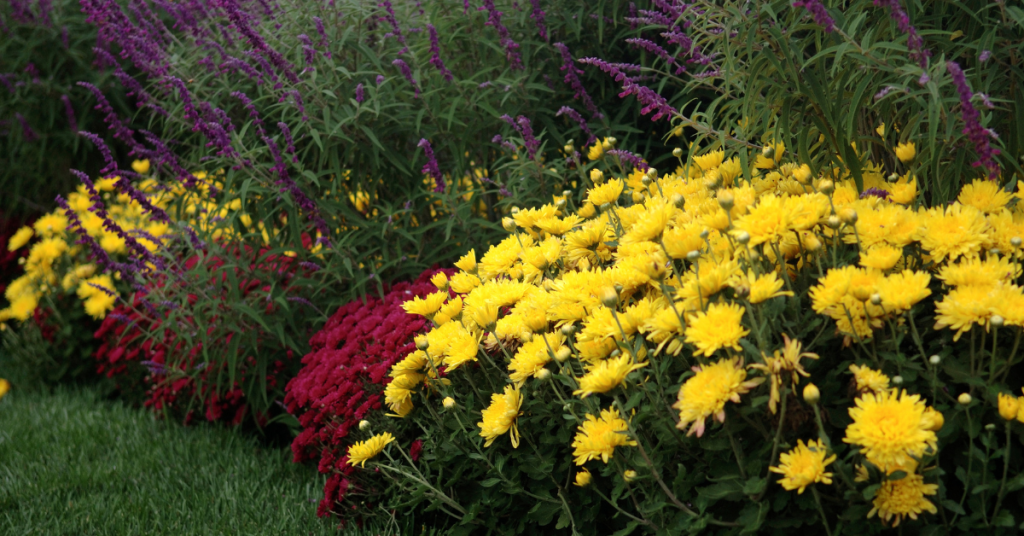
In the spring, gradually acclimate your Mum plants to light and plant them out in the garden after the last killing frost, remembering to pinch them twice prior to the first of August for a full, lush plant.
We hope this helps you to enjoy your Mums just a little bit longer! Use our Plant Finder to search for a sample of our Mum selection by your preferred colour. You can find many Mum varieties and more information at Eising Greenhouse and Garden Centre, please stop in for a visit this autumn!
Growing Vegetables in Pots!
A few years ago, I was walking through town with a friend as we discussed planting vegetables in our tiny front gardens. It seemed like an unusual idea until we spotted not one but two front gardens with pumpkin vines rambling amongst the shrubbery. What a novel way to cover the ground without mulch and have the bonus of showy, bright blossoms and bold foliage! Of course, this is eventually followed by the standout feature of brightly coloured pumpkins. It’s built-in fall decorating!
Right now, everyone is looking for ways to reduce grocery bills, and growing a few vegetables amongst the flowers and shrubs can make a big difference. If your garden is on a patio or balcony, there are lots of ways to add edible plants to maximize your space and beautify it at the same time. Who says vegetables can’t be ornamental and beautiful?!

Gaps and Small Spaces
If you have a new shrub and flower garden that has gaps or there’s a space in your garden where you’re not sure what to plant, consider tucking in a potted vegetable. In a cool, shady space, try some luscious lettuce bowls. Shade allows lettuce to grow more slowly in the heat of the summer. Keeping lettuce in a cool, shady spot will prevent it from bolting and becoming bitter.
If you have a small garden, a patio or a balcony, pots with compact varieties and hanging baskets are a terrific alternative for growing vegetables, herbs, and some fruits. These are some of the options we offer at Eising Garden Centre (based on availability) that can be purchased fully planted, or you can grow your own from seed if you have time, space and lights.
Trellised Planters and Patio Pots
For patios, balconies, or even a gap in the garden, there are lots of vegetables that can be grown in a trellised planter.
Tomatoes, peppers, cucumbers and eggplant all love warm soil and growing in pots provides the heat to help them thrive. Eising trellis pots are planted with specific varieties that are smaller but pack a flavourful punch.
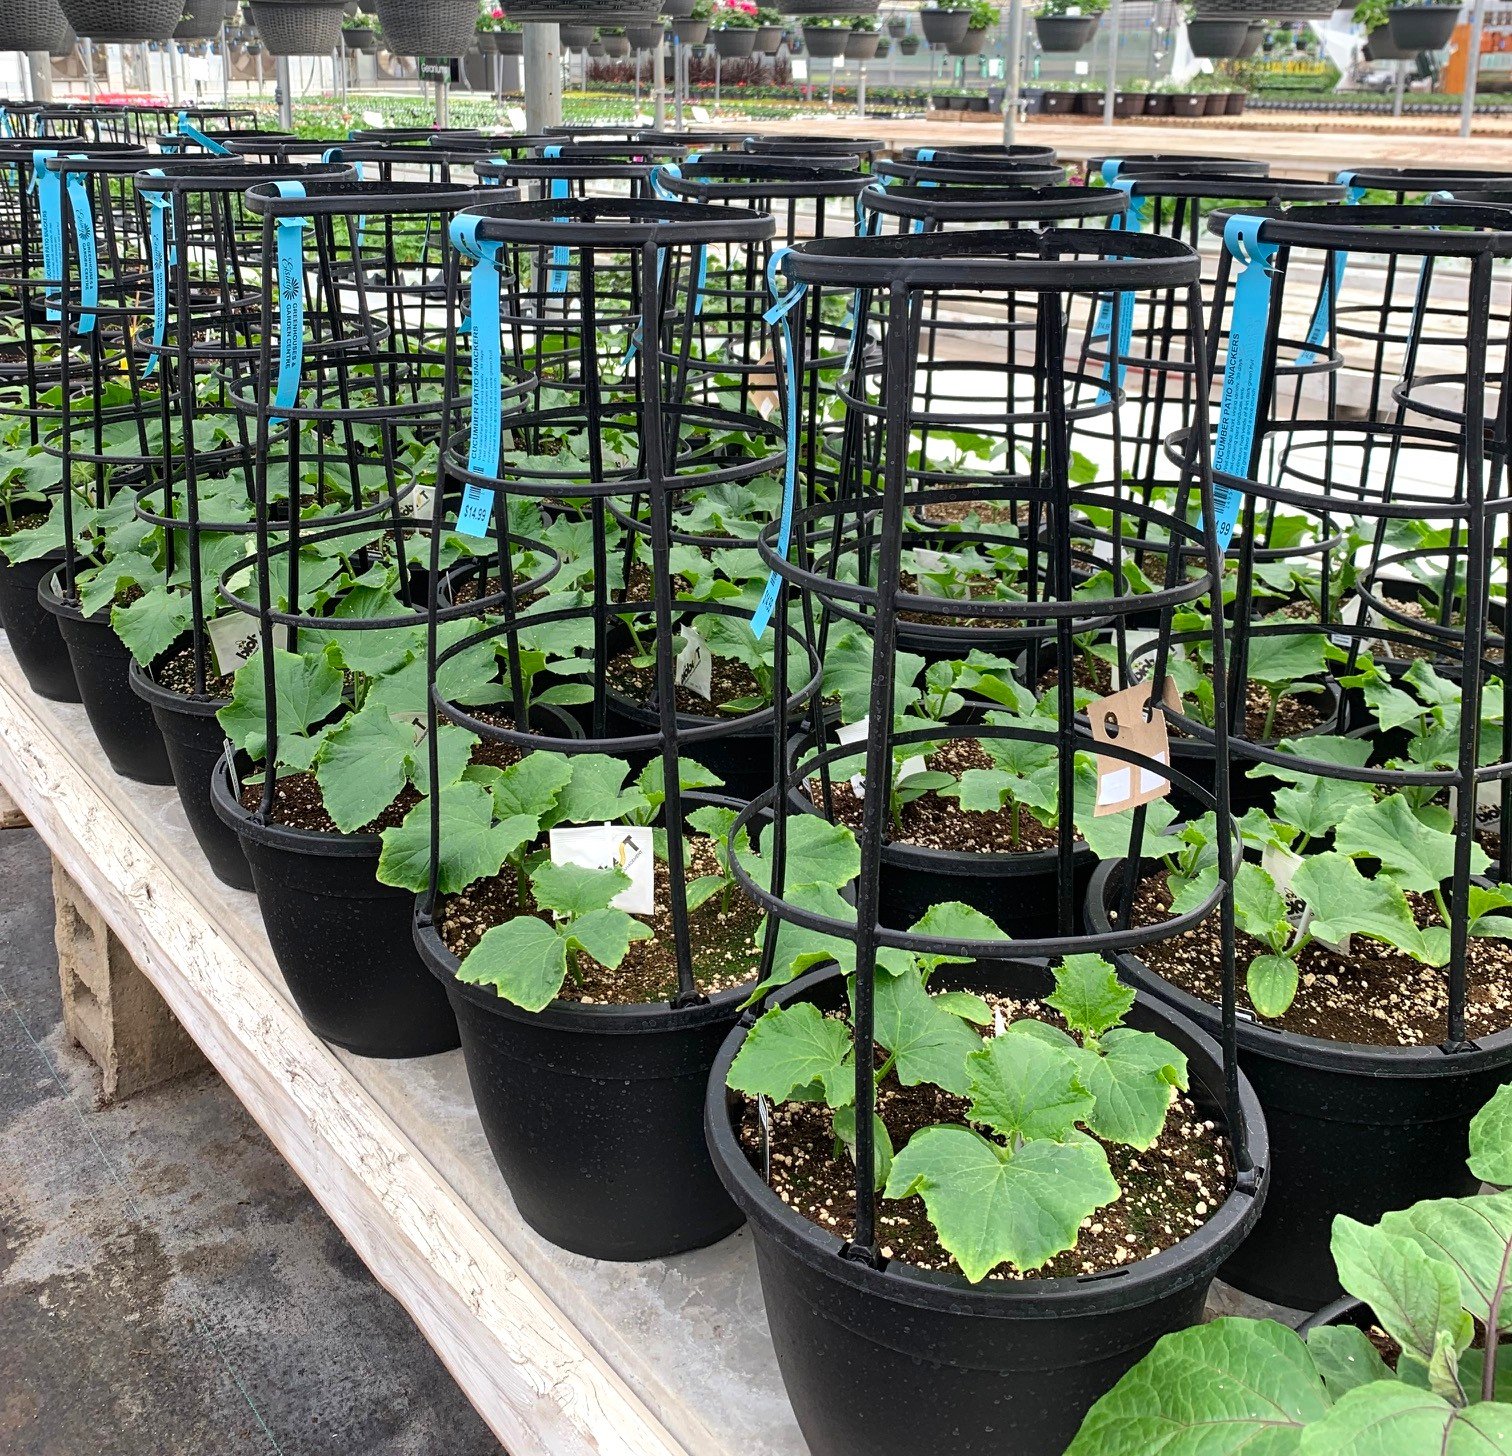
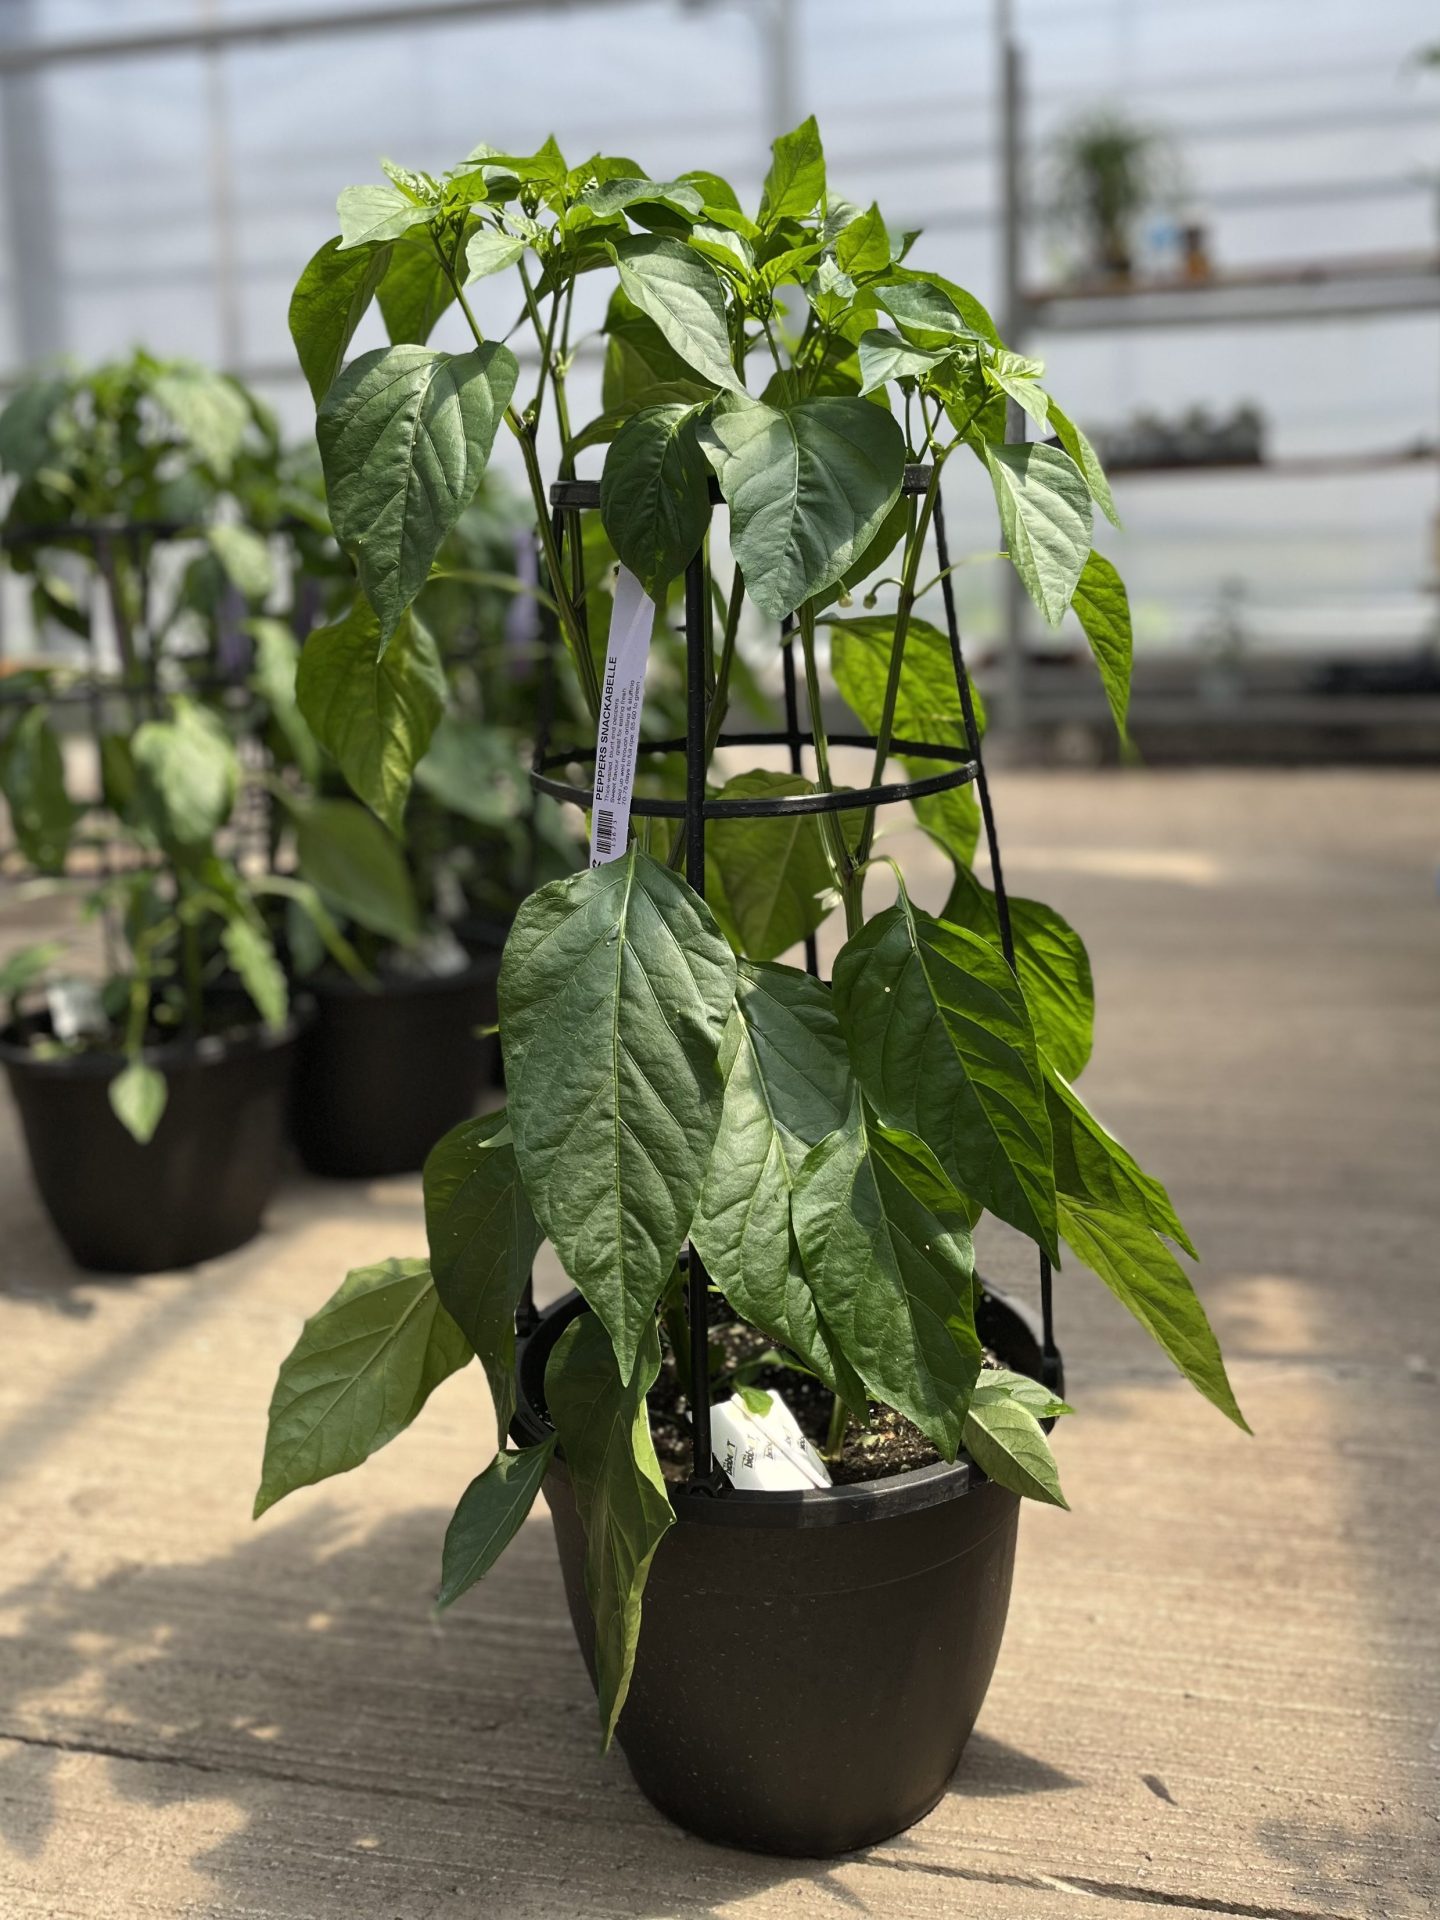
Sweet Snackabelle, Candycane Chocolate Cherry or Red, Mocha Swirl and Fresh Bites peppers.
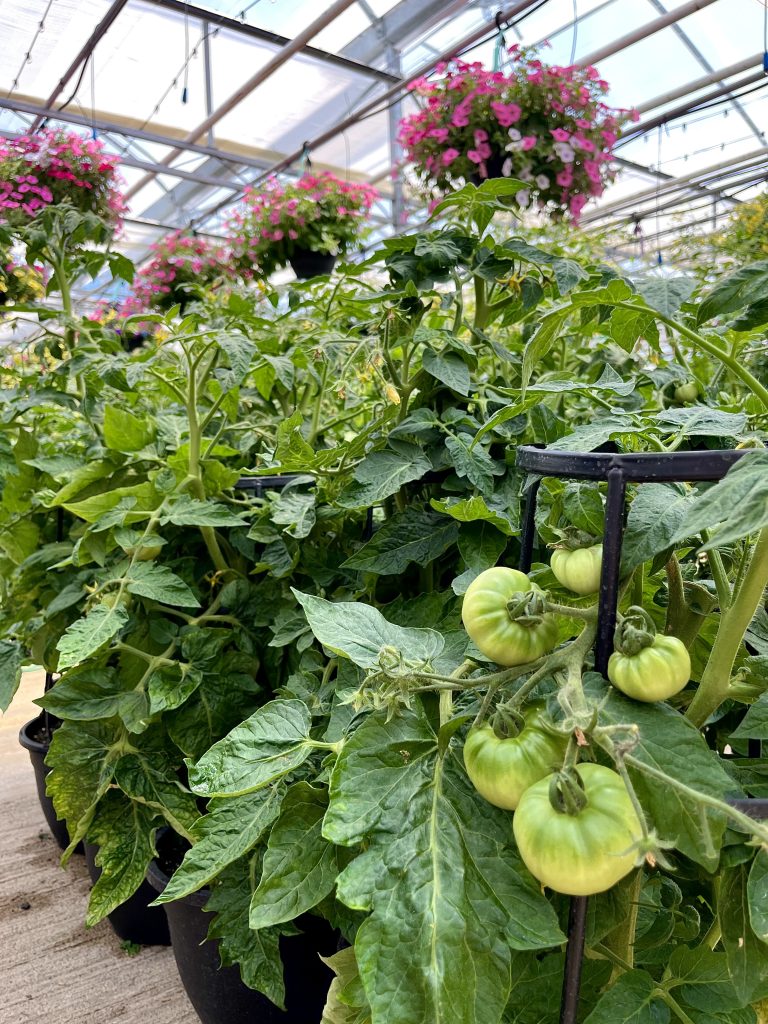
Little Sicily, Patio Hybrid, Candyland Red, Rapunzel and Tidy Treats tomatoes.
Eising Greenhouse also carries eggplants in trellised pots - a patio pot with Patio Baby eggplants is a perfect choice if ratatouille is on the menu!
All of Eising's trellised planters would look lovely plopped into one of our decorative outdoor cover pots!
Herb Planters
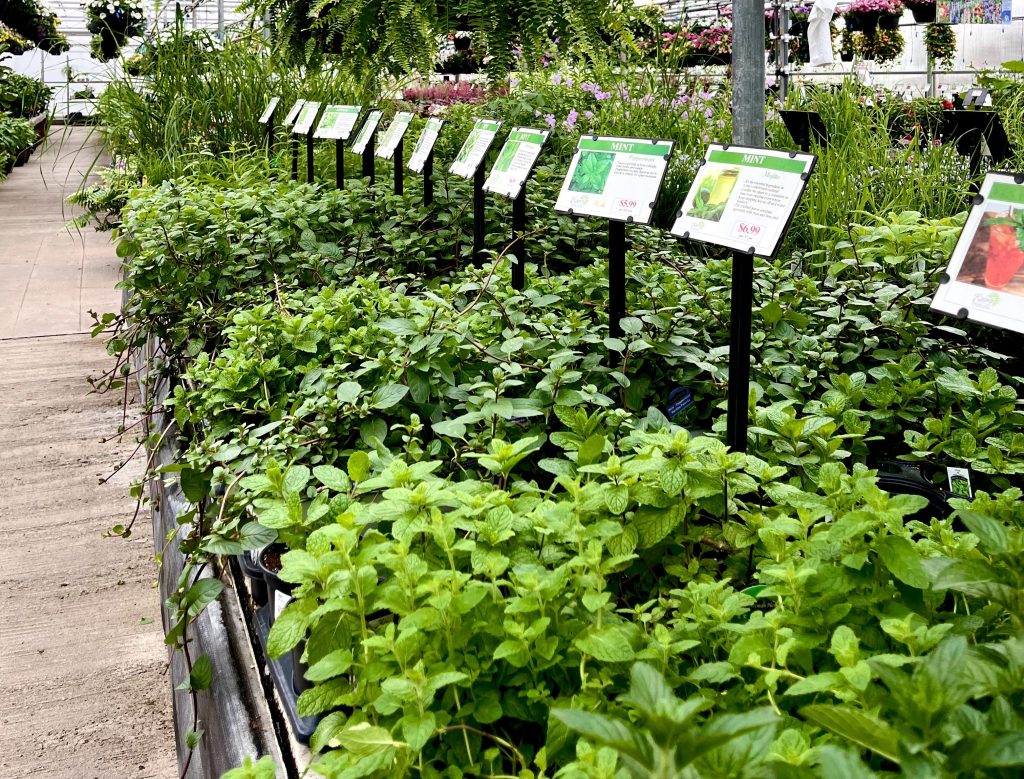
Many herbs thrive in a sunny and warm spot with well-drained soil, making a pot the perfect container for them. Herbs also make great companion plants with other vegetables and can be tucked into other pots. Most herbs also love to be harvested frequently, especially when they’re given these ideal conditions.
Lettuce Bowls
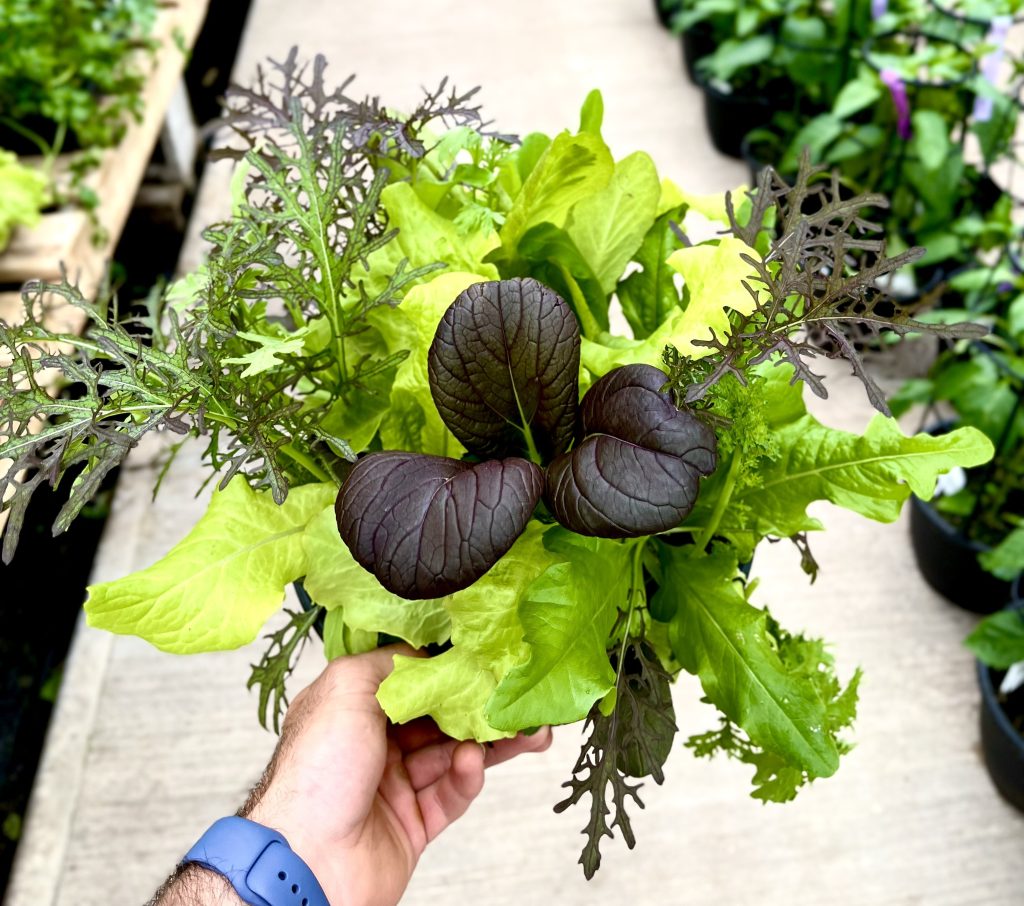
Lettuce bowls are a great way to grow greens in small spaces. Our 10” bowls are chock full of a variety of lettuces and are never boring!
👍Tip: Try the “cut and come again” method for harvesting lettuce, which prolongs the plant’s life. Simply pinch off the outer, mature leaves each time you pick the lettuce and leave the centre of the plant to keep growing.
Hanging Baskets
If there’s a spot to hang a basket or place a shepherd’s hook, you will want to grow one of the edible options we offer.

Topsy Tom tomatoes.
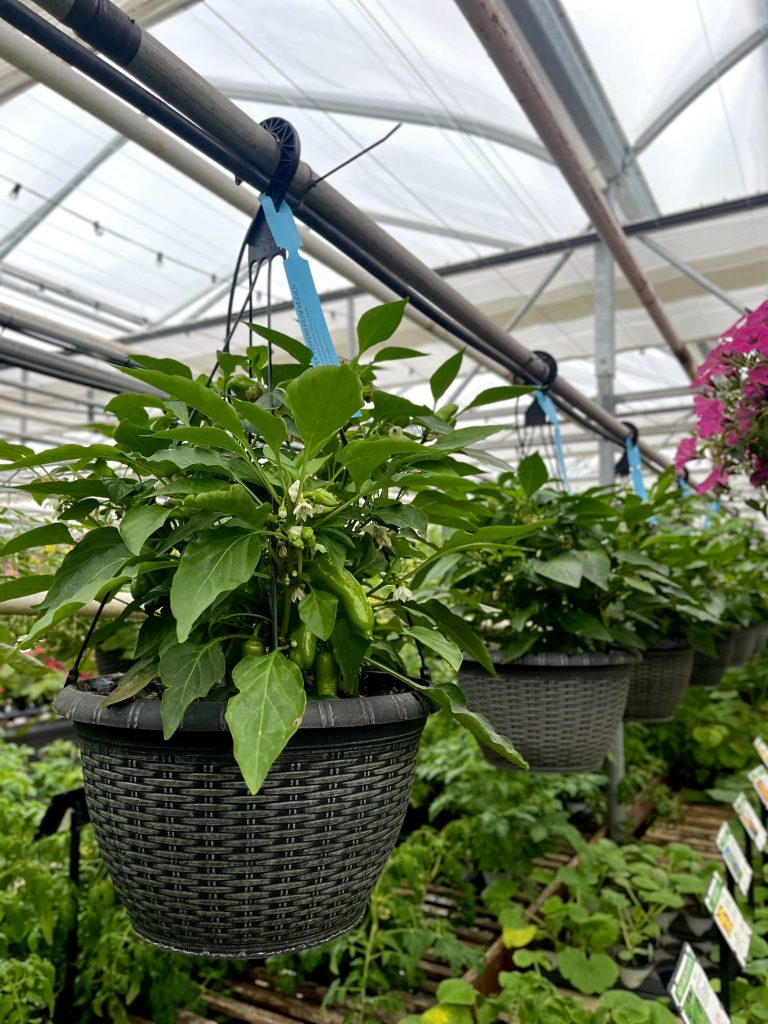
Pot-a-Peno and Peppers From Heaven peppers.
Tomatoes, peppers, and strawberries are all available in hanging baskets. Our deliciously sweet everbearing strawberries are also available in 4.5" pots and bareroot, which are great options for window boxes.
👍Tip: Pick strawberries as they ripen to encourage your plants to produce more. Also, remove runners as they grow to allow your plants to send energy into growing fruit instead of bigger plants. Painting rocks to look like strawberries is said to deter birds from feasting on ripe berries.
Citrus and Figs
Consider growing a beautiful and fragrant lemon, orange, fig or grapefruit tree in a patio pot. Just keep in mind that it will need to come indoors in the fall.
Container Plant Care
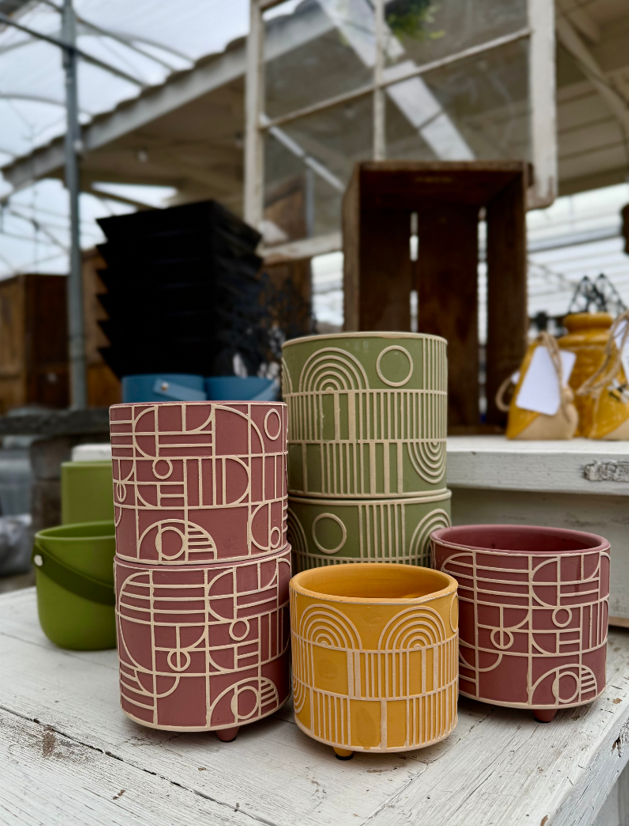
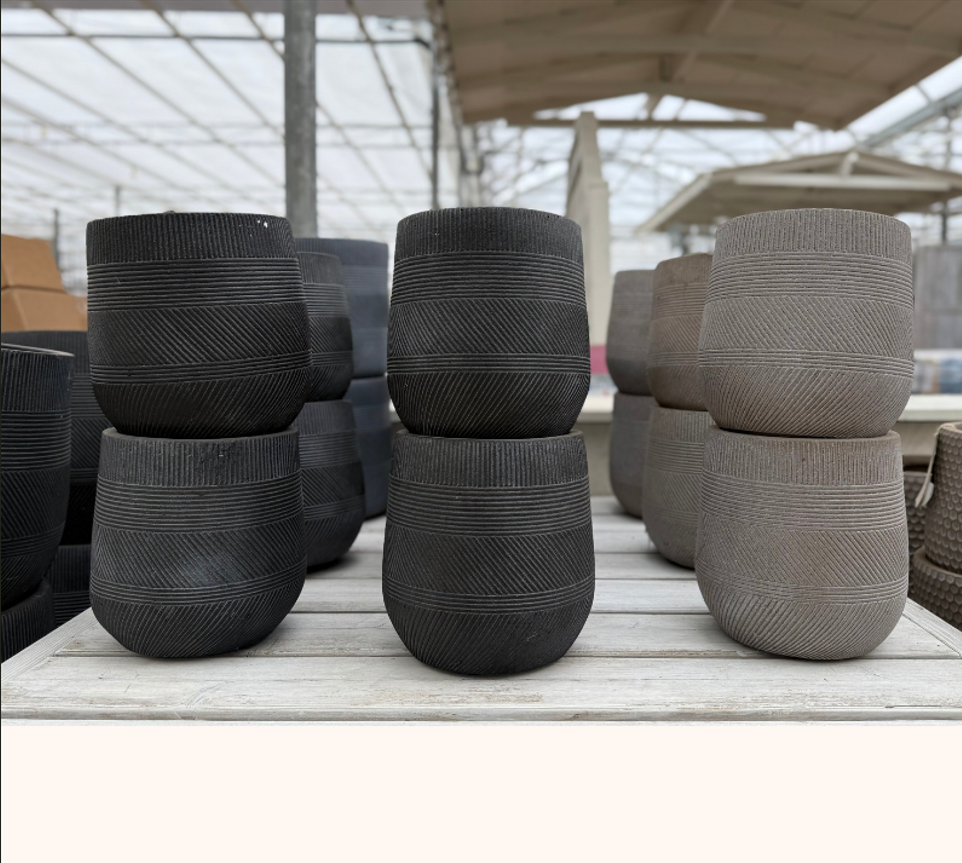
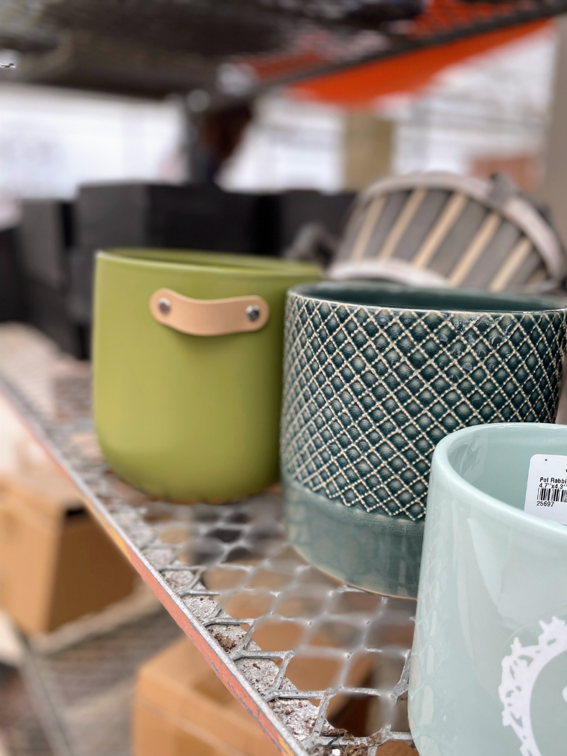
Whether you’re growing edible plants in the garden, a pot or a hanging basket, don’t forget to give them the care they need to maximize productivity:
- Water regularly, deeply and in the heat of the summer, frequently. Watering early in the morning is ideal. Pour water on the soil, not the foliage to prevent diseases like powdery mildew.
- Feed your vegetables and fruits throughout the growing season with fertilizer or compost.
- Remove dead foliage and prune plants as needed. Especially herbs.
Once you start foodscaping by including vegetables with your flowers and ornamental plants we’re sure you’ll want to keep looking for innovative ways to grow your own food! Who knows, maybe even pumpkins by the front porch!
If you think a small space and a small garden are limiting when it comes to shrub choices, think again! Colour and texture, structure and seasonal interest are all available in many small shrubs. Whether you’re looking for beautiful blooms or evergreen foliage, you’ll love what our favourite small shrubs have to offer!
Follow the 5 links for more on our 5 favourites!
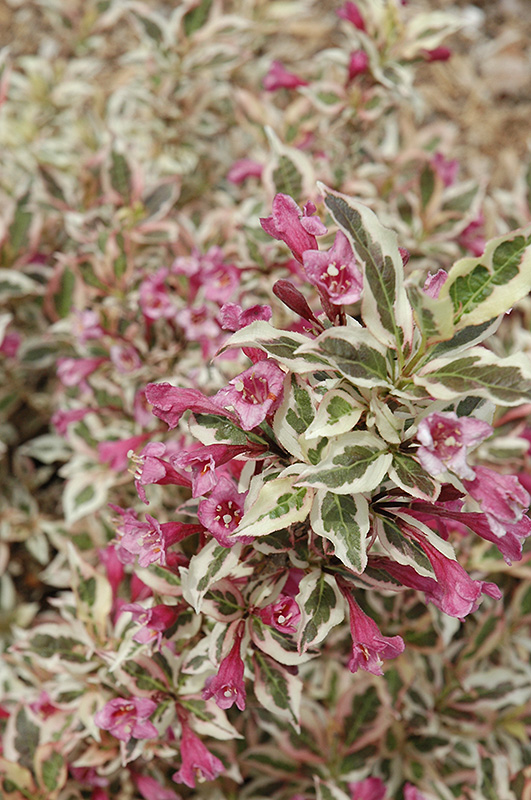
My Monet Purple Effect Weigela - Weigela florida
A deciduous shrub that’s deer resistant, colourful and low growing. This plant checks lots of boxes!! Variegated mint green and cream foliage with purple tones and pink blossoms, it makes a great companion to perennials, and as an edging plant. My Monet Purple Effect Weigela grows 18” to 2 ½ feet tall and wide in partial or full sun.
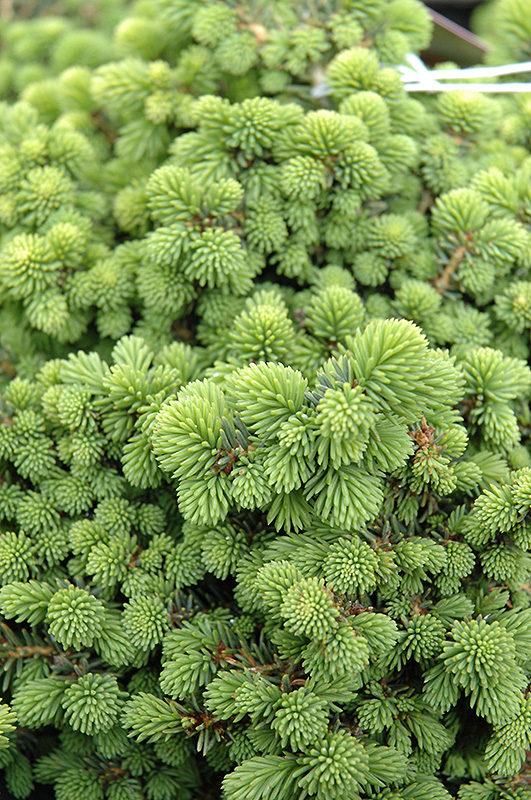
Little Gem Spruce - Picea abies ‘Little Gem’
This compact evergreen has dark green needles, making it attractive all year round. Its pyramidal shape makes it a great choice as an accent feature or in a border. It’s drought-tolerant and requires little care, making it a very appealing low-maintenance choice! Little Gem reaches a mature height of 10” to 1’ and a spread of 1’ to 2’. Plant this shrub in full sun.
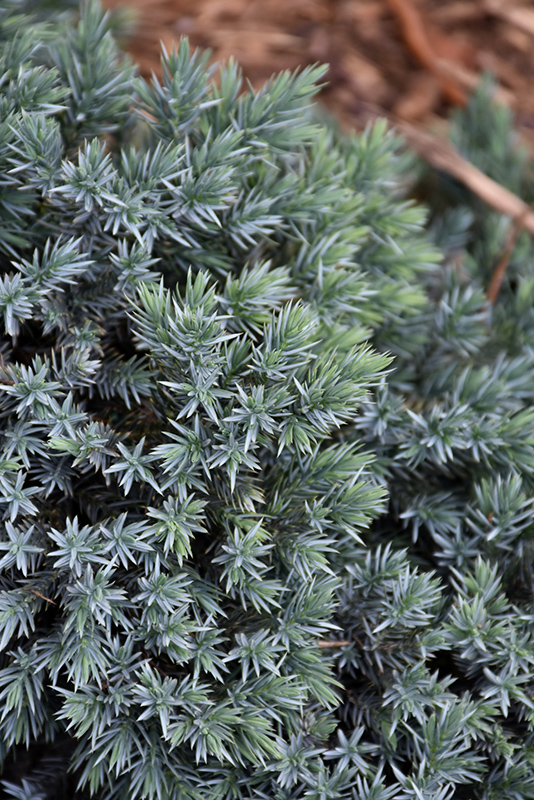
Blue Star Juniper - Juniperus squamata ‘Blue Star’
Sun-loving and slow-growing, Blue Star Juniper graces the garden with steel blue evergreen foliage that’s a beautiful contrast to many plants. It’s also drought-tolerant and requires very little pruning, making it an easy to care for naturally small shrub. Growing 1 to 3’ tall and 1 ½ to 3’ wide, its shape makes it great as ground cover or as an edging plant.
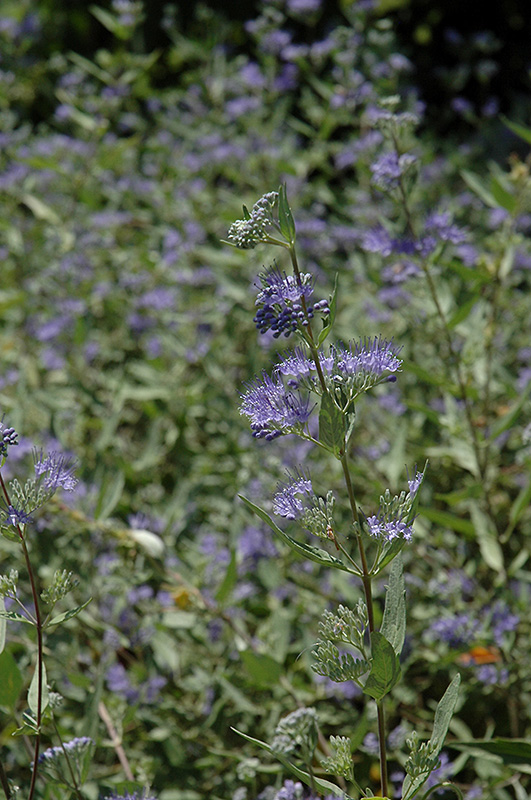
Bluebeard - Caryopteris
Classified as a shrub or as a woody perennial, either way, it deserves to be on this list. Bluebeard loves full sun and grows anywhere from 2 to 4’ in a compact mound. Sweetly scented and long blooming, it attracts all the pollinators: bees, butterflies and hummingbirds. Bluebeard foliage and blooms come in various colours depending on the variety, so it’s easy to fit into your landscape plans.
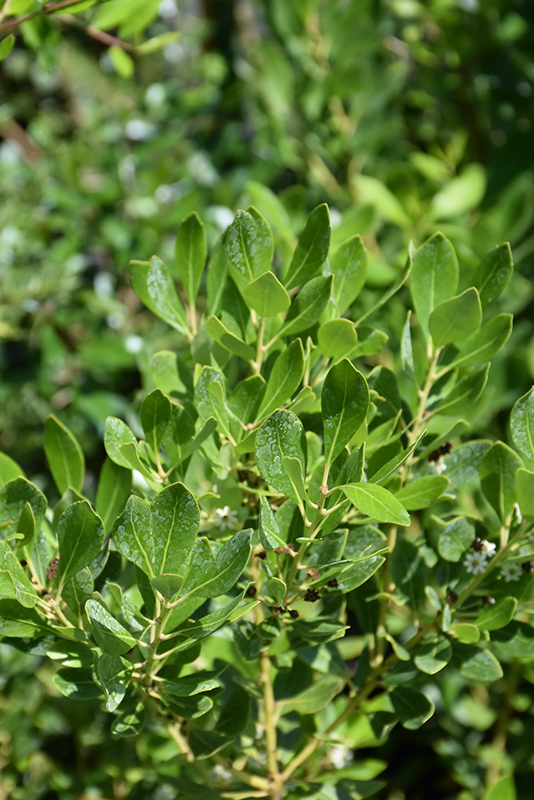
Inkberry Holly - IIlex glabra
Native to North America, Inkberry has lots to love. It looks similar to Boxwood and can be trimmed to shape, but this slow-growing evergreen also forms a tidy mound, and it blooms in the Spring! It will grow in full to part sun, and smaller varieties reach 3 to 4’ high.
While this list contains 5 of our favourites, we have lots more to offer in the garden centre. Come by and take a look! Discover how growing small shrubs in containers or small spaces adds beauty and texture, enhancing your garden bed, patio or balcony.
TIP: April and May are the best months to plant shrubs in Southern Ontario.
November. It’s not quite winter, but pumpkin season is officially over. After you’ve put away the Fall decorations and cooked your pumpkin, it’s time to head outdoors to green up your decor again!
This is the perfect time to drop by Eisings to gather fresh greenery and decorations that are weather-resistant and hardy for your outdoor urns. Perfect because it’s that in-between time of year when autumn’s splendour starts to fade and temperatures begin to drop.
You can purchase urns that are already artistically filled with beautiful greenery and decorations, or you can find the supplies you need to fill an urn or pot you already have. Whether embellishing a premade urn or creating your own, here are some handy tips to help create a dramatic display.

“Planting” Medium
If you have had annuals or perennials in outdoor planters, don’t empty the soil - reuse it for your winter greenery! You may need a bag of soil to top it up, or ideally, you can use blocks of floral foam which can be purchased from our shop. These foam blocks can be nestled into the top of the soil and secured by crisscrossing a few pieces of tape across the top of the pot. If you’re starting with a fresh urn, find a pot that fits inside it and fill it with your planting medium. Soil and floral foam retain moisture for your fresh greens, and they also hold the plant material in place.
A Little Inspiration
Find some pictures online, or draw inspiration from the decorated planters at Eisings. Having a picture to work from will help you determine the supplies that you’ll need and how to arrange the items in your urn.
Gather Greens
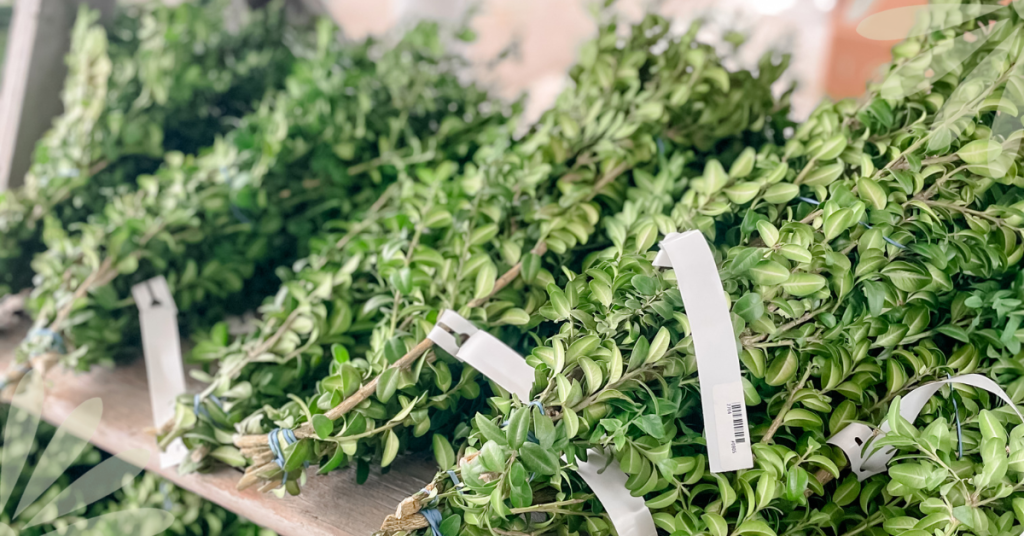
Evergreen boughs will keep your planter looking fresh and green. Spruce, fir, pine and cedar branches will hold up well and retain their shape and colour throughout the holiday season.
Focal Points and Accents
Birch branches, curly willow, grapevine decorations, and dogwood branches all provide upright focal points with height in your planter.
Magnolia leaves, boxwood, inkberry and holly branches add texture and interest. Use pine cones, rose hips, faux berries, moss balls, seed pods, ornaments, and bows for some great final touches.
Adding lights will make the planter stand out and give it an ambiance that’s warm and inviting.
Build It!
1. Start by placing the item that you’ve chosen as the focal point in the middle of the planter. Pick a side that will become the front of the planter, and add everything else while you’re facing that side.
This is a good time to add battery-operated LED lights to upright posts and branches or insert a solar lantern.
2. Surround your focal point with evergreens by layering different boughs like cedar and pine, which are soft and hang down with more firm fir and spruce on top. This becomes the base or background for everything else in your planter.

3. Add accent pieces like dogwood, willow, holly and inkberry branches.
4. Embellish with decorations. This is a great way to fill in any blank spaces and draw your eyes in to focus on the details.

Begin by decorating with a cluster of pine cones, a bow or any decoration grouping in a lower section of the planter, then space out other decorations around the planter. Later, as the holidays draw near, you may want to add some Christmas decorations as well.

Helpful Tips:
- Find a good sturdy “poker” (a screwdriver or a strong bamboo stake) to make holes in the soil or foam blocks, allowing you to insert smaller branches and delicate seed pods or ornaments easily. You may need to secure smaller items onto sticks or some of the stronger branches in the planter by wrapping wire around them.
- Don’t forget to water your arrangement to help your greens stay fresh longer!
In winter, the blanket of snow and grey winter skies can create a somewhat monotonous landscape. That’s when greenery urns make a big difference. Blending evergreen boughs with rustic and seasonal accents and some lights creates a welcoming outdoor display for November and beyond. Just be sure to use materials that can hold up to the frost, wind and snow that will be coming!
Other Resources
https://eising.ca/how-to-decorate-with-fresh-greenery-for-christmas/
https://eising.ca/holiday-home-decor-ideas-you-can-make-yourself/
https://eising.ca/holiday-decorating-tips/
At some point, garden life calls to many of us. Even if you’ve never nurtured a plant before, planting something and keeping it alive offers a fun, low-cost, and highly rewarding experience. Whether you opt for a few potted plants on a patio or balcony, join a community garden, dedicate part of your yard to flowers, herbs, trees, or vegetables, install raised beds, or set aside a corner of your property to attract pollinators, it’s exciting to consider the possibilities!
The Benefits of Gardening
Stress Release
Nature has a calming effect, and gardening helps you stay grounded in the present moment, freeing your mind from worries about the past or future. For example, the repetitive task of weeding allows your brain to focus, turning the activity into a form of mindful meditation. Meditation doesn’t always involve sitting in solitude on a mountain—it can be as simple as engaging in repetitive tasks like planting or weeding. This process reduces stress and anxiety, ultimately leading to greater happiness.

Boosting Happiness
Speaking of happiness, research shows that certain bacteria in the soil get under fingernails and also get inhaled while you garden. This bacteria can boost your healthy gut flora and release happiness chemicals like serotonin. A healthy gut flora supports a strong immune system, making that dirt-under-the-nails gardener’s manicure well worth it.

Strength & Flexibility
At the start of each gardening season, you might hear from fellow gardeners about their sore muscles—backs, hands, shoulders, hips, and so on. The physical demands of gardening can be challenging at first, but over time, they help build muscle strength and improve flexibility.
If you find working in the garden too strenuous, try kneeling on a soft pad or using a small stool to sit on. Consider using a shovel or rake to assist you in moving up and down to your knees or the stool. Opt for smaller pots and smaller bags of soil and mulch - they’re easier to carry.

Growing Food & Healthy Eating
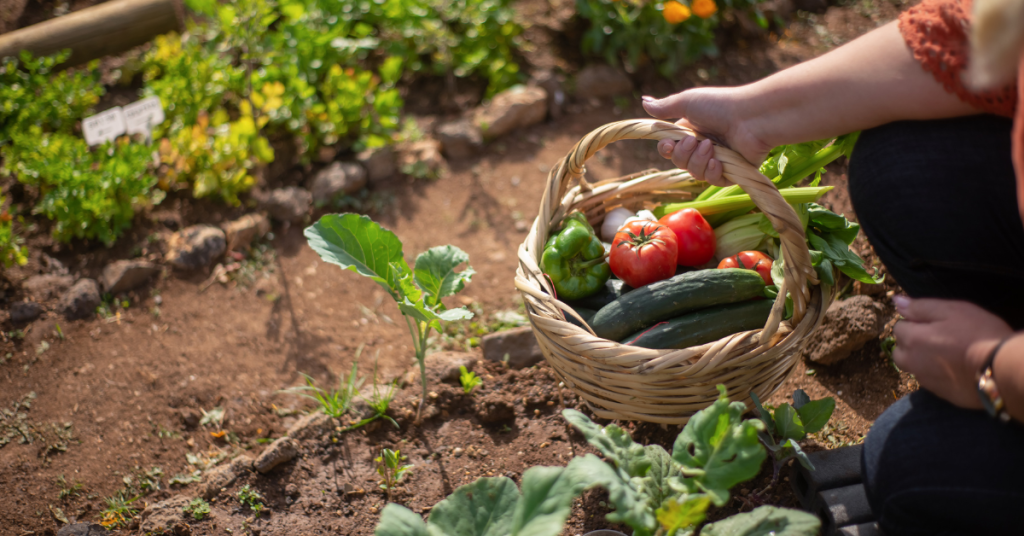
Anyone who’s tasted fresh, homegrown vegetables knows just how delicious they can be. Growing your own produce also encourages you to eat more fruits and vegetables, which naturally leads to better health. The fibre in these foods supports the healthy gut flora mentioned earlier, too!
The Perks of Being Outdoors
All the benefits of gardening—stress relief, happiness, strength, flexibility, and healthy eating contribute to your overall physical and mental well-being. But there’s more.
While outdoors, you absorb vitamin D from the sun, which boosts calcium levels in your body, promoting strong bones and a robust immune system.
Being outside and working in the garden also improves your sleep. After a day of gardening, you’re likely to feel pleasantly tired, helping you fall asleep faster and enjoy a deeper rest. Good quality sleep is essential for overall health, just as important as diet and exercise.
Finally, spending time outdoors encourages deeper breathing, which increases oxygen levels in your blood and boosts serotonin. Deep breathing also aids digestion and helps clear stagnant air from your lungs. Try stepping outside and taking a nice, deep breath. It just feels good, doesn’t it?
While your initial goals for gardening may include harvesting delicious vegetables or creating beautiful bouquets, you’ll also be improving your health in ways you might not have expected!

Ah, the sanctuary of a nice, cool shade garden on a hot summer day. Lush foliage comes to mind, and maybe a nap in a hammock. But what do you do when you have a shady spot in the garden that isn’t so lush and could use a boost? A planted container or two can be just the thing!
Here’s a scenario that can happen to any of us. A plant isn’t doing well and needs to be moved. Or maybe something just didn’t survive. Now what to do with that gap? The beauty of planting in pots is that you can move them around, but also create conditions for plants that you might not have in the garden. For example, one of the toughest places to grow anything is in dry shade - tree roots can compete for space and for moisture. That’s when planting in a container, or several is the way to go.
What is a Shade Garden?
In general, a shade garden is an area that gets less than six hours of sunlight in a day. When choosing plants, remember that some will tolerate shade better than others. When it comes to plants, shady areas are divided into three categories:
- Full shade - no direct sunlight, only reflected sunlight from surrounding areas
- Partial or Semi shade - in the sun for part of the day and shade for the rest
- Light shade - sunlight that is filtered, like under a tree with smaller leaves

Choosing Containers and Pots
While containers can be made out of a variety of materials like plastic, concrete, wood or fiberglass, the key is using a pot with at least one drainage hole.
Keep in mind that smaller pots will dry out more quickly. Larger pots retain moisture longer, but when they’re full of soil and plants they get heavy. Look for a Goldilocks pot that’s “just right”, or splurge on a Schwarzenegger-sized pot if you’re looking to build up those biceps!
Whatever pot size you choose, always use a growing medium that’s designed especially for containers. At Eising Garden Centre you’ll find potting mix which is light and airy, unlike garden soil, which will compact and retain too much moisture. If you’re using a big container, you may want to use a smaller, more shallow pot as an insert, or put natural mulch in the bottom before you add potting soil. Doing this will reduce the amount of soil used, and keep the container lighter as well.
Plant Selection
This is the fun part! While many plants do well in pots, here are just some of our favourite shade plants for containers:
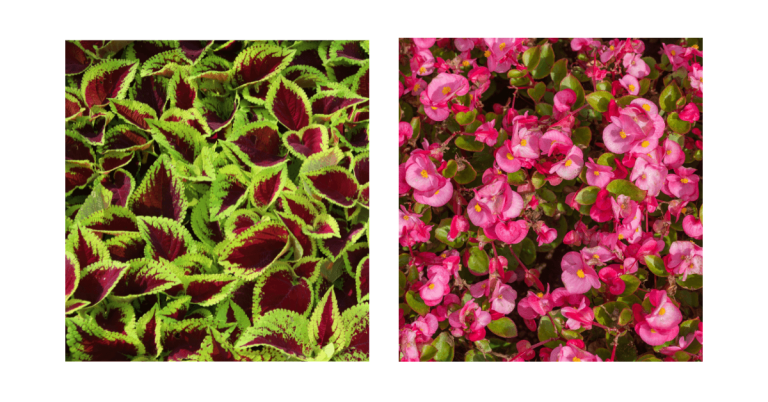
Coleus
Coleus is an annual that will grow in full shade and comes in a variety of very interesting leaf colours. This plant is known for its vibrant leaf colours, not its blooms.
Begonia
Begonias come in a wide variety of shapes and colours, making them a versatile annual for containers. Some varieties are happy in full shade, while others like light, or filtered shade. Most begonias like good drainage so their roots are not too wet.
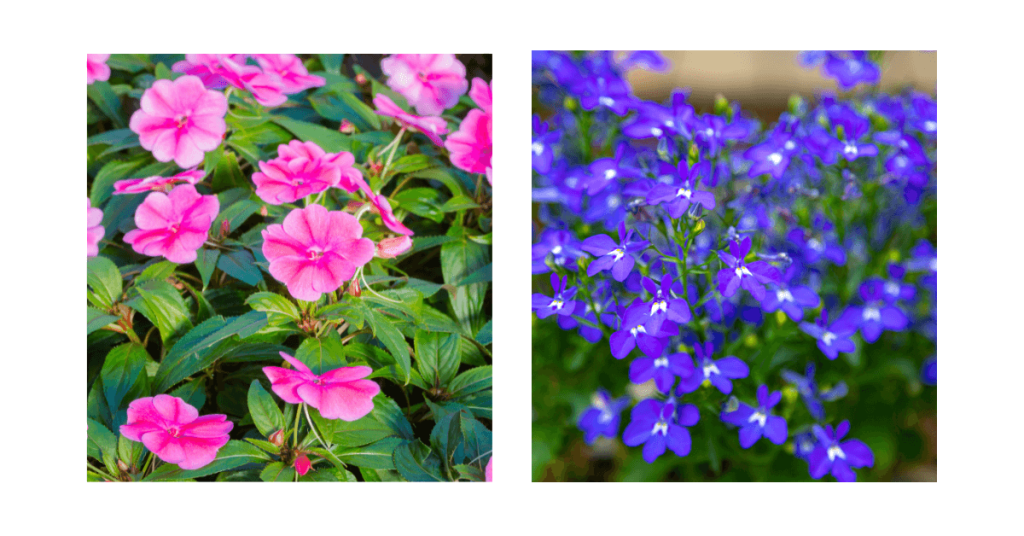
Impatiens
These annuals are popular for a reason! They come in a wide range of very brightly coloured flowers that do well in full shade.
Trailing Lobelia
The trailing type of Lobelia is an annual that grows well in shade. The masses of prolific blooms come in many pretty colours to mix and match with other plants.
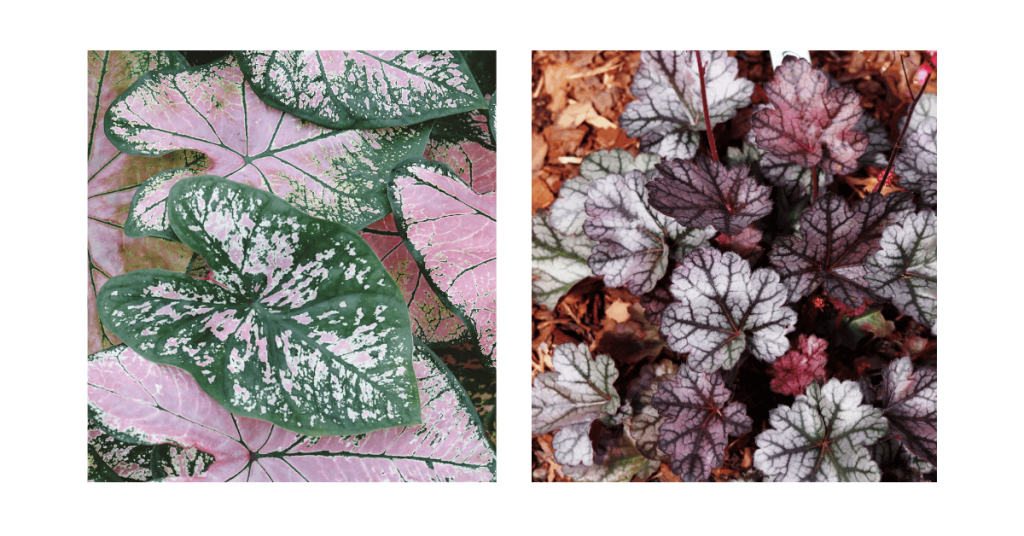
Caladium
A showy annual with vibrantly coloured leaves that will illuminate any shady area. Caladiums like partial to full shade but if you’re a pet owner be careful - this plant is toxic to cats and dogs.
Heuchera or Coral Bells
Coral Bells are perennials that also come in a wide variety of beautiful leaf colours. This plant will thrive in shade, but can also tolerate some sun and they are drought tolerant.
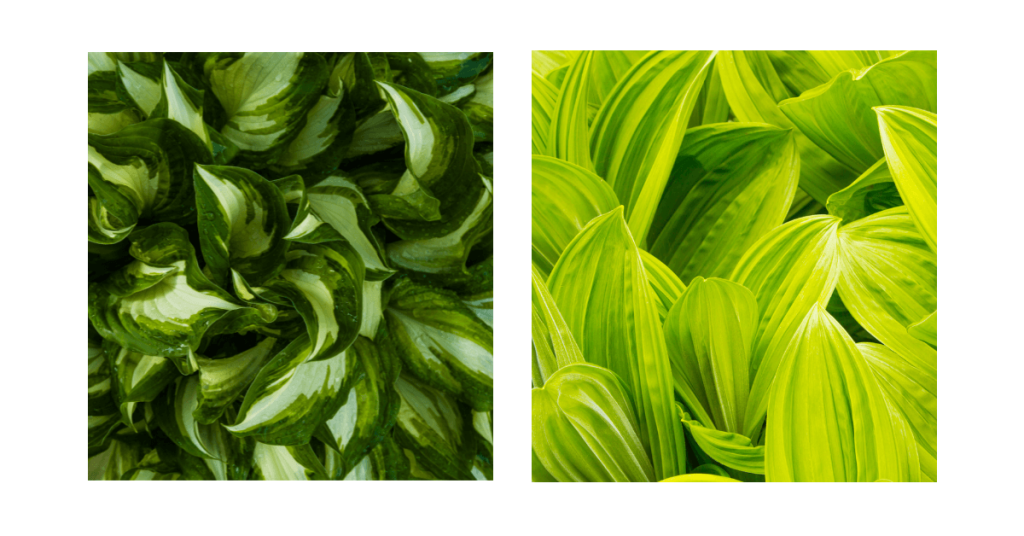
Hosta
Known for its lush foliage, this perennial comes in such a wide variety of sizes, colours, and sun tolerance, and is by far a favourite. Many people don’t think of it as a container plant but for all of the features mentioned, it makes a great choice as a potted plant.
Fertilizer
Like all plants in containers, check the moisture levels often and provide water and fertilizer throughout the growing season. This article contains more information on caring for annuals and perennials.
Design
While you can mix and match any plants for shade containers, this article about container design ideas for sun-loving annuals may inspire you!
As mentioned above, many plants will do very well in containers. It’s also fun to experiment with annuals and perennials you can’t necessarily grow in the garden, or for anyone with a patio or balcony. Don’t be afraid to mix annuals and perennials together in a container, or to use one statement plant. Some potted plants will need extra protection in the winter like perennials, small trees, and shrubs, but growing plants in containers is a great way to add a splash of colour, or include some bold foliage in tough-to-grow areas.