
Clematis, the climbing plant that looks far too elegant and exotic to be growing in Ontario! Not only beautiful, Clematis gets along well with climbing roses (this is a gorgeous combination), trees, shrubs, and perennials. Different varieties of Clematis can also be grown together and provide a succession of blooms!
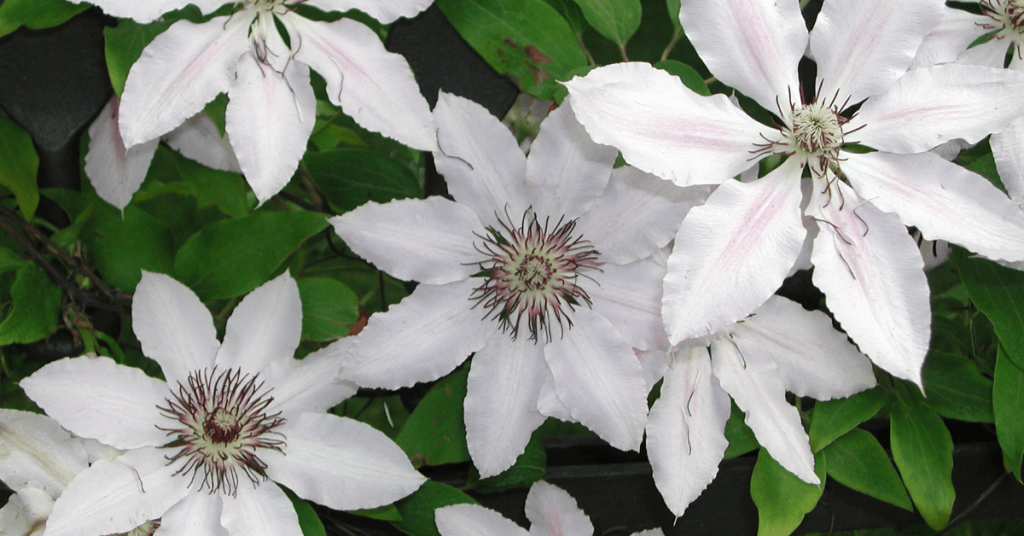
The variety of shapes, sizes, and colours available make Clematis a very desirable plant. Ranging from delicate, white, bell-shaped blossoms to dreamy, pastel rosettes, or sumptuous, deep purple double-flowers, and everything in between.
A stroll through the garden centre is a must to peruse Clematis labels and choose the ones that are most appealing to you. The varieties that we have will all suit our southern Ontario climate.
While the blooms vary widely, planting Clematis is straightforward. A few simple considerations when planting will help avoid root stress or Clematis Wilt, which are common problems when the location is wrong and the soil isn’t enriched. Here are some simple steps to ensure success!
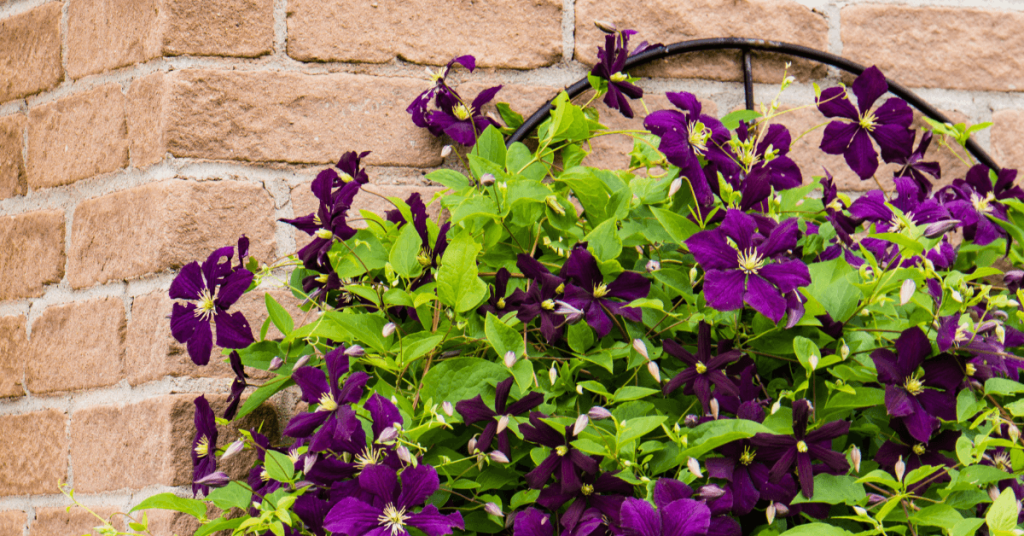
Location, location, location!
Clematis like at least 6 hours of sunlight a day, but not an excessively hot location. Some shade in the late afternoon will extend the length of time that a bloom looks good.
Provide Support
A trellis, archway, arbor, or even a shrub or tree, all make excellent supports for your clematis. Install a well-secured support system first, to avoid damaging your clematis roots.
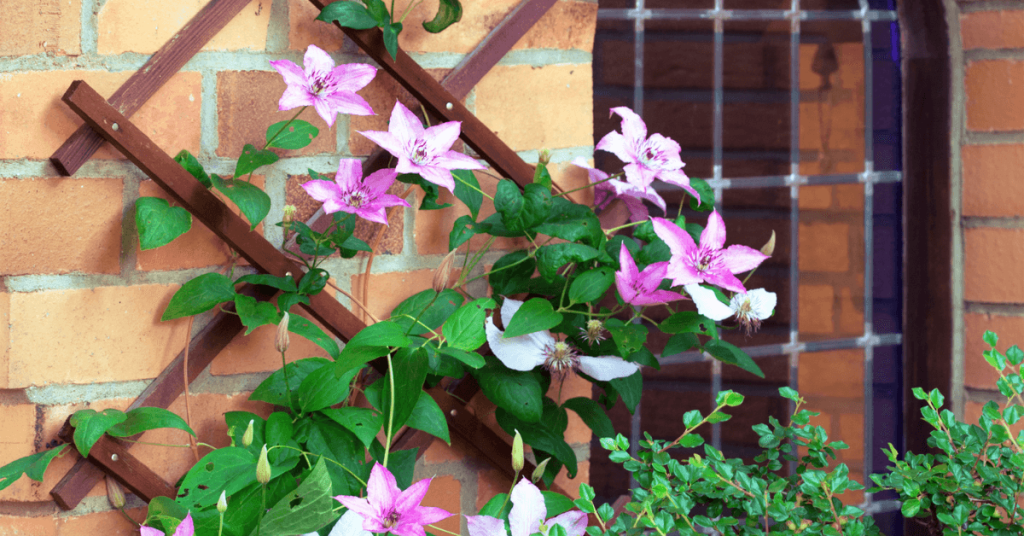
Soil is the Key
Fertile, well-drained soil is essential to successfully growing Clematis. These vines are heavy feeders and require nutrients to produce their show-stopping flowers. Prepare your soil by mixing in plenty of compost or well-rotted manure.
Prepare the Planting Site
Dig a hole that’s as deep as it is wide. Use the plant as your guide and dig approximately 13 cm or 5 inches deeper than the root ball. Add some of the soil that’s been amended with compost, then check to see that your plant is sitting at the right height - the top of the root ball should be even with the soil around it. Once the root ball is sitting at the right height, backfill the rest of the hole with more amended soil and gently firm the soil around the plant with your hands.
Watering
Water deeply after planting, and keep the soil and root ball moist, not water-logged, throughout the season. Be sure to water at soil level, not with an overhead sprinkler which can scorch leaves and flowers.
Mulch
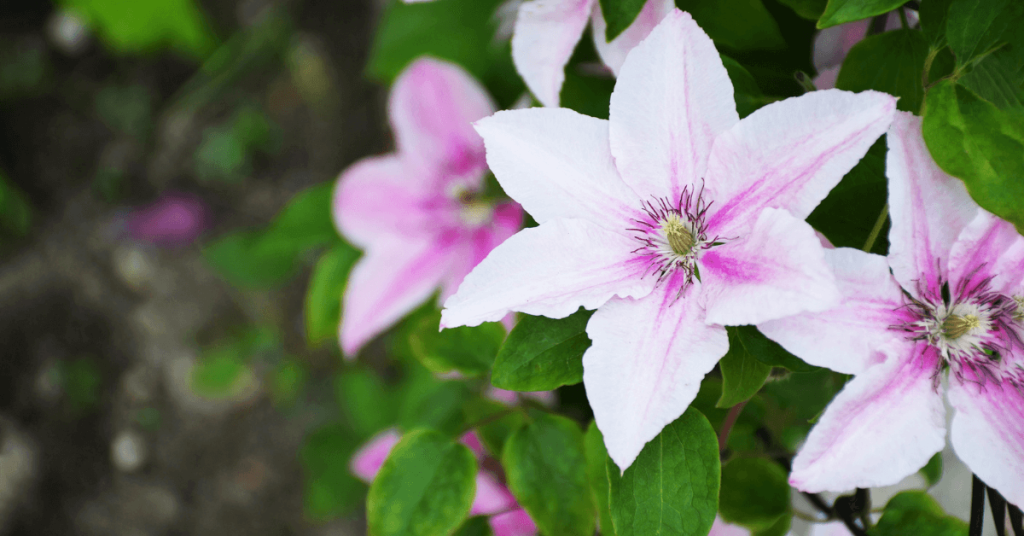
Mulch the soil around your plant to help suppress weeds and maintain moisture. Compost, organic shredded bark, or straw works well.
Fertilizer
Fertilize regularly throughout the season, or apply a slow-release fertilizer at the beginning of the season to maximize the blooming potential of your Clematis. For more information about fertilizer, see this article about caring for annuals and perennials.
Pruning
Pruning instructions are often included on your plant label as requirements vary from variety to variety. If in doubt, there are many growers who recommend pruning early blooming Clematis a little, after they bloom, to maintain the desired shape of the plant. For later blooming types, cut the vines right back to 45-60 cm in early spring.
Following these steps will provide a healthy environment for your Clematis to thrive. But be careful, Clematis are like potato chips - bet you can’t have just one!
Ah, the sanctuary of a nice, cool shade garden on a hot summer day. Lush foliage comes to mind, and maybe a nap in a hammock. But what do you do when you have a shady spot in the garden that isn’t so lush and could use a boost? A planted container or two can be just the thing!
Here’s a scenario that can happen to any of us. A plant isn’t doing well and needs to be moved. Or maybe something just didn’t survive. Now what to do with that gap? The beauty of planting in pots is that you can move them around, but also create conditions for plants that you might not have in the garden. For example, one of the toughest places to grow anything is in dry shade - tree roots can compete for space and for moisture. That’s when planting in a container, or several is the way to go.
What is a Shade Garden?
In general, a shade garden is an area that gets less than six hours of sunlight in a day. When choosing plants, remember that some will tolerate shade better than others. When it comes to plants, shady areas are divided into three categories:
- Full shade - no direct sunlight, only reflected sunlight from surrounding areas
- Partial or Semi shade - in the sun for part of the day and shade for the rest
- Light shade - sunlight that is filtered, like under a tree with smaller leaves

Choosing Containers and Pots
While containers can be made out of a variety of materials like plastic, concrete, wood or fiberglass, the key is using a pot with at least one drainage hole.
Keep in mind that smaller pots will dry out more quickly. Larger pots retain moisture longer, but when they’re full of soil and plants they get heavy. Look for a Goldilocks pot that’s “just right”, or splurge on a Schwarzenegger-sized pot if you’re looking to build up those biceps!
Whatever pot size you choose, always use a growing medium that’s designed especially for containers. At Eising Garden Centre you’ll find potting mix which is light and airy, unlike garden soil, which will compact and retain too much moisture. If you’re using a big container, you may want to use a smaller, more shallow pot as an insert, or put natural mulch in the bottom before you add potting soil. Doing this will reduce the amount of soil used, and keep the container lighter as well.
Plant Selection
This is the fun part! While many plants do well in pots, here are just some of our favourite shade plants for containers:
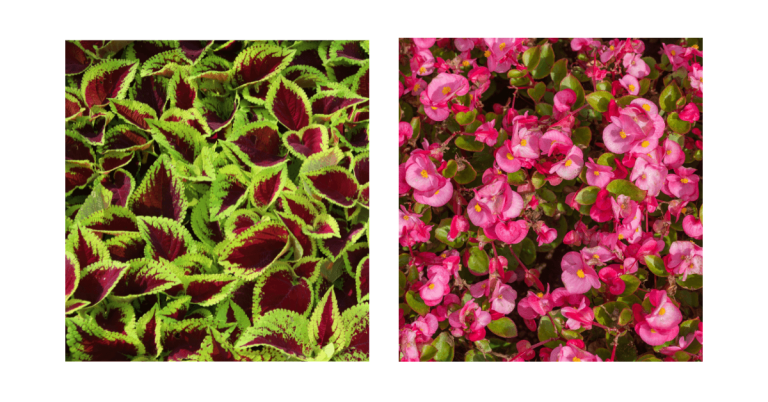
Coleus
Coleus is an annual that will grow in full shade and comes in a variety of very interesting leaf colours. This plant is known for its vibrant leaf colours, not its blooms.
Begonia
Begonias come in a wide variety of shapes and colours, making them a versatile annual for containers. Some varieties are happy in full shade, while others like light, or filtered shade. Most begonias like good drainage so their roots are not too wet.
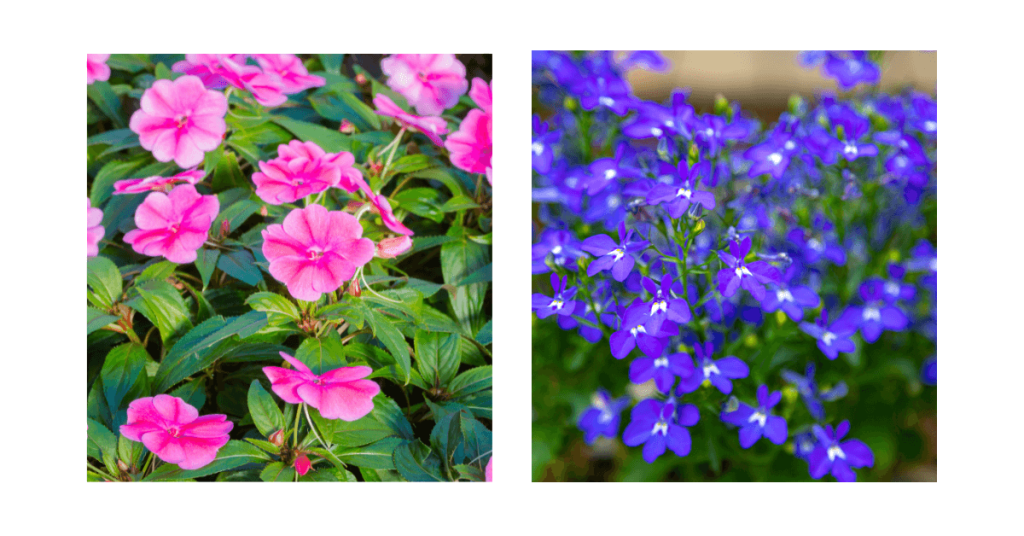
Impatiens
These annuals are popular for a reason! They come in a wide range of very brightly coloured flowers that do well in full shade.
Trailing Lobelia
The trailing type of Lobelia is an annual that grows well in shade. The masses of prolific blooms come in many pretty colours to mix and match with other plants.
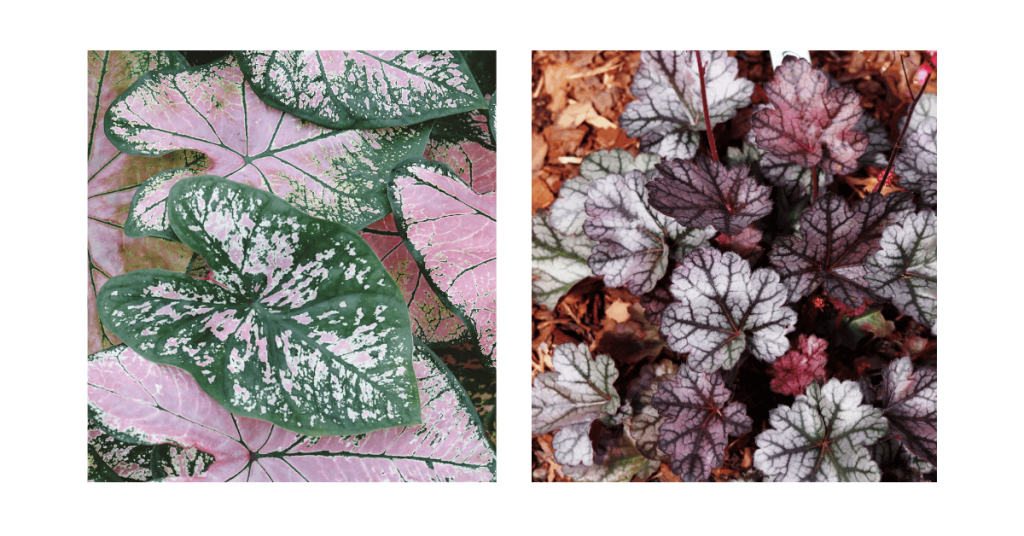
Caladium
A showy annual with vibrantly coloured leaves that will illuminate any shady area. Caladiums like partial to full shade but if you’re a pet owner be careful - this plant is toxic to cats and dogs.
Heuchera or Coral Bells
Coral Bells are perennials that also come in a wide variety of beautiful leaf colours. This plant will thrive in shade, but can also tolerate some sun and they are drought tolerant.
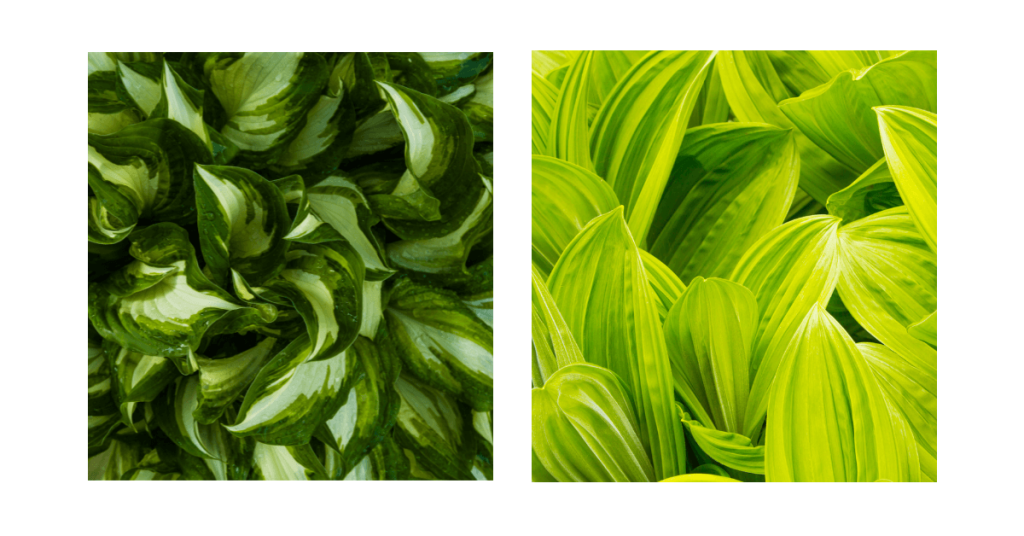
Hosta
Known for its lush foliage, this perennial comes in such a wide variety of sizes, colours, and sun tolerance, and is by far a favourite. Many people don’t think of it as a container plant but for all of the features mentioned, it makes a great choice as a potted plant.
Fertilizer
Like all plants in containers, check the moisture levels often and provide water and fertilizer throughout the growing season. This article contains more information on caring for annuals and perennials.
Design
While you can mix and match any plants for shade containers, this article about container design ideas for sun-loving annuals may inspire you!
As mentioned above, many plants will do very well in containers. It’s also fun to experiment with annuals and perennials you can’t necessarily grow in the garden, or for anyone with a patio or balcony. Don’t be afraid to mix annuals and perennials together in a container, or to use one statement plant. Some potted plants will need extra protection in the winter like perennials, small trees, and shrubs, but growing plants in containers is a great way to add a splash of colour, or include some bold foliage in tough-to-grow areas.
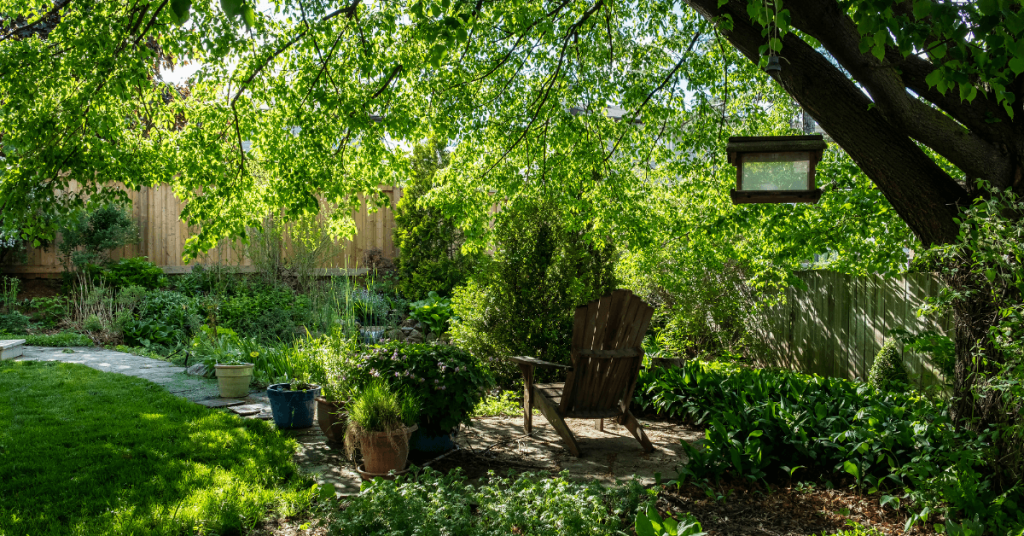
You’ve selected your annual and perennial plants, chosen their location in the garden, amended the soil and everything is planted. Or close to it! Now what? How can you take care of them to maximize their potential? A bit of simple and easy maintenance will keep your plants healthy and blooming.
Once they start blooming, most annuals will flower all season long, until cold temperatures or frost put an end to their display. Many perennials will bloom for several weeks. We listed some of our favourites in this article if you missed it.
Here are some simple tips to keep your plants looking great!
Water
Newly planted annuals and perennials, even drought tolerant plants need to be watered at planting time.
Perennials will need water every week for the first two weeks and during periods without rain. Most perennials do well with a minimum of one inch of water per week.
Water is absorbed through the roots, so water the soil and not the foliage. Low (pressure) and slow (volume) allows water to adequately soak into the soil instead of running all over the place! It’s also best to water in the morning rather than at night because foliage that stays wet all night is susceptible to rot and foliar diseases.
Annuals planted in containers will need to be watered more frequently than annuals in a flower bed. Hanging baskets and planters will most likely need water daily, and in the heat of summer twice a day. For hanging baskets, the water should run out of the bottom.
In planters or the garden, use your finger in the soil to test it out - if it feels dry, your plant needs water.

Mulch
Mulch is always a very good idea to maintain soil health in the garden no matter what you’re planting!
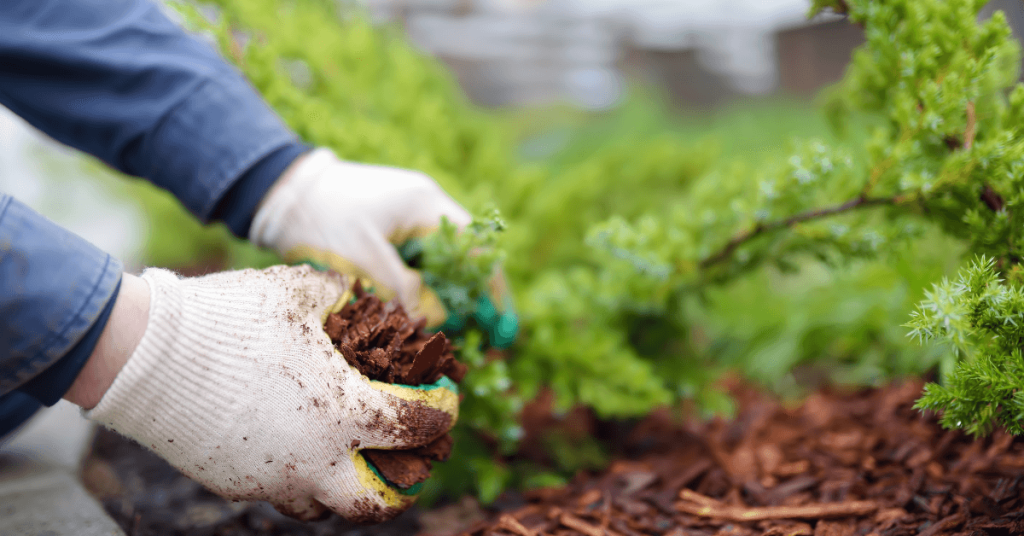
An organic mulch will help enrich your soil, and keep it moist. A layer of at least 2 inches of mulch will also suppress weeds. Who doesn’t love that? The only caveat: don’t allow the mulch to touch your plants.
Deadhead
Deadheading or removing flowers that have finished blooming is important for many plants. Doing this allows the energy from the plant to be sent to producing new blossoms in annuals, and some perennials.
How do you do it? Take sharp, clean scissors or pruners, and cut off any dead flowers just below the base of the flower or above the first leaf. With some plants you can simply break off the spent flowers.
Bonus: your plants will look much better without dead flowers on them!
Note: some annuals don’t need deadheading. For example, Verbena, Lantana, Lobelia, Impatiens, Petunias, and Begonia.
Fertilizer
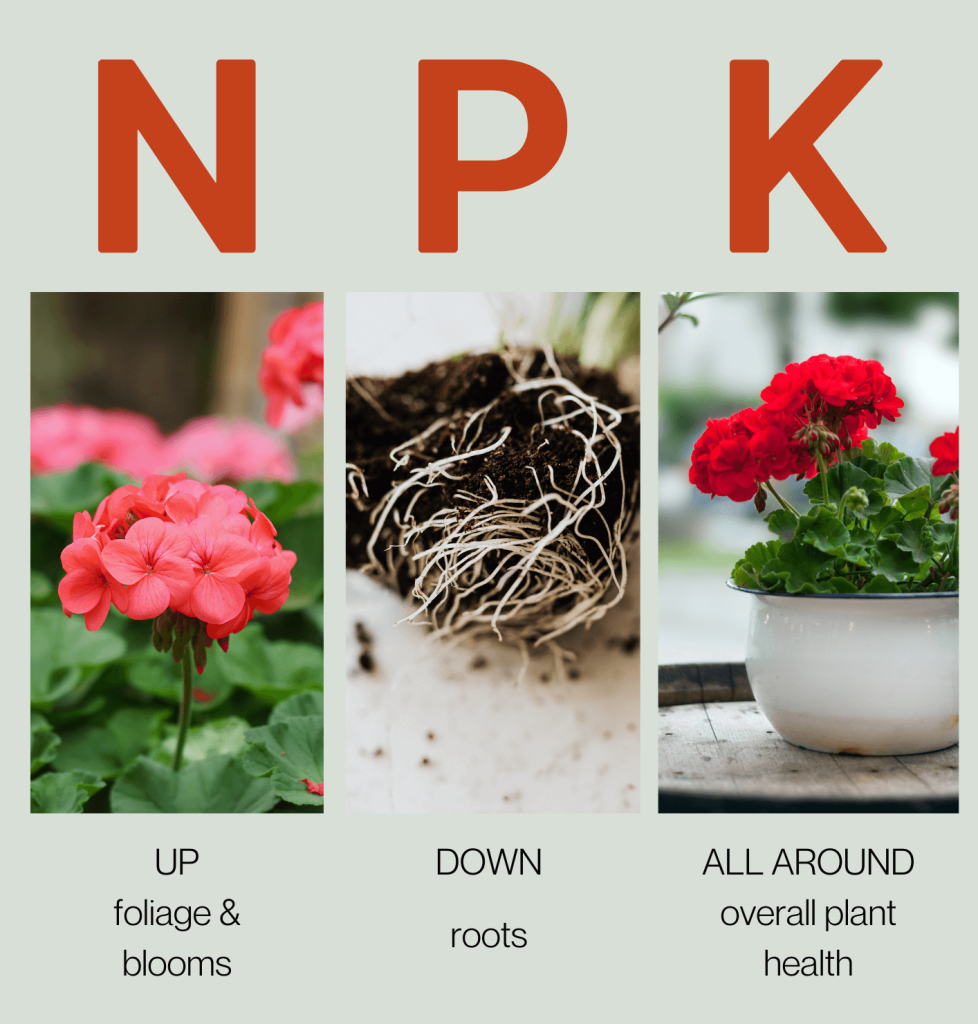
Let’s face it, fertilizer packaging can be confusing. They often feature three letters and three numbers. What does it all mean? What is N-P-K? This Eising article explains all you need to know about fertilizing and is worth the read.
However, in a nutshell, this is a really easy way to remember the function of N (nitrogen), P (phosphorous and K (potassium) when it comes to fertilizing. The numbers are the percentage of each of those nutrients that the fertilizer package contains.
N = UP - foliage and blooms
P = DOWN - roots
K = ALL AROUND - overall plant health
If you used an organic, slow-release fertilizer when you planted your annuals or perennials in the ground, you shouldn’t have to fertilize again during the season.
Most potting soil in planters or hanging baskets contains the nutrients needed to help your plants get started. An easy way to maintain nutrients throughout the season is sprinkling Shake n’ Feed Ultra Bloom 10-18-9 slow release fertilizer on top of the soil. It will slowly feed your plants for three months. For heavy feeders like petunias or plants that are hungry, looking light, and in need of an instant boost, use a water-soluble fertilizer with an NPK ratio of approximately 20-20-20 every two weeks to keep them blooming.
For perennials, trees and shrubs that need more nutrients during the year, Shake n’ Feed slow release 18-6-12 fertilizer can be applied in the spring and it will feed your plants for three months during the growing season. The same fertilizer can be used for trees, shrubs and perennials in subsequent seasons.
As a rule of thumb, it’s better to under-fertilize and watch how your plants respond. Over-fertilizing can lead to sick plants that have yellow or brown leaves. In your garden, the only way to know what your plants need is to test the soil. Otherwise you’re guessing! To test your soil in Ontario, samples can be sent to The University of Guelph.
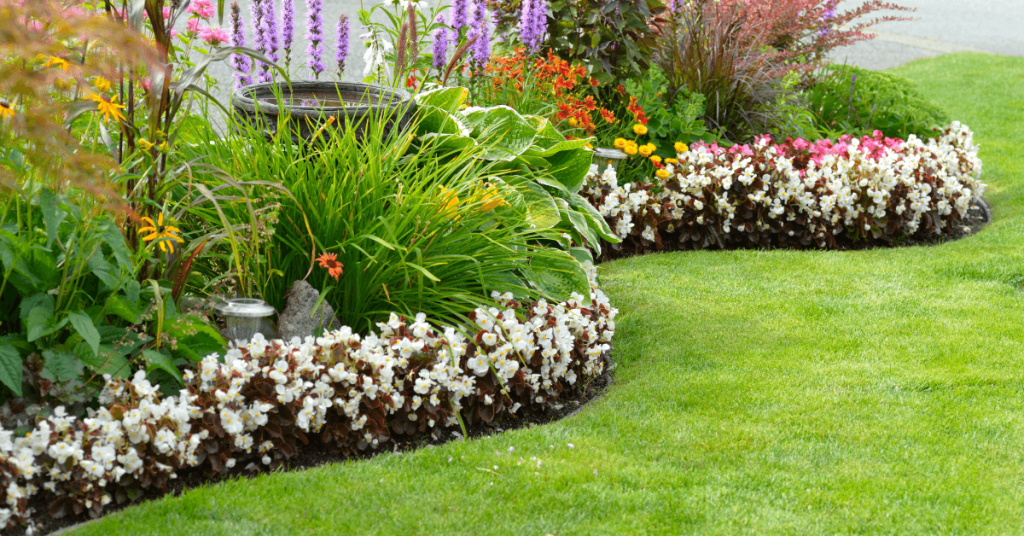
If dull days have you feeling a little down, a fresh, green, tropical plant might just be the tonic to inject some life into your living space and brighten things up.
Go Green
Spring flowers are beautiful, but the hero of Spring is the abundance of green. As everything comes back to life, it’s the colour that begins to envelop us, and it just makes the world look so much better again.
Adding greenery to your home can have that same overall effect! If you’re new to houseplants, there’s really something for everyone. There are tropical plants that can be very easy to grow and require very little attention. Plant care (how often they need water) and conditions (how much light they need) are two main factors to think about when choosing the best indoor plants for you.
Here are four beautiful houseplants to consider:
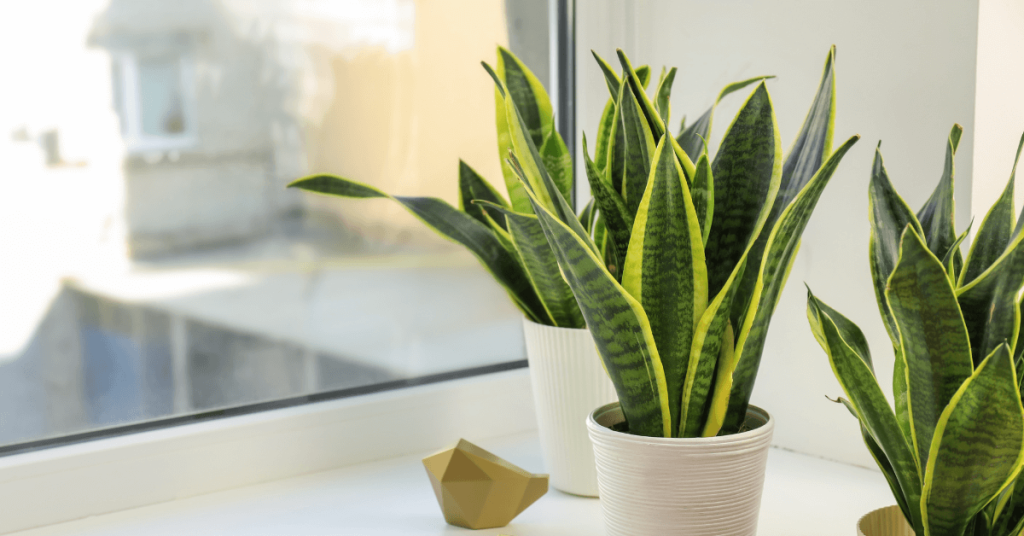
Snake Plant
Dracaena trifasciata or Snake Plant is a very hardy indoor plant, some say nearly indestructible. It will grow in almost any amount of light - dark to bright, so it can be placed virtually anywhere in your home. These tough plants require very little water - only water them if the soil feels dry. Overwatering may lead to root rot, so save your love and attention for something else, your Snake Plant just needs a little sip now and then.
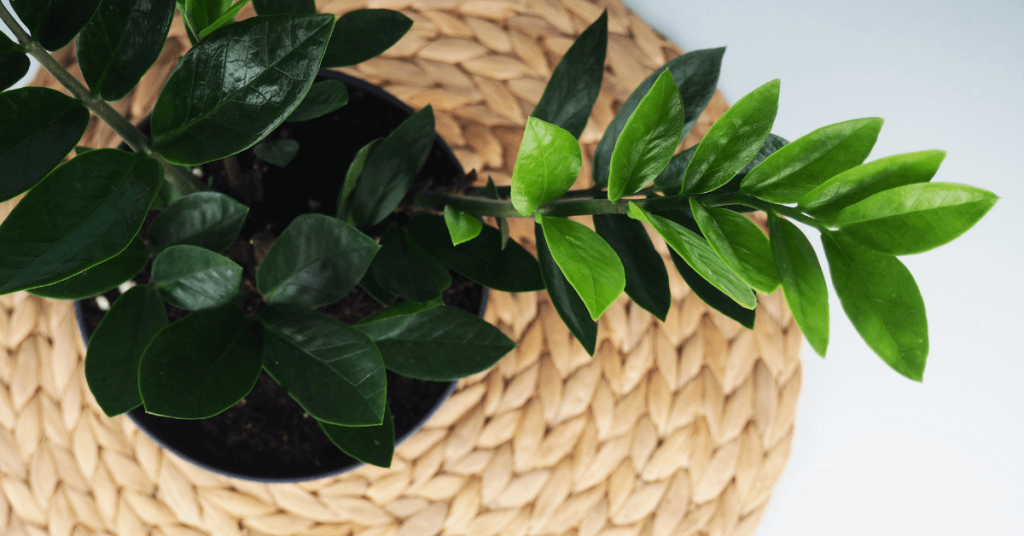
ZZ Plant
Wondering why the strange name? Technically its name is Zamioculcas zamiifolia…so let’s stick with ZZ! This is another easy to care for house plant. It likes bright, indirect light and some water every couple of weeks. Basically, a drink whenever the soil dries out. Not bad for a plant that looks like its shiny leaves have had a spa day.
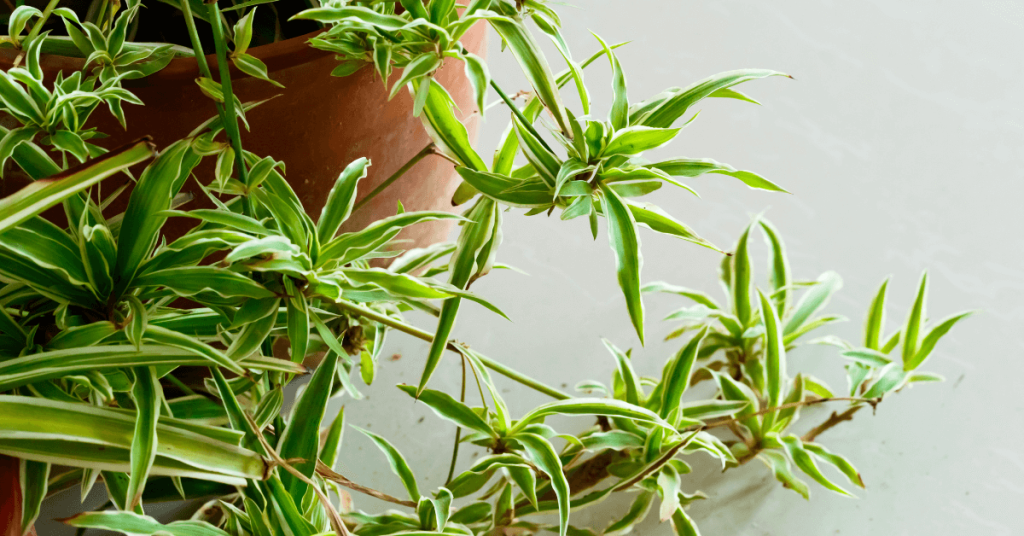
Spider Plant
Spider Plants are predominantly known for their graceful arching foliage, but they do send out a stem of small, star-shaped flowers fairly regularly on mature plants adding to the beauty of this popular house plant. Bright indirect light is where it thrives, and it does enjoy regular watering. Humidity can also help the Spider Plant stay healthy which makes it a great candidate for a bathroom with a shower or tub in it.

String of Pearls
Tiny, pea shaped leaves that look like pearls on a string make this a very unique houseplant. Unique may be a code word for: this one needs a little more attention. It’s best grown in a plant hanger or on a shelf where its trailing lengths of pearls are undisturbed. Morning light is best, not full light in the heat of the afternoon. During its growing season in Spring and Summer, keep the soil moist. It can be watered less in the winter. This is a plant that you can talk to each day while you give it a little drink, and it may become a very loyal friend. String of Hearts or other succulent, trailing vines are also plants to consider when you come in to shop and you’re liking the sound of this one.
When you do come into the store to see us, we can help with any other questions that you may have, like whether or not fertilizer is recommended and when to repot. Or, read this article on Tropical Plant Care.
When you pick out your new tropicals, we also have a great selection of decorative pots to place your new plants in to enhance your decor.
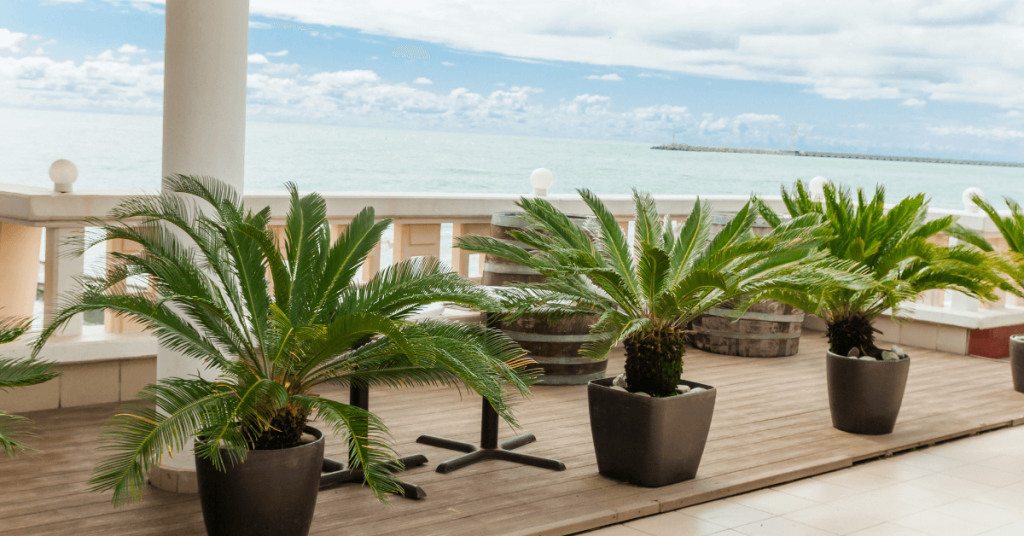
Eising Exotics
If you’re looking for a really special feature plant, or maybe to make your garden or pool area feel like you’ve been transported to a southern paradise, it’s time to pre-order larger palms and tropical plants! Shopping for these tropicals will surely make you feel like warm Summer breezes are just around the corner. Visit the Eising Exotics page now to view what’s available and place your pre-order.
Hydrangeas are some of the most beloved flowering shrubs around the world—you only need one look at their big, voluminous flowerheads to see why they’re so easy to love. There are hundreds of hydrangea varieties, each belonging to one of six main types. One type, in particular, known as mophead hydrangeas, is famous for a very peculiar and whimsical trait: the flowers can change colours!
The Colour-Changing Shrub
The flowers of the mophead hydrangea change as a reaction to their soil chemistry, resulting in flowers from bright pink to neon blue and every shade in between. However, the shift in shade doesn’t happen overnight—it requires some planning, and a fair bit of patience, to change your hydrangea’s colour.
The good news is that anyone can encourage their mopheads to change colours with the right supplies and a few tips! Here’s how to do it in your yard.
From Pink to Blue
When planted in alkaline soil, mophead flowers bloom in brilliant shades of pink. By increasing the acidity of the soil over time, the flowers will gradually shift to a lovely shade of lilac, and eventually, turn vivid blue with a low enough (more acidic) pH. It’s a true delight to behold this colour change taking place throughout the summer. Some crafty gardeners have even managed to create an “ombré” effect by keeping a row of soil more alkaline on one end and more acidic on the other!

There’s one caveat to the fun; however: while pink hydrangeas will readily fade to blue, it’s nearly impossible to reverse back to pink. Those who have attempted this tend to end up with a rosy purple, which is pretty enough, but never quite the same. With that said, blue mopheads are so gorgeous; there’s a good chance you’ll be happy to keep them around as-is!
How to Turn Your Hydrangeas Blue
Changing your soil pH requires the use of soil amendments, which can gradually alter the soil chemistry. If your hydrangeas are blooming pale pink to lilac, you can intensify the pink colour by adding garden lime to the soil. Follow the package directions to ensure you’re using the right amount at once, and over time, those hydrangeas will start blushing!
However, most mophead growers are in it for the blue blooms. Blue is a relatively uncommon colour in the gardening world, so those gorgeous blue blooms are highly coveted! Mopheads start blooming blue flowers once the soil pH reaches 5.5 or lower. The best way to increase the acidity of the soil is with the use of aluminum sulfate, a common soil amendment that we carry here at Eising. You’ll need to mix a quarter-ounce of aluminum sulfate into a gallon of water and soak the soil around your mopheads. You’ll get the best results by starting in spring, but you can start at any point during the season. However, once you start treating the soil, you’ll need to reapply the amendment every month until you reach the desired result, and then maintain it with an application every other month during the growing season.
To maintain the acidity of your soil, you can also fertilize with acidic compost like orange peels, coffee grounds, eggshells, or peat. While you won’t see results right away, these will help increase soil acidity in the long term, so that you eventually won’t have any need for the aluminum sulfate.

Considerations
Before you start modifying your soil acidity, keep your other plants in mind, as well. Each plant has a different tolerance to acidity—some love it, some can’t tolerate it. As your soil acidity changes, so will your soil’s suitability for your other favourite plants, so make sure to plan around that. Keep an eye on the nursery tag when you shop for plants to grow around your mopheads to ensure you’re leaving with a good fit. We recommend using soil tests regularly to monitor soil acidity throughout your garden. These tests are quick and easy to use, and lots of fun to do with kids!
A garden full of pink, purple, and blue hydrangeas is a truly magical place—and the pride of many Southern Ontario gardeners. Chat with us in-store for plant and product recommendations as you embark on this ultra-popular gardening project. Then, prepare to be spellbound by these enchanting shrubs!
We tend to get a lot of questions about rose care, and while roses do require more maintenance than other common shrubs, they’re by no means difficult to look after. A little bit of regular upkeep leads to some pretty impressive results, so if you’re a gardening novice, it’s definitely a worthwhile project. Here’s how you can grow and care for roses in Simcoe, Ontario.
Planting Roses In Southern Ontario
Depending on the variety you choose, you can use roses for border plants, garden bed accents, climbing plants to train over arbours and patio lattice, or as container plants. Whatever location or growing medium you select, just ensure it’s suited to the size and growth habit of your chosen rose variety, since there are so many different kinds to choose from. That being said, almost all roses will need at least 6 hours of direct sun every day, so make sure your chosen location has plenty of light.

The best soil for roses has excellent drainage and high nutrients, to set your rose bushes off to a good start, you’ll want to loosen up the soil thoroughly. Ideally, you’ll want sandier, loamy soil with a lot of compost mixed in.
If you’ve purchased a rose bush with bare roots, you’ll want to soak the root ball in water for up to 24 hours before planting. If it’s a potted rose, you won’t have to worry about that step. Plant your roses about 1.5–2 feet deep to fit their large root system, then fill the hole back up with the soil, compost and bone meal mix. Mound it up slightly around the base of the plant.

How Often Should I Water Roses?
Generally, roses need about 1-3 inches of water per week. The thing is, roses are pretty susceptible to mildew and other fungal diseases if they get soggy and don’t receive much air circulation. That means you’ll want to avoid getting the leaves wet whenever possible and stick to watering the soil directly. The easiest way to do this is with a trickle hose set up near the base of the plant. Just turn it on and leave it for a while, so it thoroughly saturates the ground.
If we experience a lot of rain in a short period, you can skip on watering, and should check your roses regularly for any signs of bacteria or fungal growth. Remove any damaged pieces with sanitized shears, wiping the blades clean between every cut, and disposing of the damaged parts safely in the garbage, not the compost bin.
Rose Care: Mulch, Fertilizer, And More
Applying a layer of mulch on top of the soil around your roses will help to retain moisture and control weeds. Some gardeners insist that cocoa bean shells are the best mulch for roses, but we’ve found that classic bark mulch still works perfectly fine.

In spring, feed your roses with a fertilizer formulated specifically for roses. For best performance and blooms, apply the fertilizer every 2-3 weeks during the growing season. There are also special fertilizers made for transplanting, easing the transition when planting your rose. Be sure to water your rose before and after applying fertilizer as their roots are susceptible to being burnt.
Since there are so many types of roses, this means there are different times of the seasons and different styles of pruning. Use a pruning saw or hand pruners to remove any damaged branches or awkward pieces that jut out too far. If there are some densely packed areas with branches, it may help to thin them out a bit to help prevent fungal growth.
We have so many spectacular colours and varieties of roses to grow in Southern Ontario. Visit Eising to see our full collection, or check out our online store! We have citywide delivery and curbside pickup available all summer long.
By now, if you've been caring diligently for your seedlings, they're likely bursting out of your starter trays or pots! You've watched them grow up, and now it's time for them to graduate into the garden. But you may be wondering how to take the next steps. How do I transplant, and when? Answering these questions is key to success at this pivotal moment.
Transplanting Overview
Transplant timing hinges upon our last frost date, which is May 19 in Simcoe. Frost-hardy veggies can be transplanted before then, but tender plants should wait a little longer. Sometimes seedlings can outgrow their trays before their graduation time. Don't worry, that means they're growing well! The solution is simply to move them into a bigger pot.
How to Repot
Your young ones are ready for a larger home when their roots have filled their containers and their leaves are crowding out their neighbours. The new pot should be twice as large as the old one.
Begin by watering the seedlings. The damp soil will adhere to the roots and keep them from drying out. Don't tug on the stems. Instead, use a butter knife to carefully lift them from the container or squeeze them out from the base. If a few are intertwined, gently tease them apart. With a pencil or your finger, dig a hole into their new pot or plug tray. Place the seedling, firm the soil around it, and water them all once you finish. The roomier pot will give them a chance to stretch their legs before their big move.
When to Transplant into the Garden
Historic weather averages tell us when to take the next step. Often, we need to adapt to unusual weather or unique conditions each year, but here is a general guide for our climate.
April 15 - 25
Frost hardy: asparagus, broccoli, Brussels sprouts, cabbage, lettuce, onions, radishes, peas, spinach, parsnips, early potatoes.
April 25 - May 10
Semi-frost hardy: beets, carrots, cauliflower, celery, late potatoes, early sweet corn.
May 15 - 25
Semi-frost tender: snap beans, sweet corn, tomatoes.
May 25 - June 5
Frost tender: cucumbers, eggplant, melons, peppers, pumpkins, squash.
Hardening Off
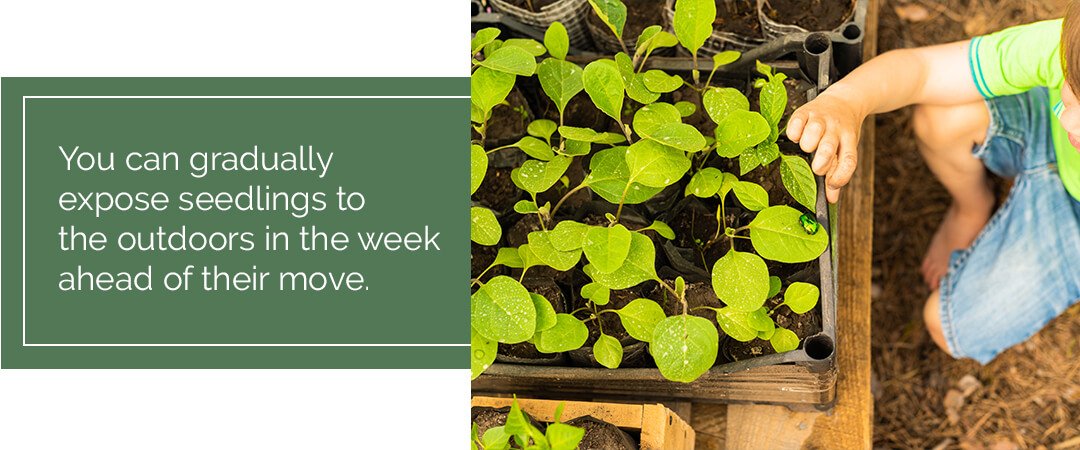
You can gradually expose seedlings to the outdoors in the week ahead of their move. While not absolutely necessary, your veggies, especially the tender crops like tomatoes, will be strengthened by the gradual transition.
Begin by setting them in a shady spot away from the wind for a few hours each day. Slowly increase their exposure to sunlight and breeze until they spend a whole day and night outside. Make sure to keep them well-watered, as their small pots can quickly desiccate. When the time comes to graduate, they'll be ready to brave the elements.
How to Transplant into the Garden
Follow these steps for transplanting success:
- First, make sure you've loosened and enriched the soil with compost or another organic fertilizer.
- Choose a warm overcast day and plant in the morning or evening.
- Water the seedlings to hydrate their roots.
- Determine the correct garden spacing in advance.
- Gently squeeze the tray around each plug to remove them. Only remove each seedling just before moving to minimize the roots' exposure to air.
- Using a trowel or your fingers, make a hole and drop the seedling into it, firming up the soil around it as you plant. Leggier seedlings can be planted a little deeper as long as you don't bury the first leaves.
- Water the newly planted area immediately after finishing.
- They will likely need to be watered daily for a few weeks afterwards. Check the soil moisture and water as needed to prevent them from drying out.

There are a few more tricks for particular plants like tomatoes and cucumbers. But in general, these are the basics for transitioning your veggies into the ground. If you haven't started your seedlings, check out our selection of starter plants in our online catalogue. If you need more advice, our garden centre would be happy to share more tips for success!