
Perennial Climbers to Start Growing Now
By Ava Green
Great garden design plays with height, and vines are among nature’s most elegant solutions. They transform a bare wall, a plain fence or an open pergola into something that feels alive and intentional. And because these are perennial climbers, they come back every year, a little fuller and more beautiful than the season before.
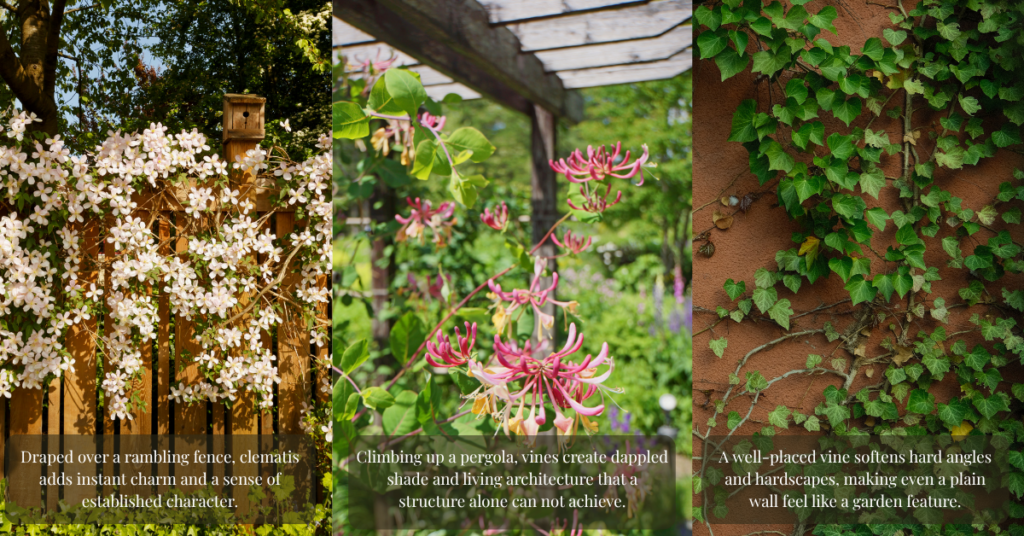
Start growing one of these beauties now, and you’ll be enjoying them for years to come!
Clematis
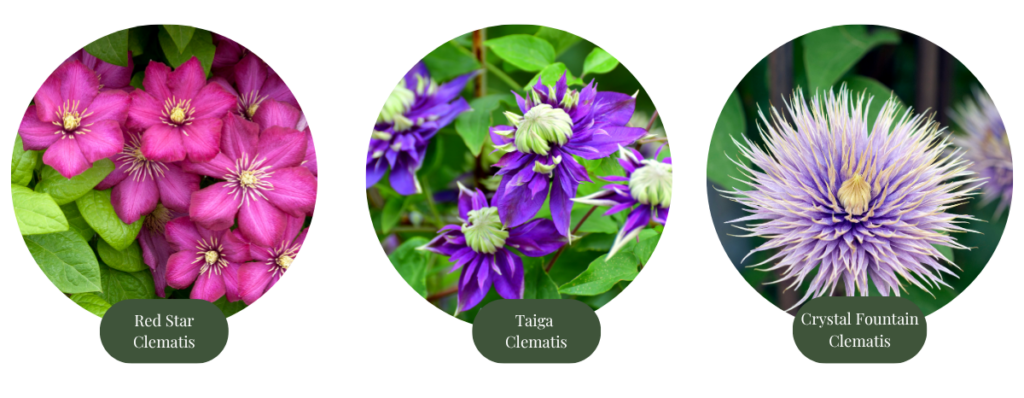
Clematis has earned its place as one of the most loved climbers in the garden, and once you discover the extraordinary range of flower shapes, sizes and colours available, you will understand why.
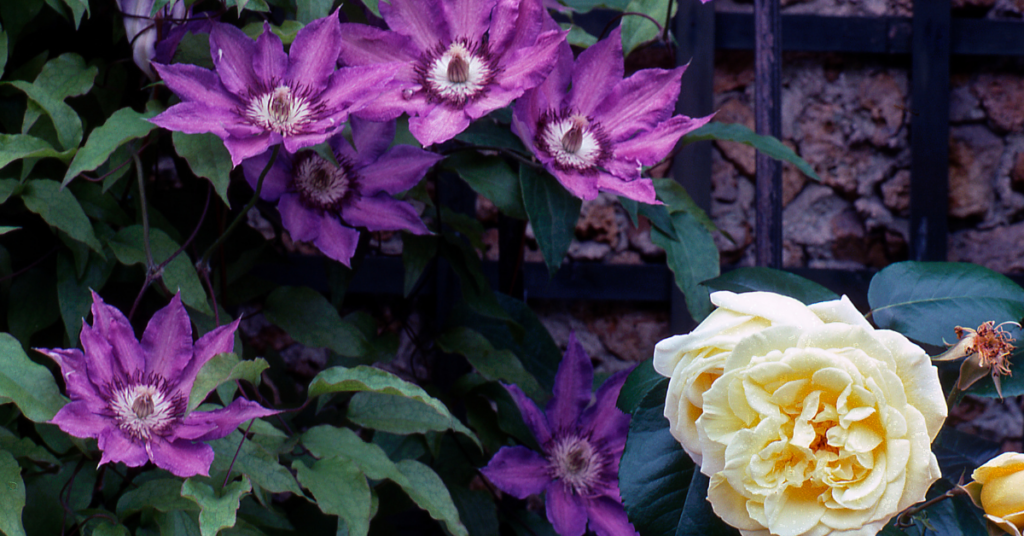
For a look that feels straight out of an English cottage garden, pair a Clematis with a climbing rose. The two intertwine beautifully, flowering together in a spectacular combination.
Honeysuckle
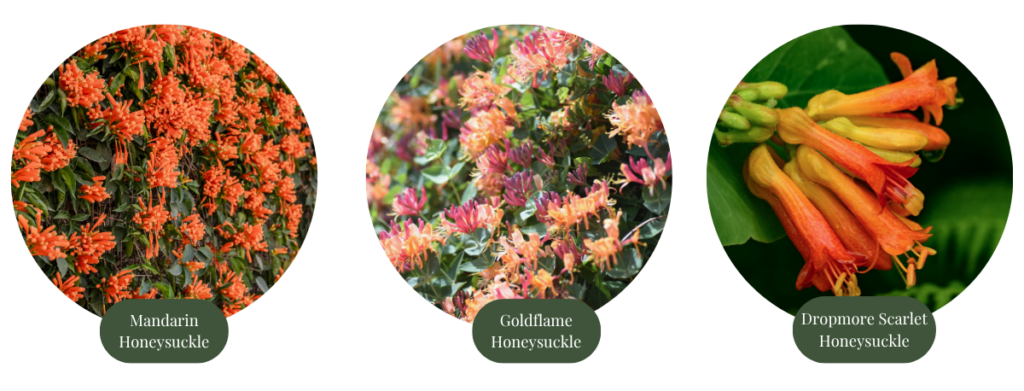
The sweet, heady scent of Honeysuckle wafting through the air on a warm summer evening is a good reason to include this climber in your garden. But its tubular or trumpet-shaped blossoms are also irresistible to hummingbirds, bees and butterflies, making it valuable to your local ecosystem too. Few vines reward you quite so generously for so little effort.
Climbing Hydrangea
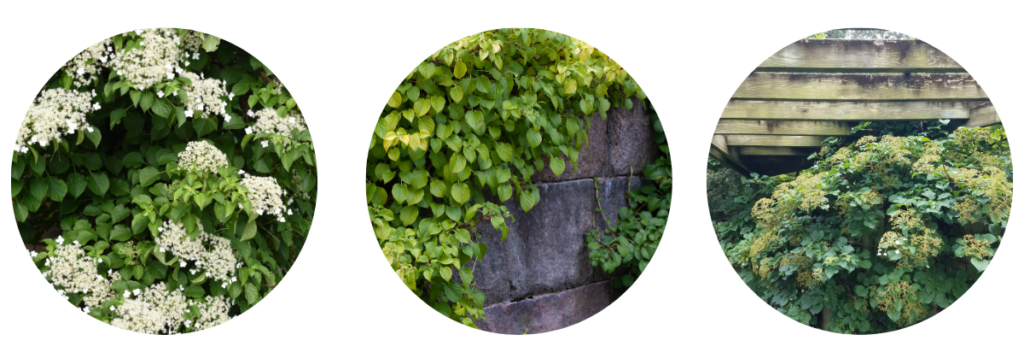
It may be slow to start, but once it’s established, Climbing Hydrangea grows with remarkable vigour, covering walls, fences and structures in lush, deep green foliage. No trellis is needed; it produces its own aerial rootlets that allow it to cling independently to almost any hard surface. In summer, the entire plant is blanketed in elegant white lacecap flowers! It tolerates shade better than most climbers, making it an exceptional choice for a north-facing wall or a shady spot in the garden.
Porcelain Vine
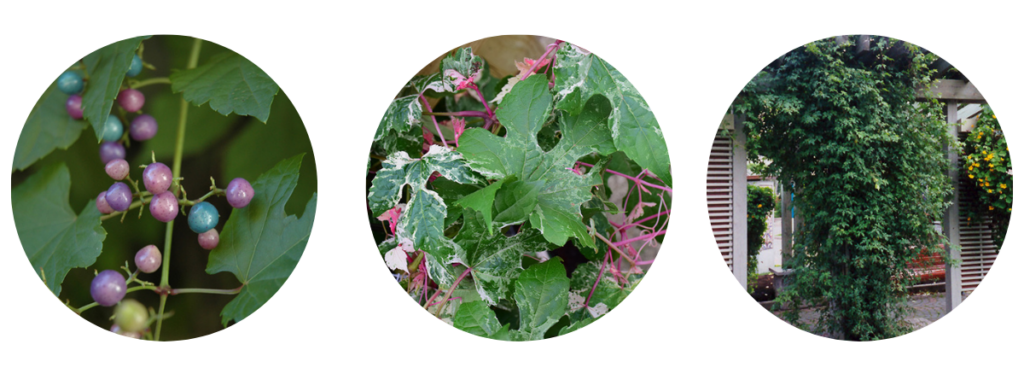
This fast-growing climber is a treasure for its extraordinary ornamental berries. Clusters of small, jewel-like fruits that ripen through a stunning progression of colours, from pale pink and lilac to a rich purple and a remarkable, almost iridescent turquoise blue, all appearing at the same time in fall. Train it up a fence, trellis or structure to let it climb, or allow it to trail gracefully down a slope or over a retaining wall for beautiful low-maintenance ground coverage. Please note: the berries are strictly ornamental, and not for eating.
Graceful, Useful and Very Worthwhile
Vines provide something that few other plants can; they add height, softness, privacy, and beauty all at once. They can disguise an unsightly fence, cool a sun-baked wall with natural shade, frame a garden entrance, or simply bring a sense of lushness to a space that feels too bare or flat.
Find Your Perfect Vine at Eising Garden Centre
Not sure which vine is right for your space? Bring us your questions and, if you have them, a photo of your wall, fence, or structure. Our team will help you find the perfect climber for your light conditions, your soil, and your vision. We’d love to help you get growing your perfect vine!
By Ava Green
As soon as warm weather and sunshine arrive in Southern Ontario, it’s time to head to the garden centre and pick up all the plants we’ve been dreaming about all winter long! May 24th is generally the date we look forward to — the unofficial marker when frosty mornings are behind us and the promise of summer is ahead.
By now, cool-weather plants like cabbage, Brussels sprouts, peas, and lettuce should be well established in the vegetable garden. And for everything else, it’s go time!
TIP: Before you start planting, this is the ideal time to amend your soil. Top up your garden beds with fresh topsoil or enrich them with compost to improve soil health, add nutrients, and promote vigorous plant growth. Don’t forget to refresh the soil in your containers as well, with potting mix or compost.
Warm Weather Vegetables
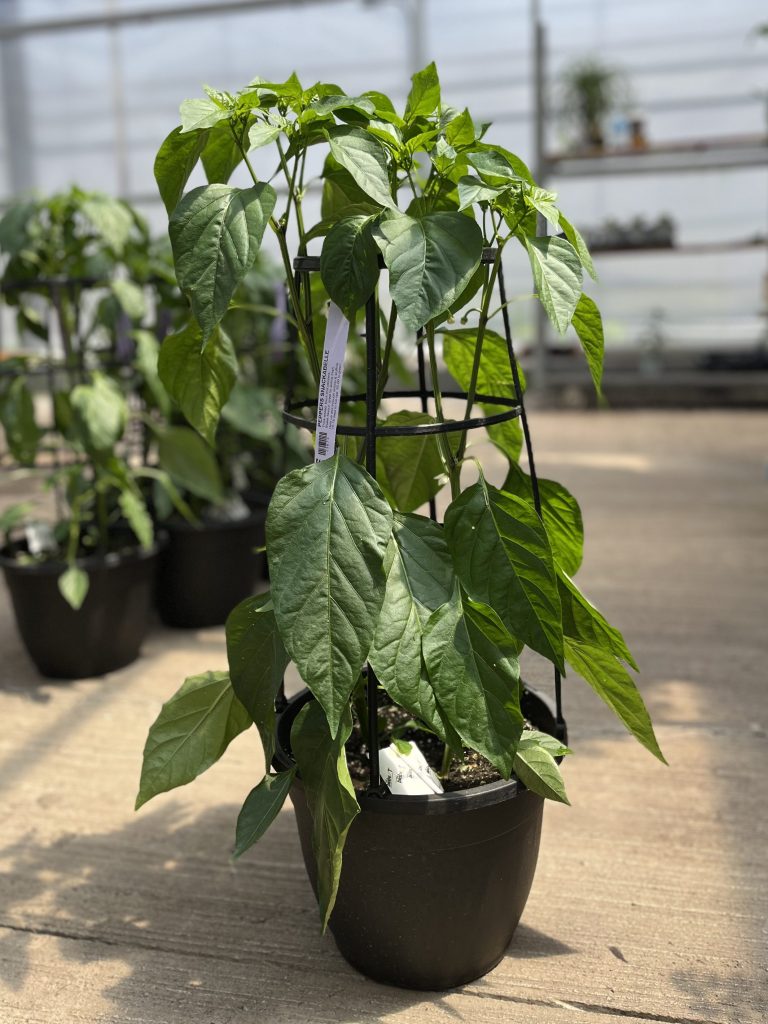
When soil temperatures are consistently 60°F (15°C) or higher, it’s safe to plant all the warm-weather vegetable crops we’ve been waiting for! Plants that thrive in warmer weather include tomatoes, peppers, eggplants, cucumbers, zucchini and corn.
At Eising Garden Centre, you’ll find vegetables in 6-packs, 4” pots, trellised patio containers, patio bowls and hanging baskets - while supplies last, of course!
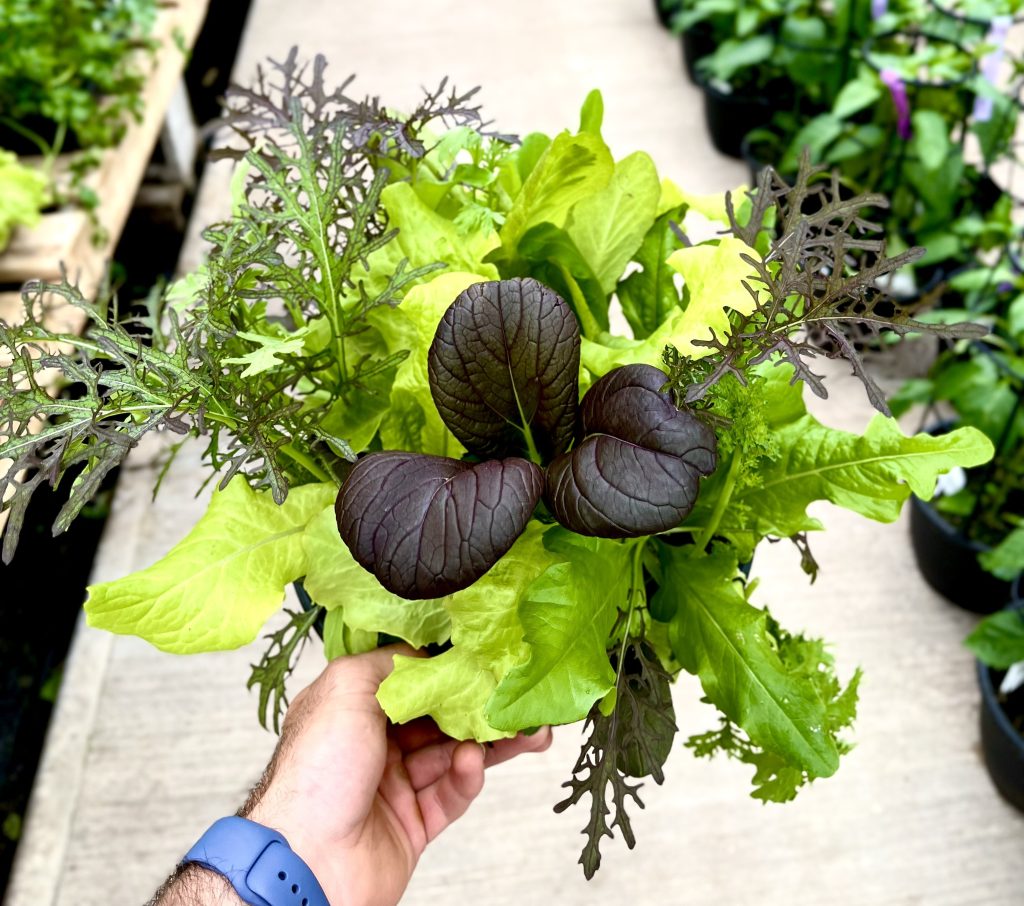

Herbs also love warm weather, and tender varieties like basil are safe to plant once all danger of frost has passed. Whether you plant herbs directly into the ground or create a potted herb garden near the kitchen door, they’ll add fresh flavour to your meals all season long. A container of herbs also makes a wonderful gift when visiting friends and family for a summer BBQ.
While you’re in the vegetable and herb aisle, keep an eye out for everbearing strawberries in planters and containers of tropical fruits like lemons, limes, and oranges.
Annual Flowers
Winter-weary flower beds can be revived almost instantly with a burst of colourful annuals! If you’re looking for an immediate impact and blooms that last all summer long, annual flowers are the answer.
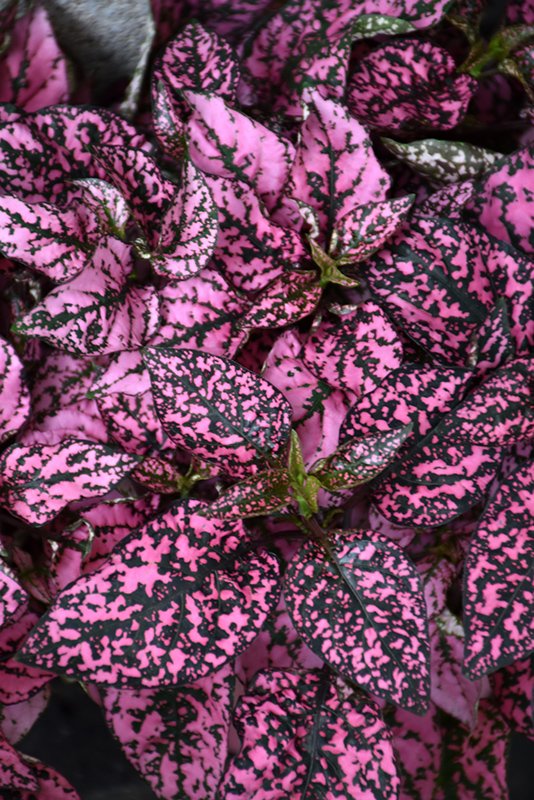
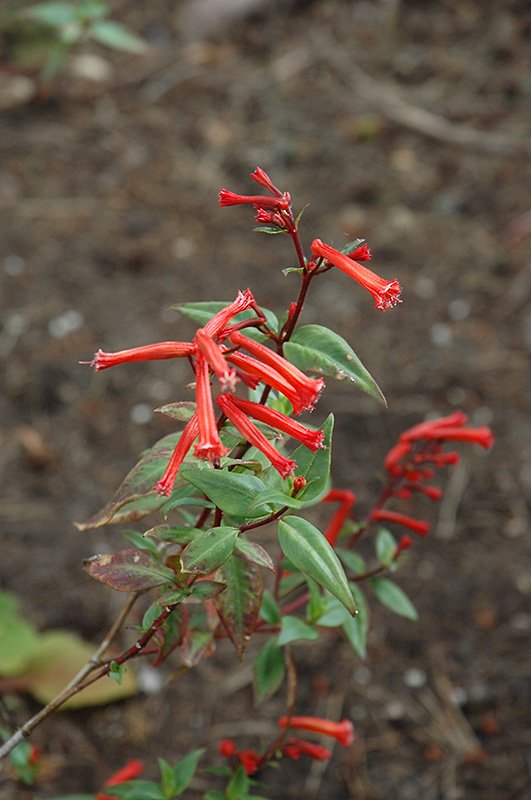
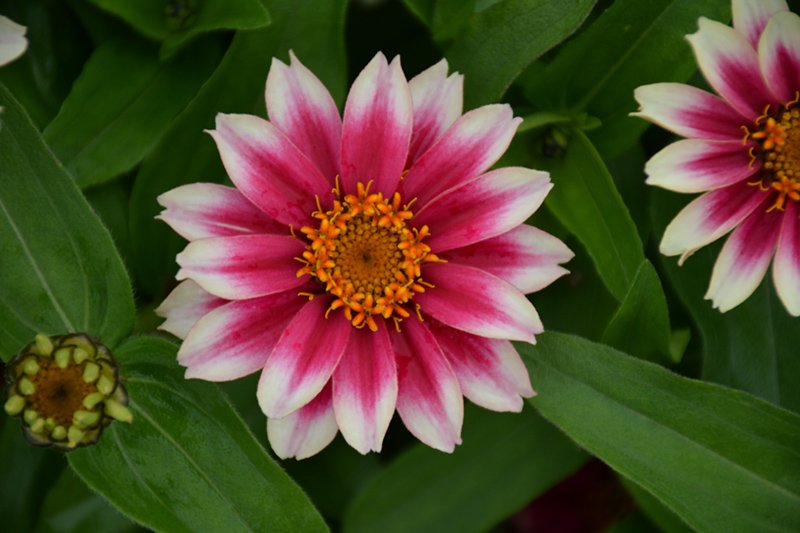
Whether you plant them in beds, containers, window boxes, or hanging baskets — or choose from one of our gorgeous pre-planted options — just add water and fertilizer, and you’ll be rewarded with a vibrant display that keeps on giving.
Perennials
While perennials may not bloom all summer, many offer extended bloom periods, and by combining different varieties, you can create a succession of flowers that lasts for months. Perennials also provide essential greenery to anchor your garden and enhance the look of your flowering plants.
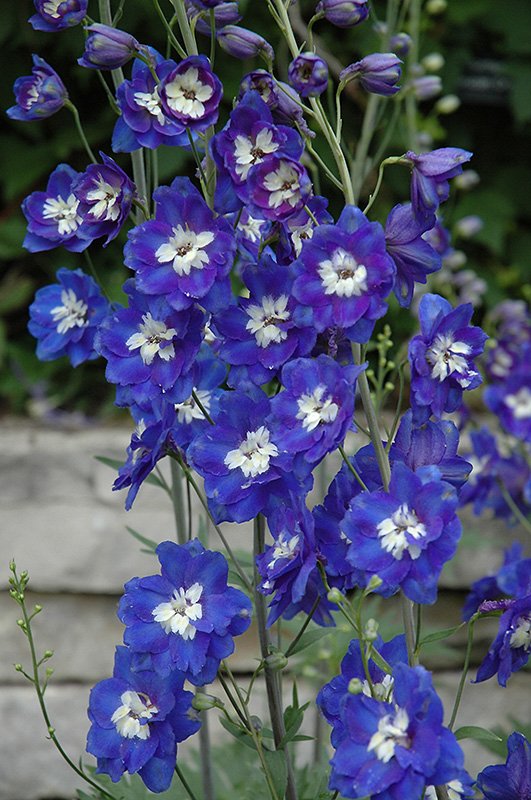
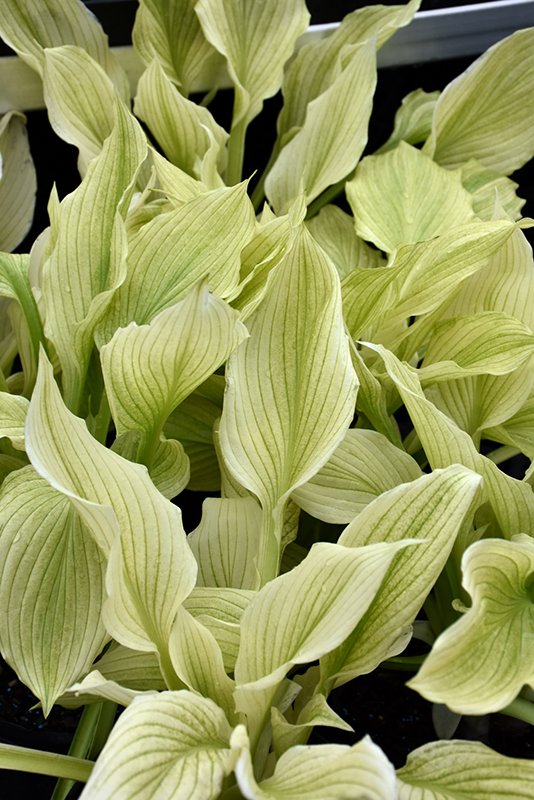
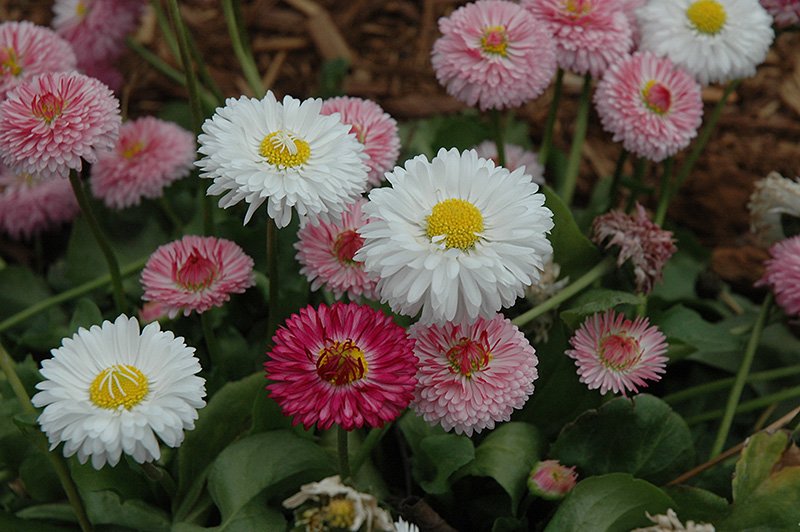
You can plant perennials from spring through fall, but getting them into the ground now gives them a strong start. From hostas and ornamental grasses to daisies and delphiniums, there’s a perennial for every style of garden — and the best part is, they’ll return each spring like dependable old friends.
Trees, Shrubs and Vines
Often called “the bones” of the garden, trees, shrubs, and climbing vines add essential structure, height, and seasonal interest. Planting them now allows you to design your garden layers thoughtfully, incorporating annuals and perennials around their base.
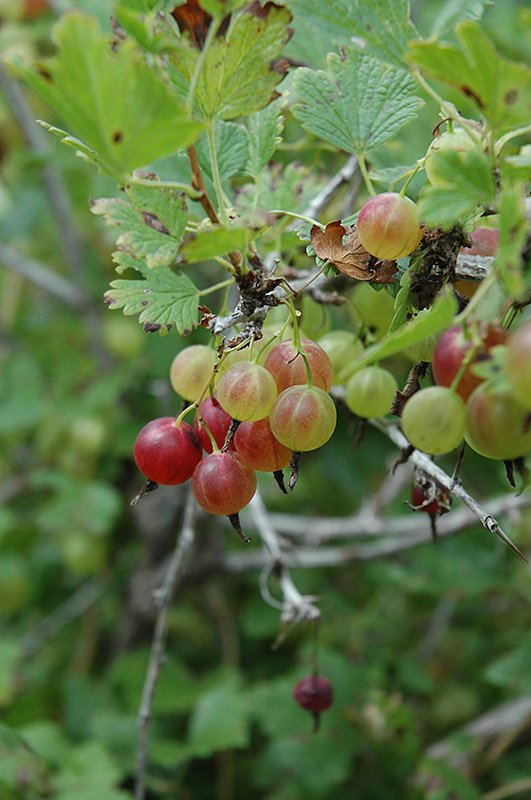
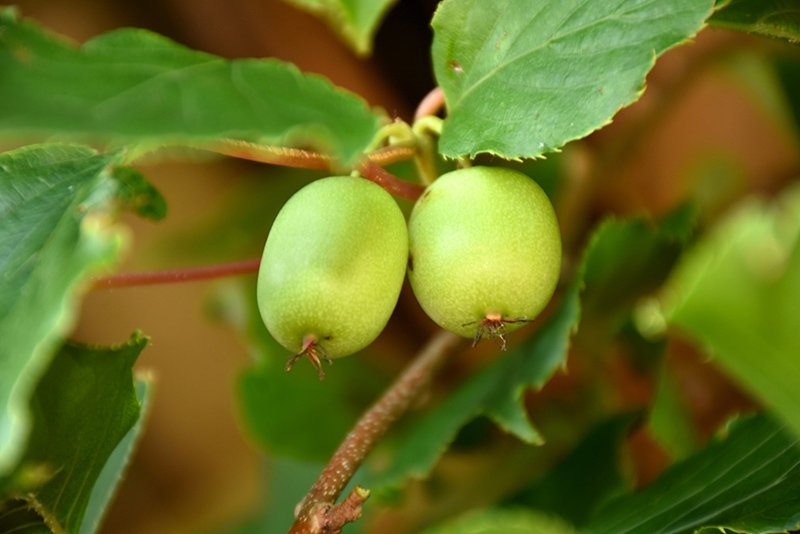

Spring is also the prime time to purchase and plant fruit trees and fruiting shrubs. At Eising, spring offers the best selection for starting your home orchard. Are you thinking of adding a few edible shrubs? Gooseberries, haskaps, hardy kiwi, rhubarb and raspberries are excellent choices.
Mulch
Okay, it’s not a plant, but this is a reminder to add mulch to your garden beds or containers. After planting, adding a layer of mulch to your garden beds or containers helps retain soil moisture, reduces transplant shock, and suppresses weeds. Even if a few weeds manage to sneak through, mulch makes them easier to pull.
Water Garden Plants
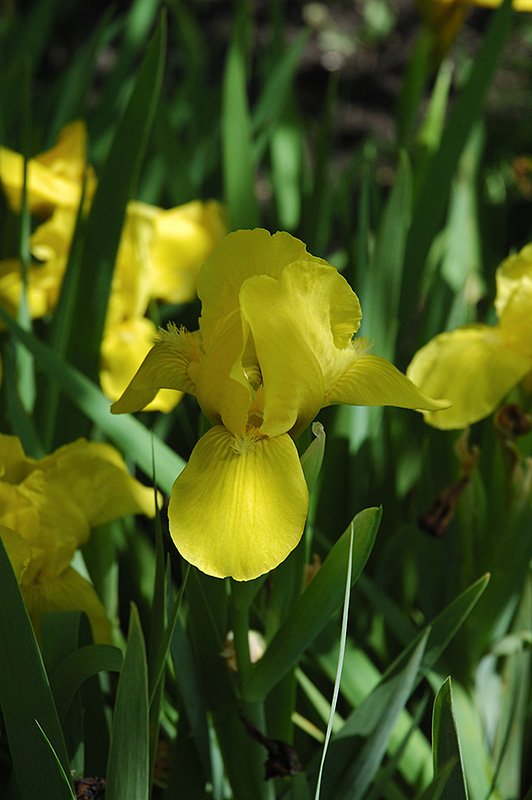
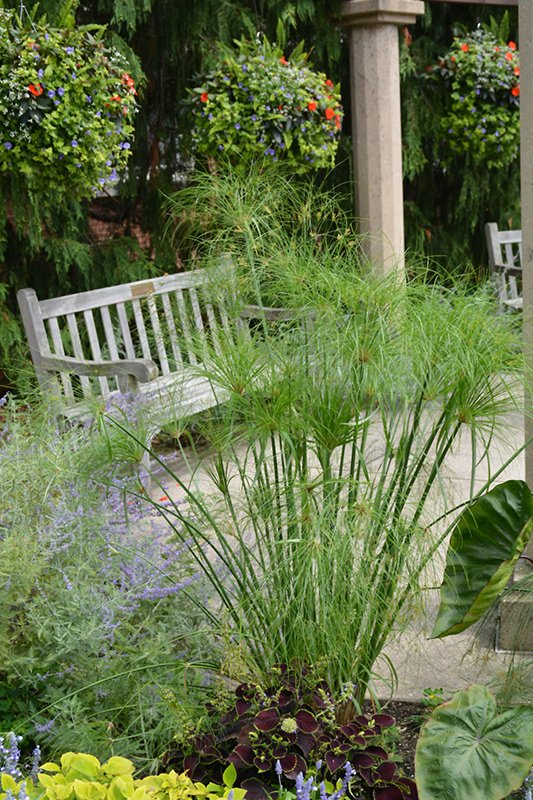
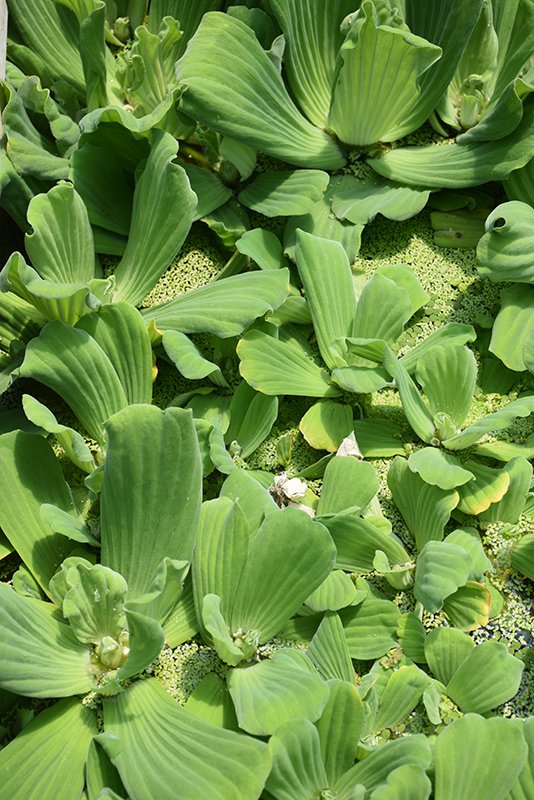
If you have a garden pond, spring is the perfect time to add water plants. Floating plants, such as water hyacinths and water lilies, help shade the pond’s surface, reducing algae blooms. Marginal or bog plants, such as water iris, papyrus, and cattails, also help keep the water healthy and clear by improving oxygen levels and providing habitats for beneficial wildlife.
Time to Grow!
May is one of the most anticipated and exciting months in the garden. Whether you’re dreaming of fresh vegetables, a lush landscape, or a colourful flower display, planting now sets the stage for a beautiful, bountiful season. Visit us at Eising Garden Centre to find everything you need — and let’s get growing!
By Dave Zeldon and Ely Schweyer
Got cabin fever? Perhaps you’re going a little stir crazy looking out the window and seeing the drab, limited pallete in your seemingly lifeless outdoor space. It’s important to embrace this time of year as the composting and cleansing part of Earth’s cycle before spring’s renewal – but that doesn’t mean we should be trapped inside forever. Here’s a winter/early spring list of activities, divided by indoor (Part 1) and outdoor (Part 2), for the gardener and yard keeper.
☝️ First, let’s quickly note the important activity happening under the snow – and how your actions now will affect the summer garden!
What's Going on Outside When We Aren't Paying Attention?
Before heading out to attend to these jobs have a look at the ground beneath you.
If it is frozen hard you are good to go but avoid treading on the crowns of perennials.
If it has been warm and sunny and the soil is warm and dry, consider laying down a few planks to walk on.
If the soil is soggy then postpone those tasks until it has dried. What we are trying to protect is not your shoes but the soil itself.
Ideally, soil is comprised of 50% solid materials such as minerals and organic matter in various stages of decomposition, and 50% open air space. Water from rain or melting snow enters the soil, displacing the air. Wet soil is easier to squish down and that process is called compaction.
While walking on wet soil would not seem to have much effect, it occurs within the depth where annuals, perennials and lawn grasses have their roots. Compaction makes it harder for roots to grow through the soil. Roots can grow stronger to push aside the soil particles, but tougher roots are less effective at drawing in nutrients and moisture. Removing air spaces makes it more difficult for water to percolate down so compacted soils remain wetter. Plants don’t grow as well and are more prone to insect damage.
The freeze/thaw cycles of fall, spring, and winter heave the soil relieving compaction and aerating the soil; a good way to start the growing season. Preventing further damage to the soil is relatively simple. Stay off it when it’s wet. Later, consider using pavers or pathways in heavily travelled areas of the lawn. Aerate the lawn with a machine that removes small plugs of soil and redistributes them over the surface. In beds and borders, add compost and use a thick mulch layer to absorb some of the pressure.
And stay off it when it’s wet.
With this in mind, we can appreciate Earth’s renewal capabilities, as well as prevent destroying our yards and gardens!

Part 1: Activities for When it’s too Cold and the Soil isn’t Ready Yet
Yup, it’s bleak out there. It’s time we make that herbal tea and turn our attention to creating a lively, green indoor environment, even if just to get us through the winter. Here’s a to-do list for trapped gardeners and plant enthusiasts to make the most of our wintry sentence.
Indoors: Get Inspired!
- Expand your knowledge: There’s an endless plethora of botanical media at our fingertips, use this down time to learn more!
- Sustainable winter crafts: Why buy décor and gifts when you can make them from materials found outside? Perhaps you dried flowers or found some interesting seed pods – time to display them, and perhaps, eventually compost them.
- Visit botanical gardens: Ely’s boyfriend took her to the Royal Botanical Gardens as a birthday gift last year! Botanical gardens are a great way to experience interesting plants being preserved in a welcoming environment that differ from the dreary winter outside.
- Get floral: Try buying flowers and displaying your own arrangements! Colour is something we sometimes lack in the wintry months, and this is a good way to introduce it impermanently.

Indoors: Thinking Ahead!
- Use this winter down time to plan the next garden season - find more here on garden planning.
- Use a garden journal to assist your garden planning - see here inspo for garden journaling.
- Consider planning companion plants - see more here on companion planting.
- Go pot shopping – your local greenhouses and ceramic shops would love your support in the winter.

Indoors: New Beginnings!
- Bulb forcing and small science experiments: Flowering bulbs like amaryllis (more on amaryllis here) aren’t just a holiday splendor! Now is also the time to create cuttings to share with friends.
- Invest in winter fruiting botanicals like indoor fruit trees. Small, potted citrus by the window don’t only liven up the place but offer nutritious treats in the winter. Consider a calamondin!
- Microgreens - see our blog about it! When it’s too early to start seedlings that will go in the ground, you can still garden right on your kitchen counter.
- In late winter, start seedlings: but make sure you don't do so too early! Untimely seedlings can be too leggy before it's time to plant them outside - learn about hardening off seedlings here.

Part 2: When the Soil IS Ready!
Suit up!
Outdoors: Don’t Fall Behind!
- Appropriate seasonal décor: It goes without saying stringing lights and ornaments everywhere is good for the spirits in these dreary months… however 😬… come February, they seem to lose their vigor. Taking the décor down in preparation for new exciting things to come is also good for the soul! Remember to recycle your Christmas tree (see how here)!
- Turn your compost! Perhaps you’ve faithfully continued to add to your compost all year – your garden thanks you! On a warm day, remember to turn it and aerate it so it’s ready for spring.
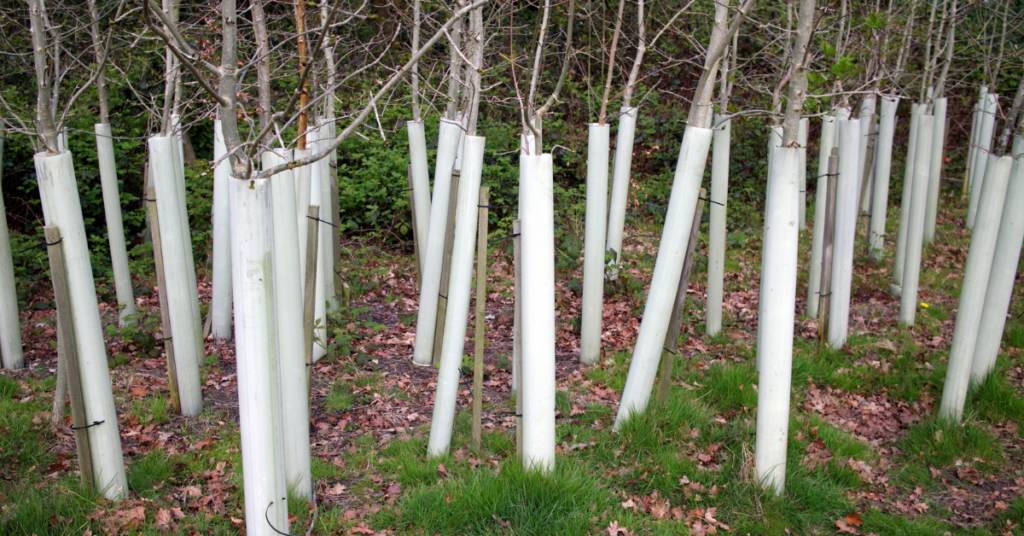
- Cover all your bases: Make sure to prevent rodents from damaging your tree bases by wrapping them well above the anticipated snow level – so rodents can’t chew your unprotected trees with the helpful elevation of snow!
Outdoors: Get Inspired!
- Go for nature walks: if you can safely go for a walk, hit the trails or stroll around your neighbourhood! A slow-paced change of scenery will help to fight your cabin fever, keep you active, and help you gather inspiration from the natural world.
- Visit your local maple syrup producers for tours.
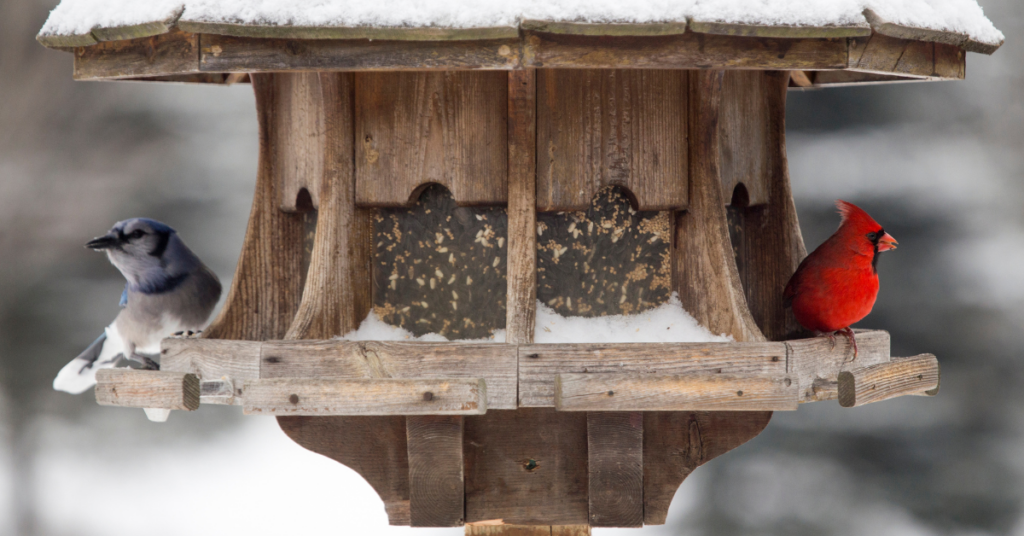
- Don’t forget our critters: Provide winter homage and appropriate food for our nonmigratory friends (i.e., hutches and feeders) outside windows where pets can observe nature too!
Outdoors: Thinking Ahead!
- Winter weeding: Some tough varieties of plants have evolved to use other plants’ winter dormancy to their advantage, tugging them out now will ensure that you and all the wanted plants in your garden have a fair start this spring.
- Manage snow piling: Heaped snow piling can kill plants including lawn, as well as introduce gravel and debris to areas where gravel is not wanted. Make sure your snow piles aren’t suppressing anything you’d like to live this summer.
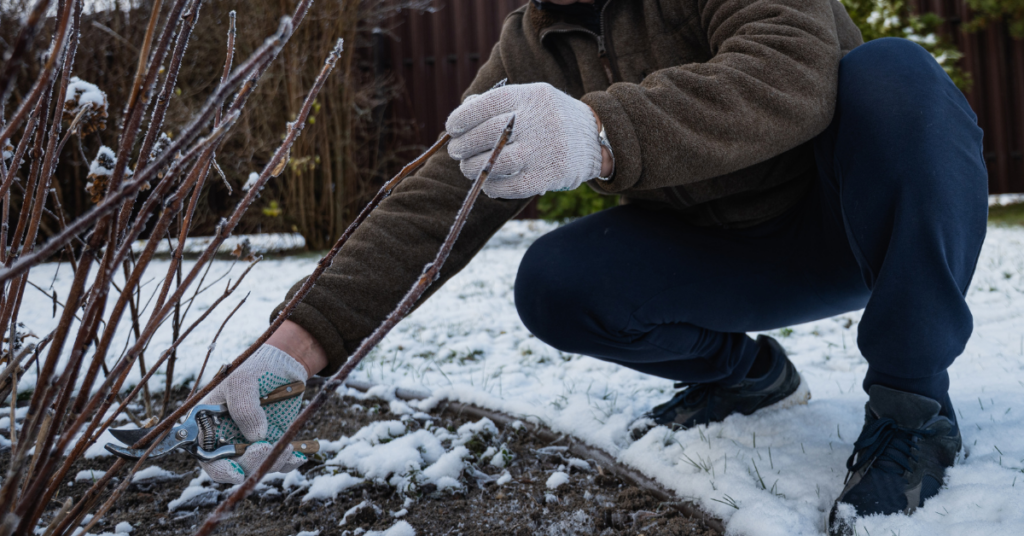
- Early spring: Perhaps ice storms and plows have done a number on your trees and shrubs - prune broken branches to prevent pests and disease from entering your plants.
- Litter control: pick up the debris revealed by melting snow so it doesn’t venture farther into natural habitats or tempt wild animals to hurt themselves.
Outdoors: Start Something New!
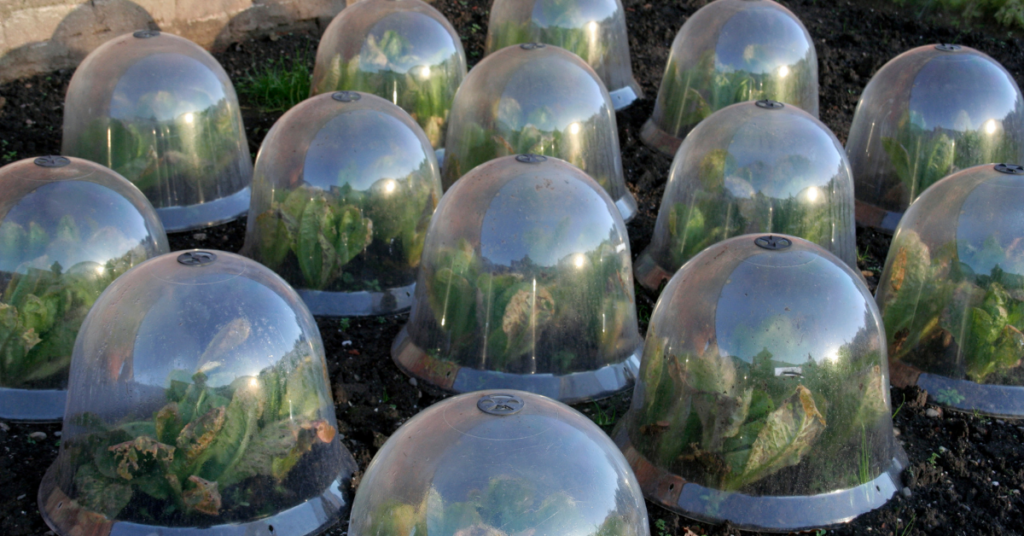
- Cold hardy crops in cold frames: Cold frames are doable! Use recycled materials - Victory gardens often used car windshields and old windows – to construct in-ground beds facing the sun (southwards) for passive solar heating.
- Winter sowing: Find more on winter sowing here.
We hope these suggestions help you stay green this spring and winter! For more gardening activities, see our other blogs here. We hope to see you this spring (March 5th, 2026) at Eising Greenhouses and Garden Centre! 🌱❄️
How To Keep Your Orchid Alive
By Ava Green
Orchids have become very popular gifts, and a great hobby for indoor plant enthusiasts who discover the wide range of colours and shapes available. Orchids are also loved for their long-lasting and exotic blooms.
While some may choose to only enjoy these tropical plants as long as they’re blooming, orchid-lovers look forward to nurturing the plant and encouraging it to flower regularly. It may be a little daunting at first, but once orchids grace you with their stunningly beautiful blossoms, you will find that a little bit of care is very worthwhile!

It’s estimated that there are 25,000 different species of orchids and over 100,000 hybrids! The ones you’ll find most readily in Ontario stores are Phalaenopsis or moth orchid, because it’s fairly easy to grow. Phalaenopsis are the best choice for beginners.

Other orchids you may find easily are Cattleyas (Corsage Orchids), Cymbidiums (Boat Orchids) and Dendrobium orchids.
While all of these may be orchids, they don’t necessarily require the same care, so it’s a good idea to check the tag for the type you have and its specific care requirements. The following is a general guide to light, water, fertilizer, and growing medium for the most commonly found orchids, but it does not apply to all breeds.
Light and Air
For most orchids, light, and lots of it, is the general rule. Place your plants within 3 feet of a window (not to the side) in the sun. South, east, and west-facing windows are all fine for maximizing the light your plant receives.
Orchids also enjoy a breeze or circulating air in your house. They do not like temperature extremes, though 15 to 20 degrees Celsius is safe. Keep in mind that the more warmth and air movement there is, the more often you will need to water your orchid.
Water
A general rule is to use water that is not hard and has not been softened with salt. Salt will kill an orchid. Rainwater, reverse osmosis, or distilled water are good choices. Chlorinated water is not an issue for orchids - high sodium levels are.
The biggest issue many people have is either over-watering or underwatering their orchids. Here is the method we recommend:
Every 5-7 days, place the pot in a container or the sink, then fill it with enough water to cover the top of the pot. Be careful not to let water collect in the crook at the base of the leaves, as standing water will rot the leaves and the plant. Once the plant’s growing medium is thoroughly soaked, remove it from the water and allow the pot to fully drain in the sink before placing it back in its saucer.
We prefer using a container of water rather than the sink, so the remaining water can be used to water other plants.
Here’s the best watering advice we can give you: look at the overall health of both the plant AND its root system. Full, plump leaves and vibrant, green roots indicate that your plant is getting enough moisture. Puckered leaves and a silver sheen on the roots indicate insufficient water. Mushy, brown leaves and roots are signs of rot caused by too much water.

You may hear of another watering method that involves using ice cubes, but it’s controversial and not widely recommended. To quote the American Orchid Society, “Ice is for cocktails, not orchids. Never use ice on tropical plants to water them.”
“Soil” and Nutrients
Most orchids naturally grow high up in trees, where their roots cling to bark and absorb moisture from the air. At home, we try to mimic those conditions, which is why orchids are typically planted in chunky mediums like bark, coconut husk, charcoal, or perlite rather than traditional soil. While many of the roots stay inside the pot, it’s completely normal for some to grow up and over the edge.

These “escapee” roots might look a little wild, but don’t worry, there’s nothing wrong with your orchid. In fact, those aerial roots are a sign that the plant is healthy and doing exactly what orchids do in nature.
It’s worth noting that not all orchids grow the same way. Many, like Dendrobiums, are epiphytic (growing on trees) or lithophytic (growing on rocks), though some orchid varieties are terrestrial and grow in the ground. The good news is that the growing medium your orchid comes in is chosen specifically for that variety, so you can trust it’s in the right environment.
The bark that your orchid is planted in will slowly break down and become mushy. It’s a very good idea to repot your plant every two years.
It’s generally recommended to feed most orchids, and bloom time dictates which fertilizer to use and how often to feed. Begin by using a water-soluble 20-20-20 fertilizer, mixing it at ¼ the amount recommended for other houseplants. Apply this solution every 2 weeks in the summer and every 3 weeks in the winter.

“The orchid, with its many forms, is a reminder that life is full of surprises.” — Leonardo da Vinci.

Lastly, here’s an orchid fun fact: While we have been talking about tropical orchids in this article, there are also orchids that grow right here in Ontario! That’s right, there are over 50 species in this province, including the much-loved Pink Lady’s Slipper (Cypripedium acaule).
Resources for more detailed and specific information:
Toronto Master Gardeners - https://www.torontomastergardeners.ca/gardeningguides/growing-orchids-a-toronto-master-gardeners-guide/
Canadian Orchid Congress - https://canadianorchidcongress.ca/basics/growing-orchids/
American Orchid Society - https://www.aos.org/orchid-care/indoor-orchid-care
Ontario Wildflowers - https://ontariowildflowers.com/main/group.php?id=18
By Dave Zeldon and Ely Schweyer
This is the time of year that most garden centres will have on display their wide variety of Amaryllis bulbs, including the evermore popular waxed dipped. These enormous bulbs that are appearing now will be ready to burst into bloom within 4-8 weeks after planting.
Non-Wax Dipped: Planting
All Amaryllis need is a bit of commercial potting soil that should not cover the shoulders of the bulb (try leaving about 1/3rd of the bulb showing above the soil line), with the nose (or narrow end) of the bulb peeping well over the top of the pot. Make sure that you use a well-drained container that is 3-4” bigger in diameter than the bulb itself.
☝️A heavy clay pot will prevent this top-heavy plant from toppling over. To achieve continuous bloom, plant at intervals of two weeks for stunning colour in your home.

Non-Wax Dipped: Care
Once leaves emerge, fertilize once a month with a 20-20-20 water soluble fertilizer for houseplants. Water sparingly and wait for the miracle in a warm sunny room. Sub-irrigation or watering from the bottom of the drip tray will keep the surface soil dry, thus keeping and bulb rot organisms and those pesky fungus gnats at bay.
Non-Wax Dipped: It's Not Done Yet!
When blooming is over, remove the scape (or flower stock) and place the plant in a sunny spot and continue to water. This is to allow the leaves to regenerate the bulb. In springtime, when all danger of frost has passed, bring the bulb outdoors and let it spend its holidays in a shady spot. In some varieties the leaves will die back in September to give the plant a rest for a couple months. Stop watering and store the bulb on its side in a cool place for about eight weeks, when the leaves will once again begin to emerge.
Amaryllis can go 3-4 years without repotting as they don’t mind a little crowding. Try growing a couple of bulbs in larger pots to see if you can get a clump of flowers from the offshoots or babies that will develop after a couple of years.
Or, Try One of These Wax Dipped Bulbs!
Now growing more popular are the care-free waxed-bulb Amaryllis!



Experienced growers and beginners alike love that these waxed bulbs do not need to be planted or watered! Each of these robust bulbs are carefully prepared in festive-coloured wax, allowing you the freedom to place them among your holiday decorations.
Simply keep the bulbs at an ambient room temperature of at least 16C (70F) for beautiful blooms in five to six weeks.
These novelty items are low commitment! Their only fault is their lack of longevity - gardeners don’t get to enjoy them after year as these waxed bulbs were designed to be a one-use throwaway item!
BUT with a little luck and perseverance you may be able to save the bulb for next season after blooming. All you have to do is to carefully remove the wax layer, remove the flower stalk and place the bulb and with its remaining leaves into a pot of good growing media, allowing the leaves to regenerate the food stores in the expired bulb.
If you’re looking for more information – or perhaps, Amaryllis – visit Eising Greenhouse and Garden Centre! Happy Holidays! ✨
By: Dave Zeldon and Ely Schweyer
If you’ve ever wondered how the warm weather succulent came to be a seasonally regarded indoor plant, or how to keep one going, read on!
History and Cultural Significance
The Poinsettia was named after Joel Roberts Poinsett, the first U.S. Minister to Mexico. He introduced this native Mexican the United States in 1828. In the Mexican Christmas tradition, the star-shaped leaf pattern is said to symbolize the Star of Bethlehem, and the red colour represents the blood sacrifice through the crucifixion of Jesus.
Since the species is native to Mexico and found in the wild in deciduous tropical forest at moderate elevations, we then have a challenge to keep this plant alive and in a healthy form in our colder, northern climate.

It's Just A Rumour!
There is a common misconception that the poinsettia is highly toxic. This is not true.
Yes, it may be mildly irritating to the skin or the stomach if it is eaten, but otherwise, there have been no documented cases of poisoning. The origin of this myth could be found in the fact that most plants of the spurge genus (Euphorbia) are indeed toxic. Fortunately, this family member is a good one!

Here are Some Helpful Hints to Get the Most Longevity Out of Your Plant:
☝️Unsleeve the plant as soon as possible as the leaves may become droopy if left too long in the wrapper. Fortunately, the plant should recover in a few days if this does occur.
☝️If you want to try to keep your plant until next Christmas then fertilize after the blooming season with an all-purpose fertilizer, repot it later in the early Summer and then introduce it to 12 hours of uninterrupted darkness come September.
For more information on Poinsettia care (i.e., temperature, lighting, and watering), visit Ava's blog Caring for Poinsettias.
If you’re looking for more information – or perhaps a Poinsettia – visit Eising Greenhouse and Garden Centre! Happy Holidays! ✨
By: Dave Zeldon and Ely Schweyer
Bearing in mind that a lawn is a very unnatural situation in that we are trying to sustain a large area with very little plant diversity (monoculture), in the eye of the homeowner, lawns may remain an important part of the domestic landscape! As well as in very necessary areas like tile beds, paths, roadsides, and recreational areas, lawns provide a background that enhances the overall effect of the home and the various gardens and landscape features.
From nematodes to dog pee spots, the following tips will help you to maintain a healthy lawn naturally.
Mowing
Of all the cultural practices, mowing exerts the greatest influence on growth, development, and ease of management. By keeping the grass blade height between 6 & 8 cm (2.5 to 3 inches) high you'll be able to produce a more competitive lawn against young and germinating weeds.
Grass Species Selection
Seed mixtures with Titanium Tall Fescue have shown to be more drought, disease, and insect resistant than many other lawn grasses such as the traditional Kentucky bluegrasses. Tall fescue roots penetrate deeper into the soil providing better regrowth and wear tolerance, making it ideal for heavy foot traffic areas and recreational areas.
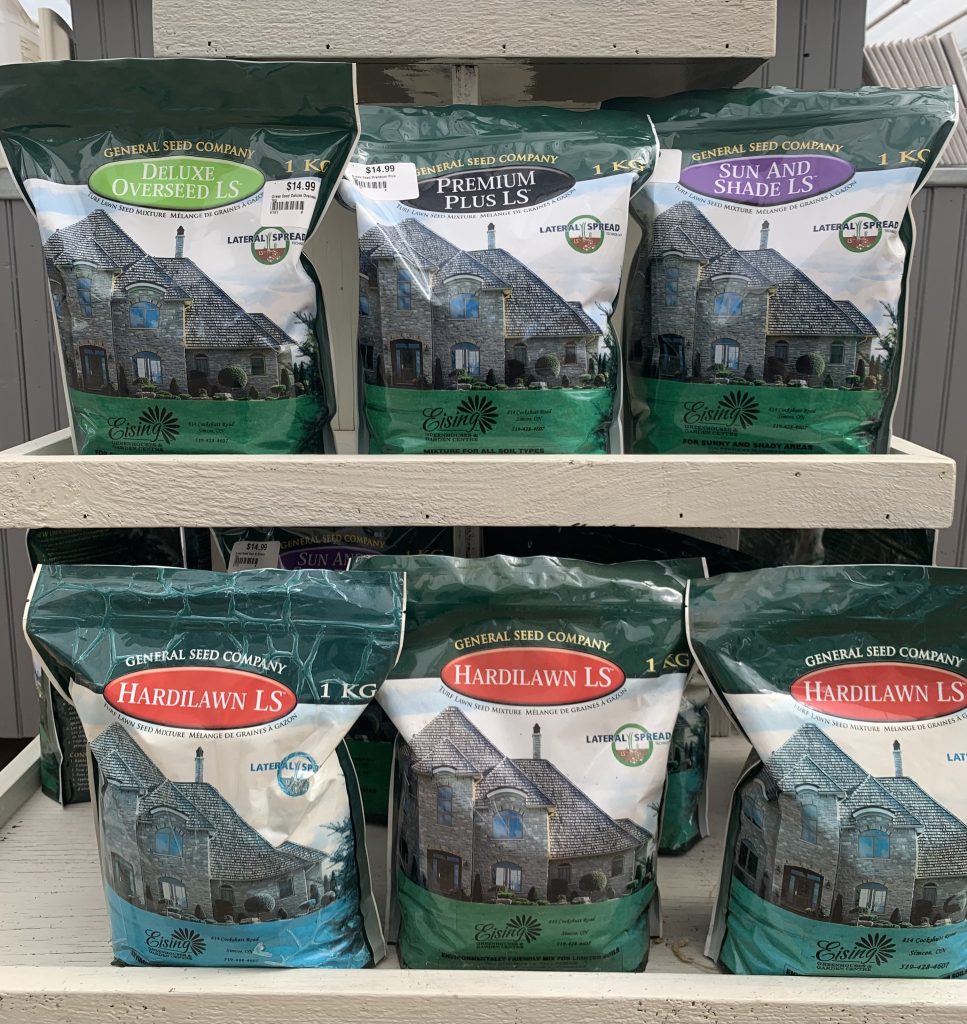
Carried by Eising Garden Centre
Time of Sowing
The best time to establish a lawn from seed is late summer and early fall (mid-August to mid-September) in southern Ontario. During this period, soil moisture and temperature conditions are optimal for germination and establishment. There is also less competition from germinating weeds in the fall. Make sure that seeding is done early in the fall so that the grass is well established before winter. The plants are then well rooted and more drought- and heat-tolerant the following summer.
Seed the shady areas in the fall for best results. Trees will have shed their leaves by then, so plenty of light is available for the new growth. The grass also gets off to an early start in the spring before the trees leaf out.
Spring seeding should be done as soon as the ground can be worked. Slow, irregular germination may result if the seed is sown when the soil is too cold and damp. (Soil Temp. around 15oC is ideal and there is also strong competition from germinating weeds during the spring. When practical, wait until weed seeds germinate, work the land to kill them and then sow the grass seed. ) If you choose to plant your new lawn in the spring, begin just as soon as the soil is dry enough to work, preferably mid-April to mid-May. This will give your new grass time to get well established before the hot, dry weather sets in.
Fall is often a better time to start your lawn, from mid-August to the end of September. Your seedbed is less likely to dry out at this time of year, and the grass should be well established before winter.
Watering
Your typical lawn needs about 2.5 cm (one inch) of water per week through either rain or irrigation. If irrigating, water in the morning as more will be absorbed as opposed to being lost to evaporation in the sun and the warmer temperatures later in the day.
Fertilization
Lawns require relatively large amounts of nitrogen-based fertilizers which should be applied several times during the growing season. Since lawn clippings are high in nutrients, especially nitrogen, much of your initial nitrogen fertilizer investment may be recycled back into your lawn! A fertilizer with a nitrogen, phosphorus, and potassium ratio of 4:1:2 (e.g., 20-5-10) is normally the best in most situations. It should be noted though, that a soil nutrient test can accurately determine the actual needs of your lawn including lime if the pH is too low.
(Lawn Liming Rate: 20-50 lbs/1000 ft2)
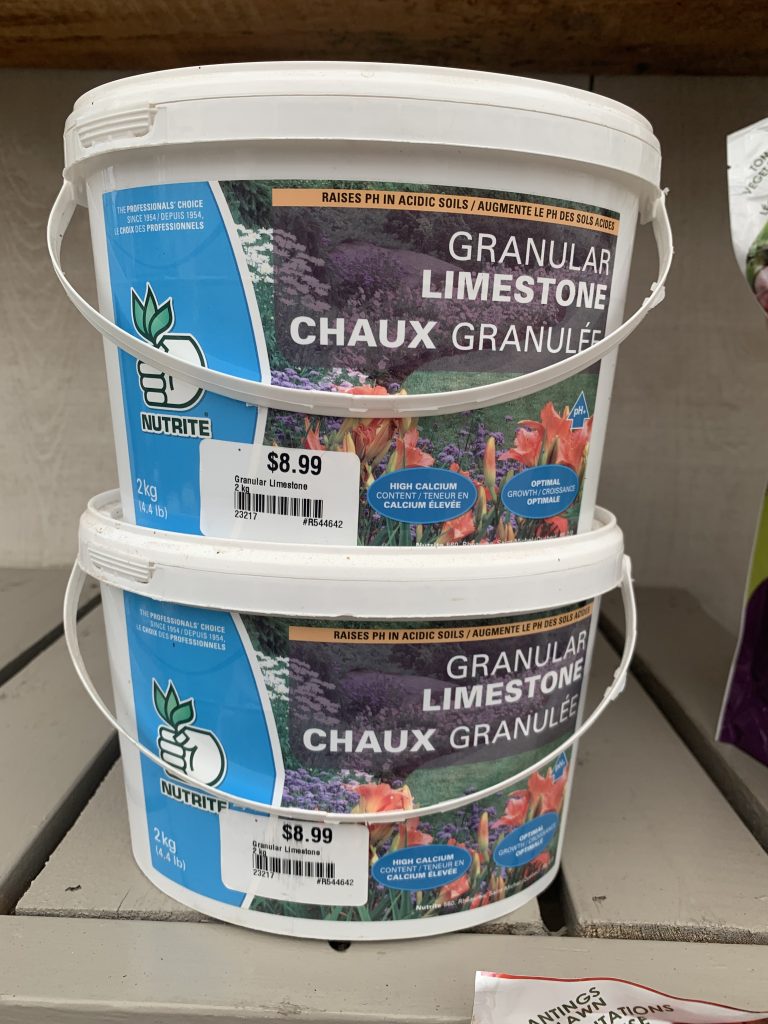
Carried by Eising Garden Centre
Corn Gluten
An application of this product early in the spring and then later on in the summer will inhibit the growth of weeds from germinating seeds especially the annual problem, crabgrass. Established weeds though have to be dug out by hand.
Dog Pee Spots
There is a misconception that the pH level of your dog’s pee is leaving those unsightly spots in your lawn, when it is in fact the high concentration of nitrogen and salts being introduced into the soil. To prevent this, should you see your four-legged friend raising its leg or popping a squat, give that spot a good watering to dilute the minerals. In addition to this, ensuring your dog is well hydrated will help to water down their urine. However, your lawn may already have several severe yellow and bald patches. You may opt to resod or reseed the area, but the soil is what’s affected. Before giving up altogether and adding a scree to the affected area, Eising Greenhouse and Garden Centre offers a fertilizer to help balance and remedy your dog pee spots!
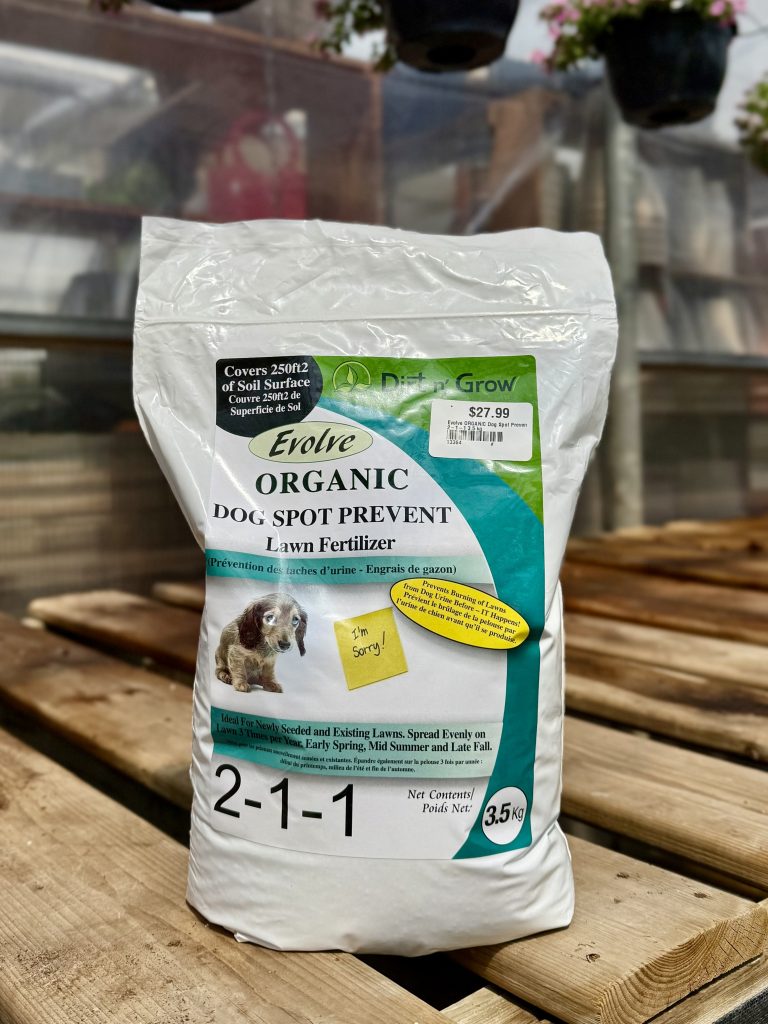
Carried by Eising Garden Centre
Thatch Control
Thatch is a layer of dead leaves, stems and roots that intermingle with the living plants above the soil surface. A one-inch layer of thatch is desirable as it has a cushioning effect against compaction and an insulating effect in cold weather. De-thatching a lawn is an extreme measure that may be considered if the drainage is poor. Lawn aeration may be required as well as the lawn and the soil below must establish a drainage pattern.
Nematodes - Aid Against Japanese Beetles and More!
If the Japanese Beetle has been destroying certain plants in your landscape plantings or their grubs have been feeding on the roots of your lawn, causing unsightly brown patches maybe it's time to use Mother Nature's secret weapon: Beneficial Nematodes.
Beneficial Nematodes are a natural way to control Japanese Beetle grubs and over some 200 species other pest insects in your lawn while having no detrimental effect on Ladybugs, Earthworms, and other helpful beneficial insects.
Nematodes are naturally occurring microscopic worms of the soil and are used to control soil pest insects in their larvae or grub stages while not posing any health or environmental risks to humans or animals. The beneficial Nematodes enter the JB larva via mouth, anus, or respiratory openings and begins to feed. This causes specific bacteria to emerge from the intestinal tract of the Nematode, spreading inside the insect and multiply very rapidly; the bacteria convert host tissue into products which can easily be taken up by the Nematodes, ceasing the soil dwelling pest insect within a few days. Beneficial Nematodes are effective against not only the larval or grub stage of Japanese Beetles, but the Northern Masked Chafer, European Chafer, Rose Chafer, Crane Fly larvae (Leather Jackets), Oriental Beetles, and June Beetles.
The nematode product you purchase should contain two genera: Steinernema and Heterorhabditis for better grub control.
Beneficial Nematodes are very easy to use. Mix with water and spray on the lawn with a water-can, irrigation system, or a hose-end sprayer. Most homeowners spray at a rate of 10 million nematodes per 600 square feet on grub damaged lawns. After an application, keep the soil moist during the first two weeks for the nematodes to get established.
In Ontario, there are two windows of opportunity to apply Beneficial Nematodes to be effective against the JB grub stage.
The first application should be in May as the soil warms up and then again at the end of August or the first two weeks of September as the JB are hatching into their first larval stage.
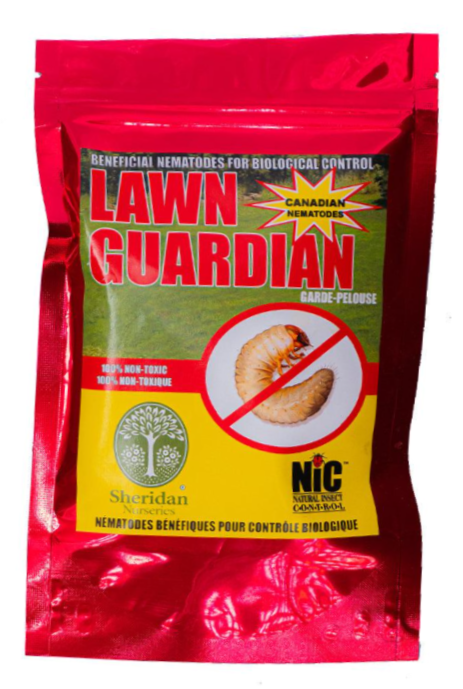
We hope these tips help to ensure your healthiest lawn! For more information – and lawncare products - visit Eising Greenhouse and Garden Centre! 🌾
By: Dave Zeldon and Ely Schweyer with tips from Mary K, Zach C, Sandy M, and Jeanine LT!
Now is the time to prep our outdoor landscapes for the coming cold weather and the ensuing spring! Perhaps your autumn is calmer than your spring, and this is the best time to clean up and begin new projects. The following are some simple but effective tips to get your yard winter-ready - so your spring will be a little more pleasant for you!
Planting
When warm weather still allows it, plant trees, shrubs, perennials, and bulbs to allow them to establish for budding and blooming next spring.
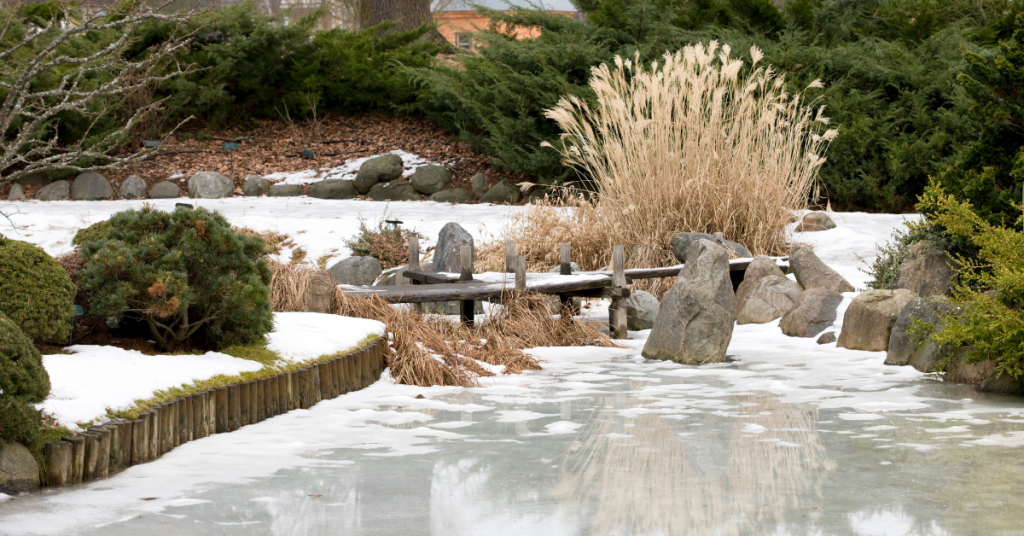
Pond Care
Mary, our perennials gal, suggests not removing any water from your pond but instead aerating it all winter. She skims out the leaves to maintain the balance of the nitrogen cycle in the water and suggests waiting to do a big pond clean out in the spring, as that’s when the water’s culture can bounce back easier.
Fertilizing
After top growth of your landscape plants ceases, reduce your annual fertilizer application by up to half of the requirement. Autumn is a major root growth period for woody and herbaceous perennials; roots will grow and absorb nutrients whenever soil temperatures remain above 5 °C but can be over fertilized quickly in these cooling temperatures.
Produce gardens could benefit at this time from a top layer of compost that will break down during the winter so it isn't too 'hot' for spring planting.
Leaf Litter
Here’s our pitch on the ‘leave it – don’t leave it’ debate: It DEPENDS.
Ideally, we should leave litter leaf on the ground for our pollinator friends and endangered species like fireflies to hide out in the winter. But, there are appropriate situations in which to remove leaf litter.
- When they’re covering your bulbs and tender perennials, remove SOME. Leaf litter acts as a ground insulant, which can amplify our temperamental zone 6b temperatures. This freezing and thawing can often confuse and kill early spring bulbs and tender perennials.
- Zach, our trees and shrubs guy, suggests that if a tree shedding leaves has been diagnosed with pests and fungi, remove the leaf matter to reduce the spread to other plants. Diseased matter should always be removed in a quarantined fashion and taken to a landfill or burned.
☝️Please note: Unless diseased, compost your leaves, they contain vital nutrients specific to the plants they came from!

Lawncare
With autumn mowing practices you have the opportunity for the addition of much needed organic matter for your lawn, which is also an excellent source of slow release nutrients. Keep mower blades sharp since leaves can be tougher than grass. Raise the mower height up and mow leaves when they are lightly wet (e.g., morning dew). This will keep the leaves from blowing all over and will prevent the mower from getting bogged down in wet leaves.
See more on general lawncare in Dave's Lawncare 101 post.
Clean Up
Now is a good time to wash your tools with soap and water to prevent diseases spreading from plant to plant.
☝️Mary's tip is to spray garden tools with PAM before use, so the dirt slides right off them!

Pruning Perennials
Mary, our perennials gal, suggests leaving things until frost to cut back. This way they're easier to compost. Make sure to leave seedheads (i.e., coneflowers and black-eyed Susans) for wildlife, and things like hydrangeas for winter interest.
☝️Make sure if things are cut back, to leave them sticking up enough you can still find them in the spring!
Dividing and Moving Perennials
Moving or dividing perennials in the autumn is a great way to reduce your work next spring. The cool, moist weather is an ideal time for perennial roots to become well established.
👍The rule of green thumb for moving perennials: If the plant blooms between early spring and late June, then early fall division/moving is ideal. If the plant blooms after late June, then early spring division is ideal (except for Peonies which should only moved or divided in the fall, Poppies in August, Irises in July & Lilies in the Fall).
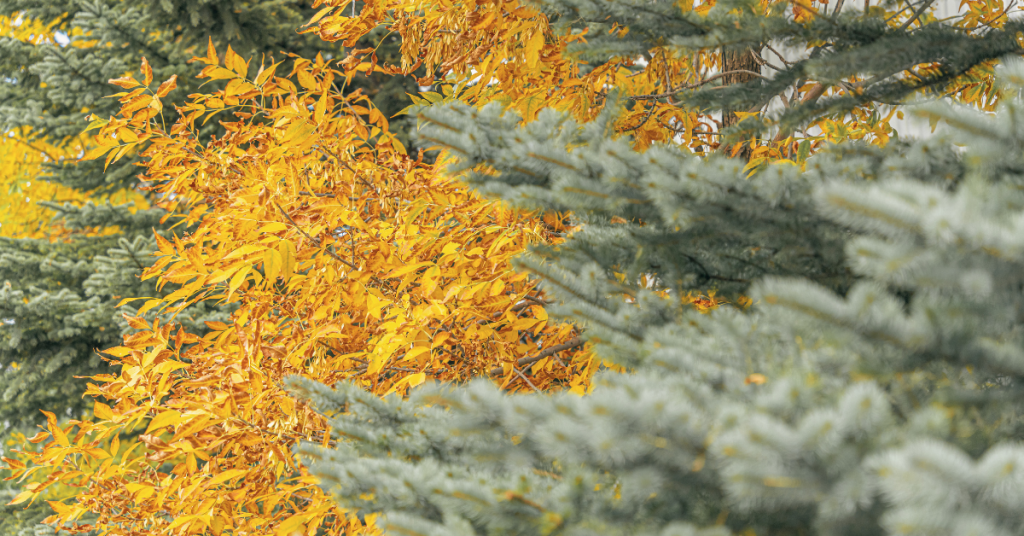
Overwintering Trees
Zach and Sandy from trees and shrubs suggest a couple of things to help your favourite trees along this winter:
- To reduce winter injury in evergreens: Keep properly watered throughout the growing season and into the fall is another way to reduce winter injury. Decrease watering slightly in September to encourage hardening off, then water thoroughly in October until freeze-up.
- Cedars - Spray cedars with antidesiccant spray (available at Eising GC) or wrap in burlap (with stakes to create dead air space) so wind doesn't dry out and burn tips.
- Fruit trees - In late fall, spray fruit trees with sulfur-horticultural oil (available at Eising GC) for protection against fungi and pests overwintering in the bark.
- Ornamental trees - wrap the base of young trees to protect from chewing rodents.
- Pruning trees - trees that prefer winter pruning rather than spring pruning are maples, oaks, birches, and elms, as well as with fruiting trees such as apples and pears. This ensures blight and pests will not affect the tree's open wounds.
If you missed the frosty deadline for transplanting trees, Sandy suggests insulating unplanted potted trees to help them best survive the coming winter. Here are some methods:
- Double-pot your tree with an insulative barrier (i.e., burlap, straw, mulch, etc.) stuffed between the two pots and securely cover the top with tarp to deflect moisture.
- Bury your potted tree in the ground, level with the top of the pot (don’t forget to dig it back up!) and mulch the area.
- Huddle all of your unplanted trees and plants together when using the above methods.

Mulching
Mulching is one of the simplest and most beneficial practices you can do for your garden. Just by simply placing a protective layer of material over the bare soil will benefit the soil as it decomposes providing the much-needed organic matter which improves root growth, the infiltration of water and the nutrient-holding capacity of the soil while reducing soil erosion.
A good layer of mulch allows the soil to warm more slowly in the spring, so perennials aren't fooled into breaking dormancy too early, as you want the ground to stay cold until it really is spring!
☝️Make sure your mulch application won't stunt the growth of your plants come spring as discussed in our Transplant Troubleshooting blog post!
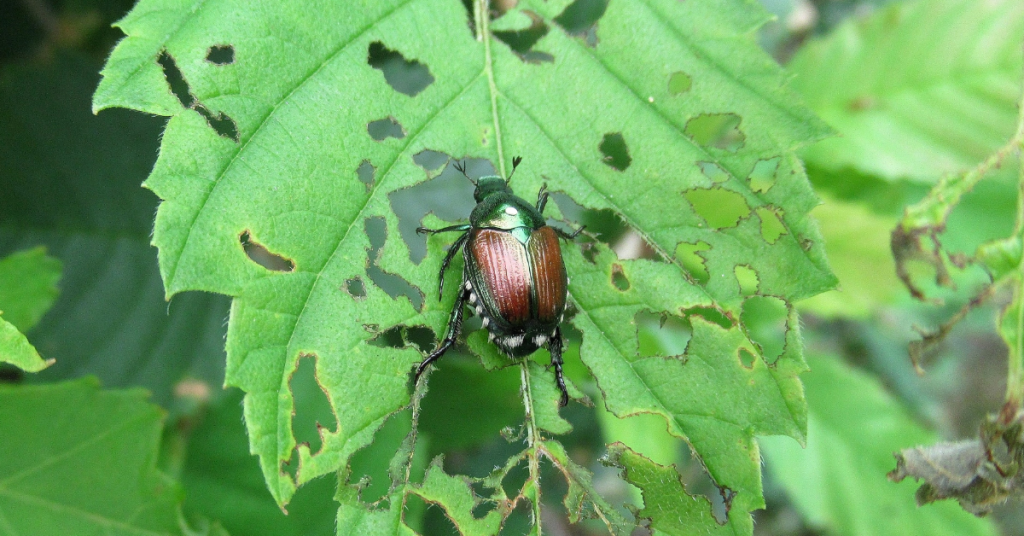
Japanese Beetle Prevention
Nematodes are microscopic worms that should be applied to lawns that have been ravaged by grubs especially of the Japanese Beetle. Nematodes have a short shelf life and must be refrigerated until they are applied. Normally, they are sprayed onto the lawn from mid-May to mid-June and then again (for best practice) from mid-August to mid-September.
Pots
To prevent freezing and cracking, Mary suggests emptying and turning your pots upside down. You can disinfect at this time too.
Design Time!
Jeanine, from production, suggests writing down what worked best in your produce garden this year so you can implement it again in the spring.
With the trees and land being barren enough you can see its contour, now is a great time to plan ahead for spring landscaping! Don't forget Eising GC would love to offer help with your landscape designing!
We hope these tips help your landscape plants enjoy your winter abode as much as you do this season, for more information - and plants – visit Eising Greenhouse and Garden Centre! 🍁
By: Dave Zeldon and Ely Schweyer
If you can’t wait for Mother Nature’s next great colour show, the time is now (mid September) to get rolling on those early spring flowering bulbs! Even though you can start planting in October or early November, buying bulbs now is advantageous as the selection at your local garden centre is at their best. Being the very first to bloom during the last dreary days of winter, bulbs announce that spring is returning once more, and as you think about the colourful show of tulips and daffodils next year, remember all spring’s groundwork begins now!
Your bulbs may be planted in your lawn, rock beds, at the foot of trees and bushes, in annual or perennial flower beds, or even in flower stands and pots. Combining the emerging fresh colors and textures of bulbs with the established foliage creates a harmonious relationship opportune for a complimenting or contrasting garden-scape. With a bit of planning and creative selection you can easily extend the joy of having spring flowering bulbs in your garden from a few weeks to several months, furthermore, planting bulbs amongst perennials offers that the new growth of the perennials will hide the fading foliage of the bulbs once they have finished flowering! Not long after the fading of the bulbs most perennials themselves will bloom, smoothly extending the sequence of flowering plants for you to enjoy.
Read on for all there is to know about planting bulbs!
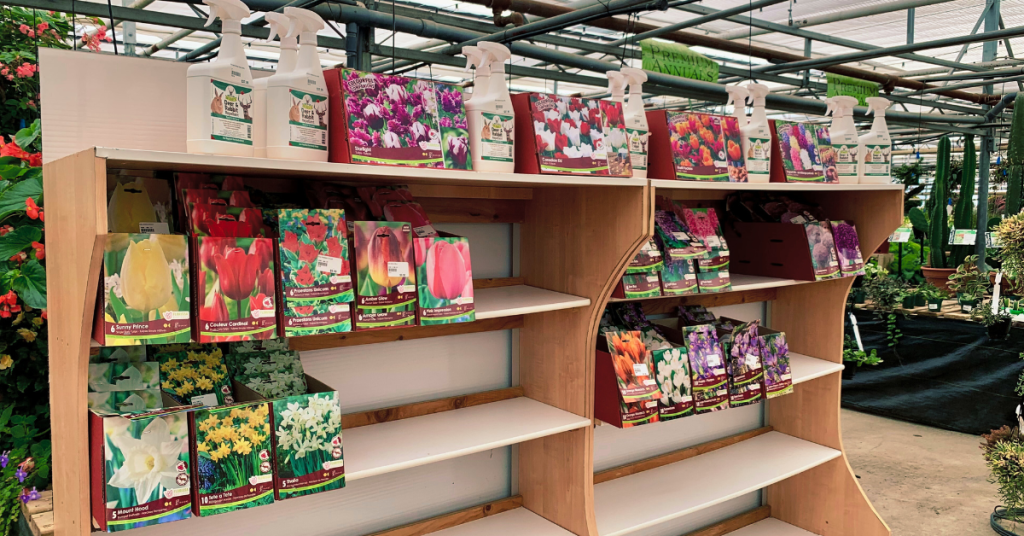
Buying Your Bulbs:
When buying, look for nice, plump, firm, bulbs. Avoid those with scars or that feel spongy to the touch. The general rule is the larger the bulb the bigger the plant. If you're buying daffodils, look for bulbs that have two or more "noses" as you will get extra flowers for free!
To have a good display of colour in your garden, right from March to the end of June. Be sure to check the blooming times on the packages and get a variety of early, mid and late-blooming spring bulbs.
👉 Tip: To extend the season, plant some bulbs in places where the sun beats down in early spring and some in cooler, shady areas of the garden allowing them to emerge in later spring.
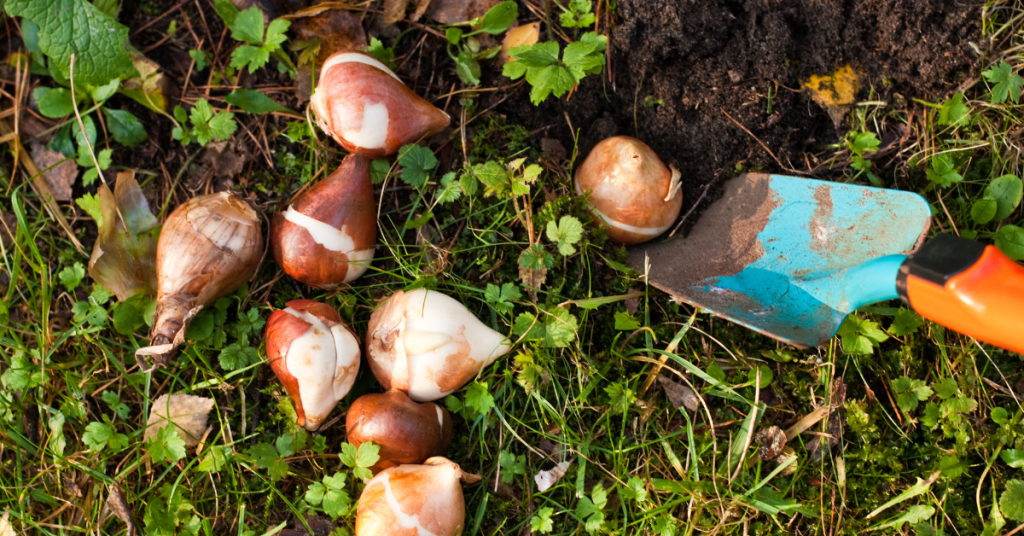
Planting Your Bulbs:
When planting, the soil must be warm enough under the surface to stimulate a little root growth prior to the winter freeze. Winter chilling is necessary to break the flower bud dormancy (vernalization) to have our bulbs produce blooms in the spring (see below how to force bulbs if you’re reading this in the spring).
Remember to plant your bulbs with the pointed end up! If it doesn't seem to have a pointed end, look for the flatter side and evidence of roots, which is the end that goes down. If you still can't be sure, plant the bulb on its side and it will figure out the proper direction by itself!
The rule of thumb is to plant the bulb two or three times as deep as the bulb is tall. The depth is to the base of the bulb, not the top. Typically, 8 inches (20 cm) for big bulbs such as daffodils, tulips and hyacinths and 5 inches (13 cm) for small bulbs like grape hyacinths and crocus. Plant in well-drained soil, cover up, water well and wait for spring.
In a wide hole, place bulbs - so they aren't touching - in threes, fives, or sevens per hole for the most natural look. You can throw a handful of bonemeal in the planting hole and mix it lightly with the soil, this will give your bulbs a good boost for the best bloom. Water to the depth of the hole.
Tulips, daffodils and other spring-flowering bulbs require a long period of cool temperatures to undergo the biochemical process that allows them to flower. So, in the fall, get them in the ground ideally six weeks before hard freezes to give them the time they need to develop strong roots.
Fertilizing Bulbs:
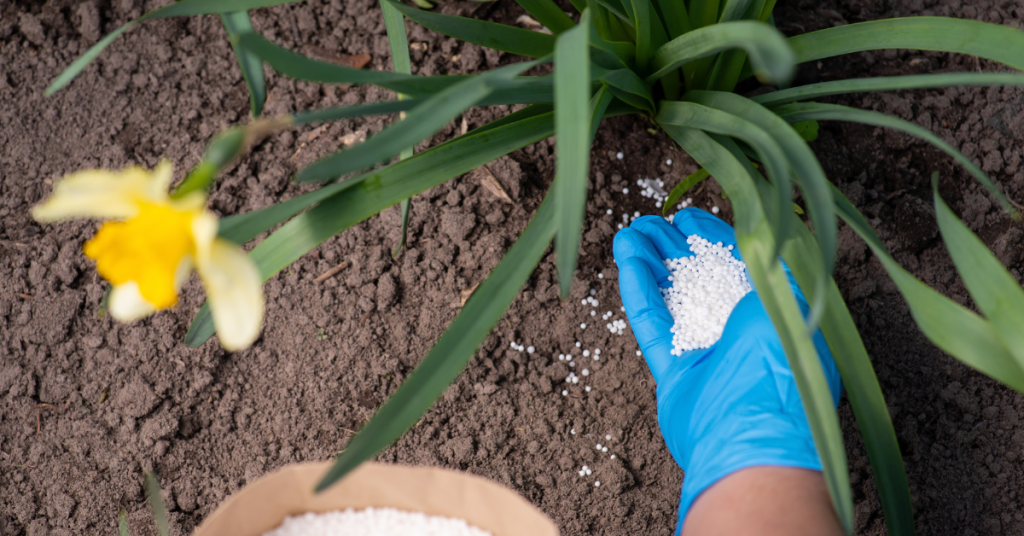
Bulbs contain the nutrients they need to bloom their first year, but a fertilizing program will keep plants healthy and ward off diseases and pests. Compost and manure are two good organic fertilizers that not only enrich the soil but ensure a good soil structure for bulbs. Additionally, organic supplements can be used to add nutritional balance. Compound mineral fertilizers can also be applied, however, check the label to see if fertilizing is appropriate for your bulbs and the best time of year to do so. Top-dressing with fertilizers like 9-9-6 slow release or either 8-8-8 or 10-10-10 soluble fertilizers are examples.
Once a bed of spring flowering bulbs are established, the process of naturalizing occurs which simply means that a bulb flowers again after the first year and starts producing more bulbs on their own. However, they will need your help to get the food they require to recharge and regenerate for the next season's bloom.
Some Helpful Tips:
- Squirrels enjoy the taste of tulip bulbs if they are easily accessible but not so with daffodil bulbs; interplanting the two together and/or mulching the garden will help protect them.
- Resist the urge to tidy up fading foliage or mow over it as the plants require about six weeks to build up reserves for the next season.
- Deadhead the tulips as the formation of seeds will sap the energy from the bulb. Daffodils & other bulbs do not require this action.
Forcing Bulbs:
Now if you can't wait for spring to smell the fragrant hyacinths, or you missed the fall planting, why not try your hand at bulb forcing?
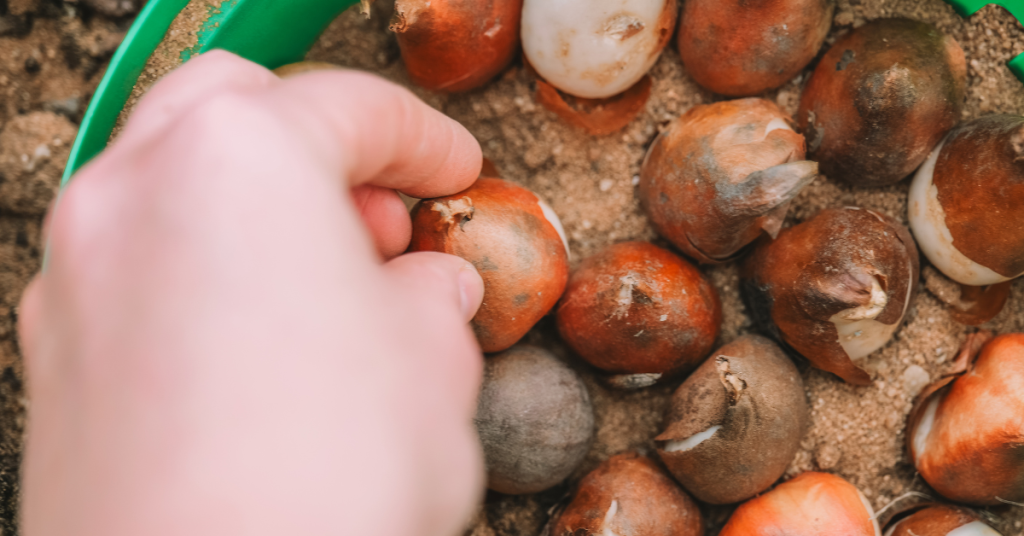
All you have to do is plant any extra bulbs in a pot with a drainage hole. Choose a pot that is at least twice as deep as the bulbs to allow for proper root growth. Fill the pot half full of soilless potting mix. Then place as many bulbs as possible in the pot, without letting them touch. For a thick show, layer more than one kind of bulb in the same pot; place larger bulbs on the bottom as they will grow around the smaller ones. A six inch-wide pot holds up to six tulips, three narcissus (daffodils), or 15 minor bulbs, such as crocuses or grape hyacinths.
Cover the bulbs with potting mix, leaving their tips showing. Water the bulbs thoroughly. Label with name and date; loosely cover pot with a paper bag. Place in cool (1-7 degrees Celsius or 35-45 degrees Fahrenheit), dark place for chilling such as an unheated attic, basement, or attached garage or in a 12 inch-deep trench covered in a tarp.
Check moisture in pot periodically keeping the soil damp but not wet. When chilling is complete, you'll see roots poking out of the bottom of the pot and green sprouts emerging at the bulb tips. It's time to move the potted bulbs into a warm room.
Chilling and Blooming Times:
- Daffodils: 12-15 weeks of chilling; 2-3 weeks to bloom after chilling.
- Tulips: 10-16 weeks of chilling; 2-3 weeks to bloom after chilling.
- Crocus: 8-15 weeks of chilling; 2-3 weeks to bloom after chilling.
- Grape hyacinth (Muscari): 8-15 weeks of chilling; 2-3 weeks to bloom after chilling.
- Iris reticulata: 13-15 weeks of chilling; 2-3 weeks to bloom after chilling.
- Snowdrop (Galanthus): 15 weeks of chilling; 2 weeks to bloom after chilling.
- Hyacinth: 12-15 weeks of chilling; 2-3 weeks to bloom after chilling.
We wish you all the best with your bulb planting this autumn! For more information - and bulbs - stop by Eising Greenhouse and Garden Centre this fall!
By: Ava Green
Spring is the time of year known for new beginnings, and it’s also a very busy season in the garden as we hurry to get everything planted for the summer growing season here in Southern Ontario. But, did you know that fall is also an ideal time to get planting?
Similar to spring conditions, the cooler temperatures and more frequent rainfall make it easier for new plants to transition. This also decreases transplant stress. There’s time for roots to become established, and by springtime, you’ll be enjoying your plants instead of being busy planting them!
Don’t wait too long, though! At Eising Greenhouses, we recommend planting perennials, trees and shrubs before Thanksgiving weekend to give your new plants a little time to settle in before a hard frost arrives. A hard frost, or freeze, is when the temperature dips below zero for an extended period of time, killing tender plants.
What to Plant in Fall
Spring-Flowering Bulbs
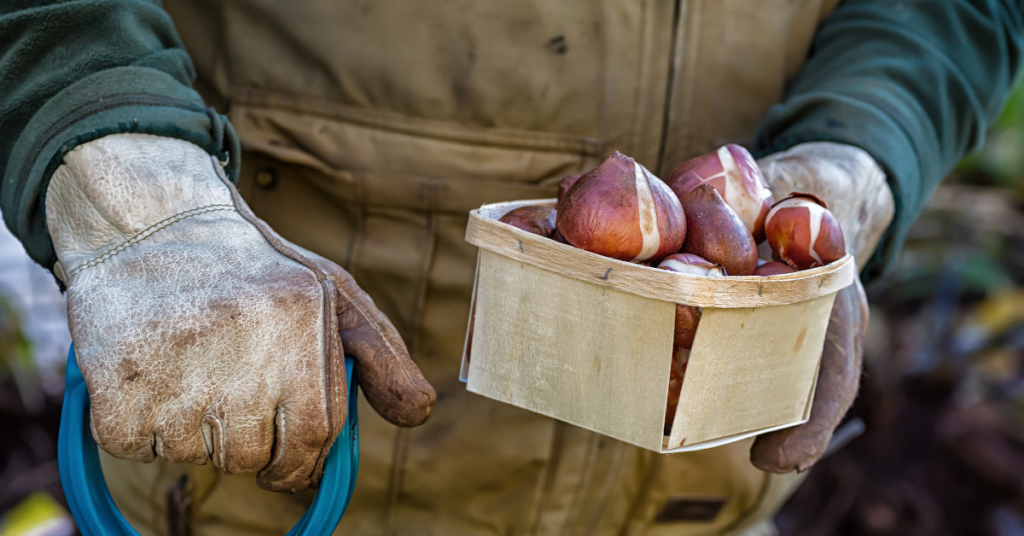
Tulips, Daffodils, Hyacinths, Crocus, Fritillaria and Alliums are just some of the bulbs that need to be planted in the fall in order to enjoy their flowers in the spring. Tulips especially appreciate being planted in cooler weather, but all of these bulbs require a cold period of about 12 weeks in order to grow in the spring. Many bulbs can be planted right up until the ground freezes. But why wait?!
👉 TIPS: While Tulips can be tasty and tempting for squirrels, rabbits and deer, many bulbs like Alliums, Frittilaria and Daffodils are not so delectable. Tamping down the soil after planting your bulbs makes it more difficult for critters to sniff them out. Laying some chicken wire over the area can also help deter from your bulbs becoming a meal for a critter.
Be sure to choose an area to plant your bulbs in that does not stay wet so the bulbs don’t rot.
Garlic
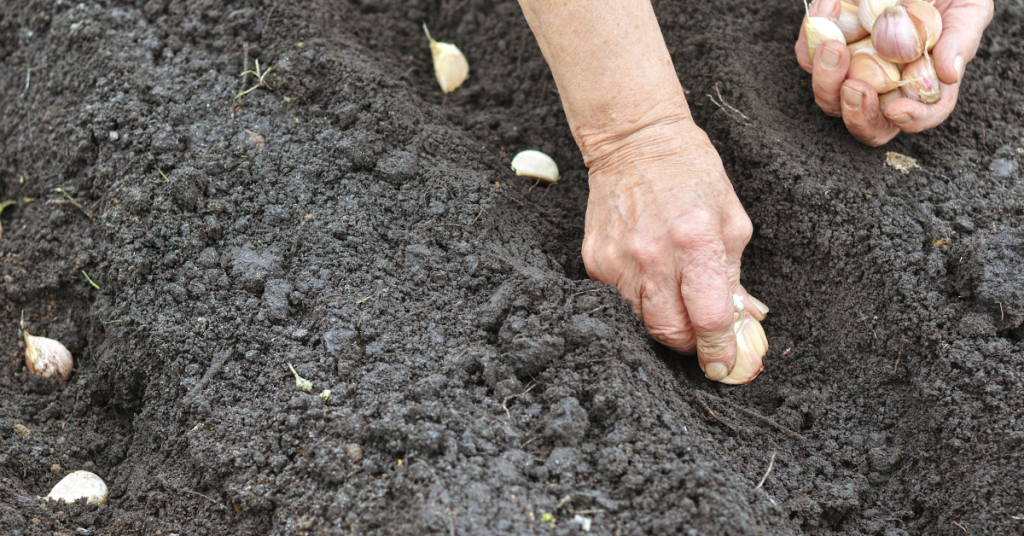
While some folks choose to plant garlic in the early spring, many people choose to plant it in the fall. Why not get started now? When you plant your garlic in autumn, you will have a crop that’s ready for harvest next summer.
Plant, Divide, and Transplant Perennials
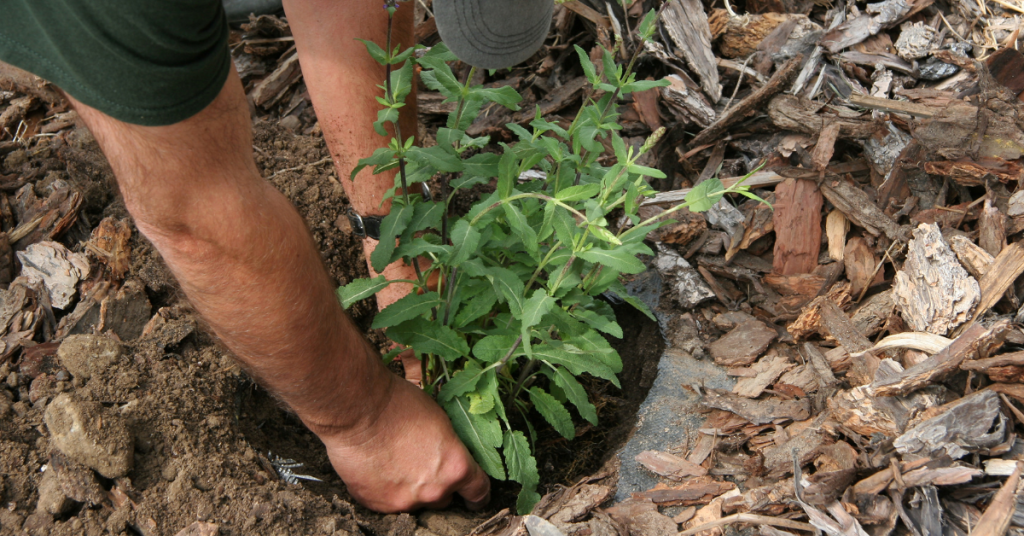
Yes, you can still plant perennial flowers in the fall! Whether you’re purchasing new plants or moving plants around, autumn is a great time of year to do it.
It’s also a great time to divide and transplant spring and summer blooming perennials. Why divide your plants? It’s a great way to revitalize the plant and also to create new plants.
Whether you’re planting, dividing or transplanting perennials, it’s best to do it 4-6 weeks before the first hard frost so that they have time to become established in the soil. Perennial plants will be available for sale at Eising Greenhouses until Thanksgiving weekend, so don’t delay too much!
Trees and Shrubs
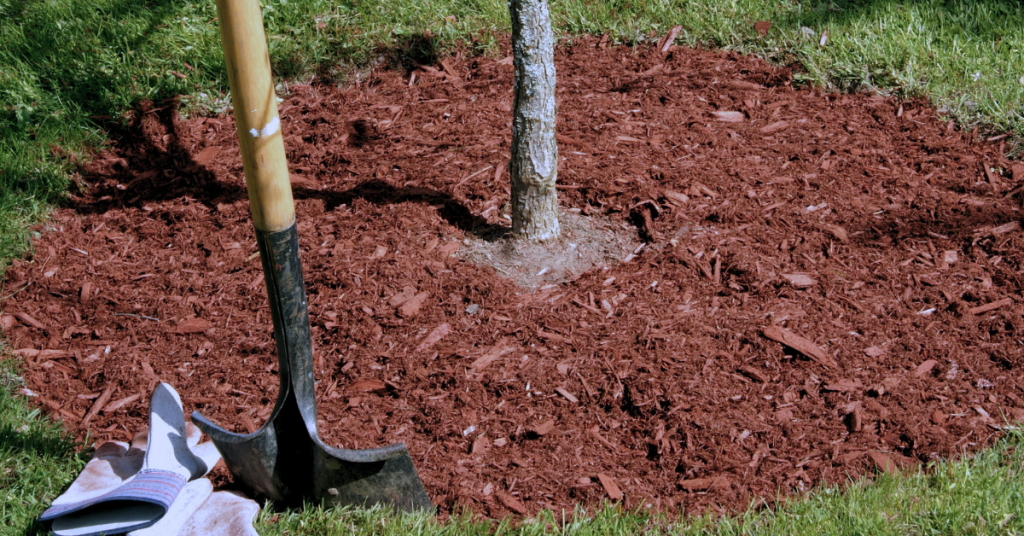
Container-grown or burlap-wrapped trees and shrubs can be planted as long as you can get a shovel in the ground! However, it’s a good idea to give them a few weeks in your garden before it freezes if you can.
It’s especially nice to see what a tree or shrub will look like in the fall before you plant it.

Peonies
Autumn is the best time to plant and establish roots so your peony is ready to bloom in spring! Planting them 4-6 weeks before the first hard frost will help your plant become established before cold weather descends.
👉 TIP: Be sure to add mulch to trees, shrubs and perennials after planting. But keep the mulch away from the trunks or stems. It’s never a good idea to put decaying plant material right up against a living plant!
Come in and take a look at what’s available, then enjoy the cool fall weather for planting!
Resources: If you’re new to dividing perennials, here’s a handy helper - A Guide to Dividing Perennials by the Toronto Master Gardeners