
By Ava Green
As soon as warm weather and sunshine arrive in Southern Ontario, it’s time to head to the garden centre and pick up all the plants we’ve been dreaming about all winter long! May 24th is generally the date we look forward to — the unofficial marker when frosty mornings are behind us and the promise of summer is ahead.
By now, cool-weather plants like cabbage, Brussels sprouts, peas, and lettuce should be well established in the vegetable garden. And for everything else, it’s go time!
TIP: Before you start planting, this is the ideal time to amend your soil. Top up your garden beds with fresh topsoil or enrich them with compost to improve soil health, add nutrients, and promote vigorous plant growth. Don’t forget to refresh the soil in your containers as well, with potting mix or compost.
Warm Weather Vegetables
When soil temperatures are consistently 60°F (15°C) or higher, it’s safe to plant all the warm-weather vegetable crops we’ve been waiting for! Plants that thrive in warmer weather include tomatoes, peppers, eggplants, cucumbers, zucchini and corn.
At Eising Garden Centre, you’ll find vegetables in 6-packs, 4” pots, trellised patio containers, patio bowls and hanging baskets - while supplies last, of course!
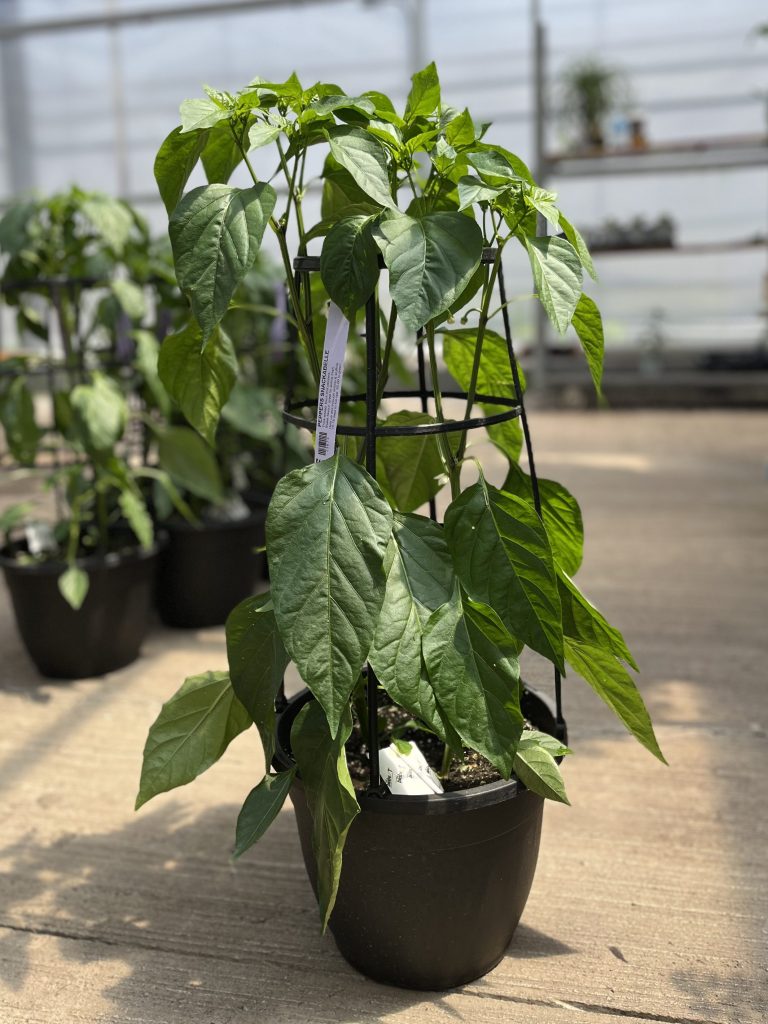
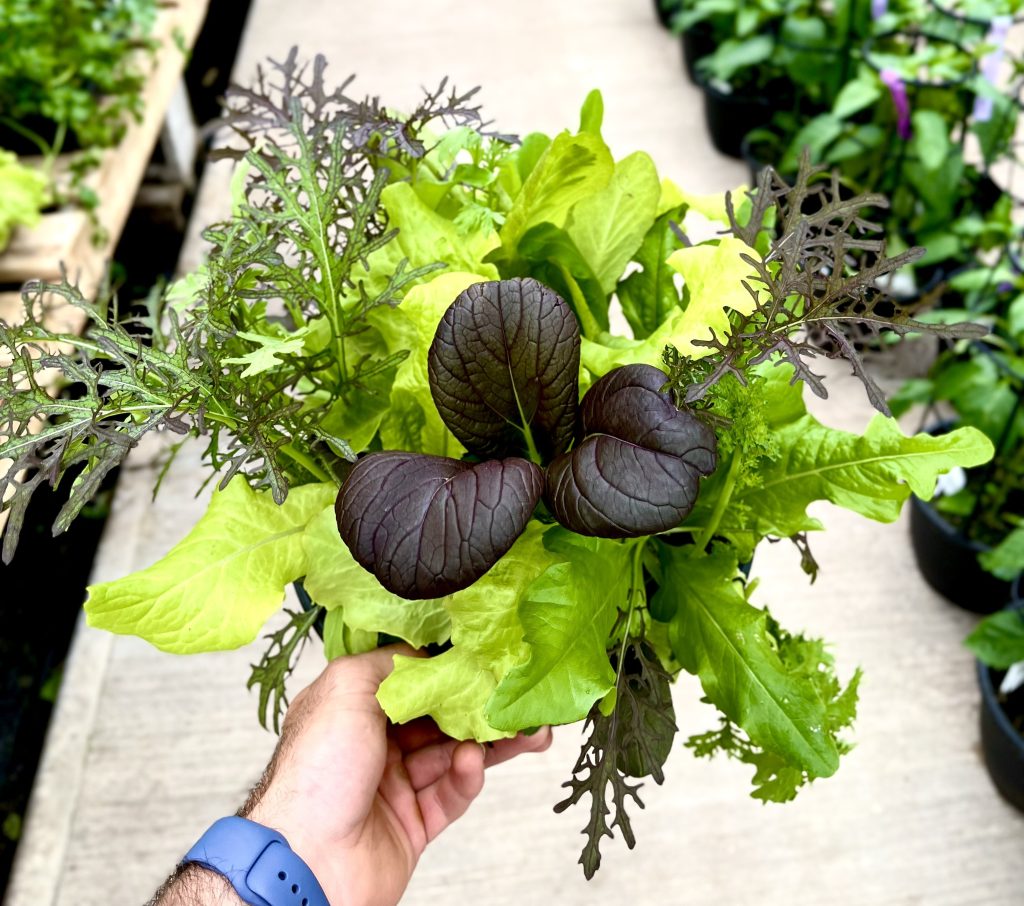

Herbs also love warm weather, and tender varieties like basil are safe to plant once all danger of frost has passed. Whether you plant herbs directly into the ground or create a potted herb garden near the kitchen door, they’ll add fresh flavour to your meals all season long. A container of herbs also makes a wonderful gift when visiting friends and family for a summer BBQ.
While you’re in the vegetable and herb aisle, keep an eye out for everbearing strawberries in planters and containers of tropical fruits like lemons, limes, and oranges.
Annual Flowers
Winter-weary flower beds can be revived almost instantly with a burst of colourful annuals! If you’re looking for an immediate impact and blooms that last all summer long, annual flowers are the answer.
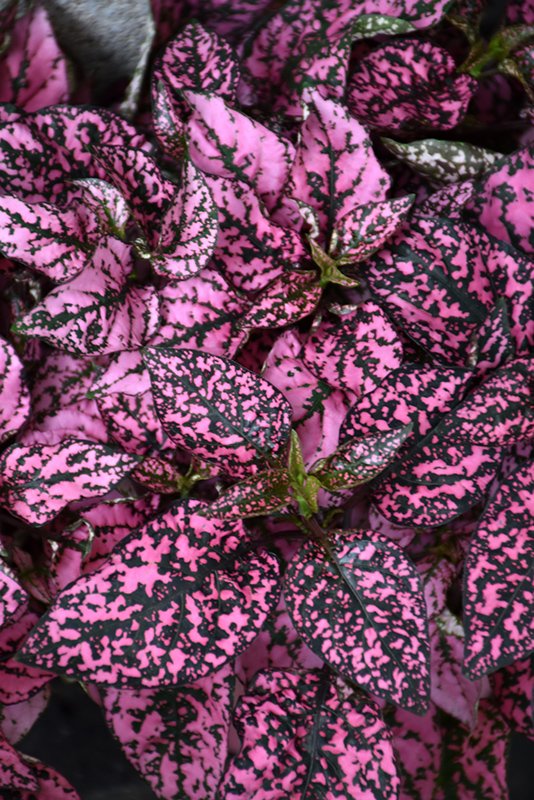
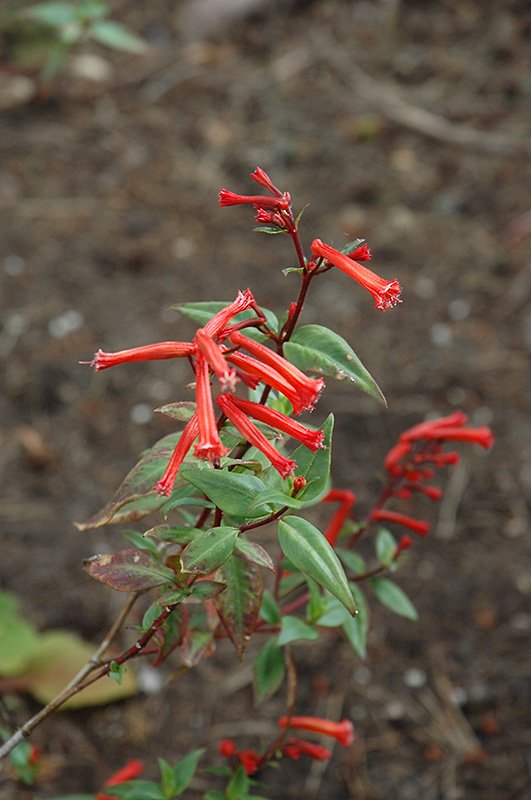
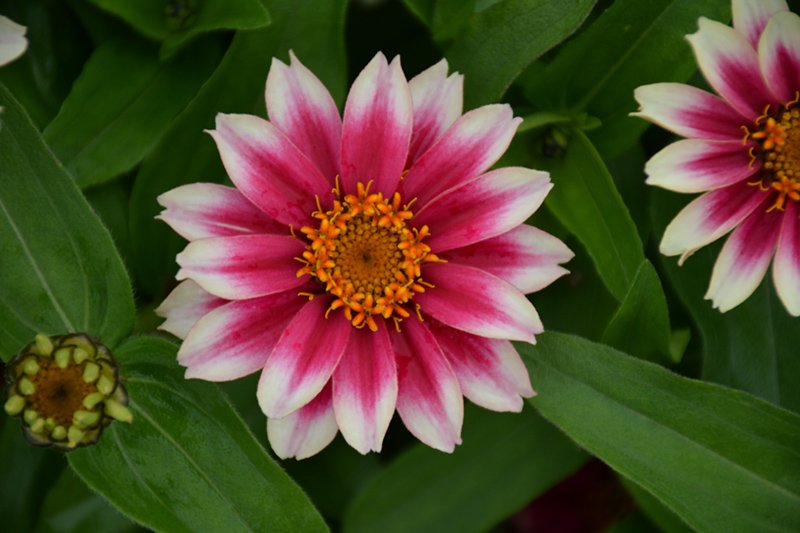
Whether you plant them in beds, containers, window boxes, or hanging baskets — or choose from one of our gorgeous pre-planted options — just add water and fertilizer, and you’ll be rewarded with a vibrant display that keeps on giving.
Perennials
While perennials may not bloom all summer, many offer extended bloom periods, and by combining different varieties, you can create a succession of flowers that lasts for months. Perennials also provide essential greenery to anchor your garden and enhance the look of your flowering plants.
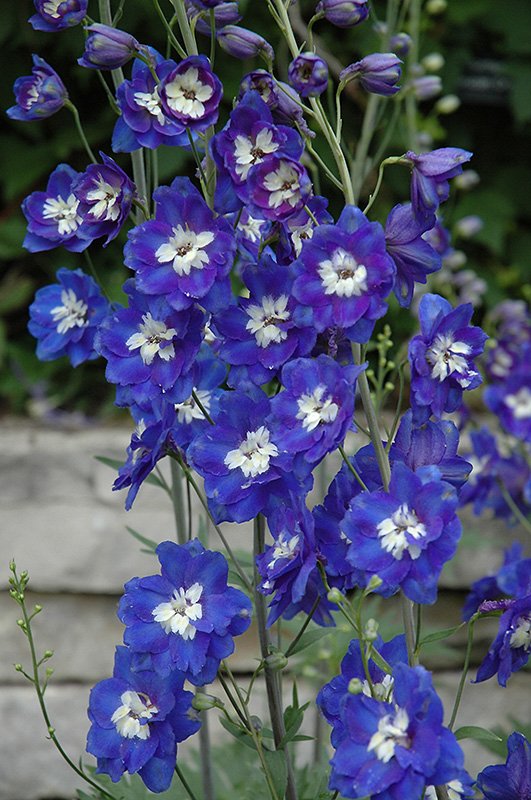
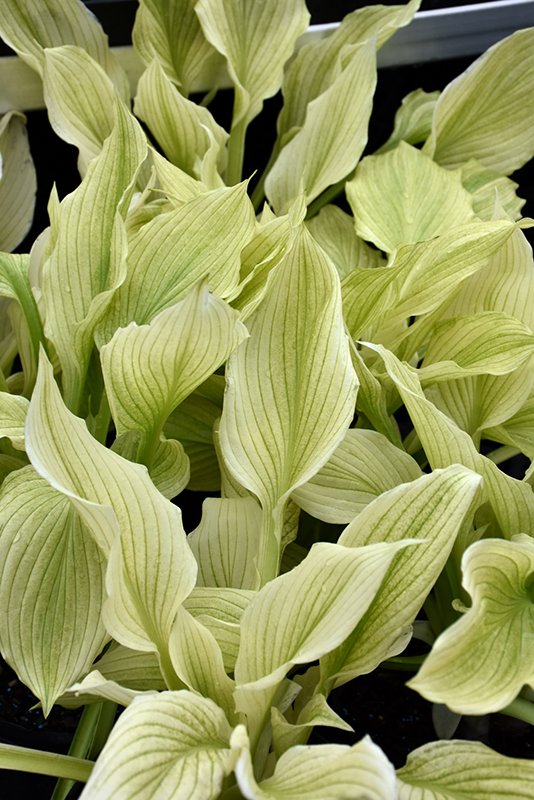
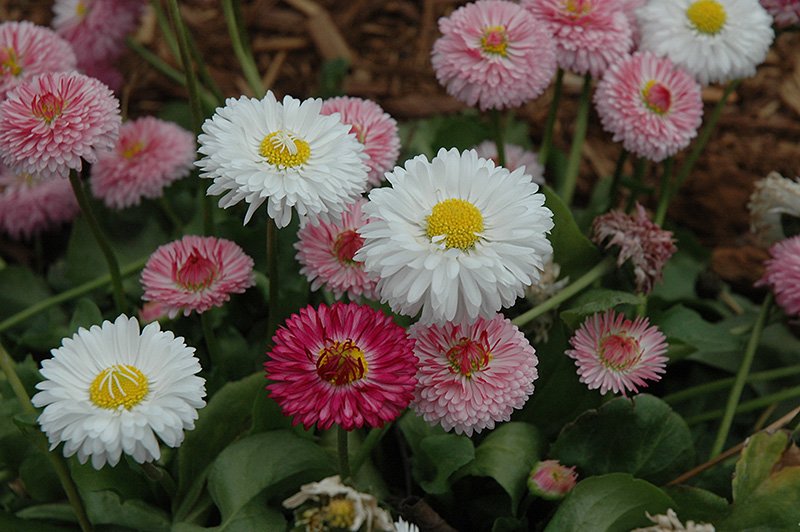
You can plant perennials from spring through fall, but getting them into the ground now gives them a strong start. From hostas and ornamental grasses to daisies and delphiniums, there’s a perennial for every style of garden — and the best part is, they’ll return each spring like dependable old friends.
Trees, Shrubs and Vines
Often called “the bones” of the garden, trees, shrubs, and climbing vines add essential structure, height, and seasonal interest. Planting them now allows you to design your garden layers thoughtfully, incorporating annuals and perennials around their base.
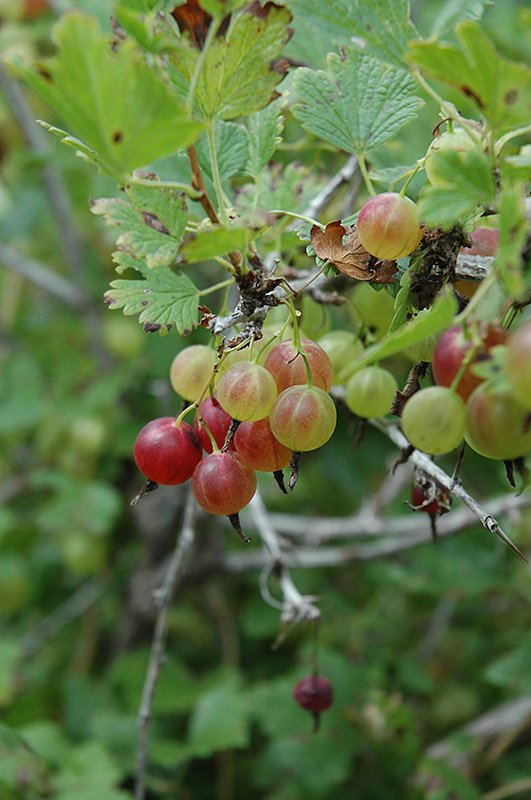
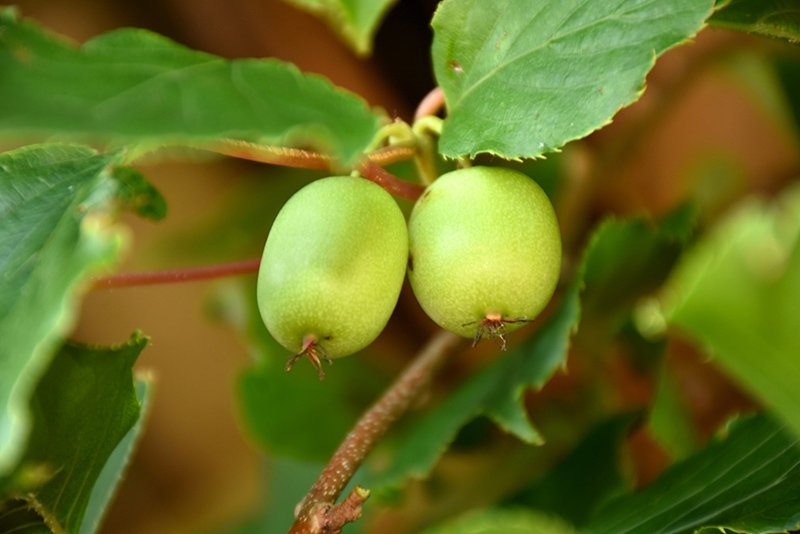
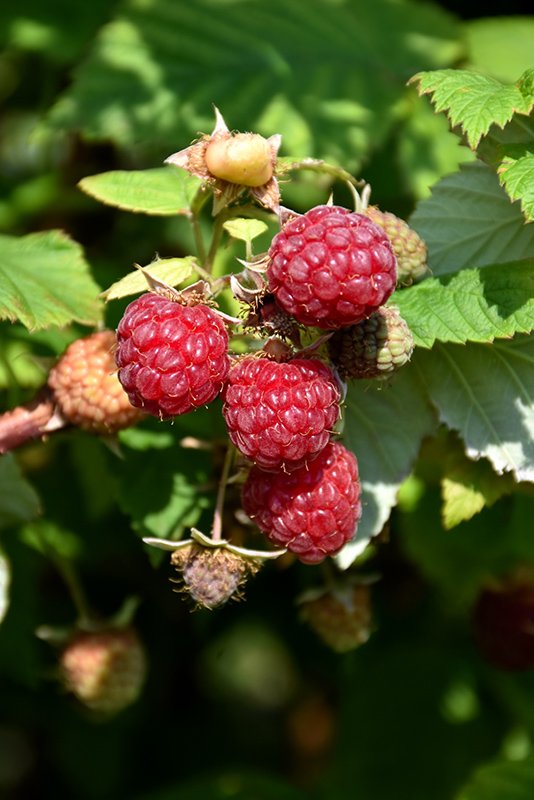
Spring is also the prime time to purchase and plant fruit trees and fruiting shrubs. At Eising, spring offers the best selection for starting your home orchard. Are you thinking of adding a few edible shrubs? Gooseberries, haskaps, hardy kiwi, rhubarb and raspberries are excellent choices.
Mulch
Okay, it’s not a plant, but this is a reminder to add mulch to your garden beds or containers. After planting, adding a layer of mulch to your garden beds or containers helps retain soil moisture, reduces transplant shock, and suppresses weeds. Even if a few weeds manage to sneak through, mulch makes them easier to pull.
Water Garden Plants
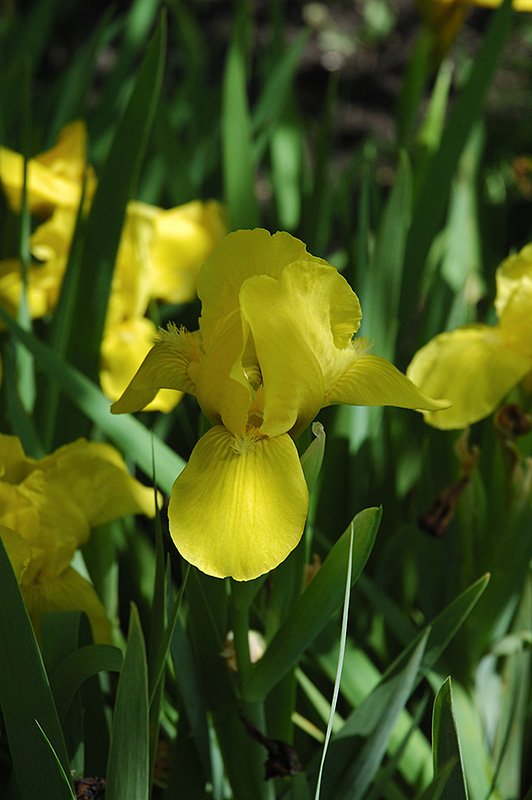
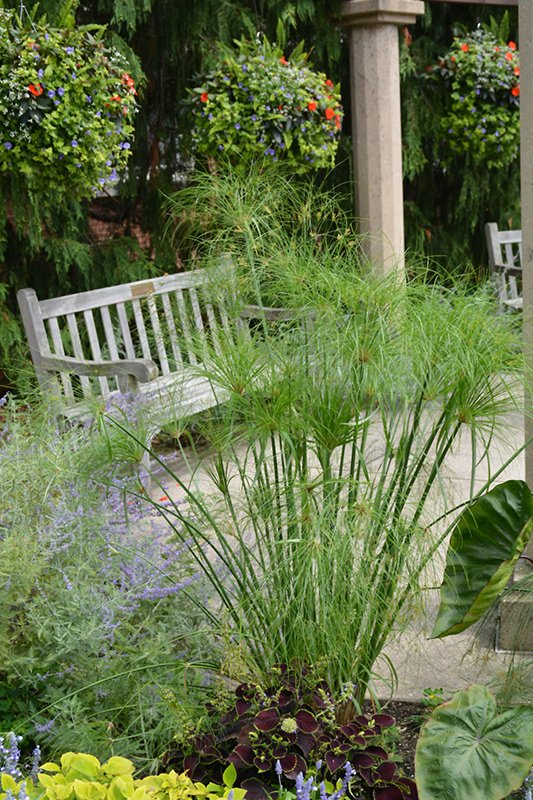
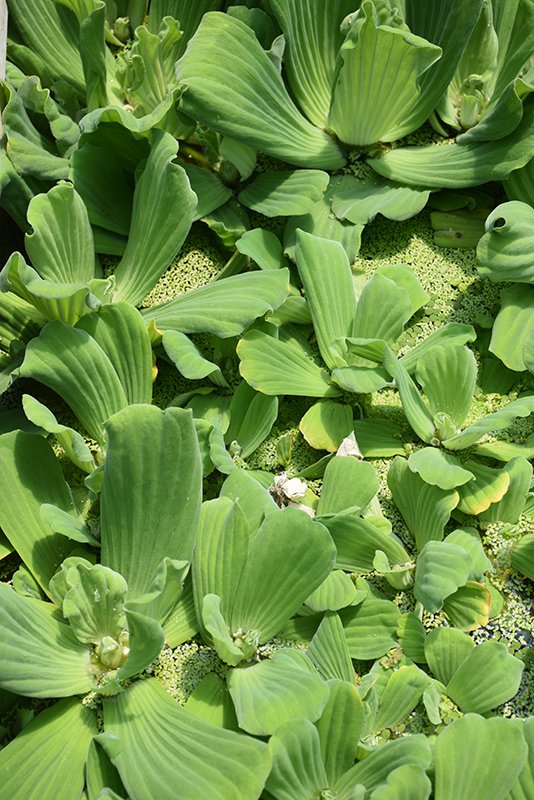
If you have a garden pond, spring is the perfect time to add water plants. Floating plants, such as water hyacinths and water lilies, help shade the pond’s surface, reducing algae blooms. Marginal or bog plants, such as water iris, papyrus, and cattails, also help keep the water healthy and clear by improving oxygen levels and providing habitats for beneficial wildlife.
Time to Grow!
May is one of the most anticipated and exciting months in the garden. Whether you’re dreaming of fresh vegetables, a lush landscape, or a colourful flower display, planting now sets the stage for a beautiful, bountiful season. Visit us at Eising Garden Centre to find everything you need — and let’s get growing!
By Dave Zeldon and Ely Schweyer
Many home gardeners are really missing their harvest of fresh vegetables these wintry days – and many beginners have New Year’s resolutions to become greener thumbs.
If you’re looking for something kid friendly, easy on the budget, and nutritious to do this winter, you may want to try microgreen farming!

Seeds to Start
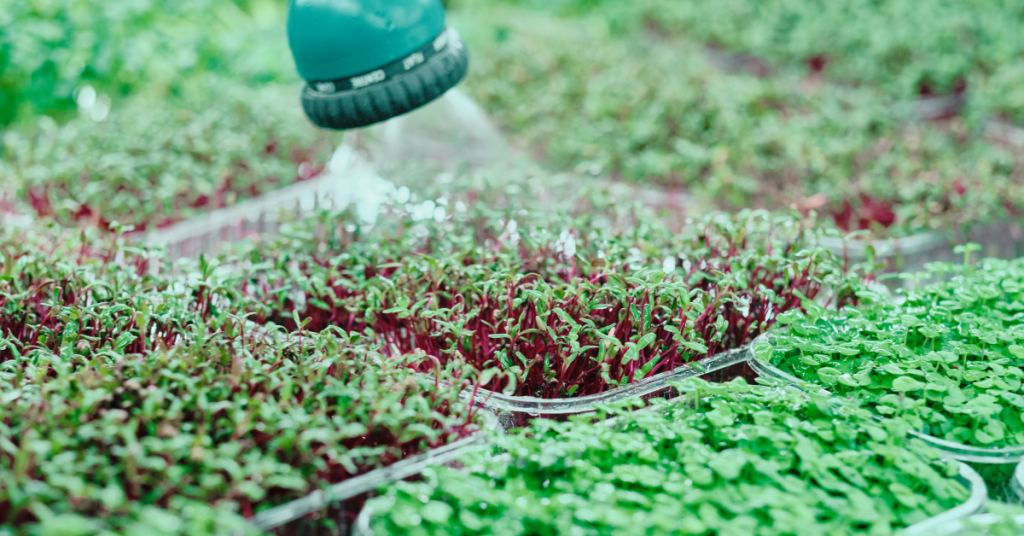
The seeds of many vegetables and beans are suitable for hydroponic sprouting into tasty young shoots that will be ready for the table in less than a week!
Seeds such as alfalfa, broccoli, clover, lentil, mung bean, mustard, onion, radish and soybean are excellent choices for this activity plus they are invaluable in terms of their nutritional content.
Sprouting seeds on your kitchen counter takes only minutes a day, and the reward is a steady supply of fresh, crunchy shoots.
It is important to start by purchasing some packaged seed expressly for sprouting. The directions will indicate how much is needed to produce 100 grams of sprouts. The seed-to-sprout ratio can differ substantially - anywhere from 1.5 to 8.5 units of sprouts or more per one unit of seed - so follow directions carefully and make sure your jar is large enough to accommodate all the sprouts while still leaving room for good air circulation. As a rule, begin with 1 tbsp. (15 mL) of seeds for small varieties such as alfalfa and radish, 2 to 3 tbsp. (30 to 45 mL) for medium ones such as lentil, and up to 4 tbsp. (60 mL) for large seeds such as beans and peas.
Seeds to Sprouts
Simply put seeds into jar and position screening over opening, using an elastic band to hold the covering in place. Fill jar one-third full of warm (about 40°C) water and swirl seeds around for a minute or so. With the covering in place, drain water. Refill jar one-third full of cool water and let seeds soak for four to eight hours.
Next, begin daily regimen of rinsing seeds three times a day at roughly eight-hour intervals. Drain and refill jar with cool water, swirl seeds for about 30 seconds and drain again. Then, invert the jar so screening is at the bottom and rest it at a 45-degree angle in the bowl. Place on the kitchen counter out of direct light (place bean shoots in complete darkness, as they often taste sweeter when they're grown this way). Repeat this process for three to five days.
Simple Sustenance
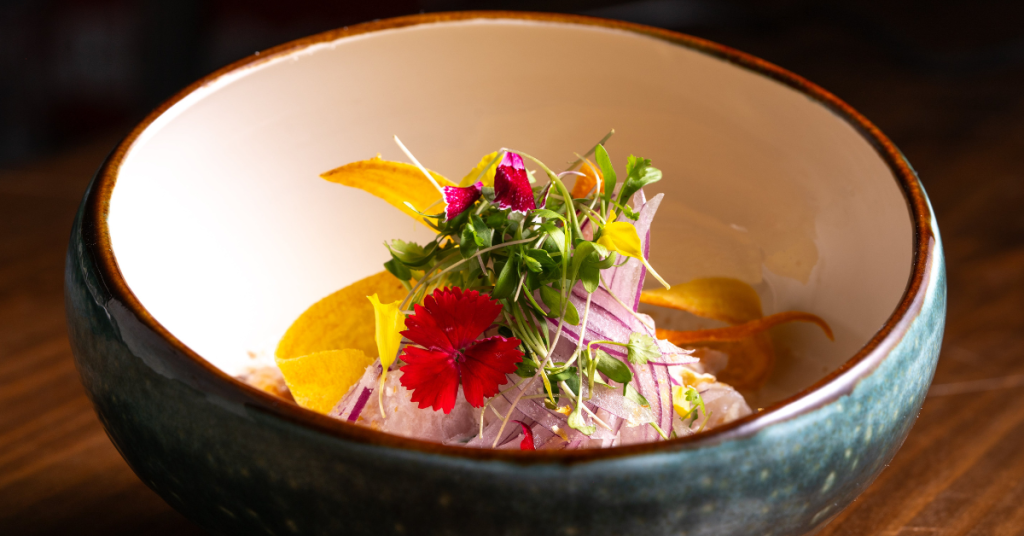
You can start to harvest your sprouts once they're three to five centimetres long. Rinse and drain them thoroughly and place them in an airtight container and refrigerate immediately; they should remain fresh for up to five days.
Clover, alfalfa, radish, and mustard seeds give rise to the delicious sandwich booster sprouts. Sprouts are one of the most concentrated natural sources of vitamins, minerals, enzymes, and amino acids.
Plants inside the home help bring life to a long winter, if you’re looking for more information – or plants – visit Eising Greenhouse and Garden Centre! 🌱
Growing Vegetables in Pots!
A few years ago, I was walking through town with a friend as we discussed planting vegetables in our tiny front gardens. It seemed like an unusual idea until we spotted not one but two front gardens with pumpkin vines rambling amongst the shrubbery. What a novel way to cover the ground without mulch and have the bonus of showy, bright blossoms and bold foliage! Of course, this is eventually followed by the standout feature of brightly coloured pumpkins. It’s built-in fall decorating!
Right now, everyone is looking for ways to reduce grocery bills, and growing a few vegetables amongst the flowers and shrubs can make a big difference. If your garden is on a patio or balcony, there are lots of ways to add edible plants to maximize your space and beautify it at the same time. Who says vegetables can’t be ornamental and beautiful?!
Gaps and Small Spaces
If you have a new shrub and flower garden that has gaps or there’s a space in your garden where you’re not sure what to plant, consider tucking in a potted vegetable. In a cool, shady space, try some luscious lettuce bowls. Shade allows lettuce to grow more slowly in the heat of the summer. Keeping lettuce in a cool, shady spot will prevent it from bolting and becoming bitter.
If you have a small garden, a patio or a balcony, pots with compact varieties and hanging baskets are a terrific alternative for growing vegetables, herbs, and some fruits. These are some of the options we offer at Eising Garden Centre (based on availability) that can be purchased fully planted, or you can grow your own from seed if you have time, space and lights.
Trellised Planters and Patio Pots
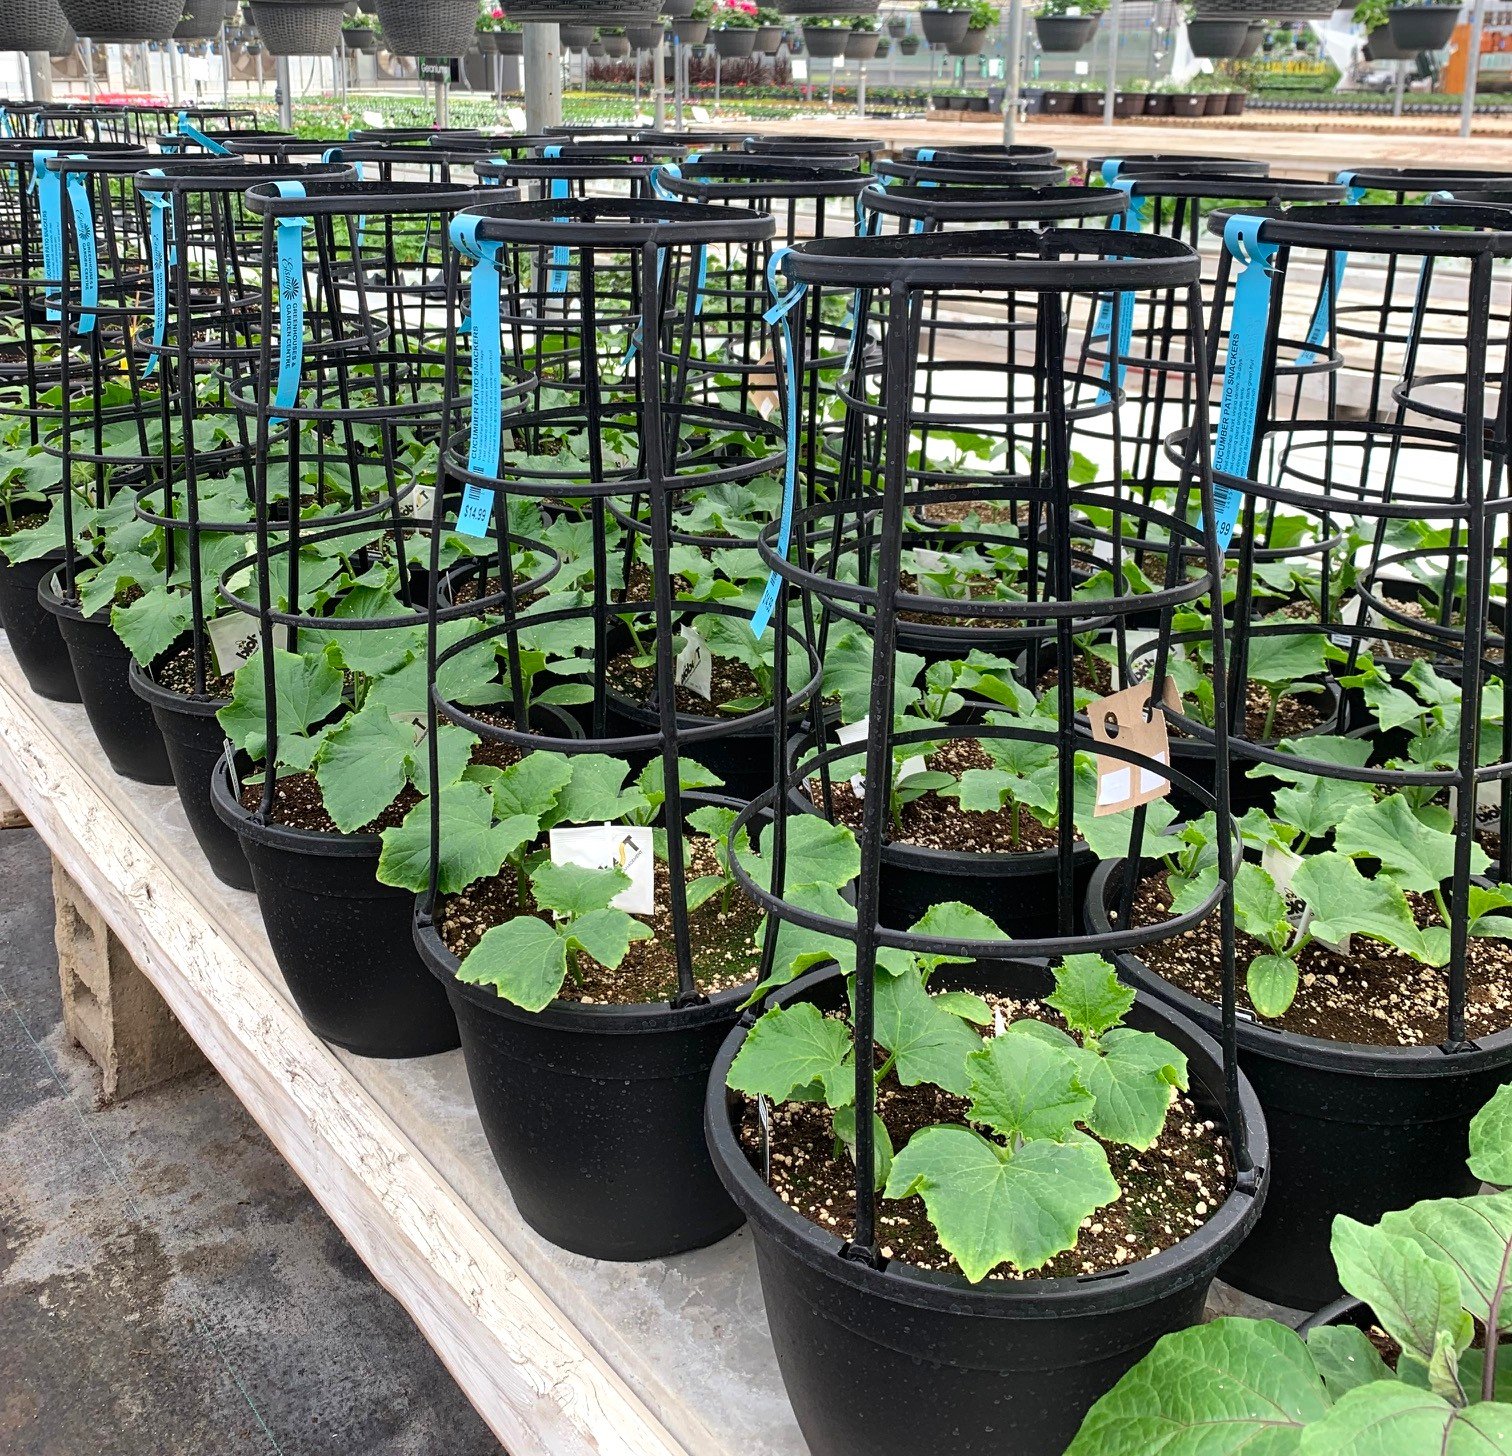
For patios, balconies, or even a gap in the garden, there are lots of vegetables that can be grown in a trellised planter.
Tomatoes, peppers, cucumbers and eggplant all love warm soil and growing in pots provides the heat to help them thrive. Eising trellis pots are planted with specific varieties that are smaller but pack a flavourful punch.
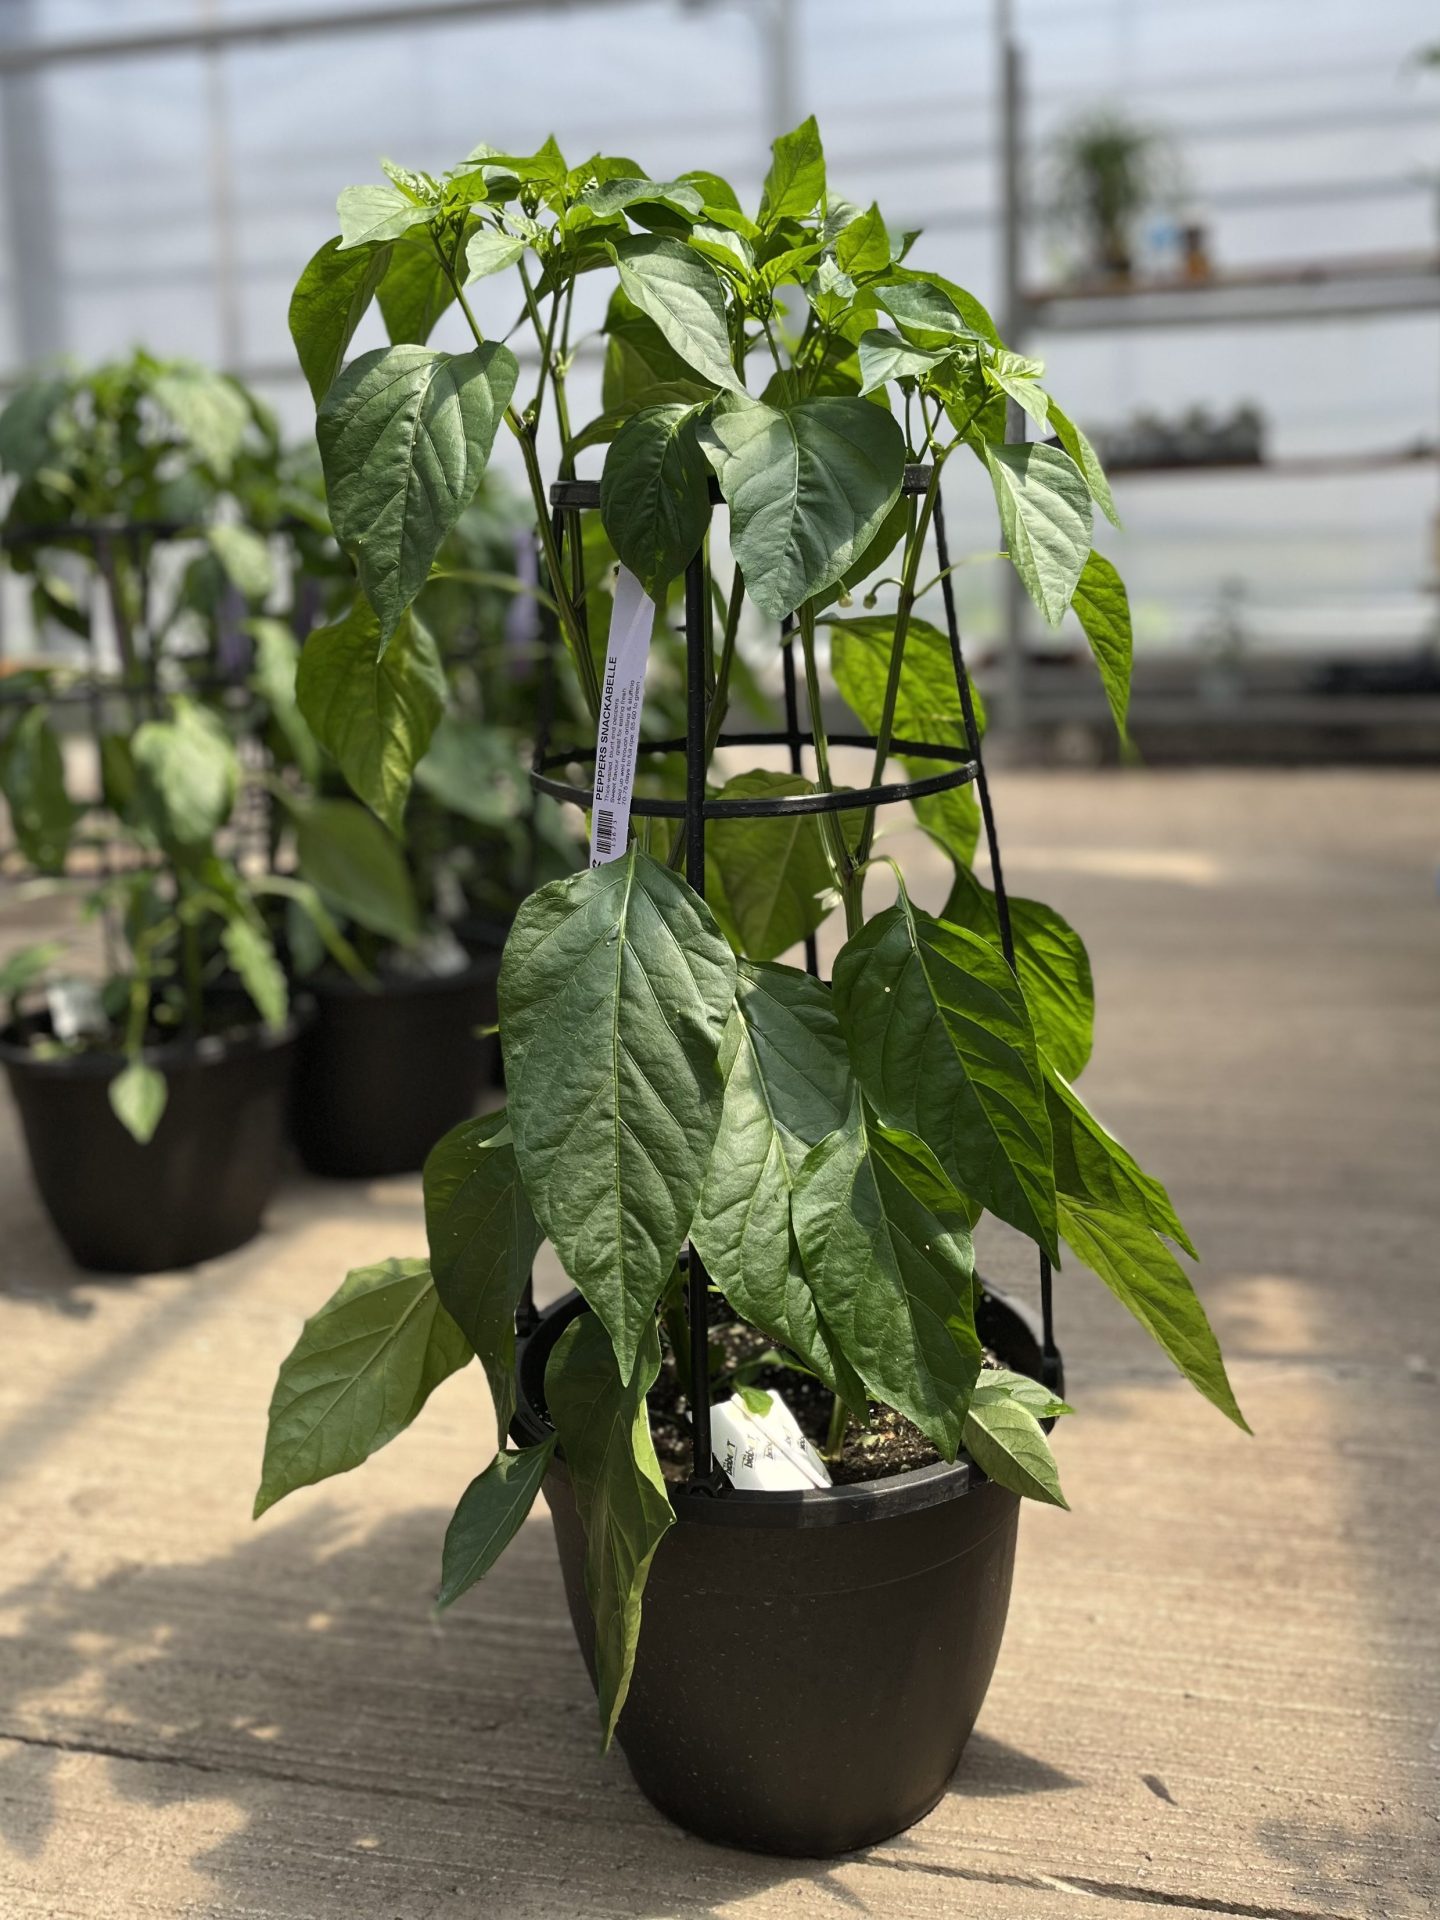
Sweet Snackabelle, Candycane Chocolate Cherry or Red, Mocha Swirl and Fresh Bites peppers.
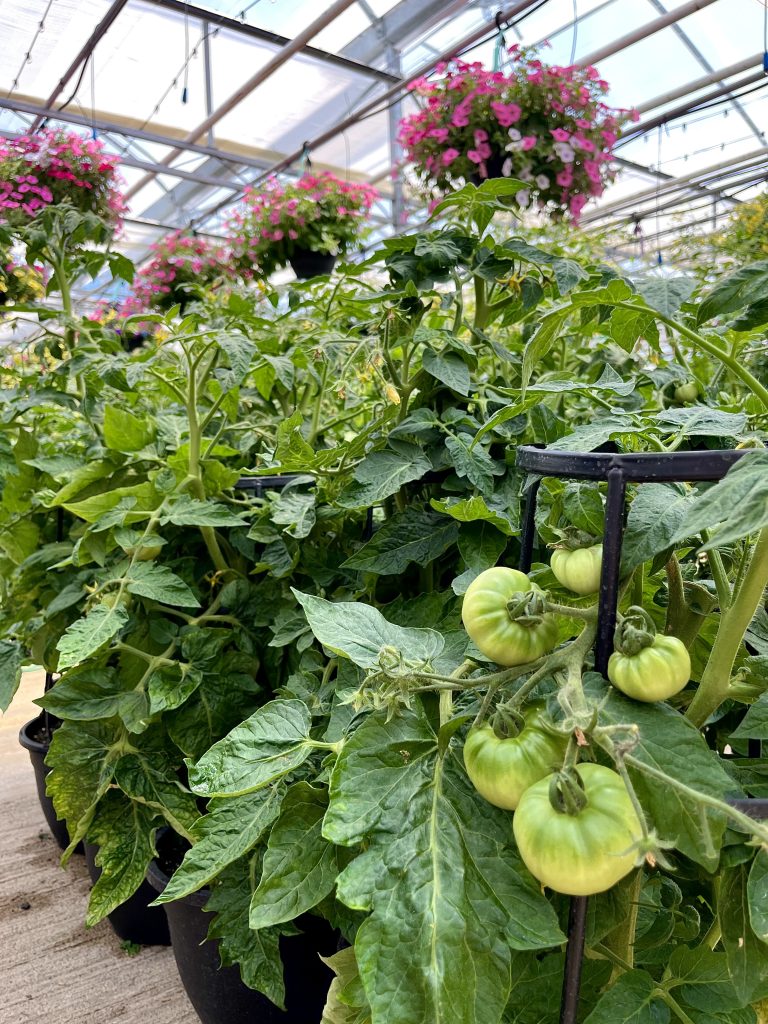
Little Sicily, Patio Hybrid, Candyland Red, Rapunzel and Tidy Treats tomatoes.
Eising Greenhouse also carries eggplants in trellised pots - a patio pot with Patio Baby eggplants is a perfect choice if ratatouille is on the menu!
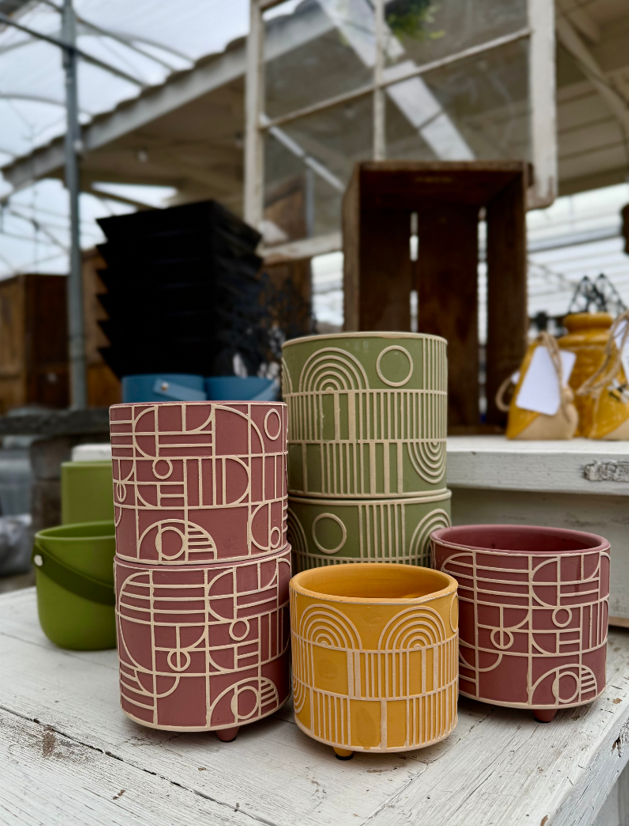
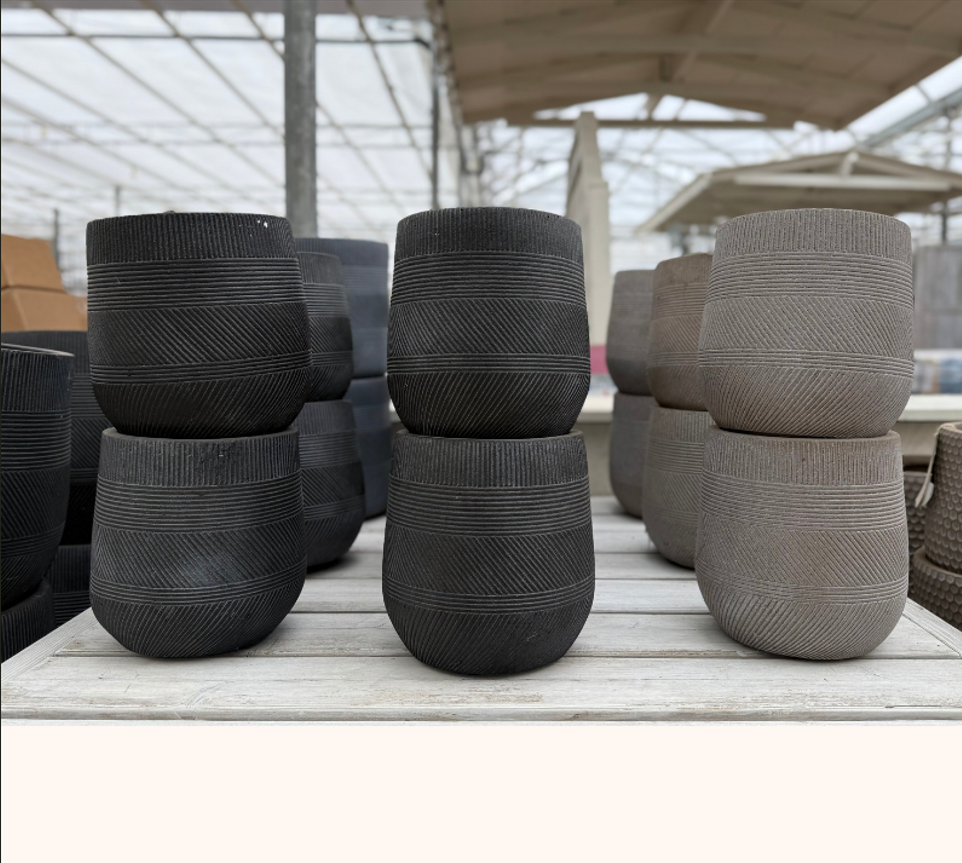
All of Eising's trellised planters would look lovely plopped into one of our decorative outdoor cover pots!
Herb Planters
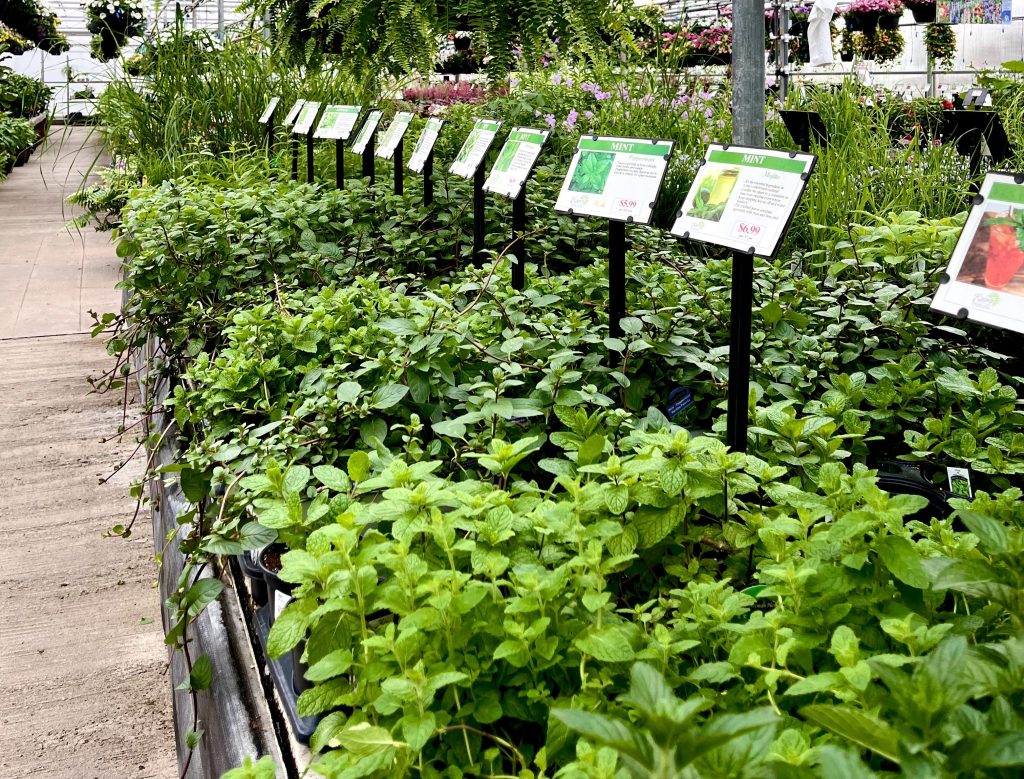
Many herbs thrive in a sunny and warm spot with well-drained soil, making a pot the perfect container for them. Herbs also make great companion plants with other vegetables and can be tucked into other pots. Most herbs also love to be harvested frequently, especially when they’re given these ideal conditions.
Lettuce Bowls
Lettuce bowls are a great way to grow greens in small spaces. Our 10” bowls are chock full of a variety of lettuces and are never boring!
👍Tip: Try the “cut and come again” method for harvesting lettuce, which prolongs the plant’s life. Simply pinch off the outer, mature leaves each time you pick the lettuce and leave the centre of the plant to keep growing.
Hanging Baskets
If there’s a spot to hang a basket or place a shepherd’s hook, you will want to grow one of the edible options we offer.
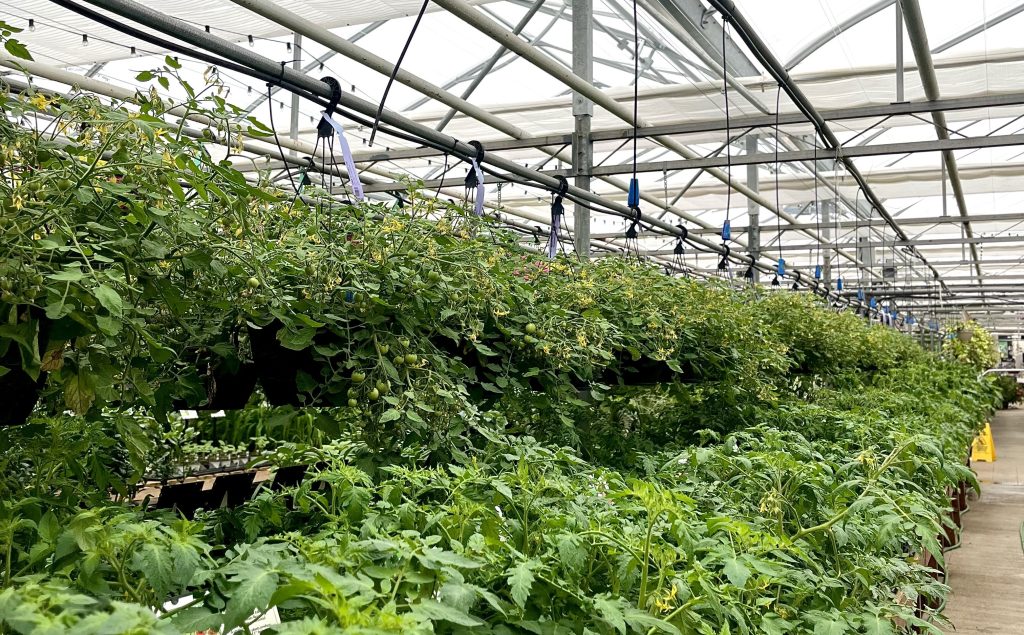
Topsy Tom tomatoes.
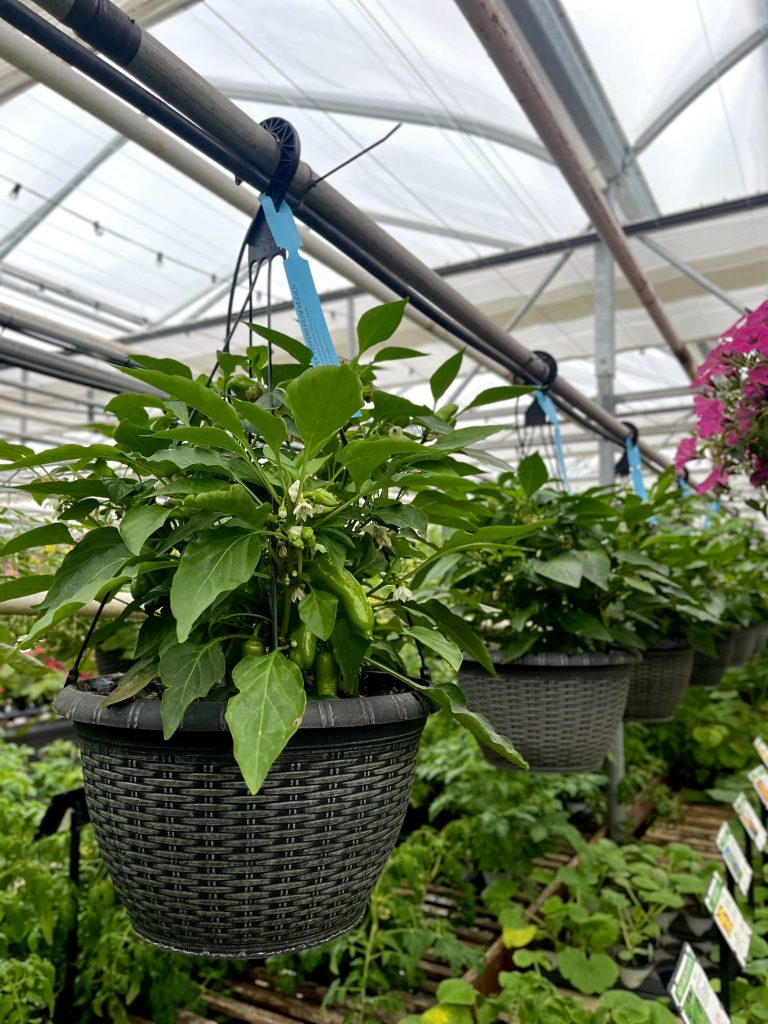
Pot-a-Peno and Peppers From Heaven peppers.
Tomatoes, peppers, and strawberries are all available in hanging baskets. Our deliciously sweet everbearing strawberries are also available in 4.5" pots and bareroot, which are great options for window boxes.
👍Tip: Pick strawberries as they ripen to encourage your plants to produce more. Also, remove runners as they grow to allow your plants to send energy into growing fruit instead of bigger plants. Painting rocks to look like strawberries is said to deter birds from feasting on ripe berries.
Citrus and Figs
Consider growing a beautiful and fragrant lemon, orange, fig or grapefruit tree in a patio pot. Just keep in mind that it will need to come indoors in the fall.
Container Plant Care
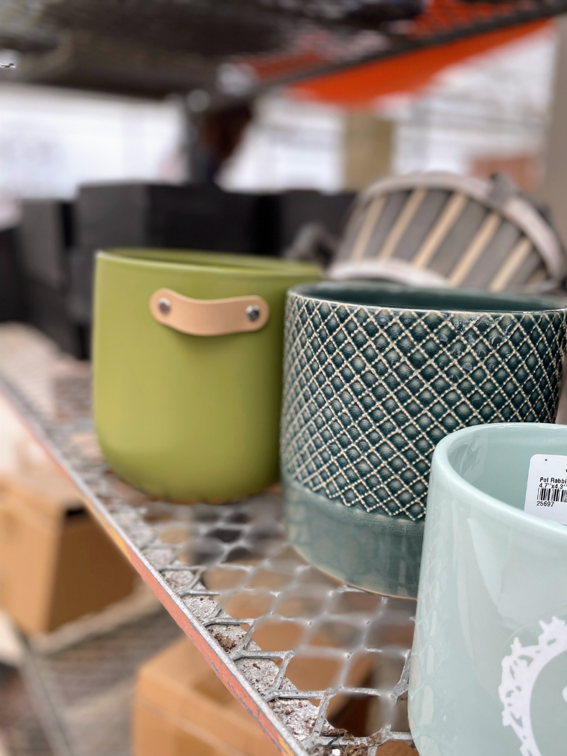
Whether you’re growing edible plants in the garden, a pot or a hanging basket, don’t forget to give them the care they need to maximize productivity:
- Water regularly, deeply and in the heat of the summer, frequently. Watering early in the morning is ideal. Pour water on the soil, not the foliage to prevent diseases like powdery mildew.
- Feed your vegetables and fruits throughout the growing season with fertilizer or compost.
- Remove dead foliage and prune plants as needed. Especially herbs.
Once you start foodscaping by including vegetables with your flowers and ornamental plants we’re sure you’ll want to keep looking for innovative ways to grow your own food! Who knows, maybe even pumpkins by the front porch!
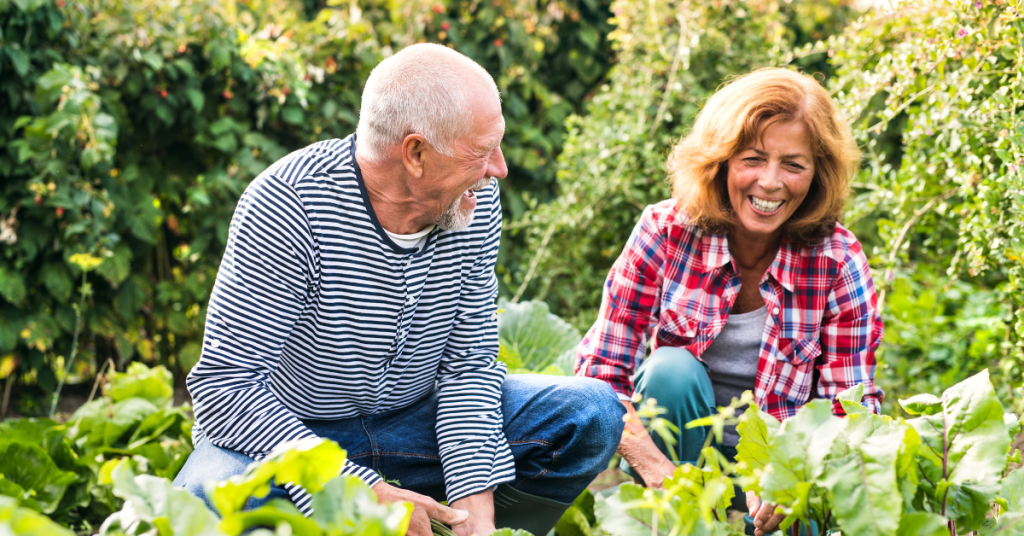
At some point, garden life calls to many of us. Even if you’ve never nurtured a plant before, planting something and keeping it alive offers a fun, low-cost, and highly rewarding experience. Whether you opt for a few potted plants on a patio or balcony, join a community garden, dedicate part of your yard to flowers, herbs, trees, or vegetables, install raised beds, or set aside a corner of your property to attract pollinators, it’s exciting to consider the possibilities!
The Benefits of Gardening
Stress Release
Nature has a calming effect, and gardening helps you stay grounded in the present moment, freeing your mind from worries about the past or future. For example, the repetitive task of weeding allows your brain to focus, turning the activity into a form of mindful meditation. Meditation doesn’t always involve sitting in solitude on a mountain—it can be as simple as engaging in repetitive tasks like planting or weeding. This process reduces stress and anxiety, ultimately leading to greater happiness.
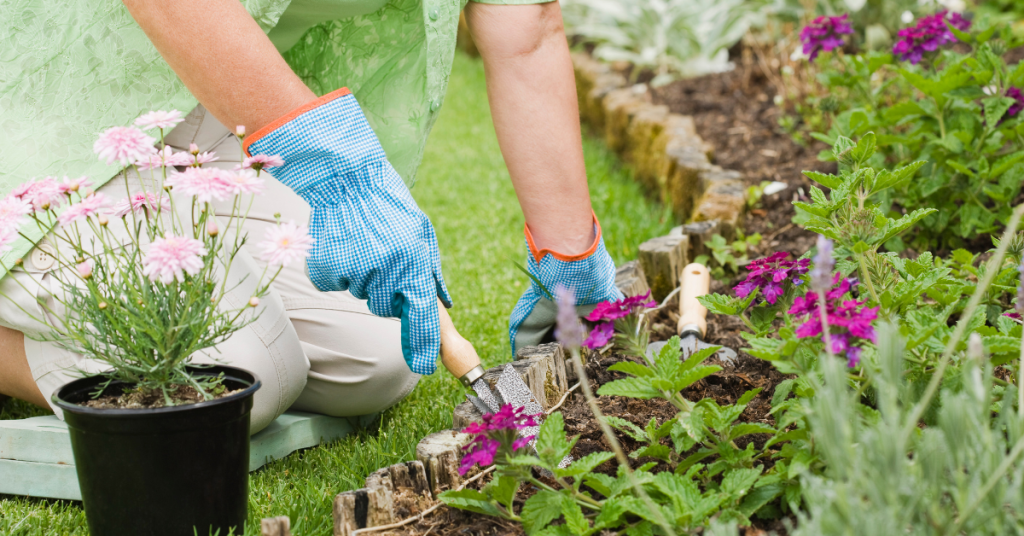
Boosting Happiness
Speaking of happiness, research shows that certain bacteria in the soil get under fingernails and also get inhaled while you garden. This bacteria can boost your healthy gut flora and release happiness chemicals like serotonin. A healthy gut flora supports a strong immune system, making that dirt-under-the-nails gardener’s manicure well worth it.
Strength & Flexibility
At the start of each gardening season, you might hear from fellow gardeners about their sore muscles—backs, hands, shoulders, hips, and so on. The physical demands of gardening can be challenging at first, but over time, they help build muscle strength and improve flexibility.
If you find working in the garden too strenuous, try kneeling on a soft pad or using a small stool to sit on. Consider using a shovel or rake to assist you in moving up and down to your knees or the stool. Opt for smaller pots and smaller bags of soil and mulch - they’re easier to carry.
Growing Food & Healthy Eating
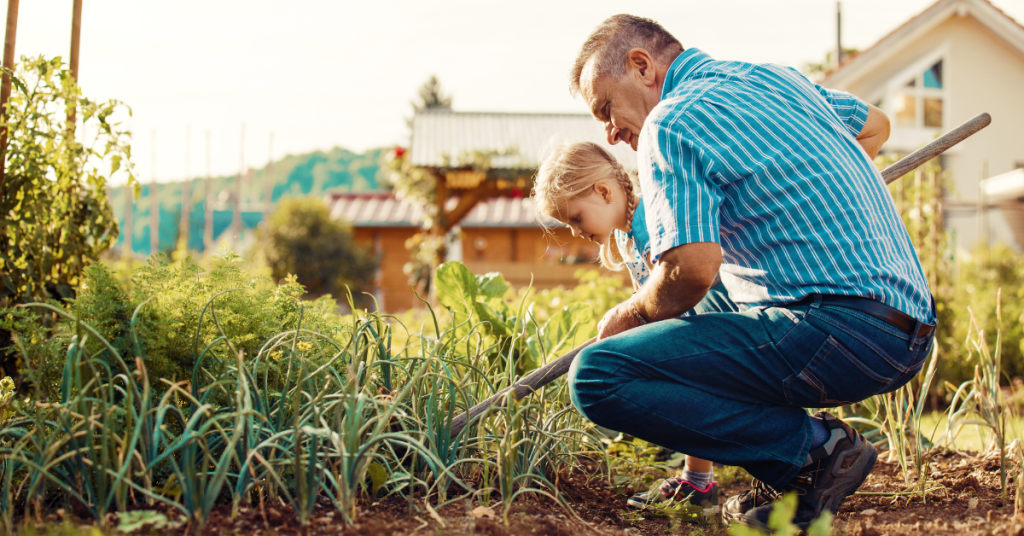
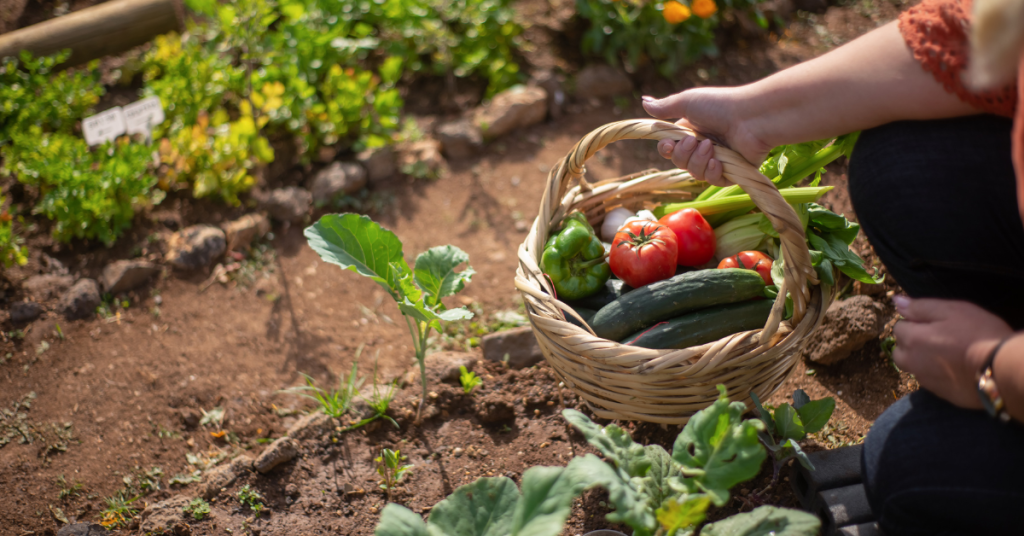
Anyone who’s tasted fresh, homegrown vegetables knows just how delicious they can be. Growing your own produce also encourages you to eat more fruits and vegetables, which naturally leads to better health. The fibre in these foods supports the healthy gut flora mentioned earlier, too!
The Perks of Being Outdoors
All the benefits of gardening—stress relief, happiness, strength, flexibility, and healthy eating contribute to your overall physical and mental well-being. But there’s more.
While outdoors, you absorb vitamin D from the sun, which boosts calcium levels in your body, promoting strong bones and a robust immune system.
Being outside and working in the garden also improves your sleep. After a day of gardening, you’re likely to feel pleasantly tired, helping you fall asleep faster and enjoy a deeper rest. Good quality sleep is essential for overall health, just as important as diet and exercise.
Finally, spending time outdoors encourages deeper breathing, which increases oxygen levels in your blood and boosts serotonin. Deep breathing also aids digestion and helps clear stagnant air from your lungs. Try stepping outside and taking a nice, deep breath. It just feels good, doesn’t it?
While your initial goals for gardening may include harvesting delicious vegetables or creating beautiful bouquets, you’ll also be improving your health in ways you might not have expected!
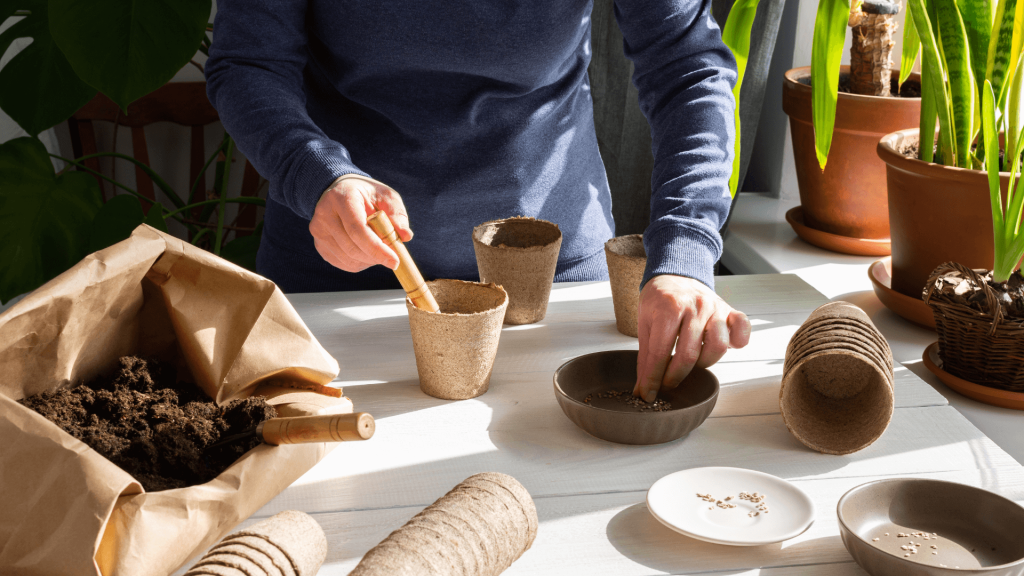
March is the month that many of us have waited for all winter. It’s seed-starting time for lots of heat loving vegetables, herbs and flowers that will be transplanted outside in May or June.
It’s also time to plan for cool weather crops. Cool weather crops?! This can be a revelation to many of us who are new to growing vegetables. There are two kinds of vegetable plants; heat loving and cold hardy. On average, most cold hardy veggies can withstand temperatures of -4 celsius and can be planted out weeks before the last frost date, especially if they are covered. We’ve listed some covering ideas at the end of this article.
So where do you begin? If it’s your first time starting heat loving vegetable seeds indoors, try beginning with one or two vegetable varieties that you love. How about an heirloom tomato that you just can’t find grown anywhere else, or some super hot peppers to spice things up? The seed carousels at Eising Garden Centre are fully stocked with vegetables and flowers right now so it’s the best time to come in and find something exciting to grow! Check the back of each seed packet, it will tell you how many weeks before the last frost date (around May 24th here in southern Ontario) to start your seeds indoors. There are also a few supplies you’ll need to get started - instructions and the essentials are listed in this blog post. It takes a little more work to start seeds indoors, but it can be very fulfilling and it does allow you to grow things that are unusual.
If starting seeds indoors sounds like too much work, we’ve got you covered - visit Eising Garden Centre in May to shop our wide selection of vegetables, herbs and flowers that you can easily transplant and enjoy!
If you’re eager to get gardening, why not try some cold hardy veggies? In Southern Ontario, cool weather vegetables can be planted early in Spring. This allows you to grow and harvest a whole crop before the heat loving veggies like tomatoes and peppers, and most annual flowers get transplanted around May 24th (hardiness zone 6b), or when overnight temperatures are regularly a minimum of 10 celsius.
Here are some cool weather vegetables to consider planting as soon as the soil in your garden is workable (not frozen solid):
Lettuce is a crop that you can direct seed or transplant early, and it can be seeded every two weeks throughout the spring and fall for continuous crops. Lettuce seeds will germinate in about 7 days at a soil temperature of only 10º celsius but the optimal soil temperature is between 16-24 degrees. Do not worry about running out to buy a soil thermometer, or waiting until the soil temperatures are exact - all of the cool weather crops will germinate at slightly lower temperatures, they’ll just take a little longer. We also offer lettuce plants in the garden centre in early May if you would like to transplant established greens. Starting with a few plants, and some seeds will ensure a continuous crop of lettuces for several weeks.
Lettuce can be grown in the shade in early summer. It will last longer in the shade as temperatures climb, and not bolt (plant begins growing seeds instead of leaves, making leaves on the plant bitter) as quickly.
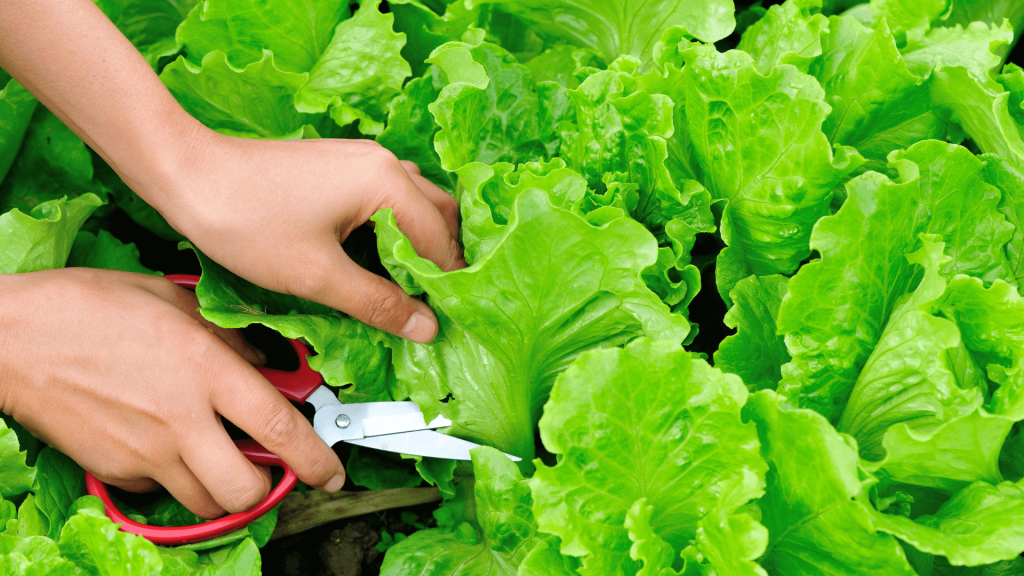
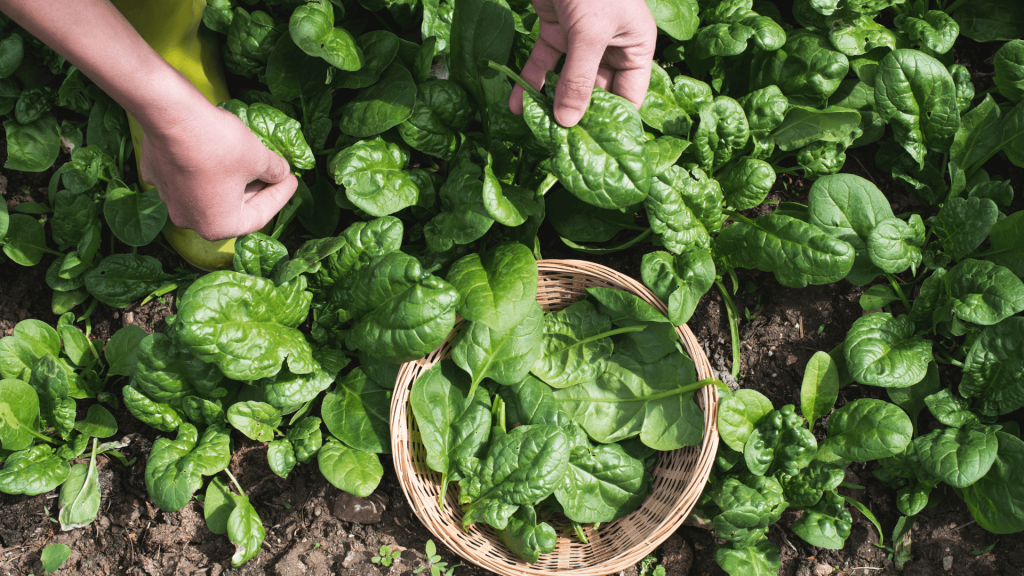
Spinach and Arugula like lettuce, are very well suited to germinating early in spring or in the fall. The optimal soil temperature range for germination is 18º-24º C and will take about 12 days.
Lettuce, Spinach and Arugula grow best in cool temperatures and tend to bolt as soon as temperatures warm up in late spring and early summer. Look for “bolt-resistant” varieties if you want to extend your late spring harvests.
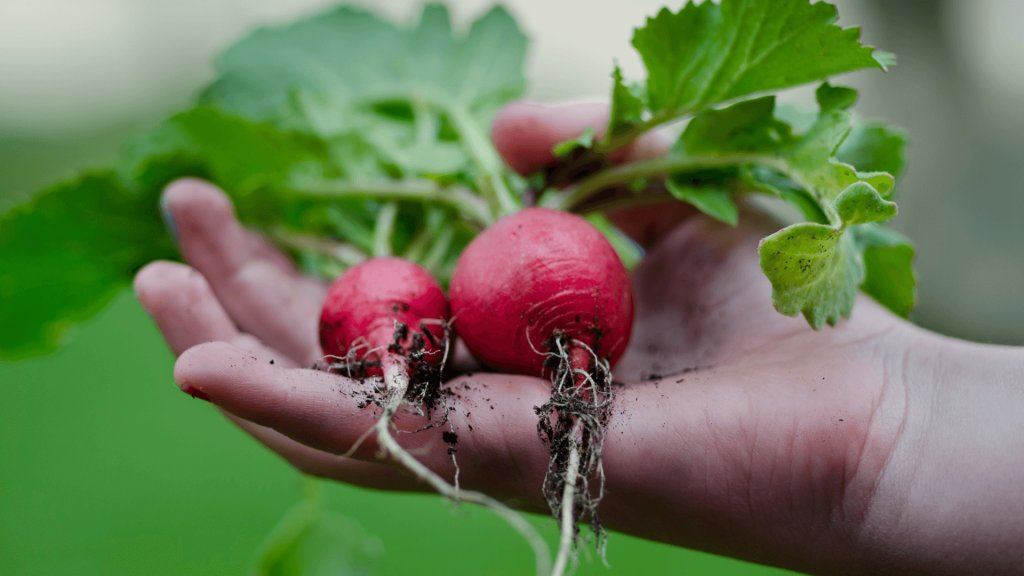
Radishes can be planted throughout the early spring if you’d like a continual harvest of tender, young radishes. It takes about 30 days from germination to harvest, sometimes less for smaller varieties. Seeds will germinate at soil temperatures anywhere between 4º-35ºC which makes them easy to start!
Peas love early spring and cool fall temperatures! They will germinate quickly when the soil is between 18º- 24ºC and will be ready to harvest in late spring or early summer. This is another vegetable that you can start again as autumn sets in.
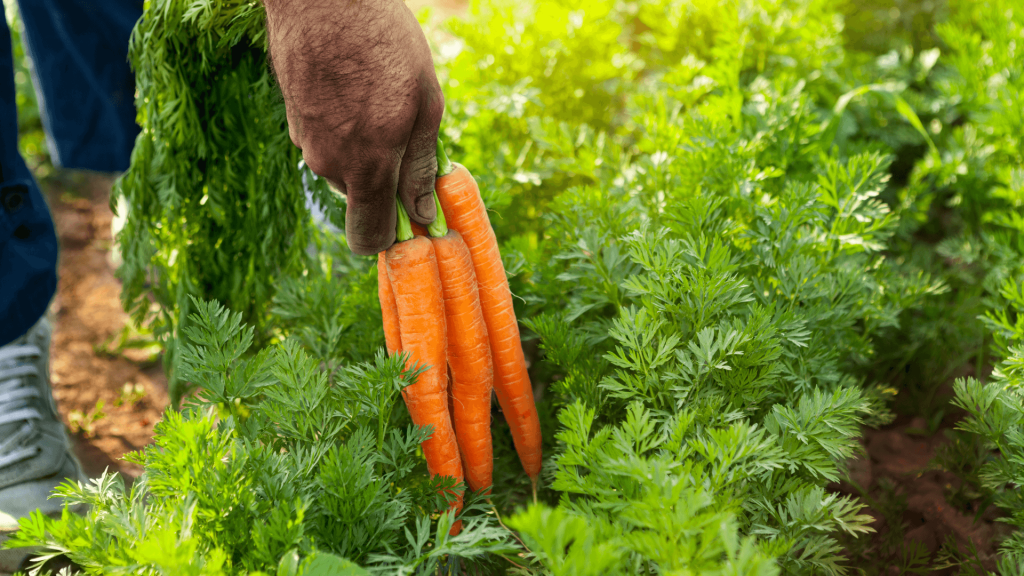
Carrots grown in the spring can be harvested early in the summer making way for heat loving crops like peppers and tomatoes. Carrots will germinate in a wide range of soil temperatures, and can be planted outdoors about 4 weeks before the last frost date. Late in summer, as you remove the heat loving crops, you can seed more carrots for harvest in late fall or early winter.
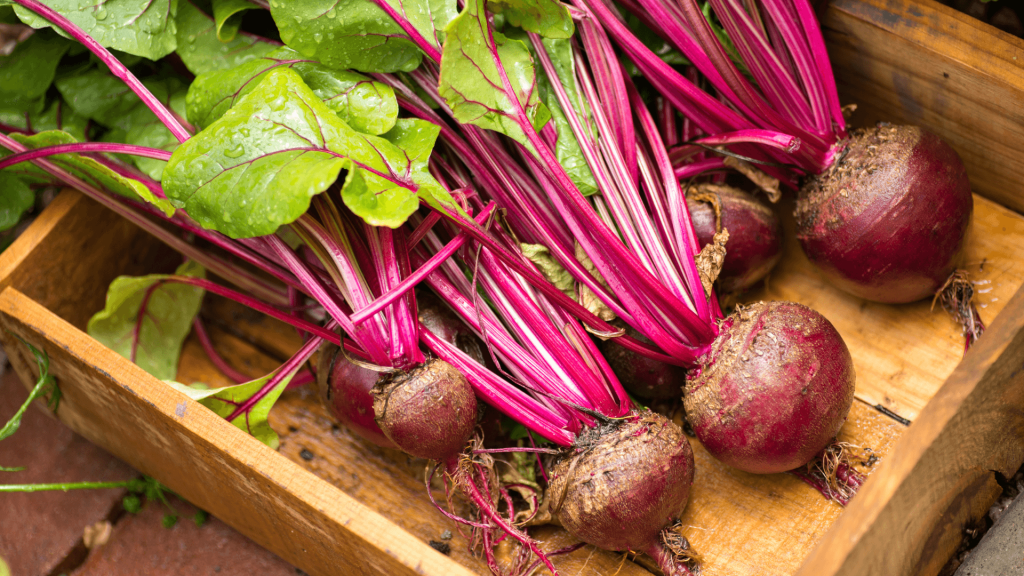
Beets are another vegetable that can be sown in a wide range of soil temperatures. Because of this, you can start planting beet seeds as soon as the soil can be worked in the spring, and you can continue seeding beets every 2-3 weeks for a continuous harvest.
Green Onions (aka Scallions or Spring Onions), Kale, Chard, Collard Greens, Mustard Greens, Swiss Chard, Brussel Sprouts, Cabbage, Radicchio, Fennel and Cilantro are also seeds that can be planted in hardiness zone 6b in early spring when the soil can be worked.
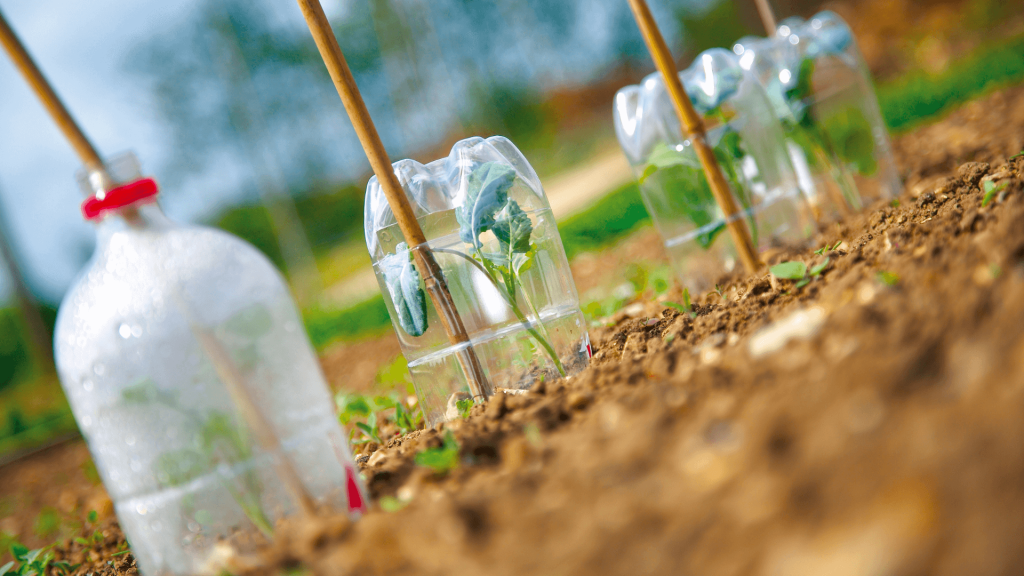
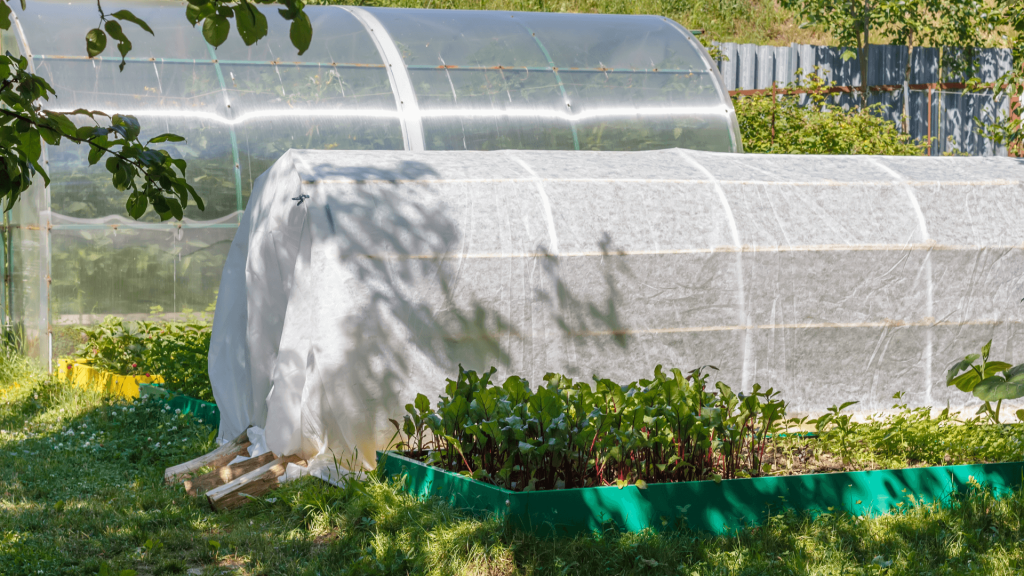
Keep in mind that while these vegetables grow in cool weather, they may still be slow to grow or even damaged if the temperatures dip too low. If this happens, you may want to provide some protection like row cover cloth, a blanket, plastic, a cold frame, or a cloche (this can simply be a large plastic jug or containers).
If this article has piqued your interest, here are some great resources to help with seed starting and transplanting timing:
West Coast Seeds Vegetable Planting Guide
Heeman Ontario Seed Starting Guide
Reference for soil temperatures:
https://sacmg.ucanr.edu/files/164220.pdf
By now, if you've been caring diligently for your seedlings, they're likely bursting out of your starter trays or pots! You've watched them grow up, and now it's time for them to graduate into the garden. But you may be wondering how to take the next steps. How do I transplant, and when? Answering these questions is key to success at this pivotal moment.
Transplanting Overview
Transplant timing hinges upon our last frost date, which is May 19 in Simcoe. Frost-hardy veggies can be transplanted before then, but tender plants should wait a little longer. Sometimes seedlings can outgrow their trays before their graduation time. Don't worry, that means they're growing well! The solution is simply to move them into a bigger pot.
How to Repot
Your young ones are ready for a larger home when their roots have filled their containers and their leaves are crowding out their neighbours. The new pot should be twice as large as the old one.
Begin by watering the seedlings. The damp soil will adhere to the roots and keep them from drying out. Don't tug on the stems. Instead, use a butter knife to carefully lift them from the container or squeeze them out from the base. If a few are intertwined, gently tease them apart. With a pencil or your finger, dig a hole into their new pot or plug tray. Place the seedling, firm the soil around it, and water them all once you finish. The roomier pot will give them a chance to stretch their legs before their big move.
When to Transplant into the Garden
Historic weather averages tell us when to take the next step. Often, we need to adapt to unusual weather or unique conditions each year, but here is a general guide for our climate.
April 15 - 25
Frost hardy: asparagus, broccoli, Brussels sprouts, cabbage, lettuce, onions, radishes, peas, spinach, parsnips, early potatoes.
April 25 - May 10
Semi-frost hardy: beets, carrots, cauliflower, celery, late potatoes, early sweet corn.
May 15 - 25
Semi-frost tender: snap beans, sweet corn, tomatoes.
May 25 - June 5
Frost tender: cucumbers, eggplant, melons, peppers, pumpkins, squash.
Hardening Off
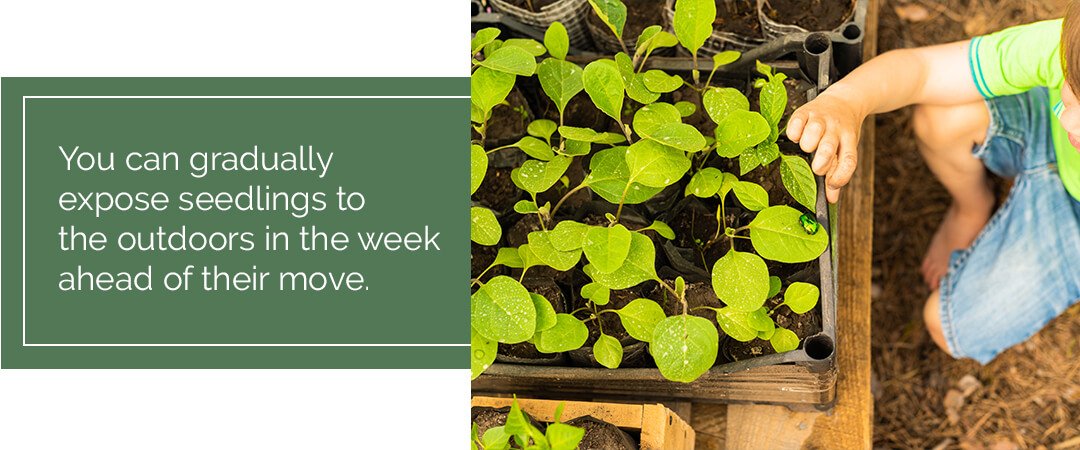
You can gradually expose seedlings to the outdoors in the week ahead of their move. While not absolutely necessary, your veggies, especially the tender crops like tomatoes, will be strengthened by the gradual transition.
Begin by setting them in a shady spot away from the wind for a few hours each day. Slowly increase their exposure to sunlight and breeze until they spend a whole day and night outside. Make sure to keep them well-watered, as their small pots can quickly desiccate. When the time comes to graduate, they'll be ready to brave the elements.
How to Transplant into the Garden
Follow these steps for transplanting success:
- First, make sure you've loosened and enriched the soil with compost or another organic fertilizer.
- Choose a warm overcast day and plant in the morning or evening.
- Water the seedlings to hydrate their roots.
- Determine the correct garden spacing in advance.
- Gently squeeze the tray around each plug to remove them. Only remove each seedling just before moving to minimize the roots' exposure to air.
- Using a trowel or your fingers, make a hole and drop the seedling into it, firming up the soil around it as you plant. Leggier seedlings can be planted a little deeper as long as you don't bury the first leaves.
- Water the newly planted area immediately after finishing.
- They will likely need to be watered daily for a few weeks afterwards. Check the soil moisture and water as needed to prevent them from drying out.

There are a few more tricks for particular plants like tomatoes and cucumbers. But in general, these are the basics for transitioning your veggies into the ground. If you haven't started your seedlings, check out our selection of starter plants in our online catalogue. If you need more advice, our garden centre would be happy to share more tips for success!
Making your own compost is a great way to save money and reduce your carbon footprint—plus, it saves you a trip to the store! With summer coming up, our vegetable plants and fast-growing annuals will be hungry for soil nutrients, and having the perfect organic fertilizer on hand makes it that much easier to have a healthy, thriving garden. Plus, it can cut your total household waste in half, so it’s twice as good for the environment! Less trash in our landfills means less methane gas gets released, which Mother Nature will surely appreciate.
Want to start making your own compost at home using kitchen scraps that would otherwise end in the garbage? Once you get the hang of it, it’s really pretty simple, and the end product will be so worth it. Here are the basics of making compost, so your garden will be well-fed this year.
What Goes In A Compost Bin?
One of the things that people find the most confusing when beginning to compost is figuring out what goes in the bin, and what stays out. There are all sorts of different kitchen scraps that we can generate in a day, but some of them can contaminate the compost bin and introduce harmful bacteria instead of the good kind. Having a little cheat sheet posted on the fridge will make it easier for you to navigate the do’s and don’ts of composting, so we compiled this list for you to use as a reference.

Things You Can Always Compost
- Fruit and vegetable scraps
- Eggshells
- Dye-free cardboard
- Coffee grounds
- Grass clippings
- Leaves and stems (unless they show signs of disease)
- Straw
- Pine needles
- Untreated paper
- Cotton and wool
- Sawdust and untreated woodchips
Things You Can Compost In Smaller Amounts
- Citrus fruit peels
- Herbivore manure (ex: rabbits, birds, horses)
- Printed cardboard
- Teabags
- Black and white newspaper
- Hair and pet fur
Things That Shouldn’t Go In the Compost
- Dairy
- Meat
- Bones
- Metal
- Chemically-treated wood
- Diseased plants
- Plastic
- Weeds
- Oils and fats
- Diapers
- Carnivore animal droppings (no dog or cat waste!)
If there’s anything you want to toss in the bin but aren’t entirely sure about, go online and do a quick Google search as to whether or not the item is compostable.

The Different Types Of Compost Bins
There are three different types of compost bins you can use at home: aerobic, anaerobic, and vermicomposting bins. Each one breaks down waste a little differently, and there are a few pros and cons, so we’ve listed out the basics of each type so that you can choose accordingly.
Aerobic Compost Bins: These bins have a crank that helps to turn the inner contents, helping to aerate the waste so it breaks down faster. While they’re a little more expensive, they’re neater and more compact than other composters, so you can place them pretty much anywhere in the yard.
Anaerobic Compost Bins: A cheaper, more basic alternative to the aerobic bin, the anaerobic bin is pretty much just a lidded bin with no turn crank. You simply toss your scraps in and let it break down over time. It’s a slower, and somewhat stinkier process, but they’re pretty cost-effective, and you can even find online tutorials on how to build your own using materials you may already have at home. It’s a good idea to add an even ratio of dry leaves (save that fall leaf litter!) and household waste to keep odours to a minimum. Use a stick or shovel to mix up the decomposing matter every month or so, to speed up decomposition and prevent methane from building up in the container.
Vermicomposting Bins: Now, this one might seem a little weird if you’re squeamish around bugs, but hear us out: vermicomposting is a super effective way to turn trash into treasure. Vermicomposting bins are full of tiny worms that quickly break down the scraps and release them into a lower compartment in the bin, so you can retrieve your compost without having to touch the worms. The resulting compost is super nutrient-rich and easy to spread through the soil.
Composting is great for your garden, great for the environment, and great for your wallet too. Remember, if you need any supplies to help you get started, feel free to check out our brand new online store, and we can arrange curbside pickup for your order!
There’s nothing better than garden-fresh vegetables on your plate. But as a working generation with families to take care of, we don’t always have time to shop around the farmer’s markets on Saturday afternoons. Usually, a one-stop shop at the local grocery store is all we have time for.
While growing your own vegetables does require a time investment, it’ll save you plenty of time (and money!) in the long run! Plus, vegetable gardens add just as much beauty and value to your property as any other garden element. A thriving vegetable garden starts from the seed, and the first step to healthy seeds is indoor seeding.
What to Seed Indoors
The first step to seeding indoors is knowing what you’ll be seeding so you can plan in advance. Here in Ontario, we have a shorter growing season than our friends to the south. Our last frost dates can sometimes extend into mid-May, which is often too late to seed many vegetables. Seeding indoors gives us a head start on the growing season, ensuring we have a successful harvest that we can enjoy sooner. Another advantage of an early start is that it negates the need for chemical fertilizers to speed things along.
Heat-loving plants, like tomatoes and peppers, should definitely be started indoors. While many other vegetables can benefit from a head start on the growing season, others are quite content being sown right into the ground. Root vegetables, like potatoes, carrots, and turnip can withstand a light freeze. Beans, peas, and salad greens also don’t mind a little chill and can be sown into the ground or started indoors a few weeks early.
When to Start Seeds Indoors in Ontario
One of the biggest challenges of starting seeds indoors is knowing when to start them. This is due to the many factors that influence timing. The recommended dates you might find on a seeding calendar take into account the different growing timelines of different vegetables, as well as the last expected frost date of your region. But it’s not an exact science. Keep in mind that, depending on the conditions you provide and the climate patterns of the year, the ‘perfect’ date is pretty unpredictable.
Here in Southern Ontario, our last expected frost date for the year is sometime during the first week of May. Tomatoes and peppers need the longest time to be cozied up indoors at 6-8 weeks. Now that we’re in early March, we suggest you get peppers started ASAP if you haven’t already, and give them lots of light. Start your tomatoes in another week or two, depending on the variety, sticking them near a bright window once they begin to sprout. Broccoli and cauliflower can be started as soon as March rolls over to April, while cucumber, zucchini, and salad greens can wait until the middle of the month. When April showers bring May flowers, you can direct seed other vegetables into the ground!
How to Seed Indoors and the Materials You Need
Now that we’ve got the timing all straightened out, the process of seeding indoors is actually pretty simple! But before you start sowing your peppers and tomatoes, there are some materials you’ll need first:
Containers: The most important aspect of picking out containers is making sure they have enough drainage - you don’t want to drown your seeds before they even get a chance at life! Seeding trays with many individual cells are great choices since they can hold plenty of seedlings at once and don’t take up much space. Wash them well with soapy water first, to make sure they’re sterile and safe for your young plants.
Soil: Soil requirements will vary between different vegetables, but generally most plants will flourish in a mix of peat moss, vermiculite, and perlite. Never use dirt from your backyard for planting seeds indoors, you’ll likely be bringing unwanted pests into your home.
Lights: Light requirements will depend on what your particular seed needs for germination. While some need bright and direct sunlight right away, others don’t want to see the sun until they poke through the soil in search of light. While light from the window is great, bright, artificial light is often used as a supplement.
Once you have these three materials (and your seeds, of course), you’re ready to start planting! Follow the instructions on the packaging carefully to provide your seeds with the proper conditions they need to germinate. Use a sterile potting mix to cover seeds that need complete darkness to grow. Cover the container with a clear plastic dome to trap moisture, creating the humid environment required for germination.
Once the seedlings begin to poke through, you can remove the cover and let the oxygen flow. Remove any weak plants, allowing the strong ones to grow even stronger. It’s better to have a few great plants than plenty of unproductive ones. Keep the soil moist, but not wet. We recommend misting instead of watering, to prevent disturbing the soil.
Starting Seeds Indoors Without Grow Lights
While grow lights are super effective and allow you to start seeds anywhere in your home, they aren’t always the first thing new gardeners want to invest in. Plus, keeping these lights on for hours on end every day can definitely drive up your light bill, and isn’t a necessary use of energy. The good news is that you don’t need fancy grow lights to germinate seeds indoors, especially if you have plenty of windows.
The trick to maximizing sunlight is to place your growing trays in front of large, south- or west-facing windows. Be mindful of hills or trees that might block the sun in these parts of your home. Usually, the upper level of your home is your best bet!
Moving Your Plants Outdoors
While it’s important to get the timing right when it comes to starting seeds indoors, it’s also important when moving them outdoors. The beauty of indoor seeding is that you don’t have to be in such a rush to bring them outdoors, you’ve already given yourself the time to wait until the risk of frost has passed.
That being said, you don’t want to wait too long, or else your veggies’ growth might taper. You’ll know when your seedlings are ready to graduate from their containers to the ground when they begin to grow leaves. Don’t be fooled by the first leaves of your baby sprouts, as these are nourished by the seed. The true leaves develop afterward, indicating that the plant’s roots are now established enough to sustain the plant itself. Once you reach this stage, congratulations! Your seedlings are now ready for your beautiful vegetable garden.
No one likes to be thrown into an unfamiliar environment or situation, and the same goes for our tender new plants. They’ve been safe and cozy inside our warm homes for weeks, and now they’re being introduced to the great outdoors. Just like we sometimes get a ‘base tan’ before we head down South to prevent burning to a crisp, our seedlings need to be introduced to the sunlight gradually. Bring them outside on a cloudy day for a few hours first, and increase by an hour each day for a week or so to ‘harden them off’ before planting them outside for good.
Whether you’re a seasoned gardener or you’re just beginning your gardening journey, these simple steps to indoor seeding are all you need to get started. Soon enough, your flourishing veggie garden will be the cornerstone of your recipes and the envy of your neighbours!