5 Easy Steps To Get Started
By Ava Green
There’s a common myth that you need a lot of space to grow vegetables, but whether you have a few containers, a small sunny corner, or a larger garden bed, there’s lots you can grow! Here in Norfolk County, which is Zone 6 in Southern Ontario, some vegetables can go in the ground as early as the beginning of May, while many others are usually safe to plant around the May 24th weekend, once the risk of frost has passed. Here are five simple steps to get you growing your own food this season if you’re new to vegetable gardening.
Step 1: Decide What You’d Love To Grow
Start with a list of the vegetables you actually want to eat. Coming into Eising Garden Centre with a list in hand makes choosing plants so much easier! When building your list, consider:
- Vegetables you love
- High-value vegetables, the ones that are expensive at the grocery store but easy and economical to grow yourself
- Anything that tastes better when it’s freshly picked, like tomatoes, cucumbers, and fresh herbs

Step 2: Make a Simple Plan
You don’t need an elaborate design; a rough sketch on a scrap of paper is just fine. The goal is simply to get a sense of your space and where things will go before you start digging. We recommend starting a garden notebook or journal to track what you plant each year and how it performs. It will be especially helpful next spring!! A few planning tips to keep in mind:
- Most heat-loving vegetables, such as tomatoes, peppers, zucchini, eggplant and beans, need at least six hours of sun per day
- Cool-weather and shade-tolerant crops like lettuce, chard, kale, radishes, and beets do well with just three to four hours of sun
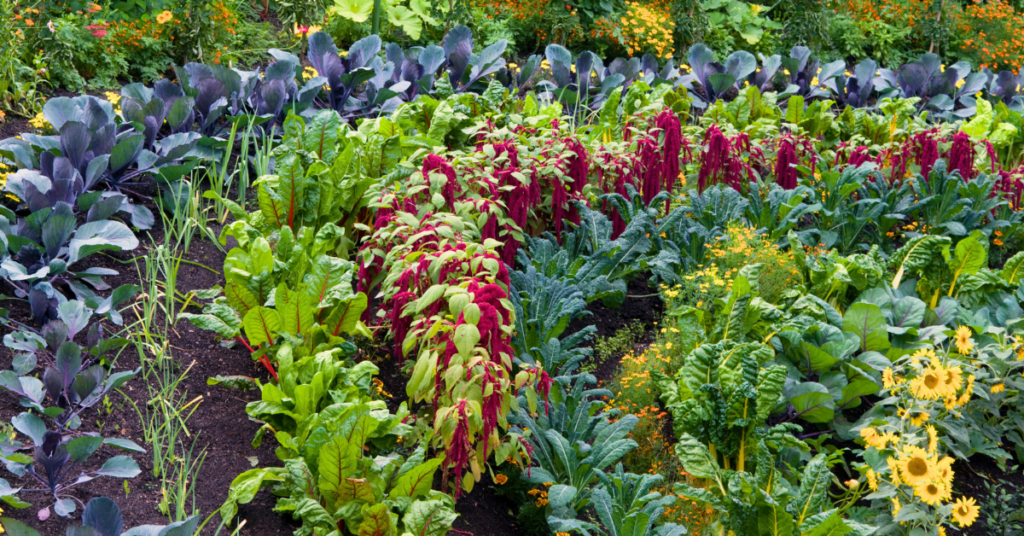
- Spacing in a vegetable garden can be much tighter than in other types of gardens. Less empty space means fewer weeds and bigger harvests. Square foot gardening is an excellent method to explore
- Layer your garden beds with plants that are great companions. For example, basil and marigolds planted beside tomatoes are said to improve flavour and repel pests. Carrot and beet seeds tucked in beside and between your lettuce plants (which are a cool-weather crop) are a smart pairing; as your lettuce finishes in the summer heat, your carrots and beets will be sprouting up to take their place. This is referred to as succession planting and optimizes the space in your garden
- Make use of vertical space with poles or trellises for peas, pole beans and cucumbers
- Tuck herbs into any gaps between your vegetables; they’re useful, beautiful, and most pollinators love them
Step 3: Prepare Your Space
Once you’ve chosen a spot with enough light, it’s time to get the soil ready:
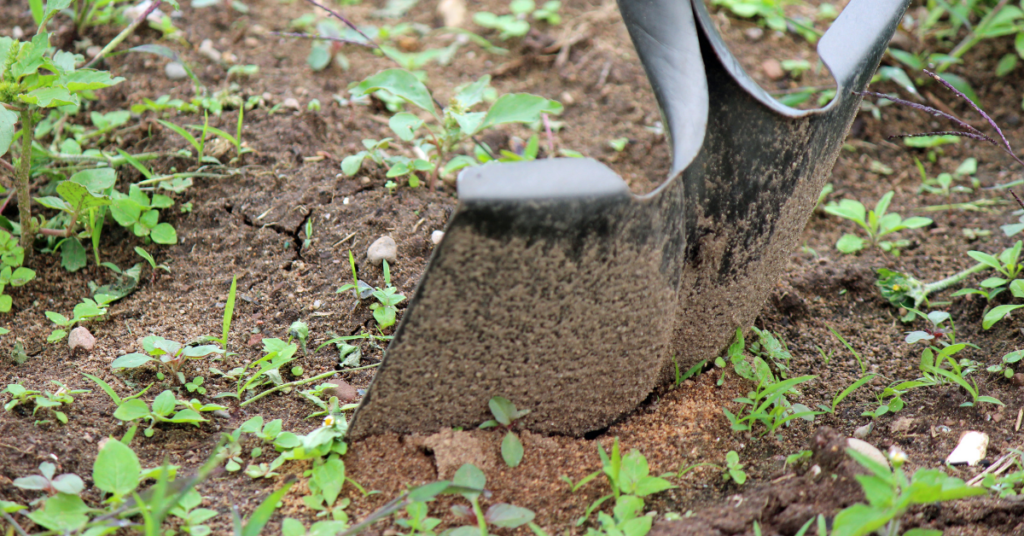
- Remove any sod or weeds before planting. If you’d rather not dig, the No Dig gardening method uses a layer of cardboard as the base for the new bed. This suppresses weeds naturally and breaks down into the soil over time
- Add a good-quality compost to your soil by either spreading a layer across the top of the garden bed or scooping some into each plant hole
- For container gardening, almost any container works, just make sure it’s deep and wide enough for the mature size of your plants. Also, drainage holes are a must! Fill containers with a soilless mix containing compost, peat moss or a peat alternative, and one of the following: sand, vermiculite, or perlite. Avoid using garden soil, triple mix, or topsoil in containers, as they compact easily and will restrict root growth. Learn more about soil mixes, amendments, and fertilizers here
Step 4: Water and Feed Consistently
Consistent watering and feeding are the foundation of a productive vegetable garden:
- Vegetables need regular, reliable watering. Inconsistent moisture leads to stressed plants and poor yields
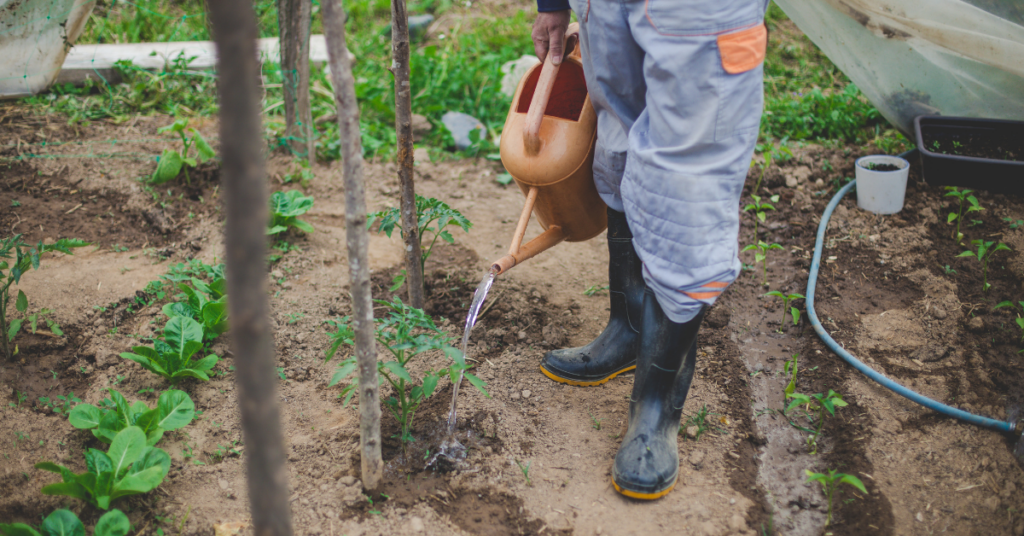
- Always water the soil, not the leaves. Plant roots take in water, and wet foliage can invite disease. Water deeply so moisture reaches the roots. Use your fingers to check how far down the water has penetrated into the soil
- Containers dry out faster than garden beds and will need more frequent attention
- Morning is the best time to water. If your plants are struggling on a particularly hot afternoon, a second watering is fine. Just be sure to aim at the base of the plant and avoid the foliage, which can scorch in direct sun
- Feed with organic fertilizers throughout the season to keep your plants healthy and productive. Follow the package instructions for the product you choose
Step 5: Plant Flowers for Your Pollinators
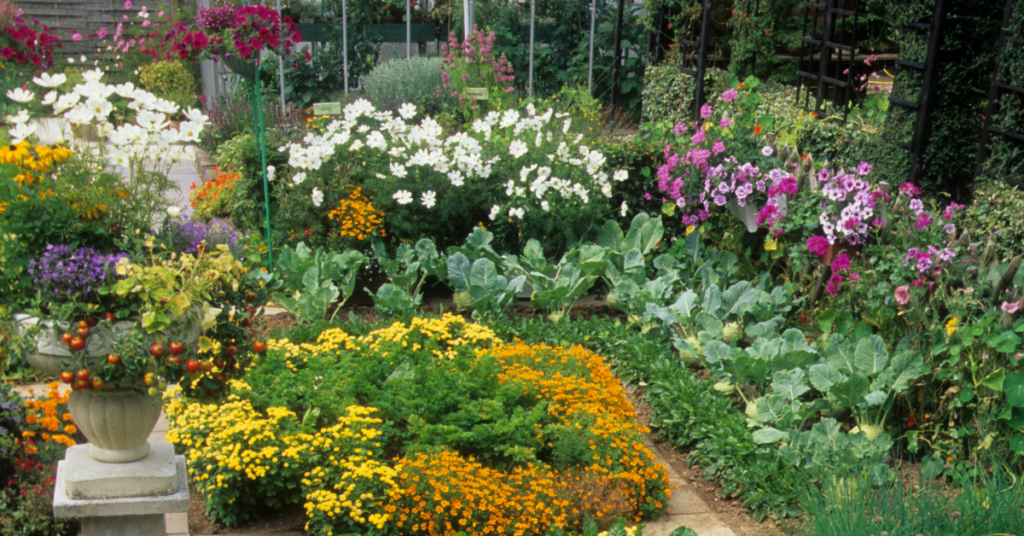
A vegetable garden without pollinators is a garden that won’t reach its full potential. Attracting bees, butterflies and other beneficial insects to your garden is one of the best things you can do for your harvest. Some of our favourite pollinator-friendly flowers for the vegetable garden include marigold, calendula, nasturtium, borage, sunflowers and culinary lavender. As a bonus, most of these are edible, so they earn their space twice over.
It’s Time
Starting a vegetable garden is one of the most rewarding things you can do with an outdoor space. There’s a quiet satisfaction in growing something from seed or a seedling and bringing it to your own table.
Start simple, grow what you love and don’t be afraid to learn as you go.
The team at Eising Garden Centre is always happy to help you choose the right plants for your space and answer any questions along the way. This could be the season that changes the way you think about your garden!
Resources:
Why Use a Garden Journal?: https://eising.ca/why-use-a-garden-journal/
Square Foot Gardening: https://www.almanac.com/planning-square-foot-garden-grow-more-less-space
Fertilizers & Soil Amendments: https://eising.ca/fertilizers-soil-amendments/
Companion Planting: https://eising.ca/companion-planting-with-herbs/ and https://eising.ca/incorporating-vegetables-into-your-garden/
Optimizing the Gardening Season: https://eising.ca/optimizing-the-gardening-season/
No Dig Gardening Method: https://charlesdowding.co.uk/blogs/no-dig-resources/beginners-guide
Reading Plant Tags: https://eising.ca/full-sun-part-shade-what-do-plant-tags-actually-mean/
Growing Vegetables in Pots: https://eising.ca/planters-are-for-more-than-flowers/
By Ava Green
Is there anything sweeter than the scent of Lilacs in the spring? These beloved shrubs are remarkably easy to grow and will reward you with weeks of fragrant blooms for little or no effort. But a bit of attention can make a big difference, especially if you’ve noticed your blooms getting smaller or fewer with each passing year.
To help your lilac put on its best show, keep these steps in mind:
- Plant in full sun, at least 6 hours of direct sunlight a day, in well-draining soil
- Water newer plants during prolonged periods of drought until established (the first 3 years)
- Feed your lilacs annually with a balanced fertilizer (10-10-10, for example)
- Follow spacing instructions and prune yearly. Pruning is a very important step, and it’s well worth it.
Knowing When to Prune is Key
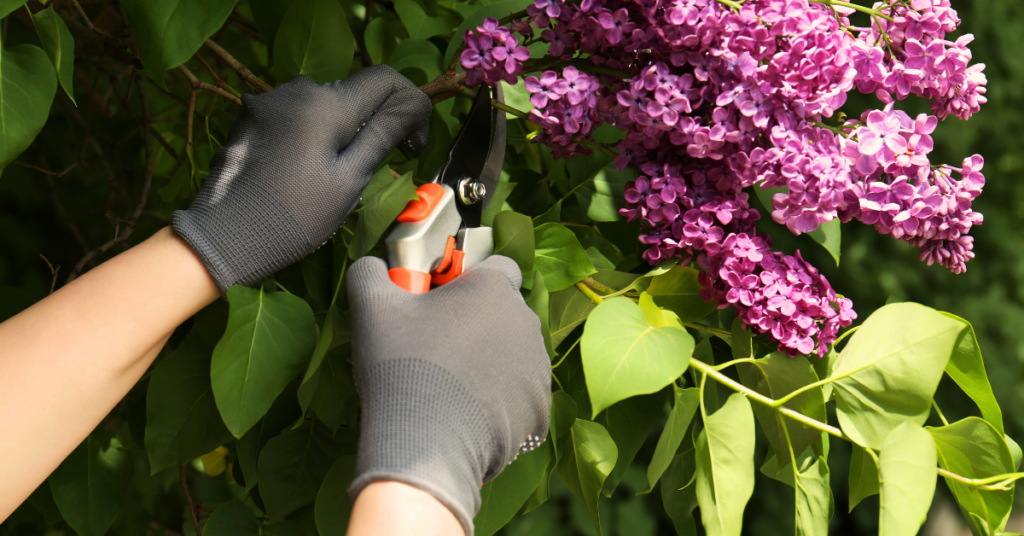
Timing is everything when it comes to pruning your lilacs. After the blooms fade, you have a two-week window to prune before the shrub sets its buds for next year's flowers. Yes, they set buds this year that will bloom next year! Pruning lilacs in the fall or the early spring risks cutting off all of the flower buds for the following year. Mark your calendar and prune promptly after flowering.
It also helps to understand how lilacs grow: Younger, thinner lilac stems produce more flowers. Older, thicker stems are more prone to disease and pests. Keeping this in mind will help with pruning decisions.
How To Prune Young Lilacs
If your lilac has been in the ground for less than three years, leave it alone; it doesn’t need pruning yet. Many young lilacs won’t bloom during those first few years.
After three years, once your shrub is established, begin by removing just one of the thickest, oldest stems down to the ground every 2 years. This gentle approach prevents the shrub from becoming overgrown while encouraging newer, flower-producing growth.
How To Prune Older, Overgrown Lilacs
If your lilac has been neglected or grown out of control, you have two options:
Option 1: Gradual Rejuvenation
Begin by removing any damaged stems, as these invite pests that can harm the entire shrub. Next, remove only the largest, oldest stems by cutting them right down to the ground. The key is to remove no more than one-third of the living wood (dead stems don’t count toward that total). Leave the younger, thinner stems intact so your shrub can still bloom the following year. Repeat this process each spring for three years, and you’ll gradually restore the shrub to its full, flowering potential without sacrificing a single bloom season.
Option 2: Full Cutback
For a severely overgrown lilac that has been largely ignored, a complete cutback is often the most practical solution. Cut the entire shrub as close to the ground as possible, either in early spring or immediately after blooming. Yes, this breaks the general rule of never removing more than one-third of live wood, but lilacs are remarkably resilient and respond well to this kind of hard reset. By the end of summer, you will have healthy new stems of three to five feet tall. While the shrub won’t bloom for approximately three years after a full cutback, the long-term results are well worth the wait.

Deadheading Your Lilacs
Deadheading, or removing spent flower clusters after the blooms fade, is a simple task that’s separate from pruning, and can be done during that same two-week post-bloom window. When you trim off faded blooms, the plant redirects its energy from seed production toward building bigger, healthier buds for the next year. It takes only minutes and can make a meaningful difference in the size and abundance of next year’s flowers.
A Note on Lawns and Lilacs
If your lilac grows near a lawn, be mindful of how much fertilizer you’re applying to the surrounding grass. Lawn fertilizers are typically high in nitrogen, which encourages lush leaf growth, but too much nitrogen reaching your lilac’s roots will suppress flower production.
Worthy Rewards
Lilacs are remarkably long-lived, often outlasting the gardens and even the homes they were planted beside. So whether you’re nursing a young shrub through its first few years or breathing new life into an old, overgrown beauty, the effort you put in now is an investment that will keep rewarding you, and perhaps generations after you. Every single spring!
By: Dave Zeldon and Ely Schweyer
If you’ve ever wondered how the warm weather succulent came to be a seasonally regarded indoor plant, or how to keep one going, read on!
History and Cultural Significance
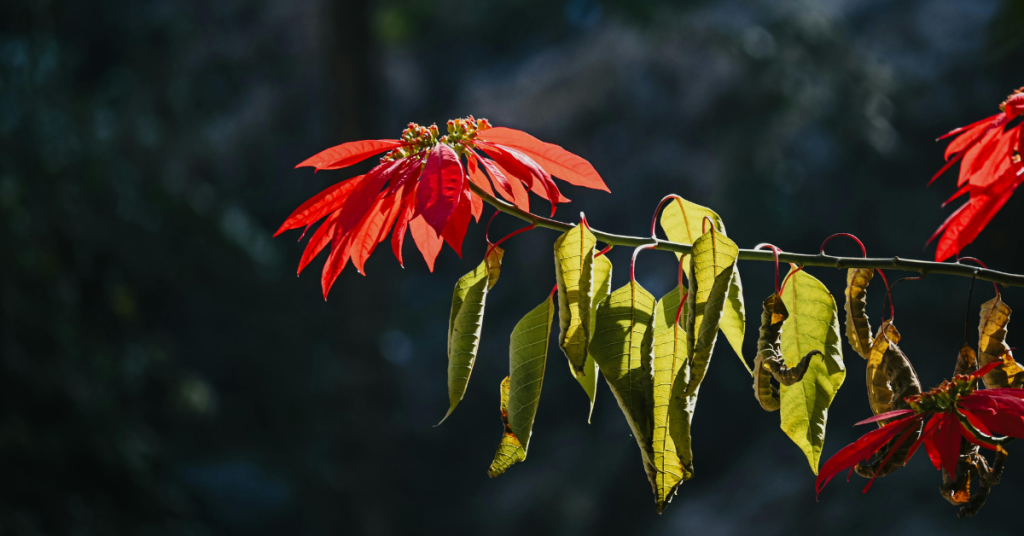
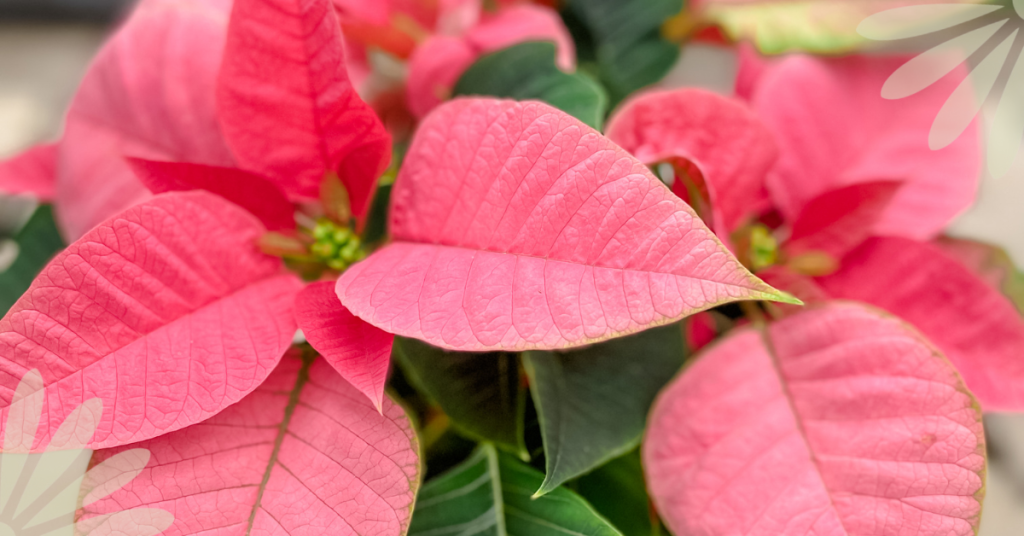
The Poinsettia was named after Joel Roberts Poinsett, the first U.S. Minister to Mexico. He introduced this native Mexican the United States in 1828. In the Mexican Christmas tradition, the star-shaped leaf pattern is said to symbolize the Star of Bethlehem, and the red colour represents the blood sacrifice through the crucifixion of Jesus.
Since the species is native to Mexico and found in the wild in deciduous tropical forest at moderate elevations, we then have a challenge to keep this plant alive and in a healthy form in our colder, northern climate.
It's Just A Rumour!
There is a common misconception that the poinsettia is highly toxic. This is not true.
Yes, it may be mildly irritating to the skin or the stomach if it is eaten, but otherwise, there have been no documented cases of poisoning. The origin of this myth could be found in the fact that most plants of the spurge genus (Euphorbia) are indeed toxic. Fortunately, this family member is a good one!

Here are Some Helpful Hints to Get the Most Longevity Out of Your Plant:
☝️Unsleeve the plant as soon as possible as the leaves may become droopy if left too long in the wrapper. Fortunately, the plant should recover in a few days if this does occur.
☝️If you want to try to keep your plant until next Christmas then fertilize after the blooming season with an all-purpose fertilizer, repot it later in the early Summer and then introduce it to 12 hours of uninterrupted darkness come September.
For more information on Poinsettia care (i.e., temperature, lighting, and watering), visit Ava's blog Caring for Poinsettias.
If you’re looking for more information – or perhaps a Poinsettia – visit Eising Greenhouse and Garden Centre! Happy Holidays! ✨
Holiday decorating would not be the same without the classic Poinsettia. They are the iconic seasonal touch that brightens up our homes and offices. Poinsettias also make great gifts for friends, family and co-workers who appreciate festive decor.
Known for being low-maintenance also adds to their popularity. Keeping your Poinsettia looking healthy and vibrant during the holidays and beyond is easy when you know these few simple steps to care for it.
Temperature
This is a plant that is sensitive to temperature fluctuations and extremes. Keep it in its plastic sleeve while you’re transporting it. Immediately remove the protective wrapping as soon as you’re home.
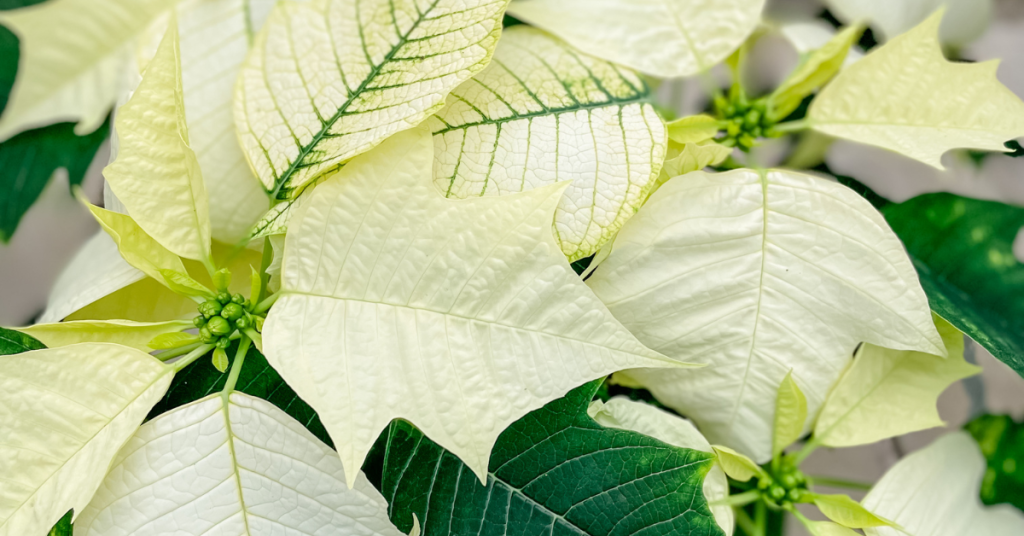
Keep your plant away from drafts or a direct heat source like a fireplace or heat vent. Poinsettias thrive in temperatures between 18-22°C during the day and around 15°C at night. Ideal temperatures will keep the bracts (flowers) colourful.
Light
A spot with bright, indirect light is ideal for your Poinsettia. Placing it near a window, but not in direct sunlight, so that it gets at least 6 hours of light a day is optimal.
Water
Water your Poinsettia plant thoroughly when the soil's surface is dry to the touch.
Allow the plant to drain well. If your plant is in a foil wrapper, or it’s been placed in a decorative container without holes, or on a plant tray, remove any excess water to avoid root rot.
While Poinsettias do not like sitting in water, they do appreciate humidity. Keep a tray or vase with water nearby, or occasionally mist your plant to maintain humidity.
By following these easy steps, your Poinsettia will look great for months, making it a cheerful addition to your home right into late winter!
Ah, the sanctuary of a nice, cool shade garden on a hot summer day. Lush foliage comes to mind, and maybe a nap in a hammock. But what do you do when you have a shady spot in the garden that isn’t so lush and could use a boost? A planted container or two can be just the thing!
Here’s a scenario that can happen to any of us. A plant isn’t doing well and needs to be moved. Or maybe something just didn’t survive. Now what to do with that gap? The beauty of planting in pots is that you can move them around, but also create conditions for plants that you might not have in the garden. For example, one of the toughest places to grow anything is in dry shade - tree roots can compete for space and for moisture. That’s when planting in a container, or several is the way to go.
What is a Shade Garden?
In general, a shade garden is an area that gets less than six hours of sunlight in a day. When choosing plants, remember that some will tolerate shade better than others. When it comes to plants, shady areas are divided into three categories:
- Full shade - no direct sunlight, only reflected sunlight from surrounding areas
- Partial or Semi shade - in the sun for part of the day and shade for the rest
- Light shade - sunlight that is filtered, like under a tree with smaller leaves

Choosing Containers and Pots
While containers can be made out of a variety of materials like plastic, concrete, wood or fiberglass, the key is using a pot with at least one drainage hole.
Keep in mind that smaller pots will dry out more quickly. Larger pots retain moisture longer, but when they’re full of soil and plants they get heavy. Look for a Goldilocks pot that’s “just right”, or splurge on a Schwarzenegger-sized pot if you’re looking to build up those biceps!
Whatever pot size you choose, always use a growing medium that’s designed especially for containers. At Eising Garden Centre you’ll find potting mix which is light and airy, unlike garden soil, which will compact and retain too much moisture. If you’re using a big container, you may want to use a smaller, more shallow pot as an insert, or put natural mulch in the bottom before you add potting soil. Doing this will reduce the amount of soil used, and keep the container lighter as well.
Plant Selection
This is the fun part! While many plants do well in pots, here are just some of our favourite shade plants for containers:
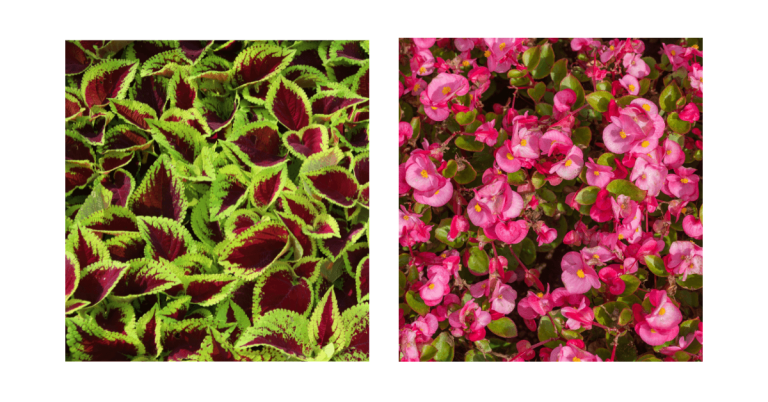
Coleus
Coleus is an annual that will grow in full shade and comes in a variety of very interesting leaf colours. This plant is known for its vibrant leaf colours, not its blooms.
Begonia
Begonias come in a wide variety of shapes and colours, making them a versatile annual for containers. Some varieties are happy in full shade, while others like light, or filtered shade. Most begonias like good drainage so their roots are not too wet.
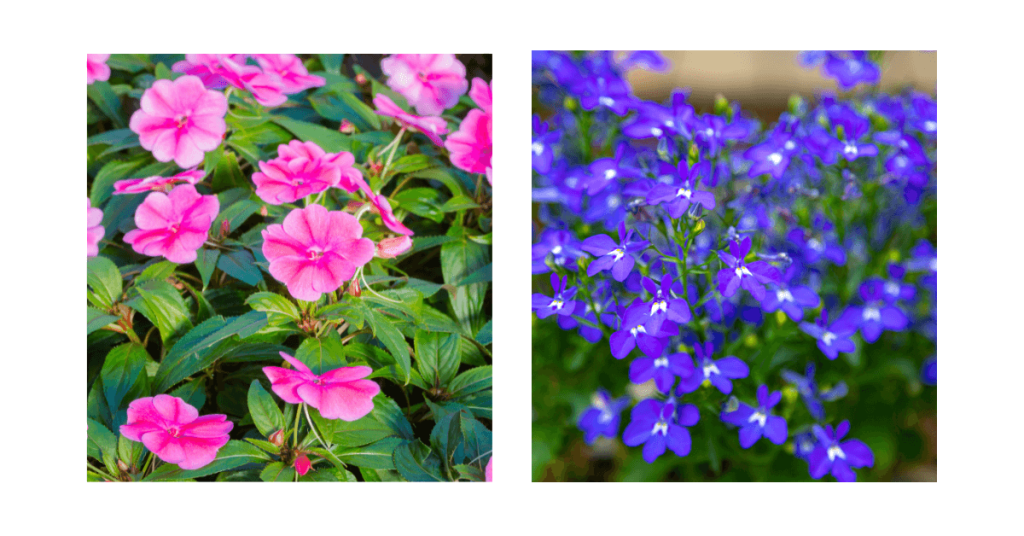
Impatiens
These annuals are popular for a reason! They come in a wide range of very brightly coloured flowers that do well in full shade.
Trailing Lobelia
The trailing type of Lobelia is an annual that grows well in shade. The masses of prolific blooms come in many pretty colours to mix and match with other plants.
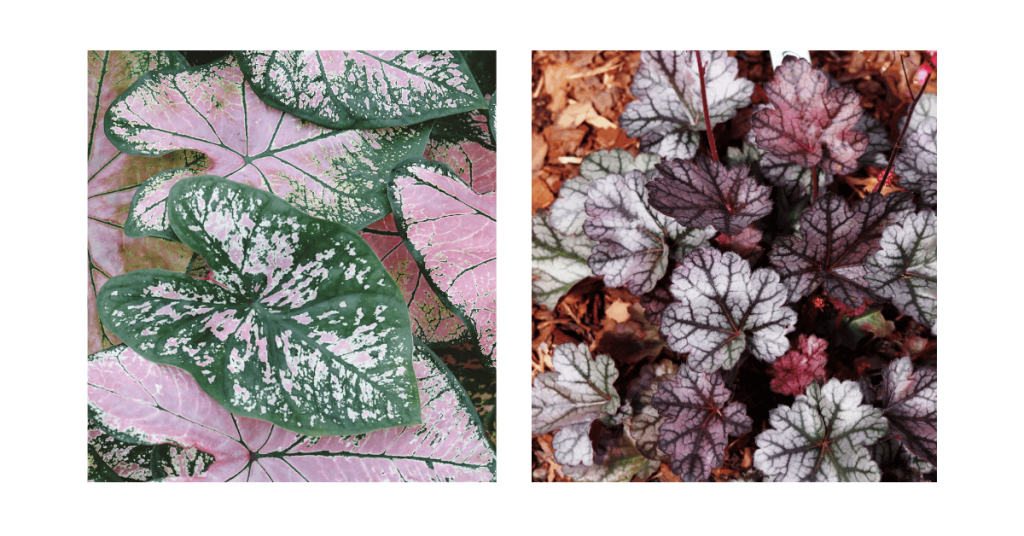
Caladium
A showy annual with vibrantly coloured leaves that will illuminate any shady area. Caladiums like partial to full shade but if you’re a pet owner be careful - this plant is toxic to cats and dogs.
Heuchera or Coral Bells
Coral Bells are perennials that also come in a wide variety of beautiful leaf colours. This plant will thrive in shade, but can also tolerate some sun and they are drought tolerant.
Hosta
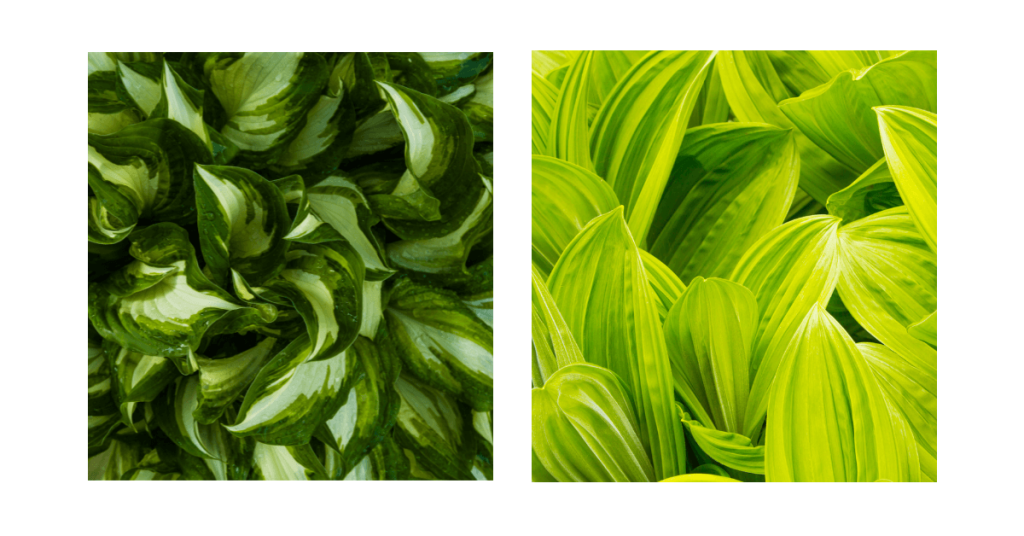
Known for its lush foliage, this perennial comes in such a wide variety of sizes, colours, and sun tolerance, and is by far a favourite. Many people don’t think of it as a container plant but for all of the features mentioned, it makes a great choice as a potted plant.
Fertilizer
Like all plants in containers, check the moisture levels often and provide water and fertilizer throughout the growing season. This article contains more information on caring for annuals and perennials.
Design
While you can mix and match any plants for shade containers, this article about container design ideas for sun-loving annuals may inspire you!
As mentioned above, many plants will do very well in containers. It’s also fun to experiment with annuals and perennials you can’t necessarily grow in the garden, or for anyone with a patio or balcony. Don’t be afraid to mix annuals and perennials together in a container, or to use one statement plant. Some potted plants will need extra protection in the winter like perennials, small trees, and shrubs, but growing plants in containers is a great way to add a splash of colour, or include some bold foliage in tough-to-grow areas.