
By: Dave Zeldon and Ely Schweyer with tips from Mary K, Zach C, Sandy M, and Jeanine LT!
Now is the time to prep our outdoor landscapes for the coming cold weather and the ensuing spring! Perhaps your autumn is calmer than your spring, and this is the best time to clean up and begin new projects. The following are some simple but effective tips to get your yard winter-ready - so your spring will be a little more pleasant for you!
Planting
When warm weather still allows it, plant trees, shrubs, perennials, and bulbs to allow them to establish for budding and blooming next spring.
Pond Care
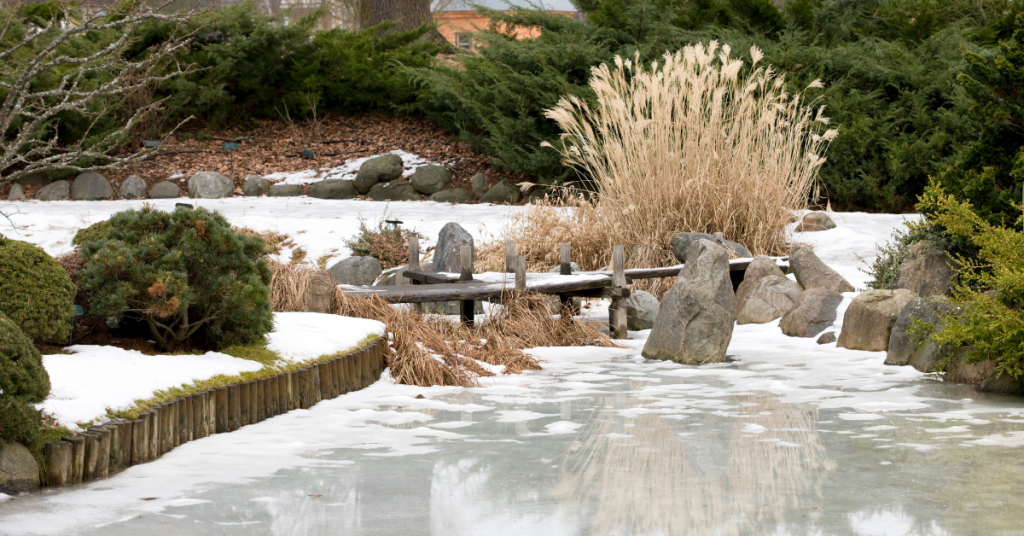
Mary, our perennials gal, suggests not removing any water from your pond but instead aerating it all winter. She skims out the leaves to maintain the balance of the nitrogen cycle in the water and suggests waiting to do a big pond clean out in the spring, as that’s when the water’s culture can bounce back easier.
Fertilizing
After top growth of your landscape plants ceases, reduce your annual fertilizer application by up to half of the requirement. Autumn is a major root growth period for woody and herbaceous perennials; roots will grow and absorb nutrients whenever soil temperatures remain above 5 °C but can be over fertilized quickly in these cooling temperatures.
Produce gardens could benefit at this time from a top layer of compost that will break down during the winter so it isn't too 'hot' for spring planting.
Leaf Litter
Here’s our pitch on the ‘leave it – don’t leave it’ debate: It DEPENDS.
Ideally, we should leave litter leaf on the ground for our pollinator friends and endangered species like fireflies to hide out in the winter. But, there are appropriate situations in which to remove leaf litter.
- When they’re covering your bulbs and tender perennials, remove SOME. Leaf litter acts as a ground insulant, which can amplify our temperamental zone 6b temperatures. This freezing and thawing can often confuse and kill early spring bulbs and tender perennials.
- Zach, our trees and shrubs guy, suggests that if a tree shedding leaves has been diagnosed with pests and fungi, remove the leaf matter to reduce the spread to other plants. Diseased matter should always be removed in a quarantined fashion and taken to a landfill or burned.
☝️Please note: Unless diseased, compost your leaves, they contain vital nutrients specific to the plants they came from!

Lawncare
With autumn mowing practices you have the opportunity for the addition of much needed organic matter for your lawn, which is also an excellent source of slow release nutrients. Keep mower blades sharp since leaves can be tougher than grass. Raise the mower height up and mow leaves when they are lightly wet (e.g., morning dew). This will keep the leaves from blowing all over and will prevent the mower from getting bogged down in wet leaves.
See more on general lawncare in Dave's Lawncare 101 post.
Clean Up
Now is a good time to wash your tools with soap and water to prevent diseases spreading from plant to plant.
☝️Mary's tip is to spray garden tools with PAM before use, so the dirt slides right off them!

Pruning Perennials
Mary, our perennials gal, suggests leaving things until frost to cut back. This way they're easier to compost. Make sure to leave seedheads (i.e., coneflowers and black-eyed Susans) for wildlife, and things like hydrangeas for winter interest.
☝️Make sure if things are cut back, to leave them sticking up enough you can still find them in the spring!
Dividing and Moving Perennials
Moving or dividing perennials in the autumn is a great way to reduce your work next spring. The cool, moist weather is an ideal time for perennial roots to become well established.
👍The rule of green thumb for moving perennials: If the plant blooms between early spring and late June, then early fall division/moving is ideal. If the plant blooms after late June, then early spring division is ideal (except for Peonies which should only moved or divided in the fall, Poppies in August, Irises in July & Lilies in the Fall).
Overwintering Trees
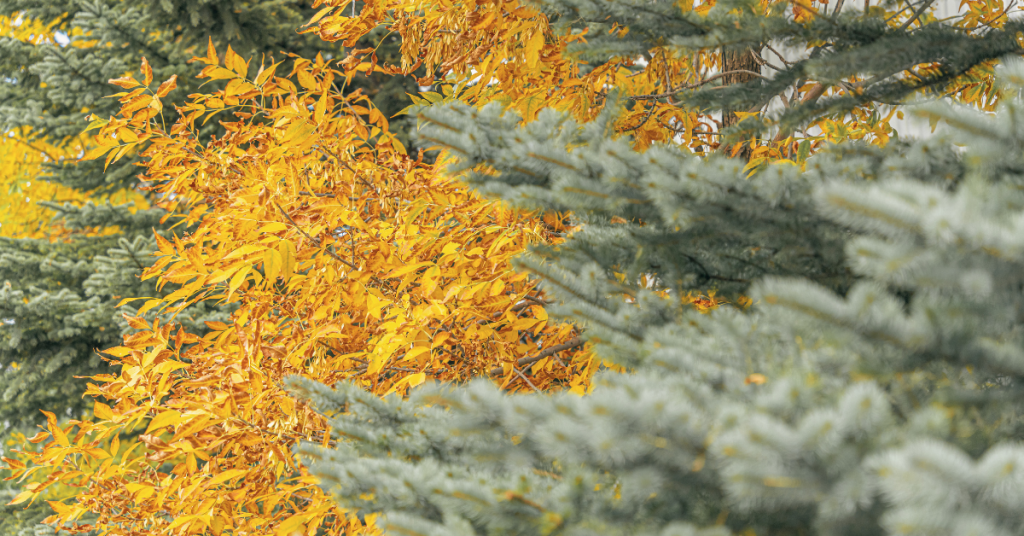
Zach and Sandy from trees and shrubs suggest a couple of things to help your favourite trees along this winter:
- To reduce winter injury in evergreens: Keep properly watered throughout the growing season and into the fall is another way to reduce winter injury. Decrease watering slightly in September to encourage hardening off, then water thoroughly in October until freeze-up.
- Cedars - Spray cedars with antidesiccant spray (available at Eising GC) or wrap in burlap (with stakes to create dead air space) so wind doesn't dry out and burn tips.
- Fruit trees - In late fall, spray fruit trees with sulfur-horticultural oil (available at Eising GC) for protection against fungi and pests overwintering in the bark.
- Ornamental trees - wrap the base of young trees to protect from chewing rodents.
- Pruning trees - trees that prefer winter pruning rather than spring pruning are maples, oaks, birches, and elms, as well as with fruiting trees such as apples and pears. This ensures blight and pests will not affect the tree's open wounds.
If you missed the frosty deadline for transplanting trees, Sandy suggests insulating unplanted potted trees to help them best survive the coming winter. Here are some methods:
- Double-pot your tree with an insulative barrier (i.e., burlap, straw, mulch, etc.) stuffed between the two pots and securely cover the top with tarp to deflect moisture.
- Bury your potted tree in the ground, level with the top of the pot (don’t forget to dig it back up!) and mulch the area.
- Huddle all of your unplanted trees and plants together when using the above methods.
Mulching
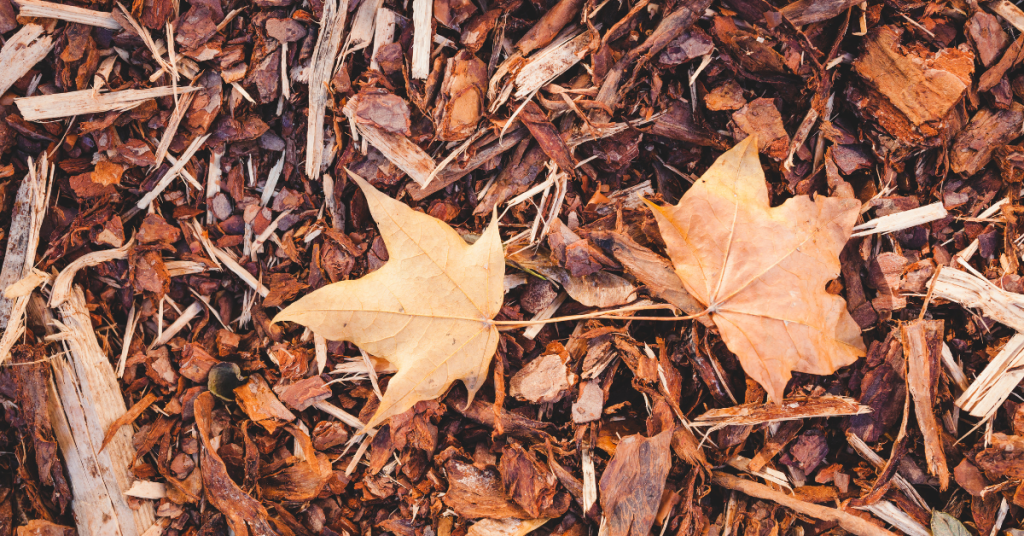
Mulching is one of the simplest and most beneficial practices you can do for your garden. Just by simply placing a protective layer of material over the bare soil will benefit the soil as it decomposes providing the much-needed organic matter which improves root growth, the infiltration of water and the nutrient-holding capacity of the soil while reducing soil erosion.
A good layer of mulch allows the soil to warm more slowly in the spring, so perennials aren't fooled into breaking dormancy too early, as you want the ground to stay cold until it really is spring!
☝️Make sure your mulch application won't stunt the growth of your plants come spring as discussed in our Transplant Troubleshooting blog post!
Japanese Beetle Prevention
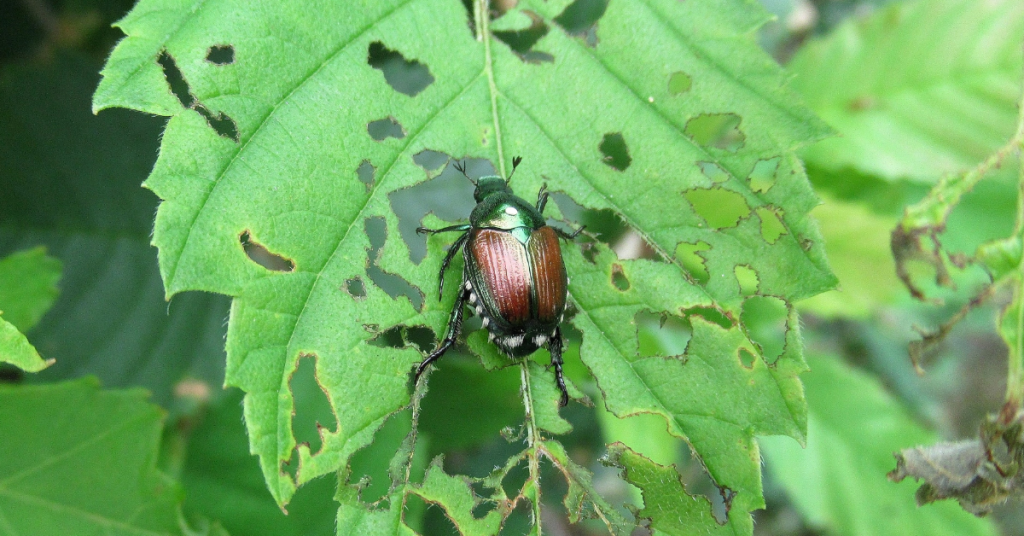
Nematodes are microscopic worms that should be applied to lawns that have been ravaged by grubs especially of the Japanese Beetle. Nematodes have a short shelf life and must be refrigerated until they are applied. Normally, they are sprayed onto the lawn from mid-May to mid-June and then again (for best practice) from mid-August to mid-September.
Pots
To prevent freezing and cracking, Mary suggests emptying and turning your pots upside down. You can disinfect at this time too.
Design Time!
Jeanine, from production, suggests writing down what worked best in your produce garden this year so you can implement it again in the spring.
With the trees and land being barren enough you can see its contour, now is a great time to plan ahead for spring landscaping! Don't forget Eising GC would love to offer help with your landscape designing!
We hope these tips help your landscape plants enjoy your winter abode as much as you do this season, for more information - and plants – visit Eising Greenhouse and Garden Centre! 🍁
Hydrangeas are some of the most beloved flowering shrubs around the world—you only need one look at their big, voluminous flowerheads to see why they’re so easy to love. There are hundreds of hydrangea varieties, each belonging to one of six main types. One type, in particular, known as mophead hydrangeas, is famous for a very peculiar and whimsical trait: the flowers can change colours!
The Colour-Changing Shrub
The flowers of the mophead hydrangea change as a reaction to their soil chemistry, resulting in flowers from bright pink to neon blue and every shade in between. However, the shift in shade doesn’t happen overnight—it requires some planning, and a fair bit of patience, to change your hydrangea’s colour.
The good news is that anyone can encourage their mopheads to change colours with the right supplies and a few tips! Here’s how to do it in your yard.
From Pink to Blue
When planted in alkaline soil, mophead flowers bloom in brilliant shades of pink. By increasing the acidity of the soil over time, the flowers will gradually shift to a lovely shade of lilac, and eventually, turn vivid blue with a low enough (more acidic) pH. It’s a true delight to behold this colour change taking place throughout the summer. Some crafty gardeners have even managed to create an “ombré” effect by keeping a row of soil more alkaline on one end and more acidic on the other!

There’s one caveat to the fun; however: while pink hydrangeas will readily fade to blue, it’s nearly impossible to reverse back to pink. Those who have attempted this tend to end up with a rosy purple, which is pretty enough, but never quite the same. With that said, blue mopheads are so gorgeous; there’s a good chance you’ll be happy to keep them around as-is!
How to Turn Your Hydrangeas Blue
Changing your soil pH requires the use of soil amendments, which can gradually alter the soil chemistry. If your hydrangeas are blooming pale pink to lilac, you can intensify the pink colour by adding garden lime to the soil. Follow the package directions to ensure you’re using the right amount at once, and over time, those hydrangeas will start blushing!
However, most mophead growers are in it for the blue blooms. Blue is a relatively uncommon colour in the gardening world, so those gorgeous blue blooms are highly coveted! Mopheads start blooming blue flowers once the soil pH reaches 5.5 or lower. The best way to increase the acidity of the soil is with the use of aluminum sulfate, a common soil amendment that we carry here at Eising. You’ll need to mix a quarter-ounce of aluminum sulfate into a gallon of water and soak the soil around your mopheads. You’ll get the best results by starting in spring, but you can start at any point during the season. However, once you start treating the soil, you’ll need to reapply the amendment every month until you reach the desired result, and then maintain it with an application every other month during the growing season.
To maintain the acidity of your soil, you can also fertilize with acidic compost like orange peels, coffee grounds, eggshells, or peat. While you won’t see results right away, these will help increase soil acidity in the long term, so that you eventually won’t have any need for the aluminum sulfate.

Considerations
Before you start modifying your soil acidity, keep your other plants in mind, as well. Each plant has a different tolerance to acidity—some love it, some can’t tolerate it. As your soil acidity changes, so will your soil’s suitability for your other favourite plants, so make sure to plan around that. Keep an eye on the nursery tag when you shop for plants to grow around your mopheads to ensure you’re leaving with a good fit. We recommend using soil tests regularly to monitor soil acidity throughout your garden. These tests are quick and easy to use, and lots of fun to do with kids!
A garden full of pink, purple, and blue hydrangeas is a truly magical place—and the pride of many Southern Ontario gardeners. Chat with us in-store for plant and product recommendations as you embark on this ultra-popular gardening project. Then, prepare to be spellbound by these enchanting shrubs!