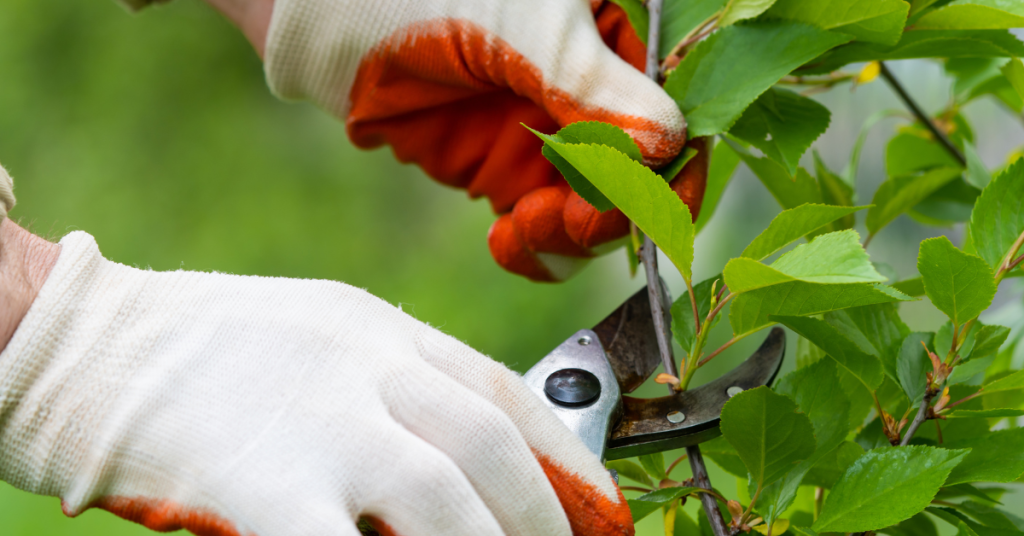
By Ava Green
Is there anything sweeter than the scent of Lilacs in the spring? These beloved shrubs are remarkably easy to grow and will reward you with weeks of fragrant blooms for little or no effort. But a bit of attention can make a big difference, especially if you’ve noticed your blooms getting smaller or fewer with each passing year.
To help your lilac put on its best show, keep these steps in mind:
- Plant in full sun, at least 6 hours of direct sunlight a day, in well-draining soil
- Water newer plants during prolonged periods of drought until established (the first 3 years)
- Feed your lilacs annually with a balanced fertilizer (10-10-10, for example)
- Follow spacing instructions and prune yearly. Pruning is a very important step, and it’s well worth it.
Knowing When to Prune is Key
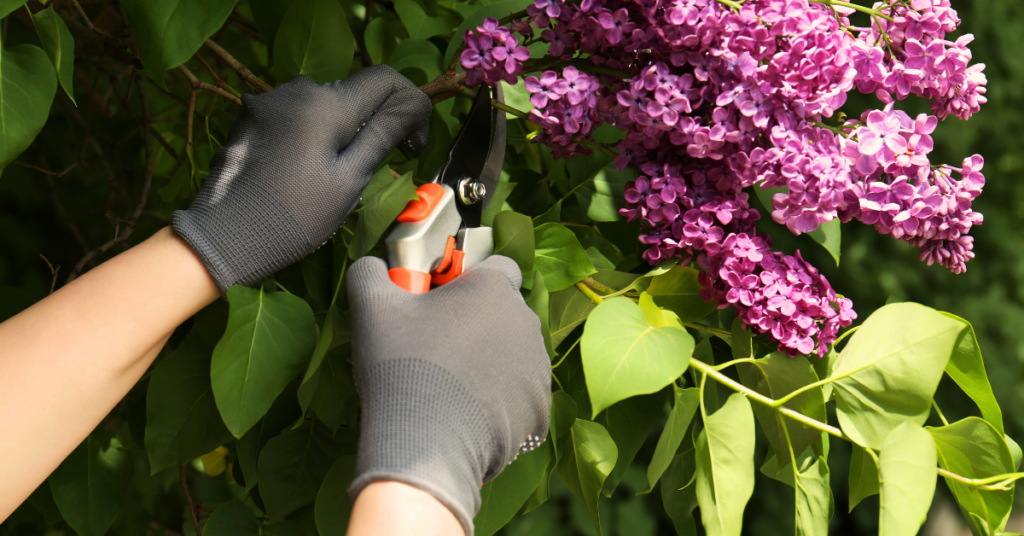
Timing is everything when it comes to pruning your lilacs. After the blooms fade, you have a two-week window to prune before the shrub sets its buds for next year's flowers. Yes, they set buds this year that will bloom next year! Pruning lilacs in the fall or the early spring risks cutting off all of the flower buds for the following year. Mark your calendar and prune promptly after flowering.
It also helps to understand how lilacs grow: Younger, thinner lilac stems produce more flowers. Older, thicker stems are more prone to disease and pests. Keeping this in mind will help with pruning decisions.
How To Prune Young Lilacs
If your lilac has been in the ground for less than three years, leave it alone; it doesn’t need pruning yet. Many young lilacs won’t bloom during those first few years.
After three years, once your shrub is established, begin by removing just one of the thickest, oldest stems down to the ground every 2 years. This gentle approach prevents the shrub from becoming overgrown while encouraging newer, flower-producing growth.
How To Prune Older, Overgrown Lilacs
If your lilac has been neglected or grown out of control, you have two options:
Option 1: Gradual Rejuvenation
Begin by removing any damaged stems, as these invite pests that can harm the entire shrub. Next, remove only the largest, oldest stems by cutting them right down to the ground. The key is to remove no more than one-third of the living wood (dead stems don’t count toward that total). Leave the younger, thinner stems intact so your shrub can still bloom the following year. Repeat this process each spring for three years, and you’ll gradually restore the shrub to its full, flowering potential without sacrificing a single bloom season.
Option 2: Full Cutback
For a severely overgrown lilac that has been largely ignored, a complete cutback is often the most practical solution. Cut the entire shrub as close to the ground as possible, either in early spring or immediately after blooming. Yes, this breaks the general rule of never removing more than one-third of live wood, but lilacs are remarkably resilient and respond well to this kind of hard reset. By the end of summer, you will have healthy new stems of three to five feet tall. While the shrub won’t bloom for approximately three years after a full cutback, the long-term results are well worth the wait.

Deadheading Your Lilacs
Deadheading, or removing spent flower clusters after the blooms fade, is a simple task that’s separate from pruning, and can be done during that same two-week post-bloom window. When you trim off faded blooms, the plant redirects its energy from seed production toward building bigger, healthier buds for the next year. It takes only minutes and can make a meaningful difference in the size and abundance of next year’s flowers.
A Note on Lawns and Lilacs
If your lilac grows near a lawn, be mindful of how much fertilizer you’re applying to the surrounding grass. Lawn fertilizers are typically high in nitrogen, which encourages lush leaf growth, but too much nitrogen reaching your lilac’s roots will suppress flower production.
Worthy Rewards
Lilacs are remarkably long-lived, often outlasting the gardens and even the homes they were planted beside. So whether you’re nursing a young shrub through its first few years or breathing new life into an old, overgrown beauty, the effort you put in now is an investment that will keep rewarding you, and perhaps generations after you. Every single spring!
By Ava Green
As soon as warm weather and sunshine arrive in Southern Ontario, it’s time to head to the garden centre and pick up all the plants we’ve been dreaming about all winter long! May 24th is generally the date we look forward to — the unofficial marker when frosty mornings are behind us and the promise of summer is ahead.
By now, cool-weather plants like cabbage, Brussels sprouts, peas, and lettuce should be well established in the vegetable garden. And for everything else, it’s go time!
TIP: Before you start planting, this is the ideal time to amend your soil. Top up your garden beds with fresh topsoil or enrich them with compost to improve soil health, add nutrients, and promote vigorous plant growth. Don’t forget to refresh the soil in your containers as well, with potting mix or compost.
Warm Weather Vegetables
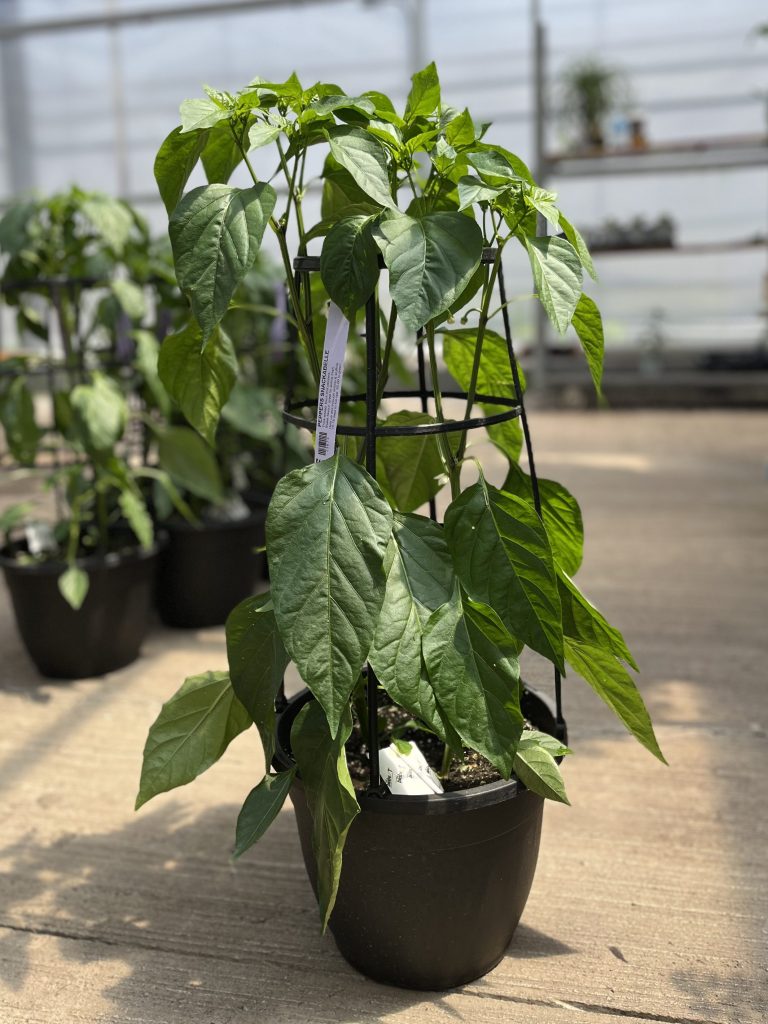
When soil temperatures are consistently 60°F (15°C) or higher, it’s safe to plant all the warm-weather vegetable crops we’ve been waiting for! Plants that thrive in warmer weather include tomatoes, peppers, eggplants, cucumbers, zucchini and corn.
At Eising Garden Centre, you’ll find vegetables in 6-packs, 4” pots, trellised patio containers, patio bowls and hanging baskets - while supplies last, of course!
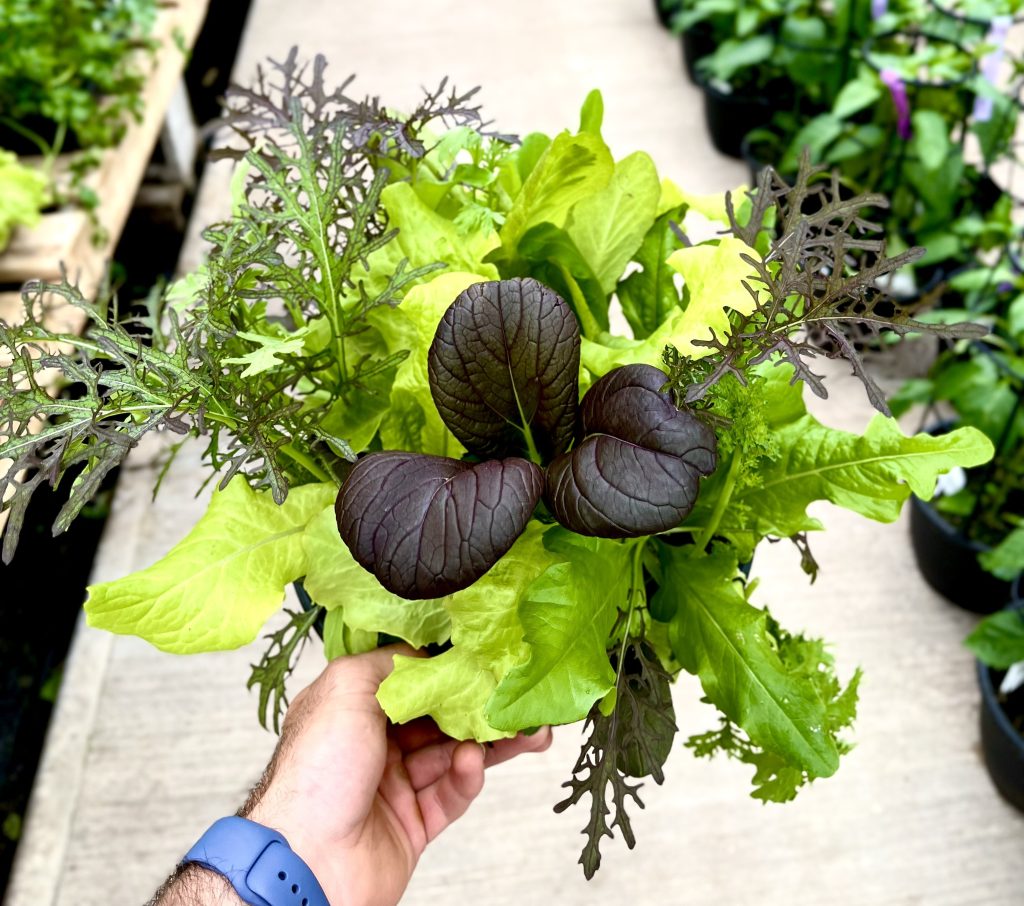

Herbs also love warm weather, and tender varieties like basil are safe to plant once all danger of frost has passed. Whether you plant herbs directly into the ground or create a potted herb garden near the kitchen door, they’ll add fresh flavour to your meals all season long. A container of herbs also makes a wonderful gift when visiting friends and family for a summer BBQ.
While you’re in the vegetable and herb aisle, keep an eye out for everbearing strawberries in planters and containers of tropical fruits like lemons, limes, and oranges.
Annual Flowers
Winter-weary flower beds can be revived almost instantly with a burst of colourful annuals! If you’re looking for an immediate impact and blooms that last all summer long, annual flowers are the answer.
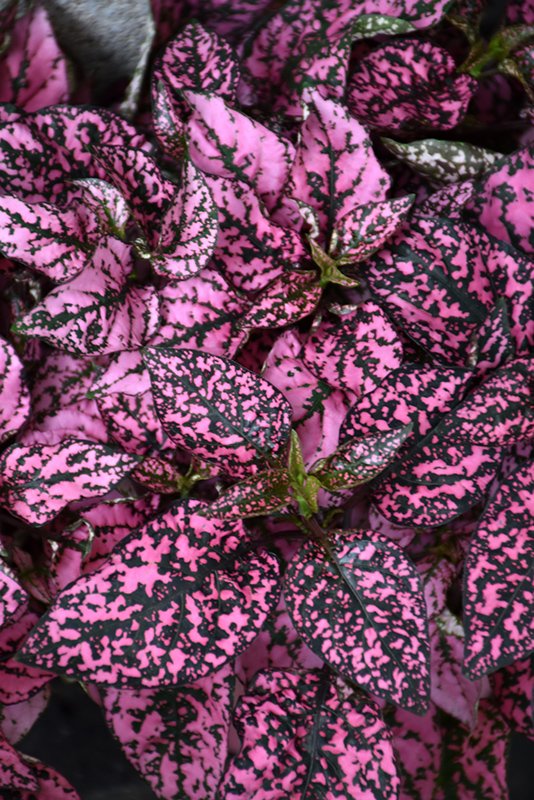
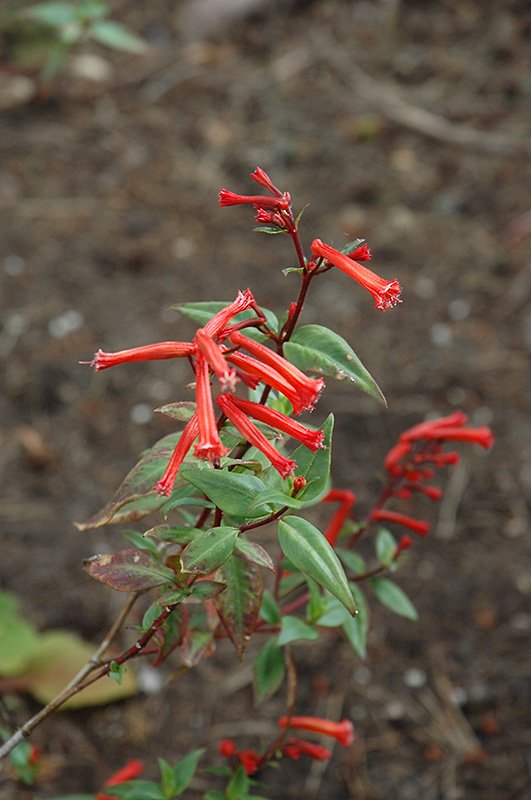
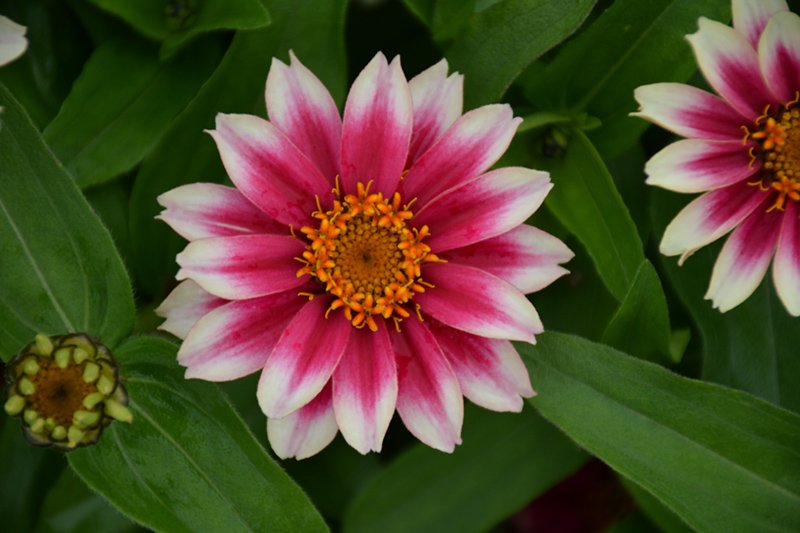
Whether you plant them in beds, containers, window boxes, or hanging baskets — or choose from one of our gorgeous pre-planted options — just add water and fertilizer, and you’ll be rewarded with a vibrant display that keeps on giving.
Perennials
While perennials may not bloom all summer, many offer extended bloom periods, and by combining different varieties, you can create a succession of flowers that lasts for months. Perennials also provide essential greenery to anchor your garden and enhance the look of your flowering plants.
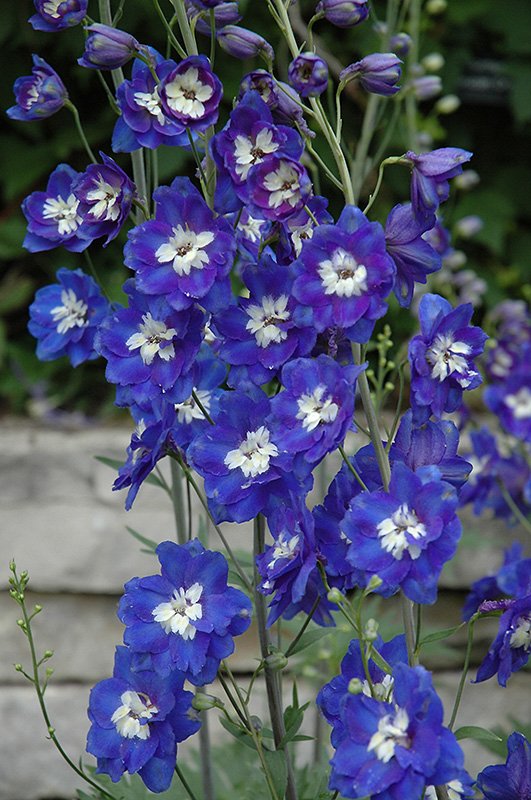
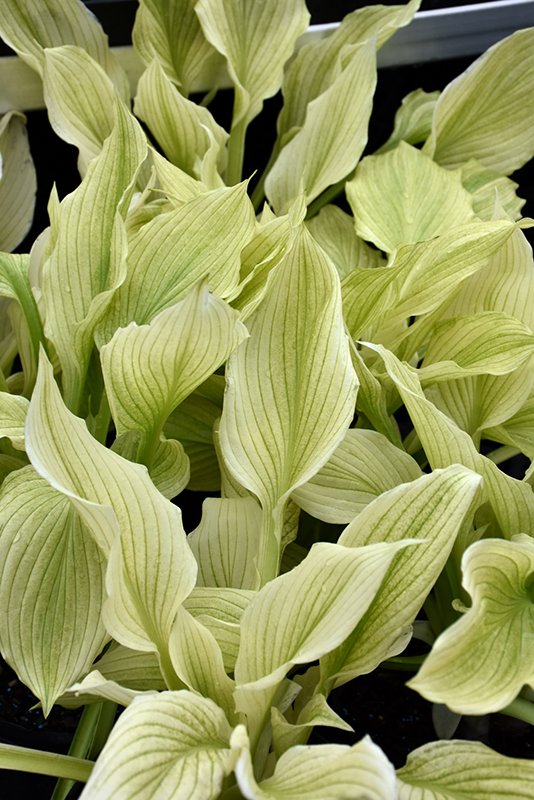
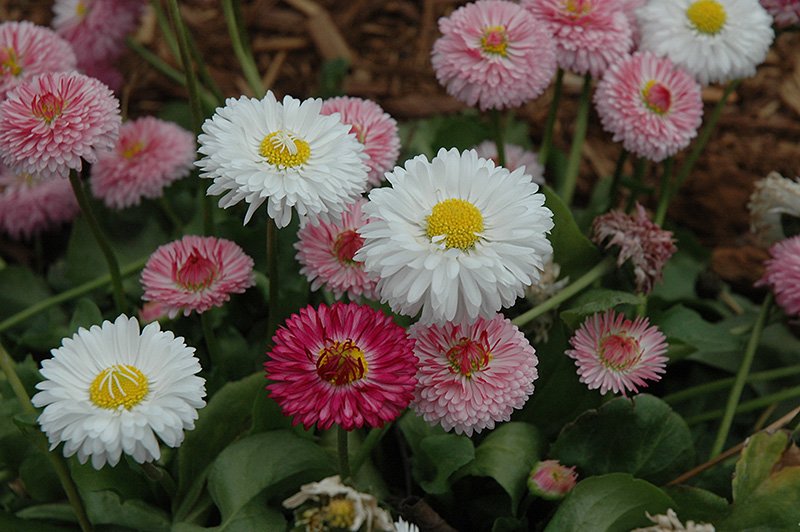
You can plant perennials from spring through fall, but getting them into the ground now gives them a strong start. From hostas and ornamental grasses to daisies and delphiniums, there’s a perennial for every style of garden — and the best part is, they’ll return each spring like dependable old friends.
Trees, Shrubs and Vines
Often called “the bones” of the garden, trees, shrubs, and climbing vines add essential structure, height, and seasonal interest. Planting them now allows you to design your garden layers thoughtfully, incorporating annuals and perennials around their base.
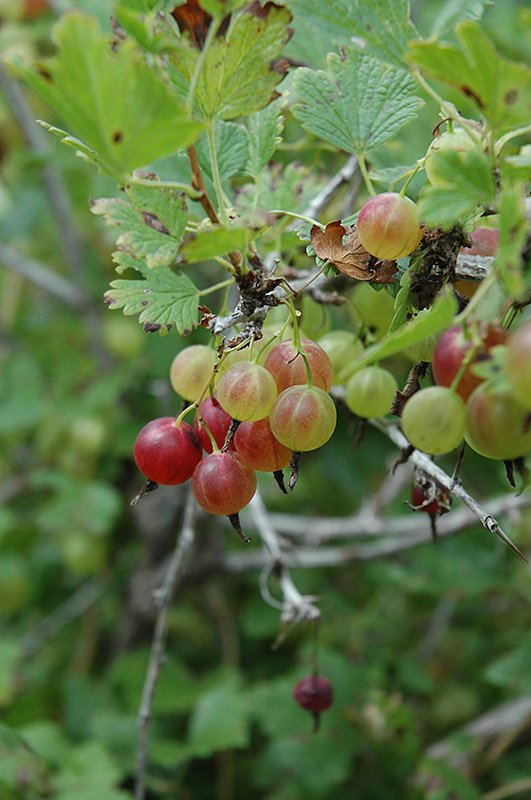
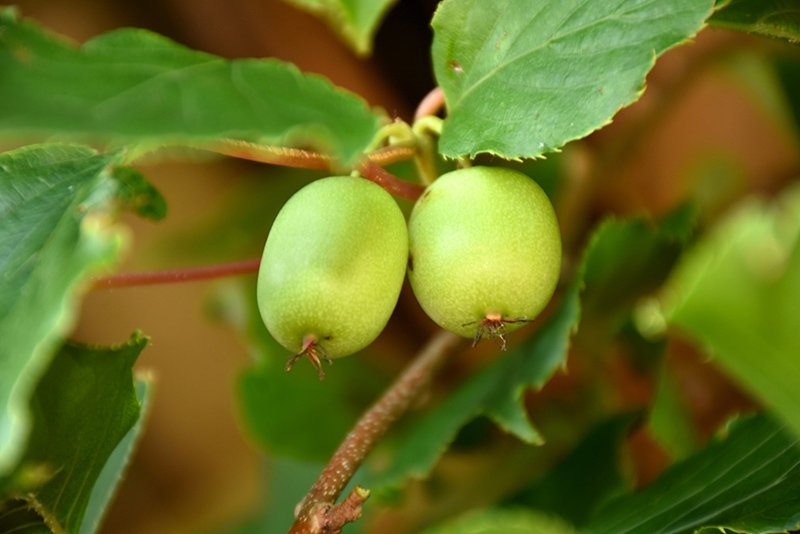

Spring is also the prime time to purchase and plant fruit trees and fruiting shrubs. At Eising, spring offers the best selection for starting your home orchard. Are you thinking of adding a few edible shrubs? Gooseberries, haskaps, hardy kiwi, rhubarb and raspberries are excellent choices.
Mulch
Okay, it’s not a plant, but this is a reminder to add mulch to your garden beds or containers. After planting, adding a layer of mulch to your garden beds or containers helps retain soil moisture, reduces transplant shock, and suppresses weeds. Even if a few weeds manage to sneak through, mulch makes them easier to pull.
Water Garden Plants
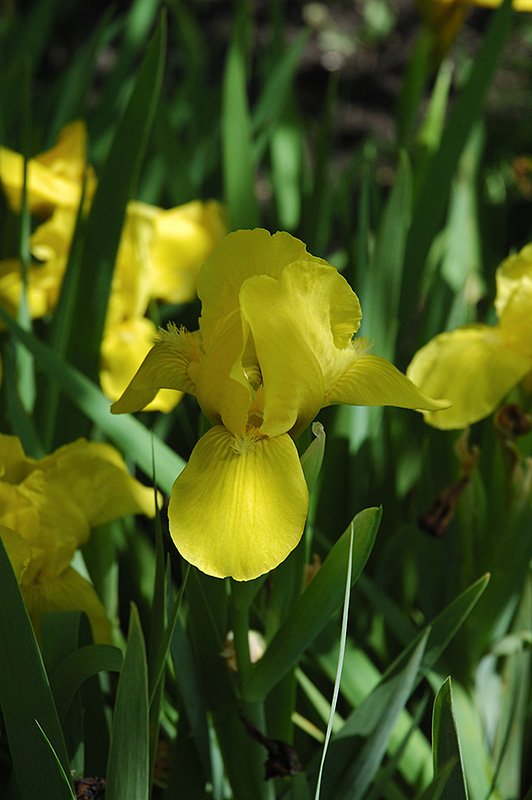
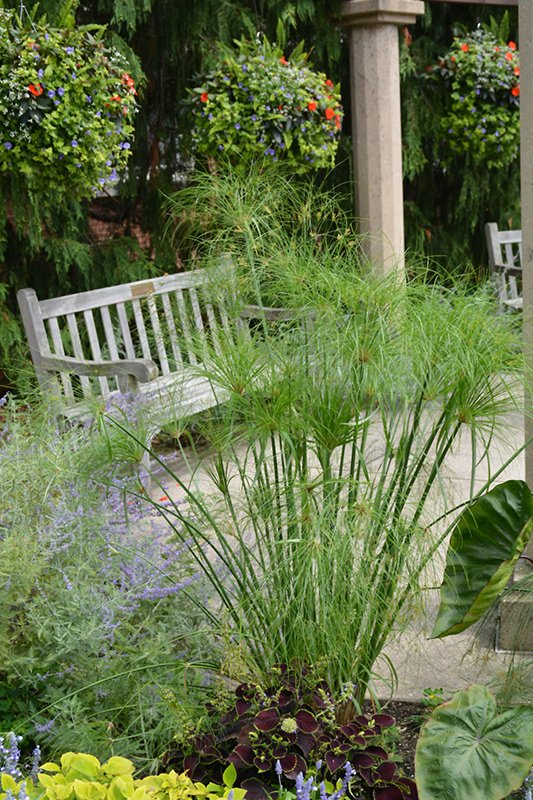
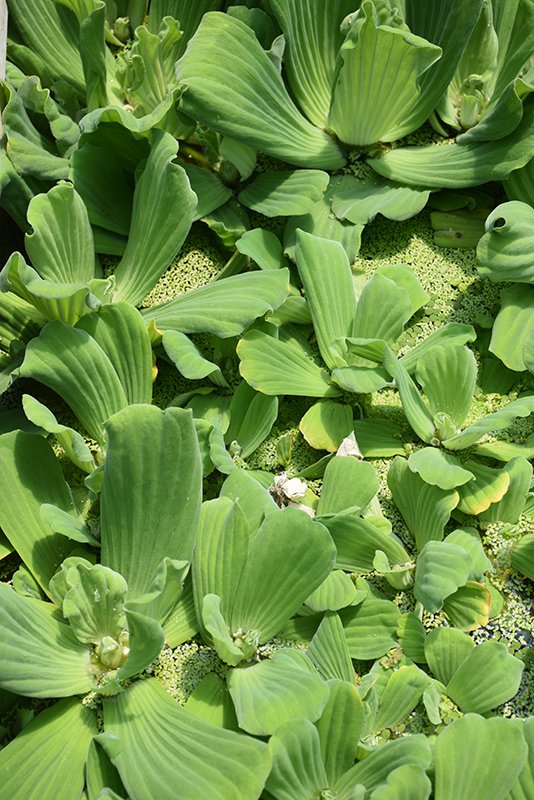
If you have a garden pond, spring is the perfect time to add water plants. Floating plants, such as water hyacinths and water lilies, help shade the pond’s surface, reducing algae blooms. Marginal or bog plants, such as water iris, papyrus, and cattails, also help keep the water healthy and clear by improving oxygen levels and providing habitats for beneficial wildlife.
Time to Grow!
May is one of the most anticipated and exciting months in the garden. Whether you’re dreaming of fresh vegetables, a lush landscape, or a colourful flower display, planting now sets the stage for a beautiful, bountiful season. Visit us at Eising Garden Centre to find everything you need — and let’s get growing!
By Dave Zeldon and Ely Schweyer
As plant people, we’ve all experienced that moment when we realize the novelty phase of that plant we brought home from the garden centre has worn off. The plant isn’t standing quite as tall, the flowers aren’t as bold, and the leaves are unravelling smaller or not at all. What is this magic they perform in the greenhouse? Perhaps you’ve provided sufficient lighting and adequate watering; there’s just one thing that is often overlooked because dirt is dirt, isn’t it?
97% percent of plant tissue is made up of carbon, hydrogen, and oxygen pulled from the air and water, the remaining 3% is comprised of 16 other elements taken up from the soil. The quality of soil then is crucial to your plant’s health. Whether your plants are in pots or in ground, each soil type you could provide your plant offers something unique and may lack in another.

*Clay particles are even smaller than silt particles.
Resist the Urge to Slam Your Plant in Potting Soil
There’s bags and bags of rocks, sand, bark, manure, and moss on the shelves, yet the common buyer seems to always opt for potting mix. It’s fair; organic matter is usually great for plants and simple to use. However, most people don’t realize it’s merely an ingredient.
Strictly using potting mix is like attempting to make a loaf of bread out of only flour. All those bags of other materials on the shelves are also components for a successful plant diet!
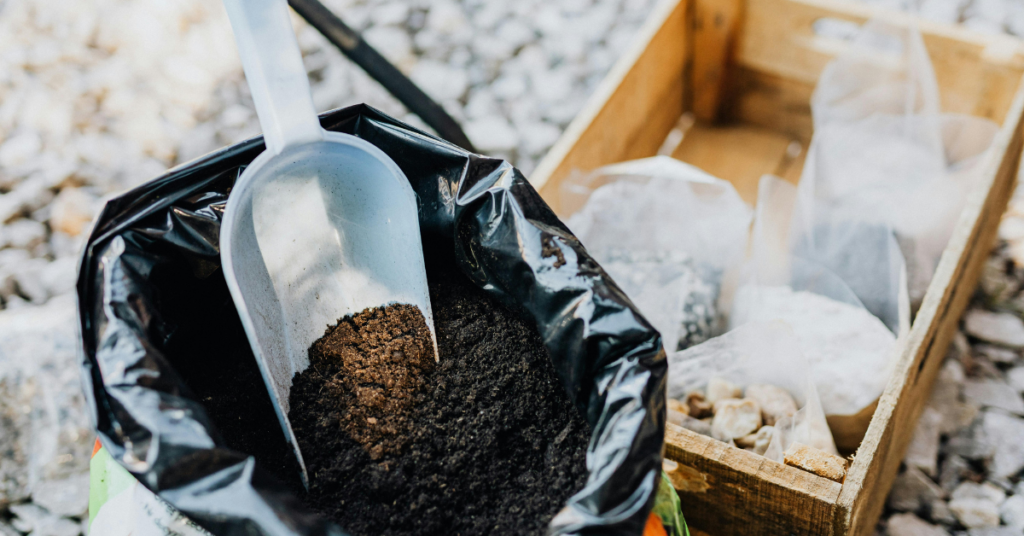
Potting mix is a great base material, however, alone it presents risks of compacting, becoming waterlogged, can mold easily, and over time will become depleted of nutrients. Consider mixing the following ingredients into your pots, ground and raised beds to meet your plant’s required nutrients, pH level, and volume of moisture.
🖱️Use our Plant Finder to find some details on your plant! We try our best to keep this updated!
👍 Rule of Green Thumb: Plant roots can help you to determine the medium needed – thick, robust roots (i.e., yucca) typically enjoy chunkier materials, and smaller, delicate roots (i.e., begonias) enjoy finer materials.
Mulch and Bark Bites
- Mulch is the organic slow-release fertilizer, as it slowly decomposes, it lowers soil pH. However, may eventually compact soil once fully broken down.
- In the meantime, it creates shelves in the soil that create air pockets and prevent the soil from compacting. Mulch is a great short term medium for arid potted plants.
- If kept too wet, it can harbour fungus gnat larvae.
- Make sure when sourcing your mulch it doesn’t contain any black walnut.
🖱️ See more on mulching here.
Sphagnum Peat Moss
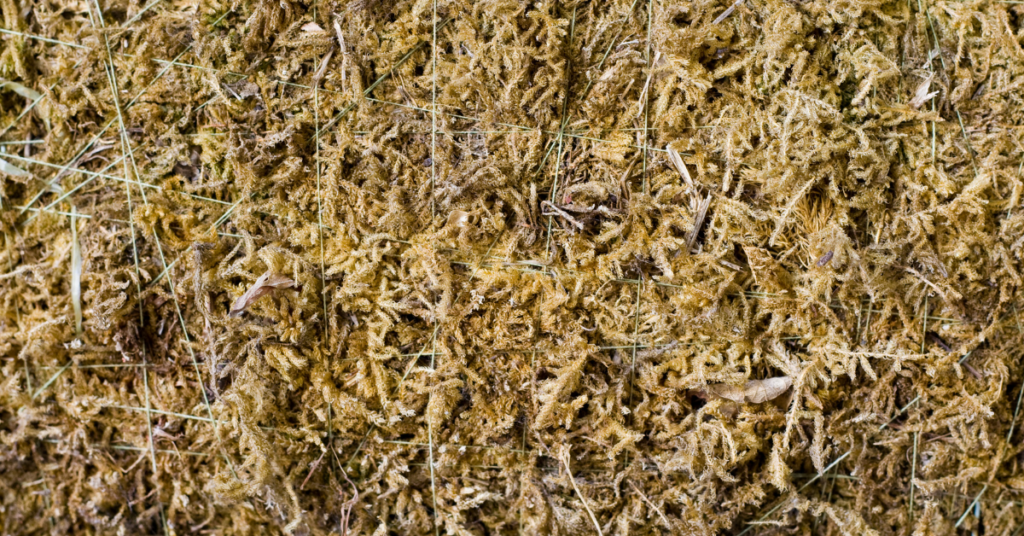
- Peat moss is used to help retain moisture and lower pH in the soil given it is harvested from bogs.
- Retains nutrients very well.
- It is difficult to rehydrate once it loses moisture.
Coconut Coir
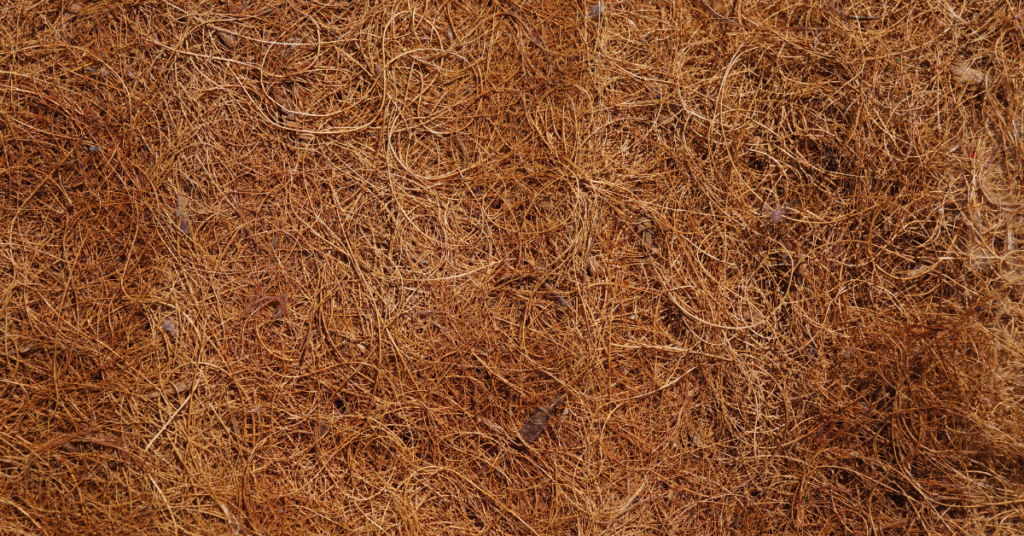
- Coco coir, much like peat moss is used to keep the soil moist and keep pH low, however it lasts longer and is possibly less invasive to harvest.
Sand
- Grains are relatively large and do not bind, allowing for excellent drainage depending on grade.
- Adds weight to top heavy plants.
- Has no ability to store minerals itself, however, pH can vary by its content of shells, minerals like silica, or fine organic matter.
Manure & Compost
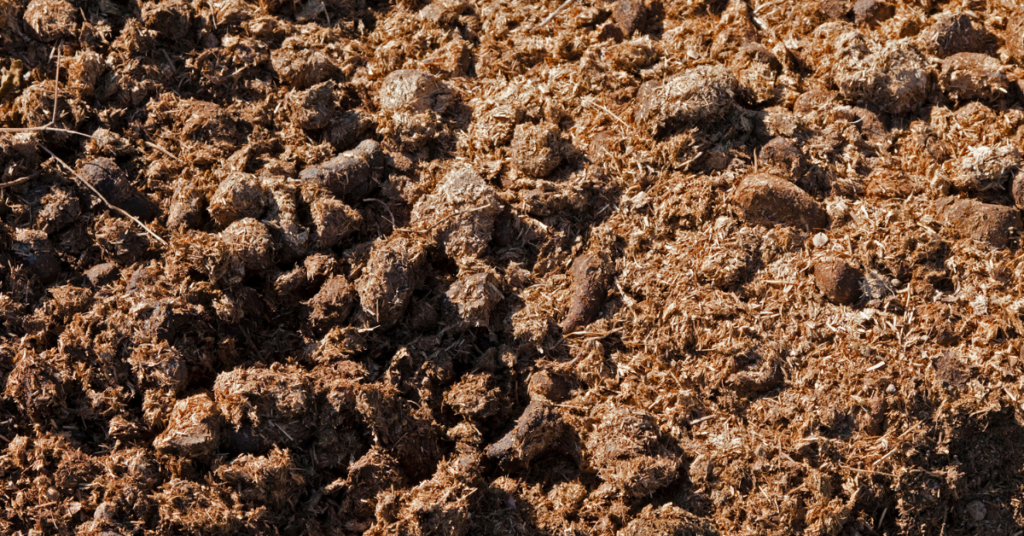
- Source these organic by products locally and ensure they’re not too hot. These additions can significantly lower pH.
- Sheep manure is usually near free of weed seeds as sheep digest seeds better than cattle and horses!
Perlite
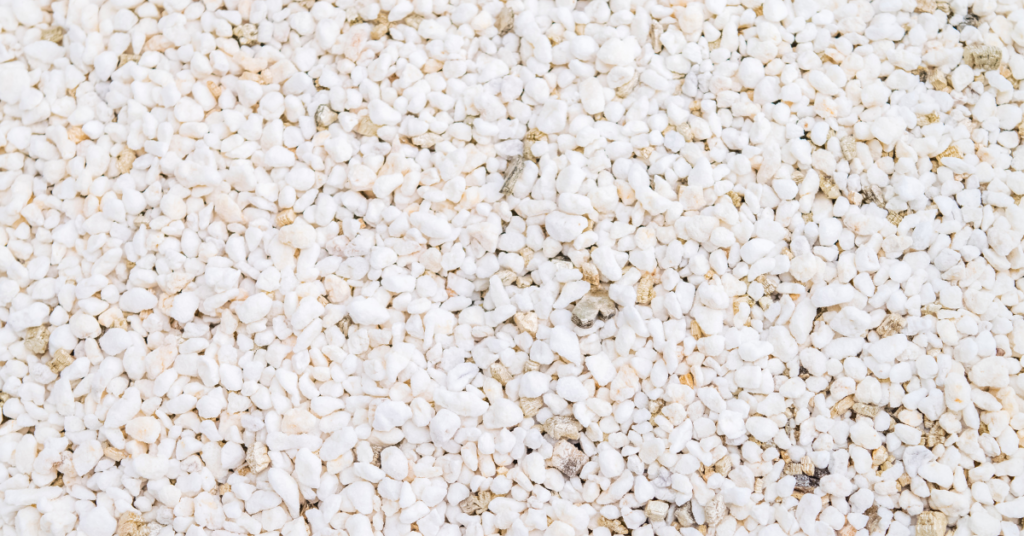
- Perlite is a volcanic byproduct (so it floats like pumice) that helps drainage in the soil and prevents compaction – vital in the case of starting seeds.
- If a rockier, well-draining medium is required for your plant, consider perlite.
- Perlite can expand holding trace amounts of water.
- Perlite has a neutral, slightly acidic pH.
- Make sure when sourcing perlite, that you are not being sold Styrofoam balls.
Vermiculite
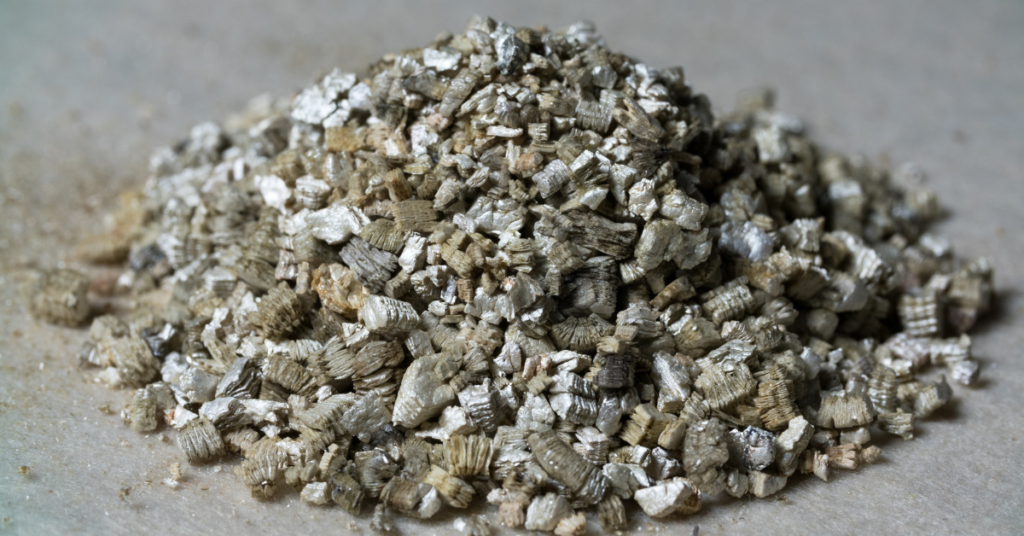
- Vermiculite is a recycled mineral used similarly to perlite, and too has a neutral, slightly acidic pH.
- Expands with water content.
- Can contain amounts of potassium and magnesium (as well as good cation exchange capacity).
- Runs the potential risk of introducing asbestos into your soil.
Calcined Clay Materials

- Clay materials like recycled brick bits, pottery, or lecca are typically used for arid plants as it improves aeration and drainage.
- Can raise pH.
- Can retain some water.
- High cation exchange.
- Can also be used for starting robust cuttings when kept moist.
- Probably not ideal for inground amendments.
Maintaining Your Plant’s Dietary Needs
Perhaps we’ve crafted the perfect soil type for your plant – your plant thanks you – but over time, we will end up in the same staling predicament. Why? Because with each thorough watering, we leech the soil of the provided nutrients. Best we use the plant-specific required fertilizer for your plant to prevent nutrient loss.
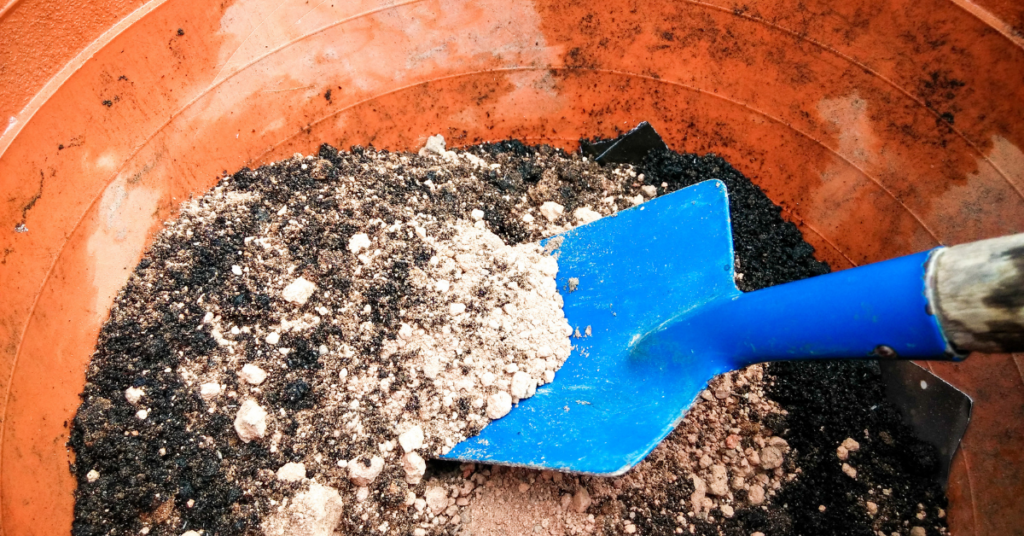
Organic sources of fertilizer such as bonemeal, composts, and manures, along with the application of lime, will improve the physical condition of the soil in terms of water and element holding ability. Unfortunately, in many cases though, manures and lime alone cannot be depended upon to provide enough available nutrients in soils with low essential element reserves.
Let’s talk about commercial fertilizers, which can help target your plant’s exact needs much like vitamins and supplements!
The Scoop on Fertilizers
Of the essential 16 elements your plant pulls from the soil, Nitrogen (N), Phosphorus (P), and Potassium (K) are the most critical for good plant growth. You’ll recognize the three numbers appearing on your commercial fertilizer labels known as the fertilizer analysis of the product, representing the percentage of each of the three "macronutrients" in the order of N, P & K.
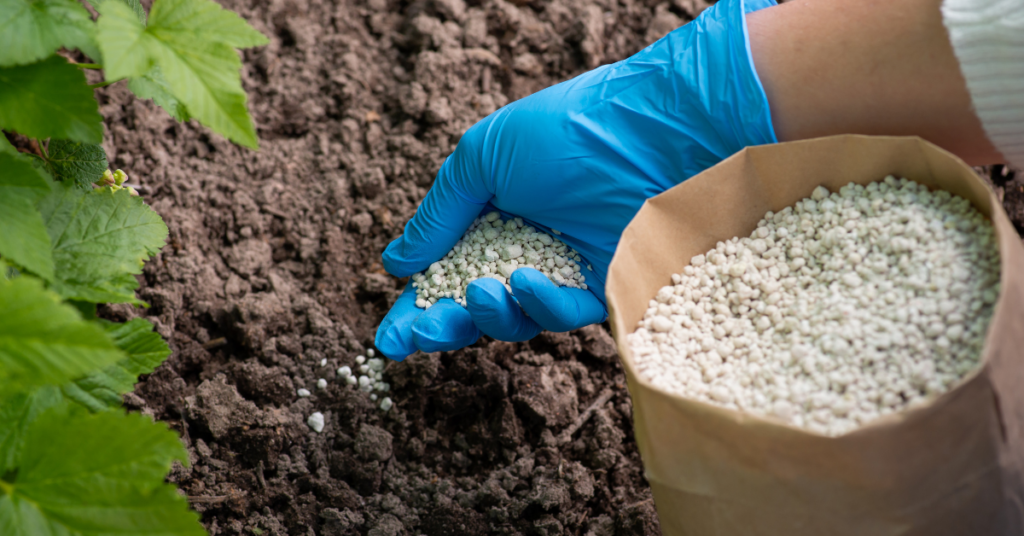
Nitrogen (N) is necessary for green leafy or vegetative growth which is important in crops like corn, cabbage, and potatoes.
☝️ It is important to remember that you should not use a fertilizer which is high in nitrogen late in the summer on your perennials, as it may cause a boost of growth which will only freeze as the cold weather sets in. Also, too much nitrogen in the analysis could cause too much lush, leafy growth thus inhibiting the desired flowering aspect of a plant species.
Phosphorus (P) promotes the development of flowers, fruit and roots. Crops like tomatoes, cauliflower and garden flowers.
Potassium (K) boosts plant hardiness, stem strength, resistance to disease and drought which is important to all crops, but especially in potatoes, celery and rhubarb.
👍 Rule of Green Thumb: For foliage plants, provide them with shade and lots of nitrogen, and for flowering and fruiting plants, provide them with lots of sun and lots of phosphorus!

Amending Clay
Hello Haldimand and Eastern Norfolk!
We’re presented with the challenge of compacted, often shallow and waterlogged clay, which proves difficult but not impossible.
Clay becomes compacted and waterlogged as it is the smallest soil particle – smaller than a grain of sand, and even smaller than silt – with rough edges that allow it to interlock and bind. In this instance, roots cannot penetrate further into the soil, are susceptible to root rot, and air pockets are slim to none.
This, however, can be fixed with the addition and renewal of the above materials.
Mindful that you don’t create a watery bowl in the ground (score the edges the area being worked), you can add organic matter (i.e., manure, compost, and potting soil) for nutrients, as well as mulch, sand and perlite for aeration and drainage. Annual soil particle aggregation in clay soils increases air porosity (air pockets) and is accomplished by the incorporation of organic matter that breaks down to form humus.
🖱️ See more here for planting trees in clay.
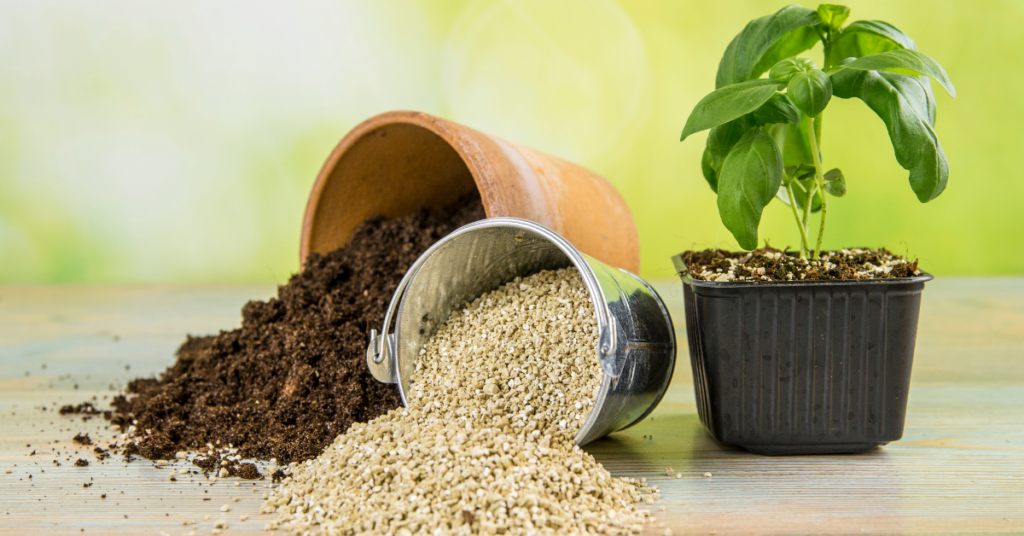
We hope this soil and fertilizer guide helps you provide all the vital nutrients to your beloved plants in ground and above ground! For more information - and soil – visit Eising Greenhouse and Garden Centre! 🌱
By Dave Zeldon and Ely Schweyer
Starting the first week of January, seed packets of many vegetable garden delicacies began arriving at your local garden centres. It’s a great time to plan your gardens and purchase your seeds while the selection is good but don't sow your seeds too early!

If started too soon, your plants will be leggy and overgrown long before you can transplant them into the garden. The general rule of thumb (even if yours isn't green), is if the seed packet recommends sowing four to six weeks before the last frost date, it's better to pick the four - rather than the six-week date (to calculate the sowing date, count back from the third week of May).
In this blog post, we’ll discuss the proper timing of the beneficial companion planting practice, to ensure an organic triple-play of pesticide reduction, nutrient sharing, and the fruits of your labour actually tasting better!
What is Companion Planting?
The use of companion plants is an organic approach embracing plant diversity that involves growing certain different types of plants near each other. By mixing a variety of plants together you confuse harmful insects (i.e., the ‘Three Sisters,’ corn, beans, and squash). When you plant certain vegetables together or alongside flowers or herbs, you can often camouflage the scent of a given plant so that its potential enemies can't find it. For example, if you plant onions and carrots together, the Carrot Rust Fly can no longer detect the scent of its "prey," the carrot.
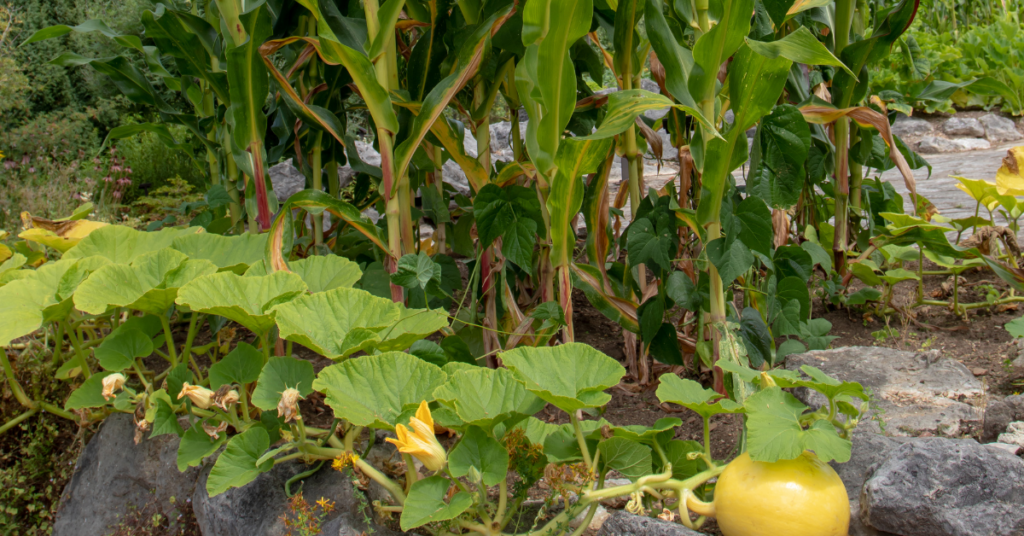
☝️ Plants also share nutrients and amend the soil below ground – in the instance of the Three Sisters, beans fix the nitrogen content of the soil for corn, who has long lost its ability to produce its own nitrogen.
What to Plant?
Herbs Make Excellent Companion Plants
Instead of grouping them all together in a corner, plant them in among your vegetables. Tarragon and marjoram give off a scent that repels most insects. Sage, rosemary, and thyme repel insects that feed on the different plants of the cabbage family. Plant these herbs near your cabbage, cauliflower, and brussels sprouts. Coriander attracts parasitic wasps that are very useful in controlling all sorts of pests.
🖱️ See more on companion planting with herbs here.
Why Not Try Flowers in the Vegetable Patch?
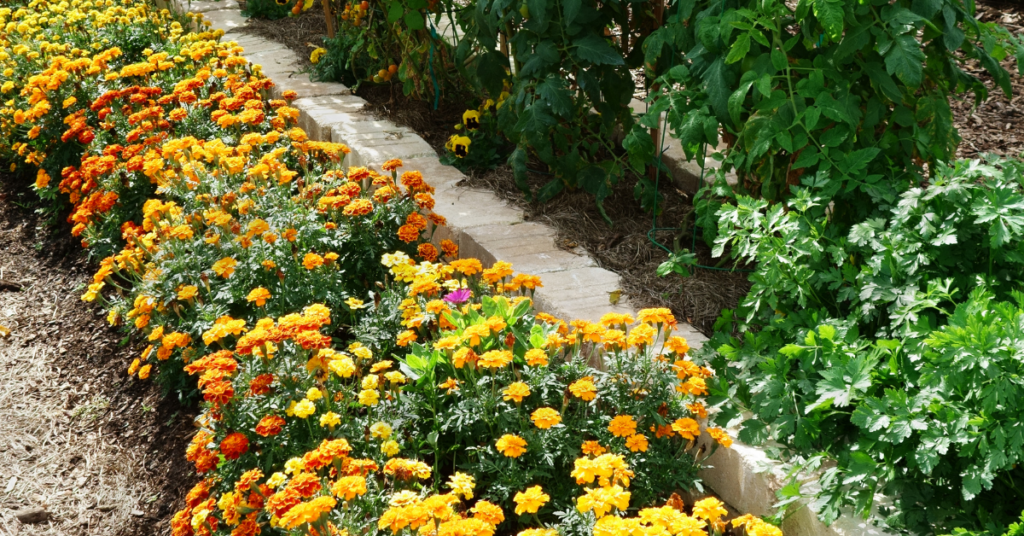
Nothing will make your vegetables happier! Plant borders of alyssum and cosmos; these attract beneficial insects and repel certain harmful ones. Marigolds protect tomatoes from threadworms, and nasturtiums and petunias attract aphids. If you plant them near your tomatoes, the aphids will choose the flowers instead of your tomatoes.
Meet My Plant Friends!
Plant friends are plants that can be grouped together because they mutually help each other grow. Basil stimulates the growth of Tomatoes and enhances the quality of the yield. Chamomile improves the growth and taste of cabbage and onions. It has been found that peas and beans enhance the growth of cucumbers and potatoes. Peas and beans also repel the Colorado Potato Beetle that commonly attacks potatoes and eggplant.
Once you’ve decided who is going where, it’s time to focus on when who is going where.
When To Plant?
It is important to know when the last spring frost date is for your area. Many plants need to be planted after the last frost, so that they don't freeze their little buds off! Follow this guide so that you can have healthy, sturdy little plants that will become good friends in your garden this summer.
| Ten Weeks Before Last Frost Sow indoors: broccoli, brussels sprouts, cabbage, cauliflower, eggplant, lettuce, peppers, and onion |
| Eight Weeks Before Last Frost Sow indoors: tomatoes Sow outdoors: spinach |
| Five Weeks Before Last Frost Sow indoors: marigolds (do not transplant until after last frost) Sow outdoors: peas Transplant: broccoli, cabbage, cauliflower, onion |
| Four Weeks Before Last Frost Sow indoors: cantaloupe, cucumbers, okra, pumpkins, squash, and watermelon |
| Three Weeks Before Last Frost Sow outdoors: carrots Transplant: brussels sprouts, hardened off frost-hardy herbs like chives and oregano |
| Week of Last Frost Sow outdoors: pole beans Transplant: cantaloupe, eggplant, lettuce, okra, peppers, pumpkins, squash, tomatoes, and watermelon |
BONUS: Tips on Ensuring Your Seeds Have the Best Start!
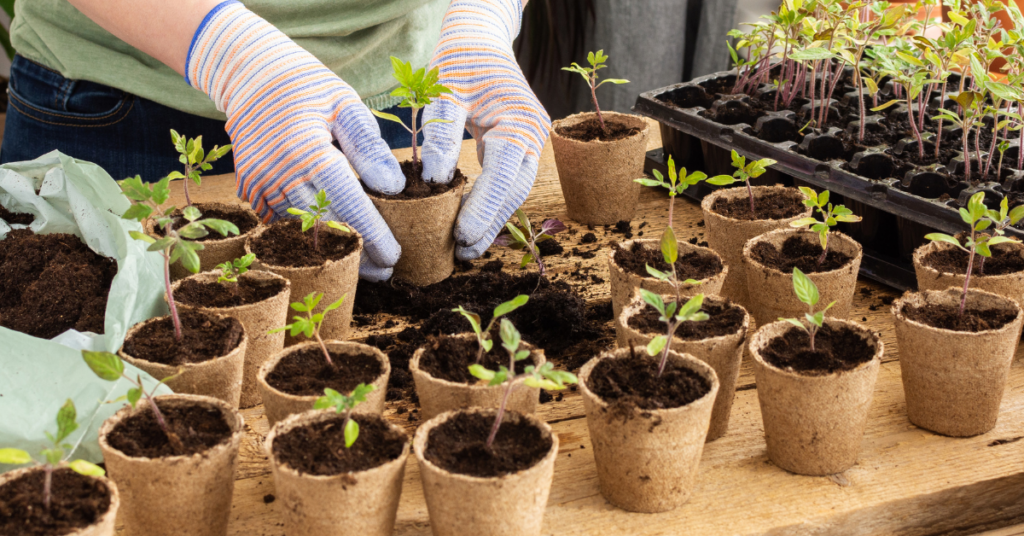
🌱 To ensure success it is always best to use fresh, sterile seed-starting mixture (available from garden centres). Moisten mixture about an hour before sowing; it shouldn't be soggy, just as damp as a wrung-out sponge.
🌱 Follow the information contained on seed packets in terms of timing, lighting requirements, sowing depth, and optimal germination and growing temperatures.
🌱 Lightly water freshly sown flats, then cover with plastic dome lid, or if reusing containers try placing them inside a plastic zip-lock bag. At the first signs of germination, uncover or remove from plastic bag.
🌱 As the seedlings develop, wait until the top of the soil looks dry, water carefully using a small watering can with a fine spray. Avoid over watering: soggy soil and poor air circulation can lead to damping off, a fungal disease that can kill seedlings.
🌱 Locate your seeding flat in a bright window but grow lights or cool fluorescent tubes are better. Keep seedlings about eight to 10 centimetres from light source to prevent plants from becoming too spindly. Plug lights into an automatic timer set for 16 hours on, eight hours off. Be careful if you’re using the windowsill method though, as extremes in temperature may occur from hot drying sunny days to frigid evenings.
🌱 When seedlings have two sets of true leaves (the first leaves are called cotyledons — or seed leaves — so wait for the true ones, start feeding once a week with a balanced (20-20-20), water-soluble fertilizer at half-strength, working up to full strength after a few weeks.
🌱 Finally, the plants which have been raised under sheltered conditions must now be hardened off (see more here) before planting out. Gradually lower the temperature and reduce the watering while exposing the plants to brighter light for seven days prior moving them out to a cold frame. Keep an eye on the weather as sudden changes, as it often happens in spring, could spell disaster to your young plants.
We hope your garden is biodiverse and fruitful this year! For more information – and companion plants – visit Eising Greenhouse and Garden Centre this spring! 🌿
By: Dave Zeldon and Ely Schweyer
Spring and early fall are generally the best times for planting trees. It has been found that newly planted trees thrive when exposed to moderate temperatures and rainfall, as they need time to root and acclimatize before the onset of intense heat and dryness of summer or the freezing temperatures of winter.
Now whilst planting different types of trees differ in detail, all trees eventually end up in a hole. But remember not just any old hole will do.
Let’s Get Digging!
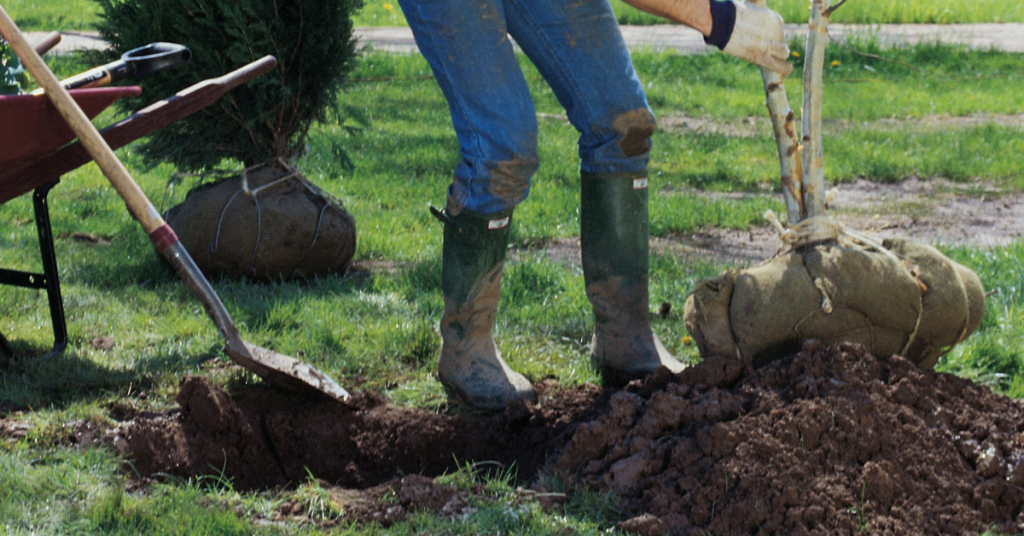
1. Some trees are buried too deeply, causing the tree roots to decline in health and condition. We have a whole other article dedicated to transplanting depth if you wish to read more, but here’s the just of it: Poor tree health results in reduced growth rate, atypical leaf size and colour, increased disease susceptibility, and reduced cold hardiness. Always make sure that the root collar flare is visible after planting; if settling occurs, reset the tree to the proper depth.
👉 Note: Many times, homeowners build a raised bed garden around an existing tree in the yard (thus burying the root collar flare) only to find within a year or two their favourite tree now is in decline. Don’t bury that root collar flare!
2. As a general rule, trees should be transplanted no deeper than the soil in which they were originally grown. The width of the hole should be at least three times the diameter of the root ball or container or the spread of the roots in the case of bareroot trees. This will provide the tree with enough worked earth for its root structure to establish itself.
3. When digging in poorly drained clay soil, it is important to avoid 'glazing'. Glazing occurs when the sides and bottom of a hole become smoothed forming a barrier, through which water has difficulty passing. To break up the glaze, use a fork to work the bottom and drag the points along the sides of the completed hole. Also, raising the centre bottom of the hole slightly higher than the surrounding area. This allows water to disperse, reducing the possibility of water pooling in the planting zone.
4. The backfill soil should be a mixture of composted manure and topsoil. The mixture should then be placed in the hole surrounding the tree just to the height of the ball or slightly lower to allow for some settling. Be careful not to compress the backfill soil as this may prevent water from reaching the roots and the roots from expanding beyond the ball.
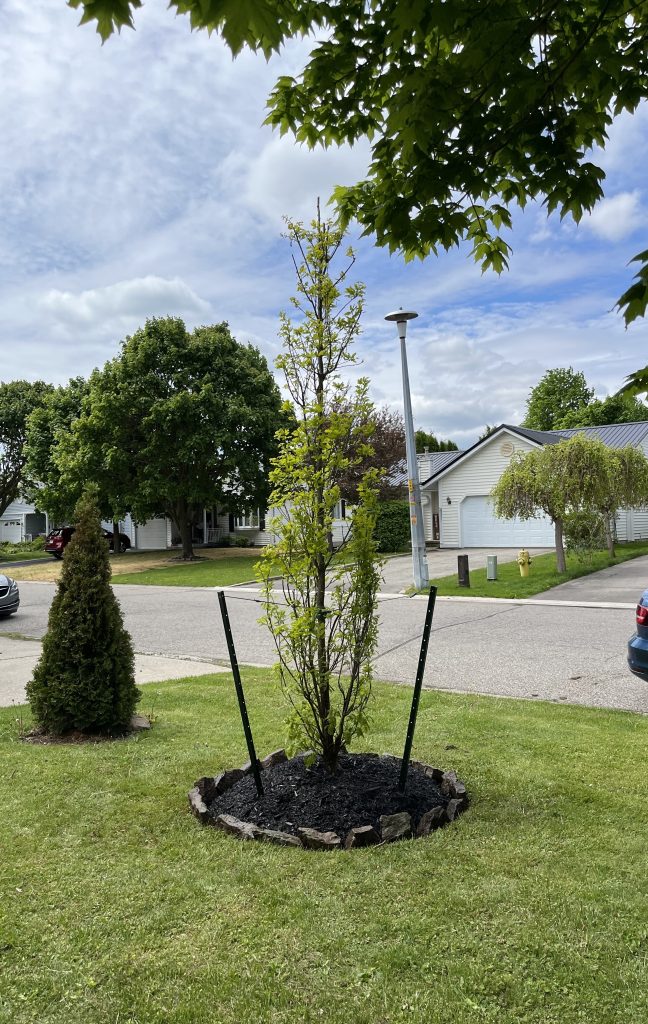

Jobs well done by the Eising landscaping team!
Standing On Its Own Roots
Young trees should be able to support their own weight when they are transplanted. If the tree is unable to do so, try thinning out the upper branches to reduce wind resistance. If that is not enough, you may have to stake a tree.
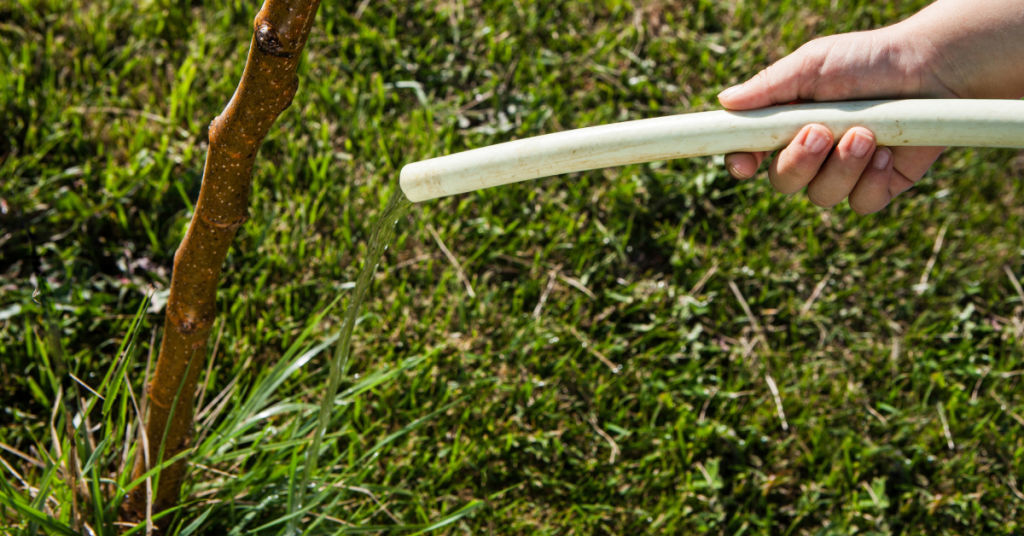
Watering Your New Tree
Newly planted trees should be watered at the time of planting. In addition, during the first growing season, they should be watered at least once a week in the absence of a good rain.
👉 Remember: Regular deep soakings are better than frequent light wettings.
We hope these tips can help you encourage the longevity of your new tree! For more information - and trees - visit our Trees & Shrubs section at Eising Greenhouse and Garden Centre. We hope to see you soon!
By: Dave Zeldon and Ely Schweyer
Let’s get in depth about planting trees too deeply!
Sometimes homeowners find that their newly planted trees start showing signs of stress and become unthrifty a little while after planting, and soon their investment is altogether lost when the plant just dies. Often when we’re asked to inspect a tree in poor health, we know what to suspect.
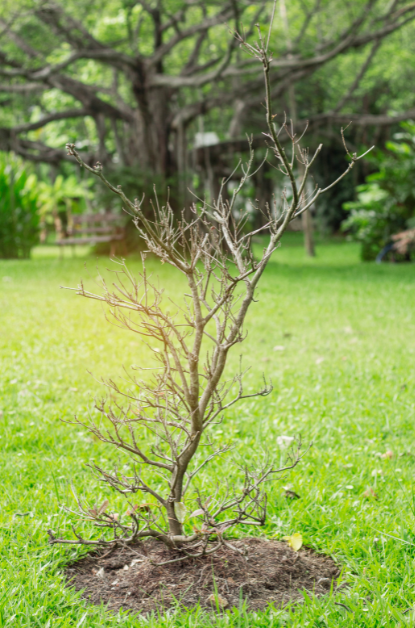
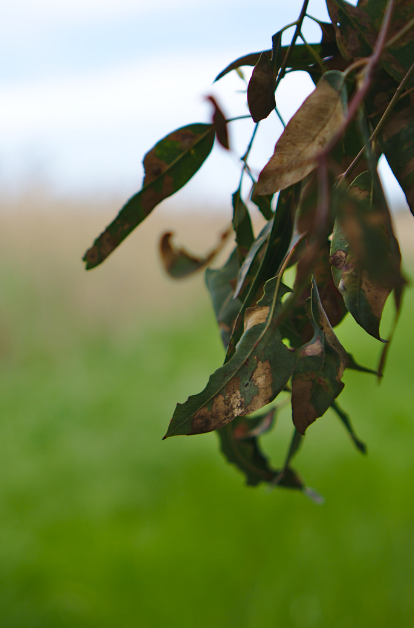
Although not readily apparent at the time of installation, the long-term effects of improperly placing the root system in the planting hole are substantial. The poor tree health that results manifests itself as reduced growth rate, atypical leaf size and colour, and increased disease susceptibility. Trees in really poor condition exhibit decay, cracks, and excessive deadwood. Sometimes trees show signs of stress within the first year of planting, but it usually takes several years for the problem to rear its ugly head.
The most common reason? Many trees are simply buried too deeply causing the tree roots to decline in health, as they cannot get the vital oxygen from the air that they require to live.

Putting Down Roots
The width of the hole your tree will call home should be at least two times the diameter of the root ball, container, or in the case of bare root trees, the spread of the roots. This will provide the tree with enough worked earth for its root structure to establish itself.
For tree roots to grow vigorously, they require water, oxygen, and warmth. An oxygen level of 25% of the soil volume is considered good for root development.
At a 5% oxygen level, growth stops, and at 2%, roots decline and die.
Since tree roots naturally grow quite shallowly in the soil profile, buried root systems are unable to obtain adequate soil oxygen and water. As a survival response, trees work to get roots closer to the soil surface where there is a more reliable source of both. The energy that a newly transplanted tree should use to overcome normal transplant stress is instead used just to survive.
The tree expends its energy either by forcing its roots to grow upward or by creating totally new roots from dormant buds on the buried trunk, wasting all its prior growth. Some plants can survive being buried too deeply and live normal lives after developing a functional root system, others begin a long, slow decline of health resulting in either premature death or sudden failure during wind or ice storms. Let’s not risk it!
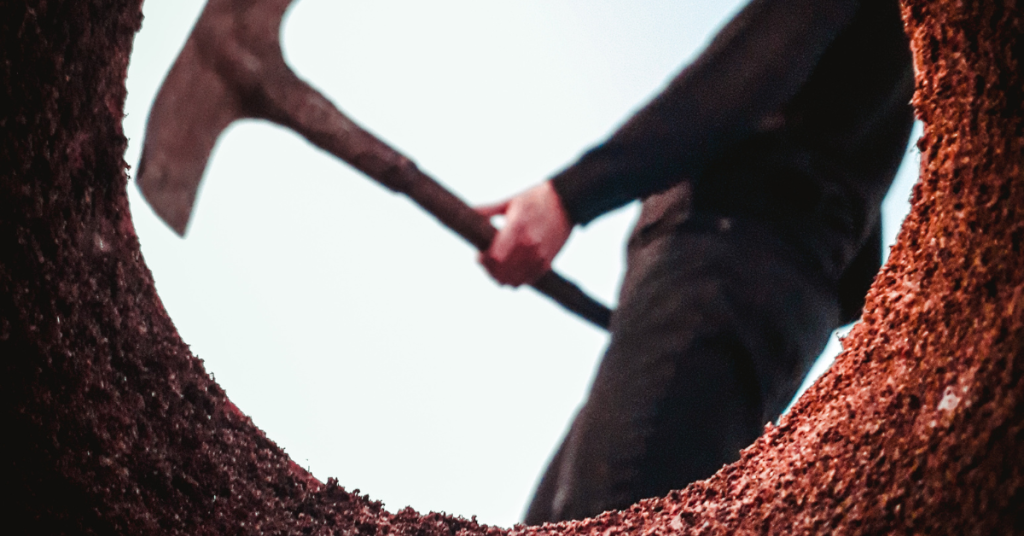
How Do I Know How Deep to Plant?
If you want your new tree to not only survive, but thrive, it needs the best start possible; it is very important that the root collar flare be visible after planting. The root collar is the part of a plant where the stem and root system meet, "flaring" where it transitions between the stem wood and the roots. Always make sure that the root collar flare is visible after planting. If settling occurs, reset the tree to the proper depth.
👉 Note: The backfilling soil should be a mixture of the original soil with composted manure or topsoil and bone meal.
But I Did Leave the Root Collar Visible… When I First Planted It
It has been observed that many times after a perfect tree planting, the homeowner then decides to build a raised-bed garden around the tree (thus burying the root collar flare – we’ve found root collar flares buried to 24 inches in mulch!) only to find that within a year or two, their young tree is dead or dying.

A common practice, often referred to as ‘volcano mulching,’ also contributes to this problem. In addition to subjecting trees to the problems associated with planting too deeply, heat from the composting mulch can literally cook a tree's trunk.
So, What is ‘Planting Proud’ Then?
The transplanting rules are amended if planting in the heavier clay soils where the practice of planting your new trees "proud" is advised. Planting proud essentially means that the root ball is left higher out of the ground level, producing a hilled effect. The soil that is normally used for back-filling is used to help to create a mound. Planting your trees this way in poorly draining clay soils prevents the ground water from collecting in an otherwise deep hole and drowning the roots of your new planting.
But, as a general rule, trees should be transplanted no deeper than the soil in which they were originally grown, and the soil level shouldn’t rise after planting. Two to three inches of wood chips is the optimum depth to mulch - and keep it an inch or two away from the trunk. If it is really desired to have the tree as a focal point in this newly built garden, then possibly a 3 foot well could be made around the tree to keep the root collar flare open to the air.
So, remember to give your tree a strong start and long life by not planting too deeply, but by leaving that root collar flare exposed! We hope these tips can help you encourage the longevity of your new tree. For more information - and trees - visit our Trees & Shrubs section at Eising Greenhouse and Garden Centre. We hope to see you soon!
By: Dave Zeldon and Ely Schweyer
If you can’t wait for Mother Nature’s next great colour show, the time is now (mid September) to get rolling on those early spring flowering bulbs! Even though you can start planting in October or early November, buying bulbs now is advantageous as the selection at your local garden centre is at their best. Being the very first to bloom during the last dreary days of winter, bulbs announce that spring is returning once more, and as you think about the colourful show of tulips and daffodils next year, remember all spring’s groundwork begins now!
Your bulbs may be planted in your lawn, rock beds, at the foot of trees and bushes, in annual or perennial flower beds, or even in flower stands and pots. Combining the emerging fresh colors and textures of bulbs with the established foliage creates a harmonious relationship opportune for a complimenting or contrasting garden-scape. With a bit of planning and creative selection you can easily extend the joy of having spring flowering bulbs in your garden from a few weeks to several months, furthermore, planting bulbs amongst perennials offers that the new growth of the perennials will hide the fading foliage of the bulbs once they have finished flowering! Not long after the fading of the bulbs most perennials themselves will bloom, smoothly extending the sequence of flowering plants for you to enjoy.
Read on for all there is to know about planting bulbs!
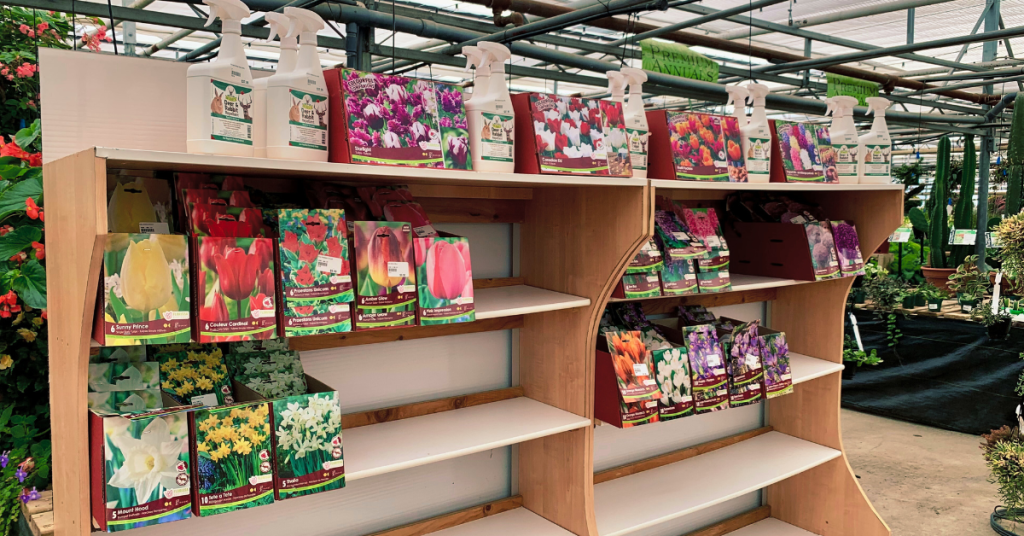
Buying Your Bulbs:
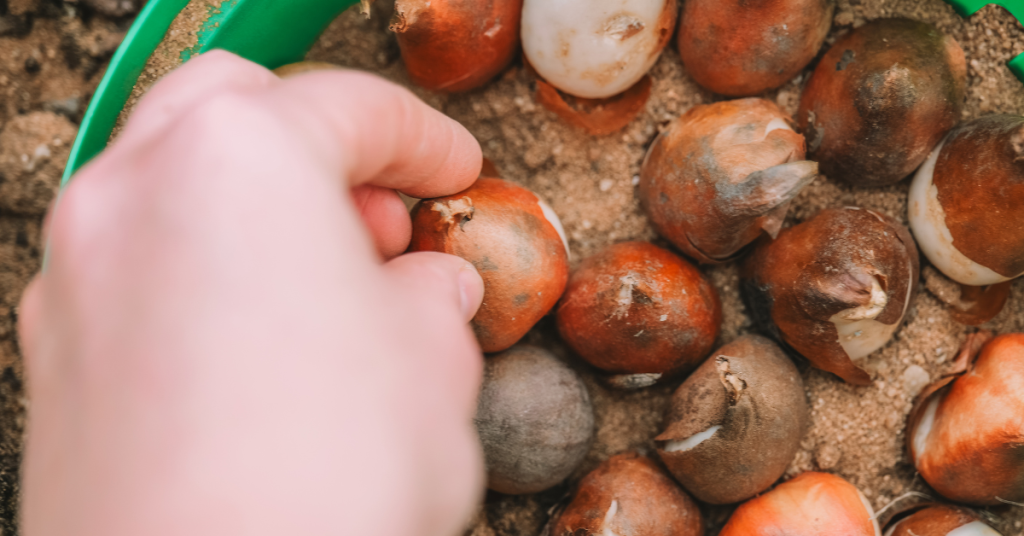
When buying, look for nice, plump, firm, bulbs. Avoid those with scars or that feel spongy to the touch. The general rule is the larger the bulb the bigger the plant. If you're buying daffodils, look for bulbs that have two or more "noses" as you will get extra flowers for free!
To have a good display of colour in your garden, right from March to the end of June. Be sure to check the blooming times on the packages and get a variety of early, mid and late-blooming spring bulbs.
👉 Tip: To extend the season, plant some bulbs in places where the sun beats down in early spring and some in cooler, shady areas of the garden allowing them to emerge in later spring.
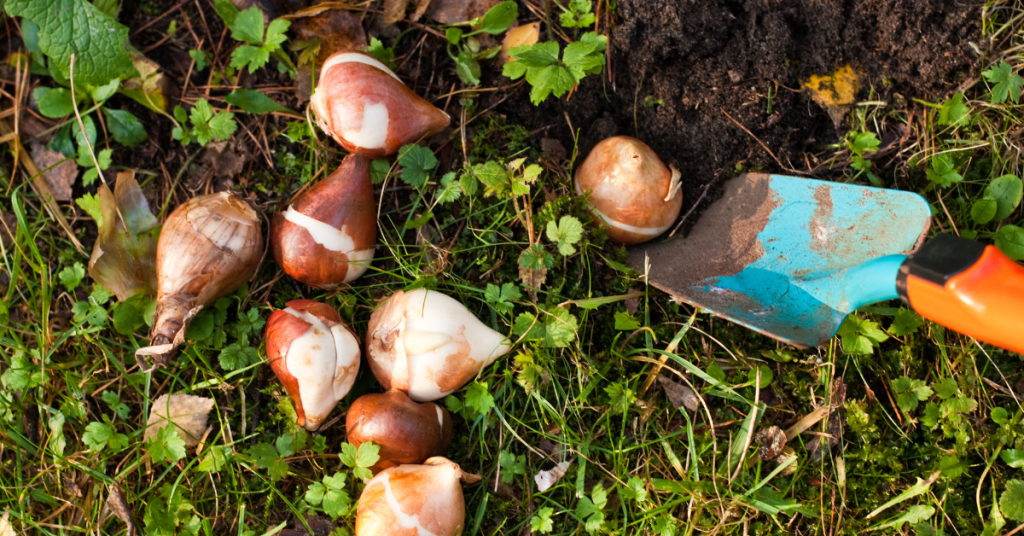
Planting Your Bulbs:
When planting, the soil must be warm enough under the surface to stimulate a little root growth prior to the winter freeze. Winter chilling is necessary to break the flower bud dormancy (vernalization) to have our bulbs produce blooms in the spring (see below how to force bulbs if you’re reading this in the spring).
Remember to plant your bulbs with the pointed end up! If it doesn't seem to have a pointed end, look for the flatter side and evidence of roots, which is the end that goes down. If you still can't be sure, plant the bulb on its side and it will figure out the proper direction by itself!
The rule of thumb is to plant the bulb two or three times as deep as the bulb is tall. The depth is to the base of the bulb, not the top. Typically, 8 inches (20 cm) for big bulbs such as daffodils, tulips and hyacinths and 5 inches (13 cm) for small bulbs like grape hyacinths and crocus. Plant in well-drained soil, cover up, water well and wait for spring.
In a wide hole, place bulbs - so they aren't touching - in threes, fives, or sevens per hole for the most natural look. You can throw a handful of bonemeal in the planting hole and mix it lightly with the soil, this will give your bulbs a good boost for the best bloom. Water to the depth of the hole.
Tulips, daffodils and other spring-flowering bulbs require a long period of cool temperatures to undergo the biochemical process that allows them to flower. So, in the fall, get them in the ground ideally six weeks before hard freezes to give them the time they need to develop strong roots.
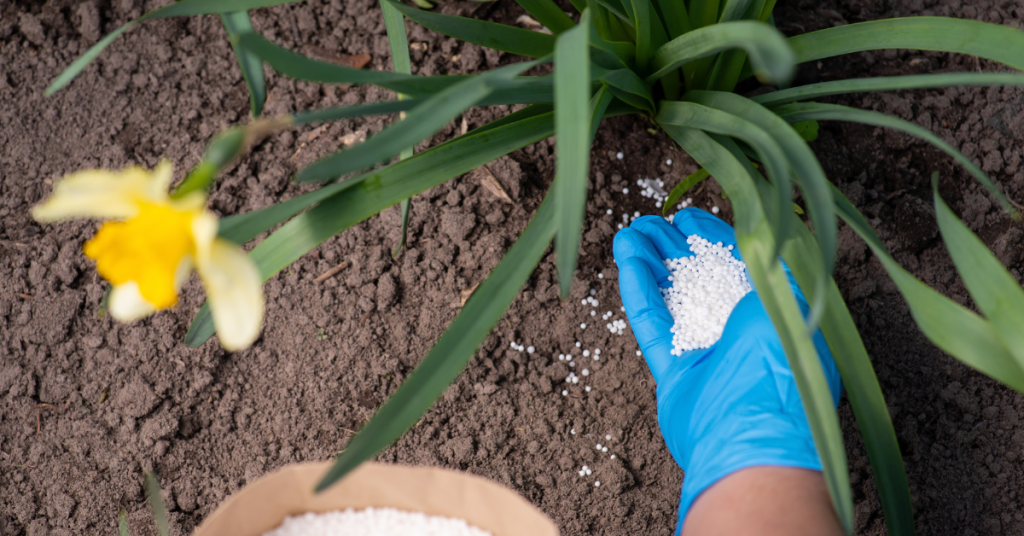
Fertilizing Bulbs:
Bulbs contain the nutrients they need to bloom their first year, but a fertilizing program will keep plants healthy and ward off diseases and pests. Compost and manure are two good organic fertilizers that not only enrich the soil but ensure a good soil structure for bulbs. Additionally, organic supplements can be used to add nutritional balance. Compound mineral fertilizers can also be applied, however, check the label to see if fertilizing is appropriate for your bulbs and the best time of year to do so. Top-dressing with fertilizers like 9-9-6 slow release or either 8-8-8 or 10-10-10 soluble fertilizers are examples.
Once a bed of spring flowering bulbs are established, the process of naturalizing occurs which simply means that a bulb flowers again after the first year and starts producing more bulbs on their own. However, they will need your help to get the food they require to recharge and regenerate for the next season's bloom.
Some Helpful Tips:
- Squirrels enjoy the taste of tulip bulbs if they are easily accessible but not so with daffodil bulbs; interplanting the two together and/or mulching the garden will help protect them.
- Resist the urge to tidy up fading foliage or mow over it as the plants require about six weeks to build up reserves for the next season.
- Deadhead the tulips as the formation of seeds will sap the energy from the bulb. Daffodils & other bulbs do not require this action.
Forcing Bulbs:
Now if you can't wait for spring to smell the fragrant hyacinths, or you missed the fall planting, why not try your hand at bulb forcing?
All you have to do is plant any extra bulbs in a pot with a drainage hole. Choose a pot that is at least twice as deep as the bulbs to allow for proper root growth. Fill the pot half full of soilless potting mix. Then place as many bulbs as possible in the pot, without letting them touch. For a thick show, layer more than one kind of bulb in the same pot; place larger bulbs on the bottom as they will grow around the smaller ones. A six inch-wide pot holds up to six tulips, three narcissus (daffodils), or 15 minor bulbs, such as crocuses or grape hyacinths.
Cover the bulbs with potting mix, leaving their tips showing. Water the bulbs thoroughly. Label with name and date; loosely cover pot with a paper bag. Place in cool (1-7 degrees Celsius or 35-45 degrees Fahrenheit), dark place for chilling such as an unheated attic, basement, or attached garage or in a 12 inch-deep trench covered in a tarp.
Check moisture in pot periodically keeping the soil damp but not wet. When chilling is complete, you'll see roots poking out of the bottom of the pot and green sprouts emerging at the bulb tips. It's time to move the potted bulbs into a warm room.
Chilling and Blooming Times:
- Daffodils: 12-15 weeks of chilling; 2-3 weeks to bloom after chilling.
- Tulips: 10-16 weeks of chilling; 2-3 weeks to bloom after chilling.
- Crocus: 8-15 weeks of chilling; 2-3 weeks to bloom after chilling.
- Grape hyacinth (Muscari): 8-15 weeks of chilling; 2-3 weeks to bloom after chilling.
- Iris reticulata: 13-15 weeks of chilling; 2-3 weeks to bloom after chilling.
- Snowdrop (Galanthus): 15 weeks of chilling; 2 weeks to bloom after chilling.
- Hyacinth: 12-15 weeks of chilling; 2-3 weeks to bloom after chilling.
We wish you all the best with your bulb planting this autumn! For more information - and bulbs - stop by Eising Greenhouse and Garden Centre this fall!
By: Dave Zeldon and Ely Schweyer
Most experts agree that we shouldn't bother bringing in our favourite summer potted plants for the winter and that we should buy new again the next season. But this seems to go against our sensibilities after paying good money earlier in the season. Why not try to save that bay tree, those Rosemary, and French Tarragon containers, as well as expensive Phormium, Mandeville, Passionflower, and Jasmine plants?
The secret to indoor survival for summer plants is to slow down their growth during the winter, so they’re ready to be put outside again once all the danger of frost has passed. How? A few weeks before fall frosts are expected, gradually introduce plants to life indoors by moving them inside (to a quarantined spot*) for half a day, working up to a full day over a week or so. Don't wait until nighttime temperatures are only slightly above freezing as the plants may go into shock and drop leaves!
How to Keep These Guys Comfy During the Winter Months?
- It is suggested that you should prune back excessive growth and re-pot with new lighter growing media.
- Place them in the sunniest location you have and then water sparingly but regularly over the Winter.
- Raising humidity by using a humidifier helps too.
- Resist the urge to fertilize these plants until just before you reintroduce them to outdoor living.
- Perhaps just for fun, you could repot them into the appropriate seasonal pots and planters!
It Seems They Brought Others in With Them - And They're Not Nice House Guests
*Before long, you may notice some unwanted guests, such as thrips and spider mites, on and around your precious plants as their natural predators are no longer present to keep their populations at bay. In many cases, it may be too late, and your plants may have to be discarded before the Holidays, but that’s not always the case!
Common problems that make themselves apparent indoors would be the brown soft scale insect, whiteflies, mealybugs, aphids, spider mites and most often, fungus gnats (those pesky little black flies).
Fungus gnats are considered to be the most common nuisance in houseplants. Sometimes their sheer numbers just hovering around an attractive plant take away from its appeal.
Basic Fungus Gnat Control Measures:
The fastest and easiest method of control is to catch the flying adults with yellow sticky cards. The large cards can be cut into little strips and mounted onto little wooden splints (popsicle sticks) then placed around the base of the plant out of the line of sight.
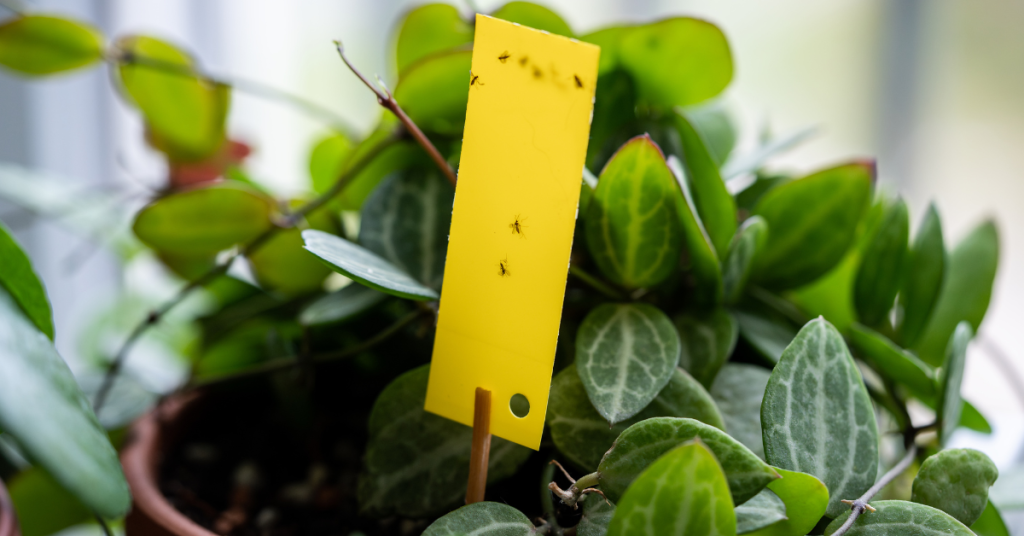
The chances are that the adults have already deposited eggs in the growing media (soil) of the plant as it is rich in organic matter, so we can disrupt its life cycle by:
- Subirrigation - water your potted plant from the bottom by adding water to the saucer it is sitting in. This will dry out the soil surface making it uninhabitable for the hatching larvae.
- Trapping larvae - If the surface soil it already very wet, try placing a few potato discs or slices on the surface of the soil. This will attract the larvae as they migrate to the potato to feed. Simply replace the discs every five days or so with fresh slices to eliminate the next generation of adults.
- Inoculating the soil with beneficial nematodes. Most garden centres will carry the Guardian line of beneficial nematode products.
We hope this helps your plants enjoy your winter abode as much as you do this season, for more information - and plants – visit Eising Greenhouse and Garden Centre!
Pruning is an essential part of gardening. Essential, but a little intimidating at first because it’s a broad subject. That said, there are some basic rules that apply to most trees and shrubs that will get you started.
There are a number of reasons to prune; the most obvious is for safety, to keep a branch from doing damage or harm by falling or rubbing against something like a building or another tree. Other important reasons include:
- Removing dead, diseased or damaged wood
- Shaping to make a plant bushier, reduce the size and bulk, or slow down growth
- Thinning to increase light penetration and airflow and reduce the possibility of disease
- Rejuvenation to encourage growth, blooming and fruit
Correctly pruning trees and shrubs can help with everything listed above and, most importantly, help maintain the health of your plants. Proper techniques and timing ensure the best results.
The Right Tools
You may need fewer tools to prune than you think!
Secateurs or hand pruners work well on smaller branches.
Loppers or lopping shears have longer handles for more leverage and are ideal for medium-sized branches.
A pruning saw works best for larger branches.
Electric or manual hedge shears are best for cutting a tidy wall of foliage like hedges and shaped evergreens.
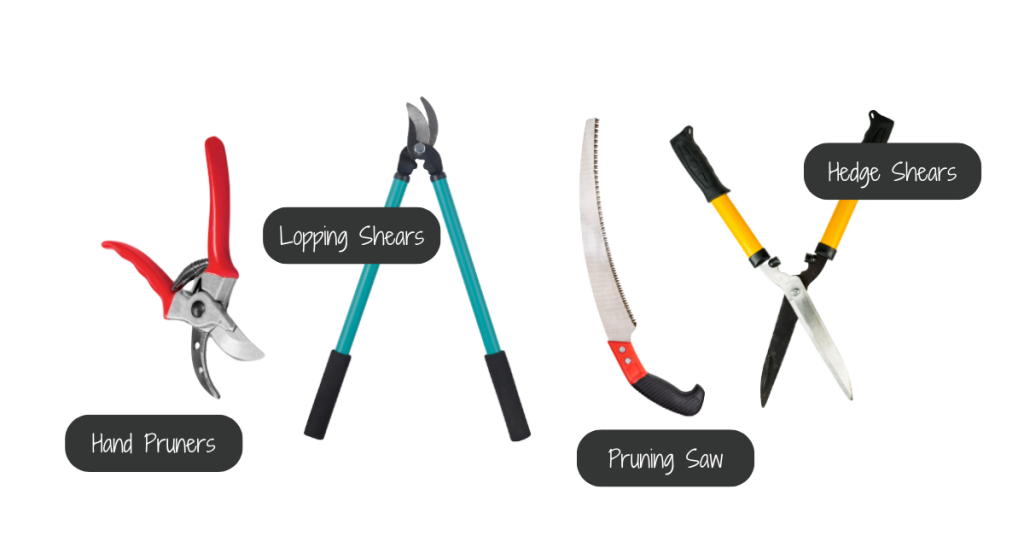
The key with garden tools is to make sure they’re sharp and sterile. This can prevent the spread of disease. Clean tool blades with rubbing alcohol after trimming each branch.
When to Prune
Pruning timing requires some research as it depends on the species of the plant and the result you’re aiming to achieve. For example, some trees may be best pruned in the winter while they’re dormant and buds have not yet appeared. To shape a tree, it’s easier to prune before the leaves have formed so that all of the branches can clearly be seen. Pruning early in the gardening season will invigorate the tree. Conversely, pruning after the tree has formed leaves in June will tend to slow down growth.
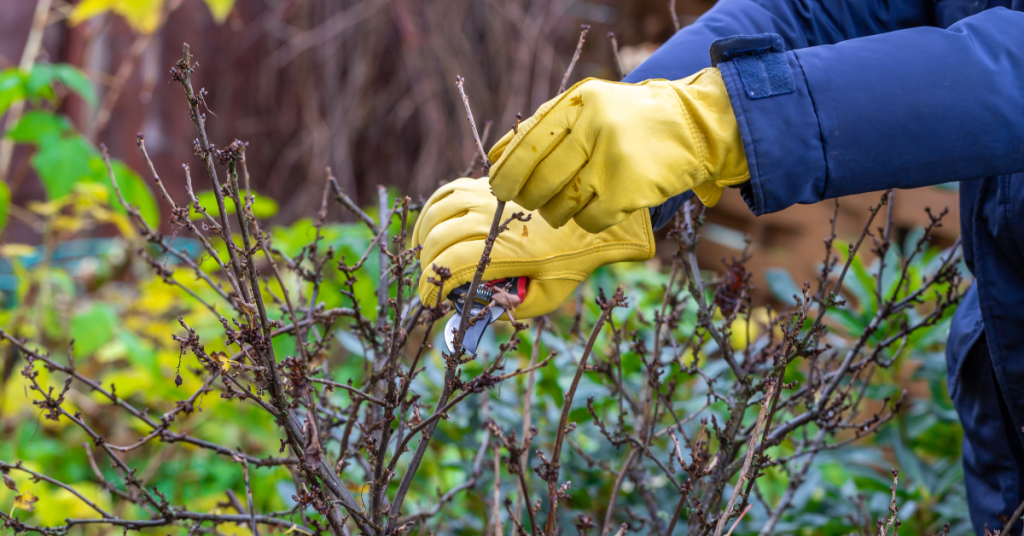
When pruning flowering trees and bushes, there are other timing considerations. Some ornamentals bloom on branches that grew the previous year. Pruning those branches too early will result in fewer or no blooms. For these plants, it’s best to wait until after they have bloomed.
If you’re unsure about pruning timing for your tree or shrub, this is a fairly comprehensive list to use as a guide. We have also linked other resources below this article.
In general, late fall or early winter is not the time to prune any plant as it encourages new growth, which may be damaged by colder weather.
Pruning Techniques
While some trees may require specific care (pines, for example), here are the basic techniques for pruning trees and shrubs. It’s a good idea to know these basics before you head out to begin cutting branches.
Examine the branch, buds and shoots before cutting. Cutting above a bud facing away from the trunk of the tree will have the branch continue to grow in that direction.

Cut on a 45° angle just above a bud whenever possible. Keep your cut above the lowest bud (the bud closest to the trunk), or the branch will die back.
Before removing a large branch, cut ⅔ off the end of the length to reduce the weight. Once the bulk of the branch has been removed, then cut the rest of the branch away from the trunk by cutting close to, but not into, the “collar” of the branch where it meets the trunk of the tree.

Now You’re Ready to Begin Cutting!
Now that you know the techniques for pruning, where do you begin? Here’s a logical set of steps to follow:
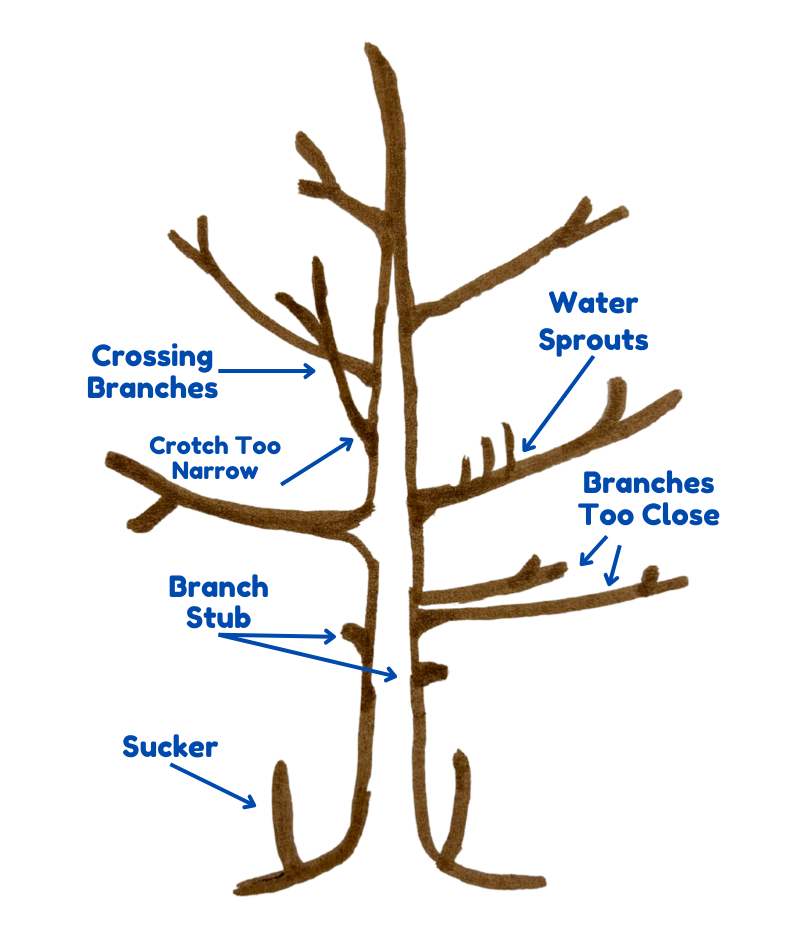
1 - Remove any dead or diseased wood
2 - Remove any branches that are crossing and rubbing together. For a shrub that’s too crowded, remove the thickest branches down to the ground first
3 - Remove water sprouts
4 - Stand back and observe the shape of the tree. If anything is not pleasing about the look (lopsided growth or branches growing too close together or at a sharp angle to the trunk, for example), begin removing or trimming back one unsightly branch at a time. Observing the shape between each cut
5 - Remove any suckers or stubs
Follow The ⅓ Rule!
Once you start, pruning can be fun, but be careful not to get too carried away. Trim up to ⅓ off of an established plant (not a newly transplanted tree or shrub) in one growing season - maximum. Cutting off too much can stress the plant and impact its overall health.
Lastly, know that you can always hire a certified arborist if the task is too much or the tree is simply too large!
Other Resources:
- City of Moose Jaw: Pruning Trees
- Landscape Ontario: Pruning Shrubs and Evergreens
- Ontario Government: Pruning Fruit Trees
- University of Georgia: Pruning Ornamental Plants