
Growing Vegetables in Pots!
A few years ago, I was walking through town with a friend as we discussed planting vegetables in our tiny front gardens. It seemed like an unusual idea until we spotted not one but two front gardens with pumpkin vines rambling amongst the shrubbery. What a novel way to cover the ground without mulch and have the bonus of showy, bright blossoms and bold foliage! Of course, this is eventually followed by the standout feature of brightly coloured pumpkins. It’s built-in fall decorating!
Right now, everyone is looking for ways to reduce grocery bills, and growing a few vegetables amongst the flowers and shrubs can make a big difference. If your garden is on a patio or balcony, there are lots of ways to add edible plants to maximize your space and beautify it at the same time. Who says vegetables can’t be ornamental and beautiful?!

Gaps and Small Spaces
If you have a new shrub and flower garden that has gaps or there’s a space in your garden where you’re not sure what to plant, consider tucking in a potted vegetable. In a cool, shady space, try some luscious lettuce bowls. Shade allows lettuce to grow more slowly in the heat of the summer. Keeping lettuce in a cool, shady spot will prevent it from bolting and becoming bitter.
If you have a small garden, a patio or a balcony, pots with compact varieties and hanging baskets are a terrific alternative for growing vegetables, herbs, and some fruits. These are some of the options we offer at Eising Garden Centre (based on availability) that can be purchased fully planted, or you can grow your own from seed if you have time, space and lights.
Trellised Planters and Patio Pots
For patios, balconies, or even a gap in the garden, there are lots of vegetables that can be grown in a trellised planter.
Tomatoes, peppers, cucumbers and eggplant all love warm soil and growing in pots provides the heat to help them thrive. Eising trellis pots are planted with specific varieties that are smaller but pack a flavourful punch.
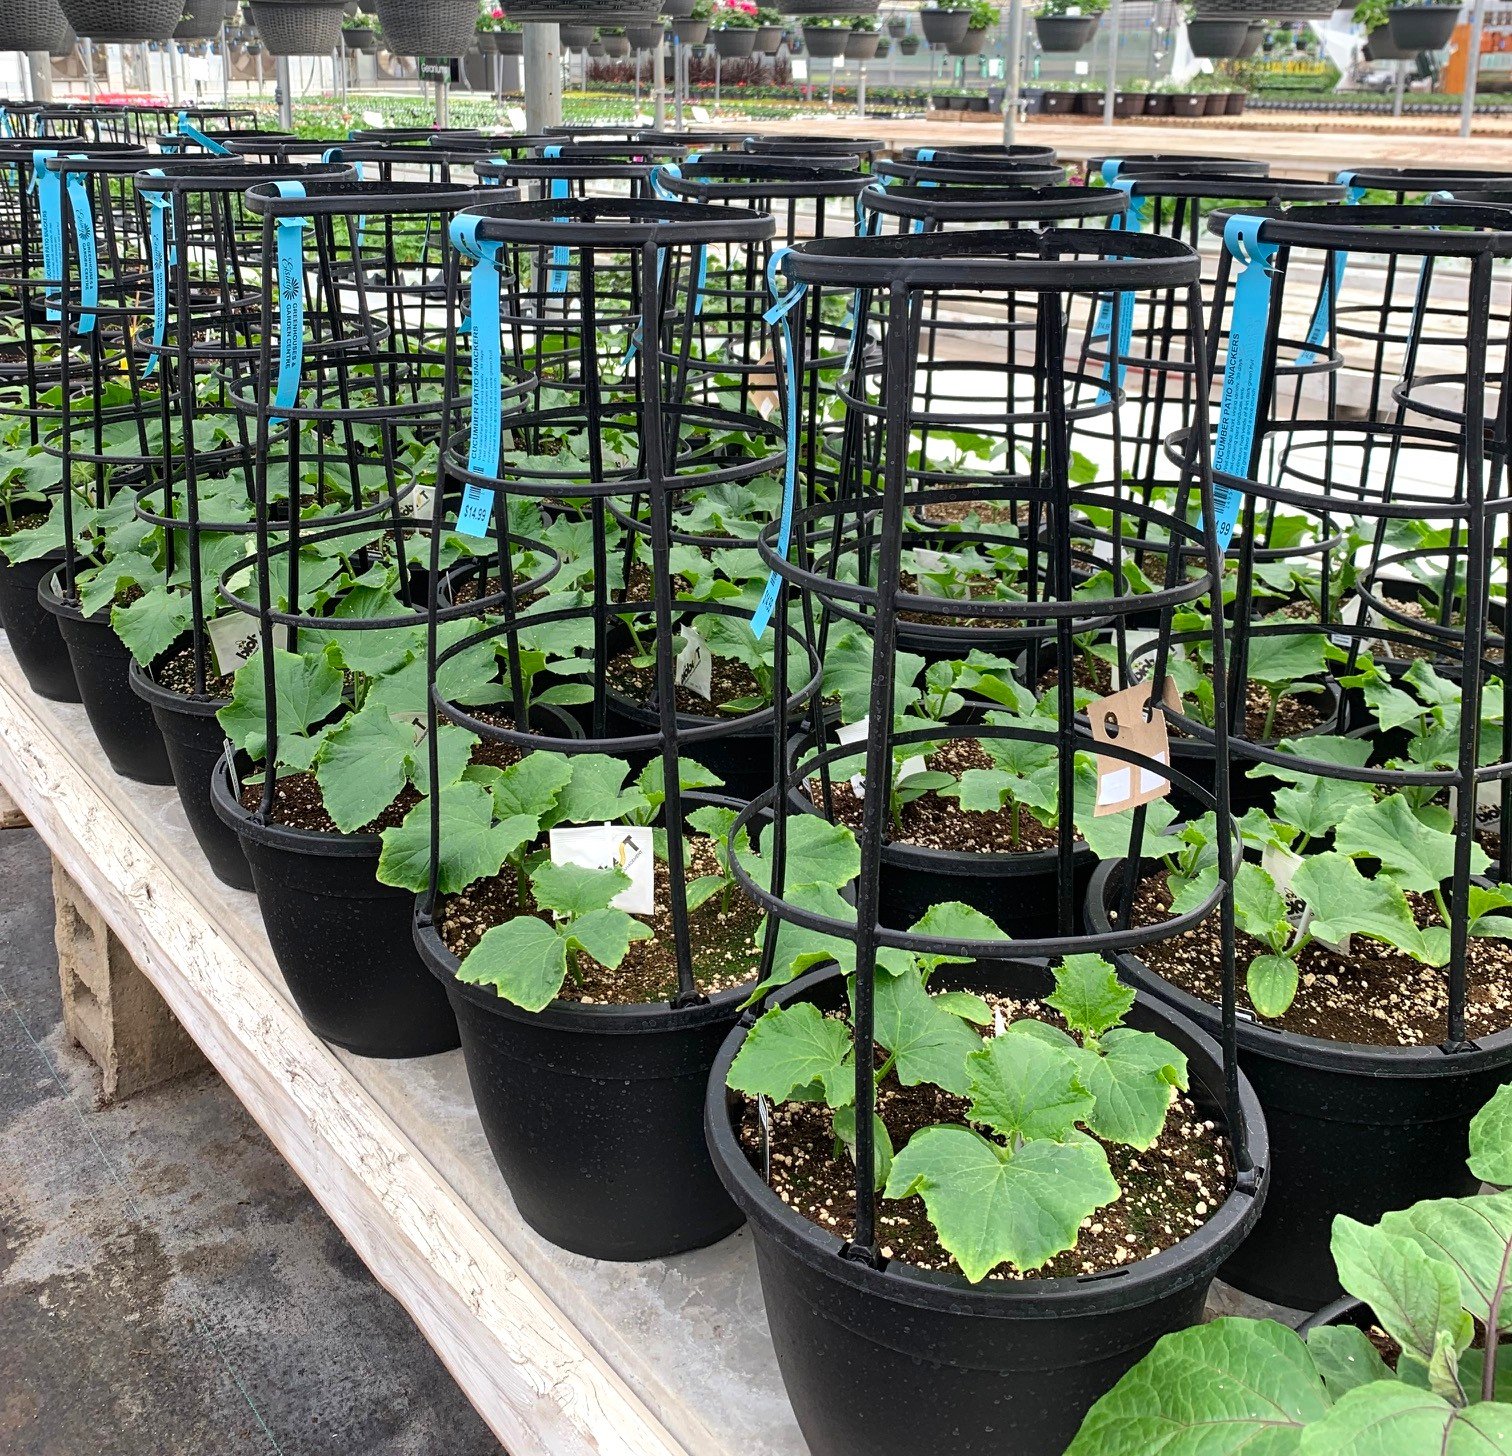
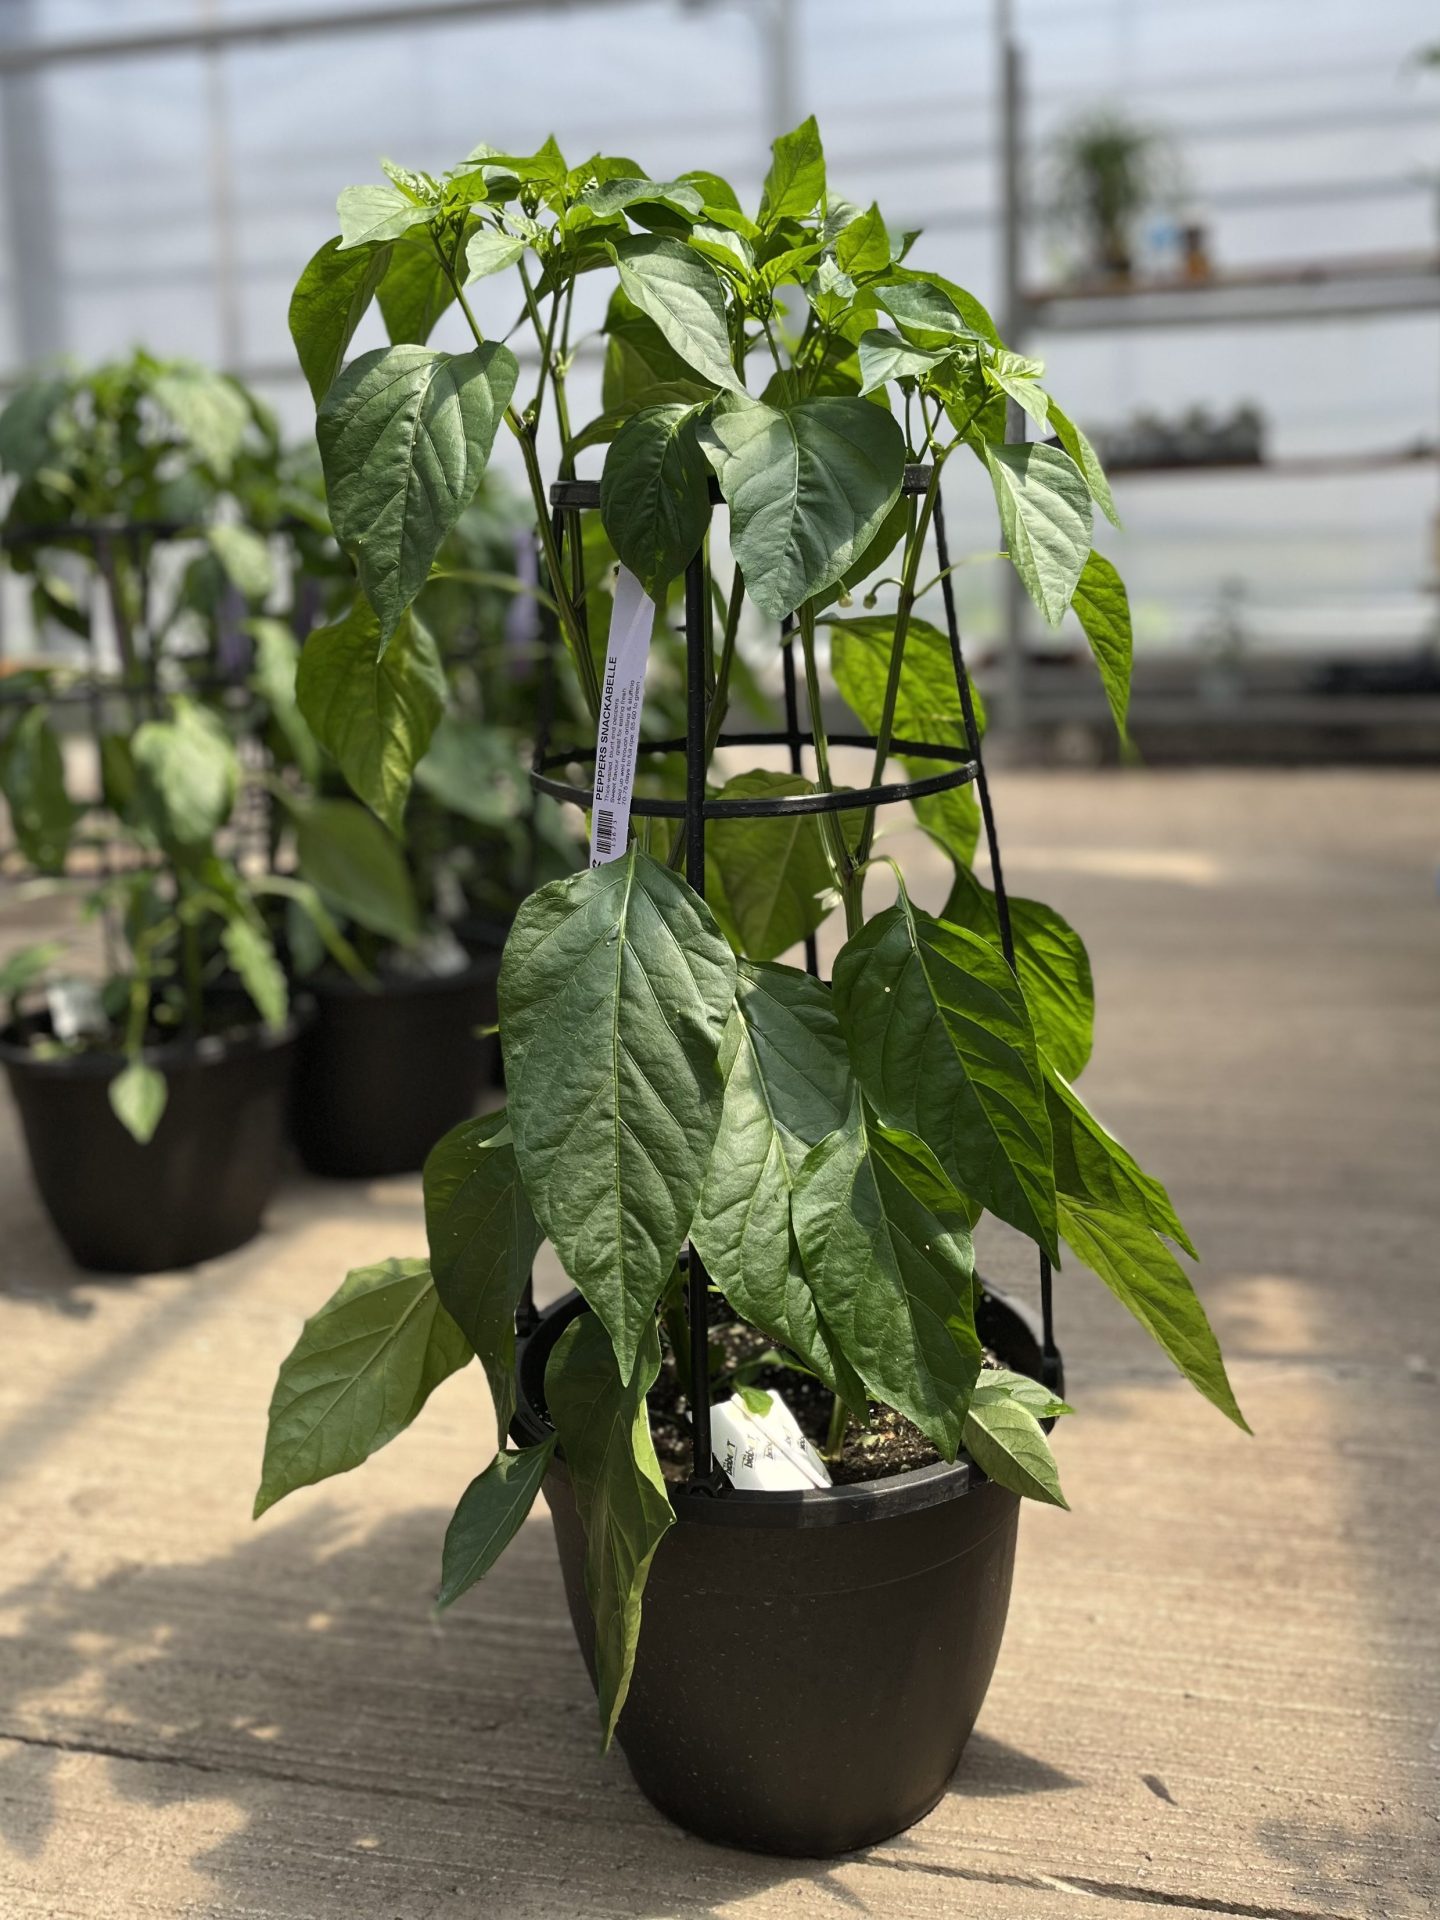
Sweet Snackabelle, Candycane Chocolate Cherry or Red, Mocha Swirl and Fresh Bites peppers.
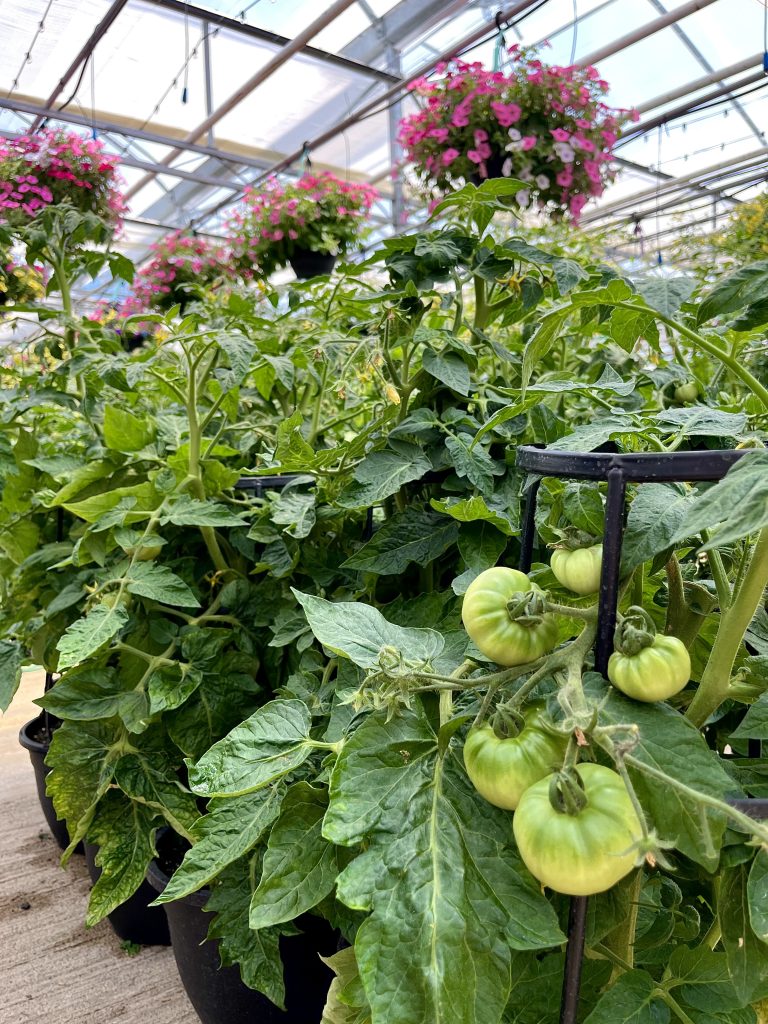
Little Sicily, Patio Hybrid, Candyland Red, Rapunzel and Tidy Treats tomatoes.
Eising Greenhouse also carries eggplants in trellised pots - a patio pot with Patio Baby eggplants is a perfect choice if ratatouille is on the menu!
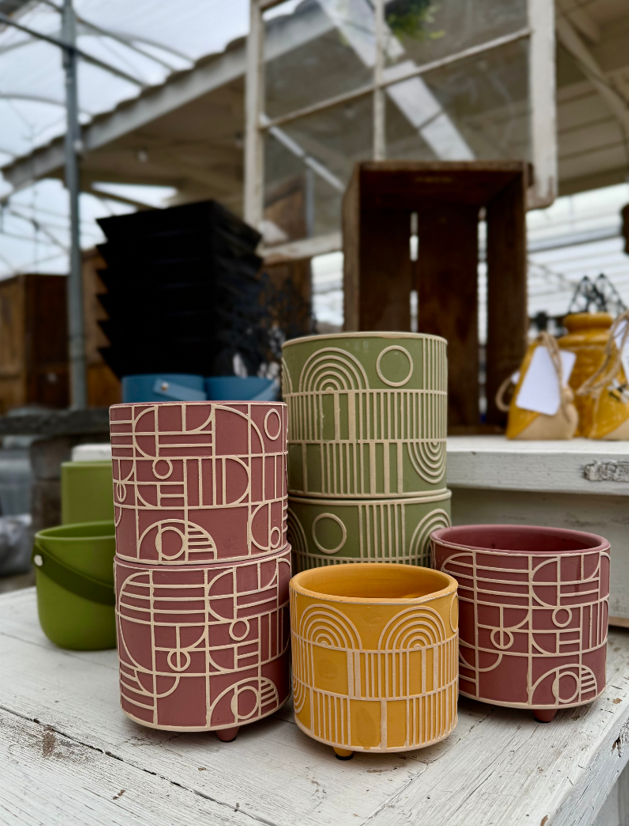
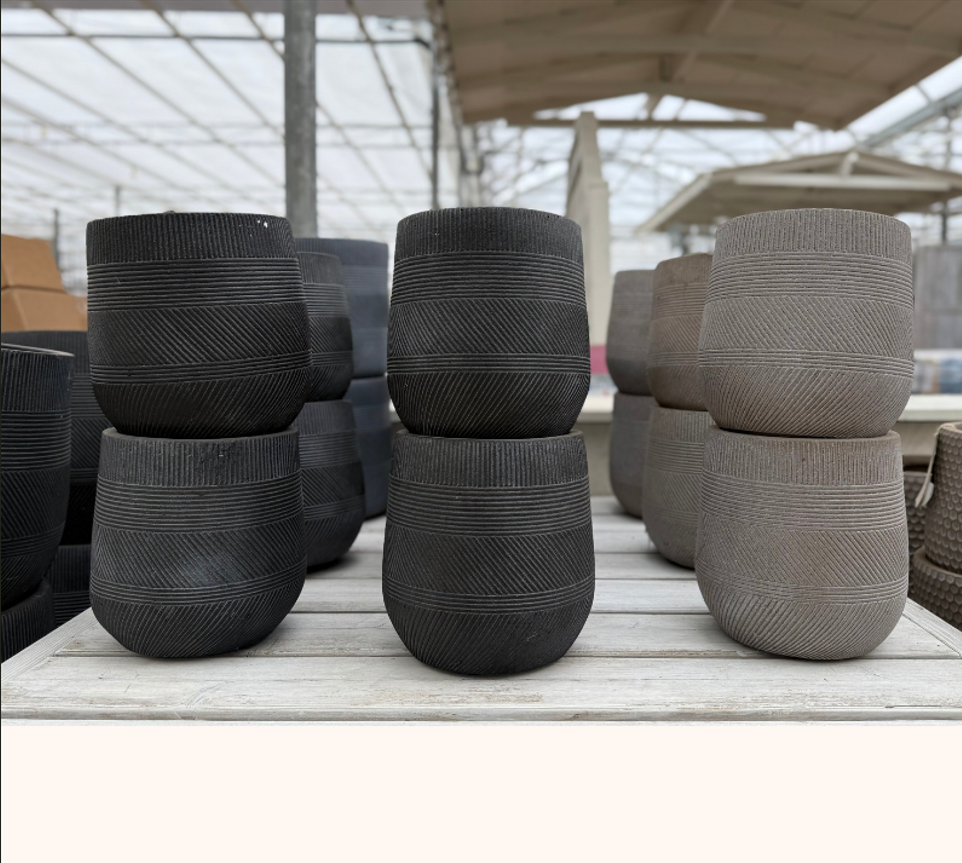
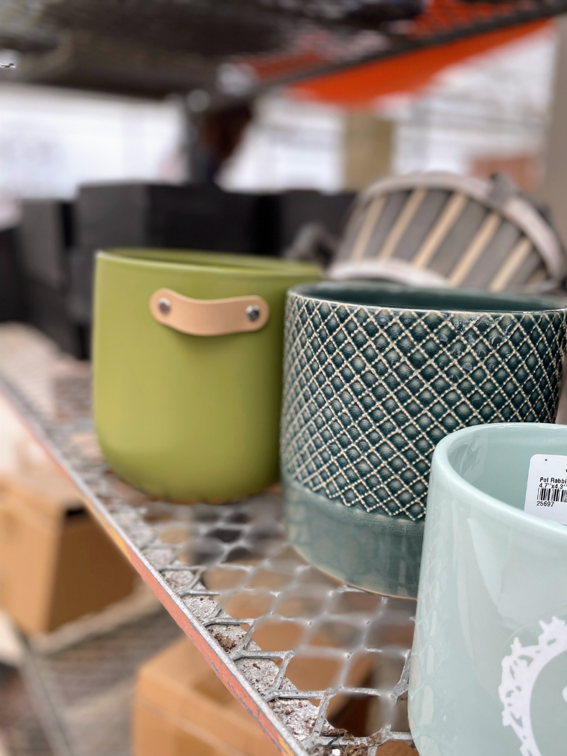
All of Eising's trellised planters would look lovely plopped into one of our decorative outdoor cover pots!
Herb Planters
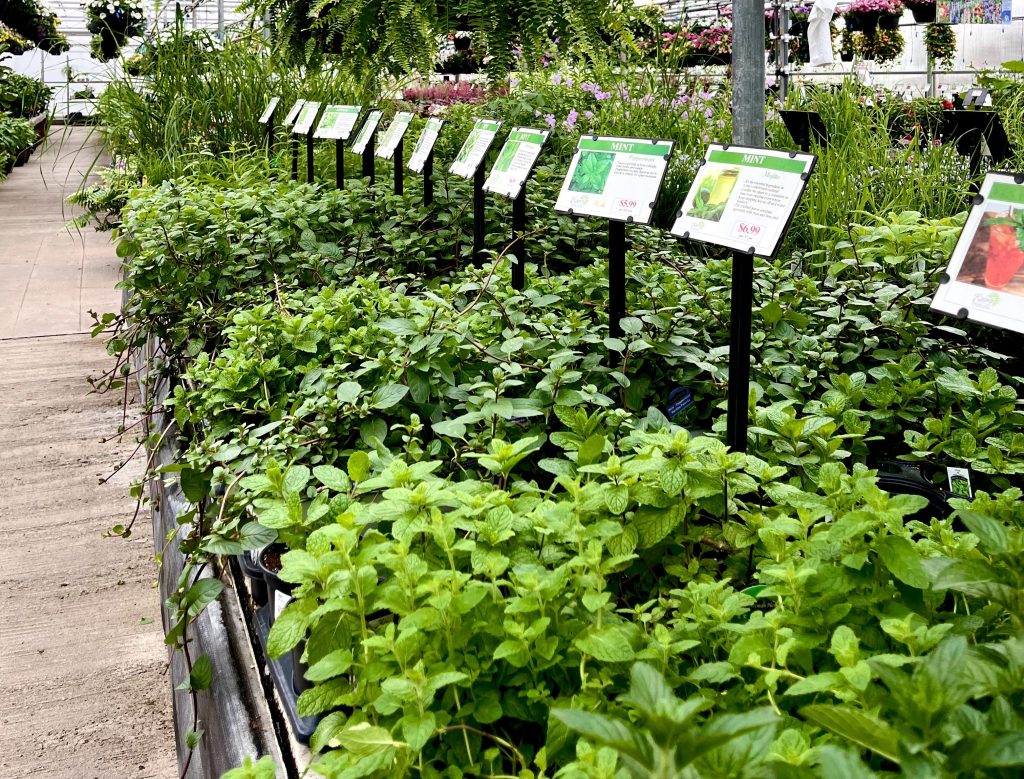
Many herbs thrive in a sunny and warm spot with well-drained soil, making a pot the perfect container for them. Herbs also make great companion plants with other vegetables and can be tucked into other pots. Most herbs also love to be harvested frequently, especially when they’re given these ideal conditions.
Lettuce Bowls
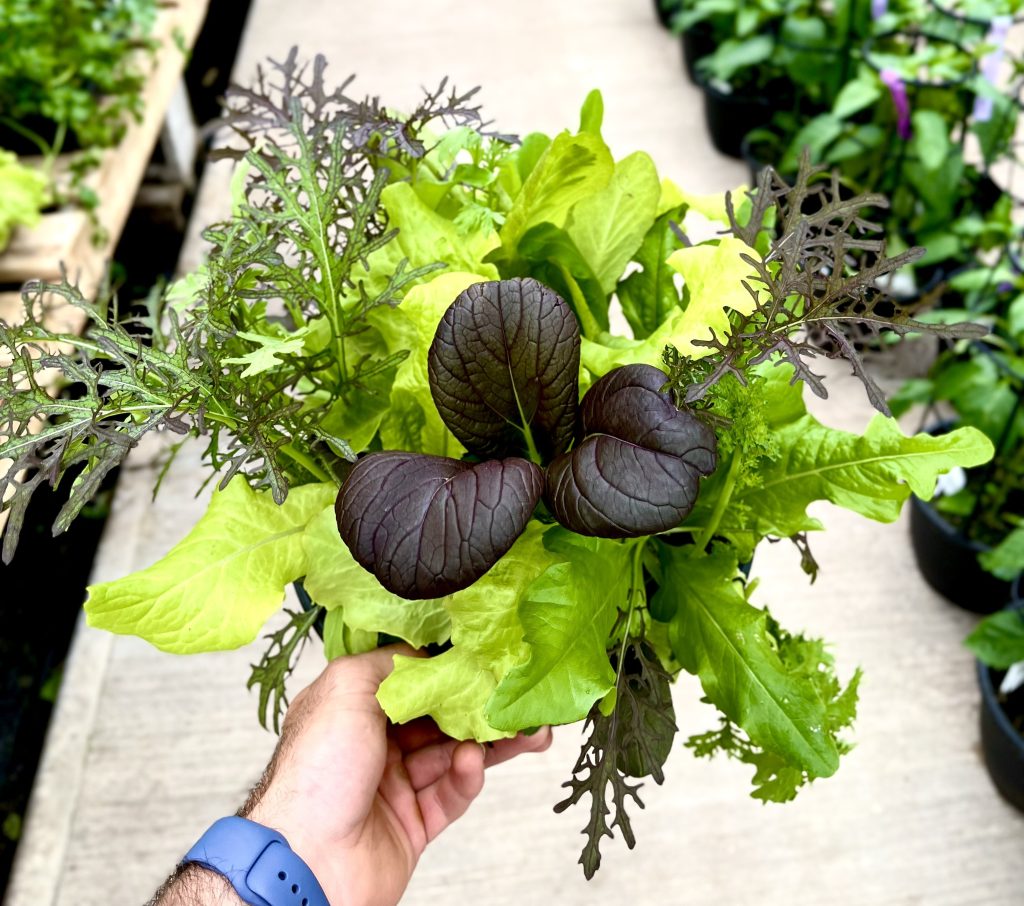
Lettuce bowls are a great way to grow greens in small spaces. Our 10” bowls are chock full of a variety of lettuces and are never boring!
👍Tip: Try the “cut and come again” method for harvesting lettuce, which prolongs the plant’s life. Simply pinch off the outer, mature leaves each time you pick the lettuce and leave the centre of the plant to keep growing.
Hanging Baskets
If there’s a spot to hang a basket or place a shepherd’s hook, you will want to grow one of the edible options we offer.
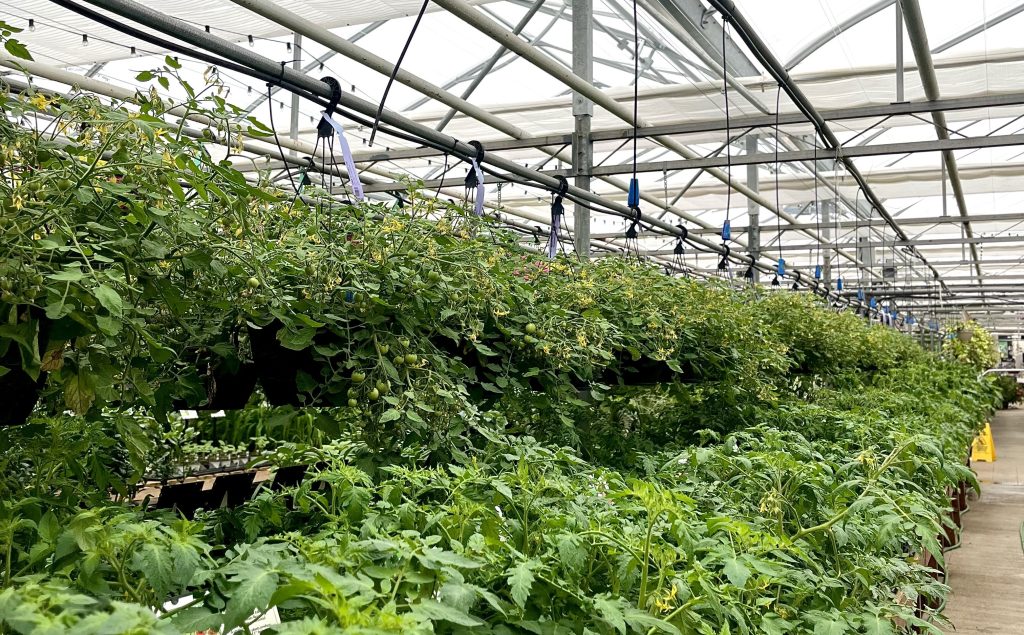
Topsy Tom tomatoes.
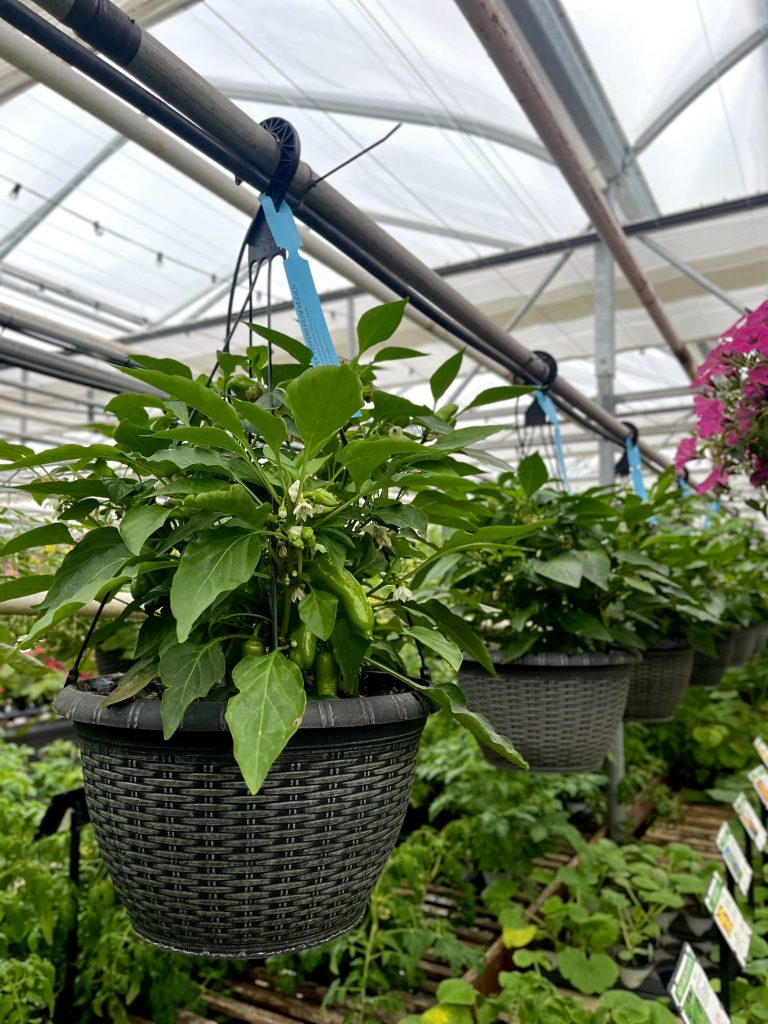
Pot-a-Peno and Peppers From Heaven peppers.
Tomatoes, peppers, and strawberries are all available in hanging baskets. Our deliciously sweet everbearing strawberries are also available in 4.5" pots and bareroot, which are great options for window boxes.
👍Tip: Pick strawberries as they ripen to encourage your plants to produce more. Also, remove runners as they grow to allow your plants to send energy into growing fruit instead of bigger plants. Painting rocks to look like strawberries is said to deter birds from feasting on ripe berries.
Citrus and Figs
Consider growing a beautiful and fragrant lemon, orange, fig or grapefruit tree in a patio pot. Just keep in mind that it will need to come indoors in the fall.
Container Plant Care
Whether you’re growing edible plants in the garden, a pot or a hanging basket, don’t forget to give them the care they need to maximize productivity:
- Water regularly, deeply and in the heat of the summer, frequently. Watering early in the morning is ideal. Pour water on the soil, not the foliage to prevent diseases like powdery mildew.
- Feed your vegetables and fruits throughout the growing season with fertilizer or compost.
- Remove dead foliage and prune plants as needed. Especially herbs.
Once you start foodscaping by including vegetables with your flowers and ornamental plants we’re sure you’ll want to keep looking for innovative ways to grow your own food! Who knows, maybe even pumpkins by the front porch!
Starting an edible garden is like building your own private produce aisle right there in your yard. You’ll reap all of the benefits of healthier and fresher food just outside your door, and you’ll be able to grow the best of your favourite garden flavours; nothing beats fresh-picked taste.
The key to a great edible garden is having some variety. The mix of lots of fruits and vegetables gives you lots of options to experiment with in the kitchen so you’ll never get bored with the same flavours. We have lots of tips to make growing your own food easy and fun.
Our Tips for How To Grow Fruits and Vegetables
These simple tips are a huge help in making your fruit & veggie garden hassle-free:
Try using a raised garden bed. They’re easy to make and they help with better soil quality, better temperature control, with far fewer weeds to pull due to their controlled environment. If you’re growing straight from the ground, you’ll be at the mercy of your property’s soil quality—but in a raised bed, you’re in control! Fill the raised planter with bags of sterile soil and add in lots of organic matter to give your veggies a great start. The elevated container also makes the garden easier to work in, as you don’t have to bend over as much while tending your plants.

If space is a concern or you simply want to start small before you take the plunge, try container gardening. Most edible plants—except the biggest and most unruly specimens—grow well in containers, so you can make the most of a small space with as many containers as you like. Choose a location with a lot of sun and watch your miniature garden grow.
Try out companion planting and let your plants do some of the work for you. Some fruits and vegetables do so well together that we’d recommend planting them as buddies so they can give each other a boost. For example, green beans and corn work great together as the beans nurture the soil and the corn support the bean vines while they’re growing. We also love growing tomatoes and basil together. Not only do they often end up in dishes next to each other, but the basil improves tomato flavour and wards off pests.
Use natural weed and pest control methods. If you’re growing food with the intention to eat it, there’s a strong case for keeping chemicals off of them while they grow. There are lots of natural pest control methods to try for almost any type of pest while keeping your food safe.
The Best Fruits and Vegetables for Home Growing
Some garden edibles have reputations for being more picky and difficult to grow than others, while others give you impressive yields for much less effort! This is our list of foolproof garden options to start fuelling your kitchen from your yard:

- Raspberries: These fall-bearing fruit bushes are as low-maintenance as they come, only requiring a bit of pruning in the winter to make room for more fruit-bearing shoots. Starting in the late summer you’ll always have lots of raspberries to bring inside, even if half of your picking time is actually spent munching on them right off the branch. Enjoy these sweet treats all the way until the first frosts!
- Strawberries: There are lots of varieties to choose from that produce fruit in different quantities at different times of the year, so you can tailor your strawberry growth to what you want - whether that’s a steady harvest of some fruit all year, or a big bounty perfect for jams and pies all at once. You get to pick if you want spring, summer, or fall berries, and how many. We love how well these do in containers as well as in a garden bed.
- Tomatoes: We might think about them like vegetables but these plants are actually fruits! Savoury and versatile, this fruit is perfect for beginners. You might choose to grow little cherry tomatoes for the perfect summer salads or maybe beefier slicing tomatoes for burgers and sandwiches. With impressive yields, you’re likely to end up with enough tomatoes at the height of the season that you’ll be giving them away! Luckily they freeze well to be put into sauces later in the year.
- Currants: These bushes produce oodles of their tiny sweet fruits in shades of red, pink, white, and black. While white currants are certainly the sweetest, black ones are the easiest to take care of and require almost no care.
- Radishes: These root vegetables have a little spicy kick that is welcome in so many summer dishes. Low-maintenance and quick-growing, you can start them in the spring but even do a second crop in the late summer, too.
- Lettuce and Leafy Greens: These are the perfect vegetables for growing in containers or a bed! The greens sprout and grow at lightning speed, so you’ll enjoy harvests more often. Their shallow roots also make them the perfect versatile candidate for growing anywhere.
- Cucumbers: The trick to crisp and tasty cucumbers is to keep them well-watered. Generous helpings of moisture on a regular basis (as long as your soil has good drainage) will set your cukes apart from the rest.
- Carrots: This root vegetable is a classic for good reason. All they need is some loose and loamy soil to grow perfectly straight. Other than starting off with the right foundation, they mostly take care of themselves! You can plant them densely and munch on baby carrots as your thin them out through the growing season.
Your garden is all about you and which fresh flavours you want to eat more of during the summer. This is just a starting point, but your garden is yours to customize and perfect. Plant what you love to eat and you’ll get tastier food at a better price all summer.
Gardening goes with your kitchen like peanut butter pairs with jelly. They just seem to make each other that much better! You’ll love growing useful plants and flavors, and your kitchen will love all of the garden-fresh ingredients to elevate your dishes to the next level. But you don’t need a bit garden plot to get the best of both worlds — in fact, you can grow everything you need to step up your dinner table experience right in your kitchen!
Herbs in the Kitchen
Most of your kitchen’s favourite herb flavors are hardy growers that are happy to sprout anywhere - including the windowsill in your kitchen. All you need is a spot with a little bit of sunlight and you’ll have freshest herbs on-hand to take bits of for everyday dishes.
There’s tonnes of benefits to having your herbs grow in your kitchen, and only a few of them are all of the awesome fresh flavors that you’ll get — though we promise that once you try fresh you’ll never want to go back to dried. Think about all of these other perks that go further than what you eat:
A little bit of something green and thriving is a perfect indoor pick-me-up. There’s nothing like something that you’ve nurtured and grown sitting right there in your living space to be enjoyed - especially when the weather is cold.
These herbs pack quite the flavor, but they are also fragrant aromatics. If you want your kitchen to feel a bit homier, and to have that faint fresh scent all the time, growing aromatic herbs is a great place to start!
The rest of your garden is pretty bound by the seasons, but indoor plants can thrive all year long! You don’t quit looking for the best flavor when the weather outside is frozen, so why should your cooking suffer? Fresh herbs are welcome in your food all days of the year, and growing indoors is the perfect way to step up your kitchen, every day and every season.

The Perfect Herbs for Kitchen Gardens
Realistically, the best herbs to grow in your kitchen are the ones that you already use a lot of in your cooking, because you’ll make the most of them. Most herbs are aggressive growers and will thrive the more you tear off branches to use in your cooking, so your most common flavors are sure to do the best in your kitchen!
Here are some of our favourite herbs that grow great in a little pot indoors, and how we love to see their flavors show up on our kitchen table:
Rosemary: This Mediterranean herb is a foolproof way to start your kitchen garden. Given a spot with some light and some well-draining soil, you’ll be thrilled to see how well it grows. Supremely aromatic and flavorful, this is a great choice for Mediterranean cooking or pairing with steaks and poultry. The flavor releases with more heat, so add it early in the cooking stages to get the best taste.
Thyme: Another dry-condition grower, this herb is a great partner to grow with rosemary. With finer leaves and a bushy habit, thyme is ideal for pairing with poultry dishes. You’ll really appreciate the fresh herbs in colder weather, especially around Thanksgiving and Christmas, which is when this herb shines most.
Basil: With a bit of a reputation as a tougher plant to grow, basil can thrive in your kitchen if you find that “just right” middle ground for growing conditions. A Goldilocks plant, it doesn’t like things too moist or too dry, and prefers just the right amount of light. Once you’ve found that sweet spot, though, you’ll have more bountiful basil than you know what to do with! Try mixing these fragrant leaves into summer salads or on the barbeque. The complex flavors of this plant are sensitive to heat, so add it at the very end of cooking for the best effect.
Mint: For a taste of something different from the rest of your more “earthy” herbs, grow some mint! This herb is from a more moist homeland, so keep their container well-watered (but not soggy!) for the best results. Mint is a surprise addition to any dish and is also the perfect ingredient to take your cocktails and beverages to the next level.

Sage: For a bold taste that tastes so much better fresh than dried, try sage. These plants are easy to please with some good drainage and a consistent care schedule, you won’t be stressed keeping them alive. Not only tasting great, they also smell amazing, which you’ll notice every time you walk past or touch them. Try sage in your poultry dishes by including it in your marinade.
Growing herbs in the kitchen is the perfect way to pick up your mood and elevate your cooking every day! Feel free to tear into your herbs as they only grow back more enthusiastically — as long as you don’t take away more than 1/3 of the plant at once. If you grow your own fresh herbs right there in the kitchen, you’ll have an oh-so convenient way to rake in the compliments for your cooking.
There’s nothing better than garden-fresh vegetables on your plate. But as a working generation with families to take care of, we don’t always have time to shop around the farmer’s markets on Saturday afternoons. Usually, a one-stop shop at the local grocery store is all we have time for.
While growing your own vegetables does require a time investment, it’ll save you plenty of time (and money!) in the long run! Plus, vegetable gardens add just as much beauty and value to your property as any other garden element. A thriving vegetable garden starts from the seed, and the first step to healthy seeds is indoor seeding.
What to Seed Indoors
The first step to seeding indoors is knowing what you’ll be seeding so you can plan in advance. Here in Ontario, we have a shorter growing season than our friends to the south. Our last frost dates can sometimes extend into mid-May, which is often too late to seed many vegetables. Seeding indoors gives us a head start on the growing season, ensuring we have a successful harvest that we can enjoy sooner. Another advantage of an early start is that it negates the need for chemical fertilizers to speed things along.
Heat-loving plants, like tomatoes and peppers, should definitely be started indoors. While many other vegetables can benefit from a head start on the growing season, others are quite content being sown right into the ground. Root vegetables, like potatoes, carrots, and turnip can withstand a light freeze. Beans, peas, and salad greens also don’t mind a little chill and can be sown into the ground or started indoors a few weeks early.
When to Start Seeds Indoors in Ontario
One of the biggest challenges of starting seeds indoors is knowing when to start them. This is due to the many factors that influence timing. The recommended dates you might find on a seeding calendar take into account the different growing timelines of different vegetables, as well as the last expected frost date of your region. But it’s not an exact science. Keep in mind that, depending on the conditions you provide and the climate patterns of the year, the ‘perfect’ date is pretty unpredictable.
Here in Southern Ontario, our last expected frost date for the year is sometime during the first week of May. Tomatoes and peppers need the longest time to be cozied up indoors at 6-8 weeks. Now that we’re in early March, we suggest you get peppers started ASAP if you haven’t already, and give them lots of light. Start your tomatoes in another week or two, depending on the variety, sticking them near a bright window once they begin to sprout. Broccoli and cauliflower can be started as soon as March rolls over to April, while cucumber, zucchini, and salad greens can wait until the middle of the month. When April showers bring May flowers, you can direct seed other vegetables into the ground!
How to Seed Indoors and the Materials You Need
Now that we’ve got the timing all straightened out, the process of seeding indoors is actually pretty simple! But before you start sowing your peppers and tomatoes, there are some materials you’ll need first:
Containers: The most important aspect of picking out containers is making sure they have enough drainage - you don’t want to drown your seeds before they even get a chance at life! Seeding trays with many individual cells are great choices since they can hold plenty of seedlings at once and don’t take up much space. Wash them well with soapy water first, to make sure they’re sterile and safe for your young plants.
Soil: Soil requirements will vary between different vegetables, but generally most plants will flourish in a mix of peat moss, vermiculite, and perlite. Never use dirt from your backyard for planting seeds indoors, you’ll likely be bringing unwanted pests into your home.
Lights: Light requirements will depend on what your particular seed needs for germination. While some need bright and direct sunlight right away, others don’t want to see the sun until they poke through the soil in search of light. While light from the window is great, bright, artificial light is often used as a supplement.
Once you have these three materials (and your seeds, of course), you’re ready to start planting! Follow the instructions on the packaging carefully to provide your seeds with the proper conditions they need to germinate. Use a sterile potting mix to cover seeds that need complete darkness to grow. Cover the container with a clear plastic dome to trap moisture, creating the humid environment required for germination.
Once the seedlings begin to poke through, you can remove the cover and let the oxygen flow. Remove any weak plants, allowing the strong ones to grow even stronger. It’s better to have a few great plants than plenty of unproductive ones. Keep the soil moist, but not wet. We recommend misting instead of watering, to prevent disturbing the soil.
Starting Seeds Indoors Without Grow Lights
While grow lights are super effective and allow you to start seeds anywhere in your home, they aren’t always the first thing new gardeners want to invest in. Plus, keeping these lights on for hours on end every day can definitely drive up your light bill, and isn’t a necessary use of energy. The good news is that you don’t need fancy grow lights to germinate seeds indoors, especially if you have plenty of windows.
The trick to maximizing sunlight is to place your growing trays in front of large, south- or west-facing windows. Be mindful of hills or trees that might block the sun in these parts of your home. Usually, the upper level of your home is your best bet!
Moving Your Plants Outdoors
While it’s important to get the timing right when it comes to starting seeds indoors, it’s also important when moving them outdoors. The beauty of indoor seeding is that you don’t have to be in such a rush to bring them outdoors, you’ve already given yourself the time to wait until the risk of frost has passed.
That being said, you don’t want to wait too long, or else your veggies’ growth might taper. You’ll know when your seedlings are ready to graduate from their containers to the ground when they begin to grow leaves. Don’t be fooled by the first leaves of your baby sprouts, as these are nourished by the seed. The true leaves develop afterward, indicating that the plant’s roots are now established enough to sustain the plant itself. Once you reach this stage, congratulations! Your seedlings are now ready for your beautiful vegetable garden.
No one likes to be thrown into an unfamiliar environment or situation, and the same goes for our tender new plants. They’ve been safe and cozy inside our warm homes for weeks, and now they’re being introduced to the great outdoors. Just like we sometimes get a ‘base tan’ before we head down South to prevent burning to a crisp, our seedlings need to be introduced to the sunlight gradually. Bring them outside on a cloudy day for a few hours first, and increase by an hour each day for a week or so to ‘harden them off’ before planting them outside for good.
Whether you’re a seasoned gardener or you’re just beginning your gardening journey, these simple steps to indoor seeding are all you need to get started. Soon enough, your flourishing veggie garden will be the cornerstone of your recipes and the envy of your neighbours!