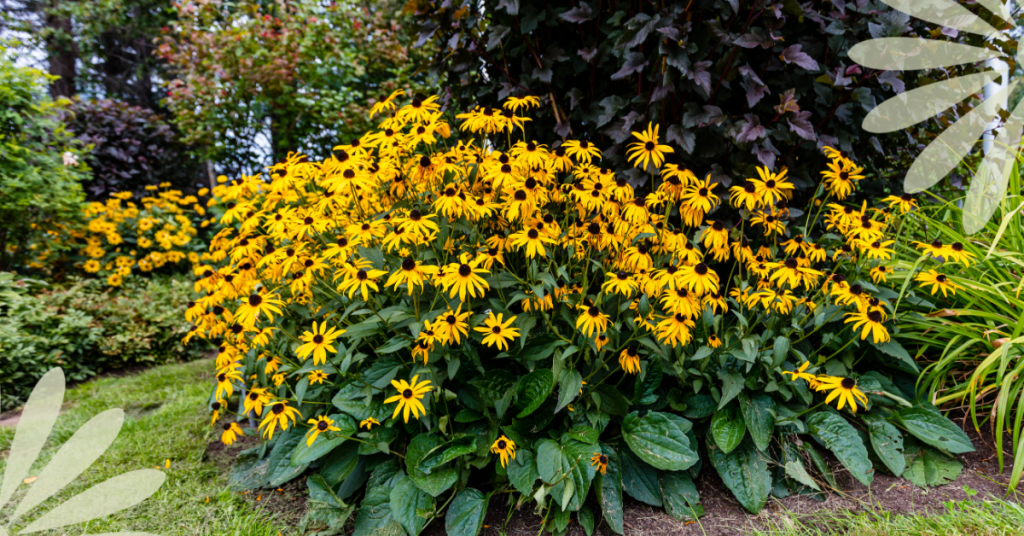
The Queen of the Classic Garden Border
By Ava Green
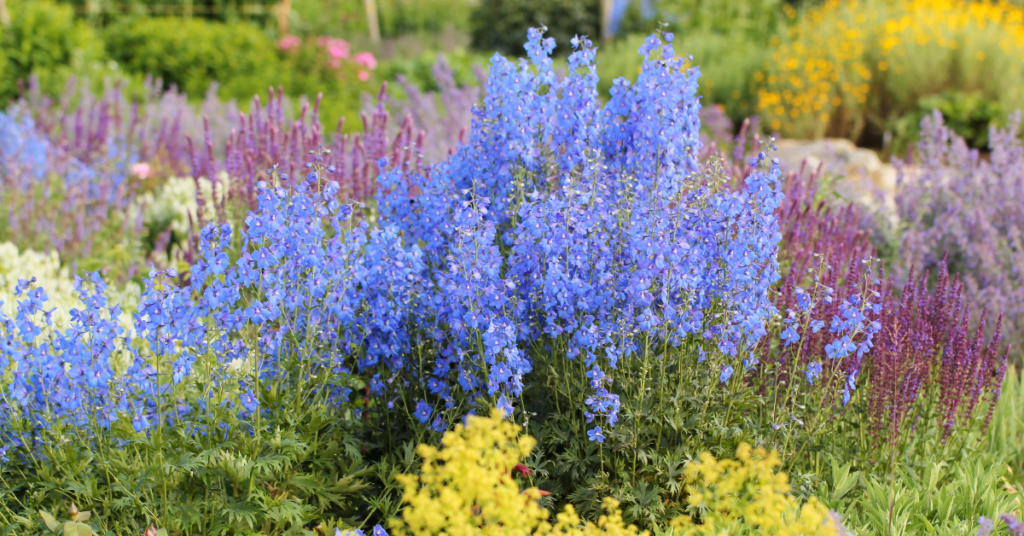
Tall, stately, and undeniably dramatic, the Delphinium or Larkspur is one of those perennial plants that stops people in their tracks. When given the right conditions, its towering floral spikes are magnificent. For gardeners who love a classic English border, nothing else compares. Yes, Delphiniums have lots of preferences, but tend to them, and they will reward you with a floral display that makes every bit of effort worthwhile.
Choosing Your Delphiniums
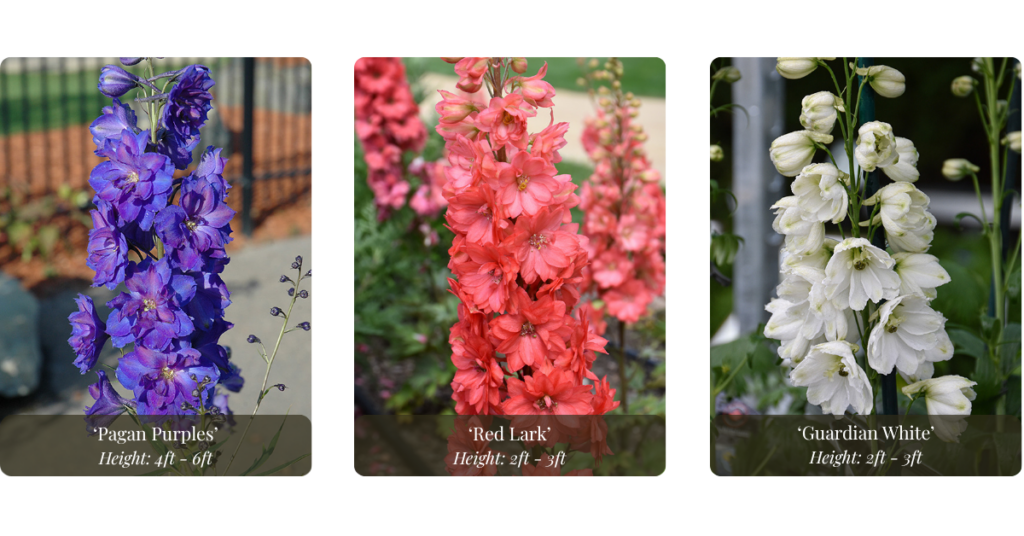
With a wide number of varieties to choose from, there’s one that’s sure to fit every garden. Heights range from a modest 36 inches to an impressive 72 inches tall (Yes, 6 feet!), with a spread of 24 to 36 inches depending on the variety. So whether you have a compact border or a large sweeping bed, there’s a Delphinium to suit your space.
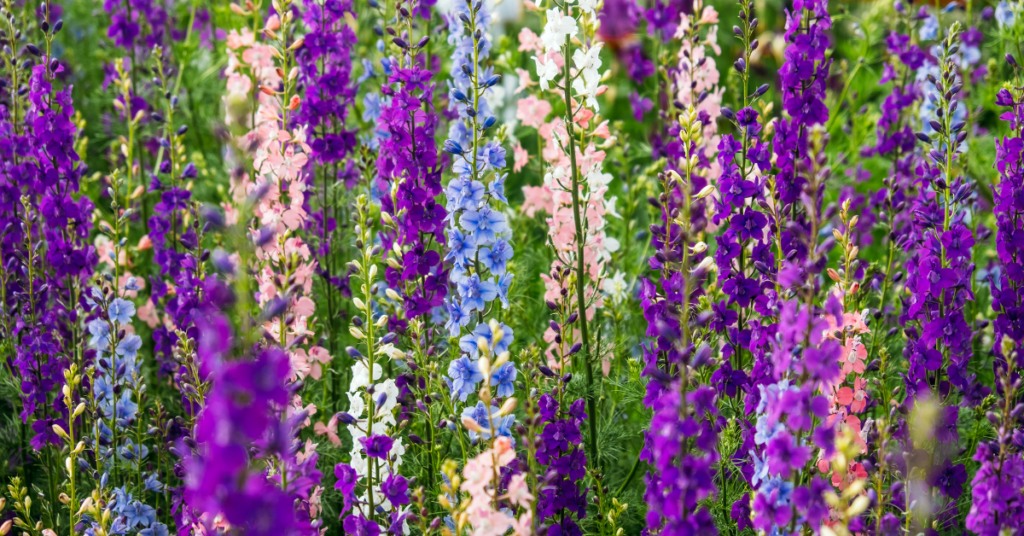
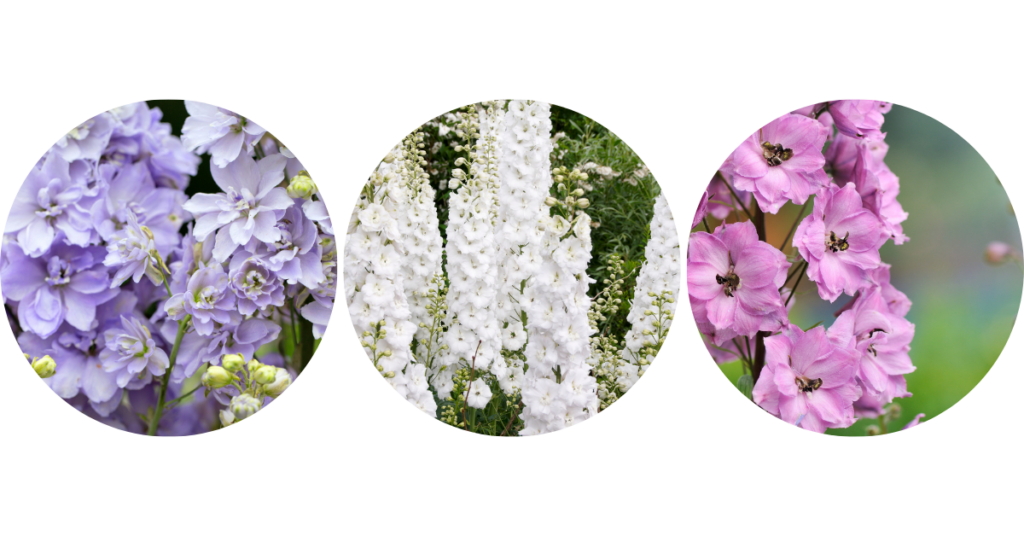
Their colour palette is equally diverse: rich blues and purples, soft pinks, crisp whites, and beautiful bicolours. Few flowers offer such a wide range.
Planting
While Delphiniums prefer abundant moisture, be sure to plant the crown of the plant (where the stems meet the root ball) at soil level to avoid crown rot. Planting them too deeply is the most common way to lose these plants.
Spring and Fall are the ideal times to plant, giving roots a chance to establish themselves in cooler, more forgiving conditions. That said, a cool, overcast summer day works well too, just avoid planting during hot or humid spells. Spacing will depend on the variety you choose, so check the tag and give each plant the room it needs to breathe.
Growing
Delphiniums are what gardeners affectionately call “Goldilocks plants”, they like things just right. Full sun, protection from strong winds, and fertile, humus-rich soil with excellent drainage are keys to success. They also love manure mixed into the soil to enrich their growing conditions.
Their height is both their greatest asset and vulnerability. Because Delphinium flower stalks have hollow centres, they break easily if they’re exposed to the wind. Planting them in a sheltered spot is genuinely important. Once plants reach about 12 inches tall, stake each flower spike individually, or place a tomato cage around a clump early in the season before it’s needed. It’s much easier to stake proactively than to rescue a snapped stem after the fact.
Delphiniums are hungry plants and will perform best when fed generously. A dose of fertilizer, compost, or well-rotted manure in both spring and summer keeps them healthy and productive throughout the season.
Finally, don’t overlook dividing. Each spring, simply dig up the plant and cut the root ball in half. Now you have two plants for your border, or one to keep and one to share!
The Show
All that care pays off in late spring and early summer, when Delphiniums put on one of the most spectacular displays in the garden. Tall, densely packed spikes covered in richly coloured blooms rise above the border like beacons. Bold, beautiful, and completely unforgettable.
Once the first flush of flowers begins to fade, and before the blooms turn to seed pods, cut the spent spikes back to just above the foliage. This encourages the plant to produce a second, smaller flush of blooms later in the season and extends the show! As the old foliage fades, trim it away to allow the fresh new growth to replace it.
Inspiration
There are plants you fit into a garden, and then there are plants you plan a garden around. Delphiniums belong firmly in the second category. Their height, colour, and presence make them one of the most inspiring and rewarding perennials a gardener can grow.
Stop by Eising Garden Centre to see what Delphinium varieties we have available this season. Our team is always happy to help you find the right fit for your garden and set you up for success.
5 Easy Steps To Get Started
By Ava Green
There’s a common myth that you need a lot of space to grow vegetables, but whether you have a few containers, a small sunny corner, or a larger garden bed, there’s lots you can grow! Here in Norfolk County, which is Zone 6 in Southern Ontario, some vegetables can go in the ground as early as the beginning of May, while many others are usually safe to plant around the May 24th weekend, once the risk of frost has passed. Here are five simple steps to get you growing your own food this season if you’re new to vegetable gardening.
Step 1: Decide What You’d Love To Grow
Start with a list of the vegetables you actually want to eat. Coming into Eising Garden Centre with a list in hand makes choosing plants so much easier! When building your list, consider:
- Vegetables you love
- High-value vegetables, the ones that are expensive at the grocery store but easy and economical to grow yourself
- Anything that tastes better when it’s freshly picked, like tomatoes, cucumbers, and fresh herbs

Step 2: Make a Simple Plan
You don’t need an elaborate design; a rough sketch on a scrap of paper is just fine. The goal is simply to get a sense of your space and where things will go before you start digging. We recommend starting a garden notebook or journal to track what you plant each year and how it performs. It will be especially helpful next spring!! A few planning tips to keep in mind:
- Most heat-loving vegetables, such as tomatoes, peppers, zucchini, eggplant and beans, need at least six hours of sun per day
- Cool-weather and shade-tolerant crops like lettuce, chard, kale, radishes, and beets do well with just three to four hours of sun
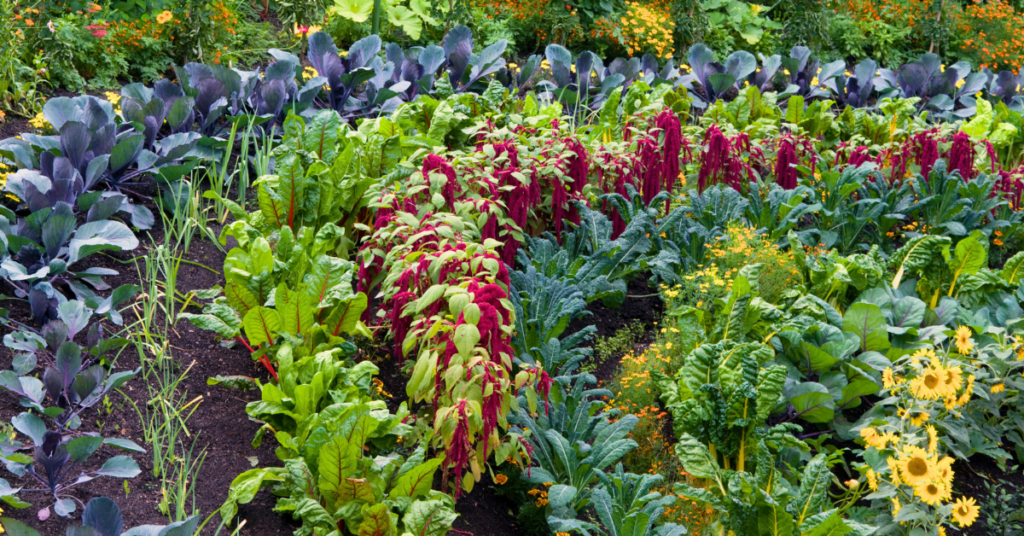
- Spacing in a vegetable garden can be much tighter than in other types of gardens. Less empty space means fewer weeds and bigger harvests. Square foot gardening is an excellent method to explore
- Layer your garden beds with plants that are great companions. For example, basil and marigolds planted beside tomatoes are said to improve flavour and repel pests. Carrot and beet seeds tucked in beside and between your lettuce plants (which are a cool-weather crop) are a smart pairing; as your lettuce finishes in the summer heat, your carrots and beets will be sprouting up to take their place. This is referred to as succession planting and optimizes the space in your garden
- Make use of vertical space with poles or trellises for peas, pole beans and cucumbers
- Tuck herbs into any gaps between your vegetables; they’re useful, beautiful, and most pollinators love them
Step 3: Prepare Your Space
Once you’ve chosen a spot with enough light, it’s time to get the soil ready:
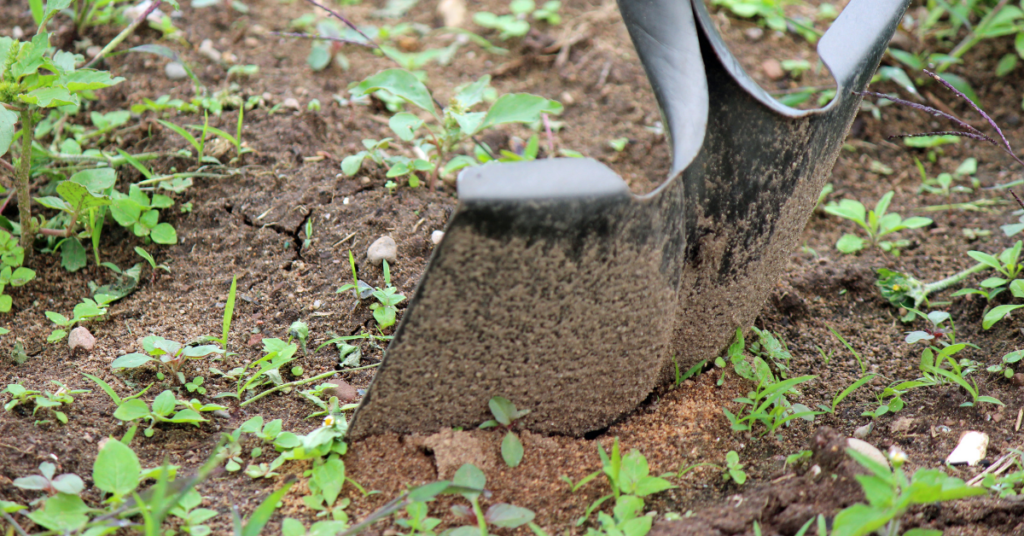
- Remove any sod or weeds before planting. If you’d rather not dig, the No Dig gardening method uses a layer of cardboard as the base for the new bed. This suppresses weeds naturally and breaks down into the soil over time
- Add a good-quality compost to your soil by either spreading a layer across the top of the garden bed or scooping some into each plant hole
- For container gardening, almost any container works, just make sure it’s deep and wide enough for the mature size of your plants. Also, drainage holes are a must! Fill containers with a soilless mix containing compost, peat moss or a peat alternative, and one of the following: sand, vermiculite, or perlite. Avoid using garden soil, triple mix, or topsoil in containers, as they compact easily and will restrict root growth. Learn more about soil mixes, amendments, and fertilizers here

Step 4: Water and Feed Consistently
Consistent watering and feeding are the foundation of a productive vegetable garden:
- Vegetables need regular, reliable watering. Inconsistent moisture leads to stressed plants and poor yields
- Always water the soil, not the leaves. Plant roots take in water, and wet foliage can invite disease. Water deeply so moisture reaches the roots. Use your fingers to check how far down the water has penetrated into the soil
- Containers dry out faster than garden beds and will need more frequent attention
- Morning is the best time to water. If your plants are struggling on a particularly hot afternoon, a second watering is fine. Just be sure to aim at the base of the plant and avoid the foliage, which can scorch in direct sun
- Feed with organic fertilizers throughout the season to keep your plants healthy and productive. Follow the package instructions for the product you choose
Step 5: Plant Flowers for Your Pollinators
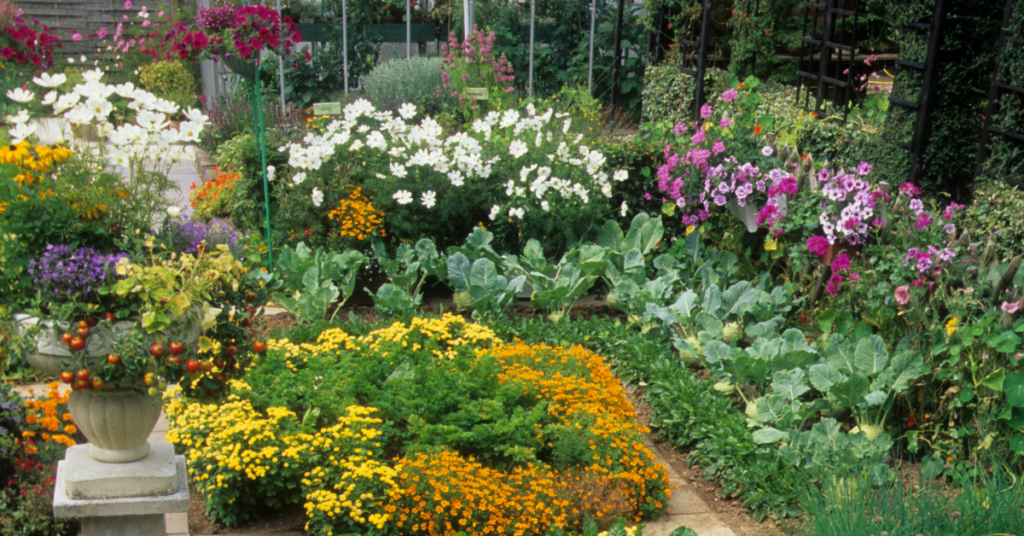
A vegetable garden without pollinators is a garden that won’t reach its full potential. Attracting bees, butterflies and other beneficial insects to your garden is one of the best things you can do for your harvest. Some of our favourite pollinator-friendly flowers for the vegetable garden include marigold, calendula, nasturtium, borage, sunflowers and culinary lavender. As a bonus, most of these are edible, so they earn their space twice over.
It’s Time
Starting a vegetable garden is one of the most rewarding things you can do with an outdoor space. There’s a quiet satisfaction in growing something from seed or a seedling and bringing it to your own table.
Start simple, grow what you love and don’t be afraid to learn as you go.
The team at Eising Garden Centre is always happy to help you choose the right plants for your space and answer any questions along the way. This could be the season that changes the way you think about your garden!
Resources:
Why Use a Garden Journal?: https://eising.ca/why-use-a-garden-journal/
Square Foot Gardening: https://www.almanac.com/planning-square-foot-garden-grow-more-less-space
Fertilizers & Soil Amendments: https://eising.ca/fertilizers-soil-amendments/
Companion Planting: https://eising.ca/companion-planting-with-herbs/ and https://eising.ca/incorporating-vegetables-into-your-garden/
Optimizing the Gardening Season: https://eising.ca/optimizing-the-gardening-season/
No Dig Gardening Method: https://charlesdowding.co.uk/blogs/no-dig-resources/beginners-guide
Reading Plant Tags: https://eising.ca/full-sun-part-shade-what-do-plant-tags-actually-mean/
Growing Vegetables in Pots: https://eising.ca/planters-are-for-more-than-flowers/
By Ava Green
Is there anything sweeter than the scent of Lilacs in the spring? These beloved shrubs are remarkably easy to grow and will reward you with weeks of fragrant blooms for little or no effort. But a bit of attention can make a big difference, especially if you’ve noticed your blooms getting smaller or fewer with each passing year.
To help your lilac put on its best show, keep these steps in mind:
- Plant in full sun, at least 6 hours of direct sunlight a day, in well-draining soil
- Water newer plants during prolonged periods of drought until established (the first 3 years)
- Feed your lilacs annually with a balanced fertilizer (10-10-10, for example)
- Follow spacing instructions and prune yearly. Pruning is a very important step, and it’s well worth it.
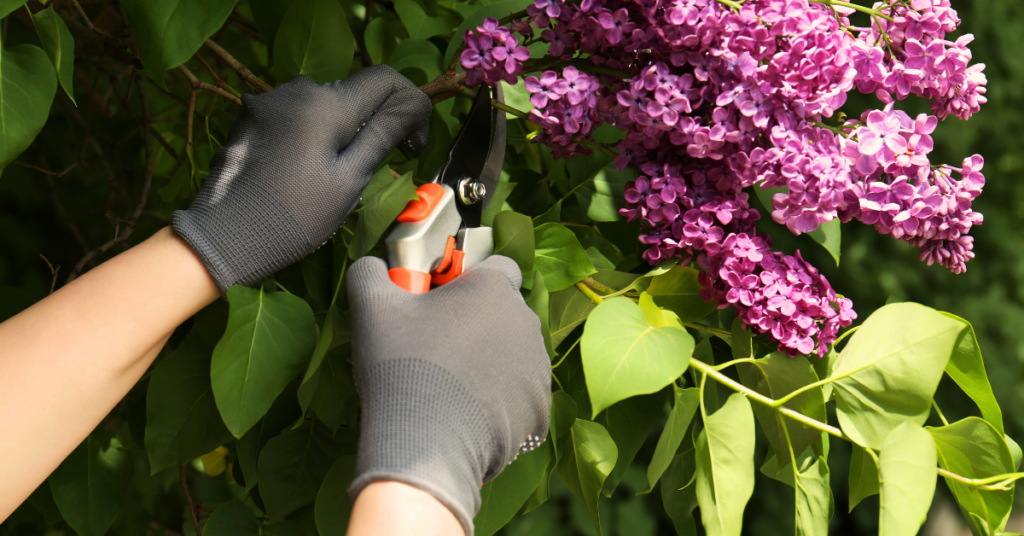
Knowing When to Prune is Key
Timing is everything when it comes to pruning your lilacs. After the blooms fade, you have a two-week window to prune before the shrub sets its buds for next year's flowers. Yes, they set buds this year that will bloom next year! Pruning lilacs in the fall or the early spring risks cutting off all of the flower buds for the following year. Mark your calendar and prune promptly after flowering.
It also helps to understand how lilacs grow: Younger, thinner lilac stems produce more flowers. Older, thicker stems are more prone to disease and pests. Keeping this in mind will help with pruning decisions.
How To Prune Young Lilacs
If your lilac has been in the ground for less than three years, leave it alone; it doesn’t need pruning yet. Many young lilacs won’t bloom during those first few years.
After three years, once your shrub is established, begin by removing just one of the thickest, oldest stems down to the ground every 2 years. This gentle approach prevents the shrub from becoming overgrown while encouraging newer, flower-producing growth.
How To Prune Older, Overgrown Lilacs
If your lilac has been neglected or grown out of control, you have two options:
Option 1: Gradual Rejuvenation
Begin by removing any damaged stems, as these invite pests that can harm the entire shrub. Next, remove only the largest, oldest stems by cutting them right down to the ground. The key is to remove no more than one-third of the living wood (dead stems don’t count toward that total). Leave the younger, thinner stems intact so your shrub can still bloom the following year. Repeat this process each spring for three years, and you’ll gradually restore the shrub to its full, flowering potential without sacrificing a single bloom season.
Option 2: Full Cutback
For a severely overgrown lilac that has been largely ignored, a complete cutback is often the most practical solution. Cut the entire shrub as close to the ground as possible, either in early spring or immediately after blooming. Yes, this breaks the general rule of never removing more than one-third of live wood, but lilacs are remarkably resilient and respond well to this kind of hard reset. By the end of summer, you will have healthy new stems of three to five feet tall. While the shrub won’t bloom for approximately three years after a full cutback, the long-term results are well worth the wait.

Deadheading Your Lilacs
Deadheading, or removing spent flower clusters after the blooms fade, is a simple task that’s separate from pruning, and can be done during that same two-week post-bloom window. When you trim off faded blooms, the plant redirects its energy from seed production toward building bigger, healthier buds for the next year. It takes only minutes and can make a meaningful difference in the size and abundance of next year’s flowers.
A Note on Lawns and Lilacs
If your lilac grows near a lawn, be mindful of how much fertilizer you’re applying to the surrounding grass. Lawn fertilizers are typically high in nitrogen, which encourages lush leaf growth, but too much nitrogen reaching your lilac’s roots will suppress flower production.
Worthy Rewards
Lilacs are remarkably long-lived, often outlasting the gardens and even the homes they were planted beside. So whether you’re nursing a young shrub through its first few years or breathing new life into an old, overgrown beauty, the effort you put in now is an investment that will keep rewarding you, and perhaps generations after you. Every single spring!
By Dave Zeldon and Ely Schweyer
As plant people, we’ve all experienced that moment when we realize the novelty phase of that plant we brought home from the garden centre has worn off. The plant isn’t standing quite as tall, the flowers aren’t as bold, and the leaves are unravelling smaller or not at all. What is this magic they perform in the greenhouse? Perhaps you’ve provided sufficient lighting and adequate watering; there’s just one thing that is often overlooked because dirt is dirt, isn’t it?
97% percent of plant tissue is made up of carbon, hydrogen, and oxygen pulled from the air and water, the remaining 3% is comprised of 16 other elements taken up from the soil. The quality of soil then is crucial to your plant’s health. Whether your plants are in pots or in ground, each soil type you could provide your plant offers something unique and may lack in another.
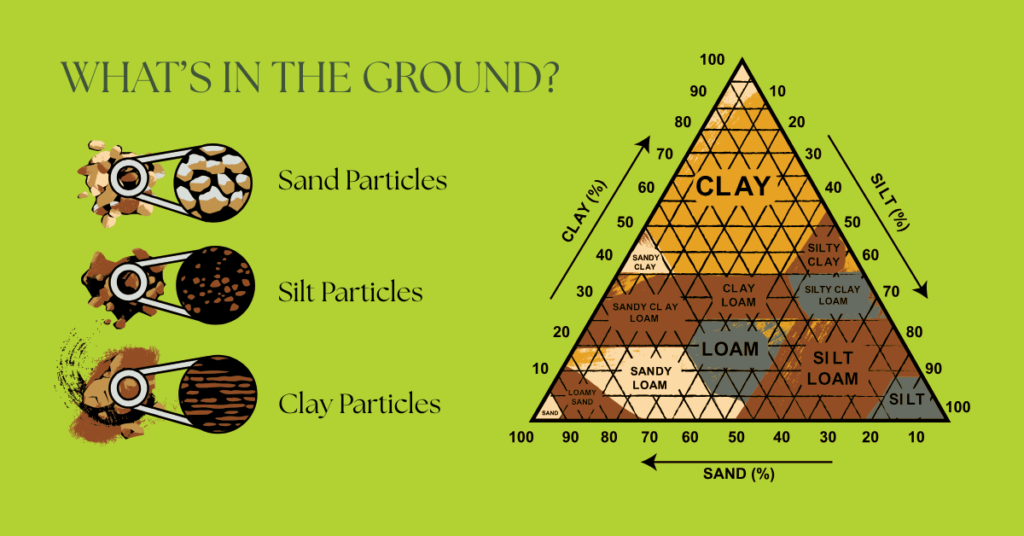
*Clay particles are even smaller than silt particles.
Resist the Urge to Slam Your Plant in Potting Soil
There’s bags and bags of rocks, sand, bark, manure, and moss on the shelves, yet the common buyer seems to always opt for potting mix. It’s fair; organic matter is usually great for plants and simple to use. However, most people don’t realize it’s merely an ingredient.
Strictly using potting mix is like attempting to make a loaf of bread out of only flour. All those bags of other materials on the shelves are also components for a successful plant diet!
Potting mix is a great base material, however, alone it presents risks of compacting, becoming waterlogged, can mold easily, and over time will become depleted of nutrients. Consider mixing the following ingredients into your pots, ground and raised beds to meet your plant’s required nutrients, pH level, and volume of moisture.
🖱️Use our Plant Finder to find some details on your plant! We try our best to keep this updated!
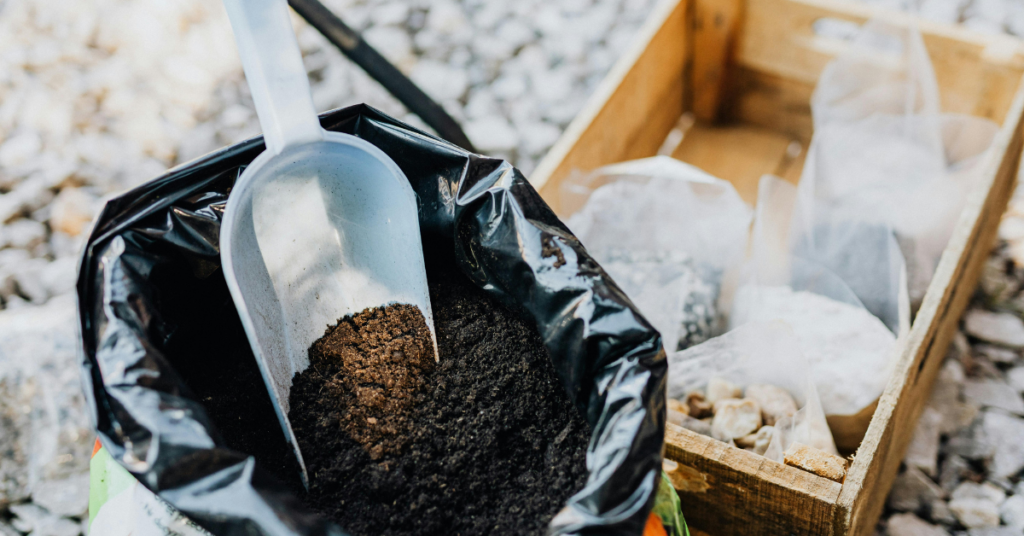
👍 Rule of Green Thumb: Plant roots can help you to determine the medium needed – thick, robust roots (i.e., yucca) typically enjoy chunkier materials, and smaller, delicate roots (i.e., begonias) enjoy finer materials.
Mulch and Bark Bites
- Mulch is the organic slow-release fertilizer, as it slowly decomposes, it lowers soil pH. However, may eventually compact soil once fully broken down.
- In the meantime, it creates shelves in the soil that create air pockets and prevent the soil from compacting. Mulch is a great short term medium for arid potted plants.
- If kept too wet, it can harbour fungus gnat larvae.
- Make sure when sourcing your mulch it doesn’t contain any black walnut.
🖱️ See more on mulching here.
Sphagnum Peat Moss
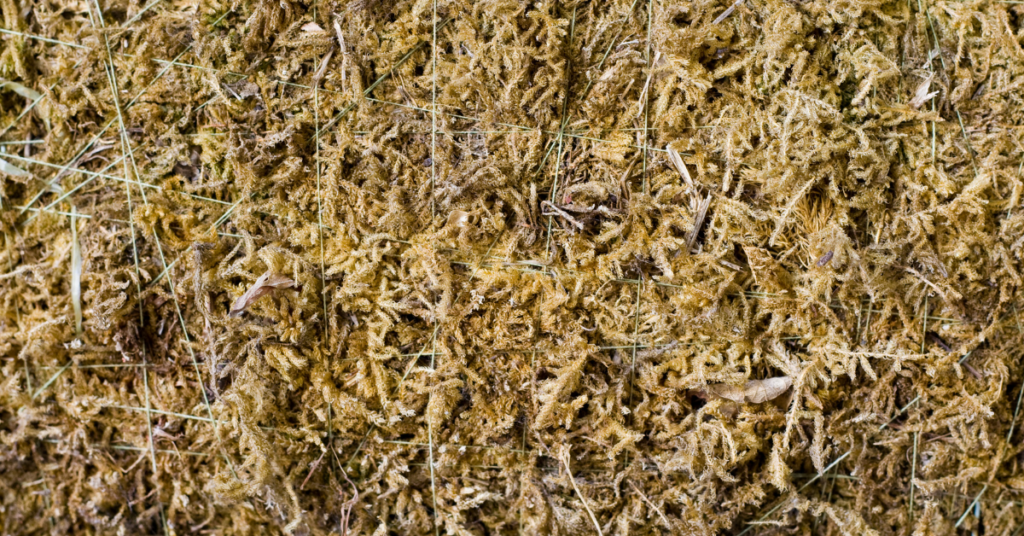
- Peat moss is used to help retain moisture and lower pH in the soil given it is harvested from bogs.
- Retains nutrients very well.
- It is difficult to rehydrate once it loses moisture.
Coconut Coir
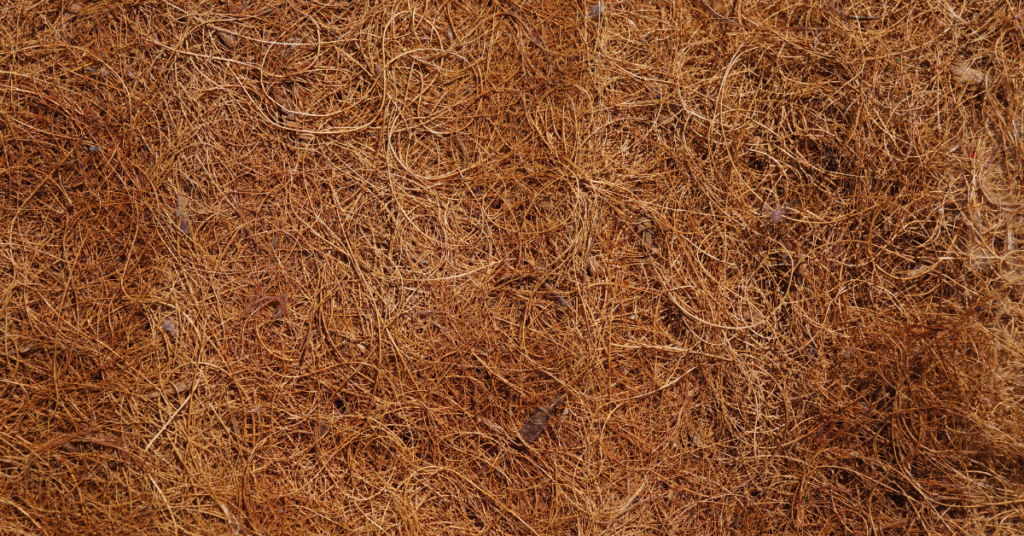
- Coco coir, much like peat moss is used to keep the soil moist and keep pH low, however it lasts longer and is possibly less invasive to harvest.
Sand
- Grains are relatively large and do not bind, allowing for excellent drainage depending on grade.
- Adds weight to top heavy plants.
- Has no ability to store minerals itself, however, pH can vary by its content of shells, minerals like silica, or fine organic matter.
Manure & Compost
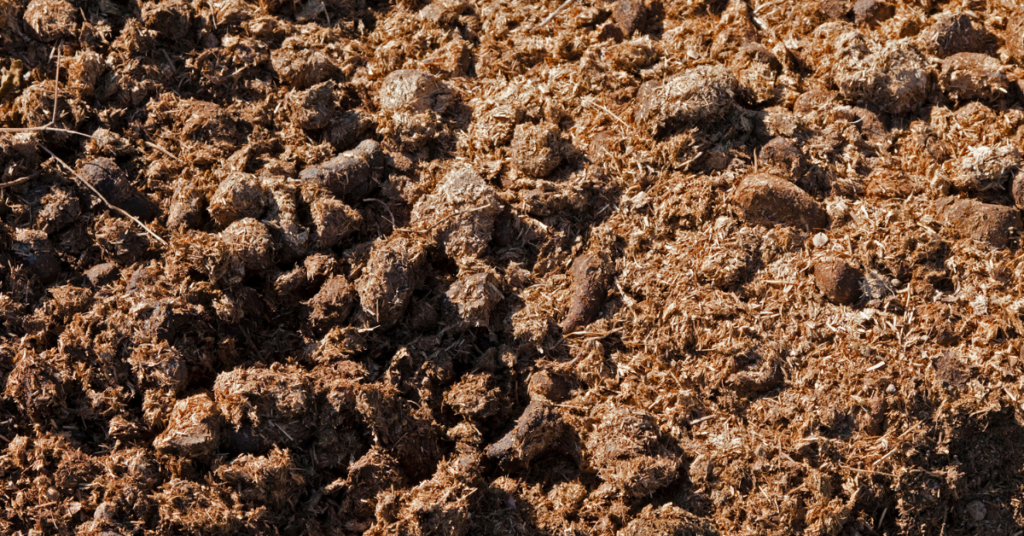
- Source these organic by products locally and ensure they’re not too hot. These additions can significantly lower pH.
- Sheep manure is usually near free of weed seeds as sheep digest seeds better than cattle and horses!
Perlite
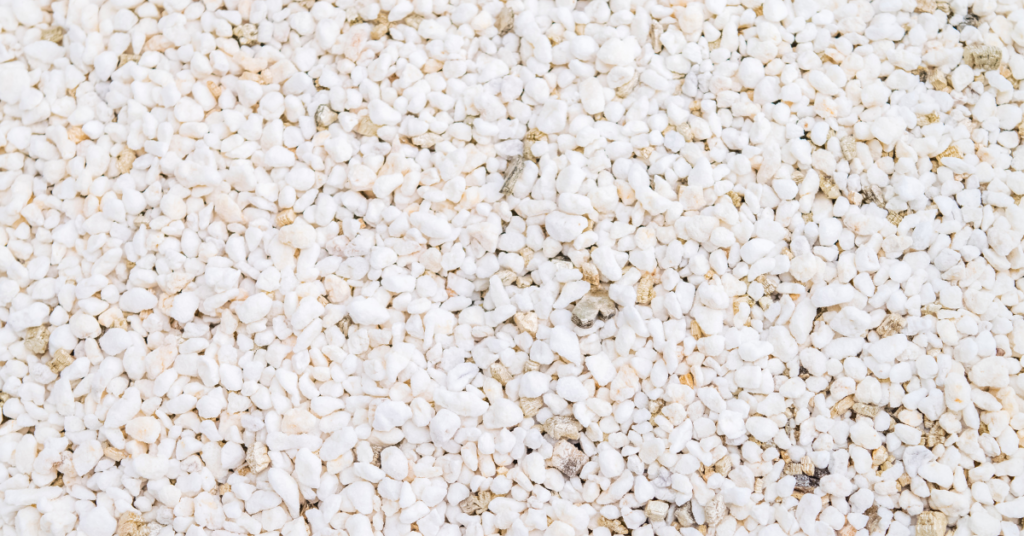
- Perlite is a volcanic byproduct (so it floats like pumice) that helps drainage in the soil and prevents compaction – vital in the case of starting seeds.
- If a rockier, well-draining medium is required for your plant, consider perlite.
- Perlite can expand holding trace amounts of water.
- Perlite has a neutral, slightly acidic pH.
- Make sure when sourcing perlite, that you are not being sold Styrofoam balls.
Vermiculite
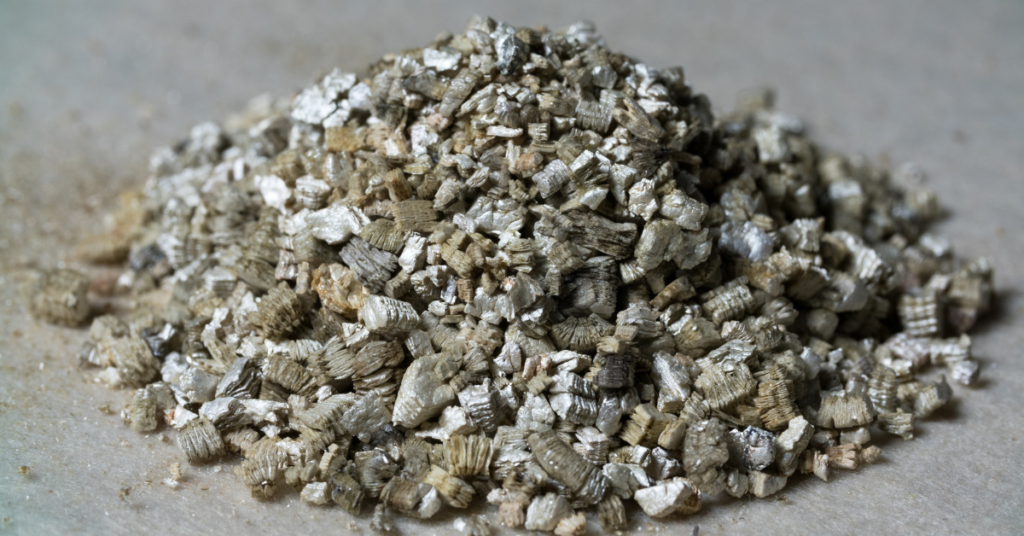
- Vermiculite is a recycled mineral used similarly to perlite, and too has a neutral, slightly acidic pH.
- Expands with water content.
- Can contain amounts of potassium and magnesium (as well as good cation exchange capacity).
- Runs the potential risk of introducing asbestos into your soil.
Calcined Clay Materials
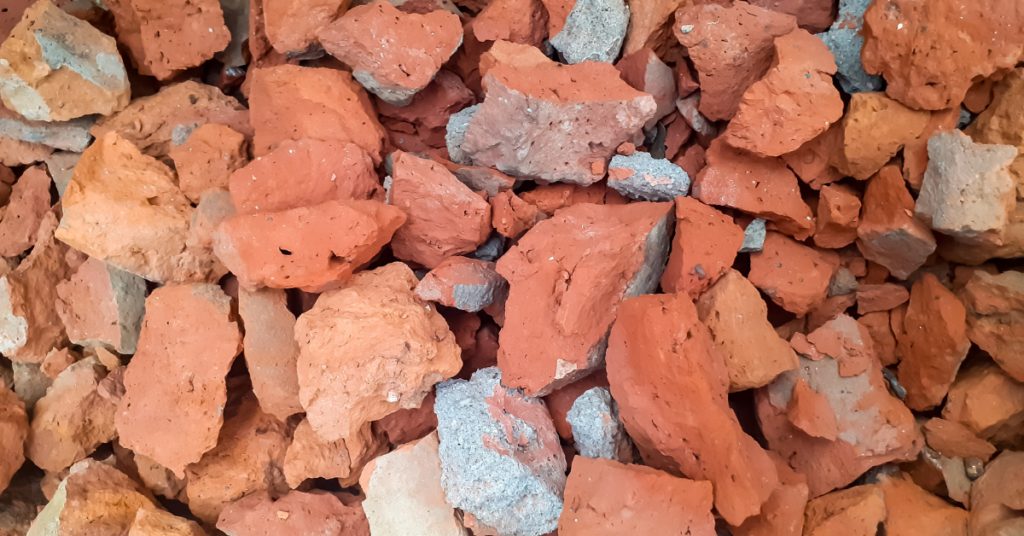
- Clay materials like recycled brick bits, pottery, or lecca are typically used for arid plants as it improves aeration and drainage.
- Can raise pH.
- Can retain some water.
- High cation exchange.
- Can also be used for starting robust cuttings when kept moist.
- Probably not ideal for inground amendments.
Maintaining Your Plant’s Dietary Needs
Perhaps we’ve crafted the perfect soil type for your plant – your plant thanks you – but over time, we will end up in the same staling predicament. Why? Because with each thorough watering, we leech the soil of the provided nutrients. Best we use the plant-specific required fertilizer for your plant to prevent nutrient loss.
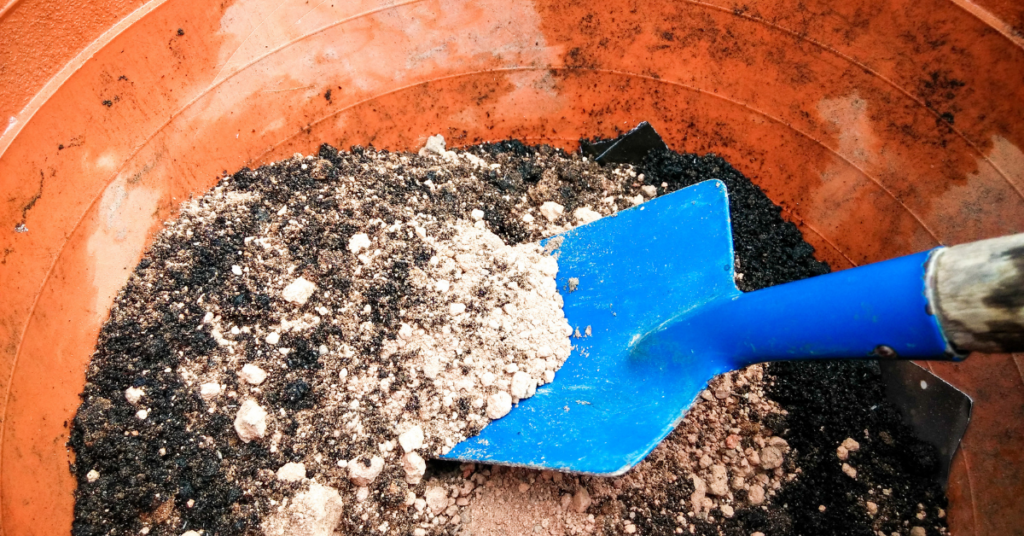
Organic sources of fertilizer such as bonemeal, composts, and manures, along with the application of lime, will improve the physical condition of the soil in terms of water and element holding ability. Unfortunately, in many cases though, manures and lime alone cannot be depended upon to provide enough available nutrients in soils with low essential element reserves.
Let’s talk about commercial fertilizers, which can help target your plant’s exact needs much like vitamins and supplements!
The Scoop on Fertilizers
Of the essential 16 elements your plant pulls from the soil, Nitrogen (N), Phosphorus (P), and Potassium (K) are the most critical for good plant growth. You’ll recognize the three numbers appearing on your commercial fertilizer labels known as the fertilizer analysis of the product, representing the percentage of each of the three "macronutrients" in the order of N, P & K.
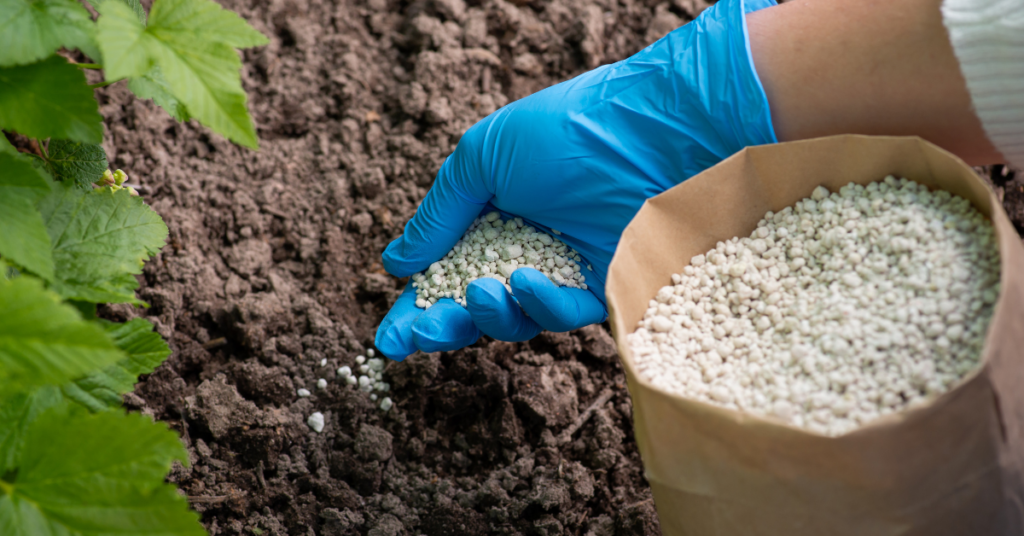
Nitrogen (N) is necessary for green leafy or vegetative growth which is important in crops like corn, cabbage, and potatoes.
☝️ It is important to remember that you should not use a fertilizer which is high in nitrogen late in the summer on your perennials, as it may cause a boost of growth which will only freeze as the cold weather sets in. Also, too much nitrogen in the analysis could cause too much lush, leafy growth thus inhibiting the desired flowering aspect of a plant species.
Phosphorus (P) promotes the development of flowers, fruit and roots. Crops like tomatoes, cauliflower and garden flowers.
Potassium (K) boosts plant hardiness, stem strength, resistance to disease and drought which is important to all crops, but especially in potatoes, celery and rhubarb.
👍 Rule of Green Thumb: For foliage plants, provide them with shade and lots of nitrogen, and for flowering and fruiting plants, provide them with lots of sun and lots of phosphorus!

Amending Clay
Hello Haldimand and Eastern Norfolk!
We’re presented with the challenge of compacted, often shallow and waterlogged clay, which proves difficult but not impossible.
Clay becomes compacted and waterlogged as it is the smallest soil particle – smaller than a grain of sand, and even smaller than silt – with rough edges that allow it to interlock and bind. In this instance, roots cannot penetrate further into the soil, are susceptible to root rot, and air pockets are slim to none.
This, however, can be fixed with the addition and renewal of the above materials.
Mindful that you don’t create a watery bowl in the ground (score the edges the area being worked), you can add organic matter (i.e., manure, compost, and potting soil) for nutrients, as well as mulch, sand and perlite for aeration and drainage. Annual soil particle aggregation in clay soils increases air porosity (air pockets) and is accomplished by the incorporation of organic matter that breaks down to form humus.
🖱️ See more here for planting trees in clay.
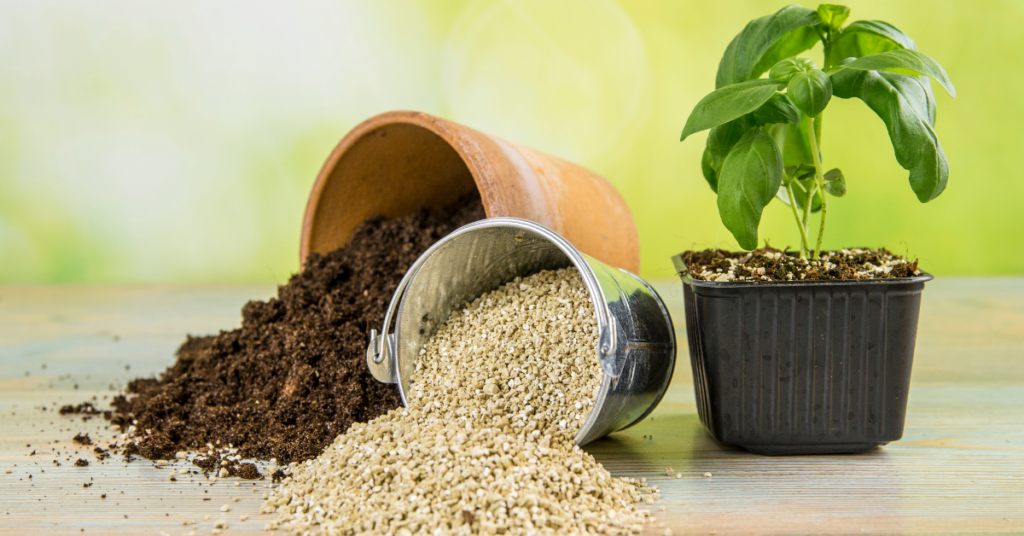
We hope this soil and fertilizer guide helps you provide all the vital nutrients to your beloved plants in ground and above ground! For more information - and soil – visit Eising Greenhouse and Garden Centre! 🌱
By: Dave Zeldon and Ely Schweyer
Bearing in mind that a lawn is a very unnatural situation in that we are trying to sustain a large area with very little plant diversity (monoculture), in the eye of the homeowner, lawns may remain an important part of the domestic landscape! As well as in very necessary areas like tile beds, paths, roadsides, and recreational areas, lawns provide a background that enhances the overall effect of the home and the various gardens and landscape features.
From nematodes to dog pee spots, the following tips will help you to maintain a healthy lawn naturally.
Mowing
Of all the cultural practices, mowing exerts the greatest influence on growth, development, and ease of management. By keeping the grass blade height between 6 & 8 cm (2.5 to 3 inches) high you'll be able to produce a more competitive lawn against young and germinating weeds.
Grass Species Selection
Seed mixtures with Titanium Tall Fescue have shown to be more drought, disease, and insect resistant than many other lawn grasses such as the traditional Kentucky bluegrasses. Tall fescue roots penetrate deeper into the soil providing better regrowth and wear tolerance, making it ideal for heavy foot traffic areas and recreational areas.
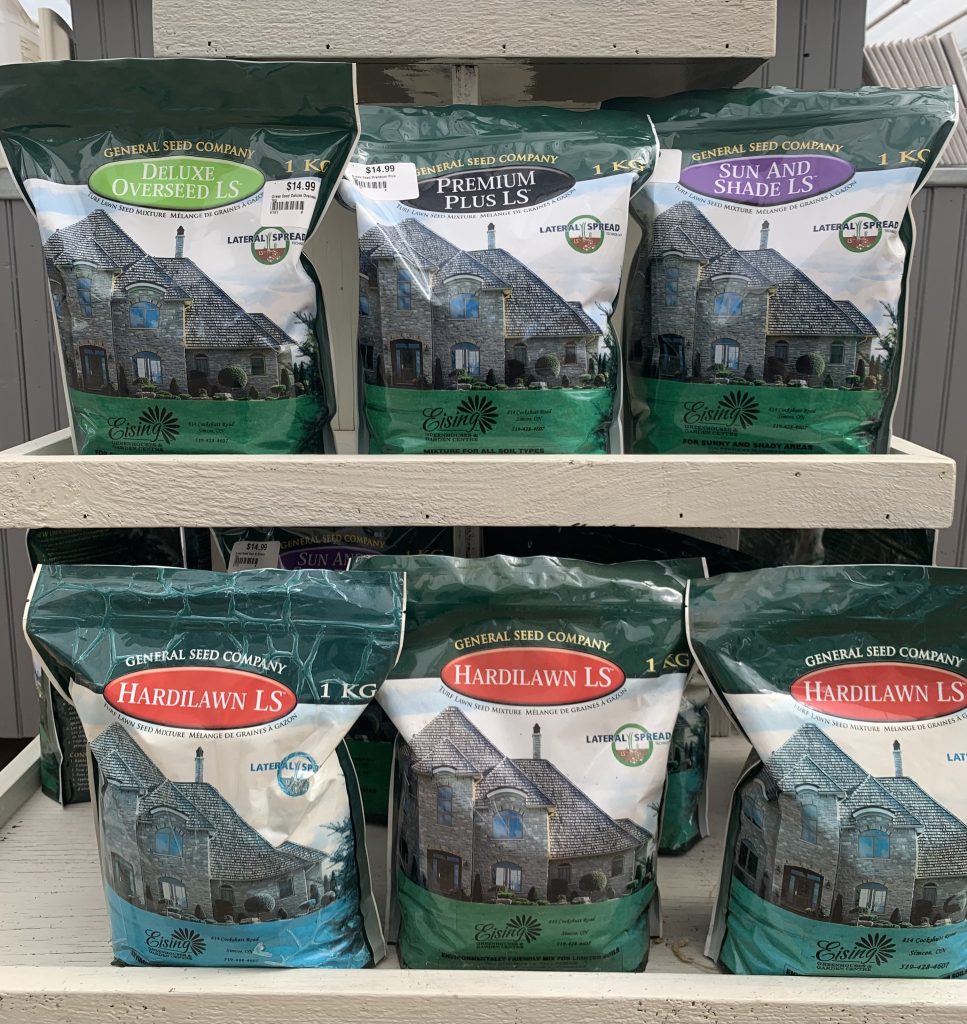
Carried by Eising Garden Centre
Time of Sowing
The best time to establish a lawn from seed is late summer and early fall (mid-August to mid-September) in southern Ontario. During this period, soil moisture and temperature conditions are optimal for germination and establishment. There is also less competition from germinating weeds in the fall. Make sure that seeding is done early in the fall so that the grass is well established before winter. The plants are then well rooted and more drought- and heat-tolerant the following summer.
Seed the shady areas in the fall for best results. Trees will have shed their leaves by then, so plenty of light is available for the new growth. The grass also gets off to an early start in the spring before the trees leaf out.
Spring seeding should be done as soon as the ground can be worked. Slow, irregular germination may result if the seed is sown when the soil is too cold and damp. (Soil Temp. around 15oC is ideal and there is also strong competition from germinating weeds during the spring. When practical, wait until weed seeds germinate, work the land to kill them and then sow the grass seed. ) If you choose to plant your new lawn in the spring, begin just as soon as the soil is dry enough to work, preferably mid-April to mid-May. This will give your new grass time to get well established before the hot, dry weather sets in.
Fall is often a better time to start your lawn, from mid-August to the end of September. Your seedbed is less likely to dry out at this time of year, and the grass should be well established before winter.
Watering
Your typical lawn needs about 2.5 cm (one inch) of water per week through either rain or irrigation. If irrigating, water in the morning as more will be absorbed as opposed to being lost to evaporation in the sun and the warmer temperatures later in the day.
Fertilization
Lawns require relatively large amounts of nitrogen-based fertilizers which should be applied several times during the growing season. Since lawn clippings are high in nutrients, especially nitrogen, much of your initial nitrogen fertilizer investment may be recycled back into your lawn! A fertilizer with a nitrogen, phosphorus, and potassium ratio of 4:1:2 (e.g., 20-5-10) is normally the best in most situations. It should be noted though, that a soil nutrient test can accurately determine the actual needs of your lawn including lime if the pH is too low.
(Lawn Liming Rate: 20-50 lbs/1000 ft2)
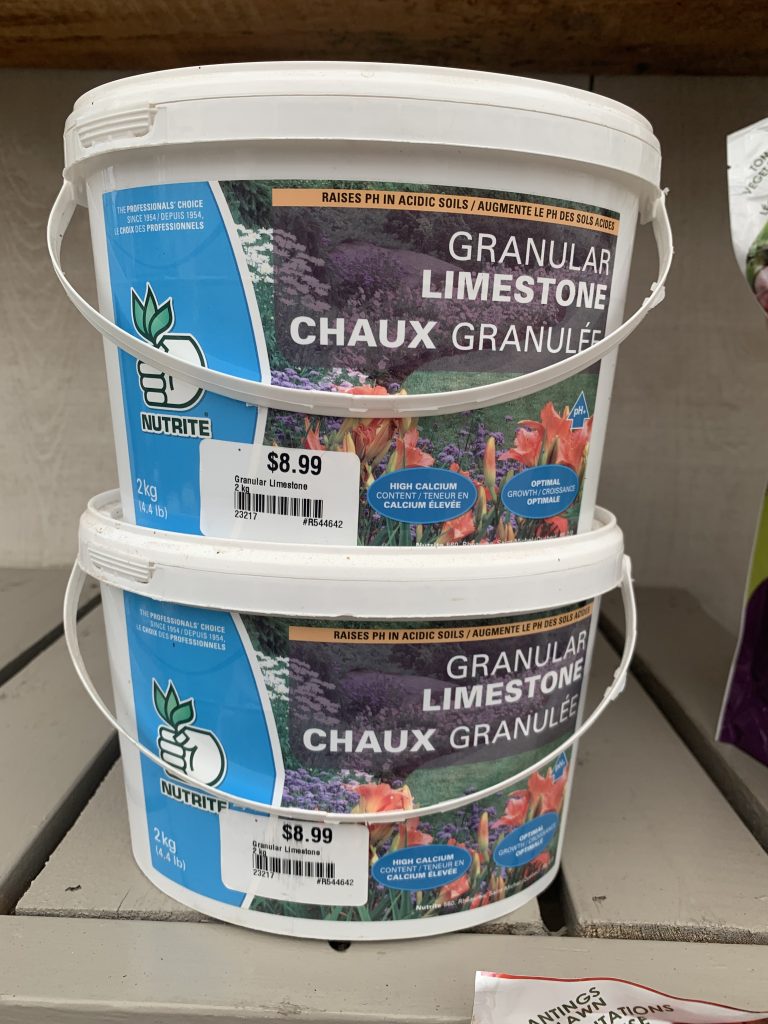
Carried by Eising Garden Centre
Corn Gluten
An application of this product early in the spring and then later on in the summer will inhibit the growth of weeds from germinating seeds especially the annual problem, crabgrass. Established weeds though have to be dug out by hand.
Dog Pee Spots
There is a misconception that the pH level of your dog’s pee is leaving those unsightly spots in your lawn, when it is in fact the high concentration of nitrogen and salts being introduced into the soil. To prevent this, should you see your four-legged friend raising its leg or popping a squat, give that spot a good watering to dilute the minerals. In addition to this, ensuring your dog is well hydrated will help to water down their urine. However, your lawn may already have several severe yellow and bald patches. You may opt to resod or reseed the area, but the soil is what’s affected. Before giving up altogether and adding a scree to the affected area, Eising Greenhouse and Garden Centre offers a fertilizer to help balance and remedy your dog pee spots!
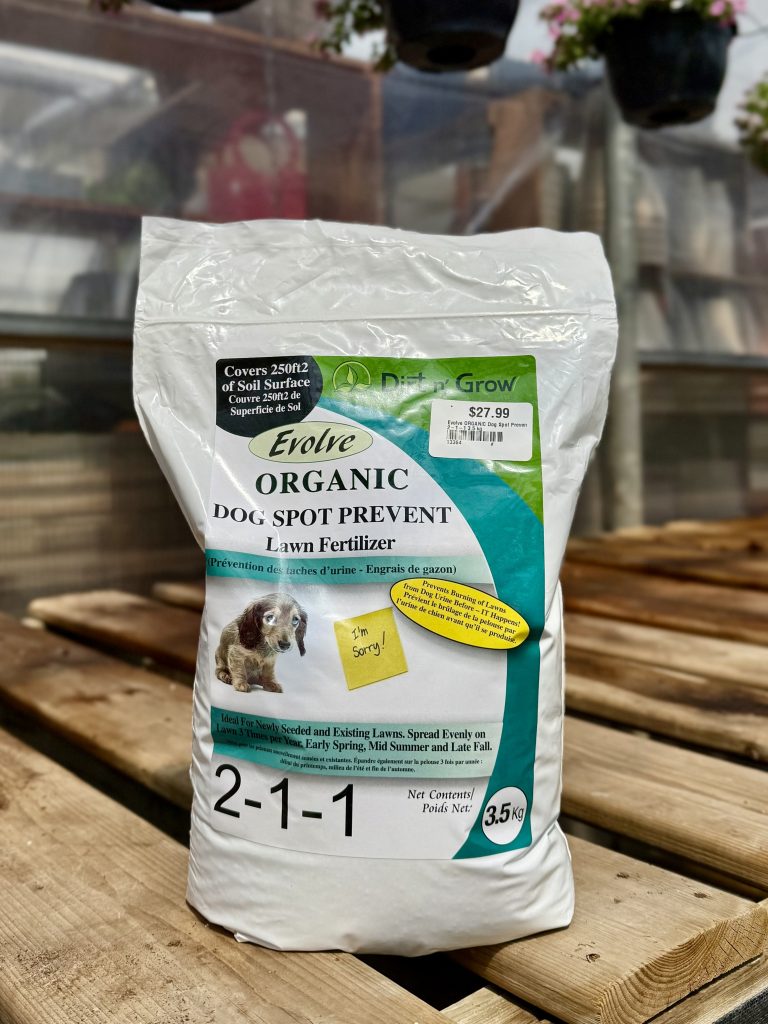
Carried by Eising Garden Centre
Thatch Control
Thatch is a layer of dead leaves, stems and roots that intermingle with the living plants above the soil surface. A one-inch layer of thatch is desirable as it has a cushioning effect against compaction and an insulating effect in cold weather. De-thatching a lawn is an extreme measure that may be considered if the drainage is poor. Lawn aeration may be required as well as the lawn and the soil below must establish a drainage pattern.
Nematodes - Aid Against Japanese Beetles and More!
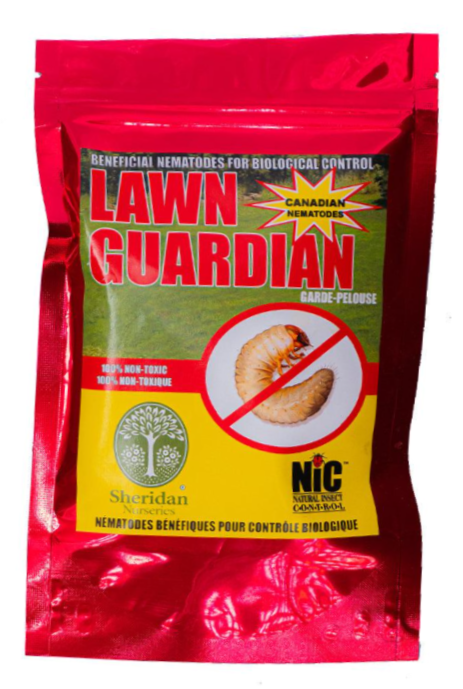
If the Japanese Beetle has been destroying certain plants in your landscape plantings or their grubs have been feeding on the roots of your lawn, causing unsightly brown patches maybe it's time to use Mother Nature's secret weapon: Beneficial Nematodes.
Beneficial Nematodes are a natural way to control Japanese Beetle grubs and over some 200 species other pest insects in your lawn while having no detrimental effect on Ladybugs, Earthworms, and other helpful beneficial insects.
Nematodes are naturally occurring microscopic worms of the soil and are used to control soil pest insects in their larvae or grub stages while not posing any health or environmental risks to humans or animals. The beneficial Nematodes enter the JB larva via mouth, anus, or respiratory openings and begins to feed. This causes specific bacteria to emerge from the intestinal tract of the Nematode, spreading inside the insect and multiply very rapidly; the bacteria convert host tissue into products which can easily be taken up by the Nematodes, ceasing the soil dwelling pest insect within a few days. Beneficial Nematodes are effective against not only the larval or grub stage of Japanese Beetles, but the Northern Masked Chafer, European Chafer, Rose Chafer, Crane Fly larvae (Leather Jackets), Oriental Beetles, and June Beetles.
The nematode product you purchase should contain two genera: Steinernema and Heterorhabditis for better grub control.
Beneficial Nematodes are very easy to use. Mix with water and spray on the lawn with a water-can, irrigation system, or a hose-end sprayer. Most homeowners spray at a rate of 10 million nematodes per 600 square feet on grub damaged lawns. After an application, keep the soil moist during the first two weeks for the nematodes to get established.
In Ontario, there are two windows of opportunity to apply Beneficial Nematodes to be effective against the JB grub stage.
The first application should be in May as the soil warms up and then again at the end of August or the first two weeks of September as the JB are hatching into their first larval stage.
We hope these tips help to ensure your healthiest lawn! For more information – and lawncare products - visit Eising Greenhouse and Garden Centre! 🌾
Dealing with water restrictions or choosing to conserve water? You’re not alone. Many gardeners in Norfolk County are facing the challenge of keeping gardens thriving with less water. The good news? A lush, colourful garden is still within reach—thanks to drought-tolerant perennials.
When we think of drought-tolerant plants, cacti might be the first thing that comes to mind. But there’s a surprising variety of beautiful, hardy perennials that can handle our region’s dry spells—no desert landscape required.
While these plants do need regular watering when first planted, once established, they’re low-maintenance and well-suited to Southern Ontario’s climate, including periods of limited rainfall.
Full Sun Ground Cover
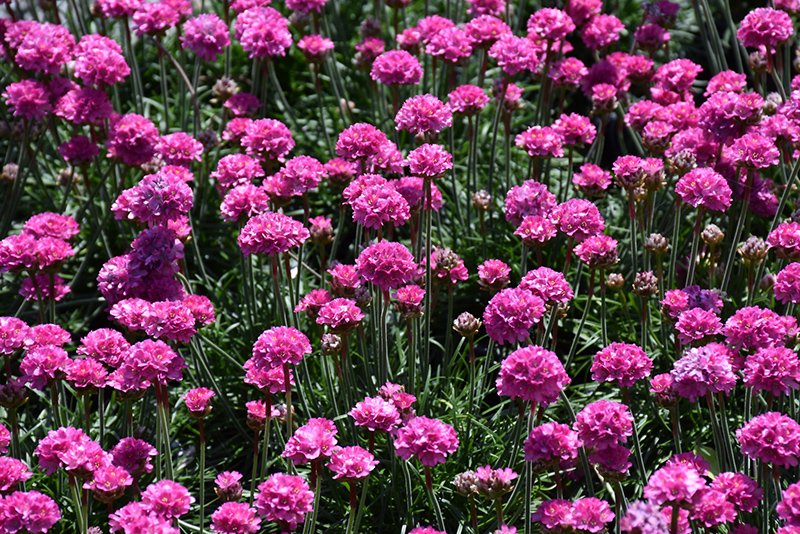
Botanical Name: Armeria maritima 'Dusseldorf Pride'
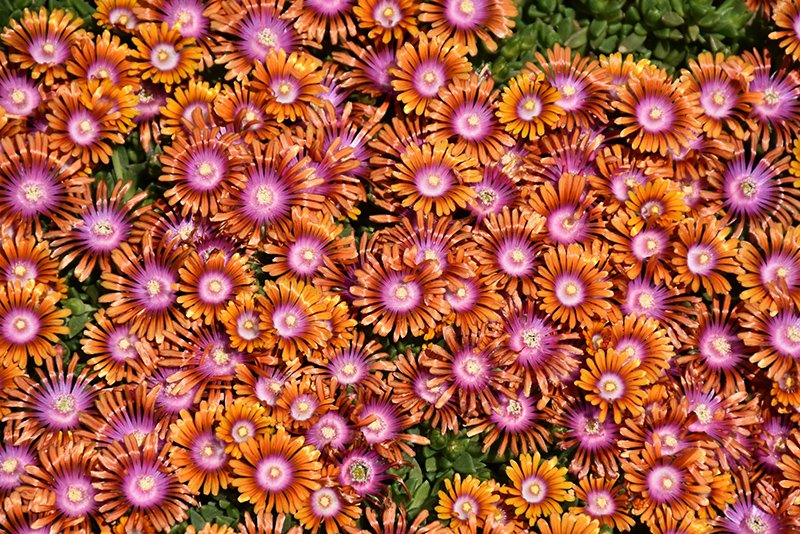
Botanical Name: Delosperma 'Fire Spinner'
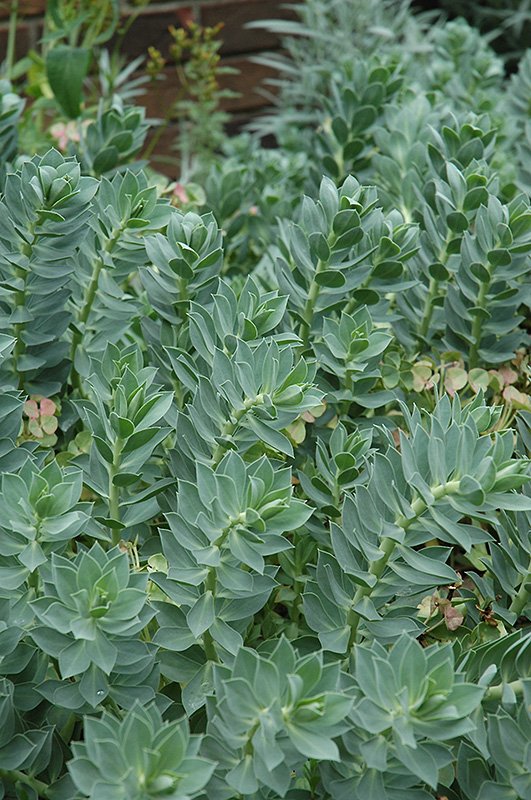
Botanical Name: Euphorbia myrsinites
- Candytuft (Iberis sempervirens)
- Catmint (Nepeta x faassenii)
- Hardy ice plant (Delosperma nubigenum)
- Hens and chicks (Sempervivum tectorum)
- Moss phlox, creeping phlox (Phlox subulata)
- Pincushion flower (Scabiosa japonica var. alpina) (S. ‘Butterfly Blue’)
- Pinks (Dianthus alpinus)
- Rock cress, wall cress (Arabis species)
- Rock rose, sun rose (Helianthemum hybrids)
- Spurge (Euphorbia myrsinites) (E. polychroma)
- Stonecrop (Sedum acre) - dwarf varieties
- Thrift, sea pink (Armeria maritima)
- Thyme (Thymus species)
Full Sun, Medium to Tall Plants
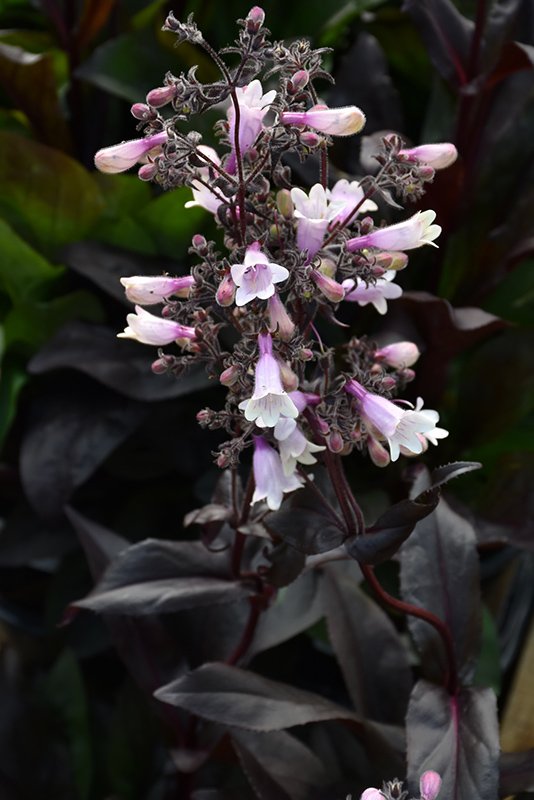
Botanical Name: Penstemon 'Dark Towers'
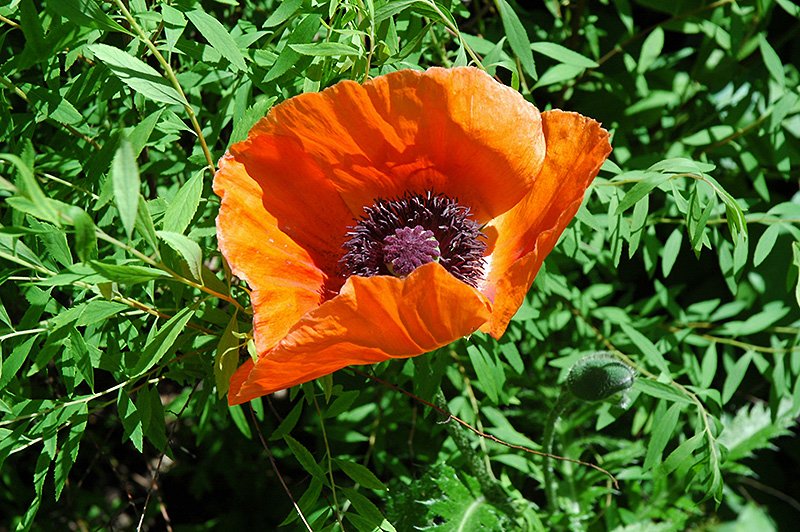
Botanical Name: Papaver orientale
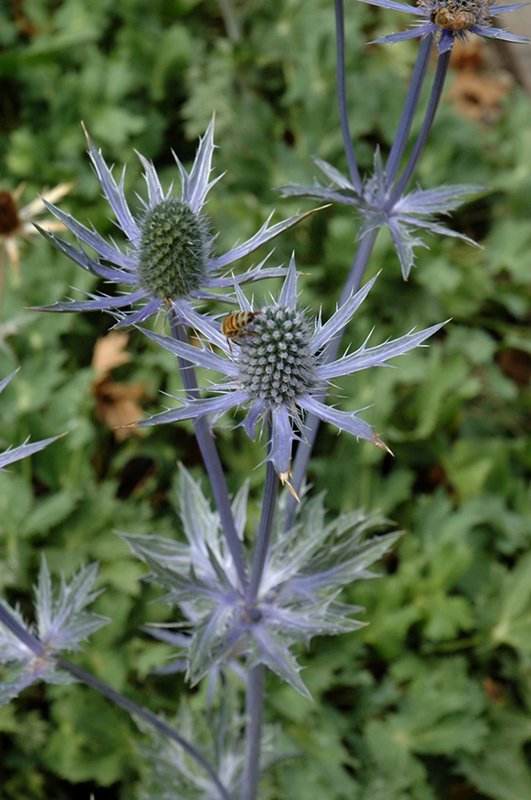
Botanical Name: Eryngium 'Big Blue'
- Beard-tongue (Penstemon digitalis) – Native
- Bergenia (Bergenia crassifolia)
- Black-eyed Susan (Rudbeckia hirta) – Native
- Blanket flower (Gaillardia x grandiflora)
- Butterflyweed (Asclepias tuberosa) – Native
- False indigo, wild indigo (Baptisia australis)
- Hairy penstemon (Penstemon hirsutus) – Native
- Lanceleaf coreopsis (Coreopsis lanceolata) – Native
- Lavender (Lavandula angustifolia)
- Orange coneflower (Rudbeckia fulgida ‘Goldsturm’)
- Perennial cornflower (Centaurea montana)
- Poppy (Papaver species)
- Purple coneflower (Echinacea purpurea)
- Prickly pear cactus (Opuntia compressa) – Native
- Russian sage (Perovskia atriplicifolia)
- Salvia (Salvia nemerosa hybrids)
- Sea Holly (Eryngium species)
- Silver sage, wormwood (Artemisia ludoviciana)
- Threadleaf coreopsis (Coreopsis verticillata) – Native
- Yarrow (Achillea millefolium)
Full Sun Grasses
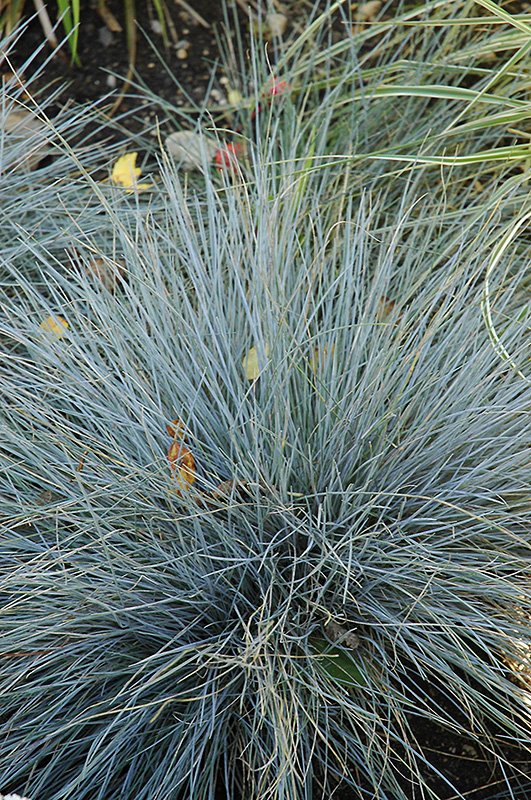
Botanical Name: Festuca glauca
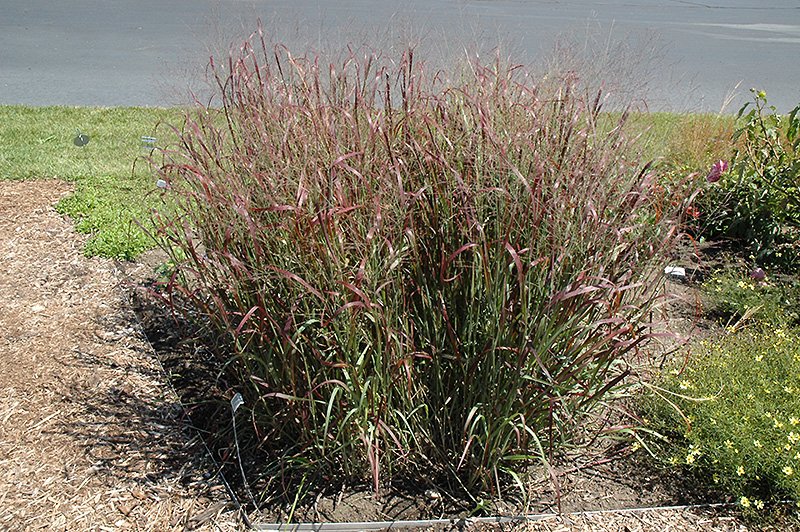
Botanical Name: Panicum virgatum 'Prairie Fire'
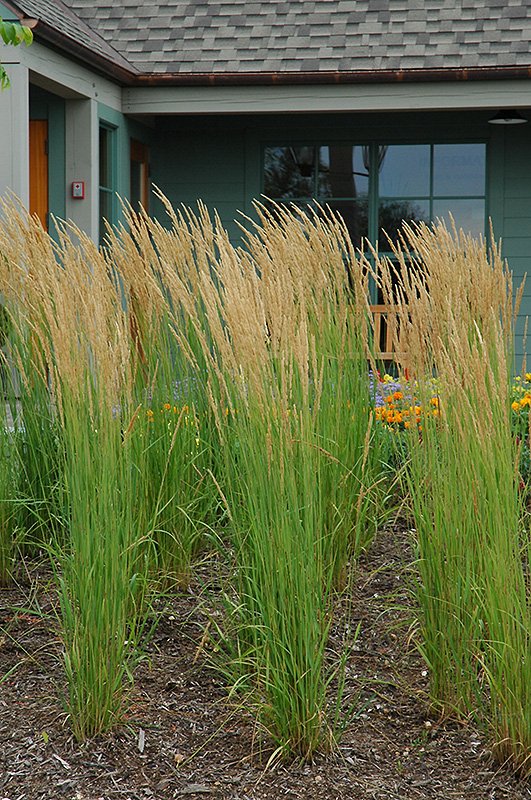
Botanical Name: Calamagrostis x acutiflora 'Karl Foerster'
- Big bluestem (Andropogon gerardii) – Native
- Blue fescue (Festuca glauca)
- Blue oat grass (Helictotrichon sempervirens)
- Feather reed grass (Calamagrostis x acutiflora ‘Karl Foerster’)
- Little blue stem (Schizachyrium scoparium) – Native
- Switch grass (Panicum virgatum) – Native
Groundcover for Shade
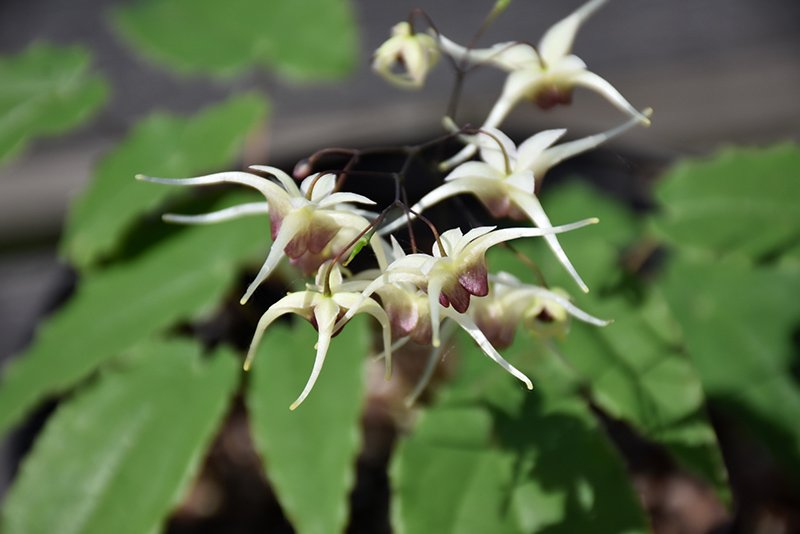
Botanical Name: Epimedium 'Domino'
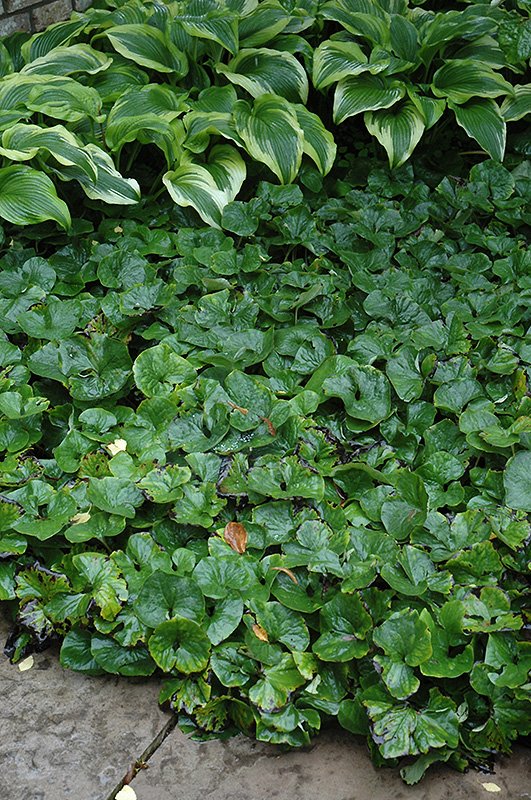
Botanical Name: Asarum canadense
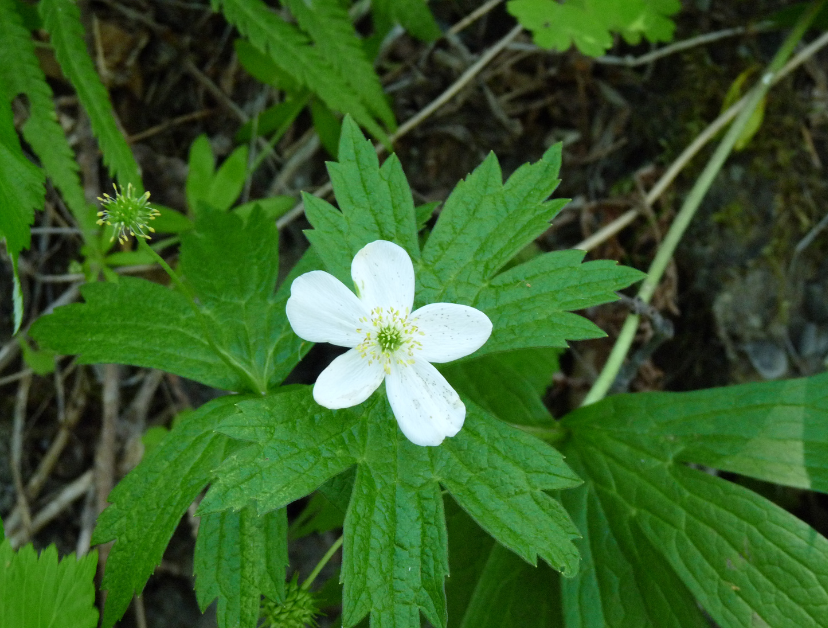
Botanical Name: Anemone canadensis
- Barrenwort (Epimedium hybrids)
- Bigroot geranium (Geranium macrorrhizum)
- Canada anemone (Anemone canadensis) – Native
- Creeping phlox (Phlox stolonifera)
- Sweet Woodruff (Galium odoratum)
- Wild ginger (Asarum canadense) – Native
- Woodland phlox (Phlox divaricata) – Native
Medium to Tall Plants for Shade
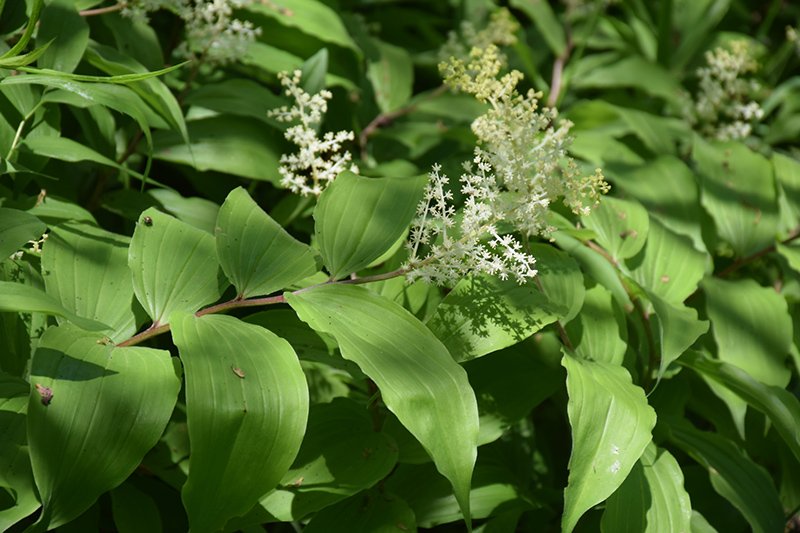
Botanical Name: Maianthemum racemosum
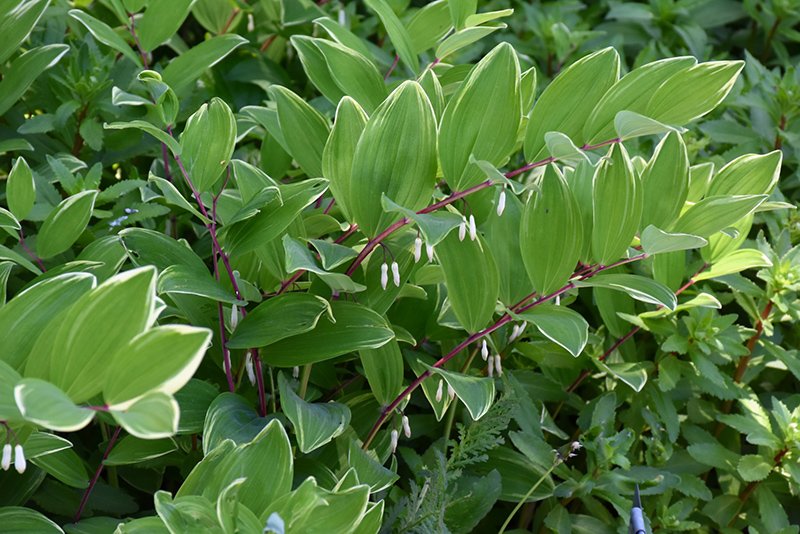
Botanical Name: Polygonatum odoratum 'Variegatum'
- False Solomon’s seal (Maianthemum racemosum) – Native
- Solomon’s seal (Polygonatum biflorum) – Native
Ferns for Dry Shade
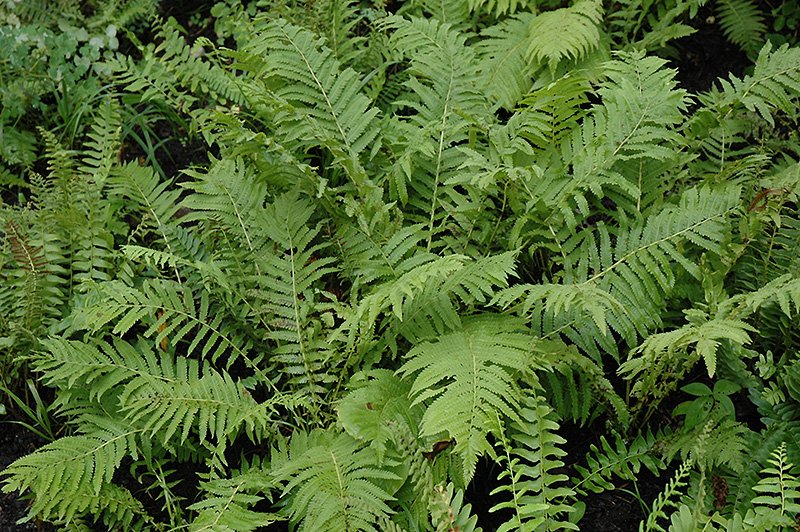
Botanical Name: Polystichum acrostichoides
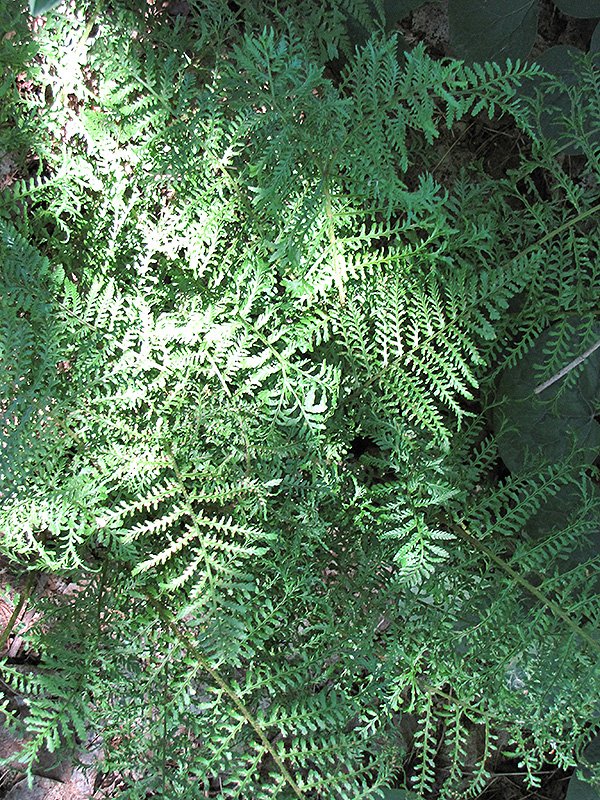
Botanical Name: Dryopteris filix-mas
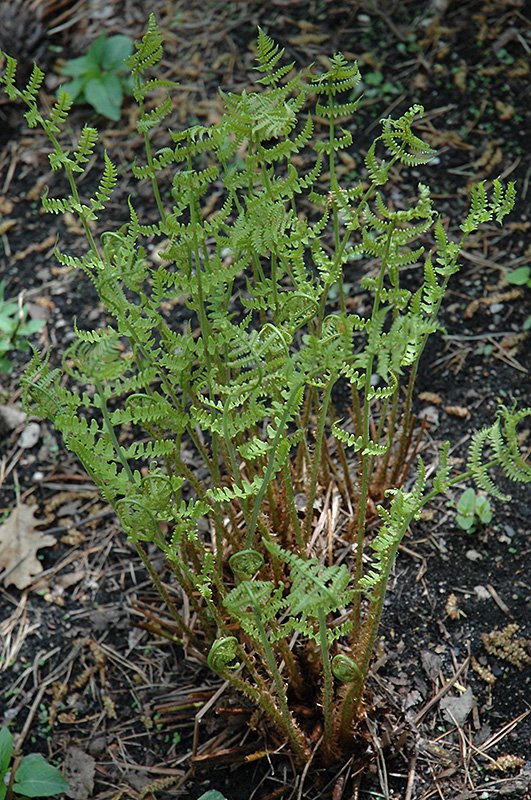
Botanical Name: Dryopteris marginalis
- Christmas fern (Polystichum acrostichoides) – Native
- Hay-scented fern (Dennstaedtia punctilobula) – Native
- Marginal wood fern (Dryopteris marginalis) – Native
- Male fern (Dryopteris filix-mas) – Native
- Rock fern (Polypodium virginianum) – Native
A Little TLC
It doesn’t take much to keep drought-tolerant plants thriving—just a little attention and some seasonal TLC. While they’re tough, even these hardy perennials appreciate an occasional deep watering during extended dry spells, especially in their first year.
For sun-loving perennials, skip the heavy fertilizers. Instead, an annual layer of compost is all they need to stay healthy and strong.
Shade-loving drought-tolerant plants, on the other hand, benefit from a layer of mulch. This helps retain moisture and reduces evaporation, especially in dry shade, which is one of the most challenging conditions for any plant to thrive in.
And don’t forget to deadhead regularly! Removing spent blooms encourages your plants to keep producing flowers instead of going to seed, meaning more colour, for longer.
With a few simple care tips, your drought-tolerant garden can remain beautiful and resilient throughout the entire season.
Other resources:
- Landscape Ontario: Eight Beautiful Drought Tolerant Plants
- Toronto Master Gardeners: Drought Tolerant Plants
- Guelph.ca: Drought Tolerant Native Plants
Coneflowers (Echinacea) have earned their place in perennial borders, pollinator gardens, and meadow-style landscapes—and for good reason. These hardy, vibrant perennials reliably return each spring in our Ontario Zone 6 climate, adding long-lasting colour and texture to any garden.
The classic Purple Coneflower (Echinacea purpurea) begins with soft, pink-tinged petals that deepen into rich purple hues as the season progresses. At its peak, the familiar domed centre cone emerges—an eye-catching structure that dries beautifully and provides winter interest in the garden.
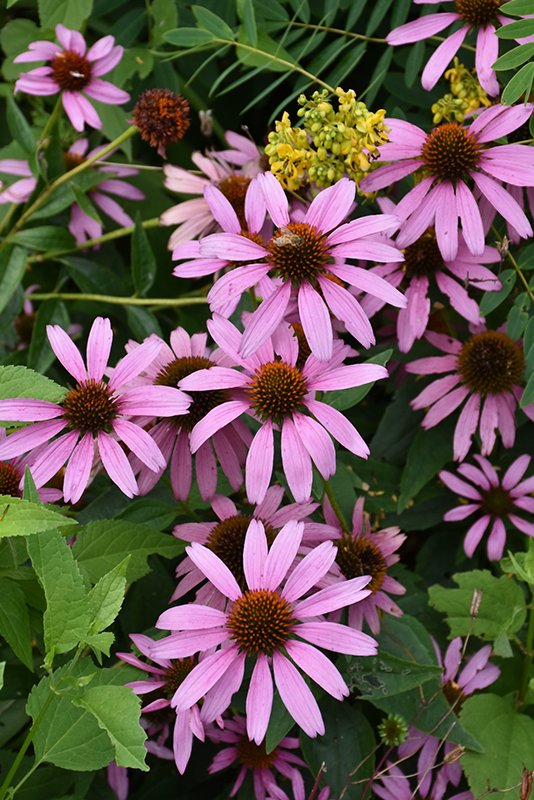
Purple Coneflower (Echinacea purpurea)
Choose From The Rainbow
While the purple coneflower is the most iconic, hybrids now come in nearly every colour of the rainbow. You'll find stunning varieties in pink, white, green, orange, and fiery reds.
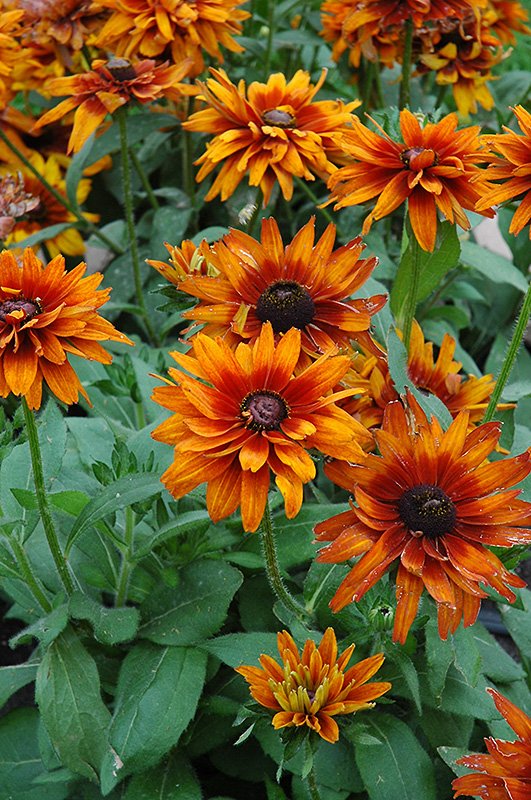
Rudbeckia hirta 'Cherokee Sunset'
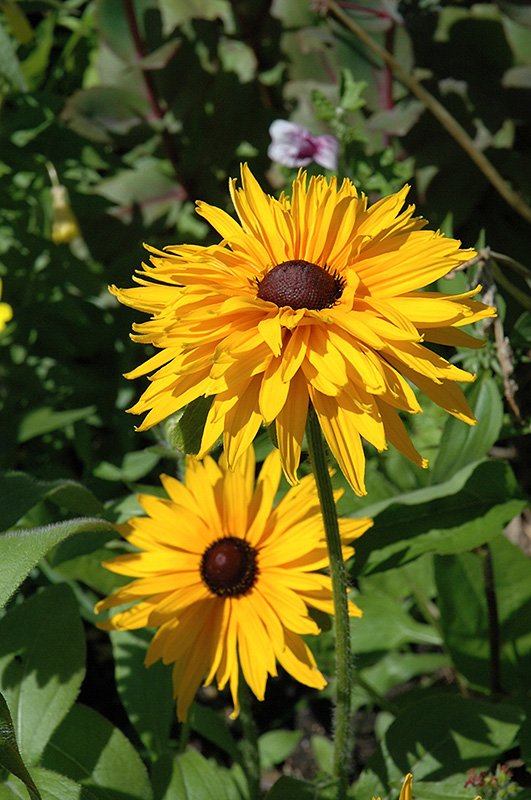
Rudbeckia hirta 'Double Gold'
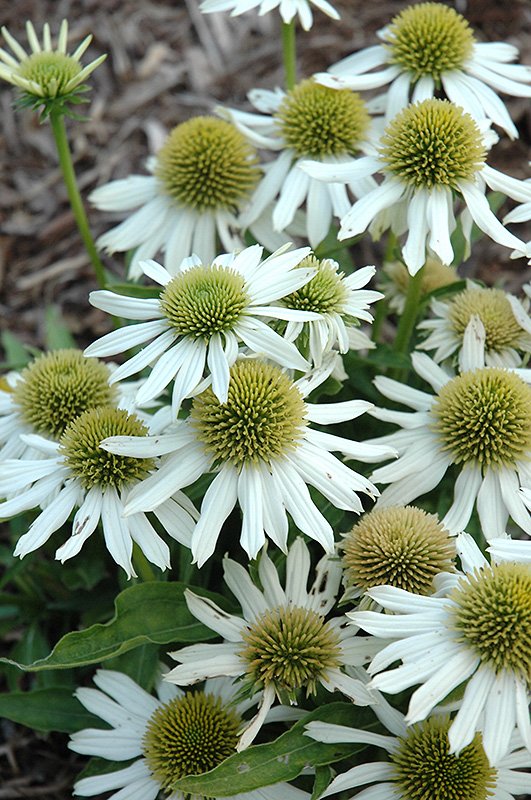
Echinacea 'Snow Cone'
No matter your garden’s colour scheme, there’s likely a coneflower to match. Even better, their bold blooms attract pollinators like bees and butterflies, while the seed heads feed songbirds in fall and winter.
Low Maintenance, Long-Blooming Beauty
Coneflowers are both showy and easy to care for—ideal for beginners and seasoned gardeners alike. Here’s what you need to know:
Growth habit:
- Height: 24–60 inches, depending on the variety
- Spread: 12–24 inches
- Bloom time: Mid-summer to fall
Growing conditions:
- Sun: Full sun is best, though light shade is tolerated
- Soil: Well-drained soil is key
- Water: Drought-tolerant once established, but thrives with consistent watering
- Fertilizer: Not necessary
Pro tips for success:
- Pinch back in early summer to encourage bushier, sturdier plants and decrease the chance of powdery mildew forming
- Deadhead spent blooms early in the season to prolong flowering
- Leave seed heads in late summer and fall for winter beauty and bird food
- Optional self-seeding: Let them go to seed for a naturalized look, or remove blooms to prevent self-seeding
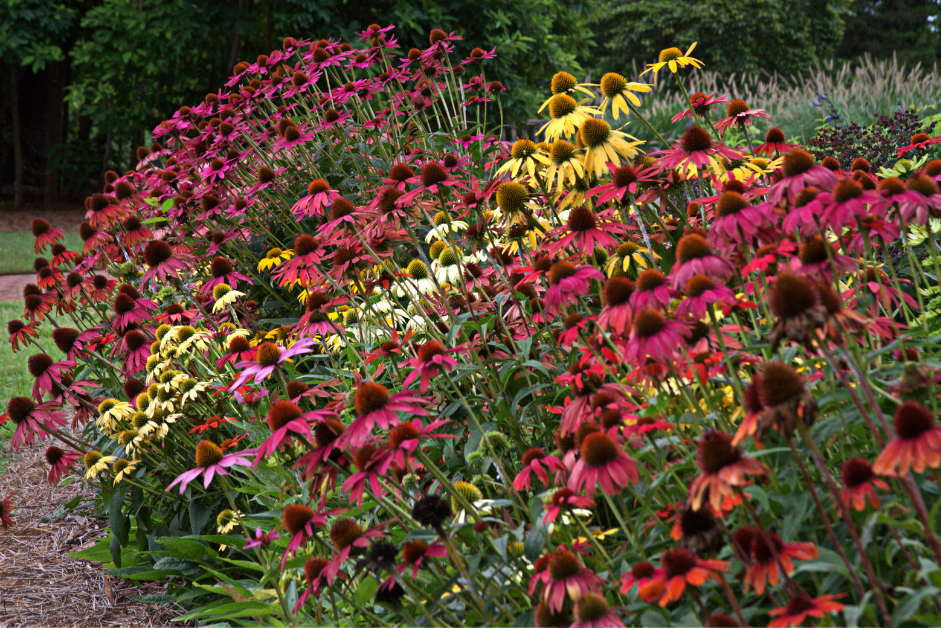
Coneflower Companions
Coneflowers mix beautifully with a variety of other perennials. For vibrant, complementary plantings, try pairing them with:
- Hyssop (Agastache)
- Catmint (Nepeta)
These companions share similar growing requirements and will enhance the colour and texture of your garden throughout the growing season.
Visit Us for More Ideas
Want help choosing the perfect Coneflower variety or finding the right garden companions? Stop by Eising Garden Centre and chat with our perennial expert, Mary. She’ll help you create stunning combinations that bloom beautifully from summer into fall.
What’s the best way to brighten up your garden? Add lots of annual flowers in the Spring! Here in Southern Ontario, the May holiday weekend is usually safe from frost - and go time for planting tender annuals!
At Eising Garden Centre, you’ll find a wide array of beautiful annual blooms. Here are ten of our sun-loving favourites to try.
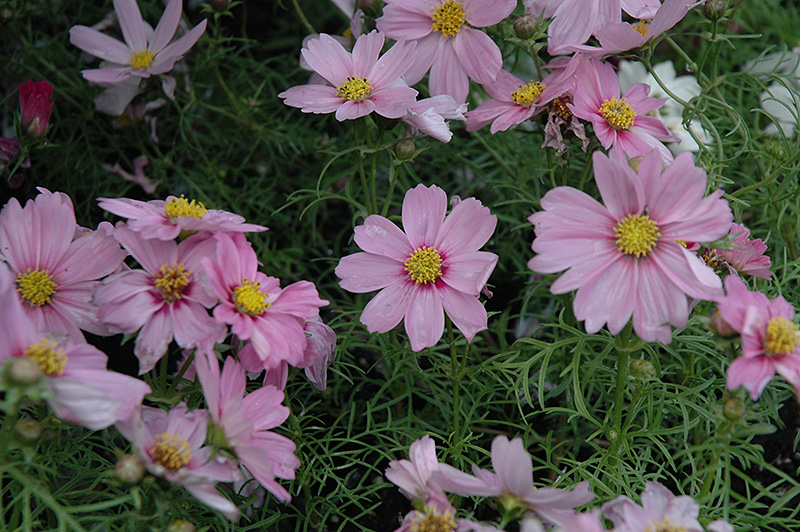
Cosmos
With daisy-like blooms in radiant shades of pink, red, and pure white adorned with mellow yellow centres—Cosmos are irresistible. They're perfect planted along a fence or at the back of a border, where they can lean on a little support. Depending on the variety, Cosmos can grow anywhere from 12 to 80 inches tall!
Zinnia
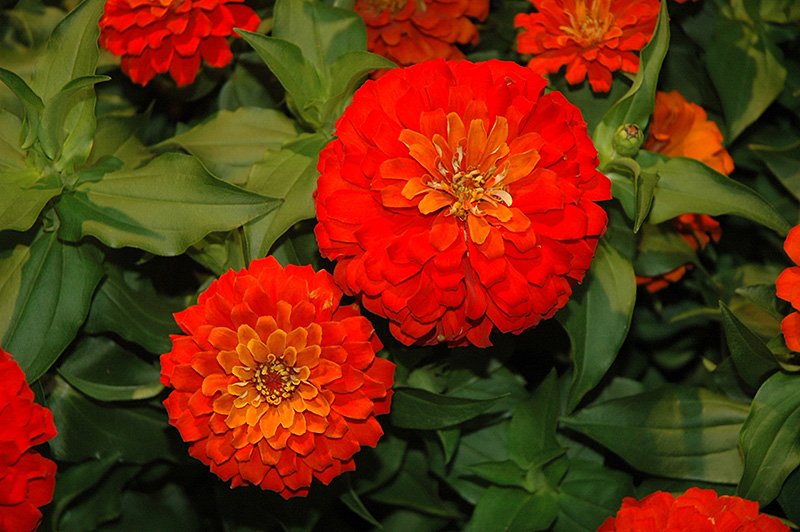
Bold, structured, and bursting with colour, Zinnias bring serious wow factor. Their cheerful blooms come in red, green, orange, yellow, purple, pink, and white. Depending on the variety, Zinnias grow between 6 and 36 inches tall and spread about 12 inches wide.
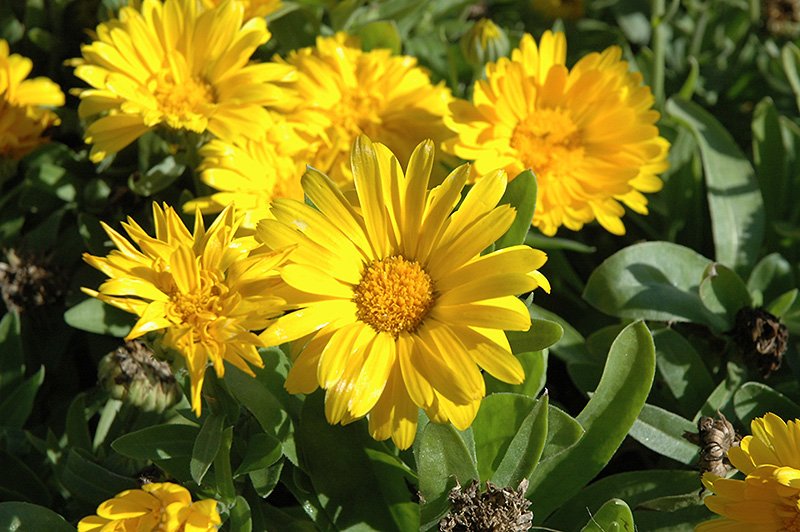
Calendula
Decorative and useful, Calendulas are edible flowers with culinary and medicinal value. Their soothing, antiseptic properties make them popular beyond the garden. Calendula come in gorgeous, bright shades of copper, orange, gold, and yellow blooms and grow 10 to 24 inches tall.
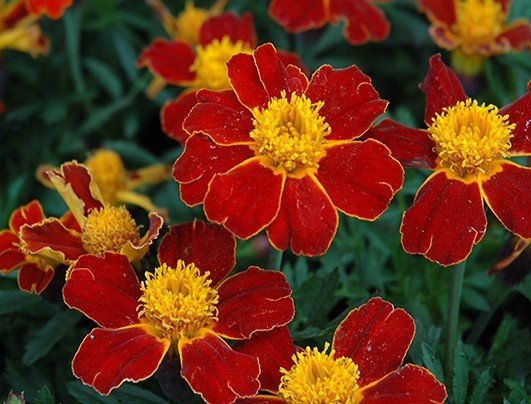
Marigold
Tough and reliable, Marigolds handle heat and humidity with ease, thriving even in the driest parts of your garden. They offer a beautiful range of bloom types—from large, ruffled flowers to small, delicate blossoms—and a palette of cream, yellow, orange, red, and bi-colours. Depending on the variety, Marigolds can grow from 6 to 36 inches tall.
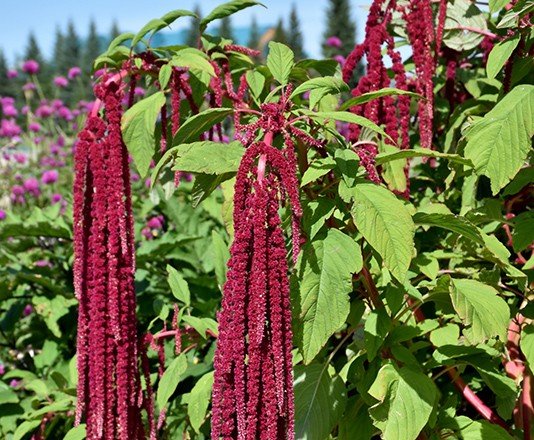
Amaranth
If you're after drama, Amaranth is your plant! Reaching heights of 3 to 5 feet, these bold beauties flaunt long, rope-like clusters of maroon or red flowers. While low-maintenance, Amaranths may need a bit of support to stay upright as they mature.
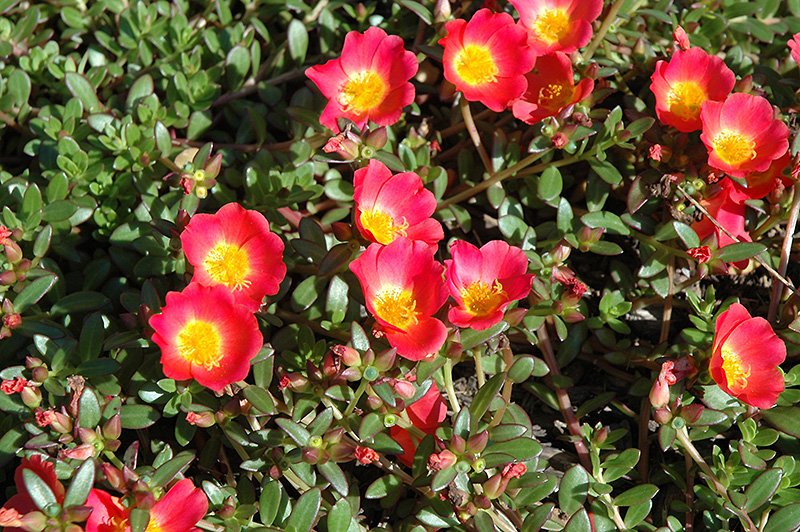
Portulaca
Perfect for hot, dry, and neglected spots, Portulacas deliver a brilliant show of colour with minimal effort. Their rose-like blooms come in vivid shades of red, pink, yellow, white, orange, and purple. Low-growing at just 4 to 8 inches tall, they're ideal for the front of borders, or alongside driveways, and patios.
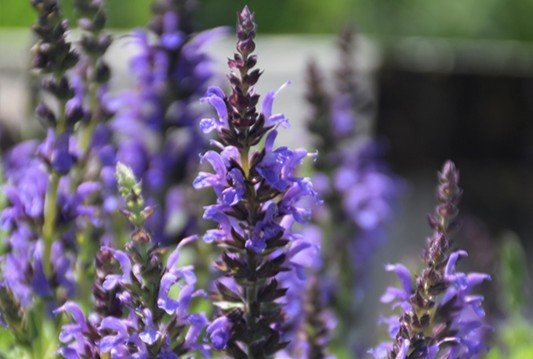
Salvia
With tall spikes of bold purple, red, blue, pink, or white blooms, Salvias are garden standouts. Growing 8 to 24 inches tall and often blooming continuously, they quickly become must-haves for flower beds or large containers.
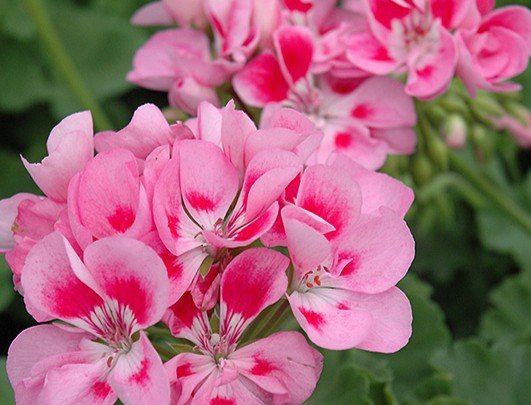
Geranium
Drought-tolerant and tough as nails, Geraniums have long been a gardener’s favourite. Regular deadheading (removing spent blooms) will reward you with non-stop flowers until frost. Their lush foliage and bright flowers—ranging from salmon, white, purple, violet, and orange to red and pink—also shine in mixed containers. Geraniums typically grow between 8 and 24 inches tall.
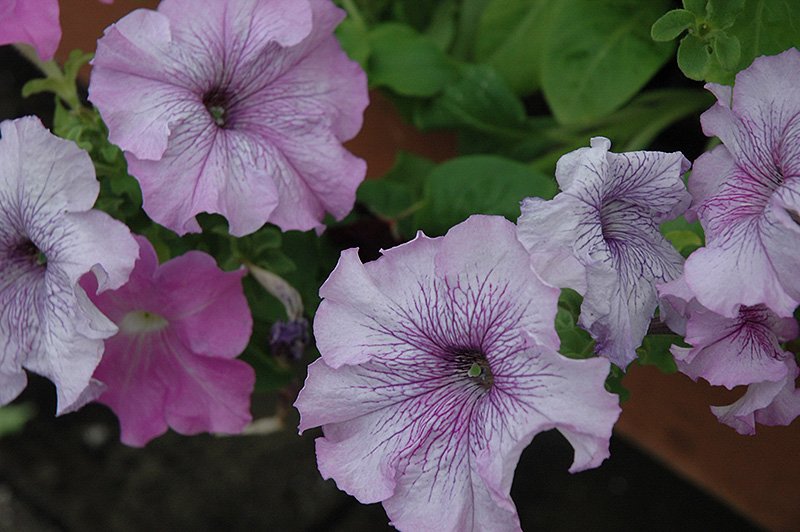
Petunia
It’s no surprise Petunias have remained beloved for generations. They grow quickly, bloom prolifically, and require little care. Available in mounding or trailing forms—and sometimes carrying a heavenly scent—Petunias are perfect for flower beds, hanging baskets, pots, or window boxes. Growing 6 to 18 inches tall, they come in white, yellow, pink, purple, red, bi-colours, and even black!
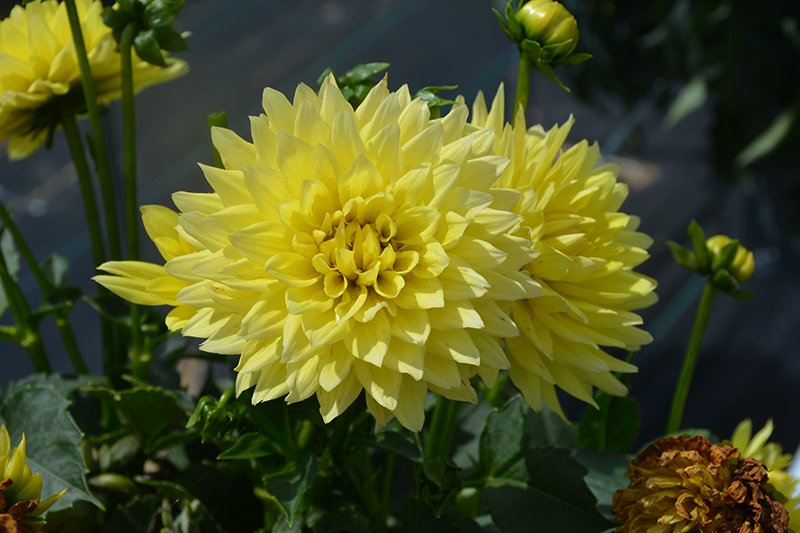
Dahlia
Dahlias can become a full-on passion project—and it’s easy to see why. Their breathtaking blooms come in a stunning range of sizes, shapes, and colours. While Dahlias can be a bit particular (they love rich, well-drained soil and plenty of water, but hate soggy conditions), they are absolutely worth the extra attention.
Sunshine + Food + Hydration = Success
All of these annuals thrive in full sun and will reward you with even more blooms when given consistent water and fertilizer.
Adding a continuous-release fertilizer to your soil at planting time—or feeding weekly with a balanced, water-soluble fertilizer—makes it easy to keep your garden thriving all summer long!
*TIP: Check our handy Plant Finder for more details! https://plants.eising.ca/11110015/
Looking for something that blooms in the garden when everything else is fading? Bluebeard (aka Caryopteris or Blue Mist) blooms from late summer until frost sets in!
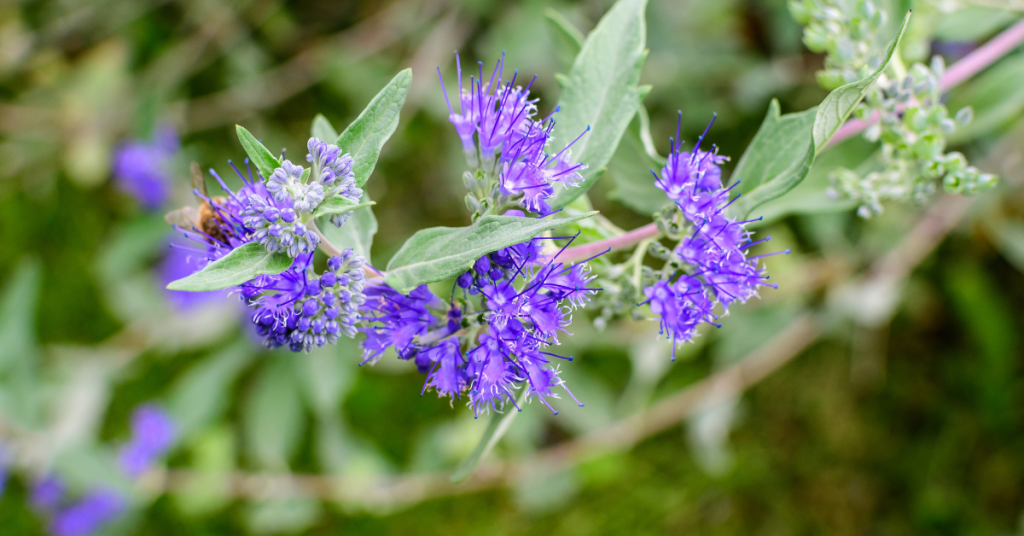
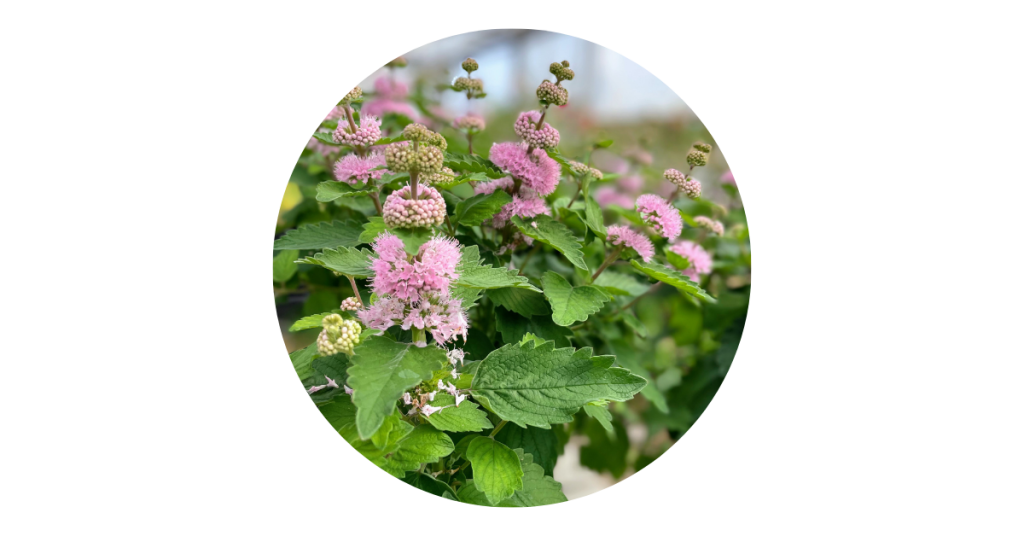
This shrub-like perennial thrives in full sun and sandy soil with good drainage. In exchange for these conditions, it provides an abundance of blooms in vivid, genuine blue (a colour that’s very difficult to find in the garden) or it can have pink or blueish-purple flowers depending on the hybrid variety. Foliage can range from soft grey to golden yellow to dark and glossy green, depending on the variety. Intrigued?
Bluebeard is a great perennial shrub for almost any size of garden and does well here in Norfolk County. Plants grow in a range from two to four feet in height and width and in a well-behaved, compact mound.
Beautiful Blooms
Such a unique flower! Bluebeards form fluffy clusters of flowers, like clouds or mist and can bloom from July until there’s a frost. Like most flowering plants, deadheading spent flowers will promote continued blooming.
Bluebeard flowers have a mildly sweet scent and are full of nectar for pollinator friends like bees, hummingbirds and butterflies. The features don’t stop there! Birds love the seeds that form in the Fall too.
Planting & Care
Find a nice, sunny spot with ample space for the plant to grow. Bluebeard aren’t heavy feeders and don’t need fertilizer. Some compost in the planting hole is all that’s needed. After that, top dress with some compost each Spring.
Water in new plants thoroughly after planting them. Once established, they don’t need watering unless it’s an extremely dry season.
Crown rot from consistently over-watering, or from being planted in wet, heavy soil is the only disease to be concerned about. Branches will begin to die, one by one, if this plant has crown rot.
While Bluebeard will tolerate drought and shade, the amount of flowers will be greatly reduced.
Pruning
Bluebeard’s foliage and flowers form on new branches or new growth. So, early each Spring, cut the stems down by at least half. Cutting them down to 12-18” does not harm the plant. It will send up new shoots, and it’s those new shoots that produce leaves and blooms!
You may find that established plants have some dead wood in the centre. If this happens, prune out any dead wood, and that will ensure that your shrub stays looking full and happy.
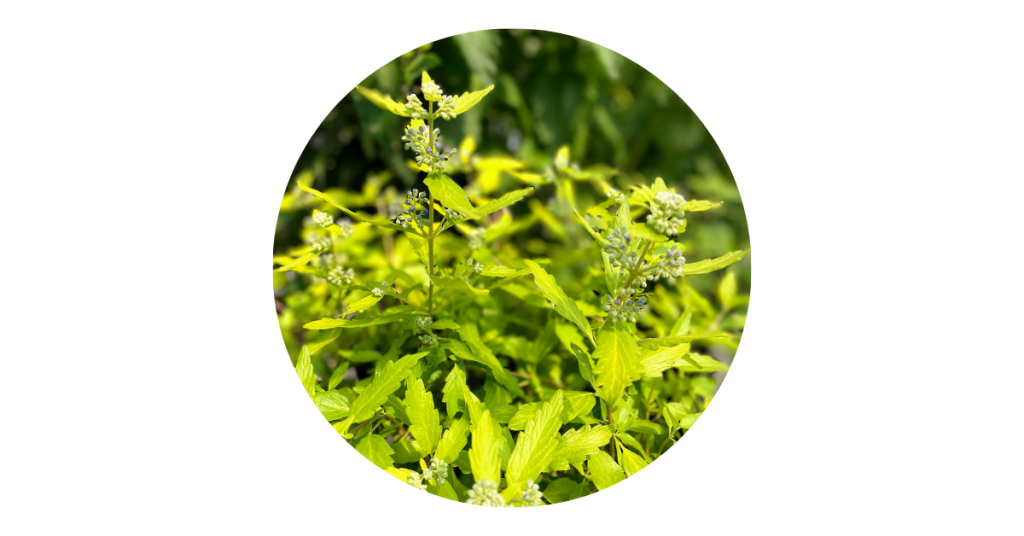
Sunshine Blue Bluebeard
Grows 2-3’ tall.
An extremely hardy variety with gold foliage and blue blooms.

One final note. Sometimes Bluebeard is called “blue mist spirea”. However, Bluebeard or Caryopteris is not related to spirea.
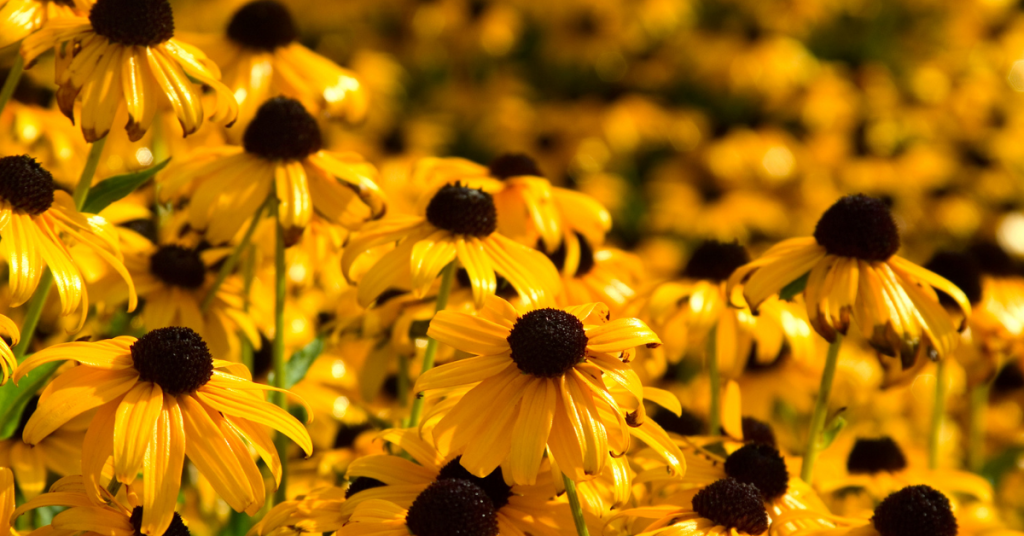
During the dog days of summer, having a resilient, dependable, and beautiful perennial flower in your garden is terrific. Meet the Black-Eyed Susan. They are quick to establish and mature, and perfect for a perennial border, cutting garden, or naturalized garden. Depending on the variety, they will grow 1-3 feet tall and spread about 2 feet wide, making them a show-stopping spectacle!
If that and the cheerful, dark-centred, golden-yellow, daisy-shaped flowers aren’t enough to draw you in, here are more reasons we love these plants!
Long Blooming
Black-Eyed Susan (Latin name: Rudbeckia) is a prolific bloomer whose flowers can last from July to October. At a time in the season when many other flowers can look weary, Rudbeckia is a shining star. Its flowers grow on sturdy stems, which adds to their resilience.
Easy to Grow
Rudbeckia are robust! They are drought—and heat-tolerant and generally do well in hard-to-grow locations. Once established, they do not require frequent watering. Rudbeckia hirta is an Ontario native plant, and exceptionally hardy.
Plant Black-Eyed Susan in full sun to partial shade and almost any type of soil. They are adaptable, generally trouble-free and do not require any extra care.
Pollinator-friendly
We aren’t the only ones who love Rudbeckia; butterflies, birds and bees do, too. This makes Black-Eyed Susan a perfect partner for other pollinator-friendly plants like Monarda (aka Wild Bergamot and Bee Balm), Gaillardia (Blanket flower), Yarrow and Echinacea (aka Coneflower).
Who doesn’t love Black-Eyed Susans? Because of the course hairs on the stems, this is a plant that rabbits and deer don’t care for.
Black-Eyed Susan is perfect to grow in a border, bed, planter, or in a field as a mass planting. It’s resilient, attractive, low maintenance and a beneficial addition to any garden!