
5 Easy Steps To Get Started
By Ava Green
There’s a common myth that you need a lot of space to grow vegetables, but whether you have a few containers, a small sunny corner, or a larger garden bed, there’s lots you can grow! Here in Norfolk County, which is Zone 6 in Southern Ontario, some vegetables can go in the ground as early as the beginning of May, while many others are usually safe to plant around the May 24th weekend, once the risk of frost has passed. Here are five simple steps to get you growing your own food this season if you’re new to vegetable gardening.
Step 1: Decide What You’d Love To Grow
Start with a list of the vegetables you actually want to eat. Coming into Eising Garden Centre with a list in hand makes choosing plants so much easier! When building your list, consider:
- Vegetables you love
- High-value vegetables, the ones that are expensive at the grocery store but easy and economical to grow yourself
- Anything that tastes better when it’s freshly picked, like tomatoes, cucumbers, and fresh herbs

Step 2: Make a Simple Plan
You don’t need an elaborate design; a rough sketch on a scrap of paper is just fine. The goal is simply to get a sense of your space and where things will go before you start digging. We recommend starting a garden notebook or journal to track what you plant each year and how it performs. It will be especially helpful next spring!! A few planning tips to keep in mind:
- Most heat-loving vegetables, such as tomatoes, peppers, zucchini, eggplant and beans, need at least six hours of sun per day
- Cool-weather and shade-tolerant crops like lettuce, chard, kale, radishes, and beets do well with just three to four hours of sun
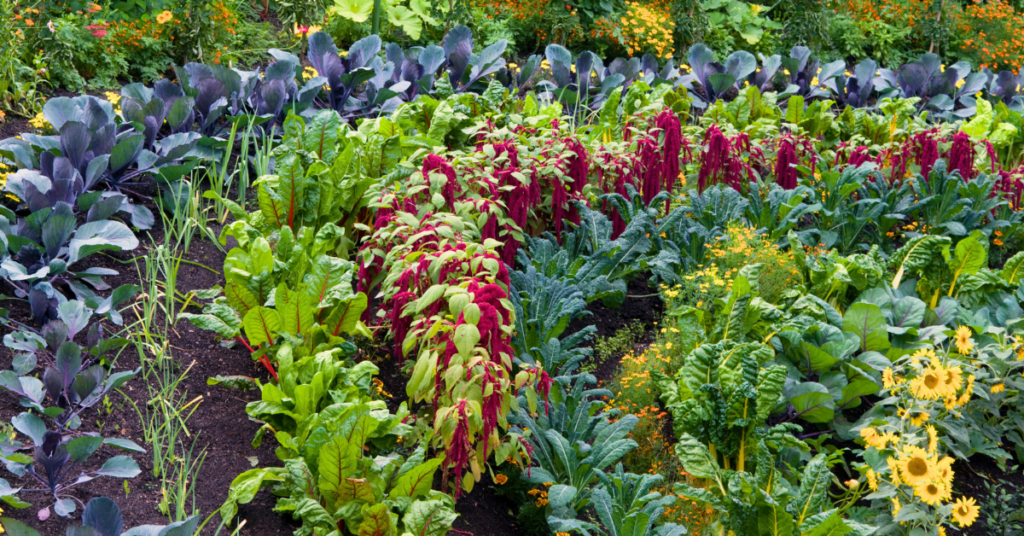
- Spacing in a vegetable garden can be much tighter than in other types of gardens. Less empty space means fewer weeds and bigger harvests. Square foot gardening is an excellent method to explore
- Layer your garden beds with plants that are great companions. For example, basil and marigolds planted beside tomatoes are said to improve flavour and repel pests. Carrot and beet seeds tucked in beside and between your lettuce plants (which are a cool-weather crop) are a smart pairing; as your lettuce finishes in the summer heat, your carrots and beets will be sprouting up to take their place. This is referred to as succession planting and optimizes the space in your garden
- Make use of vertical space with poles or trellises for peas, pole beans and cucumbers
- Tuck herbs into any gaps between your vegetables; they’re useful, beautiful, and most pollinators love them
Step 3: Prepare Your Space
Once you’ve chosen a spot with enough light, it’s time to get the soil ready:
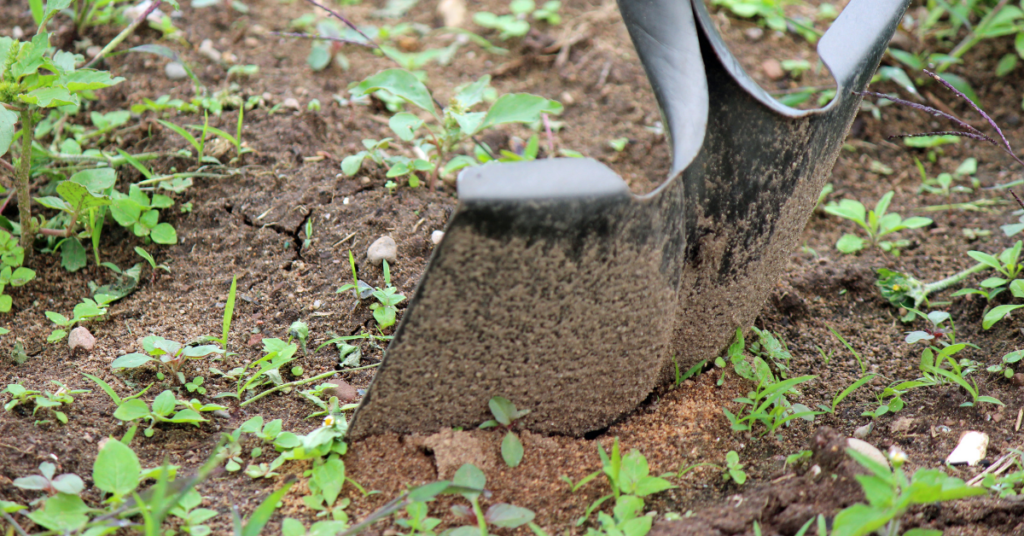
- Remove any sod or weeds before planting. If you’d rather not dig, the No Dig gardening method uses a layer of cardboard as the base for the new bed. This suppresses weeds naturally and breaks down into the soil over time
- Add a good-quality compost to your soil by either spreading a layer across the top of the garden bed or scooping some into each plant hole
- For container gardening, almost any container works, just make sure it’s deep and wide enough for the mature size of your plants. Also, drainage holes are a must! Fill containers with a soilless mix containing compost, peat moss or a peat alternative, and one of the following: sand, vermiculite, or perlite. Avoid using garden soil, triple mix, or topsoil in containers, as they compact easily and will restrict root growth. Learn more about soil mixes, amendments, and fertilizers here
Step 4: Water and Feed Consistently
Consistent watering and feeding are the foundation of a productive vegetable garden:
- Vegetables need regular, reliable watering. Inconsistent moisture leads to stressed plants and poor yields
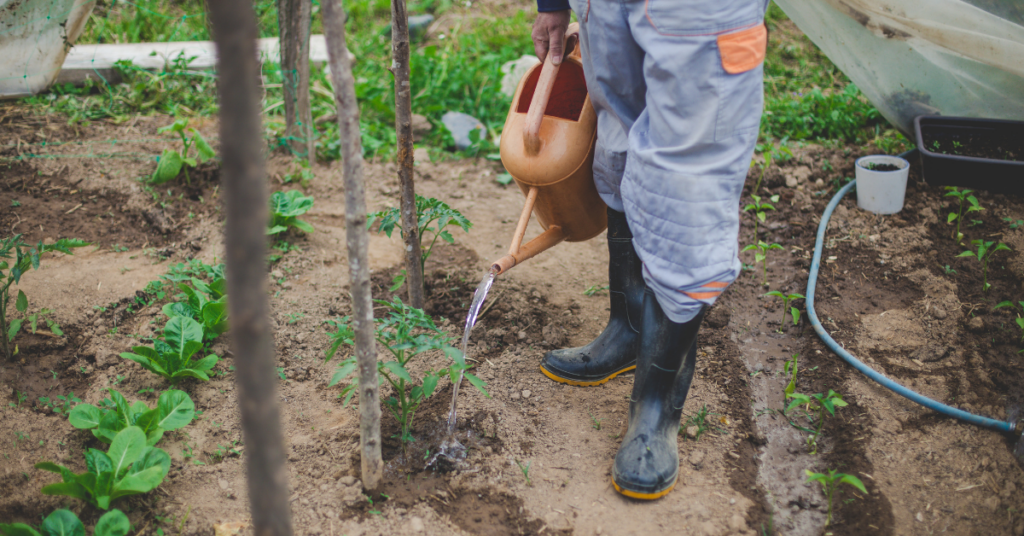
- Always water the soil, not the leaves. Plant roots take in water, and wet foliage can invite disease. Water deeply so moisture reaches the roots. Use your fingers to check how far down the water has penetrated into the soil
- Containers dry out faster than garden beds and will need more frequent attention
- Morning is the best time to water. If your plants are struggling on a particularly hot afternoon, a second watering is fine. Just be sure to aim at the base of the plant and avoid the foliage, which can scorch in direct sun
- Feed with organic fertilizers throughout the season to keep your plants healthy and productive. Follow the package instructions for the product you choose
Step 5: Plant Flowers for Your Pollinators
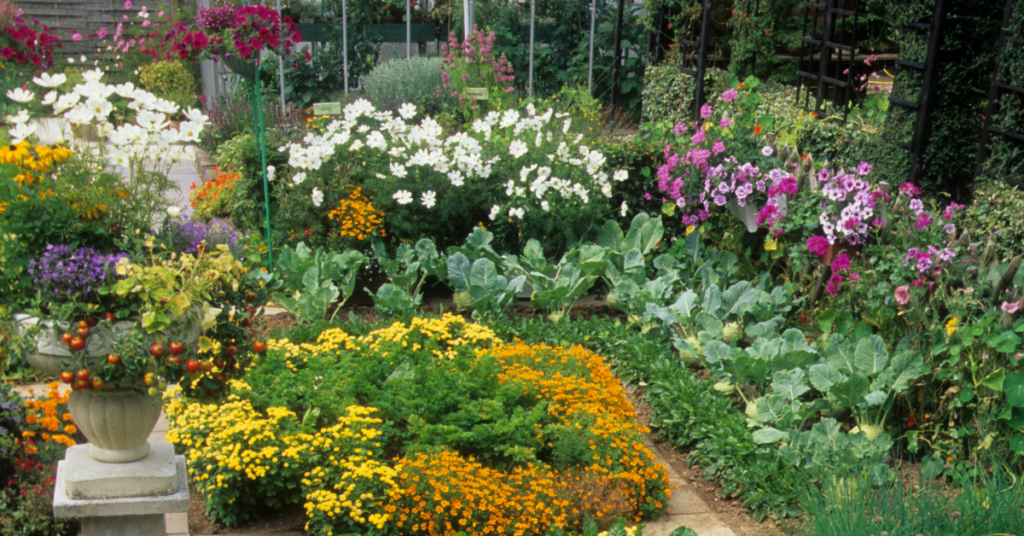
A vegetable garden without pollinators is a garden that won’t reach its full potential. Attracting bees, butterflies and other beneficial insects to your garden is one of the best things you can do for your harvest. Some of our favourite pollinator-friendly flowers for the vegetable garden include marigold, calendula, nasturtium, borage, sunflowers and culinary lavender. As a bonus, most of these are edible, so they earn their space twice over.
It’s Time
Starting a vegetable garden is one of the most rewarding things you can do with an outdoor space. There’s a quiet satisfaction in growing something from seed or a seedling and bringing it to your own table.
Start simple, grow what you love and don’t be afraid to learn as you go.
The team at Eising Garden Centre is always happy to help you choose the right plants for your space and answer any questions along the way. This could be the season that changes the way you think about your garden!
Resources:
Why Use a Garden Journal?: https://eising.ca/why-use-a-garden-journal/
Square Foot Gardening: https://www.almanac.com/planning-square-foot-garden-grow-more-less-space
Fertilizers & Soil Amendments: https://eising.ca/fertilizers-soil-amendments/
Companion Planting: https://eising.ca/companion-planting-with-herbs/ and https://eising.ca/incorporating-vegetables-into-your-garden/
Optimizing the Gardening Season: https://eising.ca/optimizing-the-gardening-season/
No Dig Gardening Method: https://charlesdowding.co.uk/blogs/no-dig-resources/beginners-guide
Reading Plant Tags: https://eising.ca/full-sun-part-shade-what-do-plant-tags-actually-mean/
Growing Vegetables in Pots: https://eising.ca/planters-are-for-more-than-flowers/
How to Keep Your Hanging Basket as Gorgeous as the Day You Brought it Home, All Summer Long!
By Dave Zeldon and Ely Schweyer
Remember your Mother's Day hanging basket with its variety of colours, textures, and plant combinations? Maybe there was Verbena cascading elegantly with their colourful star like blossoms, double Begonias for the porch in spectacular shades of reds, pinks, and burgundies, and of course the vigorously growing Petunias and Geraniums, to name just a few. But as the Summer goes on, they just don’t seem to have that same stamina.
To keep your hanging baskets in great shape and avoid the dry, wilted, bald spotted, leggy look that occurs to containers every August, one should follow these easy tips.
Watering
Plastic, fibre, and especially moss lined baskets dry out quickly. They should be checked twice daily and watered every day. Be sure to wet the moss sides as well.
Try to maintain uniform soil moisture. When watering, fill the top of the container with pooling water until it ‘pees,’ and allow it to drip out of the bottom of the basket every time you apply water. Frequent severe wilting will impact upon the quality of the basket.
At this time of year, one could take the basket down and soak it in a tub of water for 20 minutes to hydrate the entire root ball, once every week.

Deadheading
Remove spent flowers on a weekly basis (this is called deadheading) to prevent plants from going to seed. This will encourage more flower production. Part of the beauty of the mixed basket is its prolonged display, just like in your garden.
Check for Pests!
During your weekly deadheading, keep a watchful eye out for aphids, whiteflies, and caterpillars. If you see any, try a quick spray of insecticidal soap to keep them from becoming an infestation.
🖱️ If you're noticing fungus gnats in your hanging baskets, find more on eradicating them here!
Pruning
Not every plant in the basket will be at its peak all season.
Cutting plants back after a flush of bloom will tidy them up and prepare them for a fresh crop of flowers. Meanwhile, other varieties will begin putting on a show. This is especially true for Petunias.
A good cut back of long, lanky branches will reap benefits.
Fertilizing
Daily watering means nutrients can leach out of the soil before the plants can absorb them. The baskets should have both slow release granular added to the growing media and a weekly feeding of 15-30-15 soluble fertilizer. Use a solution containing micronutrients, as plants like Petunias need extra iron.
Sheltering
It has been suggested, if possible, that during stretches of extreme heat, give your baskets a break and move them to a cooler, shaded spot to de-stress for a couple of days. This is also suggested when heading on vacation. Your flowers will rebound to their former beautiful selves!
We hope this long term hanging basket care guide helps you enjoy your purchase all summer long! For more information - and beautiful plants – visit Eising Greenhouse and Garden Centre! 🌸
For tomato lovers, picking a warm, flavourful tomato right off the plant for a sandwich, burger, or salad is a sure sign of summer! I eagerly await the day the first fruit begins to turn red, knowing that I am a day or two away from the first of many toasted tomato sandwiches for the season!
By the end of June, your tomato plants should be in the ground or pot, staked, and well on their way to producing fruit. But how do you keep your plants healthy all summer so that you can maximize your investment? Here are a few tips to help keep your tomato sandwiches coming until frost!

Water
Water early in the morning and water deeply. For tomatoes, consistent moisture is best.
Keep the water on the ground, not on the foliage. This is important because damp foliage can lead to diseases like early blight, which can ultimately cause the entire plant to die. Mulching around the base of plants will reduce the amount of water that can splash up onto the leaves. A soaker hose or drip line is also a great way to ensure that water stays on the ground, rather than on the plant.
Pruning
Reducing the amount of foliage on a tomato plant is necessary for a couple of reasons: good air flow, which reduces the chance of powdery mildew forming, and less foliage means that the plant can send energy to growing fruit instead of lots of leaves.
Follow these easy steps when you prune your tomato plants:
- Before you begin, remember to follow the rule for pruning - no more than ⅓ of a plant should be removed at a time.
- Use clean scissors or pruning shears to cut the leaves off the bottom of the plant. Remove any leaves that are touching the ground. These are particularly susceptible to mildew formation.

When fruit starts forming, remove the leaves from the bottom of the plant up to the first or lowest fruit.
Remove suckers ongoingly. What are suckers? When you look at your tomato plant, you will see the main stem that comes up from the ground, and branches of leaves that come out of the main stem. As the plant grows, suckers begin to form in the “Y” between the main stem and a branch of leaves. Suckers won’t harm a plant; they just make it very unruly and reduce airflow.

If your tomatoes are indeterminate (growing into a tall vine), remove the top of the plant when frost is forecasted at the end of the season. Topping the plant allows energy to ripen the fruit that’s already set, rather than being used to continue growing the vine.

NOTE: Some gardeners like to leave suckers on determinate tomato plants as this can increase the yield.
TIP: Tomatoes ripen from the inside out. That means that by the time you see fruit beginning to flush on the outside, the inside is already ripe. If you have competition for tomatoes from pesky critters, or when there’s a chance of frost in the weather forecast, you can pick fruit that has just begun to turn colour and leave it on the kitchen counter to continue to ripen.
Fertilizer
Using organic material is one of the best ways to feed your crop. A good layer of compost, 1-2 inches, in the spring when you’re planting and again in the fall each year is one of the best ways to improve your soil structure in the garden, and it also adds lots of nutrition.
If you missed this step when planting your garden, you can always add a layer of compost around your plants or use other organic fertilizers, such as compost tea, seaweed, worm castings, or fish emulsion.
Alternatively, you can use a fertilizer that’s formulated especially for tomatoes - these usually have a ratio like 3-4-6 or 4-7-10. Follow label directions for amounts and err on the side of caution. Using less fertilizer is always better than using too much, as an excess can stress the plant and make it more prone to disease.
Following these simple steps for tomato care will help to ensure your plants stay healthy and producing fruit, but if you should have problems, here are some great resources to identify tomato issues:
- Ontario.ca: Bacterial diseases of tomato: bacterial spot, bacterial speck and bacterial canker
- Guelph.ca: Healthy Landscapes – Plant List Native and Drought-Tolerant Plants
March is the month that many of us have waited for all winter. It’s seed-starting time for lots of heat loving vegetables, herbs and flowers that will be transplanted outside in May or June.
It’s also time to plan for cool weather crops. Cool weather crops?! This can be a revelation to many of us who are new to growing vegetables. There are two kinds of vegetable plants; heat loving and cold hardy. On average, most cold hardy veggies can withstand temperatures of -4 celsius and can be planted out weeks before the last frost date, especially if they are covered. We’ve listed some covering ideas at the end of this article.
So where do you begin? If it’s your first time starting heat loving vegetable seeds indoors, try beginning with one or two vegetable varieties that you love. How about an heirloom tomato that you just can’t find grown anywhere else, or some super hot peppers to spice things up? The seed carousels at Eising Garden Centre are fully stocked with vegetables and flowers right now so it’s the best time to come in and find something exciting to grow! Check the back of each seed packet, it will tell you how many weeks before the last frost date (around May 24th here in southern Ontario) to start your seeds indoors. There are also a few supplies you’ll need to get started - instructions and the essentials are listed in this blog post. It takes a little more work to start seeds indoors, but it can be very fulfilling and it does allow you to grow things that are unusual.
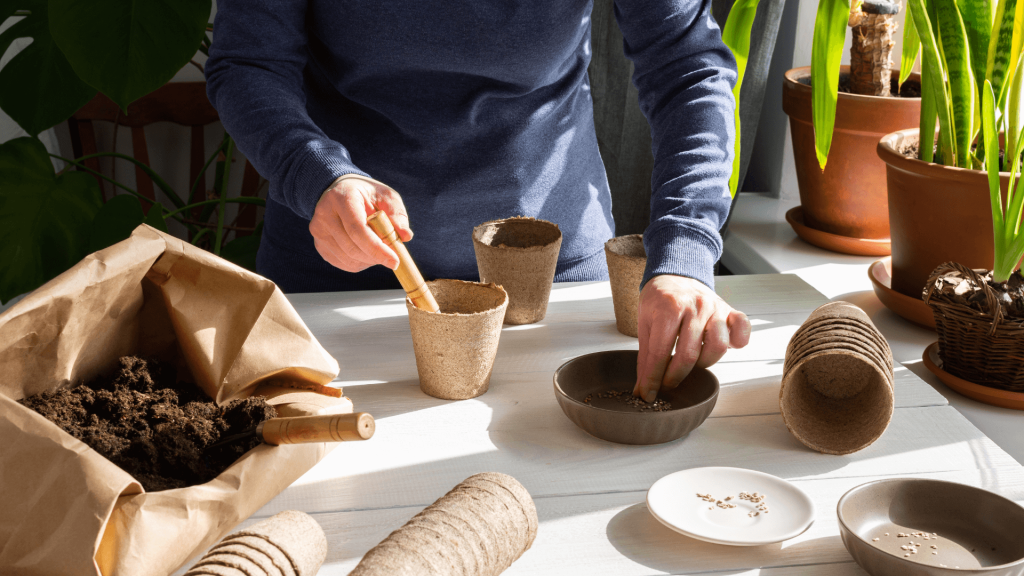
If starting seeds indoors sounds like too much work, we’ve got you covered - visit Eising Garden Centre in May to shop our wide selection of vegetables, herbs and flowers that you can easily transplant and enjoy!
If you’re eager to get gardening, why not try some cold hardy veggies? In Southern Ontario, cool weather vegetables can be planted early in Spring. This allows you to grow and harvest a whole crop before the heat loving veggies like tomatoes and peppers, and most annual flowers get transplanted around May 24th (hardiness zone 6b), or when overnight temperatures are regularly a minimum of 10 celsius.
Here are some cool weather vegetables to consider planting as soon as the soil in your garden is workable (not frozen solid):
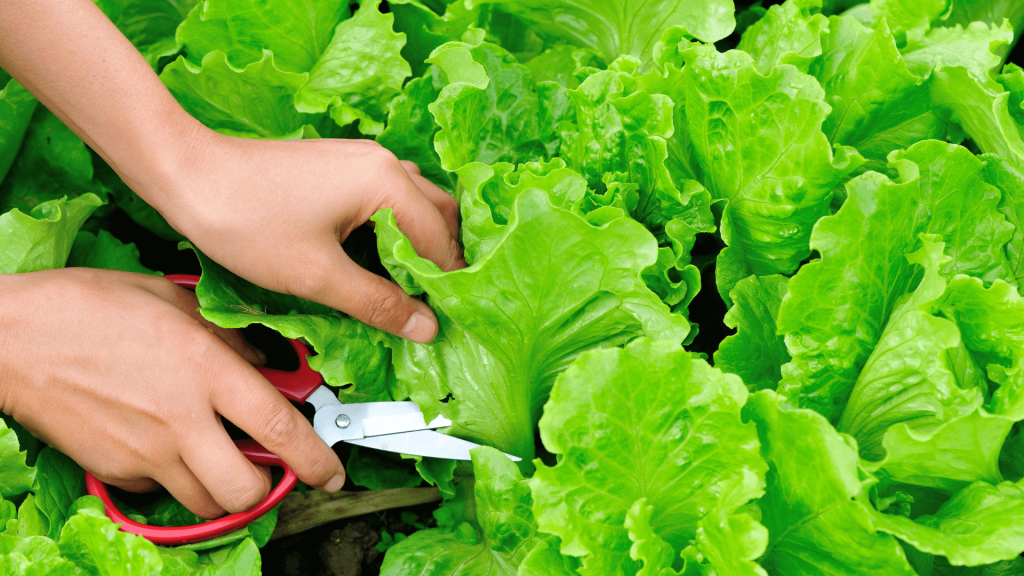
Lettuce is a crop that you can direct seed or transplant early, and it can be seeded every two weeks throughout the spring and fall for continuous crops. Lettuce seeds will germinate in about 7 days at a soil temperature of only 10º celsius but the optimal soil temperature is between 16-24 degrees. Do not worry about running out to buy a soil thermometer, or waiting until the soil temperatures are exact - all of the cool weather crops will germinate at slightly lower temperatures, they’ll just take a little longer. We also offer lettuce plants in the garden centre in early May if you would like to transplant established greens. Starting with a few plants, and some seeds will ensure a continuous crop of lettuces for several weeks.
Lettuce can be grown in the shade in early summer. It will last longer in the shade as temperatures climb, and not bolt (plant begins growing seeds instead of leaves, making leaves on the plant bitter) as quickly.
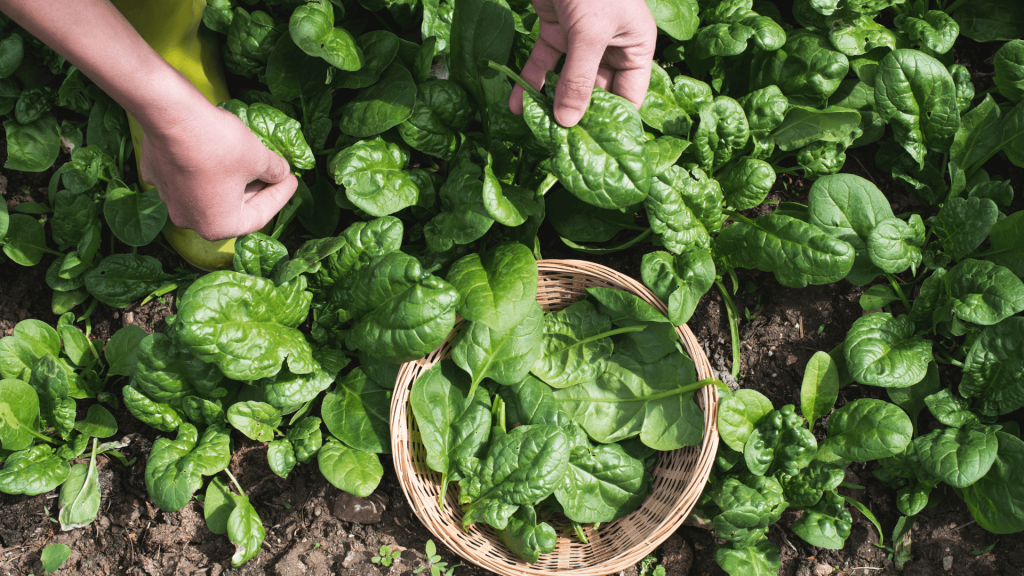
Spinach and Arugula like lettuce, are very well suited to germinating early in spring or in the fall. The optimal soil temperature range for germination is 18º-24º C and will take about 12 days.
Lettuce, Spinach and Arugula grow best in cool temperatures and tend to bolt as soon as temperatures warm up in late spring and early summer. Look for “bolt-resistant” varieties if you want to extend your late spring harvests.
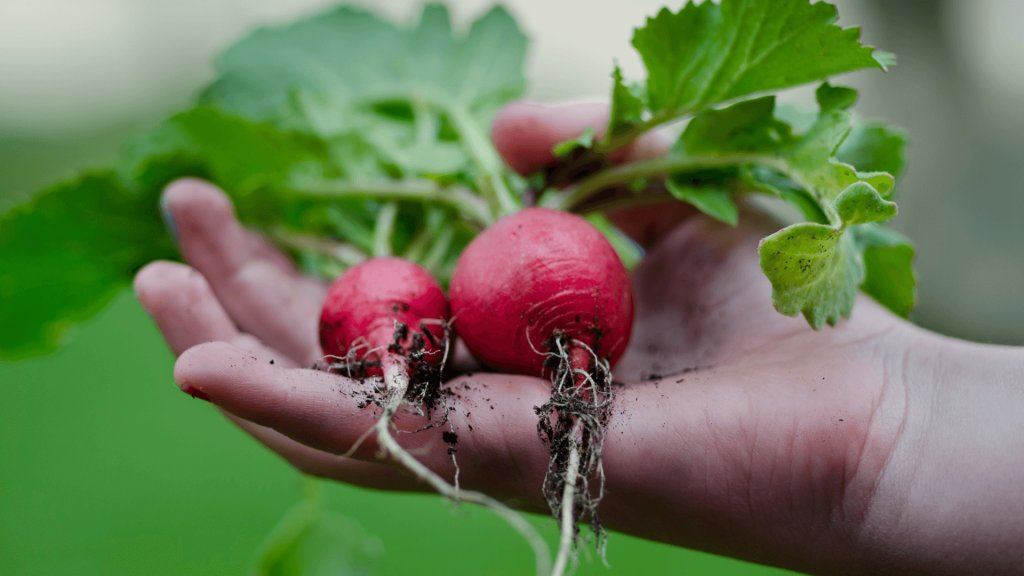
Radishes can be planted throughout the early spring if you’d like a continual harvest of tender, young radishes. It takes about 30 days from germination to harvest, sometimes less for smaller varieties. Seeds will germinate at soil temperatures anywhere between 4º-35ºC which makes them easy to start!
Peas love early spring and cool fall temperatures! They will germinate quickly when the soil is between 18º- 24ºC and will be ready to harvest in late spring or early summer. This is another vegetable that you can start again as autumn sets in.
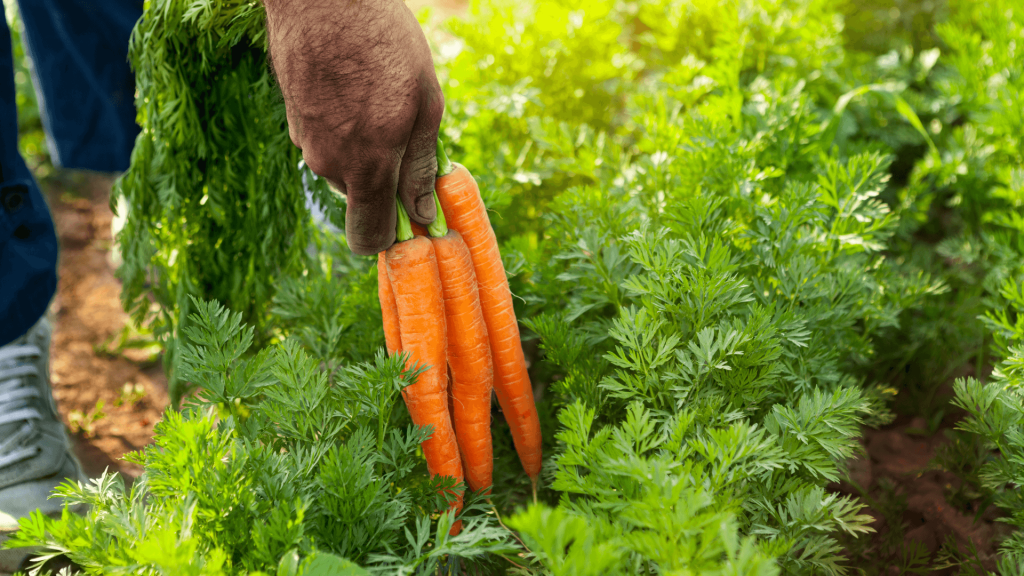
Carrots grown in the spring can be harvested early in the summer making way for heat loving crops like peppers and tomatoes. Carrots will germinate in a wide range of soil temperatures, and can be planted outdoors about 4 weeks before the last frost date. Late in summer, as you remove the heat loving crops, you can seed more carrots for harvest in late fall or early winter.
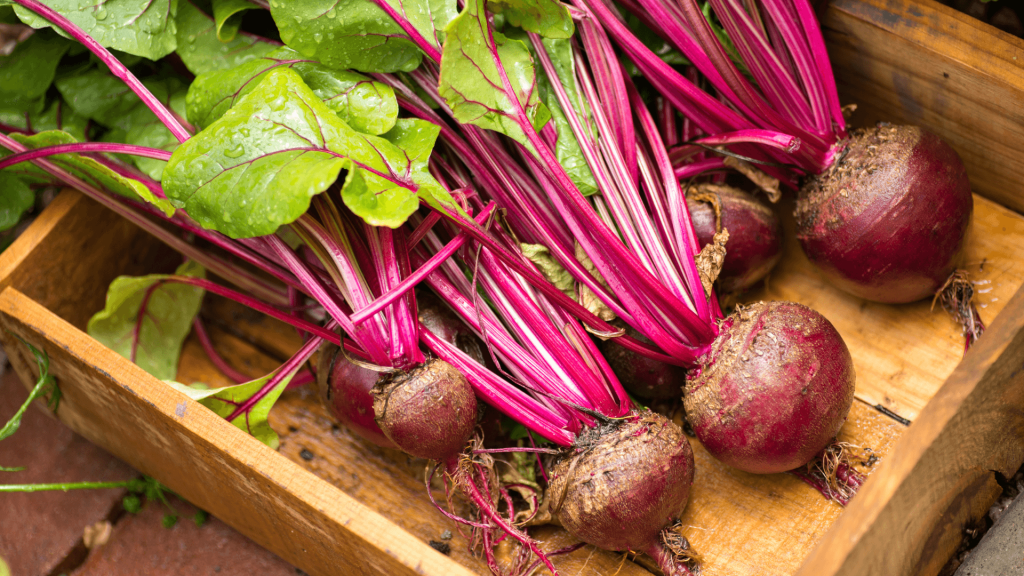
Beets are another vegetable that can be sown in a wide range of soil temperatures. Because of this, you can start planting beet seeds as soon as the soil can be worked in the spring, and you can continue seeding beets every 2-3 weeks for a continuous harvest.
Green Onions (aka Scallions or Spring Onions), Kale, Chard, Collard Greens, Mustard Greens, Swiss Chard, Brussel Sprouts, Cabbage, Radicchio, Fennel and Cilantro are also seeds that can be planted in hardiness zone 6b in early spring when the soil can be worked.
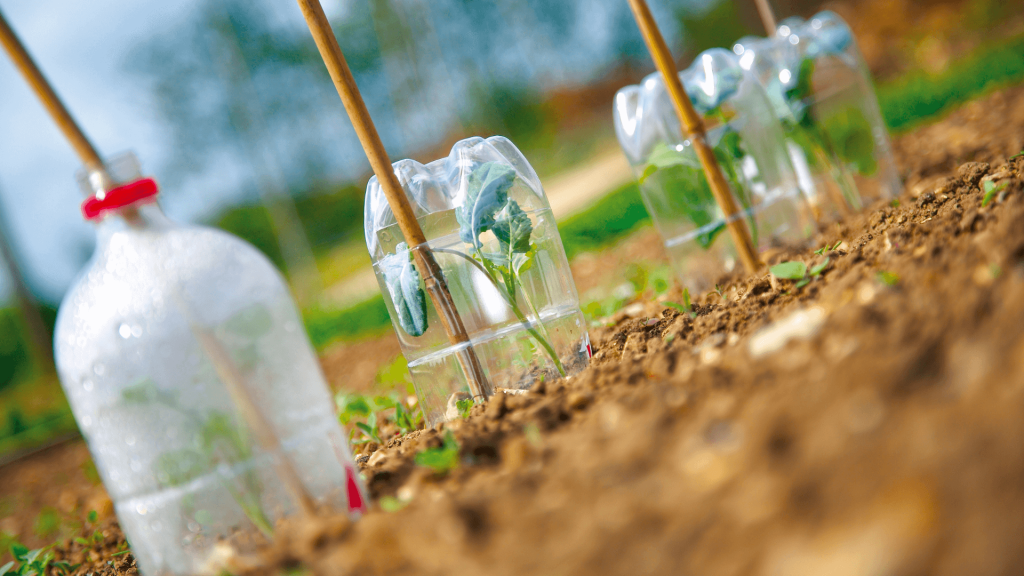
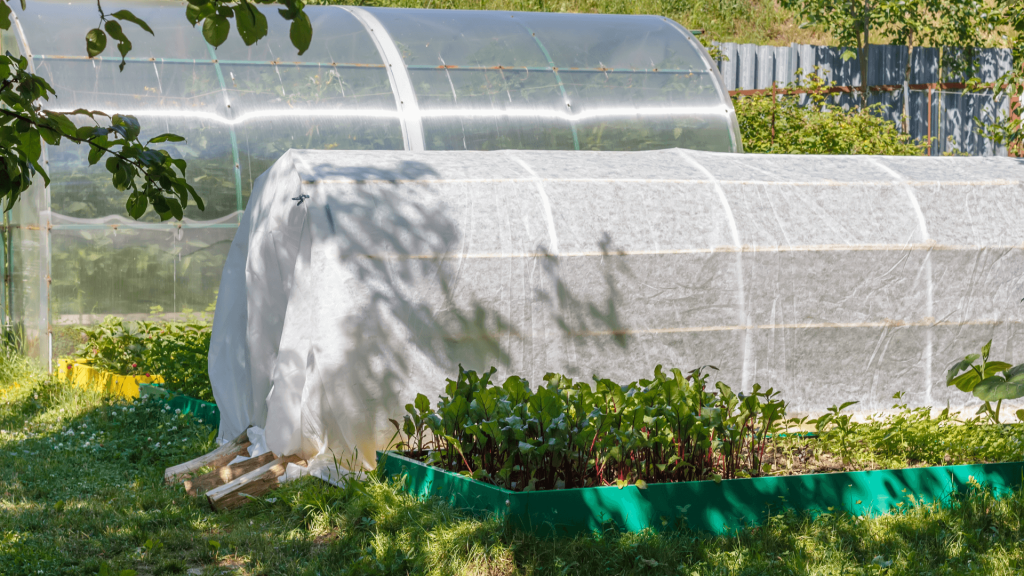
Keep in mind that while these vegetables grow in cool weather, they may still be slow to grow or even damaged if the temperatures dip too low. If this happens, you may want to provide some protection like row cover cloth, a blanket, plastic, a cold frame, or a cloche (this can simply be a large plastic jug or containers).
If this article has piqued your interest, here are some great resources to help with seed starting and transplanting timing:
West Coast Seeds Vegetable Planting Guide
Heeman Ontario Seed Starting Guide
Reference for soil temperatures: