
Looking for something that blooms in the garden when everything else is fading? Bluebeard (aka Caryopteris or Blue Mist) blooms from late summer until frost sets in!
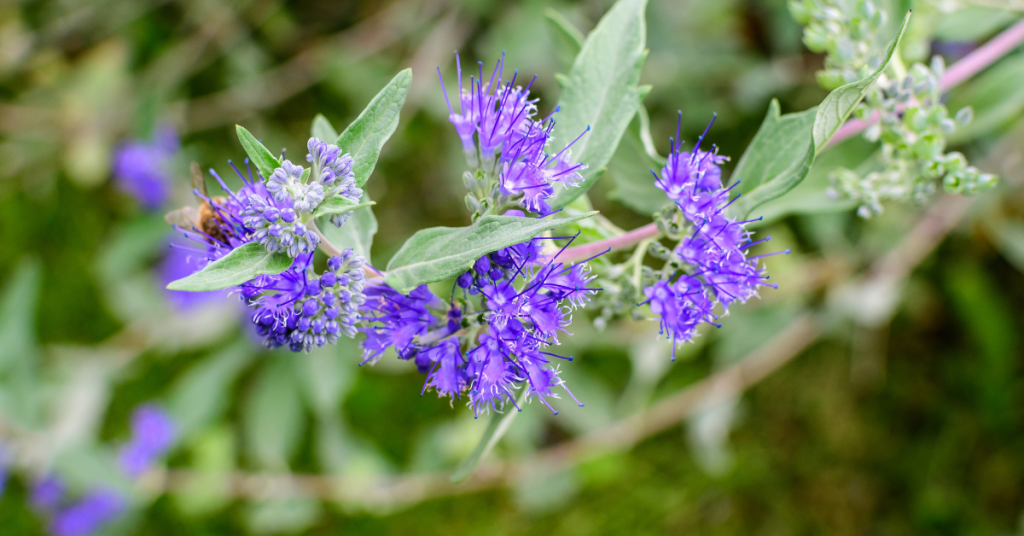
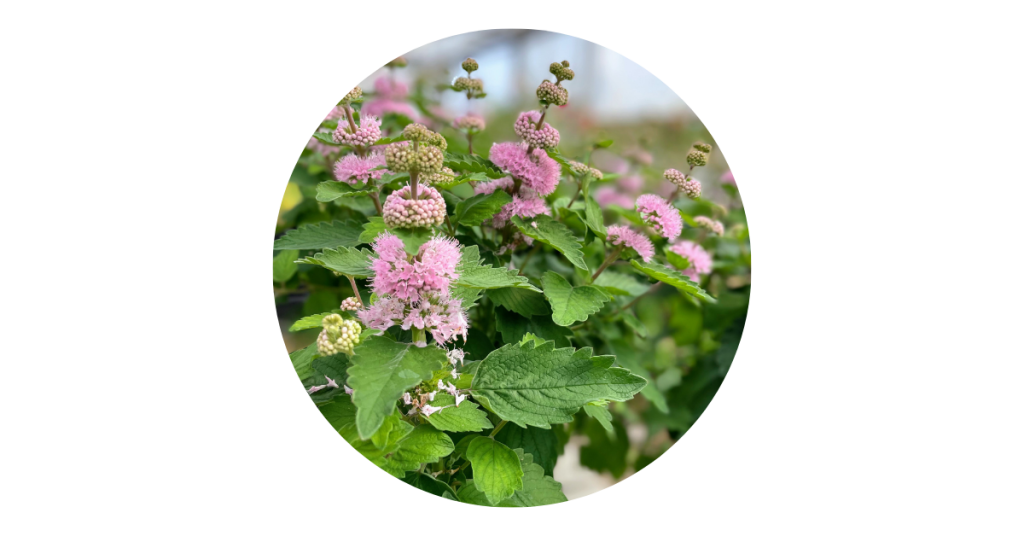
This shrub-like perennial thrives in full sun and sandy soil with good drainage. In exchange for these conditions, it provides an abundance of blooms in vivid, genuine blue (a colour that’s very difficult to find in the garden) or it can have pink or blueish-purple flowers depending on the hybrid variety. Foliage can range from soft grey to golden yellow to dark and glossy green, depending on the variety. Intrigued?
Bluebeard is a great perennial shrub for almost any size of garden and does well here in Norfolk County. Plants grow in a range from two to four feet in height and width and in a well-behaved, compact mound.
Beautiful Blooms
Such a unique flower! Bluebeards form fluffy clusters of flowers, like clouds or mist and can bloom from July until there’s a frost. Like most flowering plants, deadheading spent flowers will promote continued blooming.
Bluebeard flowers have a mildly sweet scent and are full of nectar for pollinator friends like bees, hummingbirds and butterflies. The features don’t stop there! Birds love the seeds that form in the Fall too.
Planting & Care
Find a nice, sunny spot with ample space for the plant to grow. Bluebeard aren’t heavy feeders and don’t need fertilizer. Some compost in the planting hole is all that’s needed. After that, top dress with some compost each Spring.
Water in new plants thoroughly after planting them. Once established, they don’t need watering unless it’s an extremely dry season.
Crown rot from consistently over-watering, or from being planted in wet, heavy soil is the only disease to be concerned about. Branches will begin to die, one by one, if this plant has crown rot.
While Bluebeard will tolerate drought and shade, the amount of flowers will be greatly reduced.
Pruning
Bluebeard’s foliage and flowers form on new branches or new growth. So, early each Spring, cut the stems down by at least half. Cutting them down to 12-18” does not harm the plant. It will send up new shoots, and it’s those new shoots that produce leaves and blooms!
You may find that established plants have some dead wood in the centre. If this happens, prune out any dead wood, and that will ensure that your shrub stays looking full and happy.
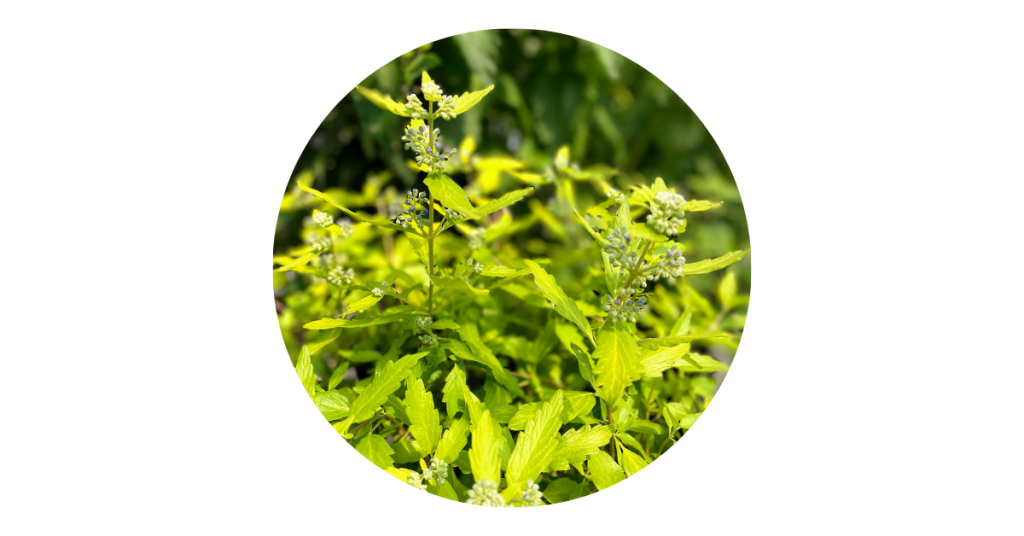
Sunshine Blue Bluebeard
Grows 2-3’ tall.
An extremely hardy variety with gold foliage and blue blooms.

One final note. Sometimes Bluebeard is called “blue mist spirea”. However, Bluebeard or Caryopteris is not related to spirea.
Fall is the time to plant garlic if you want to harvest them next summer. Why grow your own garlic? Like any vegetable, fresh garlic just tastes great. It’s also very satisfying to plant one little clove and get a whole head of garlic from it. Think of it as a garlic bank: put in a little effort in the Fall, and next summer you will profit from that small investment in spades!
If you’ve never planted garlic, it’s quite an easy crop to grow. Just follow these seasonal steps to help you get started. Hint: Mid-October to early November is when the majority of the work takes place.
FALL
Choose a location that is in the sunniest area of the garden. Lots of sun will produce large heads of garlic.
Prepare the soil in late summer, or as early in the Fall as possible. Or prepare the day before you plant if you can’t get to it sooner! Amending the soil is an often missed step but it will provide valuable nutrients for your garlic throughout the seasons.
Add organic compost like mushroom or sea compost, composted green waste, aged or composted manure, or a mix of any of these. Variety is best and all are great options. If you’re starting a new, raised bed, mix a ratio of 75% compost with 25% vermiculite to create a nice, light soil for your plants. This mix can also be added on top of the soil of an existing bed, making harvesting easier next summer!
Choose a garlic variety based on the flavour and size you like. There is softneck or hardneck garlic, but hardneck is recommended for growing in Canada. Also, hardneck varieties produce scapes which are a bonus crop - you can read more about that below. Red Russian, Music and Chesnock are just a few of the popular varieties grown in Ontario.
Separate the garlic cloves, or teeth, from the heads. As you’re breaking down the heads of garlic, it’s important to choose the largest cloves to plant. Starting with large cloves will increase your chances of growing large heads of garlic. Set aside any small cloves to cook with.

Planting! Sometime between early October to mid-November is a good range to get your garlic in the ground in Norfolk County. Basically, 4 to 6 weeks before the ground is frozen.
Here’s how to get your garlic in the ground!
- When it comes to spacing, there are two options.
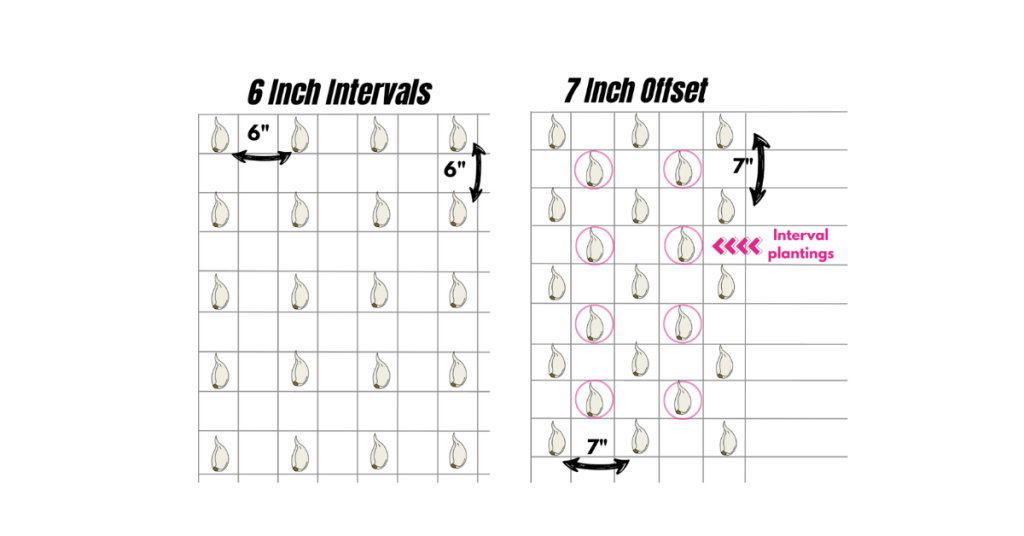
Using a dibber or a hand trowel, create 3 to 4” deep holes in one of the following patterns:
a) Make holes that are approximately 6” apart and in rows that are 6” apart.
b) Make holes that are approximately 7” apart and in rows that are 7” apart. Then, go halfway between each row and make an offset row. This method is best if you don’t have a lot of space and will not impact the growth of the garlic.
2. Place a handful of worm castings or organic 4:4:4 fertilizer in each hole and mix into the soil a bit.
3. Place ONE clove in each hole, with the pointy end facing up and the flat end down.
4. Backfill with surrounding soil so that each clove is covered 2-3”. This acts as protection during the cold winter months.
5. Top with leaf mulch, leaves, or straw, and water in your garlic if there is no rain in the forecast for several days.
SPRING
This is the time to check on your garlic and give it a little more nutrition.
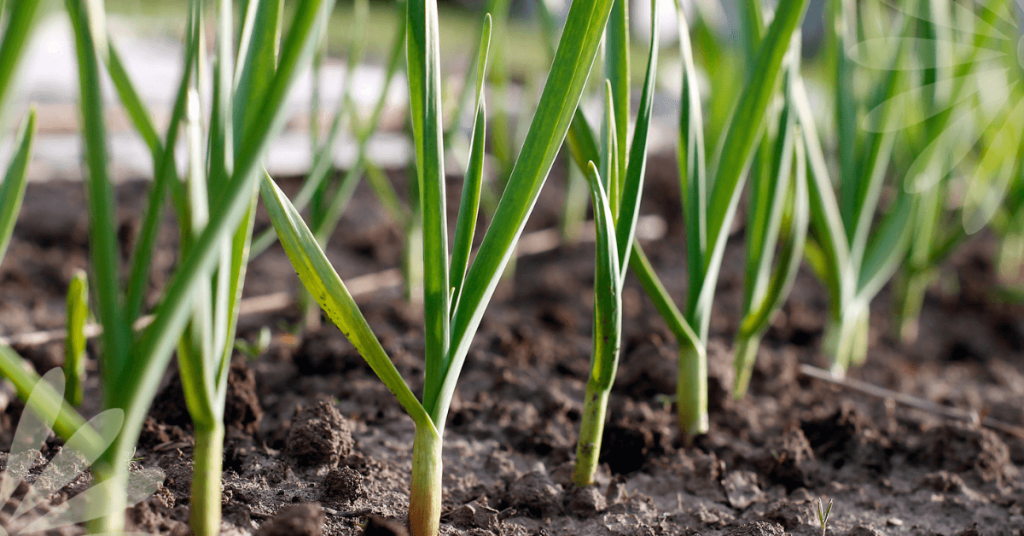
Look for signs of first growth in February or March, depending on how warm the weather is. When you see 3”- 4” of growth, remove the mulch from around each plant, or from the bed, and add it to the compost pile.
Add nutrients by amending the soil with 1 tablespoon of 4:4:4 organic fertilizer per square foot of the garden, or add a 1”- 2” layer of fresh compost.
Water deeply from now on when the soil dries out. And that’s it! Your garlic is well set up to go into a BIG growth cycle.
SUMMER
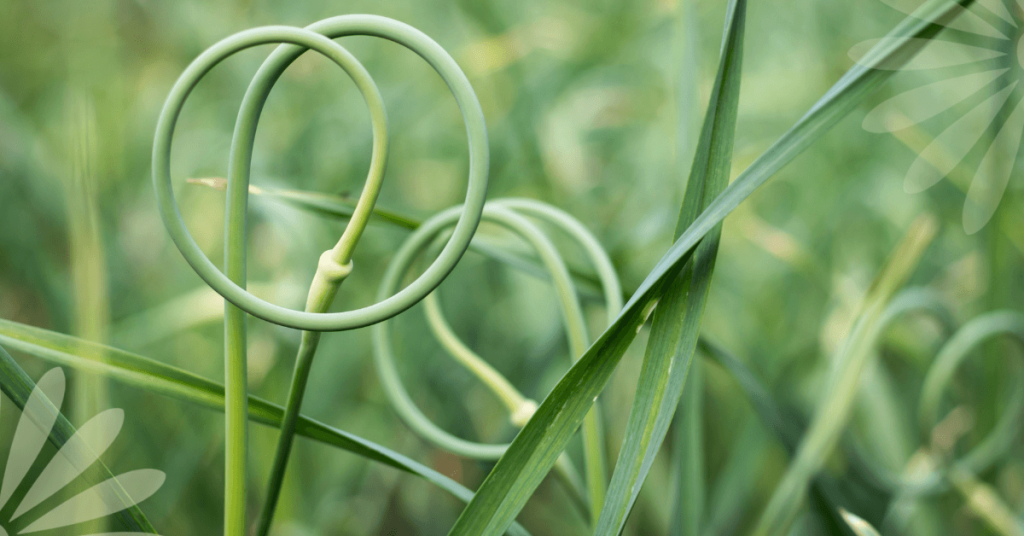
Remove the scapes! Around mid-June look for the top of the stem of each plant to curl around forming what’s referred to as a “scape”. These curls, or scapes NEED to be removed so that the energy from the plant goes into growing the bulb, not into growing the seed head that is part of the curly scape. One full loop is a good time to cut or snap off the scape just above the top foliage.
All of the growth in the bulb happens once you remove the scape!
Here’s the bonus - garlic scapes are delicious! Chop them up and add them to soups, stews or anything you’re grilling. They also make excellent pesto!
Water and check your garlic for any pests throughout the growing season, just as you would with any other plants.
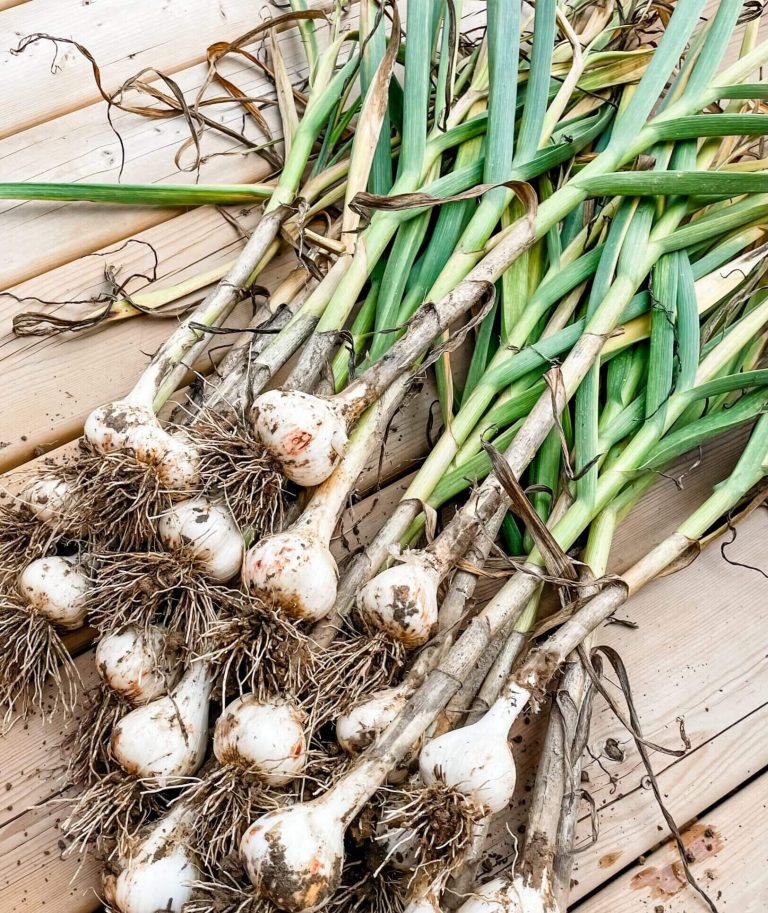
Harvest! Sometime in July, you will start to notice that the bottom leaves of your plant are dying. Don’t worry! The leaves on the plant correspond with the protective layers forming around the outside of your bulb, and they’re getting ready for harvest.
Around mid-July, 4 or 5 of the bottom leaves will be dead and this is your sign that it’s time to harvest your bulbs.
- Stop watering your garlic 4 to 5 days before harvesting.
- Use a pitchfork or shovel to loosen the soil, keeping well away from each plant so that you don’t slice through the garlic heads.
- Gently pull up each bulb and shake off any soil hanging on to the roots. Resist the urge to wash the bulbs as moisture at this stage will promote mould or rot!
Cure your garlic harvest by hanging it in a cool, dry place that’s out of the sun and has good airflow for 2 to 3 weeks. You may need to use a fan for this step.
Once cured, trim off the stems leaving 1-2” and the roots, and store in a dark, cool and dry spot in the house. Well-cured and stored garlic can last until sometime between December and February… unless you’re cooking, canning, and freezing with it and use most of it up! But don’t forget to save the biggest cloves to plant again in the Fall!
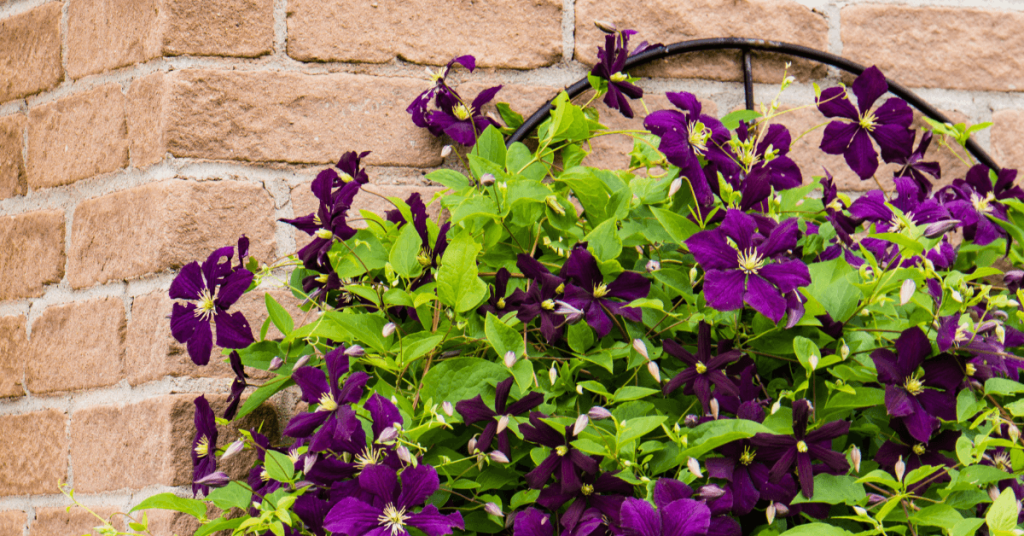
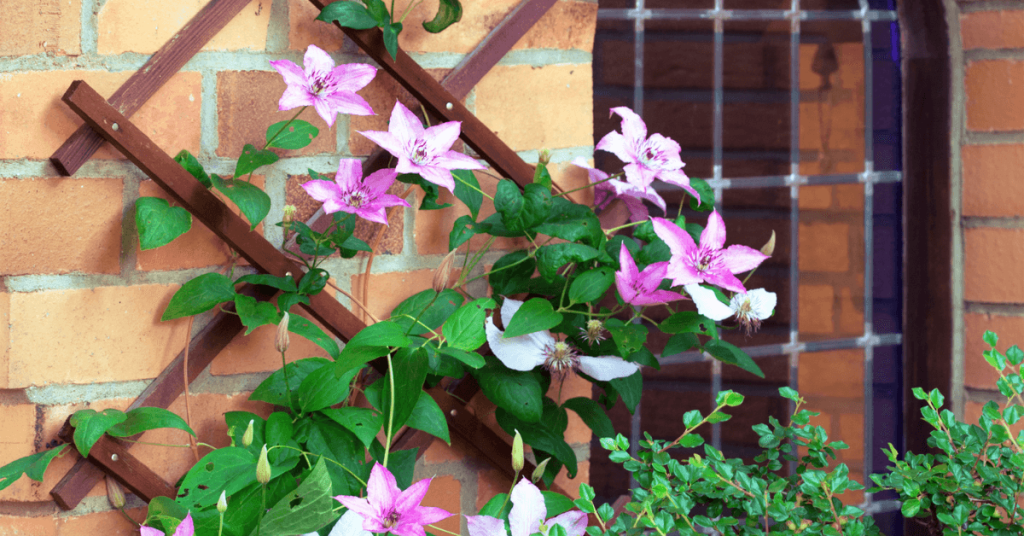
Clematis, the climbing plant that looks far too elegant and exotic to be growing in Ontario! Not only beautiful, Clematis gets along well with climbing roses (this is a gorgeous combination), trees, shrubs, and perennials. Different varieties of Clematis can also be grown together and provide a succession of blooms!
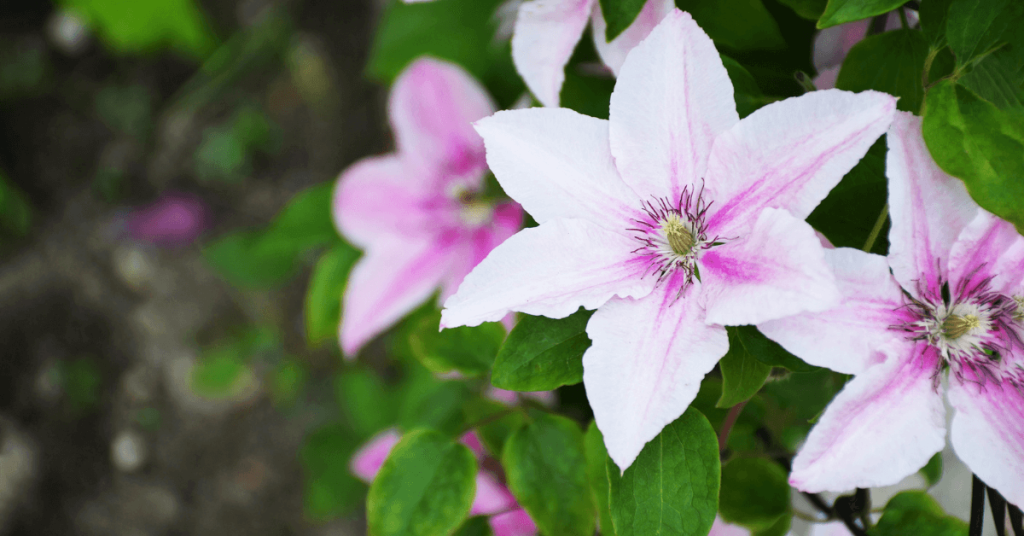
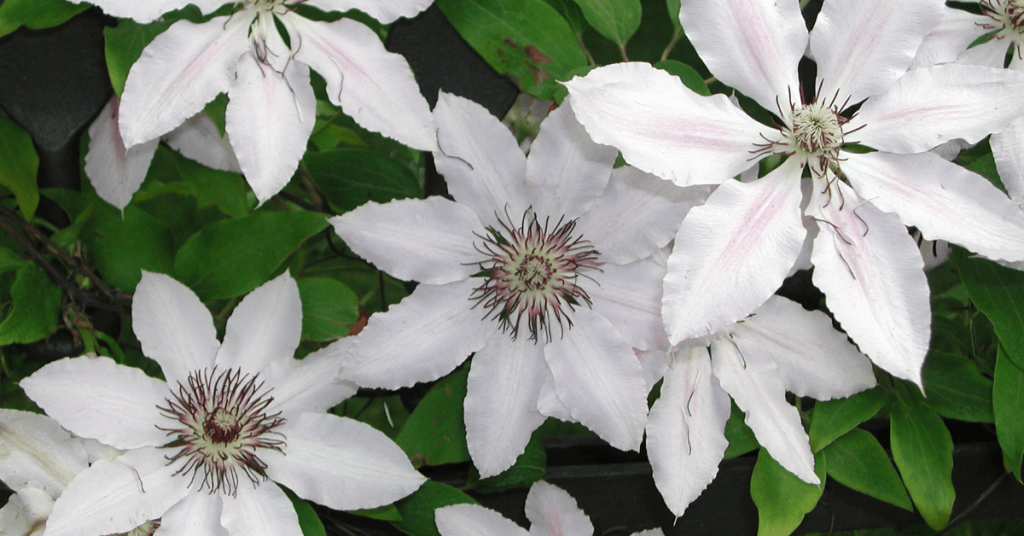
The variety of shapes, sizes, and colours available make Clematis a very desirable plant. Ranging from delicate, white, bell-shaped blossoms to dreamy, pastel rosettes, or sumptuous, deep purple double-flowers, and everything in between.
A stroll through the garden centre is a must to peruse Clematis labels and choose the ones that are most appealing to you. The varieties that we have will all suit our southern Ontario climate.
While the blooms vary widely, planting Clematis is straightforward. A few simple considerations when planting will help avoid root stress or Clematis Wilt, which are common problems when the location is wrong and the soil isn’t enriched. Here are some simple steps to ensure success!
Location, location, location!
Clematis like at least 6 hours of sunlight a day, but not an excessively hot location. Some shade in the late afternoon will extend the length of time that a bloom looks good.
Provide Support
A trellis, archway, arbor, or even a shrub or tree, all make excellent supports for your clematis. Install a well-secured support system first, to avoid damaging your clematis roots.
Soil is the Key
Fertile, well-drained soil is essential to successfully growing Clematis. These vines are heavy feeders and require nutrients to produce their show-stopping flowers. Prepare your soil by mixing in plenty of compost or well-rotted manure.
Prepare the Planting Site
Dig a hole that’s as deep as it is wide. Use the plant as your guide and dig approximately 13 cm or 5 inches deeper than the root ball. Add some of the soil that’s been amended with compost, then check to see that your plant is sitting at the right height - the top of the root ball should be even with the soil around it. Once the root ball is sitting at the right height, backfill the rest of the hole with more amended soil and gently firm the soil around the plant with your hands.
Watering
Water deeply after planting, and keep the soil and root ball moist, not water-logged, throughout the season. Be sure to water at soil level, not with an overhead sprinkler which can scorch leaves and flowers.
Mulch
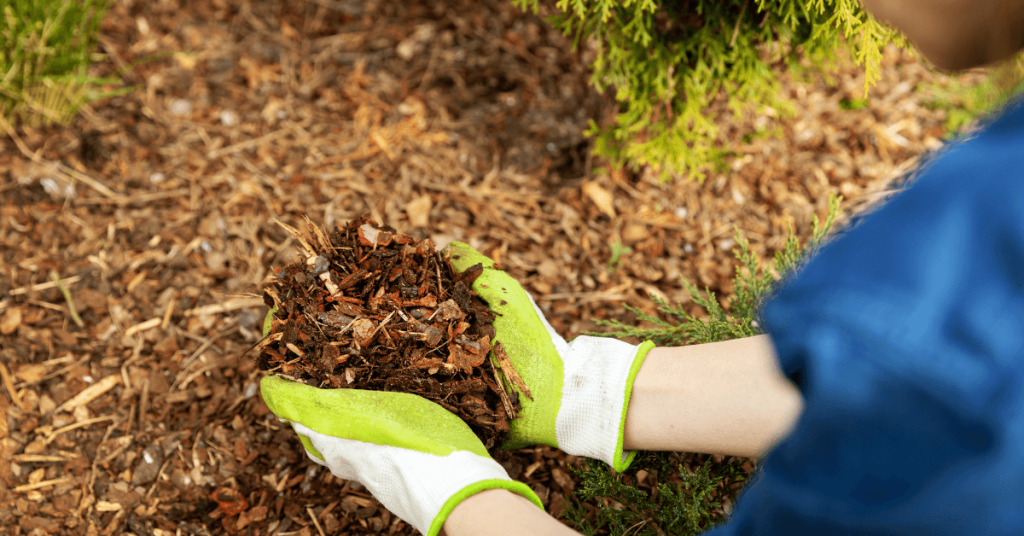
Mulch the soil around your plant to help suppress weeds and maintain moisture. Compost, organic shredded bark, or straw works well.
Fertilizer
Fertilize regularly throughout the season, or apply a slow-release fertilizer at the beginning of the season to maximize the blooming potential of your Clematis. For more information about fertilizer, see this article about caring for annuals and perennials.
Pruning
Pruning instructions are often included on your plant label as requirements vary from variety to variety. If in doubt, there are many growers who recommend pruning early blooming Clematis a little, after they bloom, to maintain the desired shape of the plant. For later blooming types, cut the vines right back to 45-60 cm in early spring.
Following these steps will provide a healthy environment for your Clematis to thrive. But be careful, Clematis are like potato chips - bet you can’t have just one!
If you bought a live tree for Christmas, maybe from your friends at Eising, and you’re wondering what to do with it after the holidays, we have 7 ways to recycle or upcycle it. The needles and tinsel may be falling off, and you’re probably ready to give it the “Heave Ho!”, but wait! Check out these ideas first:
1. Create a wildlife shelter and winter interest
Let's put our Christmas trees to work in our gardens! If you have a bare spot in the yard, moving your Christmas tree outside is a great way to instantly “spruce” it up! You can leave the tree right in the stand, or prop it up on a fence, maybe even add a string of outdoor lights to enjoy on the dark winter nights coming our way. Doing this will give you something pretty to look at for sure, but more importantly, it provides additional shelter for birds and wildlife.

2. Enhance your garden soil
A live Christmas tree is 100% biodegradable. By turning it into mulch or compost it will break down and return stored nutrients back to the soil. Now that’s a win-win! And it’s easier than you may think. If you don’t have a shredder, branches can be chopped up by using good ‘ol pruning shears. Needles are full of nutrients and will also help soil from becoming dense and compacted. Using wood chips, chopped branches, and needles as a mulch is also a great way to help your garden trees stay moist and healthy during the winter. If you’re adding the needles and branches to your compost pile, be sure to add some water and mix it well with the rest of the compost. Another option is to add the chopped branches and needles to a garden path.
3. Protect your plants
There’s still a lot of winter weather ahead of us, and your tree can help protect perennials that are marginally hardy. Simply cut long branches from your Christmas tree using loppers, pruners, or a saw, and lay them over perennial plants to add insulation. The boughs will protect your plants from winter freezes and spring thaws, which could be the difference between losing a plant and seeing it grow again next year.
4. Keep the fresh pine scent
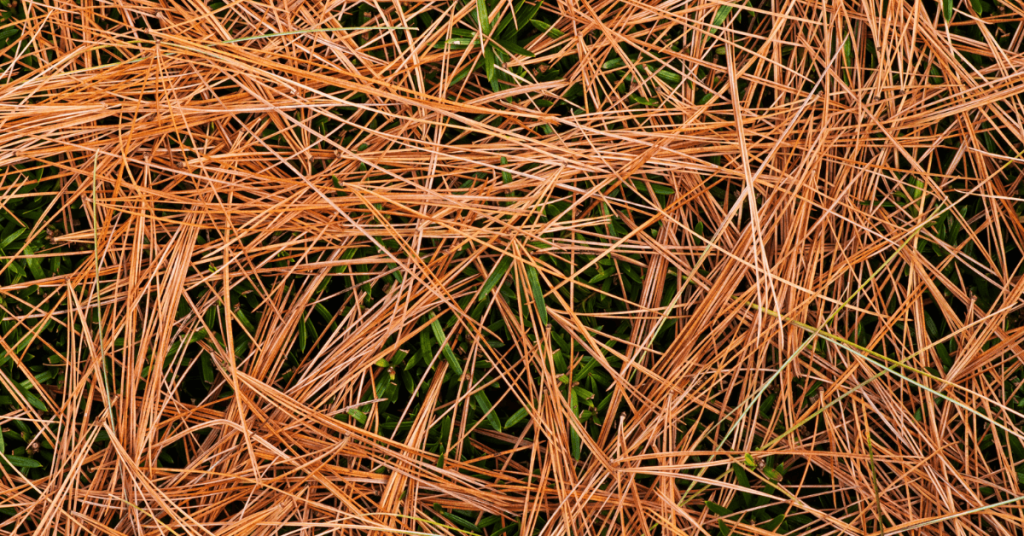
Are the needles on your tree still green? Use gloves or scissors to strip them from the tree, then store the needles in paper bags to use as room fresheners. The needles can retain their scent for months to come.
5. Support for Spring
Branches make lovely natural supports for any plants that need a little propping up - like peonies for example. Once the branches are trimmed off, the trunk can be used to support vines like Morning Glories or pole beans, or by laying it on it’s side as an edge for a garden.
6. Get creative
Crafts like ornaments and coasters are a great way to upcycle a tree trunk. Be sure to let the tree completely dry first or the wood will split when you cut it into 6 to 10 millimeter thick rounds. Then get creative by painting or varnishing and drilling holes in them if you’re making ornaments. They’re attractive, practical, and make great gifts.

7. Donate it, or take it to a recycling centre
If you have no need for recycling your living tree for home use, then look for a local program to donate your tree to. For over a decade, the Royal Botanical Gardens in Hamilton has used donated Christmas trees for various stream restoration projects. More information about their programs can be found on the RBG site. Or, skip the drive to Hamilton and check for your county recycling program. In Norfolk County for example, you must drop your tree off.
What’s not on our list? Burning your tree. You definitely do not want to burn it in your fireplace as it’s creosote content makes for a sticky, sooty fireplace. It’s not recommend that you burn it outdoors either. Coniferous needles contain nitrogen and substances called terpenes which are very toxic when burned, making the smoke unsafe for anyone around your fire pit to breathe. It’s much better to do any of the things listed above, or, if you have your own wooded area or pond, you can also put your tree in either of those places to enhance the natural habitat for woodland animals or fish.

Hydrangeas are some of the most beloved flowering shrubs around the world—you only need one look at their big, voluminous flowerheads to see why they’re so easy to love. There are hundreds of hydrangea varieties, each belonging to one of six main types. One type, in particular, known as mophead hydrangeas, is famous for a very peculiar and whimsical trait: the flowers can change colours!
The Colour-Changing Shrub
The flowers of the mophead hydrangea change as a reaction to their soil chemistry, resulting in flowers from bright pink to neon blue and every shade in between. However, the shift in shade doesn’t happen overnight—it requires some planning, and a fair bit of patience, to change your hydrangea’s colour.
The good news is that anyone can encourage their mopheads to change colours with the right supplies and a few tips! Here’s how to do it in your yard.
From Pink to Blue
When planted in alkaline soil, mophead flowers bloom in brilliant shades of pink. By increasing the acidity of the soil over time, the flowers will gradually shift to a lovely shade of lilac, and eventually, turn vivid blue with a low enough (more acidic) pH. It’s a true delight to behold this colour change taking place throughout the summer. Some crafty gardeners have even managed to create an “ombré” effect by keeping a row of soil more alkaline on one end and more acidic on the other!

There’s one caveat to the fun; however: while pink hydrangeas will readily fade to blue, it’s nearly impossible to reverse back to pink. Those who have attempted this tend to end up with a rosy purple, which is pretty enough, but never quite the same. With that said, blue mopheads are so gorgeous; there’s a good chance you’ll be happy to keep them around as-is!
How to Turn Your Hydrangeas Blue
Changing your soil pH requires the use of soil amendments, which can gradually alter the soil chemistry. If your hydrangeas are blooming pale pink to lilac, you can intensify the pink colour by adding garden lime to the soil. Follow the package directions to ensure you’re using the right amount at once, and over time, those hydrangeas will start blushing!
However, most mophead growers are in it for the blue blooms. Blue is a relatively uncommon colour in the gardening world, so those gorgeous blue blooms are highly coveted! Mopheads start blooming blue flowers once the soil pH reaches 5.5 or lower. The best way to increase the acidity of the soil is with the use of aluminum sulfate, a common soil amendment that we carry here at Eising. You’ll need to mix a quarter-ounce of aluminum sulfate into a gallon of water and soak the soil around your mopheads. You’ll get the best results by starting in spring, but you can start at any point during the season. However, once you start treating the soil, you’ll need to reapply the amendment every month until you reach the desired result, and then maintain it with an application every other month during the growing season.
To maintain the acidity of your soil, you can also fertilize with acidic compost like orange peels, coffee grounds, eggshells, or peat. While you won’t see results right away, these will help increase soil acidity in the long term, so that you eventually won’t have any need for the aluminum sulfate.

Considerations
Before you start modifying your soil acidity, keep your other plants in mind, as well. Each plant has a different tolerance to acidity—some love it, some can’t tolerate it. As your soil acidity changes, so will your soil’s suitability for your other favourite plants, so make sure to plan around that. Keep an eye on the nursery tag when you shop for plants to grow around your mopheads to ensure you’re leaving with a good fit. We recommend using soil tests regularly to monitor soil acidity throughout your garden. These tests are quick and easy to use, and lots of fun to do with kids!
A garden full of pink, purple, and blue hydrangeas is a truly magical place—and the pride of many Southern Ontario gardeners. Chat with us in-store for plant and product recommendations as you embark on this ultra-popular gardening project. Then, prepare to be spellbound by these enchanting shrubs!
Making your own compost is a great way to save money and reduce your carbon footprint—plus, it saves you a trip to the store! With summer coming up, our vegetable plants and fast-growing annuals will be hungry for soil nutrients, and having the perfect organic fertilizer on hand makes it that much easier to have a healthy, thriving garden. Plus, it can cut your total household waste in half, so it’s twice as good for the environment! Less trash in our landfills means less methane gas gets released, which Mother Nature will surely appreciate.
Want to start making your own compost at home using kitchen scraps that would otherwise end in the garbage? Once you get the hang of it, it’s really pretty simple, and the end product will be so worth it. Here are the basics of making compost, so your garden will be well-fed this year.
What Goes In A Compost Bin?
One of the things that people find the most confusing when beginning to compost is figuring out what goes in the bin, and what stays out. There are all sorts of different kitchen scraps that we can generate in a day, but some of them can contaminate the compost bin and introduce harmful bacteria instead of the good kind. Having a little cheat sheet posted on the fridge will make it easier for you to navigate the do’s and don’ts of composting, so we compiled this list for you to use as a reference.

Things You Can Always Compost
- Fruit and vegetable scraps
- Eggshells
- Dye-free cardboard
- Coffee grounds
- Grass clippings
- Leaves and stems (unless they show signs of disease)
- Straw
- Pine needles
- Untreated paper
- Cotton and wool
- Sawdust and untreated woodchips
Things You Can Compost In Smaller Amounts
- Citrus fruit peels
- Herbivore manure (ex: rabbits, birds, horses)
- Printed cardboard
- Teabags
- Black and white newspaper
- Hair and pet fur
Things That Shouldn’t Go In the Compost
- Dairy
- Meat
- Bones
- Metal
- Chemically-treated wood
- Diseased plants
- Plastic
- Weeds
- Oils and fats
- Diapers
- Carnivore animal droppings (no dog or cat waste!)
If there’s anything you want to toss in the bin but aren’t entirely sure about, go online and do a quick Google search as to whether or not the item is compostable.

The Different Types Of Compost Bins
There are three different types of compost bins you can use at home: aerobic, anaerobic, and vermicomposting bins. Each one breaks down waste a little differently, and there are a few pros and cons, so we’ve listed out the basics of each type so that you can choose accordingly.
Aerobic Compost Bins: These bins have a crank that helps to turn the inner contents, helping to aerate the waste so it breaks down faster. While they’re a little more expensive, they’re neater and more compact than other composters, so you can place them pretty much anywhere in the yard.
Anaerobic Compost Bins: A cheaper, more basic alternative to the aerobic bin, the anaerobic bin is pretty much just a lidded bin with no turn crank. You simply toss your scraps in and let it break down over time. It’s a slower, and somewhat stinkier process, but they’re pretty cost-effective, and you can even find online tutorials on how to build your own using materials you may already have at home. It’s a good idea to add an even ratio of dry leaves (save that fall leaf litter!) and household waste to keep odours to a minimum. Use a stick or shovel to mix up the decomposing matter every month or so, to speed up decomposition and prevent methane from building up in the container.
Vermicomposting Bins: Now, this one might seem a little weird if you’re squeamish around bugs, but hear us out: vermicomposting is a super effective way to turn trash into treasure. Vermicomposting bins are full of tiny worms that quickly break down the scraps and release them into a lower compartment in the bin, so you can retrieve your compost without having to touch the worms. The resulting compost is super nutrient-rich and easy to spread through the soil.
Composting is great for your garden, great for the environment, and great for your wallet too. Remember, if you need any supplies to help you get started, feel free to check out our brand new online store, and we can arrange curbside pickup for your order!
This is the year—the year you cross off all the tasks on your spring to-do list! A little bit of yard work now pays off in the long run. You'll feel more organized and have healthier plants, and you'll be better prepared for the following year.
Review Your Tools and Accessories
Before we get into the heart of the gardening season, now is the time to look over your storage shed to make sure you have everything you need for a successful season. To prevent the spread of disease between plants, clean pots and containers you may use, as well as any tools. You also may need to sharpen and oil some old standbys, like pruning shears, loppers, and trimmers. If, after doing your clean up, you realize you need any tools or accessories, we're now offering curbside pickup at our garden centre.
Clean Up The Yard
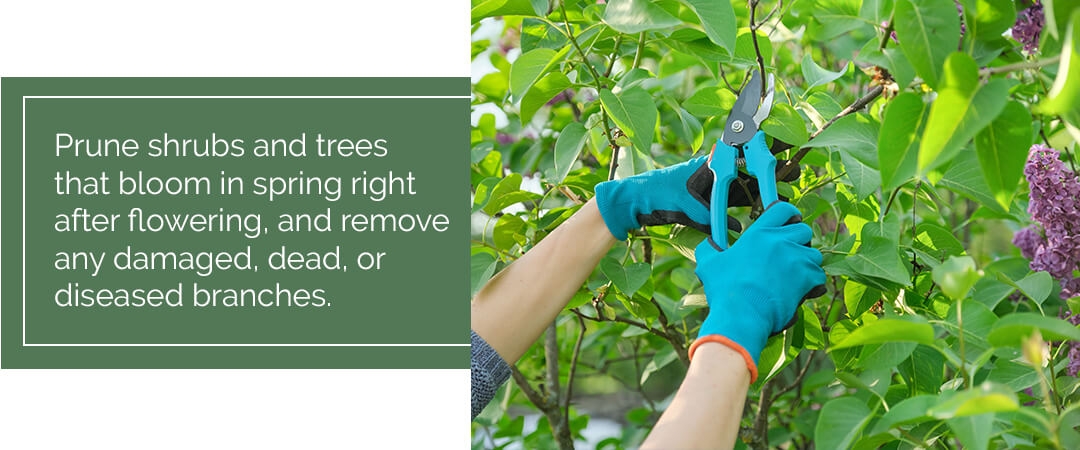
Removing any fallen branches is especially important to reduce any hazards now that the kids are spending more time playing outside. Prune shrubs and trees that bloom in spring, like lilacs, right after flowering, and remove any damaged, dead, or diseased branches.
Though perennials, like grasses and woody herbs, provide food and shelter for birds during the winter, they can make your yard look a little scruffy during the spring. Cut back these perennials to encourage fresh growth and remove last year's annuals to make room for new ones this year.
Work the Land
Pick up a handful of soil, shape into a ball, and squeeze it. If water comes out, the soil is too wet, and you should wait a bit longer. However, if the ball crumbles, then the soil is ready to be worked. Remove any fresh mulch or leaf litter, but leave whatever has composted to mix into the soil. Loosen up and mix the soil by turning it over, using a tiller or a spade. Depending on the soil in your garden, you may also have to add amendments, like fertilizer.
Take inventory of the groundcover in your yard. Mulch and rock seem to disappear every year — groundcover should be about two to three inches thick, so replenish accordingly.
Plan Ahead
Take note in a garden journal of what you've completed already, like all of the steps above, plus any seedlings you started or bulbs you planted. A garden journal is a great help, not only for this season but also for years to come, since you can keep track of what worked and what didn't each year. Write down what you'll plant, where you'll plant it, and when. The majority of garden vegetables can be planted through mid-May here in Simcoe, after any risk of frost has passed. Now is also the right time to take note of any open spots in your yard that you can fill in by dividing fall-blooming perennials, like hosta and purple coneflower. Dividing perennials helps keep the plants healthy, plus it gives you more plant material to work with!
Odds and Ends
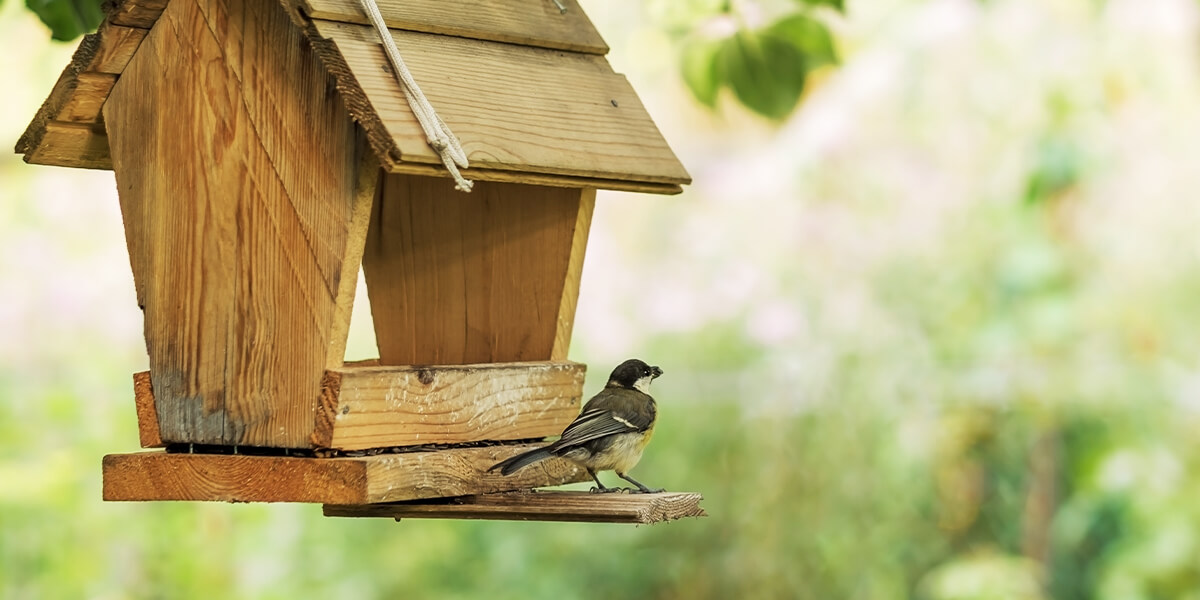
Clear out the gutters, turn over the compost, clean out bird feeders, and repair anything that needs it, like fences and lawnmowers. Locate and put up stakes and trellises for any plants that might need them, like tomatoes and peonies. Now is also a great time to tend to your decks and hardscapes so that you have a place to enjoy your garden from when it starts blooming!
Though you could make a day of prepping your garden this spring, to make it more manageable, break up your days at home by doing tasks between conference calls. Follow this checklist, and in no time, you'll be seeing the results of your hard work—evidenced by your thriving garden!