
Perennial Climbers to Start Growing Now
By Ava Green
Great garden design plays with height, and vines are among nature’s most elegant solutions. They transform a bare wall, a plain fence or an open pergola into something that feels alive and intentional. And because these are perennial climbers, they come back every year, a little fuller and more beautiful than the season before.
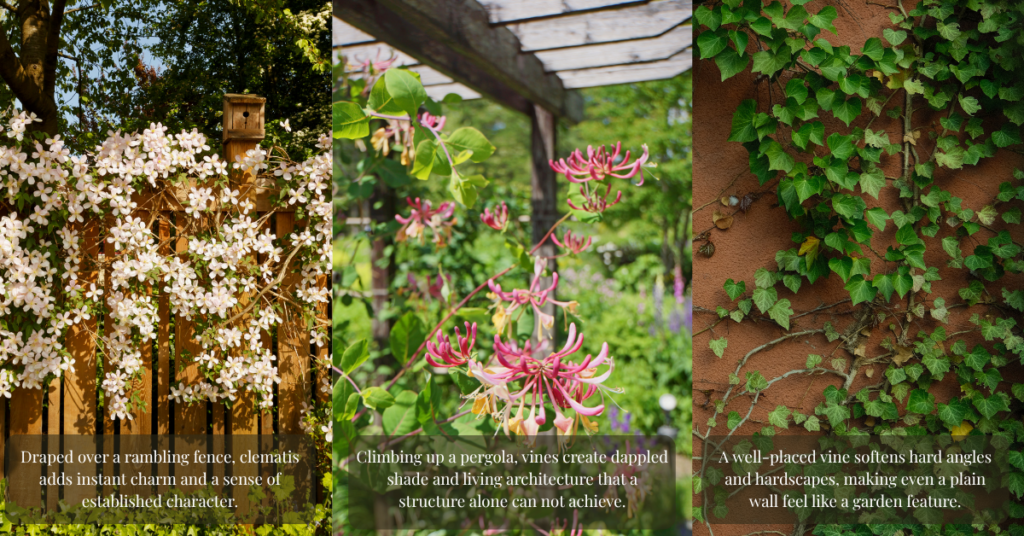
Start growing one of these beauties now, and you’ll be enjoying them for years to come!
Clematis
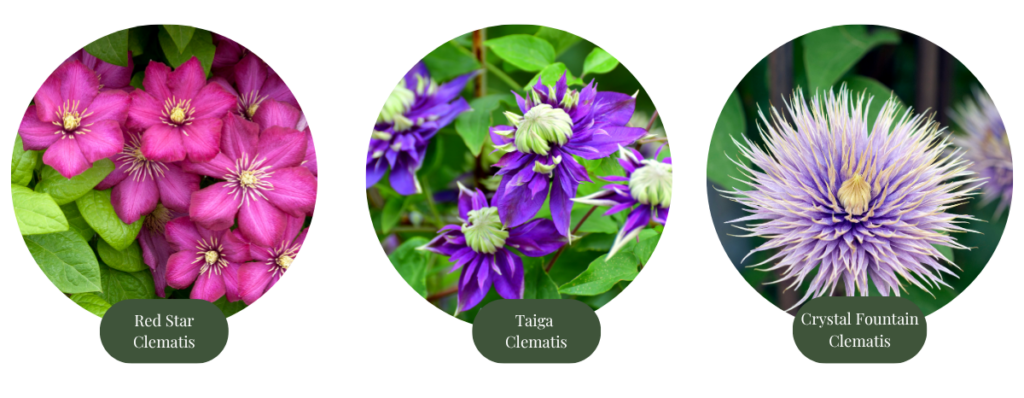
Clematis has earned its place as one of the most loved climbers in the garden, and once you discover the extraordinary range of flower shapes, sizes and colours available, you will understand why.
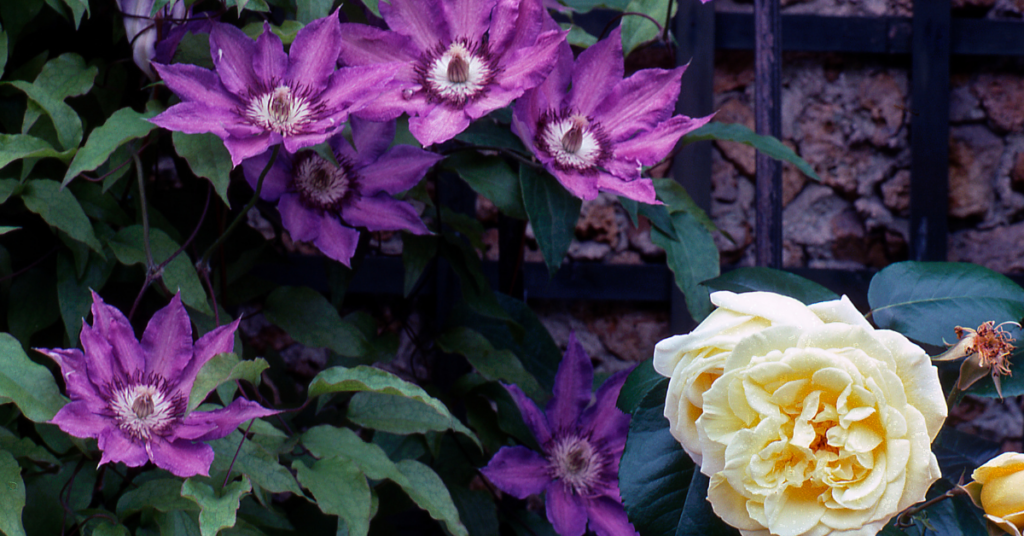
For a look that feels straight out of an English cottage garden, pair a Clematis with a climbing rose. The two intertwine beautifully, flowering together in a spectacular combination.
Honeysuckle
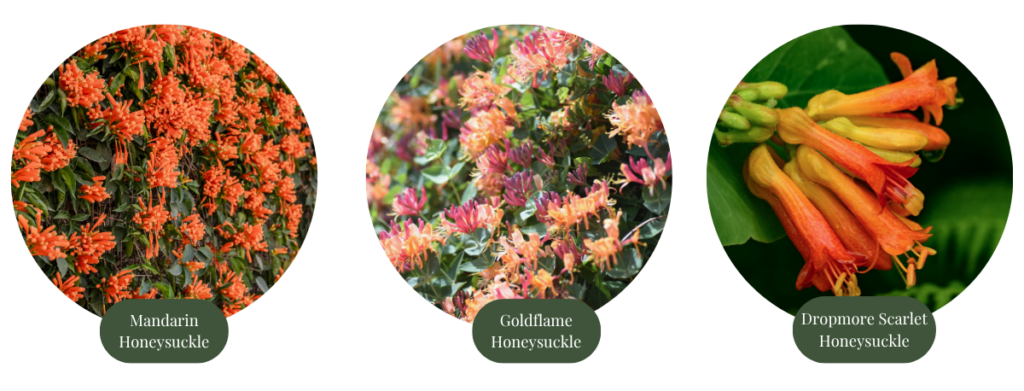
The sweet, heady scent of Honeysuckle wafting through the air on a warm summer evening is a good reason to include this climber in your garden. But its tubular or trumpet-shaped blossoms are also irresistible to hummingbirds, bees and butterflies, making it valuable to your local ecosystem too. Few vines reward you quite so generously for so little effort.
Climbing Hydrangea
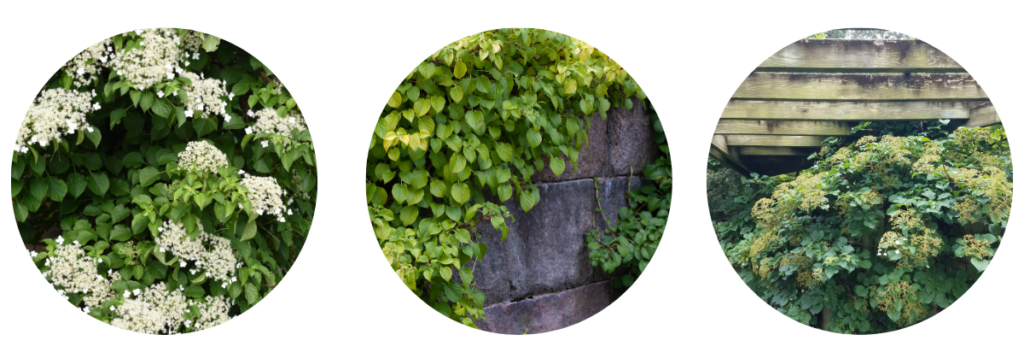
It may be slow to start, but once it’s established, Climbing Hydrangea grows with remarkable vigour, covering walls, fences and structures in lush, deep green foliage. No trellis is needed; it produces its own aerial rootlets that allow it to cling independently to almost any hard surface. In summer, the entire plant is blanketed in elegant white lacecap flowers! It tolerates shade better than most climbers, making it an exceptional choice for a north-facing wall or a shady spot in the garden.
Porcelain Vine
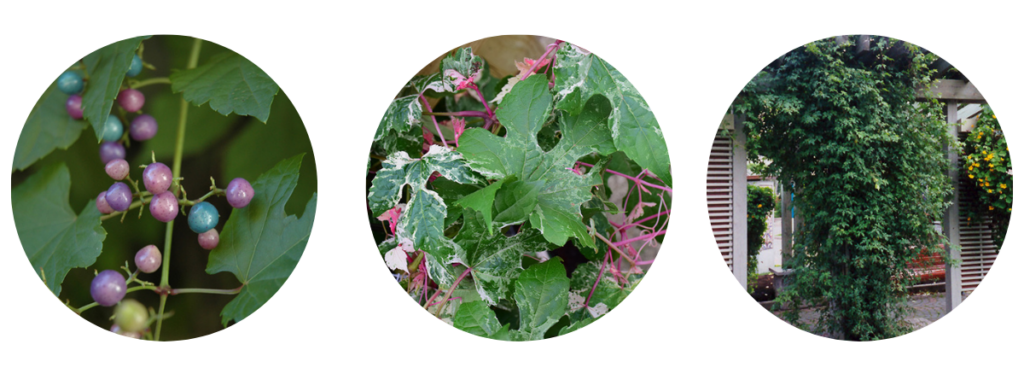
This fast-growing climber is a treasure for its extraordinary ornamental berries. Clusters of small, jewel-like fruits that ripen through a stunning progression of colours, from pale pink and lilac to a rich purple and a remarkable, almost iridescent turquoise blue, all appearing at the same time in fall. Train it up a fence, trellis or structure to let it climb, or allow it to trail gracefully down a slope or over a retaining wall for beautiful low-maintenance ground coverage. Please note: the berries are strictly ornamental, and not for eating.
Graceful, Useful and Very Worthwhile
Vines provide something that few other plants can; they add height, softness, privacy, and beauty all at once. They can disguise an unsightly fence, cool a sun-baked wall with natural shade, frame a garden entrance, or simply bring a sense of lushness to a space that feels too bare or flat.
Find Your Perfect Vine at Eising Garden Centre
Not sure which vine is right for your space? Bring us your questions and, if you have them, a photo of your wall, fence, or structure. Our team will help you find the perfect climber for your light conditions, your soil, and your vision. We’d love to help you get growing your perfect vine!
Growing Vegetables in Pots!
A few years ago, I was walking through town with a friend as we discussed planting vegetables in our tiny front gardens. It seemed like an unusual idea until we spotted not one but two front gardens with pumpkin vines rambling amongst the shrubbery. What a novel way to cover the ground without mulch and have the bonus of showy, bright blossoms and bold foliage! Of course, this is eventually followed by the standout feature of brightly coloured pumpkins. It’s built-in fall decorating!
Right now, everyone is looking for ways to reduce grocery bills, and growing a few vegetables amongst the flowers and shrubs can make a big difference. If your garden is on a patio or balcony, there are lots of ways to add edible plants to maximize your space and beautify it at the same time. Who says vegetables can’t be ornamental and beautiful?!

Gaps and Small Spaces
If you have a new shrub and flower garden that has gaps or there’s a space in your garden where you’re not sure what to plant, consider tucking in a potted vegetable. In a cool, shady space, try some luscious lettuce bowls. Shade allows lettuce to grow more slowly in the heat of the summer. Keeping lettuce in a cool, shady spot will prevent it from bolting and becoming bitter.
If you have a small garden, a patio or a balcony, pots with compact varieties and hanging baskets are a terrific alternative for growing vegetables, herbs, and some fruits. These are some of the options we offer at Eising Garden Centre (based on availability) that can be purchased fully planted, or you can grow your own from seed if you have time, space and lights.
Trellised Planters and Patio Pots
For patios, balconies, or even a gap in the garden, there are lots of vegetables that can be grown in a trellised planter.
Tomatoes, peppers, cucumbers and eggplant all love warm soil and growing in pots provides the heat to help them thrive. Eising trellis pots are planted with specific varieties that are smaller but pack a flavourful punch.
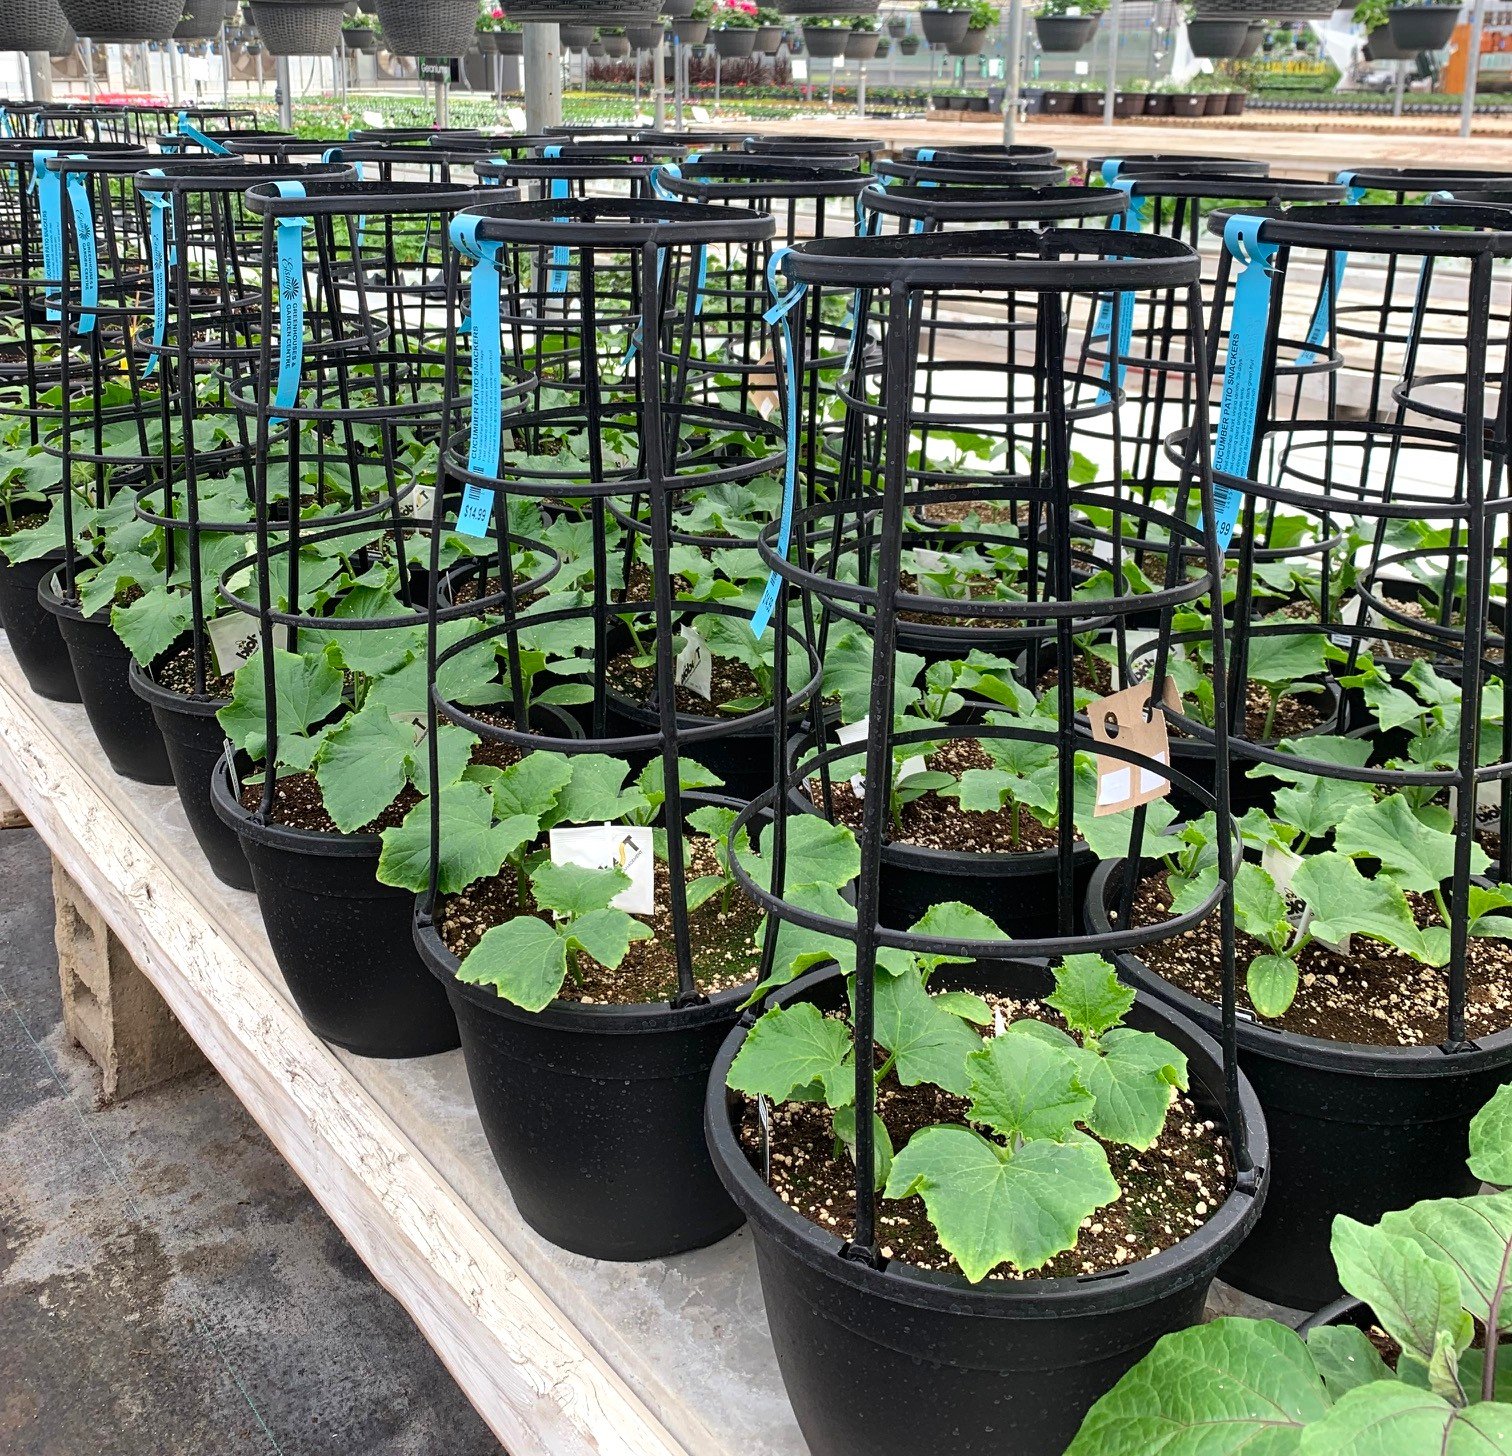
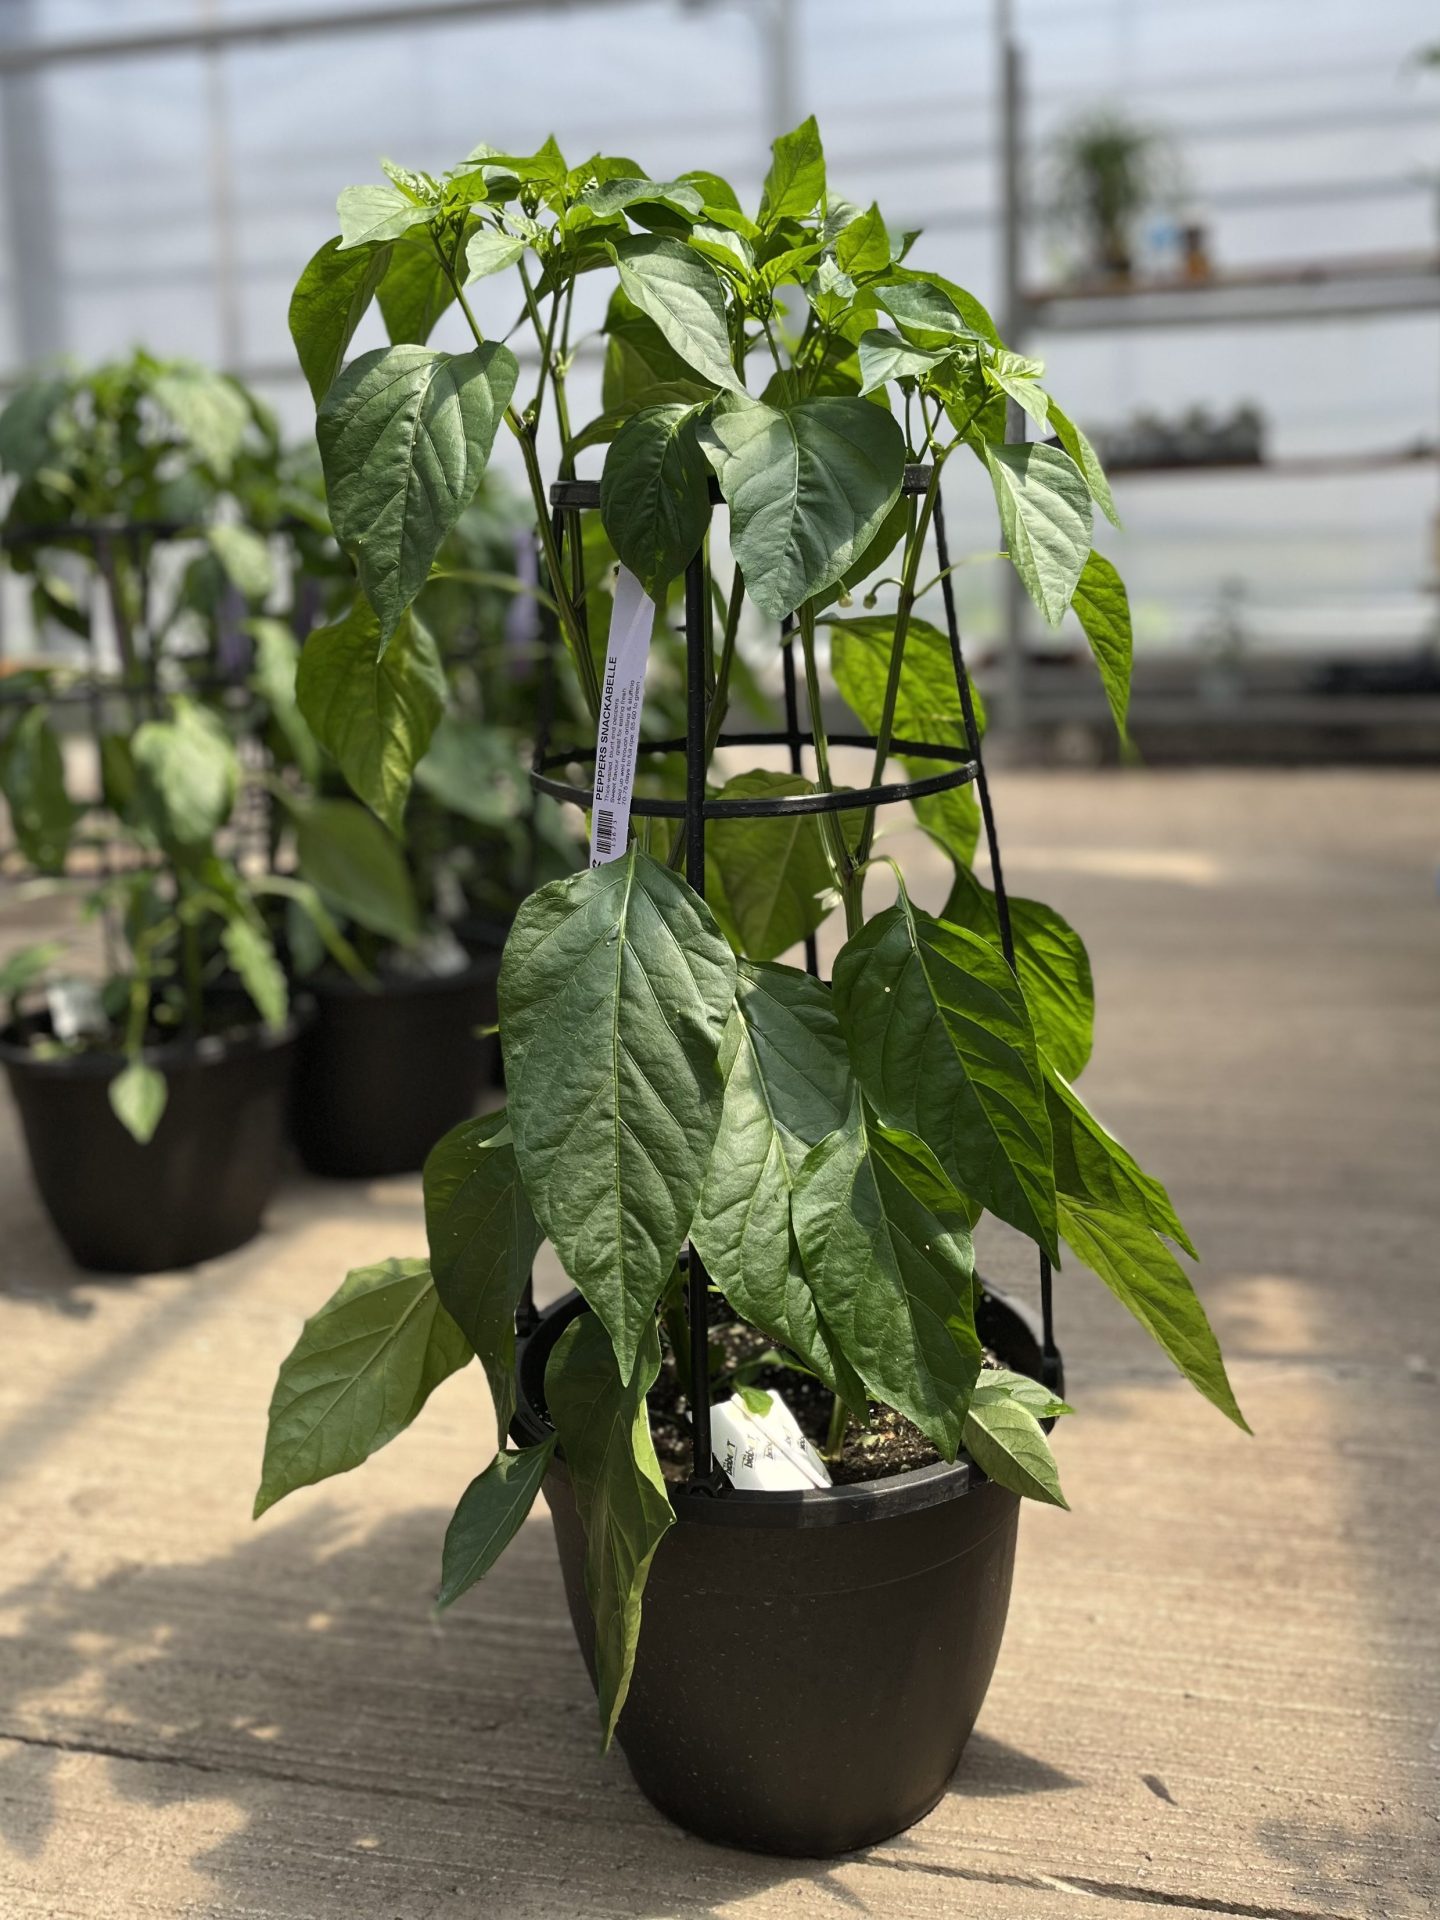
Sweet Snackabelle, Candycane Chocolate Cherry or Red, Mocha Swirl and Fresh Bites peppers.
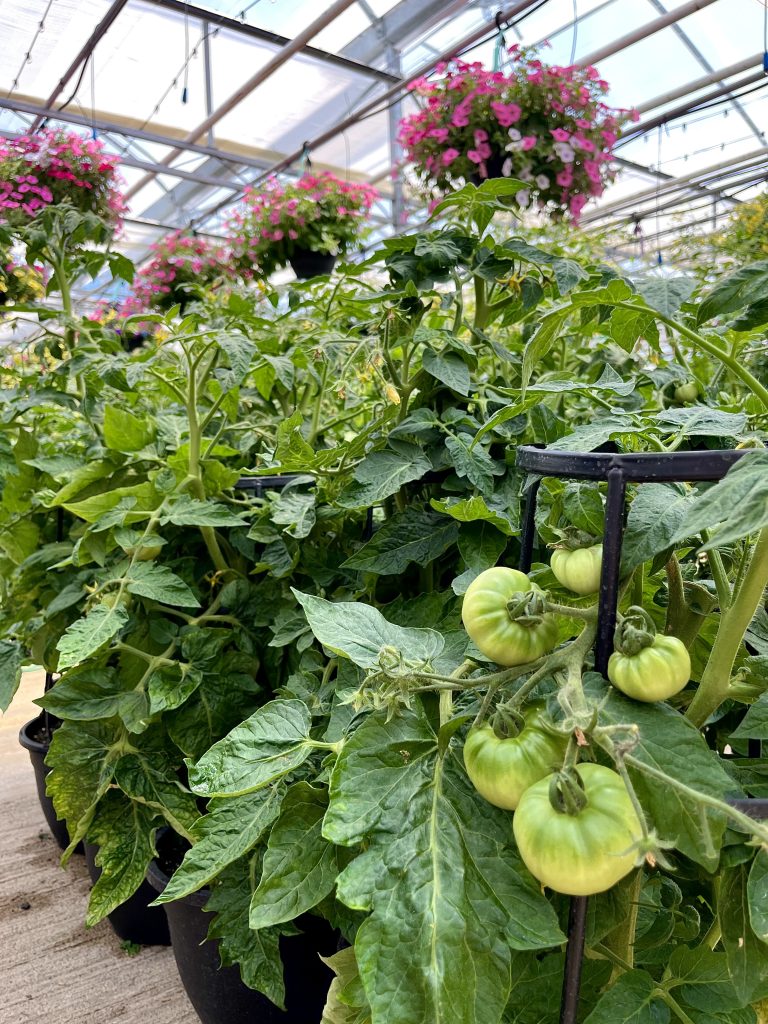
Little Sicily, Patio Hybrid, Candyland Red, Rapunzel and Tidy Treats tomatoes.
Eising Greenhouse also carries eggplants in trellised pots - a patio pot with Patio Baby eggplants is a perfect choice if ratatouille is on the menu!
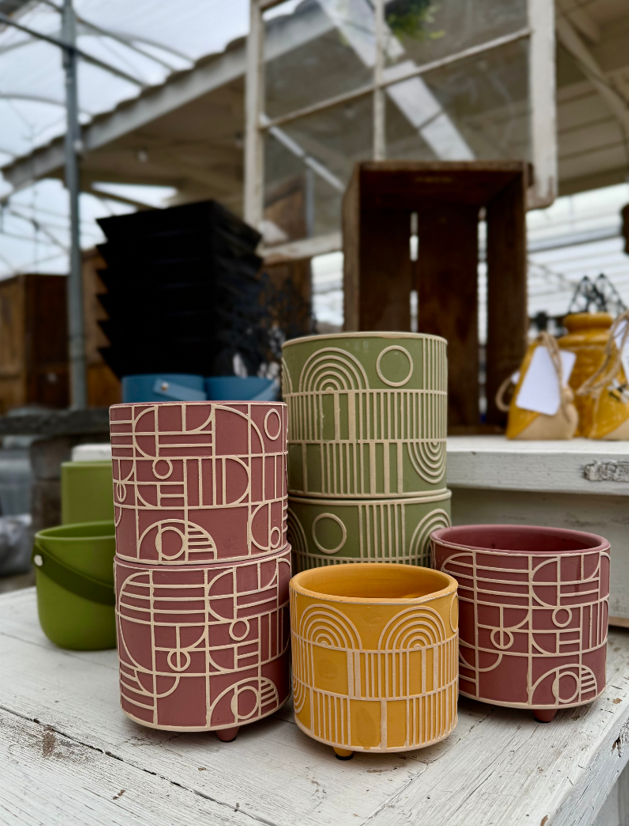
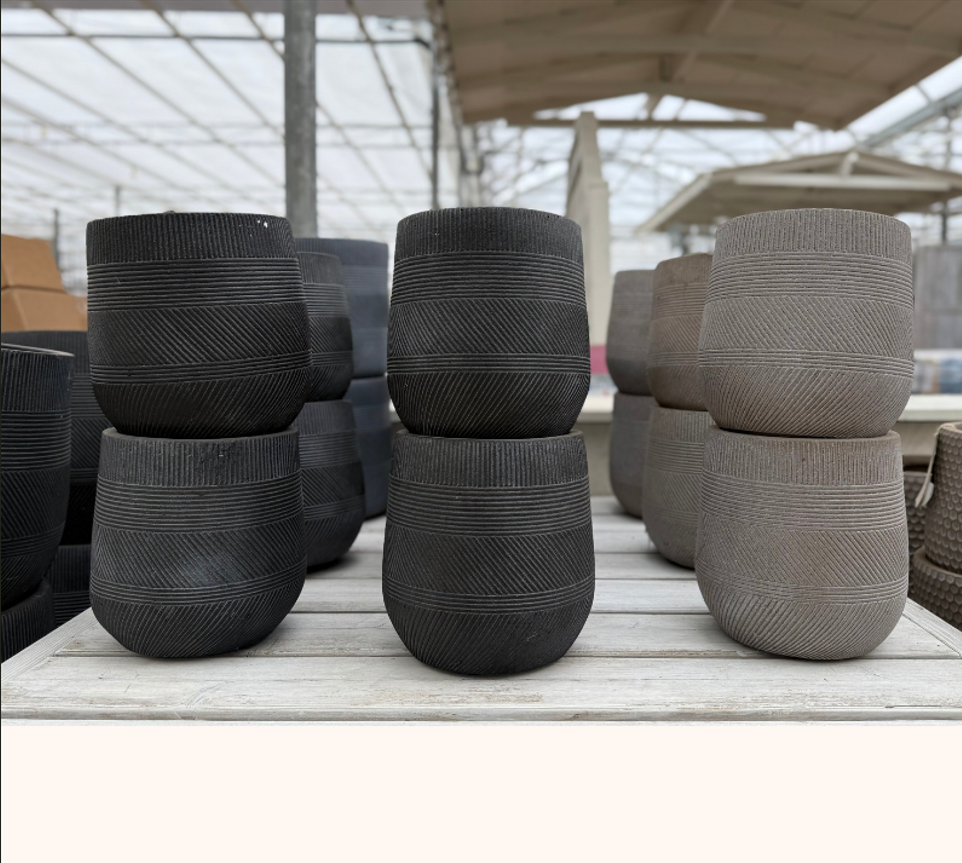
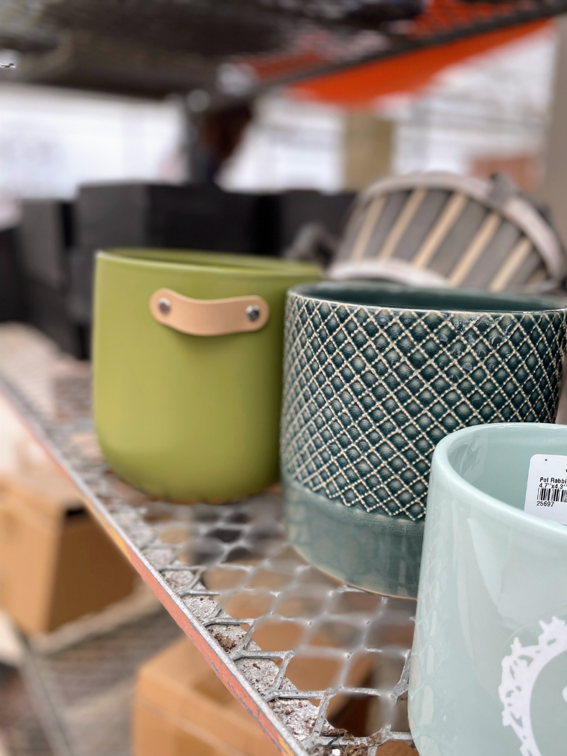
All of Eising's trellised planters would look lovely plopped into one of our decorative outdoor cover pots!
Herb Planters
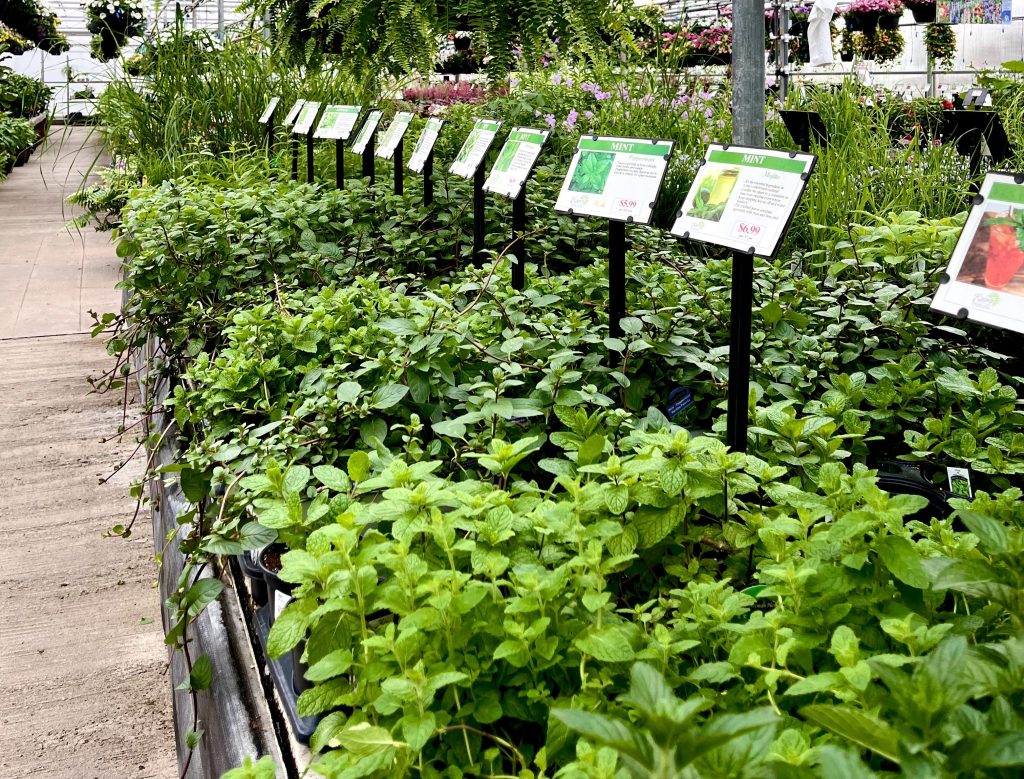
Many herbs thrive in a sunny and warm spot with well-drained soil, making a pot the perfect container for them. Herbs also make great companion plants with other vegetables and can be tucked into other pots. Most herbs also love to be harvested frequently, especially when they’re given these ideal conditions.
Lettuce Bowls
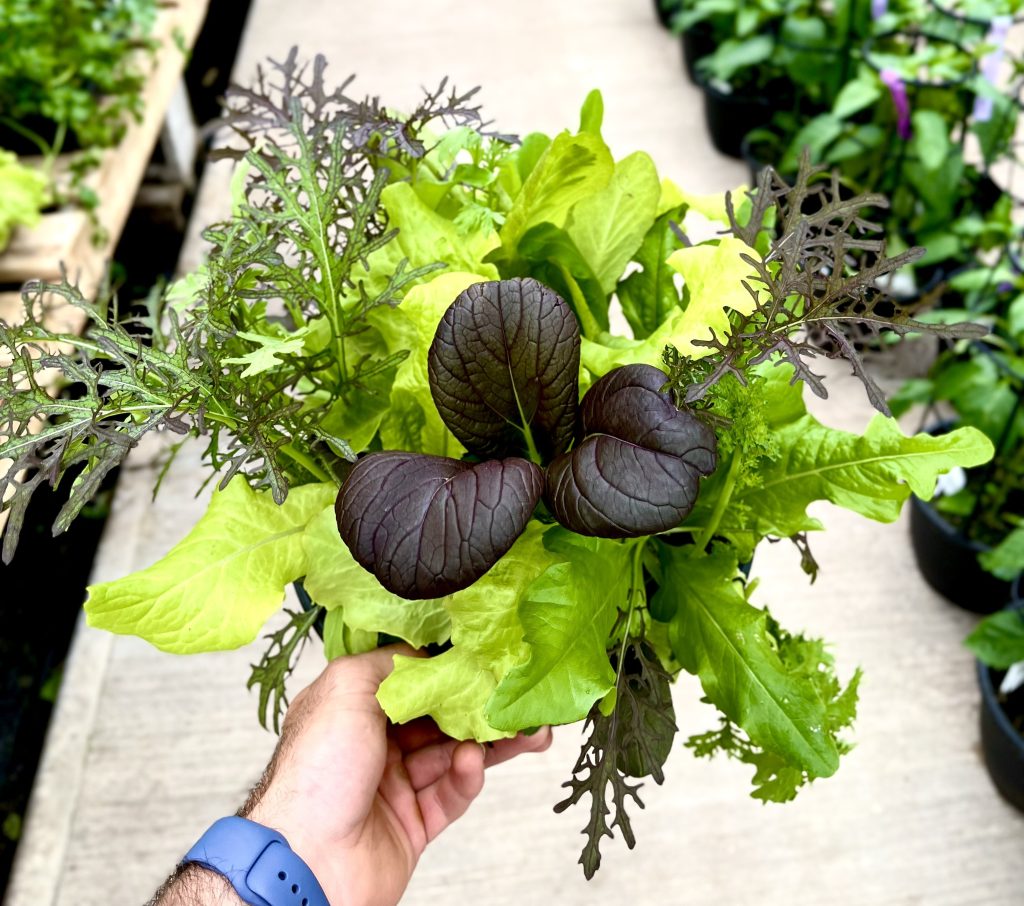
Lettuce bowls are a great way to grow greens in small spaces. Our 10” bowls are chock full of a variety of lettuces and are never boring!
👍Tip: Try the “cut and come again” method for harvesting lettuce, which prolongs the plant’s life. Simply pinch off the outer, mature leaves each time you pick the lettuce and leave the centre of the plant to keep growing.
Hanging Baskets
If there’s a spot to hang a basket or place a shepherd’s hook, you will want to grow one of the edible options we offer.
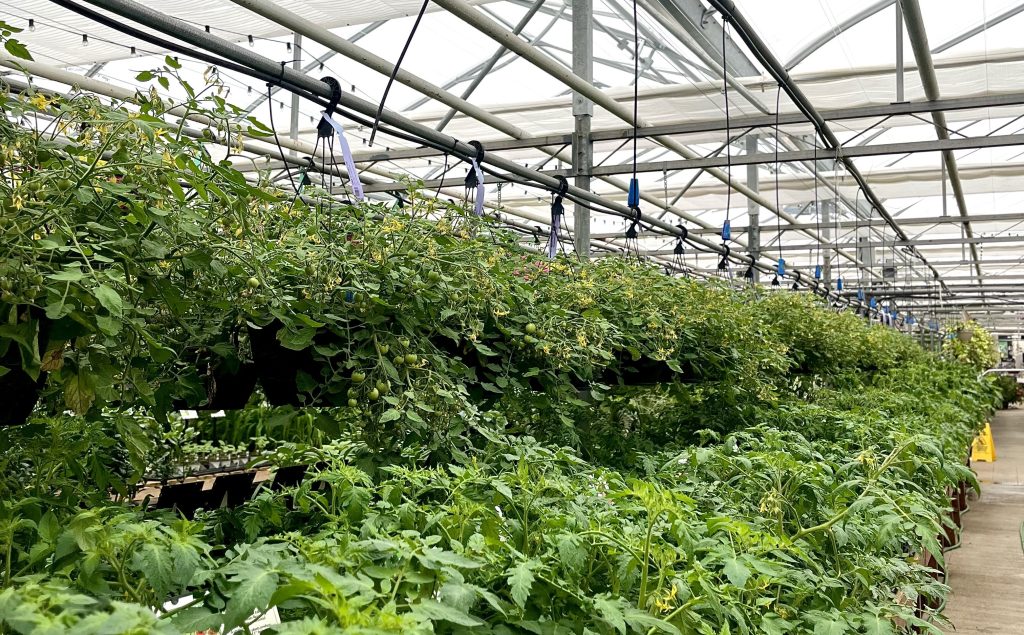
Topsy Tom tomatoes.
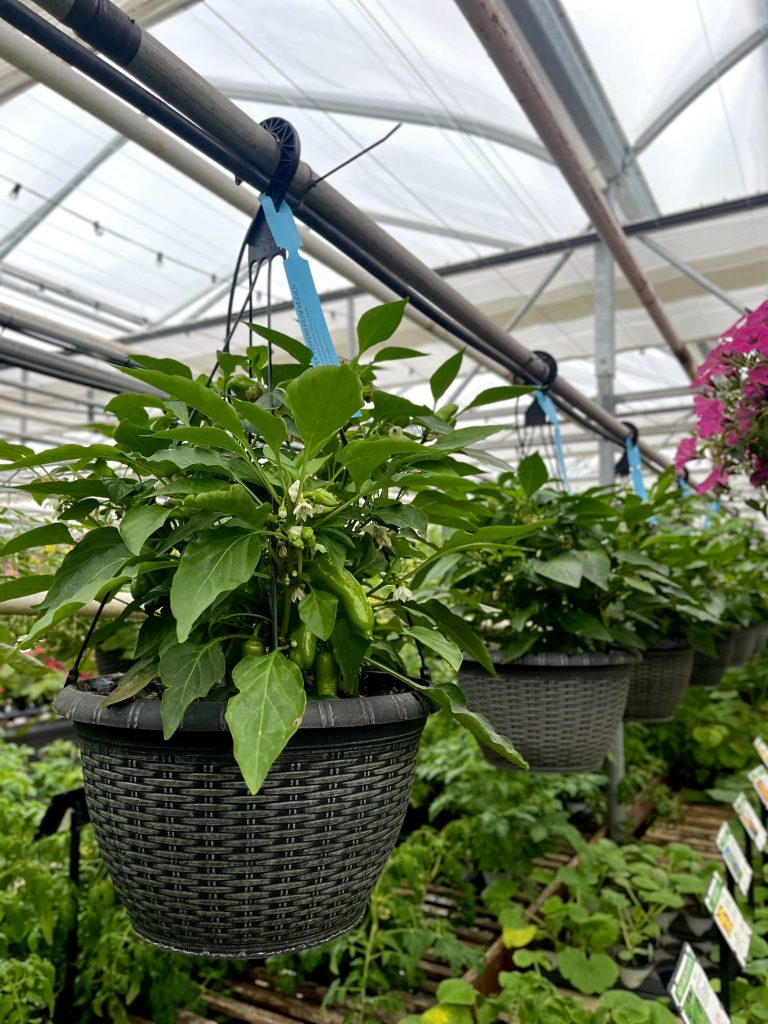
Pot-a-Peno and Peppers From Heaven peppers.
Tomatoes, peppers, and strawberries are all available in hanging baskets. Our deliciously sweet everbearing strawberries are also available in 4.5" pots and bareroot, which are great options for window boxes.
👍Tip: Pick strawberries as they ripen to encourage your plants to produce more. Also, remove runners as they grow to allow your plants to send energy into growing fruit instead of bigger plants. Painting rocks to look like strawberries is said to deter birds from feasting on ripe berries.
Citrus and Figs
Consider growing a beautiful and fragrant lemon, orange, fig or grapefruit tree in a patio pot. Just keep in mind that it will need to come indoors in the fall.
Container Plant Care
Whether you’re growing edible plants in the garden, a pot or a hanging basket, don’t forget to give them the care they need to maximize productivity:
- Water regularly, deeply and in the heat of the summer, frequently. Watering early in the morning is ideal. Pour water on the soil, not the foliage to prevent diseases like powdery mildew.
- Feed your vegetables and fruits throughout the growing season with fertilizer or compost.
- Remove dead foliage and prune plants as needed. Especially herbs.
Once you start foodscaping by including vegetables with your flowers and ornamental plants we’re sure you’ll want to keep looking for innovative ways to grow your own food! Who knows, maybe even pumpkins by the front porch!
If you think a small space and a small garden are limiting when it comes to shrub choices, think again! Colour and texture, structure and seasonal interest are all available in many small shrubs. Whether you’re looking for beautiful blooms or evergreen foliage, you’ll love what our favourite small shrubs have to offer!
Follow the 5 links for more on our 5 favourites!
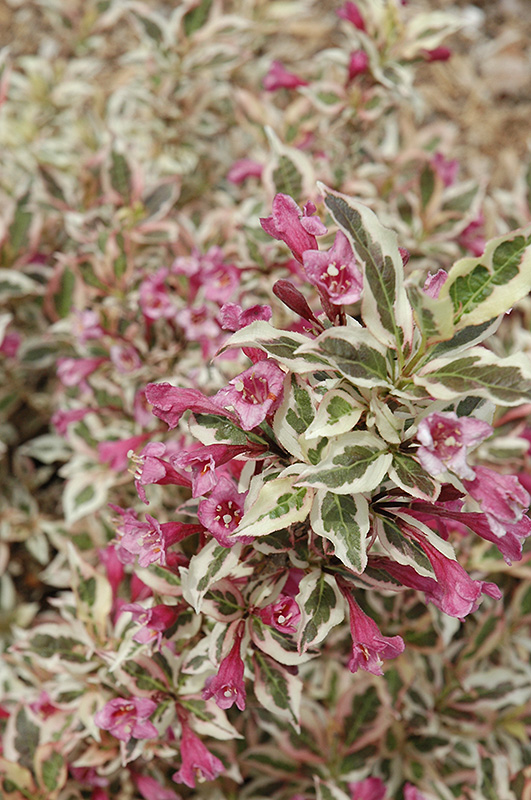
My Monet Purple Effect Weigela - Weigela florida
A deciduous shrub that’s deer resistant, colourful and low growing. This plant checks lots of boxes!! Variegated mint green and cream foliage with purple tones and pink blossoms, it makes a great companion to perennials, and as an edging plant. My Monet Purple Effect Weigela grows 18” to 2 ½ feet tall and wide in partial or full sun.
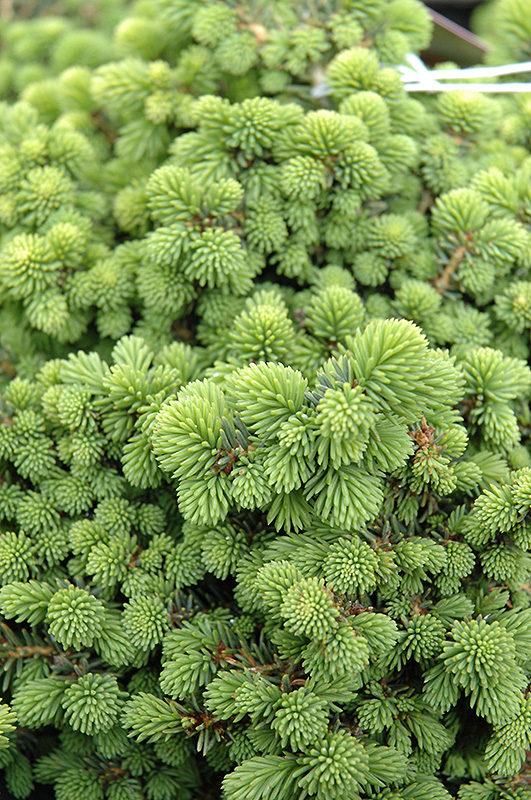
Little Gem Spruce - Picea abies ‘Little Gem’
This compact evergreen has dark green needles, making it attractive all year round. Its pyramidal shape makes it a great choice as an accent feature or in a border. It’s drought-tolerant and requires little care, making it a very appealing low-maintenance choice! Little Gem reaches a mature height of 10” to 1’ and a spread of 1’ to 2’. Plant this shrub in full sun.
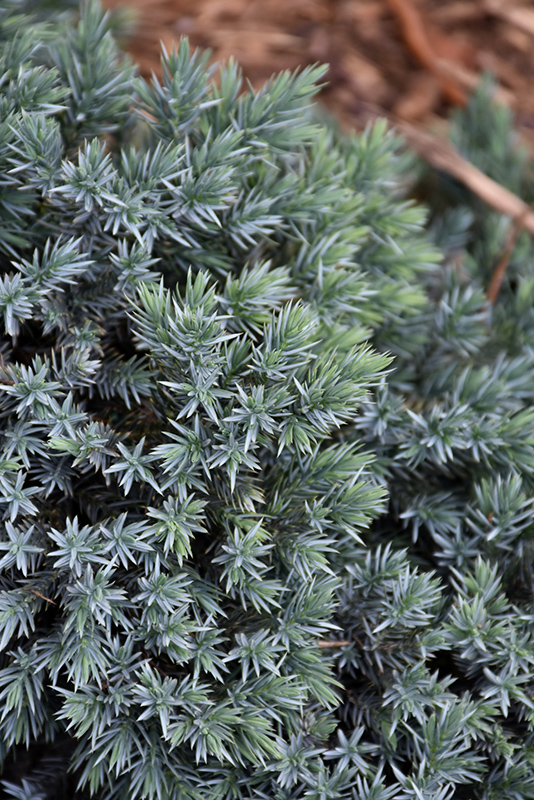
Blue Star Juniper - Juniperus squamata ‘Blue Star’
Sun-loving and slow-growing, Blue Star Juniper graces the garden with steel blue evergreen foliage that’s a beautiful contrast to many plants. It’s also drought-tolerant and requires very little pruning, making it an easy to care for naturally small shrub. Growing 1 to 3’ tall and 1 ½ to 3’ wide, its shape makes it great as ground cover or as an edging plant.
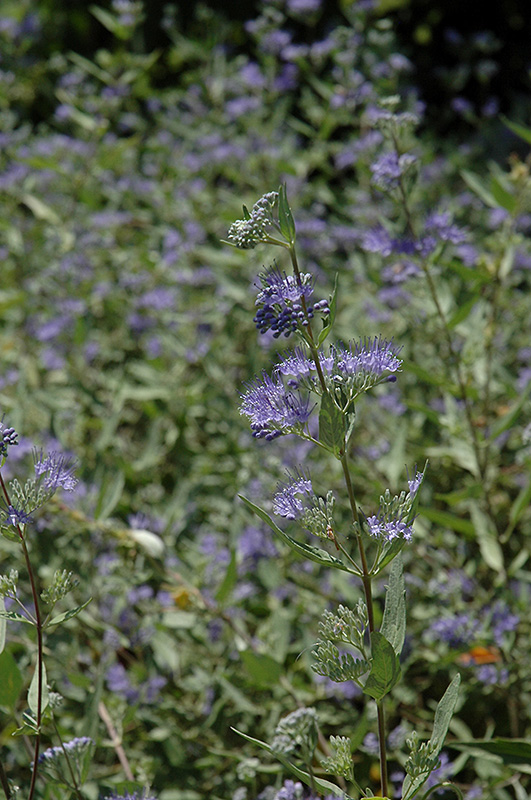
Bluebeard - Caryopteris
Classified as a shrub or as a woody perennial, either way, it deserves to be on this list. Bluebeard loves full sun and grows anywhere from 2 to 4’ in a compact mound. Sweetly scented and long blooming, it attracts all the pollinators: bees, butterflies and hummingbirds. Bluebeard foliage and blooms come in various colours depending on the variety, so it’s easy to fit into your landscape plans.
Inkberry Holly - IIlex glabra
Native to North America, Inkberry has lots to love. It looks similar to Boxwood and can be trimmed to shape, but this slow-growing evergreen also forms a tidy mound, and it blooms in the Spring! It will grow in full to part sun, and smaller varieties reach 3 to 4’ high.
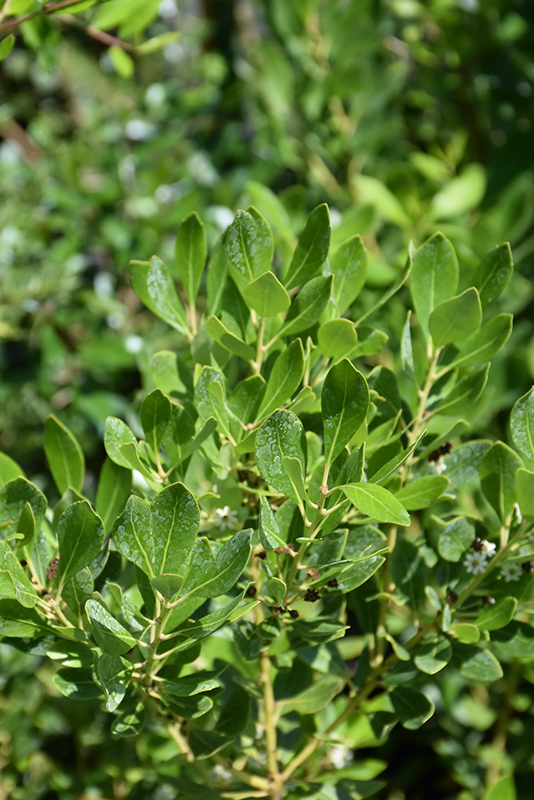
While this list contains 5 of our favourites, we have lots more to offer in the garden centre. Come by and take a look! Discover how growing small shrubs in containers or small spaces adds beauty and texture, enhancing your garden bed, patio or balcony.
TIP: April and May are the best months to plant shrubs in Southern Ontario.
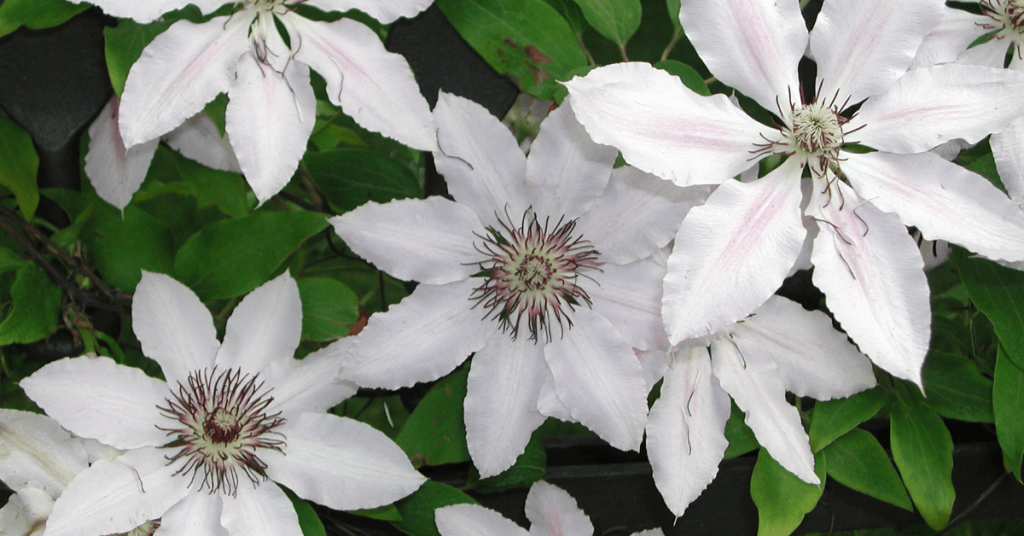
Clematis, the climbing plant that looks far too elegant and exotic to be growing in Ontario! Not only beautiful, Clematis gets along well with climbing roses (this is a gorgeous combination), trees, shrubs, and perennials. Different varieties of Clematis can also be grown together and provide a succession of blooms!
The variety of shapes, sizes, and colours available make Clematis a very desirable plant. Ranging from delicate, white, bell-shaped blossoms to dreamy, pastel rosettes, or sumptuous, deep purple double-flowers, and everything in between.
A stroll through the garden centre is a must to peruse Clematis labels and choose the ones that are most appealing to you. The varieties that we have will all suit our southern Ontario climate.
While the blooms vary widely, planting Clematis is straightforward. A few simple considerations when planting will help avoid root stress or Clematis Wilt, which are common problems when the location is wrong and the soil isn’t enriched. Here are some simple steps to ensure success!
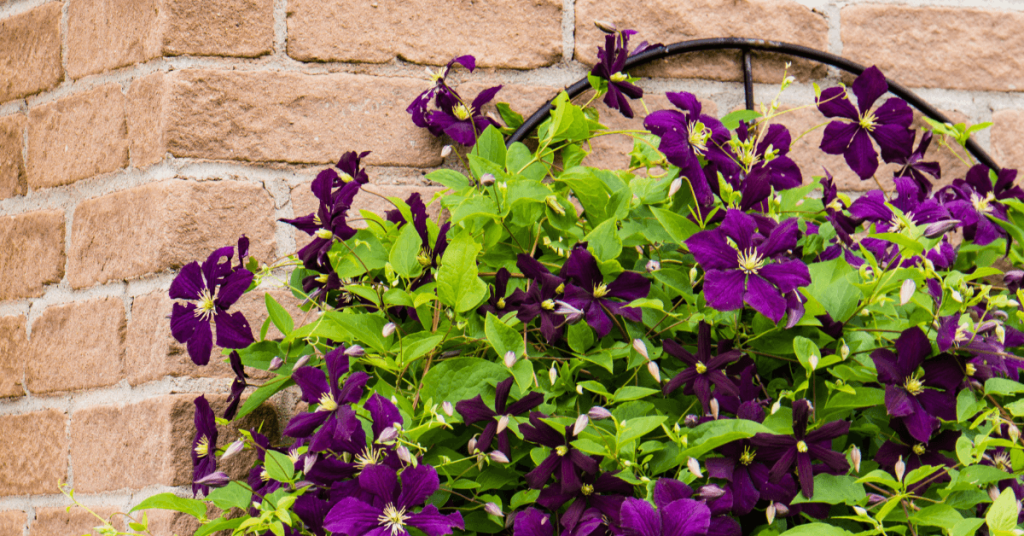
Location, location, location!
Clematis like at least 6 hours of sunlight a day, but not an excessively hot location. Some shade in the late afternoon will extend the length of time that a bloom looks good.
Provide Support
A trellis, archway, arbor, or even a shrub or tree, all make excellent supports for your clematis. Install a well-secured support system first, to avoid damaging your clematis roots.
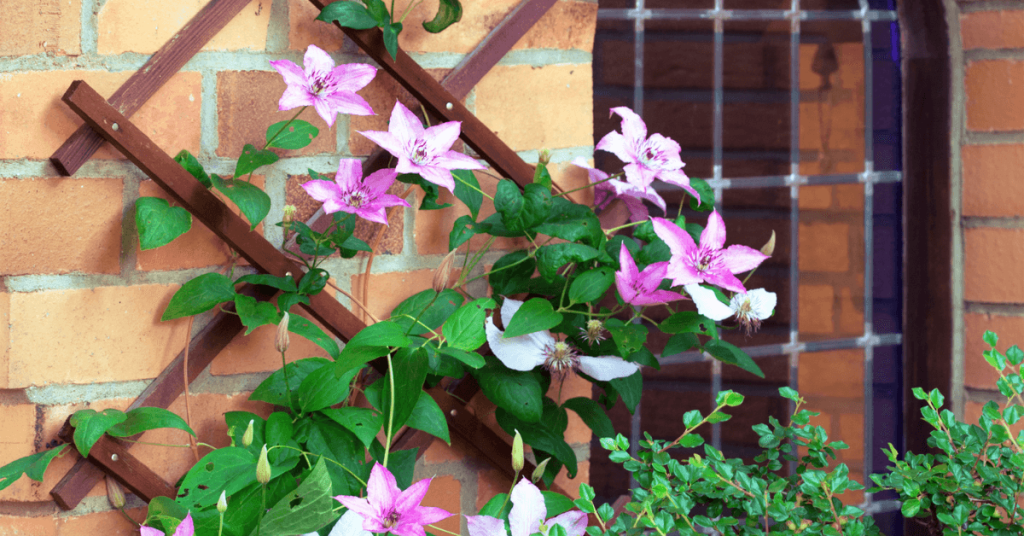
Soil is the Key
Fertile, well-drained soil is essential to successfully growing Clematis. These vines are heavy feeders and require nutrients to produce their show-stopping flowers. Prepare your soil by mixing in plenty of compost or well-rotted manure.
Prepare the Planting Site
Dig a hole that’s as deep as it is wide. Use the plant as your guide and dig approximately 13 cm or 5 inches deeper than the root ball. Add some of the soil that’s been amended with compost, then check to see that your plant is sitting at the right height - the top of the root ball should be even with the soil around it. Once the root ball is sitting at the right height, backfill the rest of the hole with more amended soil and gently firm the soil around the plant with your hands.
Watering
Water deeply after planting, and keep the soil and root ball moist, not water-logged, throughout the season. Be sure to water at soil level, not with an overhead sprinkler which can scorch leaves and flowers.
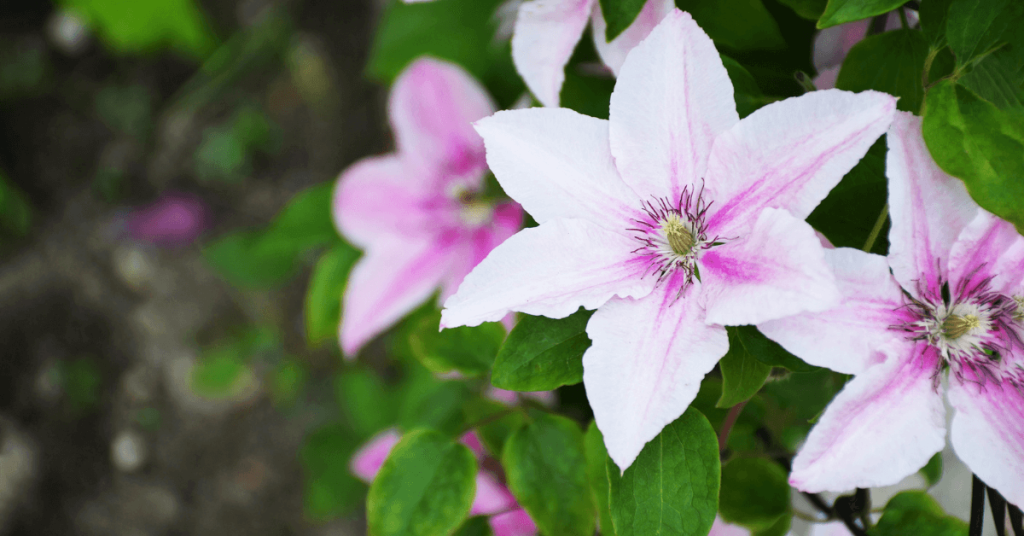
Mulch
Mulch the soil around your plant to help suppress weeds and maintain moisture. Compost, organic shredded bark, or straw works well.
Fertilizer
Fertilize regularly throughout the season, or apply a slow-release fertilizer at the beginning of the season to maximize the blooming potential of your Clematis. For more information about fertilizer, see this article about caring for annuals and perennials.
Pruning
Pruning instructions are often included on your plant label as requirements vary from variety to variety. If in doubt, there are many growers who recommend pruning early blooming Clematis a little, after they bloom, to maintain the desired shape of the plant. For later blooming types, cut the vines right back to 45-60 cm in early spring.
Following these steps will provide a healthy environment for your Clematis to thrive. But be careful, Clematis are like potato chips - bet you can’t have just one!
You’ve selected your annual and perennial plants, chosen their location in the garden, amended the soil and everything is planted. Or close to it! Now what? How can you take care of them to maximize their potential? A bit of simple and easy maintenance will keep your plants healthy and blooming.
Once they start blooming, most annuals will flower all season long, until cold temperatures or frost put an end to their display. Many perennials will bloom for several weeks. We listed some of our favourites in this article if you missed it.
Here are some simple tips to keep your plants looking great!
Water
Newly planted annuals and perennials, even drought tolerant plants need to be watered at planting time.
Perennials will need water every week for the first two weeks and during periods without rain. Most perennials do well with a minimum of one inch of water per week.
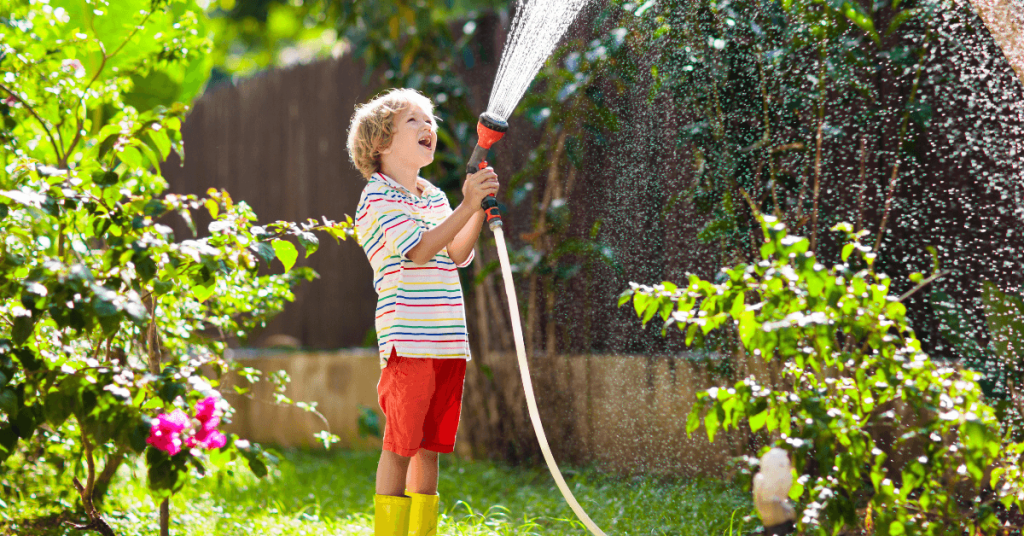
Water is absorbed through the roots, so water the soil and not the foliage. Low (pressure) and slow (volume) allows water to adequately soak into the soil instead of running all over the place! It’s also best to water in the morning rather than at night because foliage that stays wet all night is susceptible to rot and foliar diseases.
Annuals planted in containers will need to be watered more frequently than annuals in a flower bed. Hanging baskets and planters will most likely need water daily, and in the heat of summer twice a day. For hanging baskets, the water should run out of the bottom.
In planters or the garden, use your finger in the soil to test it out - if it feels dry, your plant needs water.
Mulch
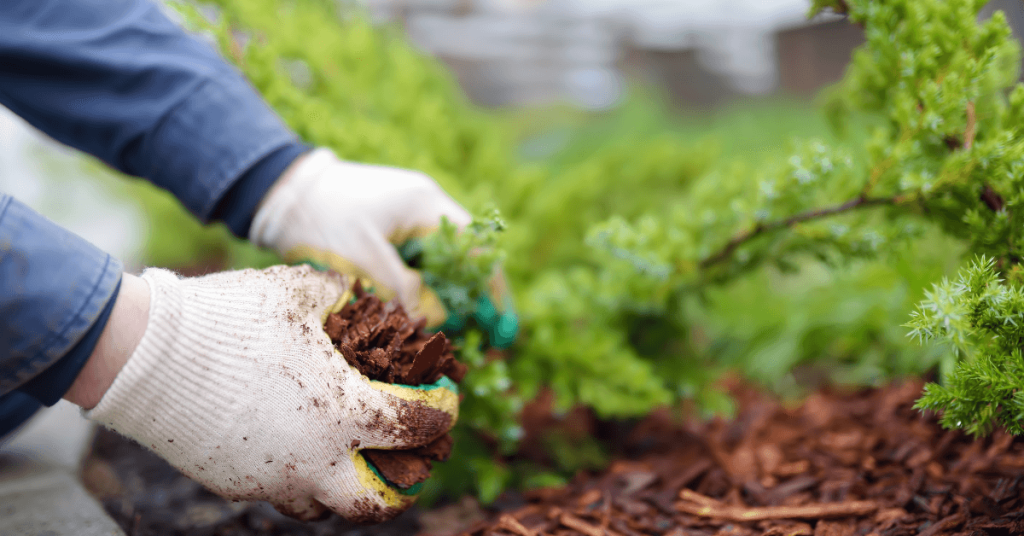
Mulch is always a very good idea to maintain soil health in the garden no matter what you’re planting!
An organic mulch will help enrich your soil, and keep it moist. A layer of at least 2 inches of mulch will also suppress weeds. Who doesn’t love that? The only caveat: don’t allow the mulch to touch your plants.
Deadhead
Deadheading or removing flowers that have finished blooming is important for many plants. Doing this allows the energy from the plant to be sent to producing new blossoms in annuals, and some perennials.
How do you do it? Take sharp, clean scissors or pruners, and cut off any dead flowers just below the base of the flower or above the first leaf. With some plants you can simply break off the spent flowers.
Bonus: your plants will look much better without dead flowers on them!
Note: some annuals don’t need deadheading. For example, Verbena, Lantana, Lobelia, Impatiens, Petunias, and Begonia.
Fertilizer
Let’s face it, fertilizer packaging can be confusing. They often feature three letters and three numbers. What does it all mean? What is N-P-K? This Eising article explains all you need to know about fertilizing and is worth the read.
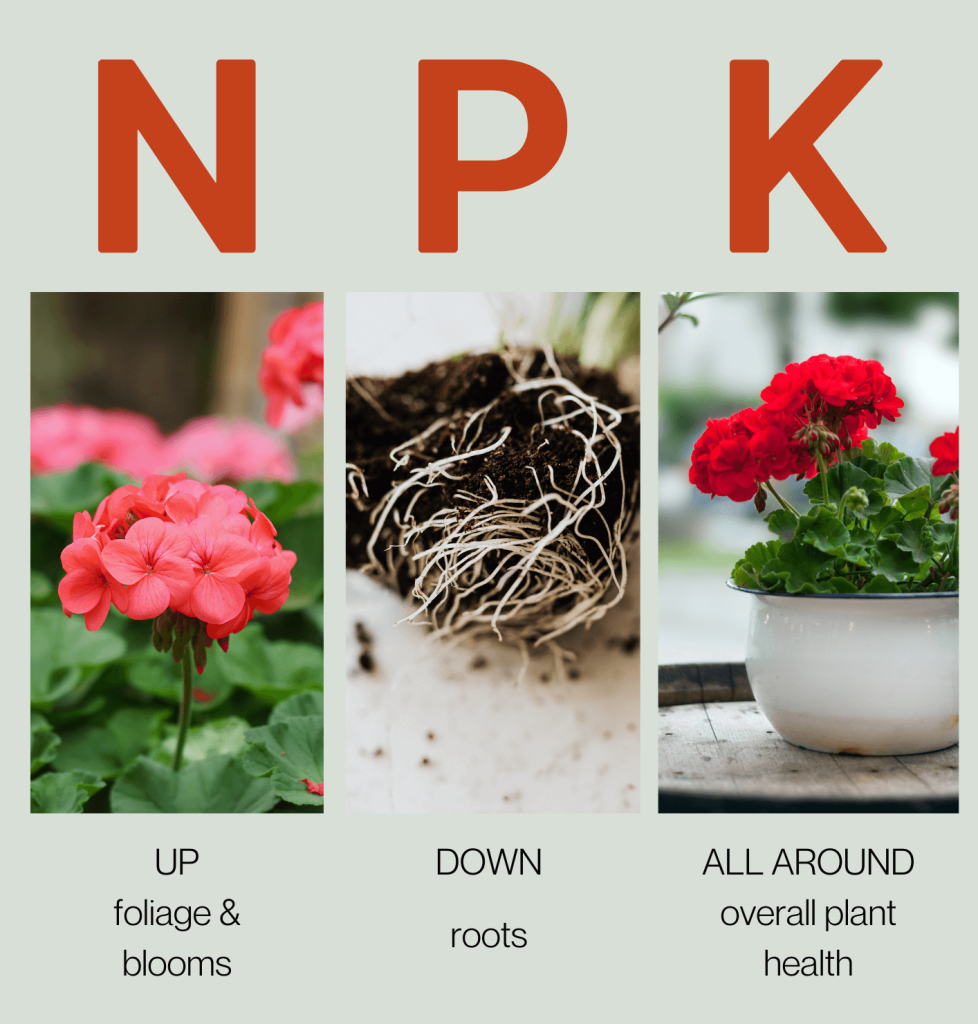
However, in a nutshell, this is a really easy way to remember the function of N (nitrogen), P (phosphorous and K (potassium) when it comes to fertilizing. The numbers are the percentage of each of those nutrients that the fertilizer package contains.
N = UP - foliage and blooms
P = DOWN - roots
K = ALL AROUND - overall plant health
If you used an organic, slow-release fertilizer when you planted your annuals or perennials in the ground, you shouldn’t have to fertilize again during the season.
Most potting soil in planters or hanging baskets contains the nutrients needed to help your plants get started. An easy way to maintain nutrients throughout the season is sprinkling Shake n’ Feed Ultra Bloom 10-18-9 slow release fertilizer on top of the soil. It will slowly feed your plants for three months. For heavy feeders like petunias or plants that are hungry, looking light, and in need of an instant boost, use a water-soluble fertilizer with an NPK ratio of approximately 20-20-20 every two weeks to keep them blooming.
For perennials, trees and shrubs that need more nutrients during the year, Shake n’ Feed slow release 18-6-12 fertilizer can be applied in the spring and it will feed your plants for three months during the growing season. The same fertilizer can be used for trees, shrubs and perennials in subsequent seasons.
As a rule of thumb, it’s better to under-fertilize and watch how your plants respond. Over-fertilizing can lead to sick plants that have yellow or brown leaves. In your garden, the only way to know what your plants need is to test the soil. Otherwise you’re guessing! To test your soil in Ontario, samples can be sent to The University of Guelph.
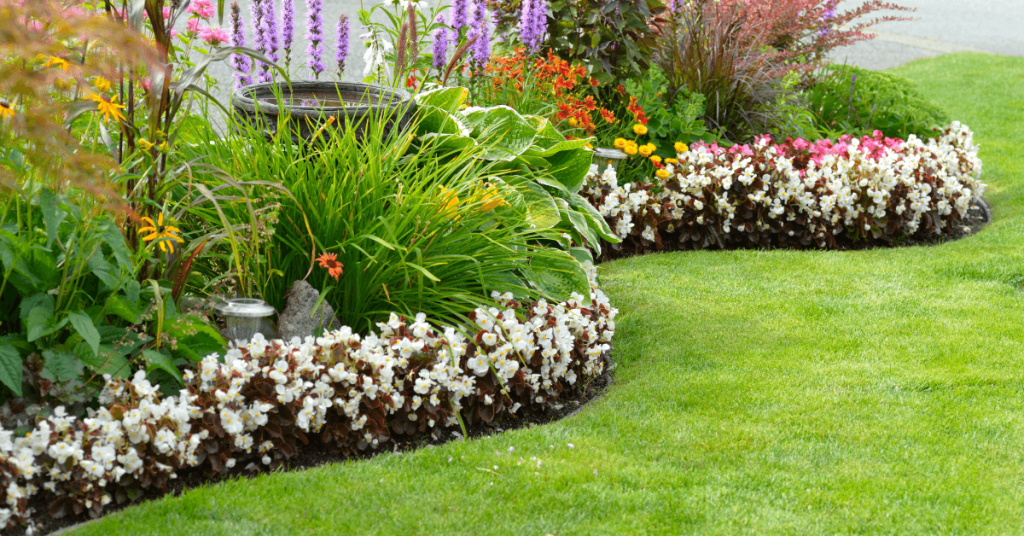
Every year, more and more people discover the beauty of the plentitude of showy blossoms on fruit trees around April and May. It’s a memorable display to be sure. Those blossoms of course set the fruit to be harvested later in the season - the absolute best time to have a fruit tree in your yard, and the reason we think that planting fruit trees is an investment that’s well worth your time.
Luckily, here in Norfolk County we are able to grow many types of fruit and at Eising you can find a wide variety (based on availability): Apples, Pears, Cherries, Peaches, Nectarines, and Plums. We also have lots of fruit bearing shrubs available too. Is your mouth watering yet?!
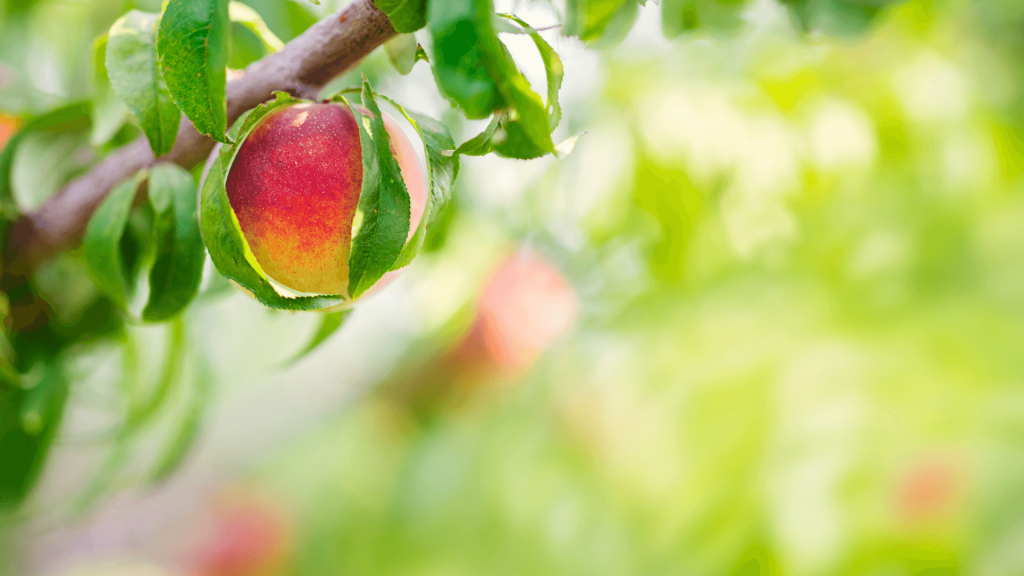
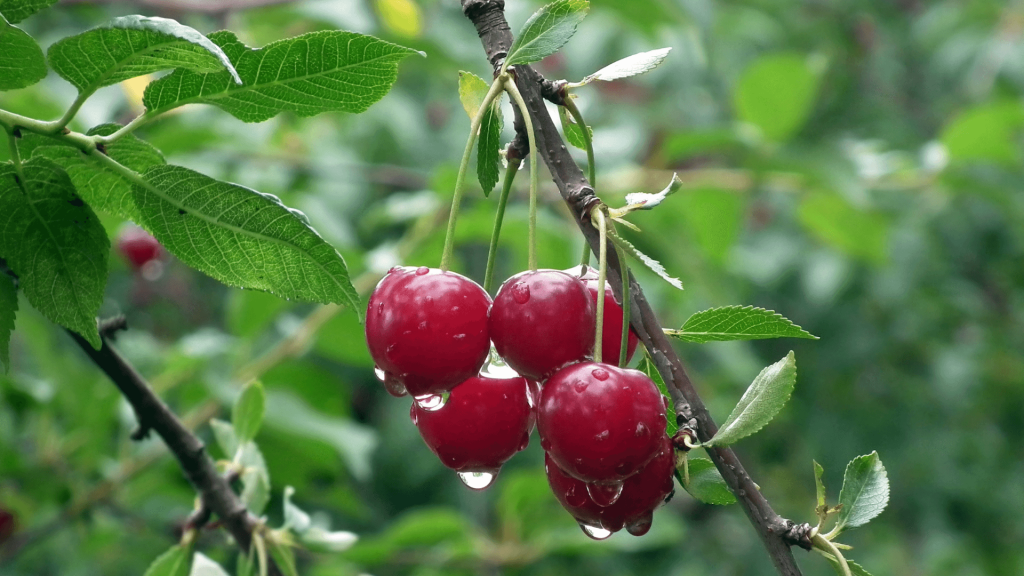
Spring is the recommended time of year to plant a fruit tree. Depending on the weather, it’s best to get your tree in the ground between early April and early May.
Want to give growing fruit trees a try? Here’s a list of what you’ll need and 6 steps to guide you through the process.
What you will need:
- Spade or shovel
- Compost or well rotted manure
- Fruit trees
- Bone Meal fertilizer
- Tree stakes
- Mulch
- Tree guards
- Pruners
Part One - Preparation
1 - Select a location in your yard that gets full sun and allows enough space for the mature width of the tree. There are more and more dwarf varieties available that make this task easier. If the location is sheltered that’s ideal, and good drainage is a must. Fruit trees do not like “wet feet”.
2 - Prepare the soil by digging it up well and incorporating compost or well rotted manure.
3 - Select the tree(s) for your site. For example Honeycrisp, if it’s apples you want, a variety that is great for cooking or eating fresh from the tree. It’s also important to keep in mind that with certain types of fruit trees you will need to plant at least two different varieties (not the same) in order for them to pollinate and produce fruit. It’s best to research which varieties to plant together as some fruit trees flower at different times that others. Flowering and pollination timing is essential for producing fruit! It’s a good idea to also check the tags on the trees for suggestions, or ask an Eising staff member if you have any questions about selecting your trees.
Part Two - Planting
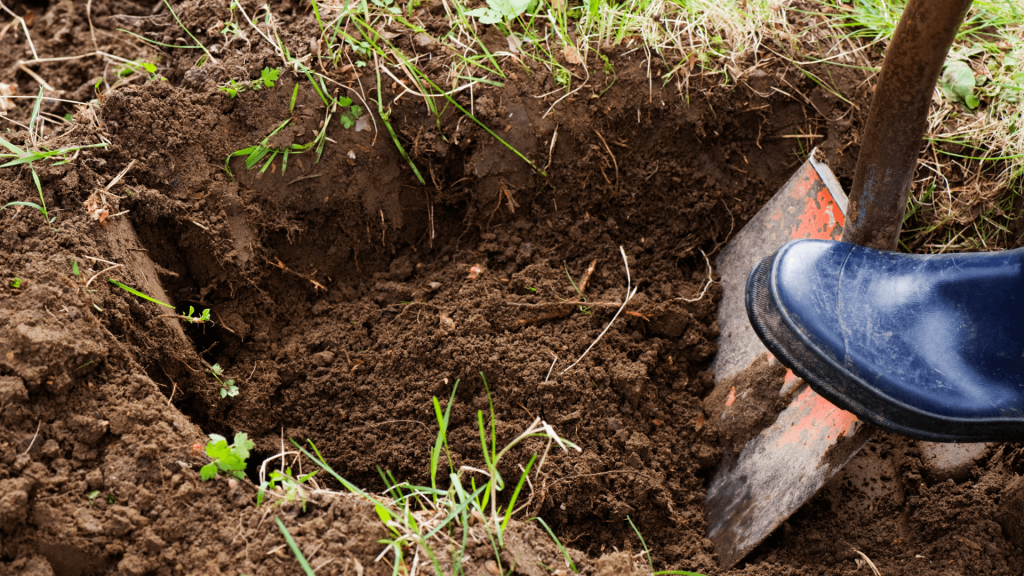
1 - To plant your trees, start by digging a hole in your prepared soil that’s twice as big as the root ball of each tree and amend the soil with Bone Meal fertilizer. This will soften the surrounding soil, and provide space for backfill with nutrient dense soil for the roots.
Test the depth of the hole you’ve dug - the soil on the top of the root ball should end up being at the same height as the soil around the hole it’s going into.
Place the tree in the hole, and place a tree stake beside the root ball. Backfill the remainder of the hole with the amended soil. Firm the tree into the ground by gently tamping the soil around the roots with your feet, then water thoroughly.
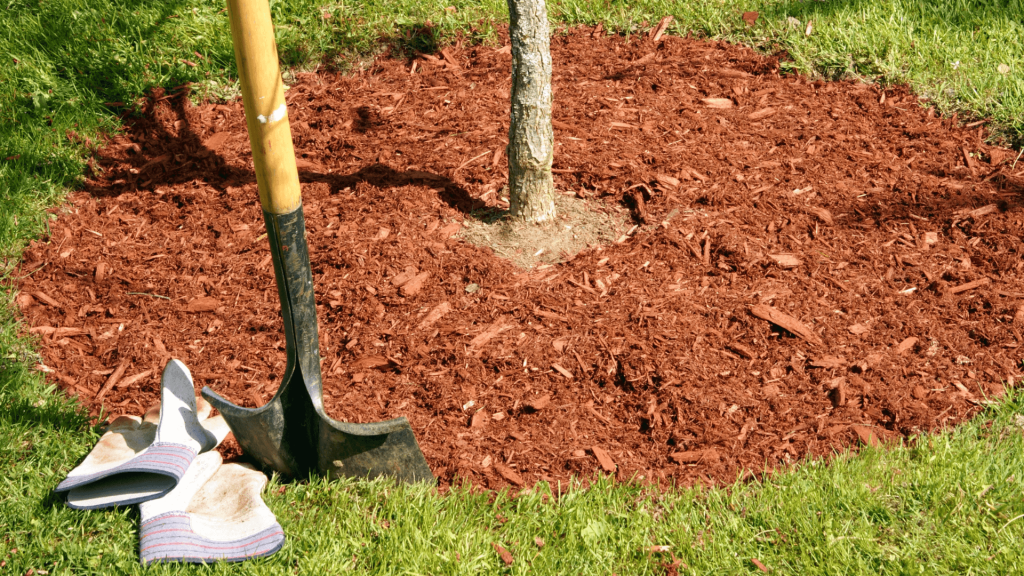
2 - Secure your tree to the stake and add a good, thick layer of mulch. Staking your trees during their first two years in the ground will provide important stability which allows the roots to become firmly established. Add a thick enough layer of mulch to suppress weeds and retain moisture - lawn clippings, wood chips, old straw or other organic matter will help to conserve moisture while the tree is getting established and will also act as a fertilizer as it breaks down into the soil.
Here’s a bonus tip: keep the mulch away from the trunk of the tree! As the organic matter in your mulch breaks down, you don’t want it also breaking down the bark on your tree. While we’re focussed on the trunk, it’s also a very good idea at this point to add a tree guard to the bottom of the tree to prevent rodent damage.
3 - Lastly, get out a nice sharp and clean pair of pruning shears. Prune your tree to remove any dead or broken branches, then trim anything that makes the tree look off balance. After this initial pruning, a good pruning each spring to remove any dead or crowded branches in the interior or top of the tree will help keep your tree healthy. If you’ve never pruned a tree before, consult this guide or enlist the help of a friend who has done it. Once someone shows you how easy it is, pruning will be a breeze.
When you follow these steps you will be setting yourself up for success. Fertilize regularly with bonemeal the first year to help your trees get established. After that, a slow release fertilizer can be added each year. Pruning your trees, fertilizing, and adding a layer of compost and mulch each spring can help ensure that they stay in good health, and produce a nice crop of fruit in the fall when you can enjoy the fruits of your labour!

We’re fortunate here in Simcoe—our weather is mild enough that we can grow a pretty impressive variety of delicious fruit trees. There are loads of benefits to growing fruit trees, the most obvious one being the large amount of fruit you can harvest every year. On top of that, they’re seriously beautiful, especially when they’re in bloom, and they can help increase your property value significantly! Want to try and grow your own? Here are the best fruit tree varieties for our neck of the woods.
5 Fruit Trees For Southern Ontario Gardens
Having your own backyard orchard is totally possible, so long as you pick the right kinds of fruit trees to grow. There are many different varieties of each kind of fruit tree, and it’s important to keep in mind that some are self-pollinating, while some others aren’t. The ones that don’t self-pollinate will need to be grown in groups of two or more, so check with one of the experts at our garden centre to make sure you’ve got everything you’ll need to successfully grow fruit.
There’s nothing quite like freshly picked fruit right off the tree, and it’s definitely a nice bonus to get it for free instead of shelling out money for imported fruits from the supermarket. Here are some of our favourites fruit trees for Southern Ontario:

Cherry: The gorgeous blossoms of the cherry tree are truly in a league of their own—the colour and the fragrance are so breathtaking! And, of course, all that tasty fruit definitely sweetens the deal. When choosing your cherry tree variety, always check to see if it’s a sour cherry or sweet cherry tree. The sour fruits are usually used for baking or cooking, but you can snack on the sweet ones with no problem. Black cherry trees are the most popular, and their fruits are usually ripe by late June or early July. Harvest them by nipping them off with pruning shears, because the branches are a little too delicate for you to pull them.
Peach: Fuzzy golden peaches are so tangy and perfect—having your own peach tree is really quite the luxury! Luckily, they’re pretty easy to maintain. Peach trees are technically self-pollinating, but as with all fruit trees, you’ll get the best yields if you keep two peach trees of different varieties on the same property. Make sure you plant your tree, or trees, in a spot that gets plenty of sunshine, with healthy soil that drains well. Plant them in the spring when the weather is mild, and once they’re mature, you can harvest your peaches in July or August. Regularly pruning your peach tree will help to increase your crop yield, but that little extra effort will definitely be worth the payoff of buckets full of fresh, juicy peaches.

Pear: These are definitely one of the most low-maintenance fruit trees to grow, but none of them are self-pollinating, so you’ll definitely want to plant at least two of different varieties. Thankfully, they aren’t very large, so you shouldn’t have too much trouble making space for them. Plant them in the spring, in an area with full sun and plenty of air circulation, which will help to prevent the buildup of mildew or other fungi. Depending on your chosen variety, it can take anywhere from three to 10 years for your pear trees to start bearing fruit, so you’ll need to be patient, but we think it’s definitely worth the wait! Pears usually begin to ripen by the end of the summer through until October, so you can enjoy a nice late-season harvest.

Plum: Few things are as refreshing on a hot day than a frosty, cold plum straight out of the cooler. If you’re a fan of these juicy purple fruits, then you absolutely should grow your own plum trees because the amount of fruit they produce is incredible! Some trees will continue producing fruit from May all the way until October, so there will be plenty to go around. Plums are the perfect fruit tree for beginners because they’re super hardy and low-maintenance. One thorough pruning in the spring will help a lot, though, because thinning out the weaker branches will prevent major breakage later on when the fruits grow and get all plumped up.
Apple: Ah yes, the classic apple tree, how could we ever forget? This much-loved fruit tree has so many different delicious varieties, and the fruits are so versatile. Dinner guests will be fawning over your pies and dessert crumbles made with garden grown, organic apples from your own backyard! Apple trees can be planted in the spring or fall, and they like lots of water for those first few months after planting. You won’t have to prune them much, but you may notice they’re a bit more prone to pests, so you’ll want to regularly inspect your tree and spray with natural pesticides when needed.
Need any guidance on how to plant your own trees successfully? We’d be happy to help walk you through the process! Don’t hesitate to contact us at Eising; we’ll help you on your way to creating your very own home orchard. Don’t forget, we just launched our online store, and we have curbside pickup and delivery options available, so getting your garden plants and supplies is now easier than ever!