
By: Dave Zeldon and Ely Schweyer with tips from Mary K, Zach C, Sandy M, and Jeanine LT!
Now is the time to prep our outdoor landscapes for the coming cold weather and the ensuing spring! Perhaps your autumn is calmer than your spring, and this is the best time to clean up and begin new projects. The following are some simple but effective tips to get your yard winter-ready - so your spring will be a little more pleasant for you!
Planting
When warm weather still allows it, plant trees, shrubs, perennials, and bulbs to allow them to establish for budding and blooming next spring.
Pond Care
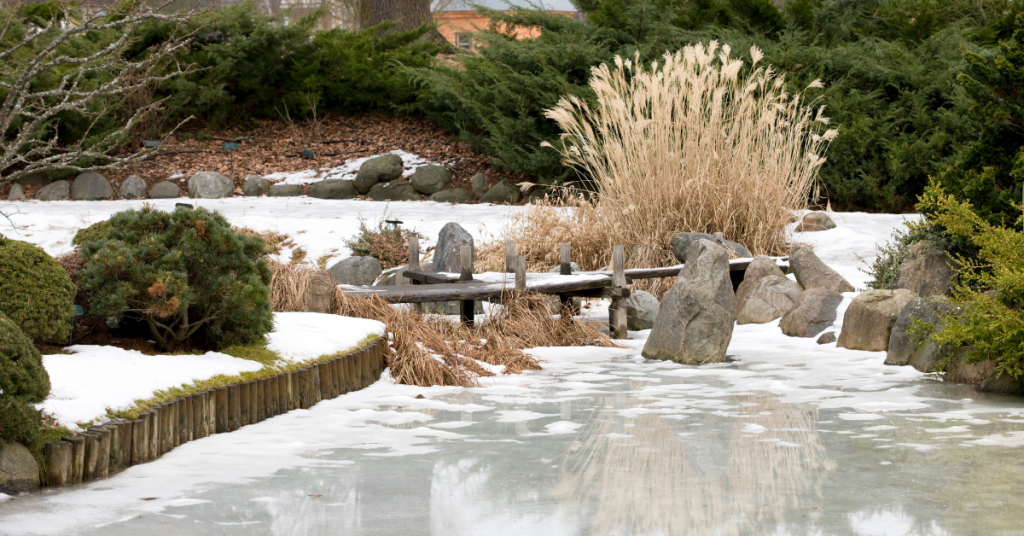
Mary, our perennials gal, suggests not removing any water from your pond but instead aerating it all winter. She skims out the leaves to maintain the balance of the nitrogen cycle in the water and suggests waiting to do a big pond clean out in the spring, as that’s when the water’s culture can bounce back easier.
Fertilizing
After top growth of your landscape plants ceases, reduce your annual fertilizer application by up to half of the requirement. Autumn is a major root growth period for woody and herbaceous perennials; roots will grow and absorb nutrients whenever soil temperatures remain above 5 °C but can be over fertilized quickly in these cooling temperatures.
Produce gardens could benefit at this time from a top layer of compost that will break down during the winter so it isn't too 'hot' for spring planting.
Leaf Litter
Here’s our pitch on the ‘leave it – don’t leave it’ debate: It DEPENDS.
Ideally, we should leave litter leaf on the ground for our pollinator friends and endangered species like fireflies to hide out in the winter. But, there are appropriate situations in which to remove leaf litter.
- When they’re covering your bulbs and tender perennials, remove SOME. Leaf litter acts as a ground insulant, which can amplify our temperamental zone 6b temperatures. This freezing and thawing can often confuse and kill early spring bulbs and tender perennials.
- Zach, our trees and shrubs guy, suggests that if a tree shedding leaves has been diagnosed with pests and fungi, remove the leaf matter to reduce the spread to other plants. Diseased matter should always be removed in a quarantined fashion and taken to a landfill or burned.
☝️Please note: Unless diseased, compost your leaves, they contain vital nutrients specific to the plants they came from!
Lawncare
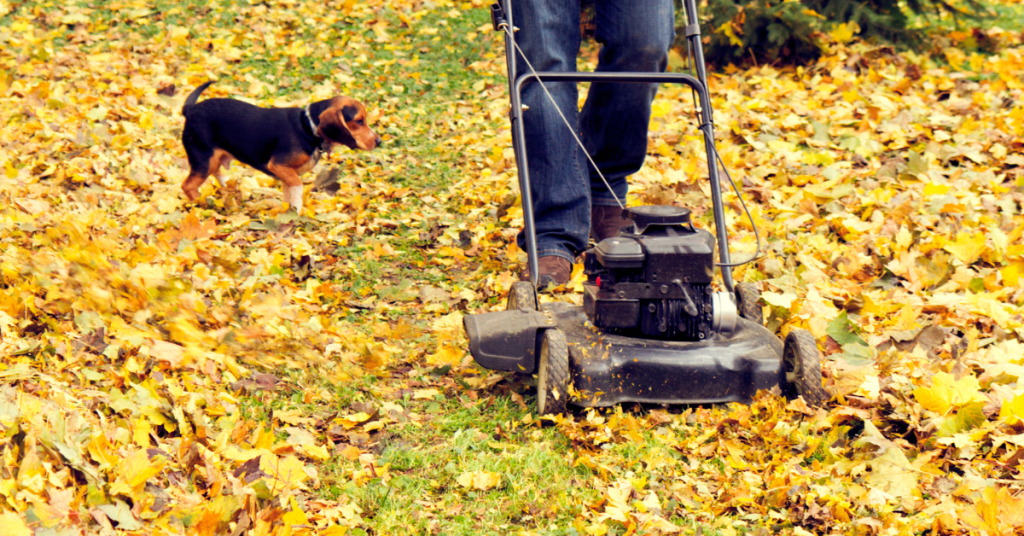
With autumn mowing practices you have the opportunity for the addition of much needed organic matter for your lawn, which is also an excellent source of slow release nutrients. Keep mower blades sharp since leaves can be tougher than grass. Raise the mower height up and mow leaves when they are lightly wet (e.g., morning dew). This will keep the leaves from blowing all over and will prevent the mower from getting bogged down in wet leaves.
See more on general lawncare in Dave's Lawncare 101 post.
Clean Up
Now is a good time to wash your tools with soap and water to prevent diseases spreading from plant to plant.
☝️Mary's tip is to spray garden tools with PAM before use, so the dirt slides right off them!

Pruning Perennials
Mary, our perennials gal, suggests leaving things until frost to cut back. This way they're easier to compost. Make sure to leave seedheads (i.e., coneflowers and black-eyed Susans) for wildlife, and things like hydrangeas for winter interest.
☝️Make sure if things are cut back, to leave them sticking up enough you can still find them in the spring!
Dividing and Moving Perennials
Moving or dividing perennials in the autumn is a great way to reduce your work next spring. The cool, moist weather is an ideal time for perennial roots to become well established.
👍The rule of green thumb for moving perennials: If the plant blooms between early spring and late June, then early fall division/moving is ideal. If the plant blooms after late June, then early spring division is ideal (except for Peonies which should only moved or divided in the fall, Poppies in August, Irises in July & Lilies in the Fall).
Overwintering Trees
Zach and Sandy from trees and shrubs suggest a couple of things to help your favourite trees along this winter:
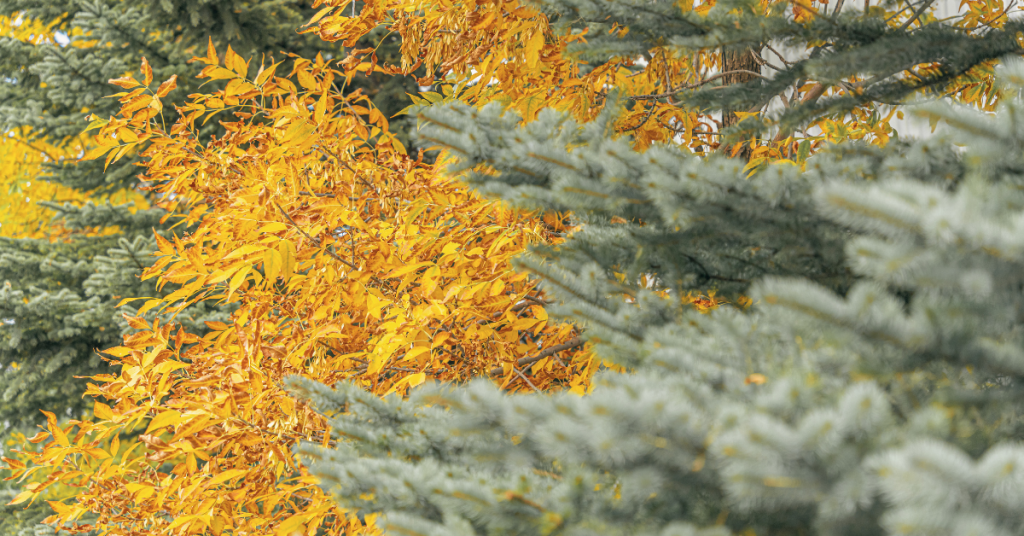
- To reduce winter injury in evergreens: Keep properly watered throughout the growing season and into the fall is another way to reduce winter injury. Decrease watering slightly in September to encourage hardening off, then water thoroughly in October until freeze-up.
- Cedars - Spray cedars with antidesiccant spray (available at Eising GC) or wrap in burlap (with stakes to create dead air space) so wind doesn't dry out and burn tips.
- Fruit trees - In late fall, spray fruit trees with sulfur-horticultural oil (available at Eising GC) for protection against fungi and pests overwintering in the bark.
- Ornamental trees - wrap the base of young trees to protect from chewing rodents.
- Pruning trees - trees that prefer winter pruning rather than spring pruning are maples, oaks, birches, and elms, as well as with fruiting trees such as apples and pears. This ensures blight and pests will not affect the tree's open wounds.
If you missed the frosty deadline for transplanting trees, Sandy suggests insulating unplanted potted trees to help them best survive the coming winter. Here are some methods:
- Double-pot your tree with an insulative barrier (i.e., burlap, straw, mulch, etc.) stuffed between the two pots and securely cover the top with tarp to deflect moisture.
- Bury your potted tree in the ground, level with the top of the pot (don’t forget to dig it back up!) and mulch the area.
- Huddle all of your unplanted trees and plants together when using the above methods.
Mulching
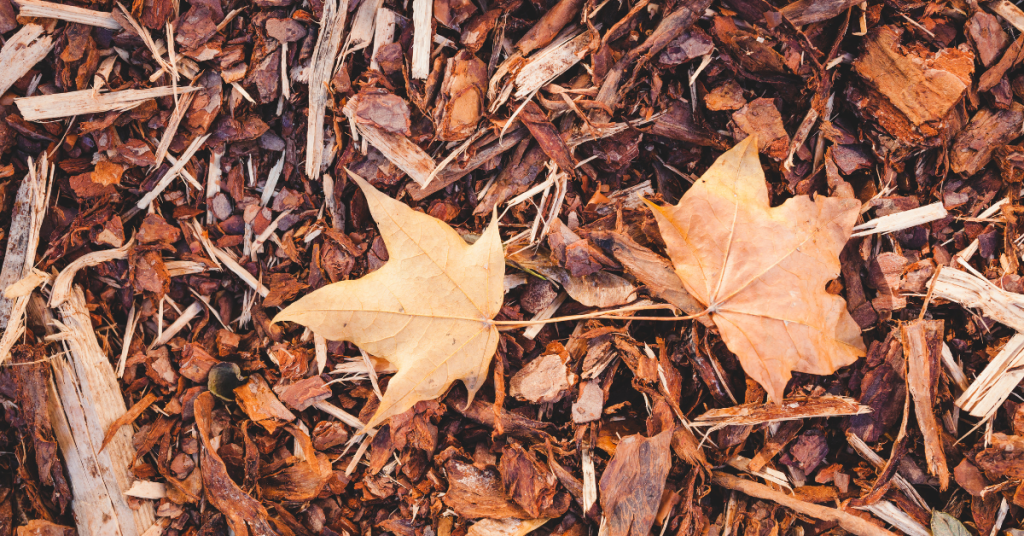
Mulching is one of the simplest and most beneficial practices you can do for your garden. Just by simply placing a protective layer of material over the bare soil will benefit the soil as it decomposes providing the much-needed organic matter which improves root growth, the infiltration of water and the nutrient-holding capacity of the soil while reducing soil erosion.
A good layer of mulch allows the soil to warm more slowly in the spring, so perennials aren't fooled into breaking dormancy too early, as you want the ground to stay cold until it really is spring!
☝️Make sure your mulch application won't stunt the growth of your plants come spring as discussed in our Transplant Troubleshooting blog post!
Japanese Beetle Prevention
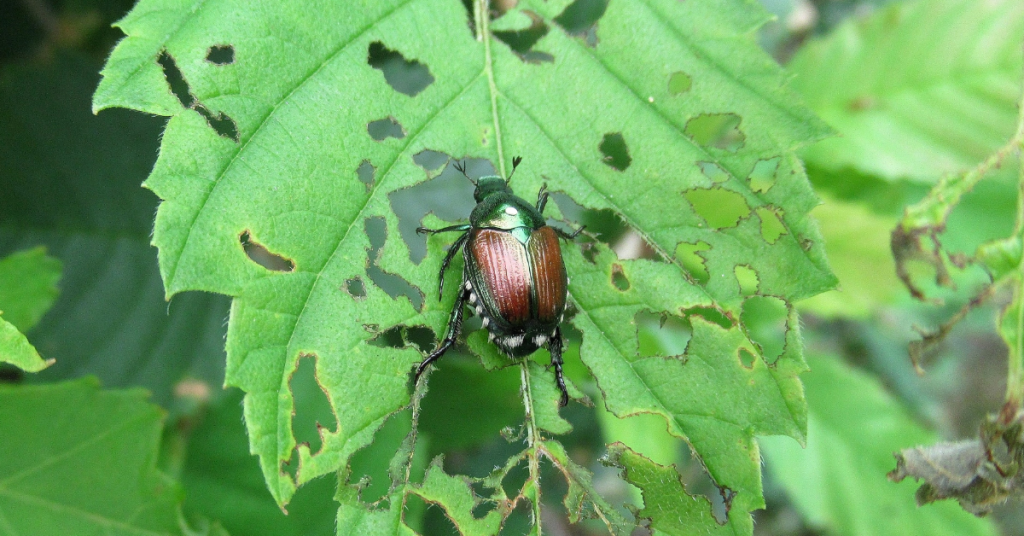
Nematodes are microscopic worms that should be applied to lawns that have been ravaged by grubs especially of the Japanese Beetle. Nematodes have a short shelf life and must be refrigerated until they are applied. Normally, they are sprayed onto the lawn from mid-May to mid-June and then again (for best practice) from mid-August to mid-September.
Pots
To prevent freezing and cracking, Mary suggests emptying and turning your pots upside down. You can disinfect at this time too.
Design Time!
Jeanine, from production, suggests writing down what worked best in your produce garden this year so you can implement it again in the spring.
With the trees and land being barren enough you can see its contour, now is a great time to plan ahead for spring landscaping! Don't forget Eising GC would love to offer help with your landscape designing!
We hope these tips help your landscape plants enjoy your winter abode as much as you do this season, for more information - and plants – visit Eising Greenhouse and Garden Centre! 🍁
By: Dave Zeldon and Ely Schweyer
Spring and early fall are generally the best times for planting trees. It has been found that newly planted trees thrive when exposed to moderate temperatures and rainfall, as they need time to root and acclimatize before the onset of intense heat and dryness of summer or the freezing temperatures of winter.
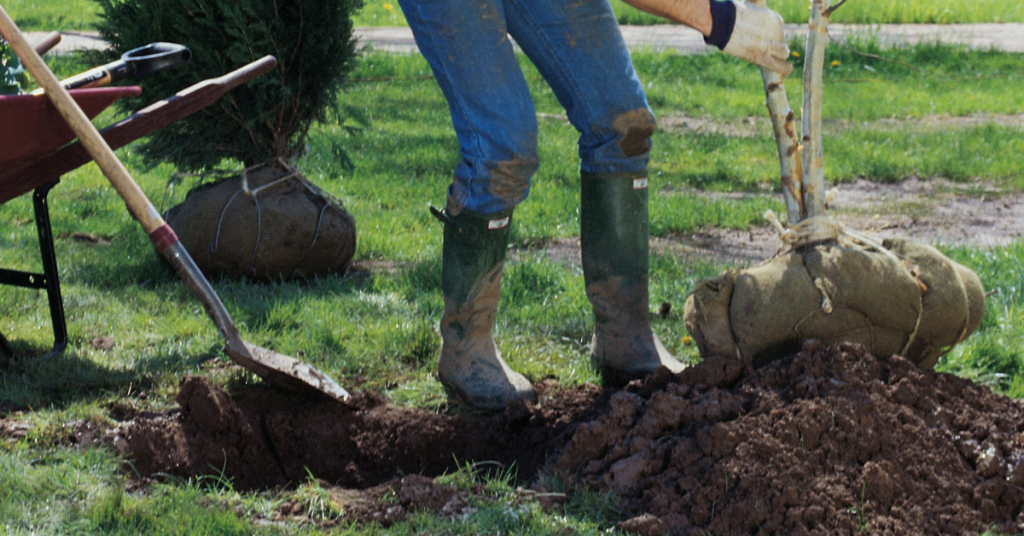
Now whilst planting different types of trees differ in detail, all trees eventually end up in a hole. But remember not just any old hole will do.
Let’s Get Digging!
1. Some trees are buried too deeply, causing the tree roots to decline in health and condition. We have a whole other article dedicated to transplanting depth if you wish to read more, but here’s the just of it: Poor tree health results in reduced growth rate, atypical leaf size and colour, increased disease susceptibility, and reduced cold hardiness. Always make sure that the root collar flare is visible after planting; if settling occurs, reset the tree to the proper depth.
👉 Note: Many times, homeowners build a raised bed garden around an existing tree in the yard (thus burying the root collar flare) only to find within a year or two their favourite tree now is in decline. Don’t bury that root collar flare!
2. As a general rule, trees should be transplanted no deeper than the soil in which they were originally grown. The width of the hole should be at least three times the diameter of the root ball or container or the spread of the roots in the case of bareroot trees. This will provide the tree with enough worked earth for its root structure to establish itself.
3. When digging in poorly drained clay soil, it is important to avoid 'glazing'. Glazing occurs when the sides and bottom of a hole become smoothed forming a barrier, through which water has difficulty passing. To break up the glaze, use a fork to work the bottom and drag the points along the sides of the completed hole. Also, raising the centre bottom of the hole slightly higher than the surrounding area. This allows water to disperse, reducing the possibility of water pooling in the planting zone.
4. The backfill soil should be a mixture of composted manure and topsoil. The mixture should then be placed in the hole surrounding the tree just to the height of the ball or slightly lower to allow for some settling. Be careful not to compress the backfill soil as this may prevent water from reaching the roots and the roots from expanding beyond the ball.
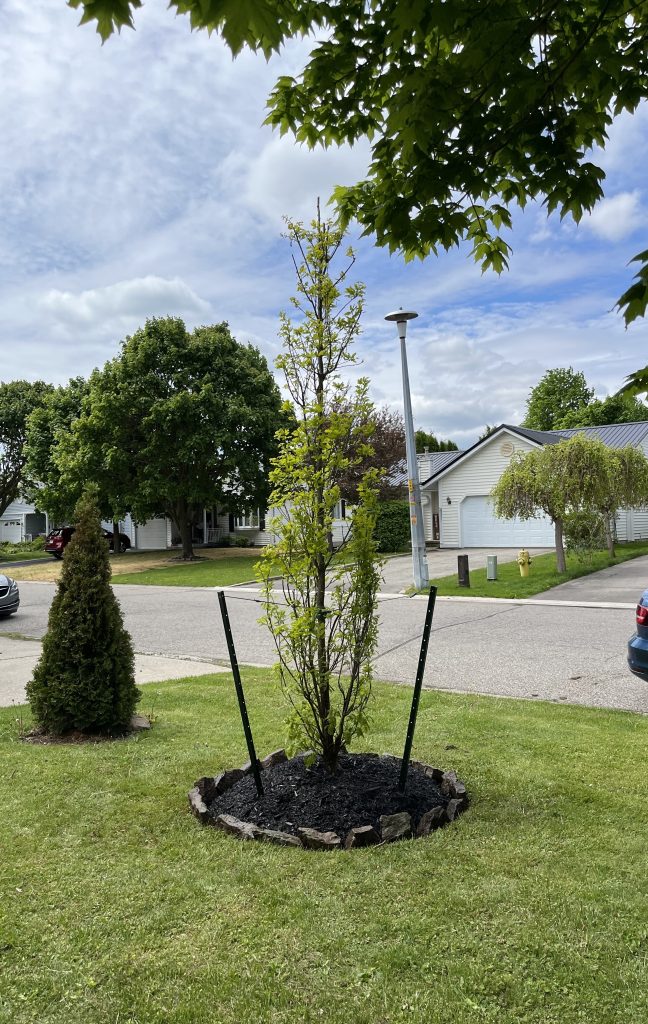
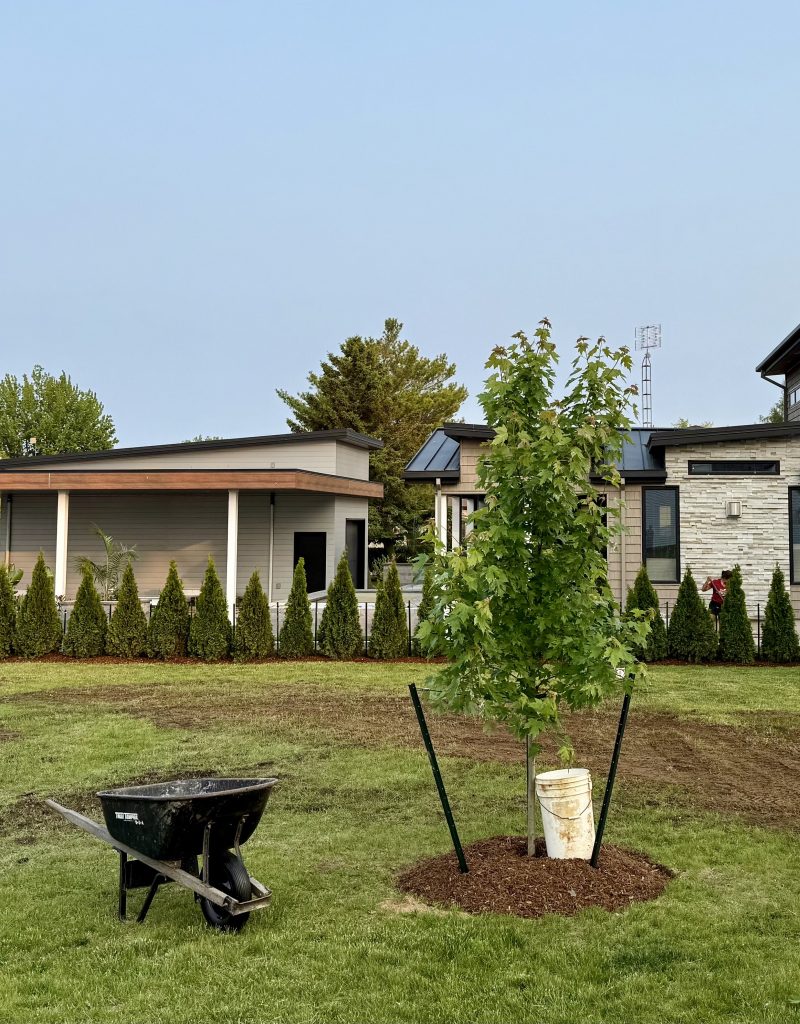
Jobs well done by the Eising landscaping team!
Standing On Its Own Roots
Young trees should be able to support their own weight when they are transplanted. If the tree is unable to do so, try thinning out the upper branches to reduce wind resistance. If that is not enough, you may have to stake a tree.
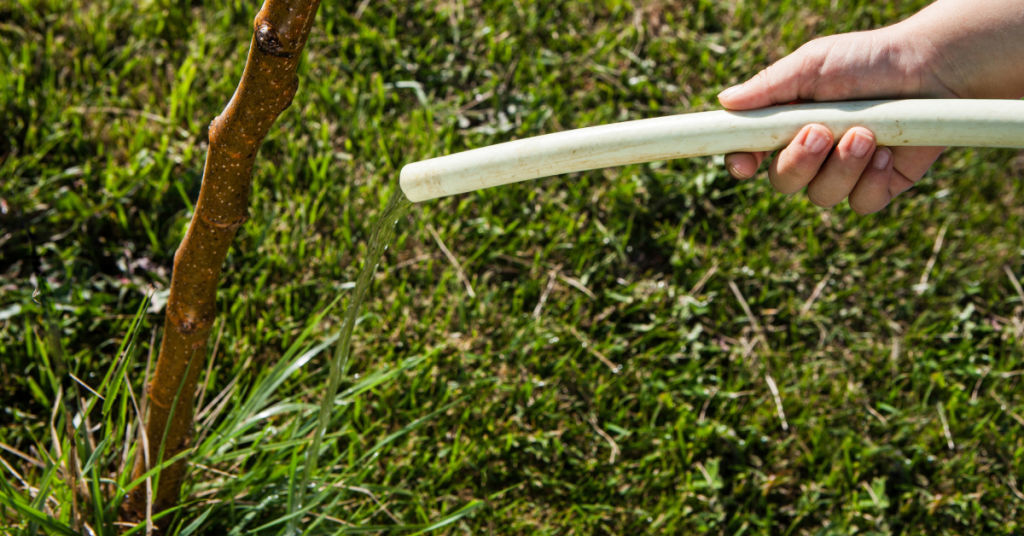
Watering Your New Tree
Newly planted trees should be watered at the time of planting. In addition, during the first growing season, they should be watered at least once a week in the absence of a good rain.
👉 Remember: Regular deep soakings are better than frequent light wettings.
We hope these tips can help you encourage the longevity of your new tree! For more information - and trees - visit our Trees & Shrubs section at Eising Greenhouse and Garden Centre. We hope to see you soon!
By: Dave Zeldon and Ely Schweyer
Let’s get in depth about planting trees too deeply!
Sometimes homeowners find that their newly planted trees start showing signs of stress and become unthrifty a little while after planting, and soon their investment is altogether lost when the plant just dies. Often when we’re asked to inspect a tree in poor health, we know what to suspect.
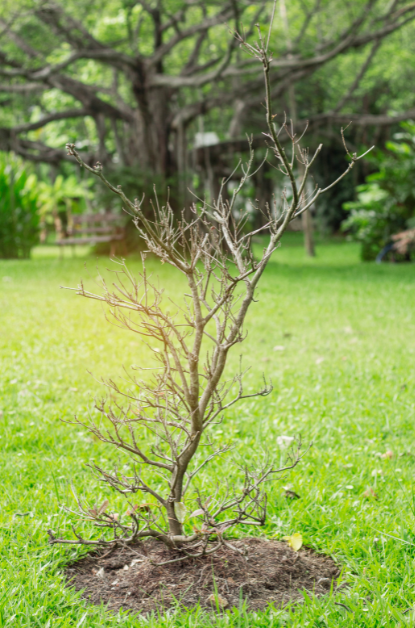
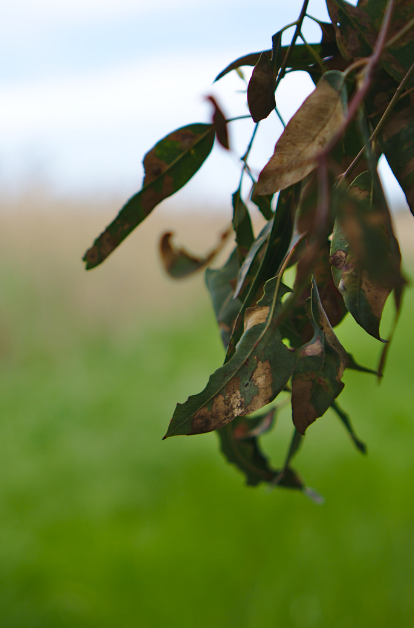
Although not readily apparent at the time of installation, the long-term effects of improperly placing the root system in the planting hole are substantial. The poor tree health that results manifests itself as reduced growth rate, atypical leaf size and colour, and increased disease susceptibility. Trees in really poor condition exhibit decay, cracks, and excessive deadwood. Sometimes trees show signs of stress within the first year of planting, but it usually takes several years for the problem to rear its ugly head.
The most common reason? Many trees are simply buried too deeply causing the tree roots to decline in health, as they cannot get the vital oxygen from the air that they require to live.

Putting Down Roots
The width of the hole your tree will call home should be at least two times the diameter of the root ball, container, or in the case of bare root trees, the spread of the roots. This will provide the tree with enough worked earth for its root structure to establish itself.
For tree roots to grow vigorously, they require water, oxygen, and warmth. An oxygen level of 25% of the soil volume is considered good for root development.
At a 5% oxygen level, growth stops, and at 2%, roots decline and die.
Since tree roots naturally grow quite shallowly in the soil profile, buried root systems are unable to obtain adequate soil oxygen and water. As a survival response, trees work to get roots closer to the soil surface where there is a more reliable source of both. The energy that a newly transplanted tree should use to overcome normal transplant stress is instead used just to survive.
The tree expends its energy either by forcing its roots to grow upward or by creating totally new roots from dormant buds on the buried trunk, wasting all its prior growth. Some plants can survive being buried too deeply and live normal lives after developing a functional root system, others begin a long, slow decline of health resulting in either premature death or sudden failure during wind or ice storms. Let’s not risk it!
How Do I Know How Deep to Plant?
If you want your new tree to not only survive, but thrive, it needs the best start possible; it is very important that the root collar flare be visible after planting. The root collar is the part of a plant where the stem and root system meet, "flaring" where it transitions between the stem wood and the roots. Always make sure that the root collar flare is visible after planting. If settling occurs, reset the tree to the proper depth.
👉 Note: The backfilling soil should be a mixture of the original soil with composted manure or topsoil and bone meal.
But I Did Leave the Root Collar Visible… When I First Planted It
It has been observed that many times after a perfect tree planting, the homeowner then decides to build a raised-bed garden around the tree (thus burying the root collar flare – we’ve found root collar flares buried to 24 inches in mulch!) only to find that within a year or two, their young tree is dead or dying.

A common practice, often referred to as ‘volcano mulching,’ also contributes to this problem. In addition to subjecting trees to the problems associated with planting too deeply, heat from the composting mulch can literally cook a tree's trunk.
So, What is ‘Planting Proud’ Then?
The transplanting rules are amended if planting in the heavier clay soils where the practice of planting your new trees "proud" is advised. Planting proud essentially means that the root ball is left higher out of the ground level, producing a hilled effect. The soil that is normally used for back-filling is used to help to create a mound. Planting your trees this way in poorly draining clay soils prevents the ground water from collecting in an otherwise deep hole and drowning the roots of your new planting.
But, as a general rule, trees should be transplanted no deeper than the soil in which they were originally grown, and the soil level shouldn’t rise after planting. Two to three inches of wood chips is the optimum depth to mulch - and keep it an inch or two away from the trunk. If it is really desired to have the tree as a focal point in this newly built garden, then possibly a 3 foot well could be made around the tree to keep the root collar flare open to the air.
So, remember to give your tree a strong start and long life by not planting too deeply, but by leaving that root collar flare exposed! We hope these tips can help you encourage the longevity of your new tree. For more information - and trees - visit our Trees & Shrubs section at Eising Greenhouse and Garden Centre. We hope to see you soon!
By: Dave Zeldon and Ely Schweyer
Most experts agree that we shouldn't bother bringing in our favourite summer potted plants for the winter and that we should buy new again the next season. But this seems to go against our sensibilities after paying good money earlier in the season. Why not try to save that bay tree, those Rosemary, and French Tarragon containers, as well as expensive Phormium, Mandeville, Passionflower, and Jasmine plants?
The secret to indoor survival for summer plants is to slow down their growth during the winter, so they’re ready to be put outside again once all the danger of frost has passed. How? A few weeks before fall frosts are expected, gradually introduce plants to life indoors by moving them inside (to a quarantined spot*) for half a day, working up to a full day over a week or so. Don't wait until nighttime temperatures are only slightly above freezing as the plants may go into shock and drop leaves!
How to Keep These Guys Comfy During the Winter Months?
- It is suggested that you should prune back excessive growth and re-pot with new lighter growing media.
- Place them in the sunniest location you have and then water sparingly but regularly over the Winter.
- Raising humidity by using a humidifier helps too.
- Resist the urge to fertilize these plants until just before you reintroduce them to outdoor living.
- Perhaps just for fun, you could repot them into the appropriate seasonal pots and planters!
It Seems They Brought Others in With Them - And They're Not Nice House Guests
*Before long, you may notice some unwanted guests, such as thrips and spider mites, on and around your precious plants as their natural predators are no longer present to keep their populations at bay. In many cases, it may be too late, and your plants may have to be discarded before the Holidays, but that’s not always the case!
Common problems that make themselves apparent indoors would be the brown soft scale insect, whiteflies, mealybugs, aphids, spider mites and most often, fungus gnats (those pesky little black flies).
Fungus gnats are considered to be the most common nuisance in houseplants. Sometimes their sheer numbers just hovering around an attractive plant take away from its appeal.
Basic Fungus Gnat Control Measures:
The fastest and easiest method of control is to catch the flying adults with yellow sticky cards. The large cards can be cut into little strips and mounted onto little wooden splints (popsicle sticks) then placed around the base of the plant out of the line of sight.
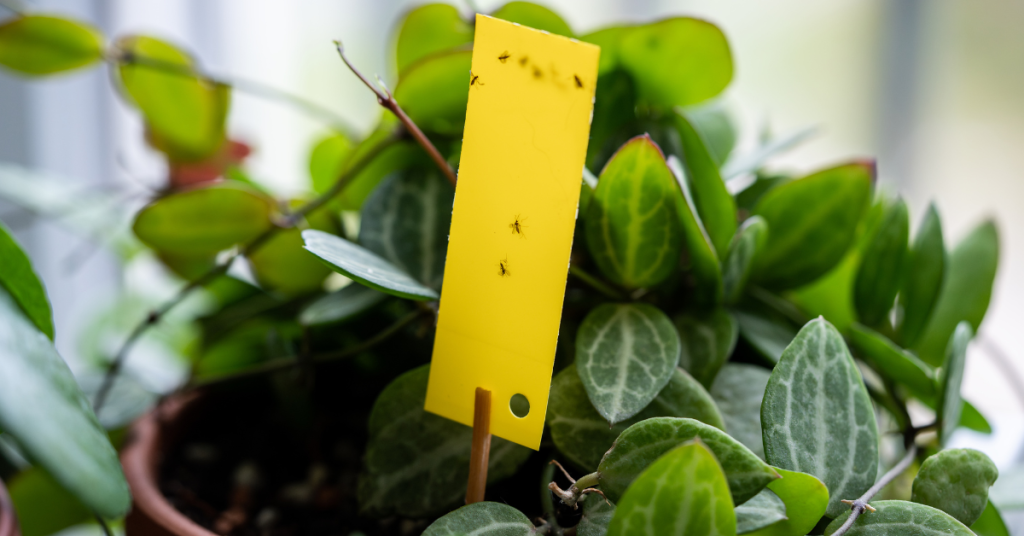
The chances are that the adults have already deposited eggs in the growing media (soil) of the plant as it is rich in organic matter, so we can disrupt its life cycle by:
- Subirrigation - water your potted plant from the bottom by adding water to the saucer it is sitting in. This will dry out the soil surface making it uninhabitable for the hatching larvae.
- Trapping larvae - If the surface soil it already very wet, try placing a few potato discs or slices on the surface of the soil. This will attract the larvae as they migrate to the potato to feed. Simply replace the discs every five days or so with fresh slices to eliminate the next generation of adults.
- Inoculating the soil with beneficial nematodes. Most garden centres will carry the Guardian line of beneficial nematode products.
We hope this helps your plants enjoy your winter abode as much as you do this season, for more information - and plants – visit Eising Greenhouse and Garden Centre!
By: Dave Zeldon and Ely Schweyer
The classic fall-blooming Chrysanthemum varieties of burnt amber, golden yellow, and deep burgundy blooms have been enormously popular for years, and as each new fall season rolls around, there always seems to be new varietal introductions – like multicoloured pinks with the hues of sunrises - to enhance your front porch display of pumpkins, corn stalks, and gourds.
These robust plants will produce blooms for weeks, even in the coolest of autumn weather. Their hardiness even offers versatility when it comes to their display; some gardeners prefer less labour-intensive groundskeeping and leave them in their original store pots, whereas others prefer to transplant these flowers into larger planters, window boxes, or into flowerbeds to add an easy seasonal flair.
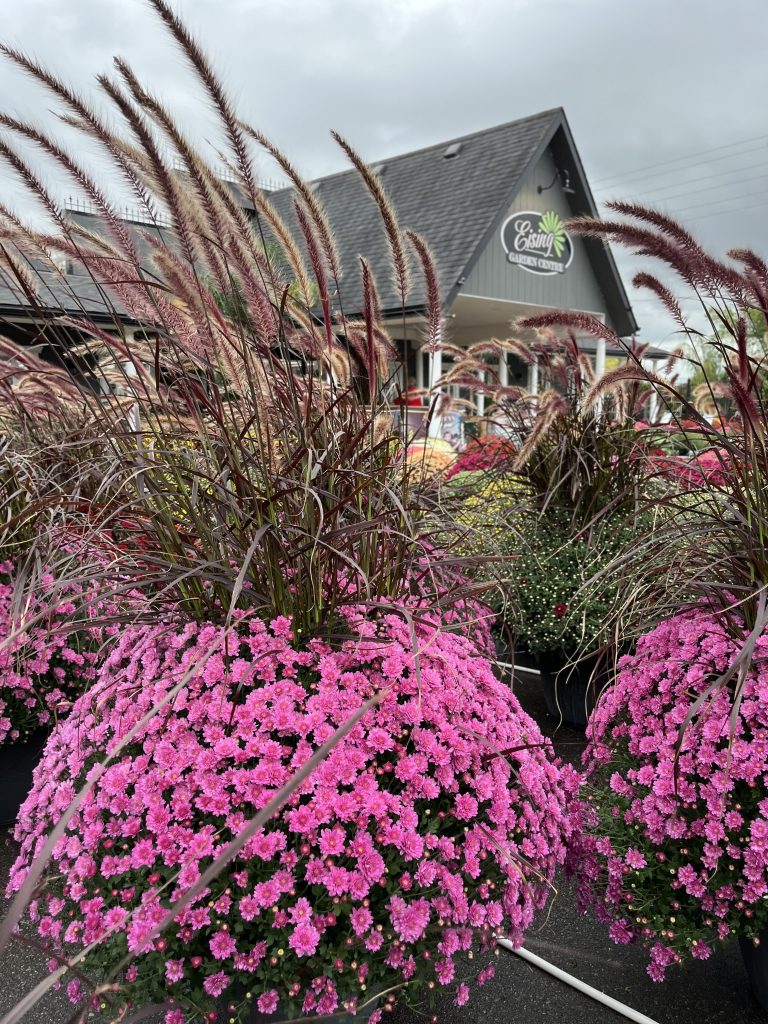
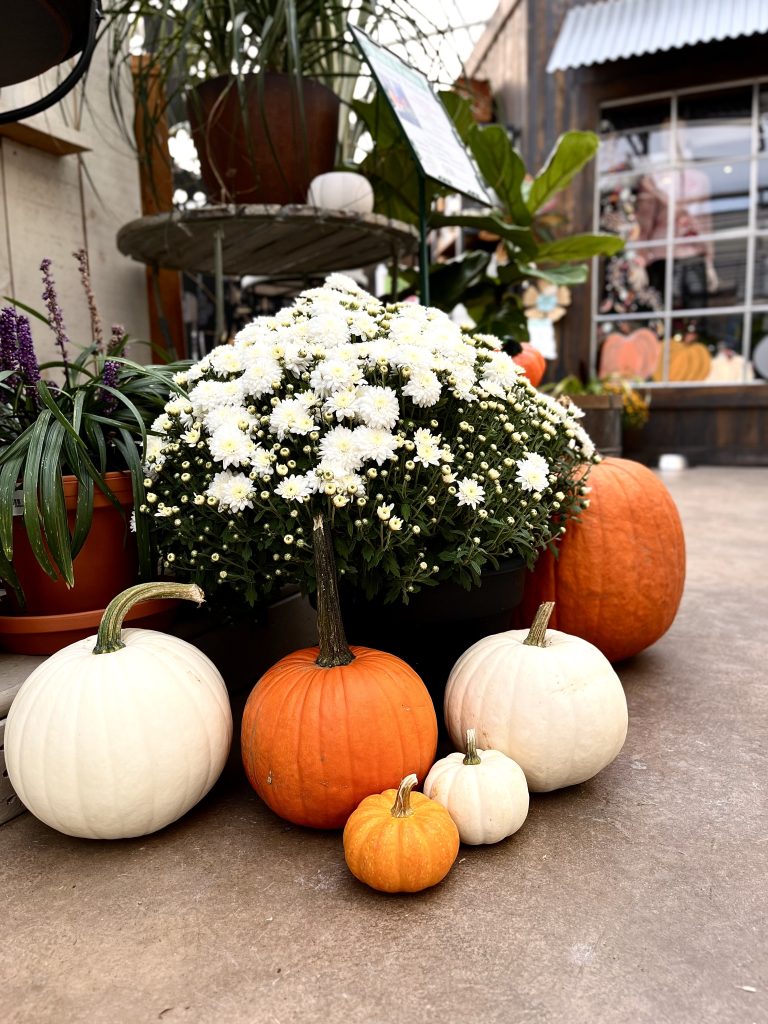
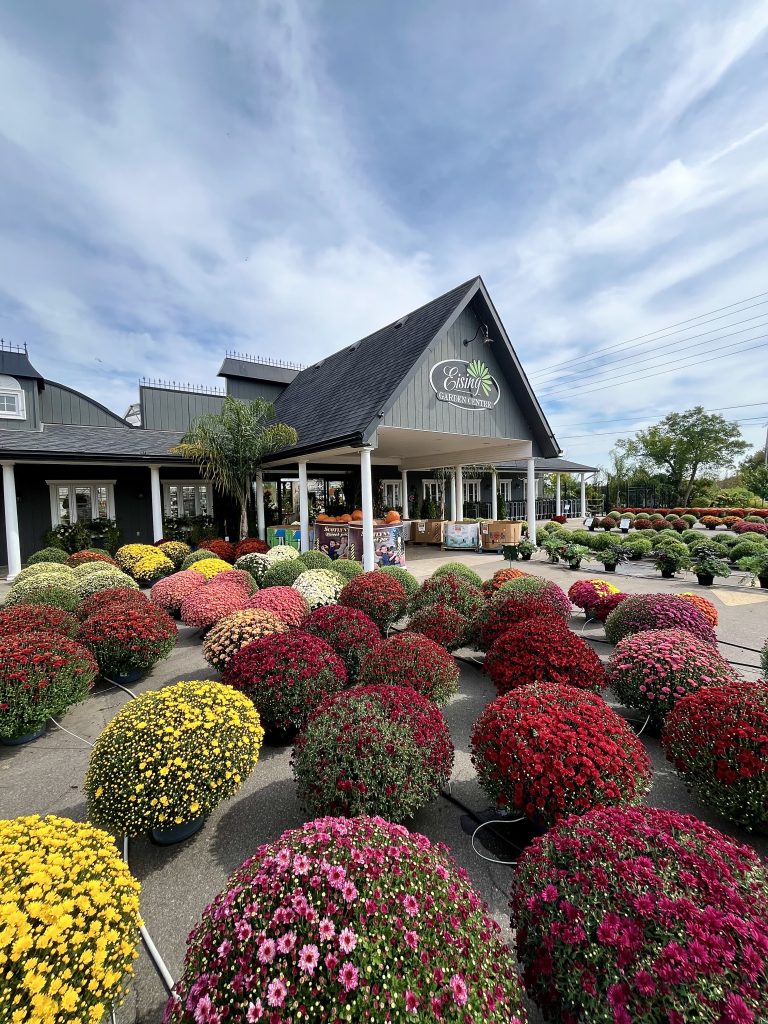
While resilient, these plants still need some TLC. Try these tips to keep your Mums looking fresh throughout the fall.
- Choose green plants with tightly closed buds. This way when your Mums do bloom, you will be able to keep those colourful displays for much longer.
- The Mums' foliage should have a deep green colour and lots of growth at the garden centre.
- Also, make sure the soil in the container is moist when purchasing your plant, as dried out Mums may have already suffered damage.
- You'll find out in short order that your potted Mums are very thirsty plants! Water them daily and make sure the soil remains moist. A shot of liquid fertilizer to the irrigation water once a week would be great as well.
Over-Wintering Mums
Modern Mum breeding is aimed primarily at creating plants that look good in their pots at their point of purchase, sacrificing the plant’s hardiness and performance for future years - meaning when home gardeners try to overwinter these big potted plants, they are not usually successful.
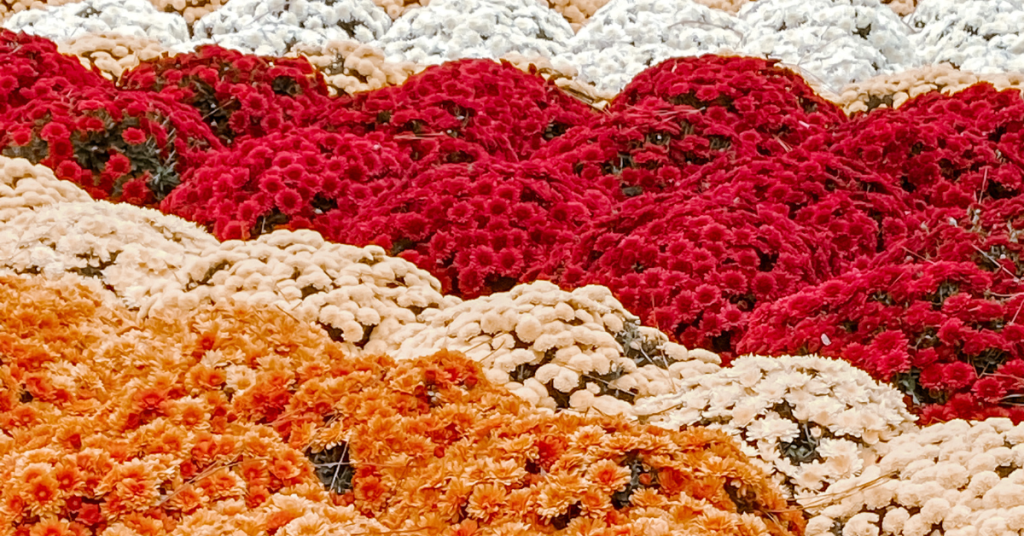
All Mum plants at garden centres are hardy, meaning that they are perennials in most climates. However, if these plants are put in the ground from August on, most won't make it through winter. The reason is that Mums planted late in the season are near, or at, the flowering stage, when their energy is focused into blooming, and they won't grow roots to sustain plants through the winter. This is why Mums should be planted in the spring if you want a perennial plant that has a spectacular autumn show!
If you really adore your fall purchase though, you can try to over-winter your Chrysanthemums in the basement or a dark, cold closet, after the first frost. Water well and place in an area where it is totally dark and 0°C to 10°C. The plants will hibernate for the winter if you keep their roots damp. Check the pots weekly.
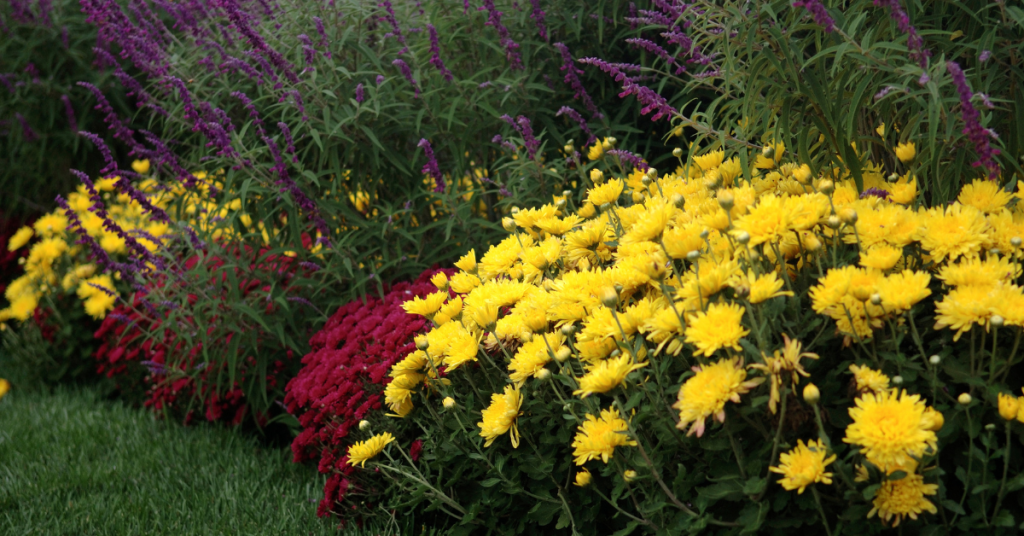
In the spring, gradually acclimate your Mum plants to light and plant them out in the garden after the last killing frost, remembering to pinch them twice prior to the first of August for a full, lush plant.
We hope this helps you to enjoy your Mums just a little bit longer! Use our Plant Finder to search for a sample of our Mum selection by your preferred colour. You can find many Mum varieties and more information at Eising Greenhouse and Garden Centre, please stop in for a visit this autumn!