By Dave Zeldon and Ely Schweyer
Many home gardeners are really missing their harvest of fresh vegetables these wintry days – and many beginners have New Year’s resolutions to become greener thumbs.
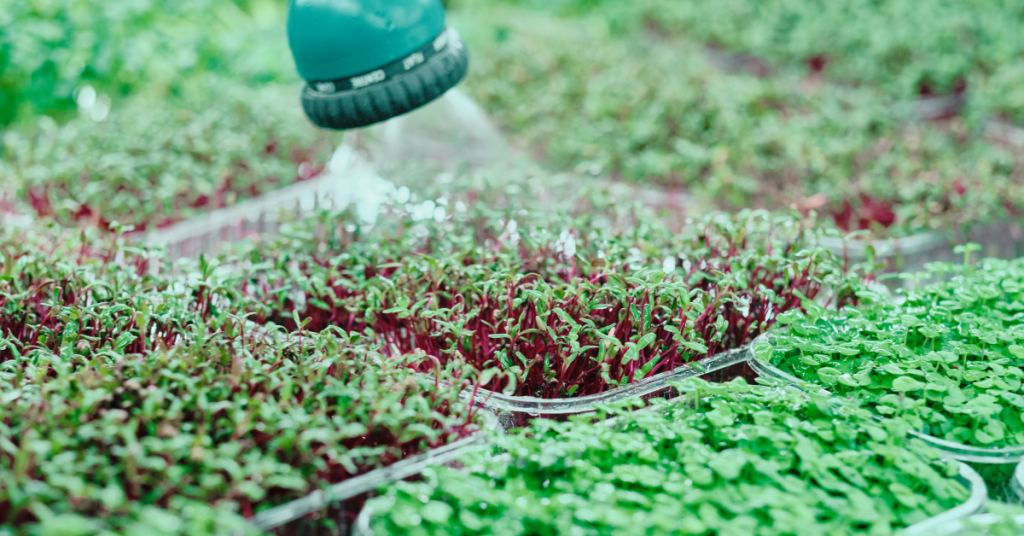
If you’re looking for something kid friendly, easy on the budget, and nutritious to do this winter, you may want to try microgreen farming!

Seeds to Start
The seeds of many vegetables and beans are suitable for hydroponic sprouting into tasty young shoots that will be ready for the table in less than a week!
Seeds such as alfalfa, broccoli, clover, lentil, mung bean, mustard, onion, radish and soybean are excellent choices for this activity plus they are invaluable in terms of their nutritional content.
Sprouting seeds on your kitchen counter takes only minutes a day, and the reward is a steady supply of fresh, crunchy shoots.
It is important to start by purchasing some packaged seed expressly for sprouting. The directions will indicate how much is needed to produce 100 grams of sprouts. The seed-to-sprout ratio can differ substantially - anywhere from 1.5 to 8.5 units of sprouts or more per one unit of seed - so follow directions carefully and make sure your jar is large enough to accommodate all the sprouts while still leaving room for good air circulation. As a rule, begin with 1 tbsp. (15 mL) of seeds for small varieties such as alfalfa and radish, 2 to 3 tbsp. (30 to 45 mL) for medium ones such as lentil, and up to 4 tbsp. (60 mL) for large seeds such as beans and peas.
Seeds to Sprouts
Simply put seeds into jar and position screening over opening, using an elastic band to hold the covering in place. Fill jar one-third full of warm (about 40°C) water and swirl seeds around for a minute or so. With the covering in place, drain water. Refill jar one-third full of cool water and let seeds soak for four to eight hours.
Next, begin daily regimen of rinsing seeds three times a day at roughly eight-hour intervals. Drain and refill jar with cool water, swirl seeds for about 30 seconds and drain again. Then, invert the jar so screening is at the bottom and rest it at a 45-degree angle in the bowl. Place on the kitchen counter out of direct light (place bean shoots in complete darkness, as they often taste sweeter when they're grown this way). Repeat this process for three to five days.

Simple Sustenance
You can start to harvest your sprouts once they're three to five centimetres long. Rinse and drain them thoroughly and place them in an airtight container and refrigerate immediately; they should remain fresh for up to five days.
Clover, alfalfa, radish, and mustard seeds give rise to the delicious sandwich booster sprouts. Sprouts are one of the most concentrated natural sources of vitamins, minerals, enzymes, and amino acids.
Plants inside the home help bring life to a long winter, if you’re looking for more information – or plants – visit Eising Greenhouse and Garden Centre! 🌱
You're probably not alone if you’ve never heard of Haskap berries. Haskap, Honeyberry, Swamp Fly Honeysuckle and Edible Honeysuckle are just some of the many names for one outstanding fruit shrub! Let’s stick with one name, Haskap.
Nutritious and Delicious
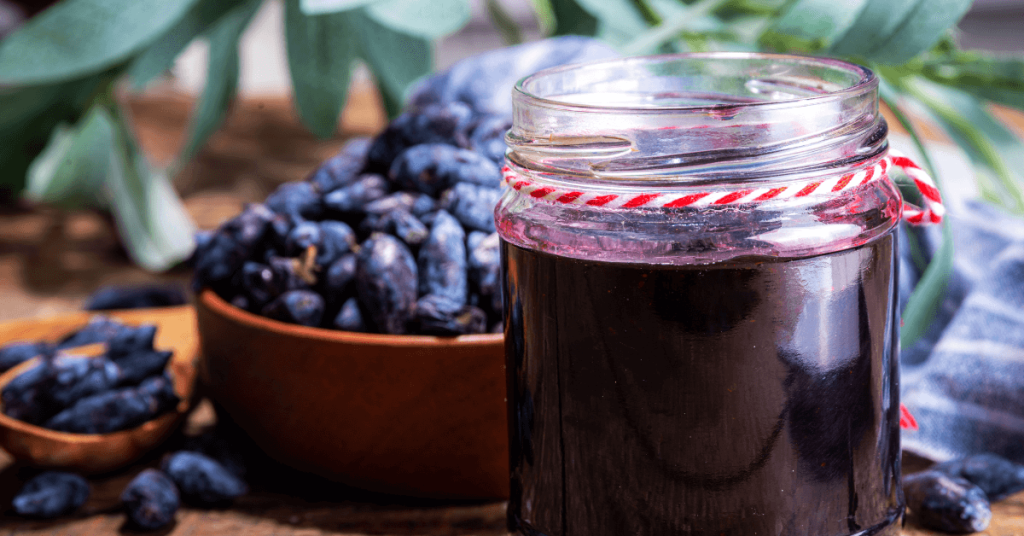
Haskap fruit looks like an elongated blueberry but has a unique taste similar to that of a raspberry. It’s juicy, flavourful, and full of nutrition. This berry is high in vitamin C, A, potassium, and fibre and has triple the antioxidants found in blueberries!
Growing Haskaps
Unlike blueberries, Haskaps do not require highly acidic soil or any special soil at all.
Haskaps are drought tolerant, extremely cold tolerant, need very little pruning, have no thorns and don’t sucker. This means they are well-behaved and don’t spread beyond their globe-shaped bushes.

To produce fruit, Haskaps need:
- at least one other Haskap shrub nearby
- the shrubs must be of at least two different varieties
- the varieties must bloom at the same time for cross-pollination to take place
Haskaps do not like chemical fertilizers. Compost or composted manure near the base of the shrub will provide all the nutrients new plants need, and an application of the same each spring afterward.
For optimal fruit production, Haskaps love full sun and open space. Their shallow roots do not like to be crowded by weeds or other plants. A wide circle of mulch should be placed at its base to prevent weeds or other plants from growing around the shrub. However, be sure to keep the mulch away from the stems. That tip is important for all mulched plants, trees, and shrubs.
Harvest Time
Before the fruit on your Haskap shrub begins to form, it’s a good time to cover it with bird netting. Birds love Haskap berries as much as we do! Even if the fruit is under-ripe, birds will eat it.
Figuring out when the berries are ripe is a bit of an experiment, as they can be dark blue on the outside for several days before they are fully ripe on the inside. Because the fruit does not ripen after picking, it is best to taste a berry to see if the inside is still green. Ripe fruit will be completely purple on the inside.
Haskaps may begin producing a few berries their first year, and the amount of fruit will increase yearly. A little initial patience will pay off in spades because a mature shrub will produce 6 to 10 pounds of fruit—enough to eat, freeze, make jam, ice cream, juice, wine, or maybe even share!
More Resources