
By: Dave Zeldon and Ely Schweyer with tips from Mary K, Zach C, Sandy M, and Jeanine LT!
Now is the time to prep our outdoor landscapes for the coming cold weather and the ensuing spring! Perhaps your autumn is calmer than your spring, and this is the best time to clean up and begin new projects. The following are some simple but effective tips to get your yard winter-ready - so your spring will be a little more pleasant for you!
Planting
When warm weather still allows it, plant trees, shrubs, perennials, and bulbs to allow them to establish for budding and blooming next spring.
Pond Care
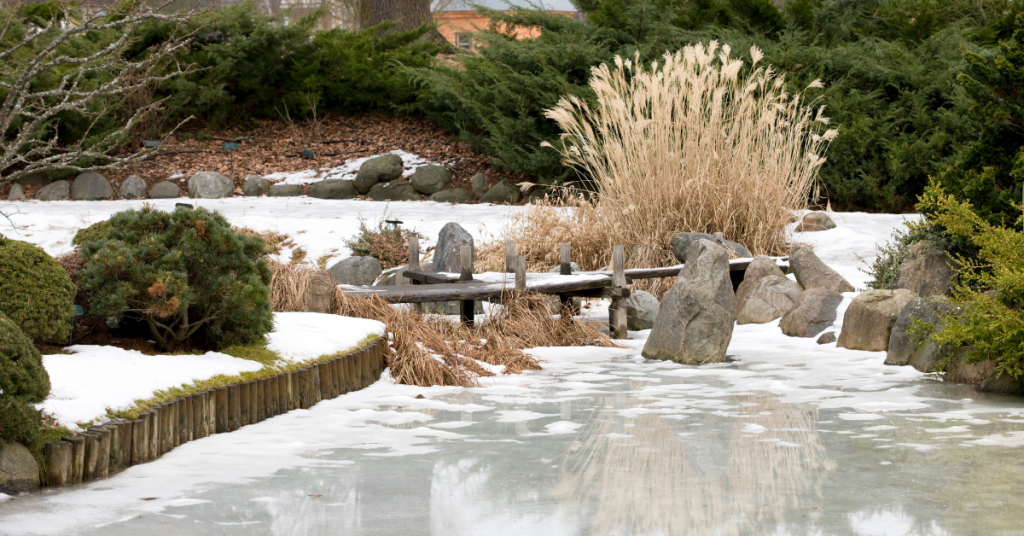
Mary, our perennials gal, suggests not removing any water from your pond but instead aerating it all winter. She skims out the leaves to maintain the balance of the nitrogen cycle in the water and suggests waiting to do a big pond clean out in the spring, as that’s when the water’s culture can bounce back easier.
Fertilizing
After top growth of your landscape plants ceases, reduce your annual fertilizer application by up to half of the requirement. Autumn is a major root growth period for woody and herbaceous perennials; roots will grow and absorb nutrients whenever soil temperatures remain above 5 °C but can be over fertilized quickly in these cooling temperatures.
Produce gardens could benefit at this time from a top layer of compost that will break down during the winter so it isn't too 'hot' for spring planting.
Leaf Litter
Here’s our pitch on the ‘leave it – don’t leave it’ debate: It DEPENDS.
Ideally, we should leave litter leaf on the ground for our pollinator friends and endangered species like fireflies to hide out in the winter. But, there are appropriate situations in which to remove leaf litter.
- When they’re covering your bulbs and tender perennials, remove SOME. Leaf litter acts as a ground insulant, which can amplify our temperamental zone 6b temperatures. This freezing and thawing can often confuse and kill early spring bulbs and tender perennials.
- Zach, our trees and shrubs guy, suggests that if a tree shedding leaves has been diagnosed with pests and fungi, remove the leaf matter to reduce the spread to other plants. Diseased matter should always be removed in a quarantined fashion and taken to a landfill or burned.
☝️Please note: Unless diseased, compost your leaves, they contain vital nutrients specific to the plants they came from!
Lawncare
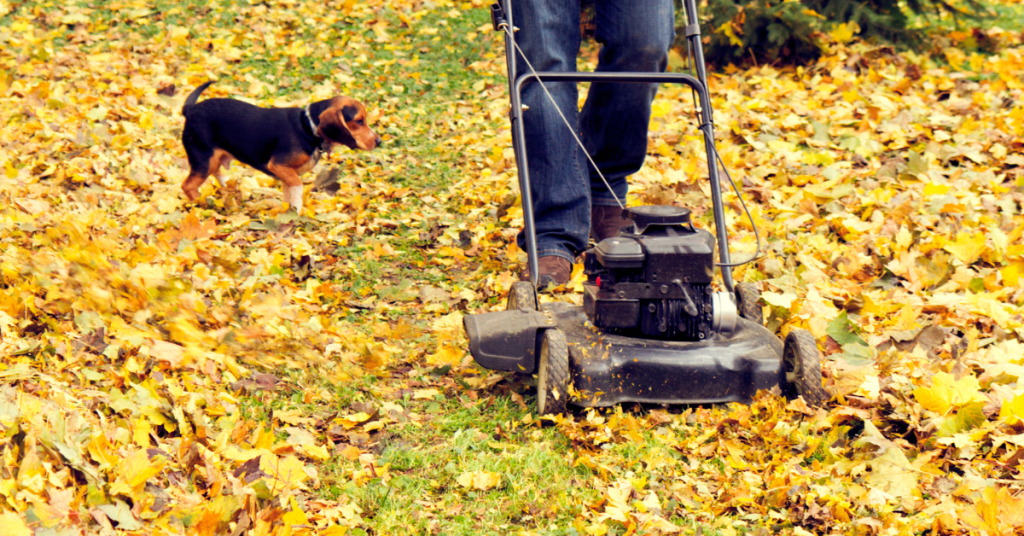
With autumn mowing practices you have the opportunity for the addition of much needed organic matter for your lawn, which is also an excellent source of slow release nutrients. Keep mower blades sharp since leaves can be tougher than grass. Raise the mower height up and mow leaves when they are lightly wet (e.g., morning dew). This will keep the leaves from blowing all over and will prevent the mower from getting bogged down in wet leaves.
See more on general lawncare in Dave's Lawncare 101 post.
Clean Up
Now is a good time to wash your tools with soap and water to prevent diseases spreading from plant to plant.
☝️Mary's tip is to spray garden tools with PAM before use, so the dirt slides right off them!

Pruning Perennials
Mary, our perennials gal, suggests leaving things until frost to cut back. This way they're easier to compost. Make sure to leave seedheads (i.e., coneflowers and black-eyed Susans) for wildlife, and things like hydrangeas for winter interest.
☝️Make sure if things are cut back, to leave them sticking up enough you can still find them in the spring!
Dividing and Moving Perennials
Moving or dividing perennials in the autumn is a great way to reduce your work next spring. The cool, moist weather is an ideal time for perennial roots to become well established.
👍The rule of green thumb for moving perennials: If the plant blooms between early spring and late June, then early fall division/moving is ideal. If the plant blooms after late June, then early spring division is ideal (except for Peonies which should only moved or divided in the fall, Poppies in August, Irises in July & Lilies in the Fall).
Overwintering Trees
Zach and Sandy from trees and shrubs suggest a couple of things to help your favourite trees along this winter:
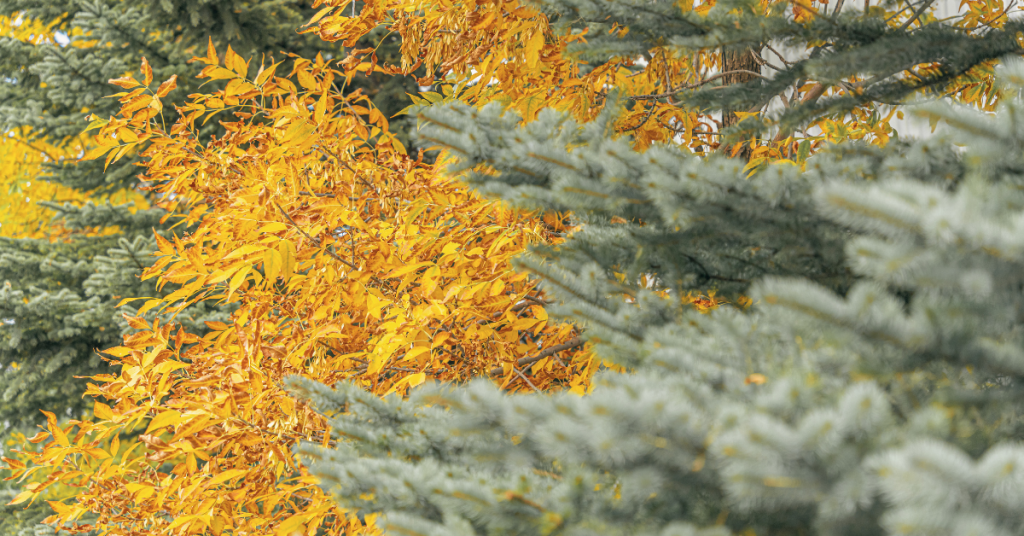
- To reduce winter injury in evergreens: Keep properly watered throughout the growing season and into the fall is another way to reduce winter injury. Decrease watering slightly in September to encourage hardening off, then water thoroughly in October until freeze-up.
- Cedars - Spray cedars with antidesiccant spray (available at Eising GC) or wrap in burlap (with stakes to create dead air space) so wind doesn't dry out and burn tips.
- Fruit trees - In late fall, spray fruit trees with sulfur-horticultural oil (available at Eising GC) for protection against fungi and pests overwintering in the bark.
- Ornamental trees - wrap the base of young trees to protect from chewing rodents.
- Pruning trees - trees that prefer winter pruning rather than spring pruning are maples, oaks, birches, and elms, as well as with fruiting trees such as apples and pears. This ensures blight and pests will not affect the tree's open wounds.
If you missed the frosty deadline for transplanting trees, Sandy suggests insulating unplanted potted trees to help them best survive the coming winter. Here are some methods:
- Double-pot your tree with an insulative barrier (i.e., burlap, straw, mulch, etc.) stuffed between the two pots and securely cover the top with tarp to deflect moisture.
- Bury your potted tree in the ground, level with the top of the pot (don’t forget to dig it back up!) and mulch the area.
- Huddle all of your unplanted trees and plants together when using the above methods.
Mulching
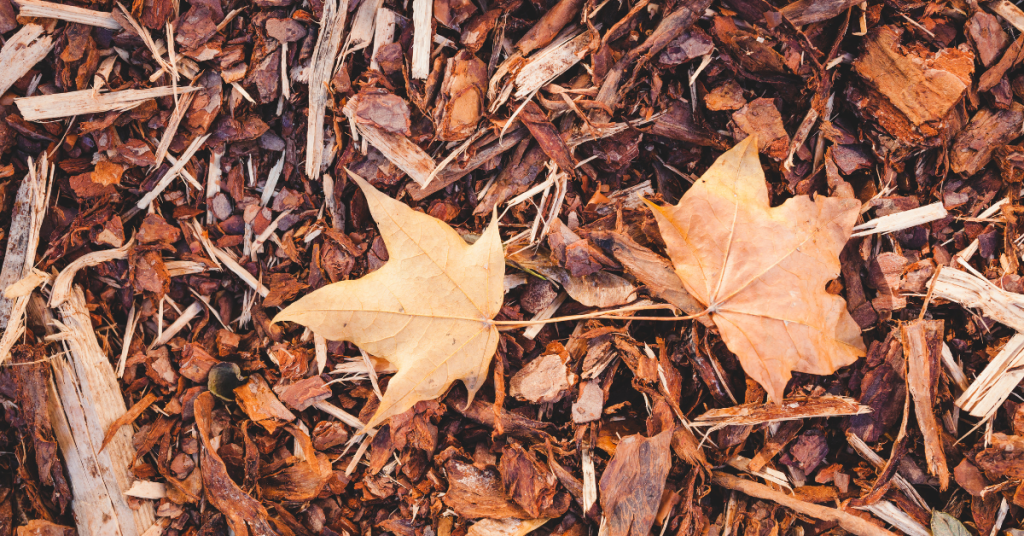
Mulching is one of the simplest and most beneficial practices you can do for your garden. Just by simply placing a protective layer of material over the bare soil will benefit the soil as it decomposes providing the much-needed organic matter which improves root growth, the infiltration of water and the nutrient-holding capacity of the soil while reducing soil erosion.
A good layer of mulch allows the soil to warm more slowly in the spring, so perennials aren't fooled into breaking dormancy too early, as you want the ground to stay cold until it really is spring!
☝️Make sure your mulch application won't stunt the growth of your plants come spring as discussed in our Transplant Troubleshooting blog post!
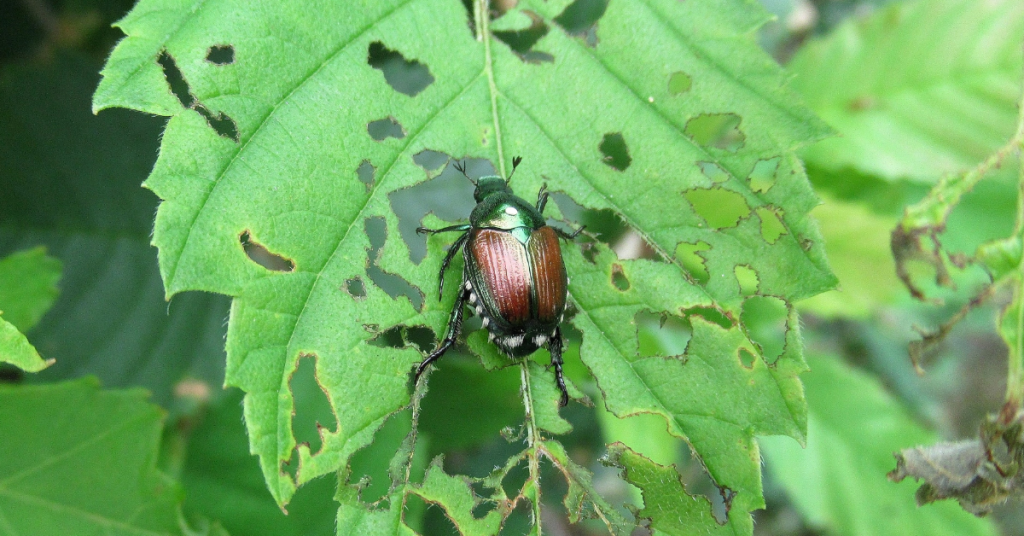
Japanese Beetle Prevention
Nematodes are microscopic worms that should be applied to lawns that have been ravaged by grubs especially of the Japanese Beetle. Nematodes have a short shelf life and must be refrigerated until they are applied. Normally, they are sprayed onto the lawn from mid-May to mid-June and then again (for best practice) from mid-August to mid-September.
Pots
To prevent freezing and cracking, Mary suggests emptying and turning your pots upside down. You can disinfect at this time too.
Design Time!
Jeanine, from production, suggests writing down what worked best in your produce garden this year so you can implement it again in the spring.
With the trees and land being barren enough you can see its contour, now is a great time to plan ahead for spring landscaping! Don't forget Eising GC would love to offer help with your landscape designing!
We hope these tips help your landscape plants enjoy your winter abode as much as you do this season, for more information - and plants – visit Eising Greenhouse and Garden Centre! 🍁
By: Dave Zeldon and Ely Schweyer
Spring and early fall are generally the best times for planting trees. It has been found that newly planted trees thrive when exposed to moderate temperatures and rainfall, as they need time to root and acclimatize before the onset of intense heat and dryness of summer or the freezing temperatures of winter.
Now whilst planting different types of trees differ in detail, all trees eventually end up in a hole. But remember not just any old hole will do.
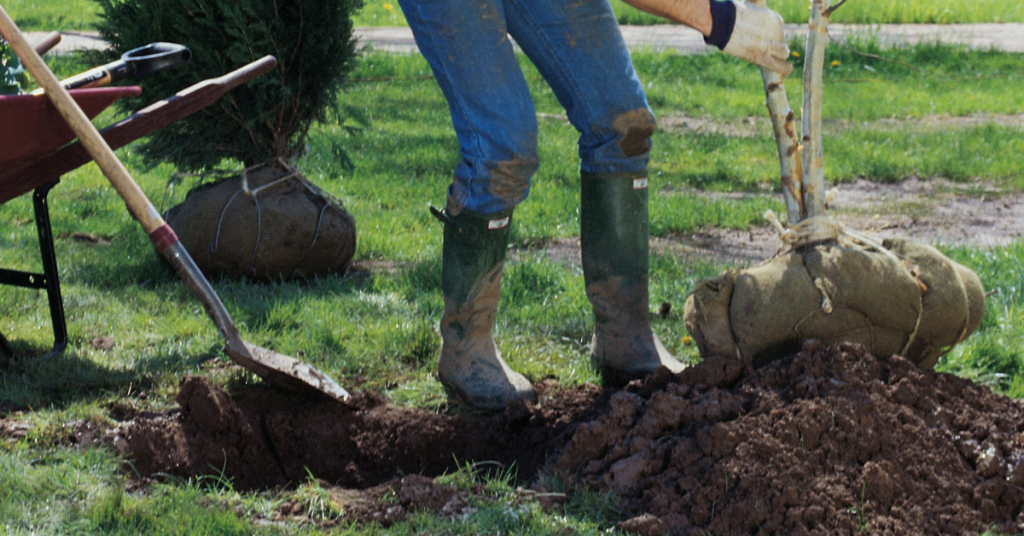
Let’s Get Digging!
1. Some trees are buried too deeply, causing the tree roots to decline in health and condition. We have a whole other article dedicated to transplanting depth if you wish to read more, but here’s the just of it: Poor tree health results in reduced growth rate, atypical leaf size and colour, increased disease susceptibility, and reduced cold hardiness. Always make sure that the root collar flare is visible after planting; if settling occurs, reset the tree to the proper depth.
👉 Note: Many times, homeowners build a raised bed garden around an existing tree in the yard (thus burying the root collar flare) only to find within a year or two their favourite tree now is in decline. Don’t bury that root collar flare!
2. As a general rule, trees should be transplanted no deeper than the soil in which they were originally grown. The width of the hole should be at least three times the diameter of the root ball or container or the spread of the roots in the case of bareroot trees. This will provide the tree with enough worked earth for its root structure to establish itself.
3. When digging in poorly drained clay soil, it is important to avoid 'glazing'. Glazing occurs when the sides and bottom of a hole become smoothed forming a barrier, through which water has difficulty passing. To break up the glaze, use a fork to work the bottom and drag the points along the sides of the completed hole. Also, raising the centre bottom of the hole slightly higher than the surrounding area. This allows water to disperse, reducing the possibility of water pooling in the planting zone.
4. The backfill soil should be a mixture of composted manure and topsoil. The mixture should then be placed in the hole surrounding the tree just to the height of the ball or slightly lower to allow for some settling. Be careful not to compress the backfill soil as this may prevent water from reaching the roots and the roots from expanding beyond the ball.
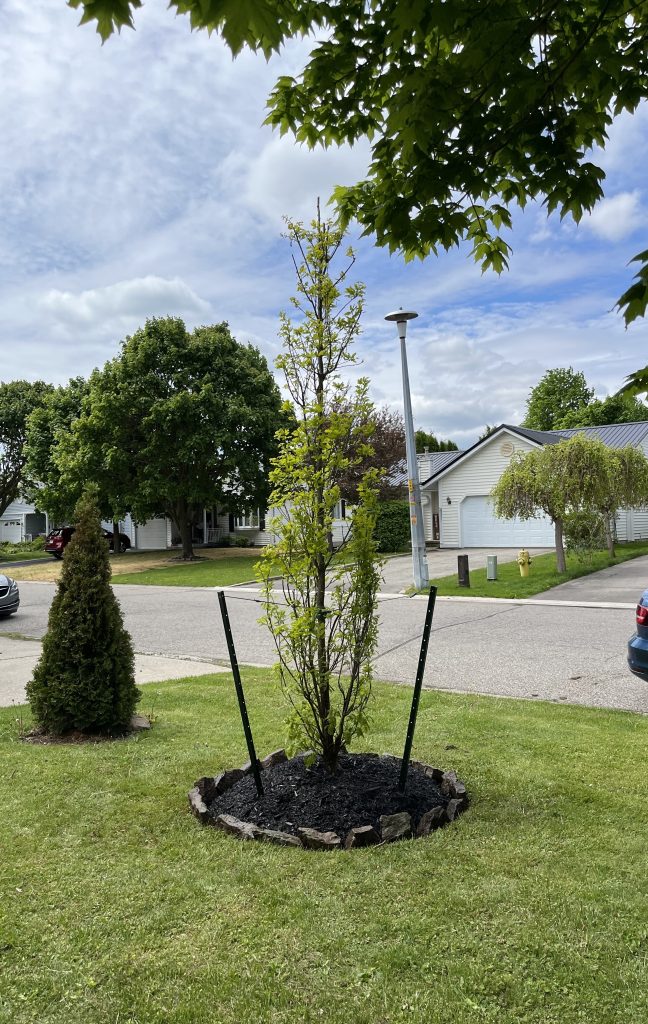
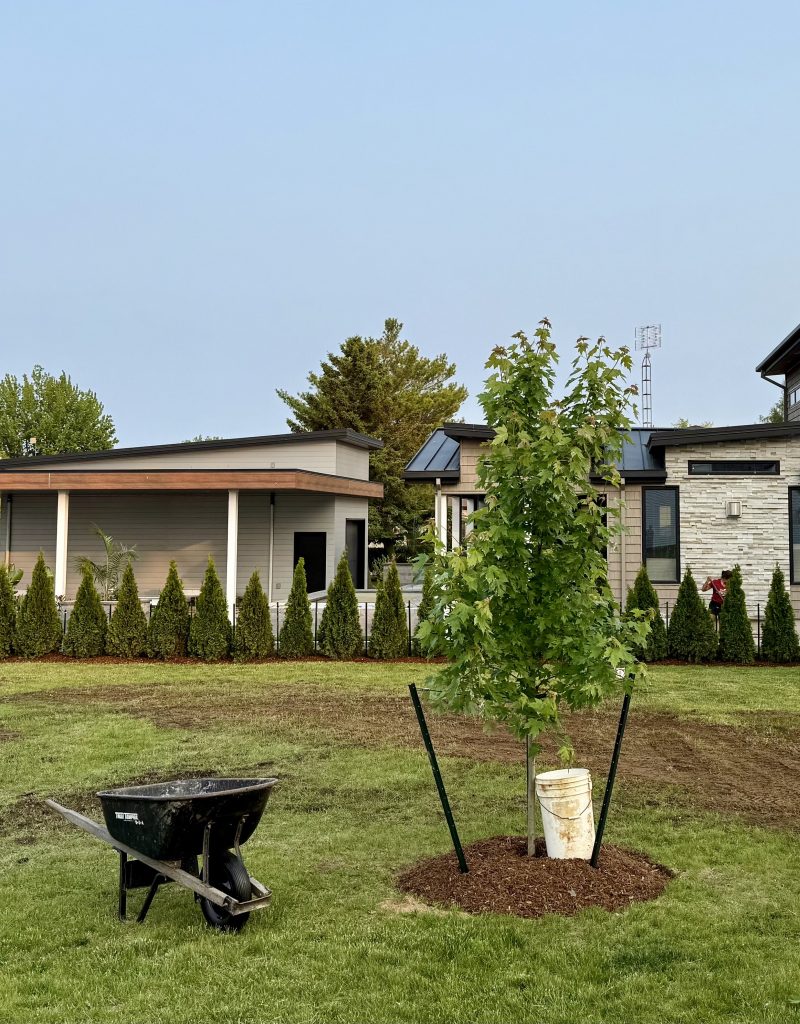
Jobs well done by the Eising landscaping team!
Standing On Its Own Roots
Young trees should be able to support their own weight when they are transplanted. If the tree is unable to do so, try thinning out the upper branches to reduce wind resistance. If that is not enough, you may have to stake a tree.
Watering Your New Tree
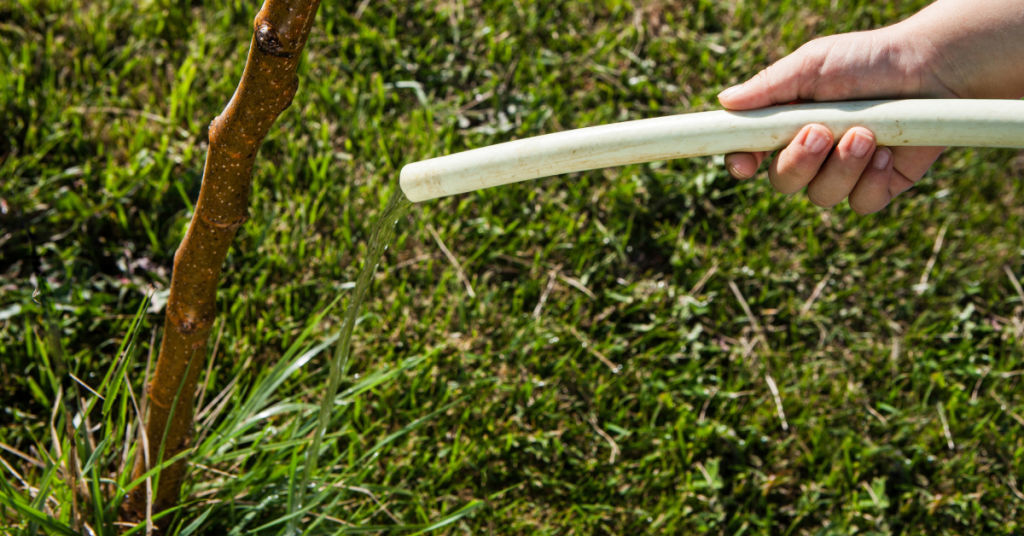
Newly planted trees should be watered at the time of planting. In addition, during the first growing season, they should be watered at least once a week in the absence of a good rain.
👉 Remember: Regular deep soakings are better than frequent light wettings.
We hope these tips can help you encourage the longevity of your new tree! For more information - and trees - visit our Trees & Shrubs section at Eising Greenhouse and Garden Centre. We hope to see you soon!
Knowing how to stake plants properly is a valuable skill for any gardener, especially when you're growing vegetables. Some grow pretty tall and need a little extra help to stay off the ground so their fruits won't sit in a pile in the dirt and get funky. It can get pretty windy here as well, so providing some extra support will help prevent damage from heavy winds and rain.
Staking may look pretty straightforward, but there are some best practices you should follow to ensure good results. If you're planning on growing some tall, or vining garden plants, or if your mature plant keeps falling over, follow these tips on proper staking in the garden.
5 Tips For How To Stake Tomatoes And Other Garden Plants
Tomatoes, cucumbers, peppers, beans—there are so many garden greens that benefit from extra support. It keeps them from bunching up on the ground, allows full sunlight exposure, and prevents the wind and rain from totally pummeling them. Now that summer is approaching, many of your garden veggies are getting taller, and you'll need to step in before they flop right over. Here's how to do it correctly, so your vegetables grow big, bright, and delicious, according to plan.
Pick The Right Kind Of Stake
If you've got a plant with one stem, you can get away with using a simple wooden stick or pole. If there are multiple stems, then a cage might work a bit better, because you'll have more spots to tie on to. The cage must be at least one foot taller than the plant. If you're using a wood stake, make sure it's made with untreated wood so chemicals won't leach into the soil and contaminate your veggies. Bamboo stakes are also another great option. If you've got a vining plant, you may want to use a trellis. These can be quite beautiful with so many sizes and shapes to choose from; now, it's time to get out and find a creative way to integrate it into your backyard decor!
Drive The Stake Down 14 Inches And Facing North
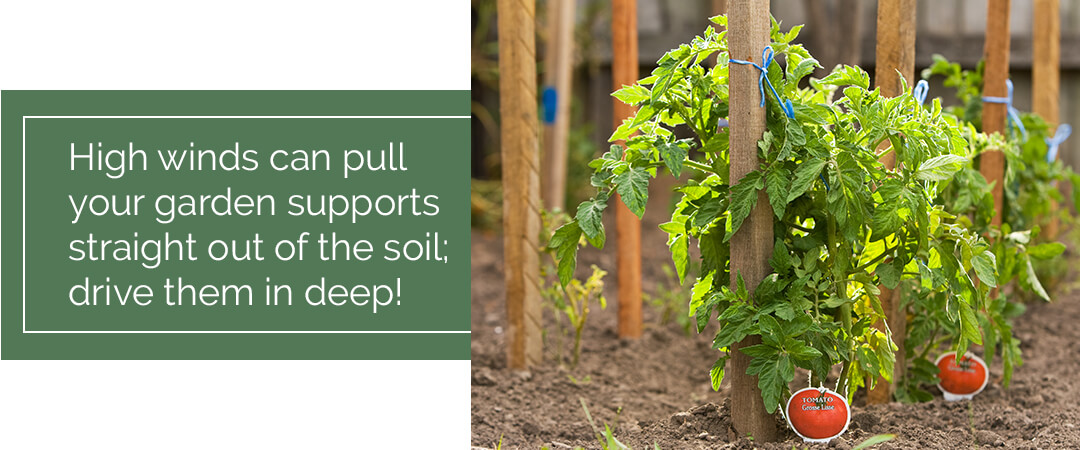
High winds can pull your garden supports straight out of the soil, and that can do some serious damage to your veggies. If you drive your stakes down into the dirt deeply, you won't have to worry about that happening. Making sure they're on the Northern side of the stem will be helpful too, especially if your supports are thicker, then they won't block any of the sunshine!
Tie Stems As They Grow Every 6 Inches
As your plants continue to grow, you need to keep securing them along the way so they don't flop. Monitor the development, and every time there's at least 6 inches of new growth, tie the stem to the support. Use material like gardeners tape, thick twine, velcro ties, or even strips of old pantyhose for securing.
Don't Tie Stems Too Tight
Leave a little bit of wiggle room—about one inch around the stem. If the ties are too tight, they could cut into the stems and hinder proper development. Try to avoid spots where leaf shoots are likely to emerge, so they don't get all bunched up. Instead, try to stick them a bit above the leaf shoots, so they'll stay in place and won't slide down the stem.

Replace Stakes When Needed
If your supports become too small, you need to replace them to accommodate for more growth. Some fast-growing plants may need to be re-staked every couple of months, or even sooner. Drive your new supports into the same hole as before, to avoid disturbing the roots. It helps if you use a mallet to drive it in deeply.
Are you in need of some supports and equipment to help your veggie garden along? Visit Eising, or place an order over the phone for curbside pickup or delivery. If you have any questions, don't hesitate to ask—we love to help our fellow gardeners!