By Dave Zeldon and Ely Schweyer
This is the time of year that most garden centres will have on display their wide variety of Amaryllis bulbs, including the evermore popular waxed dipped. These enormous bulbs that are appearing now will be ready to burst into bloom within 4-8 weeks after planting.
Non-Wax Dipped: Planting
All Amaryllis need is a bit of commercial potting soil that should not cover the shoulders of the bulb (try leaving about 1/3rd of the bulb showing above the soil line), with the nose (or narrow end) of the bulb peeping well over the top of the pot. Make sure that you use a well-drained container that is 3-4” bigger in diameter than the bulb itself.
☝️A heavy clay pot will prevent this top-heavy plant from toppling over. To achieve continuous bloom, plant at intervals of two weeks for stunning colour in your home.

Non-Wax Dipped: Care
Once leaves emerge, fertilize once a month with a 20-20-20 water soluble fertilizer for houseplants. Water sparingly and wait for the miracle in a warm sunny room. Sub-irrigation or watering from the bottom of the drip tray will keep the surface soil dry, thus keeping and bulb rot organisms and those pesky fungus gnats at bay.
Non-Wax Dipped: It's Not Done Yet!
When blooming is over, remove the scape (or flower stock) and place the plant in a sunny spot and continue to water. This is to allow the leaves to regenerate the bulb. In springtime, when all danger of frost has passed, bring the bulb outdoors and let it spend its holidays in a shady spot. In some varieties the leaves will die back in September to give the plant a rest for a couple months. Stop watering and store the bulb on its side in a cool place for about eight weeks, when the leaves will once again begin to emerge.
Amaryllis can go 3-4 years without repotting as they don’t mind a little crowding. Try growing a couple of bulbs in larger pots to see if you can get a clump of flowers from the offshoots or babies that will develop after a couple of years.
Or, Try One of These Wax Dipped Bulbs!
Now growing more popular are the care-free waxed-bulb Amaryllis!



Experienced growers and beginners alike love that these waxed bulbs do not need to be planted or watered! Each of these robust bulbs are carefully prepared in festive-coloured wax, allowing you the freedom to place them among your holiday decorations.
Simply keep the bulbs at an ambient room temperature of at least 16C (70F) for beautiful blooms in five to six weeks.
These novelty items are low commitment! Their only fault is their lack of longevity - gardeners don’t get to enjoy them after year as these waxed bulbs were designed to be a one-use throwaway item!
BUT with a little luck and perseverance you may be able to save the bulb for next season after blooming. All you have to do is to carefully remove the wax layer, remove the flower stalk and place the bulb and with its remaining leaves into a pot of good growing media, allowing the leaves to regenerate the food stores in the expired bulb.
If you’re looking for more information – or perhaps, Amaryllis – visit Eising Greenhouse and Garden Centre! Happy Holidays! ✨
It’s the question we probably hear the most when it comes to flower gardens…”What can I buy that will flower all season long?” While some annuals bloom for a very long time, no plant will bloom from early Spring to late Fall, and no vegetable plant will produce for that duration either. The solution? Succession Planting! It’s a simple strategy that maximizes the time your garden is blooming or producing vegetables.
What is Succession Planting?
Plant early (earlier than you think) and plant things in succession that thrive in the current weather conditions - right up until there is a hard frost. Simply plan to plant another crop or flower once one is harvested or finished blooming. Many gardeners here in southern Ontario wait until the May 24th weekend to plant everything - all at once. Succession gardening staggers planting times so there is a continuous harvest of vegetables or an everchanging series of blooming flowers. While it takes a little more planning, the results are worth it.


A Succession of Blooms
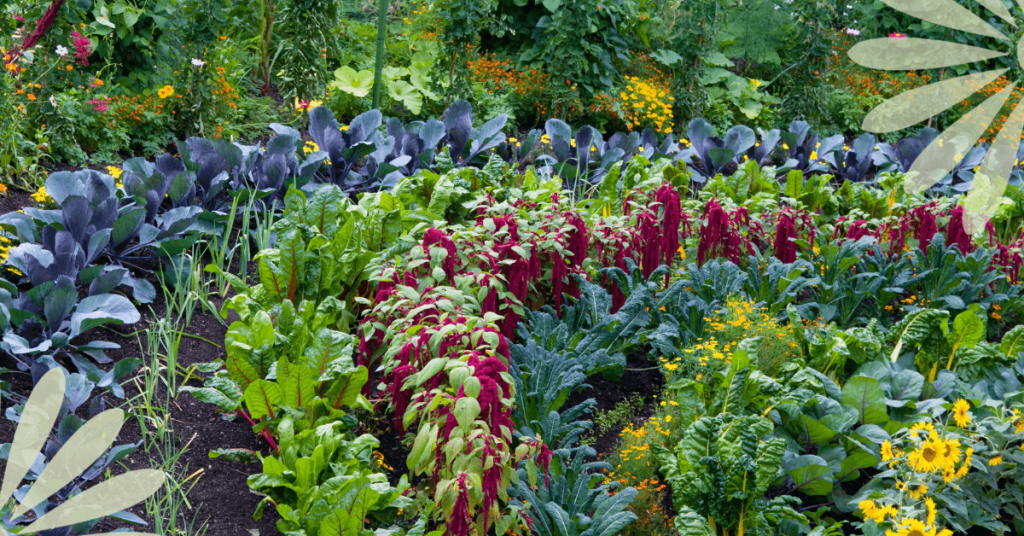
The best way to ensure a parade of colour in your garden is to choose a variety of annuals, perennials, and biennials that bloom at different times. There is a notion that a garden can only have annual flowers or just perennials, but the best results come from a mix of both. You’re allowed to mix them together! Most annuals bloom during the heat of the summer, but perennial flowers can extend the season for you by blooming in early spring or in the fall. A list of perennial bloom times can be found in this Landscape Ontario article to help you choose your plants.
Some flowering plants, like pansies, love cooler weather and are easy to purchase in the spring. A little planning and planting in the fall will provide a flush of colour from Spring bulbs like Daffodils, Crocus, and Hyacinth. Spring bulbs look great alongside early-blooming shrubs or trees like Canada Serviceberry and Forsythia.
April or early May is also an excellent time to directly sow annual flowers like sunflowers, nasturtium, borage, and herbs like cilantro and dill to give them a head start.
Cool Weather Veggies
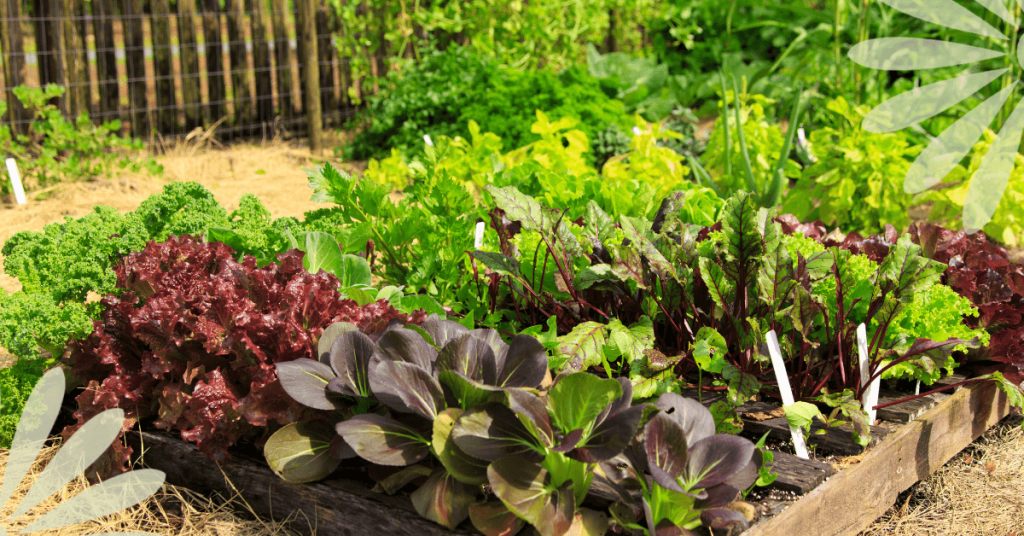
It’s surprising how many vegetables thrive in cool weather and withstand light frost. Keep tender plants indoors until the third week of April and slowly harden them off, but get outdoors any time in April and begin directly sowing fast-growing cool crops like leafy greens, root vegetables, and some herbs.
Lettuce planted in late spring will tend to “bolt” and taste bitter once hotter temperatures arrive. Lettuce loves cooler conditions. So you don’t have to wait until May 24th to sow lettuce and other vegetables. Which Vegetables? We have a list of examples for you in our article: Starting Seeds Indoors and Cold Weather Crops. Starting early means you can harvest a whole crop of vegetables before you plant heat-loving crops like peppers and tomatoes.
Sow All Season
If you’ve ever been overwhelmed by planting too much of one crop at once, you will love succession gardening. While you may be able to freeze a batch of 2,000 string beans from the entire packet of seeds you planted in one go, sometimes stretching out the harvest is nice. Plant smaller batches of beans, peas, and herbs like cilantro, dill, and basil every three weeks to ensure continuous summer harvests. This approach is also known as interval gardening.
Sow cool-weather crops like leaf lettuce, Swiss Chard, and Radishes in April or early May and again in September.
Continuous Harvest
Once your early Spring vegetables like lettuce, peas and radishes have been harvested, it’s time to sow your second crop of cool-weather veggies for harvesting in the Fall. Do you know veggies like parsnips, Brussels sprouts, peas, and kale have more flavour after a mild frost?! A mild winter this year meant we were still harvesting some Brussels sprouts in December.
Double Up
Another tip is to plant things that grow well together. For example, plant seeds for a root crop like carrots below your tomato plants, peas or bush beans in the vegetable garden. The carrot crop will be next after the tomatoes, peas or beans are done for the season. There are many combinations like this - tomatoes and basil, kale and dill, lettuce and beets, broccoli and borage, just to name a few. Doing this helps to increase the production of your plot of land and keeps the soil covered, which is always better for soil health.
One final strategy for flower succession planting is to use containers. Consider placing a well-positioned pot of annual blooms beside perennial plants resting after flowering.
Once you get started, researching companion plant combinations like these can be a fun game. These combinations will extend the time you can enjoy lots of colourful blooms and increase the amount of vegetables a garden can produce!
Come along on a little journey with me and imagine this… It’s Springtime. The sun shines, and the air finally feels warmer after a long, grey winter. You take a little trip to your favourite garden centre and find that special plant you’ve been reading about and hoping for. Of course, you buy the plant, take it home, and proudly place it on your sunny patio on this beautiful day. Two more sunny days go by, and the plant does not look good at all. It seems to be dying, so you give it lots of water, but that makes no difference. It is in fact dying. So disappointing! How could this be happening?
In our excitement to get outdoors and plant flowers, or add greenery, we forget that the plants we’ve been growing indoors or inside a greenhouse, aren’t used to the elements in the great outdoors. They’ve been sheltered indoors, out of the wind and direct sun, and watered and fertilized regularly with the utmost attention. They’ve been pampered in a plant spa and are quite literally hothouse flowers! Being plunked outside afterwards is the equivalent of us going outside in a bathing suit with no sunblock on for the first sunny, warm days of Spring, exposing our lily-white skin that’s been covered up by a parka all winter long!
Red, sunburned skin is not a great image, but hopefully, this comparison helps to explain the importance of transitioning or hardening off plants. Much like us, indoor plants need to be gradually exposed to the elements and given protection in the process.
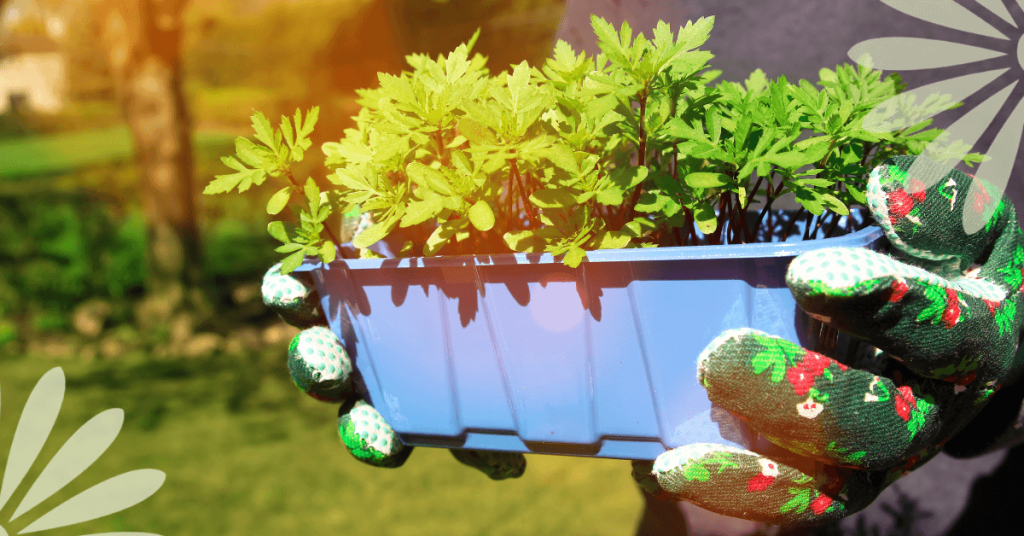
The same will be true if you have planted seeds indoors or purchased greenhouse-grown seedlings. Seedlings grown in a greenhouse, a sunny window, or under grow lights in your home need up to 14 days to acclimate to being moved from their cozy indoor space to the great outdoors.
What is Hardening Off?
Hardening off ensures that you will not lose another plant or seedling! It’s a sensible process for all the plants you’re moving from indoors to outdoors. By helping plants or seedlings to gradually toughen to withstand the elements, you prevent transplant shock, which can cause your plants to be stunted or, worse, die.
To ensure success, the process of hardening off takes up to 14 days, so you will want to begin two weeks before transplanting plants and seedlings into your garden. Houseplants may only need 7 to 10 days, but tender, tiny seedlings need the full two weeks to strengthen and get used to their new environments.
When to Harden Off
Cold-weather plants like lettuce, kale, pansies, violas, dianthus, and potted or forced spring bulbs can be hardened off once daytime temperatures consistently reach 5 Celsius, usually in April in southern Ontario.
Perennial plants, tropical houseplants, and heat-loving seedlings like most annual flowers, tomatoes, peppers, and basil should wait until temperatures are around 7-10 Celsius to begin hardening off. For vegetables and annual flowers, start hardening off around May 10 here in Norfolk County if your target is planting seedlings around May 24th.
Successfully Hardening Off Your Seedlings and Plants
Days 1 and 2
Begin on a day that is optimally warm (At least 5 Celsius for cold-weather-tolerant plants, 7 Celsius for heat-loving plants, or 15 Celsius for tropical houseplants) and place your plants or seedlings outside in full shade and protected from the wind.
If you don't have a wind-sheltered area in the shade, putting your plants in an open cardboard box is a good way to protect them from the wind at this stage.
Leave them in this protected area for 1-2 hours before returning them indoors.
Days 3 to 5
Each day, gradually increase the length of time your plants are outside and begin to place them in an area where they will get dappled shade and some wind.
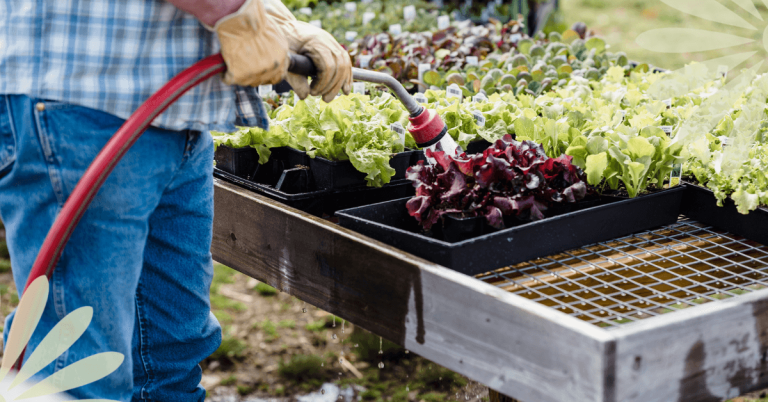
Pay close attention to watering while you’re hardening off your plants as they will require more frequent watering.
Days 6 to 10
On day 6, start to increase your plant’s exposure to direct sunlight by placing them in the morning sun, which is less intense than the afternoon sun.
Begin to leave them outside overnight from this point on unless the temperature is expected to drop below 7 Celcius.
Days 10 to 14
After 10 days of acclimation, it is safe to move houseplants that require more sun to a location that meets their needs.
After 14 days of acclimation, it’s safe to transplant seedlings to their place in the garden or to large pots if you’re growing in containers.
As soon as your plants are transplanted, be sure to water them well! This will help them transition and eliminate air pockets in the soil that can harm the roots.
If the temperature drops and a fluke, unexpected freeze is forecasted after you’ve planted everything, cover your plants with row cover, cloches (you can use plastic water jugs with the bottom cut out, just leave the screw cap off to act as a vent), or cardboard boxes to protect them.
To summarize, when Spring arrives, protect your skin with sunblock, and harden off your plants before you move them outdoors!