
How to Keep Your Hanging Basket as Gorgeous as the Day You Brought it Home, All Summer Long!
By Dave Zeldon and Ely Schweyer
Remember your Mother's Day hanging basket with its variety of colours, textures, and plant combinations? Maybe there was Verbena cascading elegantly with their colourful star like blossoms, double Begonias for the porch in spectacular shades of reds, pinks, and burgundies, and of course the vigorously growing Petunias and Geraniums, to name just a few. But as the Summer goes on, they just don’t seem to have that same stamina.
To keep your hanging baskets in great shape and avoid the dry, wilted, bald spotted, leggy look that occurs to containers every August, one should follow these easy tips.
Watering
Plastic, fibre, and especially moss lined baskets dry out quickly. They should be checked twice daily and watered every day. Be sure to wet the moss sides as well.
Try to maintain uniform soil moisture. When watering, fill the top of the container with pooling water until it ‘pees,’ and allow it to drip out of the bottom of the basket every time you apply water. Frequent severe wilting will impact upon the quality of the basket.
At this time of year, one could take the basket down and soak it in a tub of water for 20 minutes to hydrate the entire root ball, once every week.

Deadheading
Remove spent flowers on a weekly basis (this is called deadheading) to prevent plants from going to seed. This will encourage more flower production. Part of the beauty of the mixed basket is its prolonged display, just like in your garden.
Check for Pests!
During your weekly deadheading, keep a watchful eye out for aphids, whiteflies, and caterpillars. If you see any, try a quick spray of insecticidal soap to keep them from becoming an infestation.
🖱️ If you're noticing fungus gnats in your hanging baskets, find more on eradicating them here!
Pruning
Not every plant in the basket will be at its peak all season.
Cutting plants back after a flush of bloom will tidy them up and prepare them for a fresh crop of flowers. Meanwhile, other varieties will begin putting on a show. This is especially true for Petunias.
A good cut back of long, lanky branches will reap benefits.
Fertilizing
Daily watering means nutrients can leach out of the soil before the plants can absorb them. The baskets should have both slow release granular added to the growing media and a weekly feeding of 15-30-15 soluble fertilizer. Use a solution containing micronutrients, as plants like Petunias need extra iron.
Sheltering
It has been suggested, if possible, that during stretches of extreme heat, give your baskets a break and move them to a cooler, shaded spot to de-stress for a couple of days. This is also suggested when heading on vacation. Your flowers will rebound to their former beautiful selves!
We hope this long term hanging basket care guide helps you enjoy your purchase all summer long! For more information - and beautiful plants – visit Eising Greenhouse and Garden Centre! 🌸
By Dave Zeldon and Ely Schweyer
Many home gardeners are really missing their harvest of fresh vegetables these wintry days – and many beginners have New Year’s resolutions to become greener thumbs.
If you’re looking for something kid friendly, easy on the budget, and nutritious to do this winter, you may want to try microgreen farming!

Seeds to Start
The seeds of many vegetables and beans are suitable for hydroponic sprouting into tasty young shoots that will be ready for the table in less than a week!
Seeds such as alfalfa, broccoli, clover, lentil, mung bean, mustard, onion, radish and soybean are excellent choices for this activity plus they are invaluable in terms of their nutritional content.
Sprouting seeds on your kitchen counter takes only minutes a day, and the reward is a steady supply of fresh, crunchy shoots.
It is important to start by purchasing some packaged seed expressly for sprouting. The directions will indicate how much is needed to produce 100 grams of sprouts. The seed-to-sprout ratio can differ substantially - anywhere from 1.5 to 8.5 units of sprouts or more per one unit of seed - so follow directions carefully and make sure your jar is large enough to accommodate all the sprouts while still leaving room for good air circulation. As a rule, begin with 1 tbsp. (15 mL) of seeds for small varieties such as alfalfa and radish, 2 to 3 tbsp. (30 to 45 mL) for medium ones such as lentil, and up to 4 tbsp. (60 mL) for large seeds such as beans and peas.
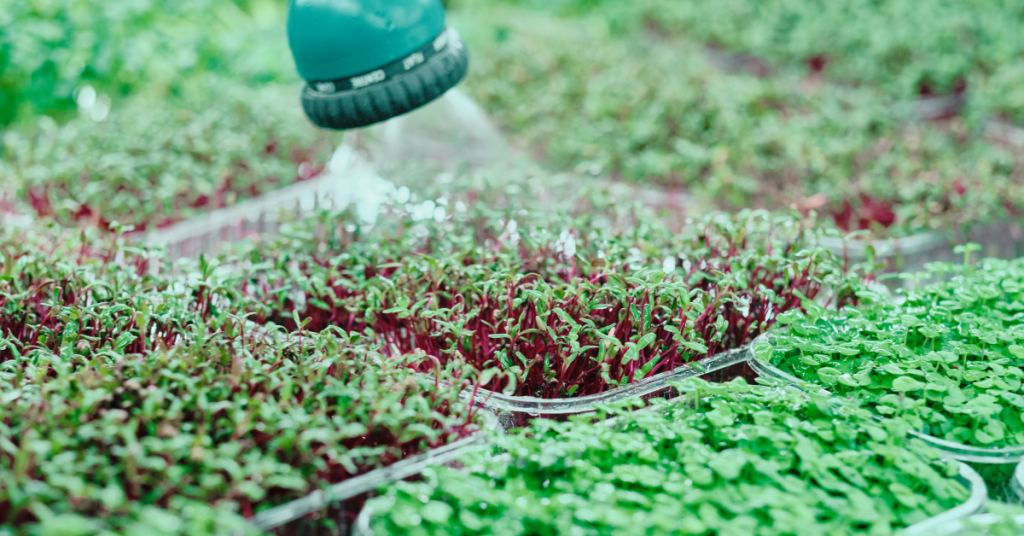
Seeds to Sprouts
Simply put seeds into jar and position screening over opening, using an elastic band to hold the covering in place. Fill jar one-third full of warm (about 40°C) water and swirl seeds around for a minute or so. With the covering in place, drain water. Refill jar one-third full of cool water and let seeds soak for four to eight hours.
Next, begin daily regimen of rinsing seeds three times a day at roughly eight-hour intervals. Drain and refill jar with cool water, swirl seeds for about 30 seconds and drain again. Then, invert the jar so screening is at the bottom and rest it at a 45-degree angle in the bowl. Place on the kitchen counter out of direct light (place bean shoots in complete darkness, as they often taste sweeter when they're grown this way). Repeat this process for three to five days.

Simple Sustenance
You can start to harvest your sprouts once they're three to five centimetres long. Rinse and drain them thoroughly and place them in an airtight container and refrigerate immediately; they should remain fresh for up to five days.
Clover, alfalfa, radish, and mustard seeds give rise to the delicious sandwich booster sprouts. Sprouts are one of the most concentrated natural sources of vitamins, minerals, enzymes, and amino acids.
Plants inside the home help bring life to a long winter, if you’re looking for more information – or plants – visit Eising Greenhouse and Garden Centre! 🌱
How To Keep Your Orchid Alive
By Ava Green
Orchids have become very popular gifts, and a great hobby for indoor plant enthusiasts who discover the wide range of colours and shapes available. Orchids are also loved for their long-lasting and exotic blooms.
While some may choose to only enjoy these tropical plants as long as they’re blooming, orchid-lovers look forward to nurturing the plant and encouraging it to flower regularly. It may be a little daunting at first, but once orchids grace you with their stunningly beautiful blossoms, you will find that a little bit of care is very worthwhile!

It’s estimated that there are 25,000 different species of orchids and over 100,000 hybrids! The ones you’ll find most readily in Ontario stores are Phalaenopsis or moth orchid, because it’s fairly easy to grow. Phalaenopsis are the best choice for beginners.

Other orchids you may find easily are Cattleyas (Corsage Orchids), Cymbidiums (Boat Orchids) and Dendrobium orchids.
While all of these may be orchids, they don’t necessarily require the same care, so it’s a good idea to check the tag for the type you have and its specific care requirements. The following is a general guide to light, water, fertilizer, and growing medium for the most commonly found orchids, but it does not apply to all breeds.
Light and Air
For most orchids, light, and lots of it, is the general rule. Place your plants within 3 feet of a window (not to the side) in the sun. South, east, and west-facing windows are all fine for maximizing the light your plant receives.
Orchids also enjoy a breeze or circulating air in your house. They do not like temperature extremes, though 15 to 20 degrees Celsius is safe. Keep in mind that the more warmth and air movement there is, the more often you will need to water your orchid.
Water
A general rule is to use water that is not hard and has not been softened with salt. Salt will kill an orchid. Rainwater, reverse osmosis, or distilled water are good choices. Chlorinated water is not an issue for orchids - high sodium levels are.
The biggest issue many people have is either over-watering or underwatering their orchids. Here is the method we recommend:
Every 5-7 days, place the pot in a container or the sink, then fill it with enough water to cover the top of the pot. Be careful not to let water collect in the crook at the base of the leaves, as standing water will rot the leaves and the plant. Once the plant’s growing medium is thoroughly soaked, remove it from the water and allow the pot to fully drain in the sink before placing it back in its saucer.
We prefer using a container of water rather than the sink, so the remaining water can be used to water other plants.
Here’s the best watering advice we can give you: look at the overall health of both the plant AND its root system. Full, plump leaves and vibrant, green roots indicate that your plant is getting enough moisture. Puckered leaves and a silver sheen on the roots indicate insufficient water. Mushy, brown leaves and roots are signs of rot caused by too much water.

You may hear of another watering method that involves using ice cubes, but it’s controversial and not widely recommended. To quote the American Orchid Society, “Ice is for cocktails, not orchids. Never use ice on tropical plants to water them.”
“Soil” and Nutrients
Most orchids naturally grow high up in trees, where their roots cling to bark and absorb moisture from the air. At home, we try to mimic those conditions, which is why orchids are typically planted in chunky mediums like bark, coconut husk, charcoal, or perlite rather than traditional soil. While many of the roots stay inside the pot, it’s completely normal for some to grow up and over the edge.

These “escapee” roots might look a little wild, but don’t worry, there’s nothing wrong with your orchid. In fact, those aerial roots are a sign that the plant is healthy and doing exactly what orchids do in nature.
It’s worth noting that not all orchids grow the same way. Many, like Dendrobiums, are epiphytic (growing on trees) or lithophytic (growing on rocks), though some orchid varieties are terrestrial and grow in the ground. The good news is that the growing medium your orchid comes in is chosen specifically for that variety, so you can trust it’s in the right environment.
The bark that your orchid is planted in will slowly break down and become mushy. It’s a very good idea to repot your plant every two years.
It’s generally recommended to feed most orchids, and bloom time dictates which fertilizer to use and how often to feed. Begin by using a water-soluble 20-20-20 fertilizer, mixing it at ¼ the amount recommended for other houseplants. Apply this solution every 2 weeks in the summer and every 3 weeks in the winter.

“The orchid, with its many forms, is a reminder that life is full of surprises.” — Leonardo da Vinci.

Lastly, here’s an orchid fun fact: While we have been talking about tropical orchids in this article, there are also orchids that grow right here in Ontario! That’s right, there are over 50 species in this province, including the much-loved Pink Lady’s Slipper (Cypripedium acaule).
Resources for more detailed and specific information:
Toronto Master Gardeners - https://www.torontomastergardeners.ca/gardeningguides/growing-orchids-a-toronto-master-gardeners-guide/
Canadian Orchid Congress - https://canadianorchidcongress.ca/basics/growing-orchids/
American Orchid Society - https://www.aos.org/orchid-care/indoor-orchid-care
Ontario Wildflowers - https://ontariowildflowers.com/main/group.php?id=18
By: Dave Zeldon and Ely Schweyer
Spring and early fall are generally the best times for planting trees. It has been found that newly planted trees thrive when exposed to moderate temperatures and rainfall, as they need time to root and acclimatize before the onset of intense heat and dryness of summer or the freezing temperatures of winter.
Now whilst planting different types of trees differ in detail, all trees eventually end up in a hole. But remember not just any old hole will do.
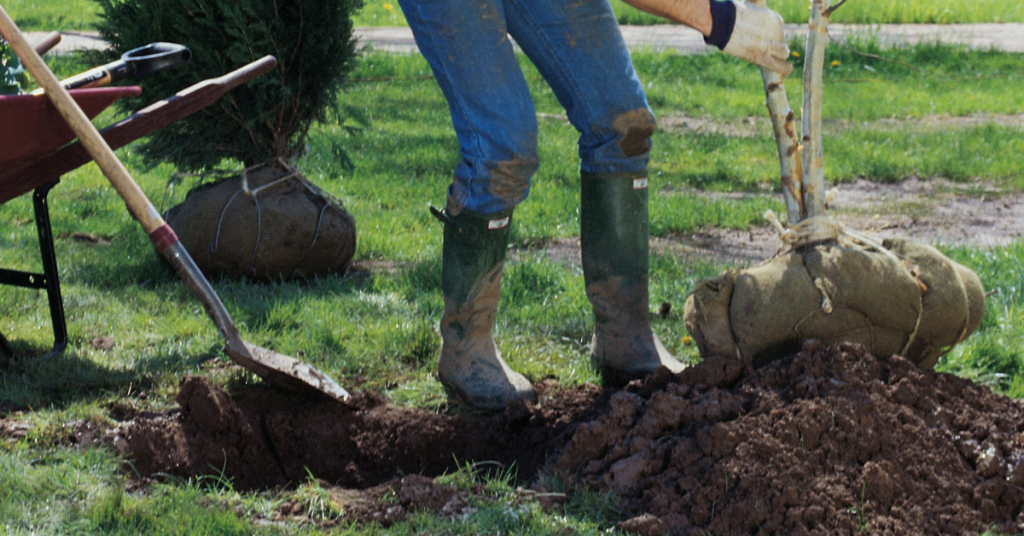
Let’s Get Digging!
1. Some trees are buried too deeply, causing the tree roots to decline in health and condition. We have a whole other article dedicated to transplanting depth if you wish to read more, but here’s the just of it: Poor tree health results in reduced growth rate, atypical leaf size and colour, increased disease susceptibility, and reduced cold hardiness. Always make sure that the root collar flare is visible after planting; if settling occurs, reset the tree to the proper depth.
👉 Note: Many times, homeowners build a raised bed garden around an existing tree in the yard (thus burying the root collar flare) only to find within a year or two their favourite tree now is in decline. Don’t bury that root collar flare!
2. As a general rule, trees should be transplanted no deeper than the soil in which they were originally grown. The width of the hole should be at least three times the diameter of the root ball or container or the spread of the roots in the case of bareroot trees. This will provide the tree with enough worked earth for its root structure to establish itself.
3. When digging in poorly drained clay soil, it is important to avoid 'glazing'. Glazing occurs when the sides and bottom of a hole become smoothed forming a barrier, through which water has difficulty passing. To break up the glaze, use a fork to work the bottom and drag the points along the sides of the completed hole. Also, raising the centre bottom of the hole slightly higher than the surrounding area. This allows water to disperse, reducing the possibility of water pooling in the planting zone.
4. The backfill soil should be a mixture of composted manure and topsoil. The mixture should then be placed in the hole surrounding the tree just to the height of the ball or slightly lower to allow for some settling. Be careful not to compress the backfill soil as this may prevent water from reaching the roots and the roots from expanding beyond the ball.
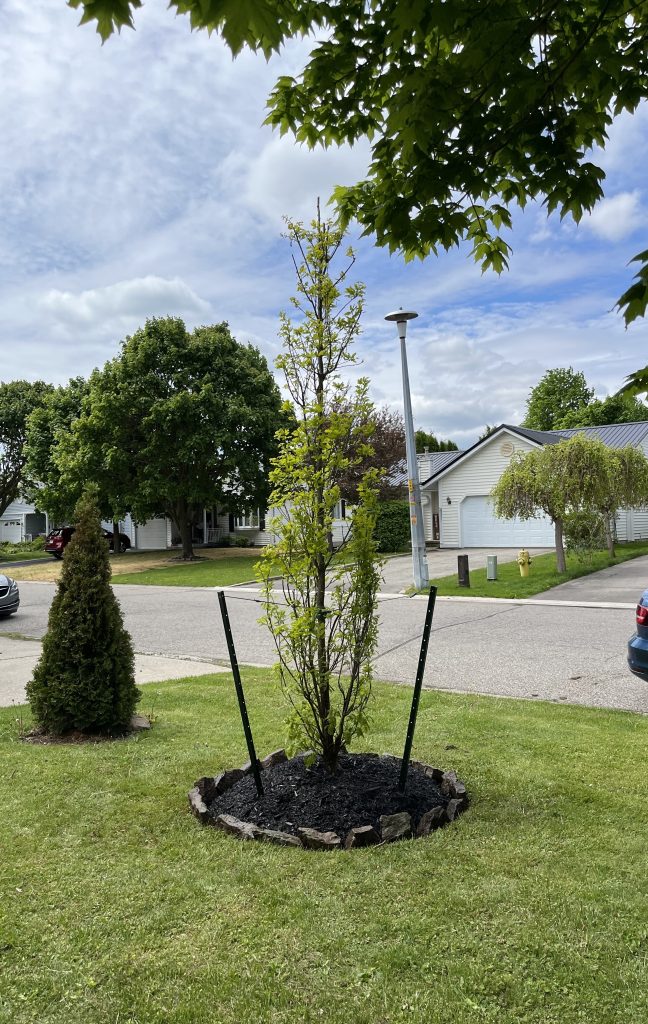

Jobs well done by the Eising landscaping team!
Standing On Its Own Roots
Young trees should be able to support their own weight when they are transplanted. If the tree is unable to do so, try thinning out the upper branches to reduce wind resistance. If that is not enough, you may have to stake a tree.
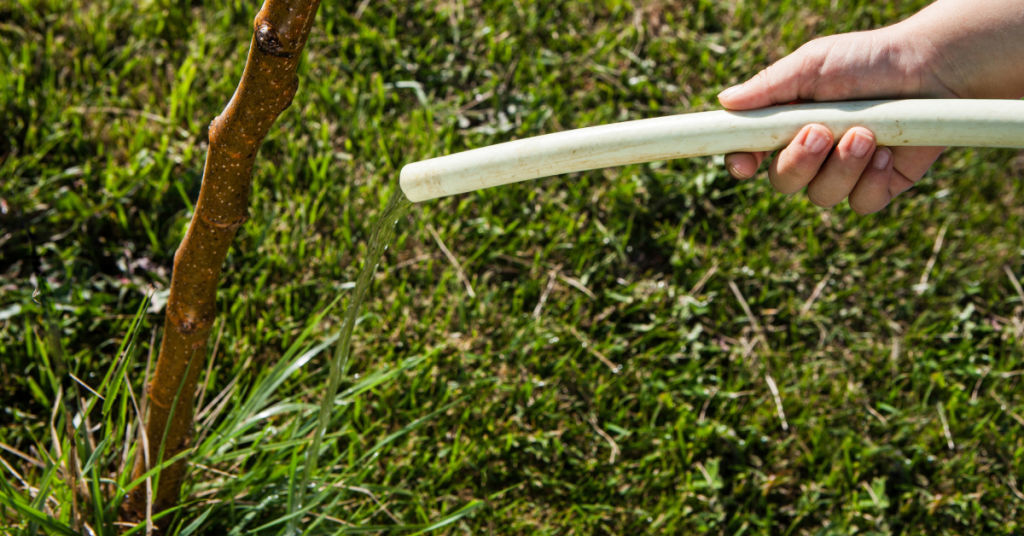
Watering Your New Tree
Newly planted trees should be watered at the time of planting. In addition, during the first growing season, they should be watered at least once a week in the absence of a good rain.
👉 Remember: Regular deep soakings are better than frequent light wettings.
We hope these tips can help you encourage the longevity of your new tree! For more information - and trees - visit our Trees & Shrubs section at Eising Greenhouse and Garden Centre. We hope to see you soon!