
For tomato lovers, picking a warm, flavourful tomato right off the plant for a sandwich, burger, or salad is a sure sign of summer! I eagerly await the day the first fruit begins to turn red, knowing that I am a day or two away from the first of many toasted tomato sandwiches for the season!
By the end of June, your tomato plants should be in the ground or pot, staked, and well on their way to producing fruit. But how do you keep your plants healthy all summer so that you can maximize your investment? Here are a few tips to help keep your tomato sandwiches coming until frost!

Water
Water early in the morning and water deeply. For tomatoes, consistent moisture is best.
Keep the water on the ground, not on the foliage. This is important because damp foliage can lead to diseases like early blight, which can ultimately cause the entire plant to die. Mulching around the base of plants will reduce the amount of water that can splash up onto the leaves. A soaker hose or drip line is also a great way to ensure that water stays on the ground, rather than on the plant.
Pruning
Reducing the amount of foliage on a tomato plant is necessary for a couple of reasons: good air flow, which reduces the chance of powdery mildew forming, and less foliage means that the plant can send energy to growing fruit instead of lots of leaves.
Follow these easy steps when you prune your tomato plants:
- Before you begin, remember to follow the rule for pruning - no more than ⅓ of a plant should be removed at a time.
- Use clean scissors or pruning shears to cut the leaves off the bottom of the plant. Remove any leaves that are touching the ground. These are particularly susceptible to mildew formation.

When fruit starts forming, remove the leaves from the bottom of the plant up to the first or lowest fruit.
Remove suckers ongoingly. What are suckers? When you look at your tomato plant, you will see the main stem that comes up from the ground, and branches of leaves that come out of the main stem. As the plant grows, suckers begin to form in the “Y” between the main stem and a branch of leaves. Suckers won’t harm a plant; they just make it very unruly and reduce airflow.

If your tomatoes are indeterminate (growing into a tall vine), remove the top of the plant when frost is forecasted at the end of the season. Topping the plant allows energy to ripen the fruit that’s already set, rather than being used to continue growing the vine.

NOTE: Some gardeners like to leave suckers on determinate tomato plants as this can increase the yield.
TIP: Tomatoes ripen from the inside out. That means that by the time you see fruit beginning to flush on the outside, the inside is already ripe. If you have competition for tomatoes from pesky critters, or when there’s a chance of frost in the weather forecast, you can pick fruit that has just begun to turn colour and leave it on the kitchen counter to continue to ripen.
Fertilizer
Using organic material is one of the best ways to feed your crop. A good layer of compost, 1-2 inches, in the spring when you’re planting and again in the fall each year is one of the best ways to improve your soil structure in the garden, and it also adds lots of nutrition.
If you missed this step when planting your garden, you can always add a layer of compost around your plants or use other organic fertilizers, such as compost tea, seaweed, worm castings, or fish emulsion.
Alternatively, you can use a fertilizer that’s formulated especially for tomatoes - these usually have a ratio like 3-4-6 or 4-7-10. Follow label directions for amounts and err on the side of caution. Using less fertilizer is always better than using too much, as an excess can stress the plant and make it more prone to disease.
Following these simple steps for tomato care will help to ensure your plants stay healthy and producing fruit, but if you should have problems, here are some great resources to identify tomato issues:
- Ontario.ca: Bacterial diseases of tomato: bacterial spot, bacterial speck and bacterial canker
- Guelph.ca: Healthy Landscapes – Plant List Native and Drought-Tolerant Plants
The sight and sound of water in the garden can bring life to its surroundings and a sense of calm that we all seem to need right now.
A water garden can be created in many forms with varying degrees of simplicity or complexity. A small water feature in a half-barrel-sized container on a patio. A small to medium one in a preformed fibreglass pool or pond in the ground. An old stock tank or bathtub. A pool liner laid over a hole dug into the ground. A natural pond fed by springs. A fountain, stream or waterfall for moving water. Planning is key, but there are endless options! Just be sure to check any local zoning restrictions before you build.
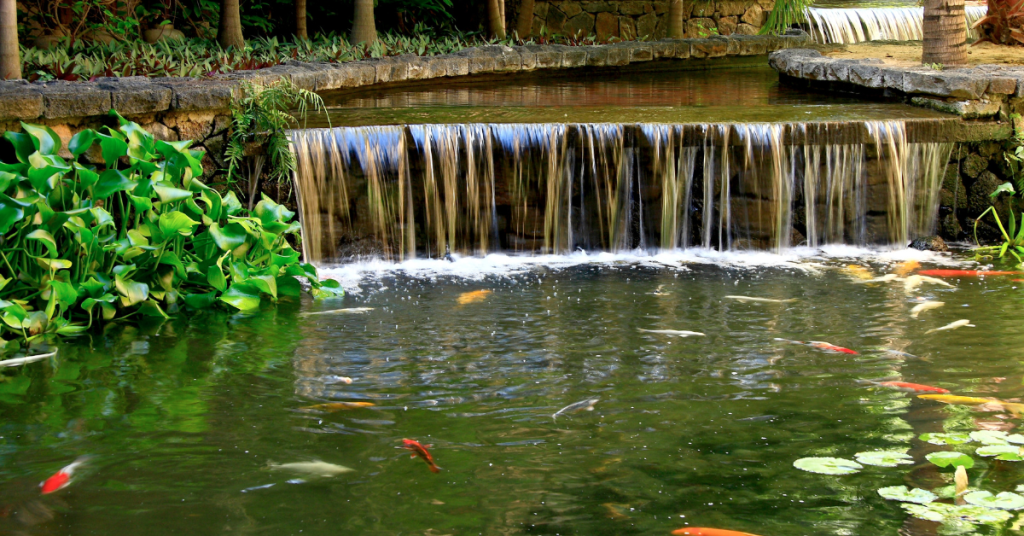
Whatever the pond form, water can immediately attract nature even in the middle of an urban space. Dragonflies, birds, and frogs will show up to sip, dip and enjoy!
Water gardens also provide a space to garden with plants that bring unexpected beauty and intrigue. It’s a whole new world of native and tropical, annual and perennial plants that exist in the water or on the edge of a pond.
Three Categories of Water Garden Plants
1. Underwater or Submerged Plants
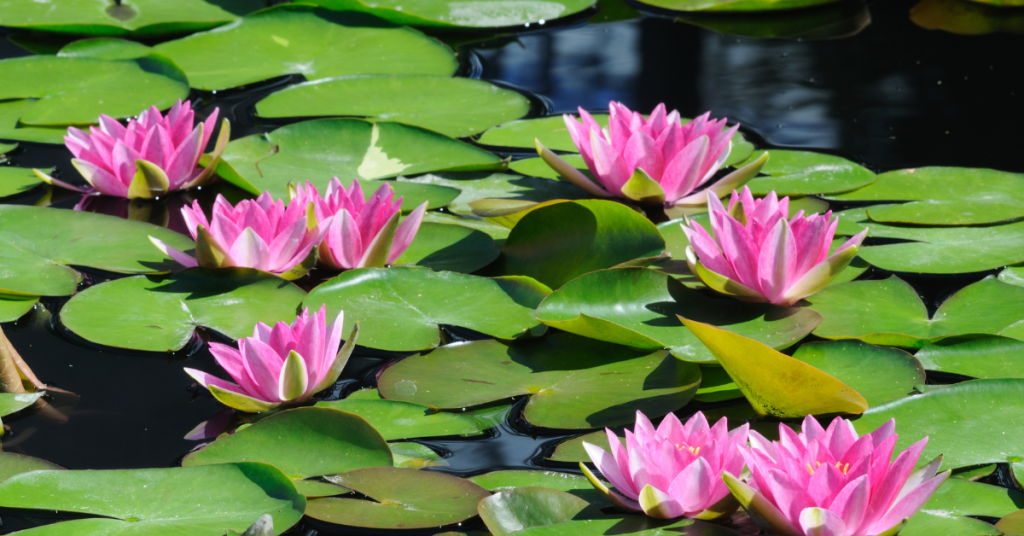
Deep-water plants with floating leaves and flowers, like water lilies and lotus, are included in this group. Often the showy main feature of a water garden, water lilies come in various sizes and colours and produce blooms from late Spring to early Fall. Hardy lilies thrive year after year with very little effort. Full sun and water 18 to 36 inches deep will give a water lily the conditions it needs.
Oxygenating plants are not showy but are also found underwater, and they are essential. Anyone who owns an aquarium knows the importance of good oxygenators to improve water quality. They compete with algae for nutrients and win the battle each time. Elodia canadensis looks a little bit like seaweed, but it’s a hardy and vigorous water perennial here in southern Ontario, which makes it a very popular choice.
2. Floating
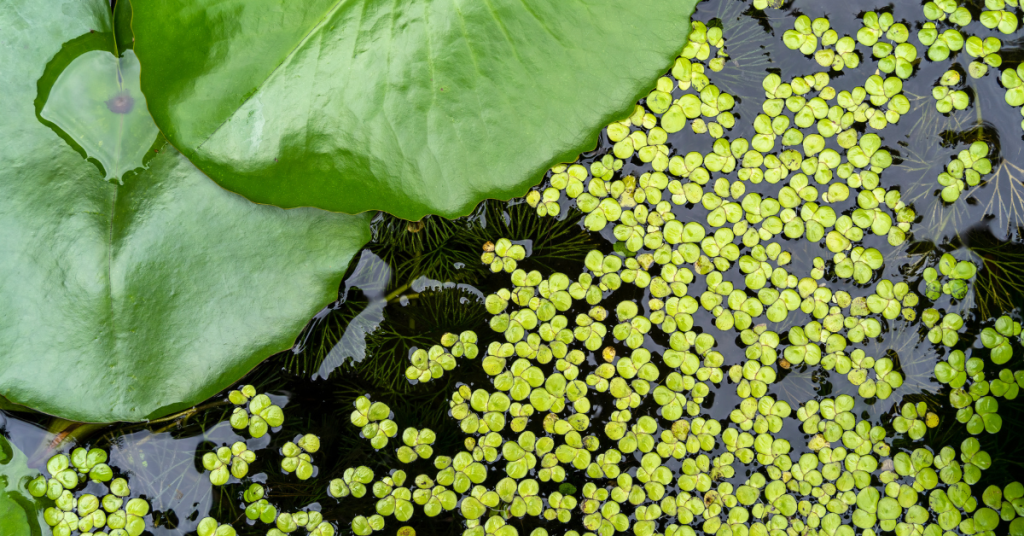
Duckweed and Water hyacinth are examples of plants that float freely on water. No soil is required! While Water hyacinth is a problematic invasive perennial in southern U.S. climates, here in Ontario, it’s a carefree annual and probably one of the most beneficial plants for a garden pond. Water hyacinths provide much-needed shade (algae requires sunlight to thrive), and the roots absorb excess nutrients, helping control algae and purify the water. If that’s not enough, its shiny green leaves can stand up to 4 inches out of the water, and they surround a spike of lovely blueish-purple flowers. It also provides shelter for fish.

3. Shallow water or Marginal Plants
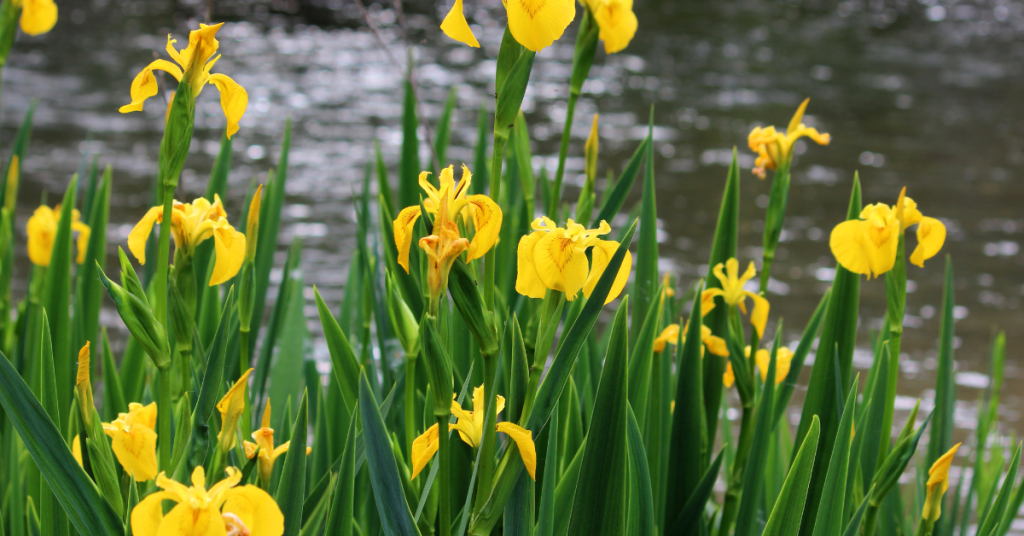
This is the bog folks! The plants grown here are also known as marginal plants. While the term bog doesn’t conjure dreamy Monet water lily paintings, the plants in this area of a pond or wetland can be beautiful, interesting and beneficial. Marginal plants and moisture-loving perennials, grow in the soil just below the water's surface or in consistently wet soil. They are beneficial because they keep water clear by keeping algae at bay. However, as previously mentioned there are many beautiful and interesting plants that grow on the pond's edge.
Here are just a few:
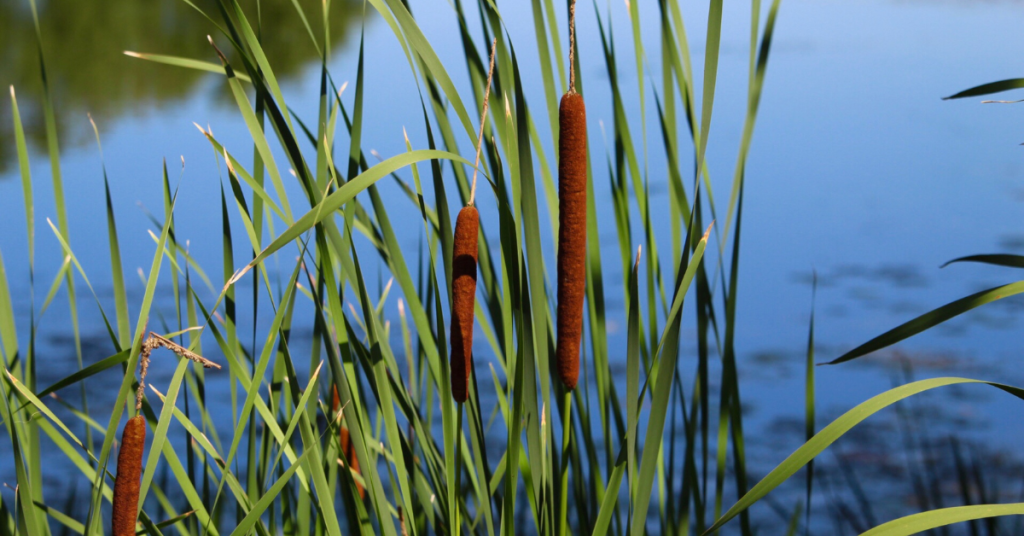
- Cattail - Hardy
- Water Iris - Hardy
- Variegated Sweet Flag - Hardy
- Corkscrew Rush - Hardy
- Pickerel Rush - Hardy
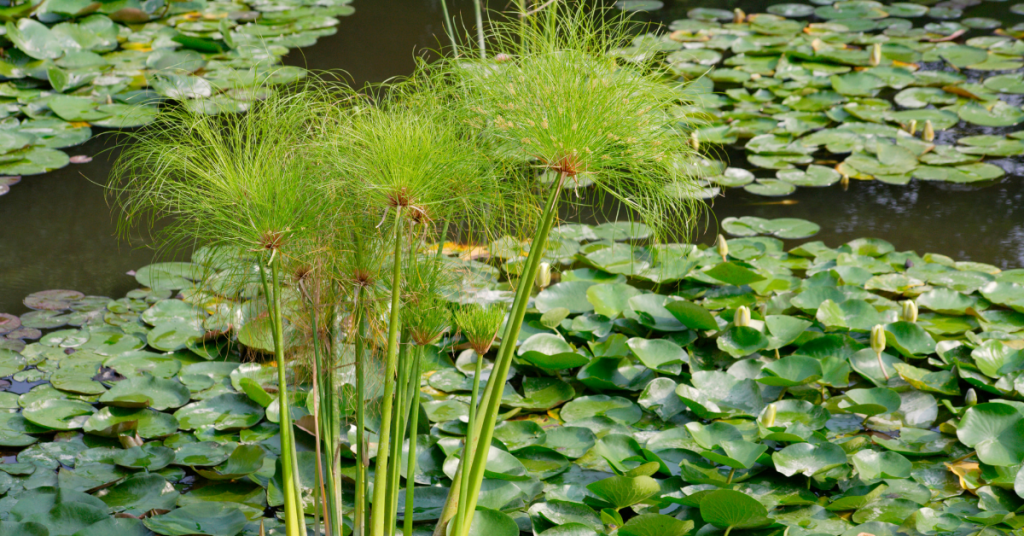
- Dwarf Papyrus - Tropical
Growing plants in and around a water garden can be a very satisfying project. Curious guests will love to chat about it and ask questions making it a great conversation starter. It also provides a peaceful spot in your backyard to relax and watch the dragonflies whiz by!