
Pruning is an essential part of gardening. Essential, but a little intimidating at first because it’s a broad subject. That said, there are some basic rules that apply to most trees and shrubs that will get you started.
There are a number of reasons to prune; the most obvious is for safety, to keep a branch from doing damage or harm by falling or rubbing against something like a building or another tree. Other important reasons include:
- Removing dead, diseased or damaged wood
- Shaping to make a plant bushier, reduce the size and bulk, or slow down growth
- Thinning to increase light penetration and airflow and reduce the possibility of disease
- Rejuvenation to encourage growth, blooming and fruit
Correctly pruning trees and shrubs can help with everything listed above and, most importantly, help maintain the health of your plants. Proper techniques and timing ensure the best results.
The Right Tools
You may need fewer tools to prune than you think!
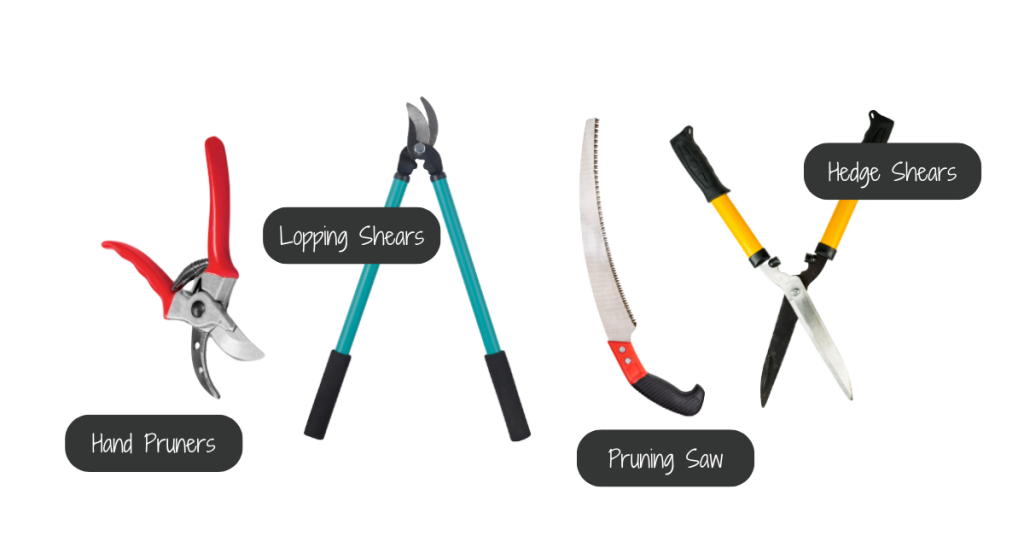
Secateurs or hand pruners work well on smaller branches.
Loppers or lopping shears have longer handles for more leverage and are ideal for medium-sized branches.
A pruning saw works best for larger branches.
Electric or manual hedge shears are best for cutting a tidy wall of foliage like hedges and shaped evergreens.
The key with garden tools is to make sure they’re sharp and sterile. This can prevent the spread of disease. Clean tool blades with rubbing alcohol after trimming each branch.
When to Prune
Pruning timing requires some research as it depends on the species of the plant and the result you’re aiming to achieve. For example, some trees may be best pruned in the winter while they’re dormant and buds have not yet appeared. To shape a tree, it’s easier to prune before the leaves have formed so that all of the branches can clearly be seen. Pruning early in the gardening season will invigorate the tree. Conversely, pruning after the tree has formed leaves in June will tend to slow down growth.
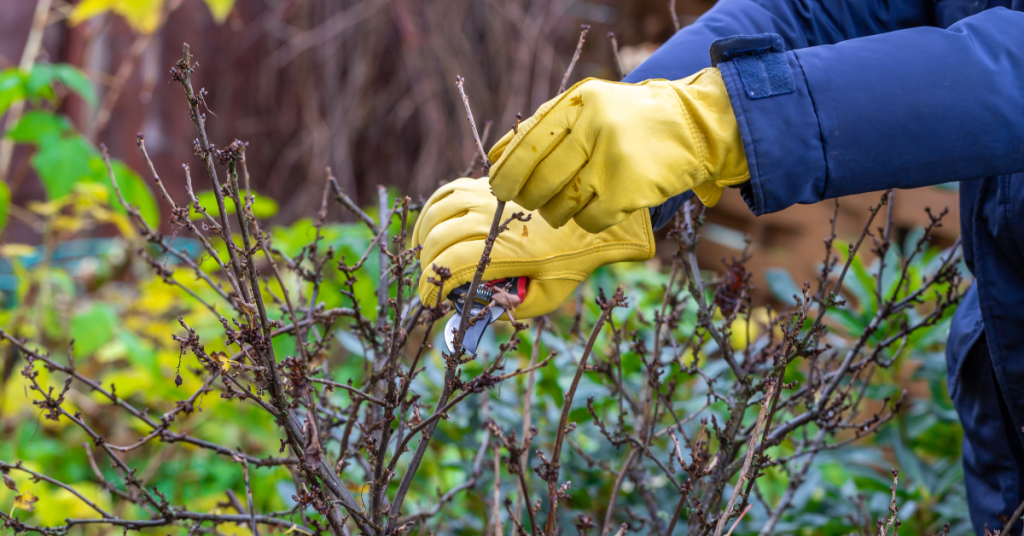
When pruning flowering trees and bushes, there are other timing considerations. Some ornamentals bloom on branches that grew the previous year. Pruning those branches too early will result in fewer or no blooms. For these plants, it’s best to wait until after they have bloomed.
If you’re unsure about pruning timing for your tree or shrub, this is a fairly comprehensive list to use as a guide. We have also linked other resources below this article.
In general, late fall or early winter is not the time to prune any plant as it encourages new growth, which may be damaged by colder weather.
Pruning Techniques
While some trees may require specific care (pines, for example), here are the basic techniques for pruning trees and shrubs. It’s a good idea to know these basics before you head out to begin cutting branches.
Examine the branch, buds and shoots before cutting. Cutting above a bud facing away from the trunk of the tree will have the branch continue to grow in that direction.

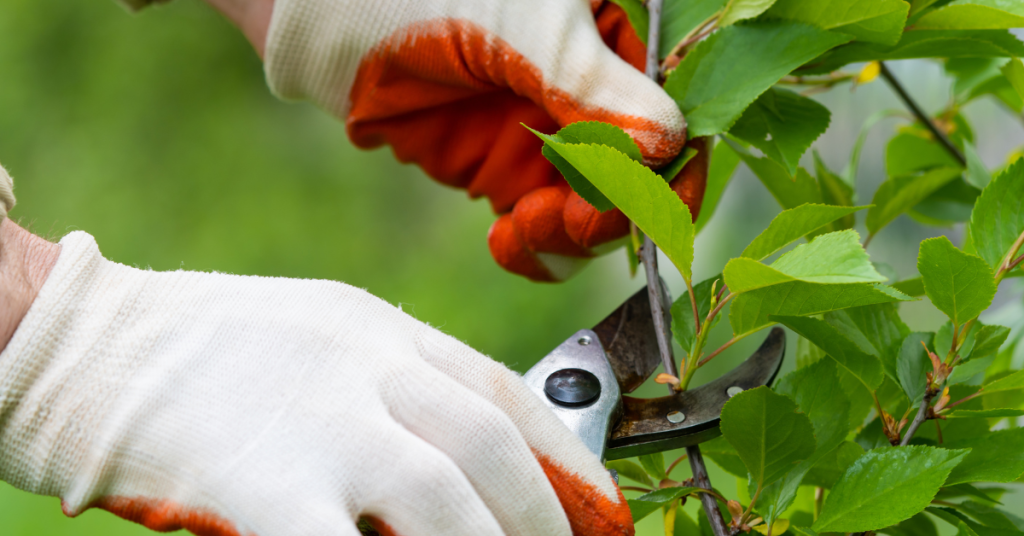
Cut on a 45° angle just above a bud whenever possible. Keep your cut above the lowest bud (the bud closest to the trunk), or the branch will die back.
Before removing a large branch, cut ⅔ off the end of the length to reduce the weight. Once the bulk of the branch has been removed, then cut the rest of the branch away from the trunk by cutting close to, but not into, the “collar” of the branch where it meets the trunk of the tree.

Now You’re Ready to Begin Cutting!
Now that you know the techniques for pruning, where do you begin? Here’s a logical set of steps to follow:
1 - Remove any dead or diseased wood
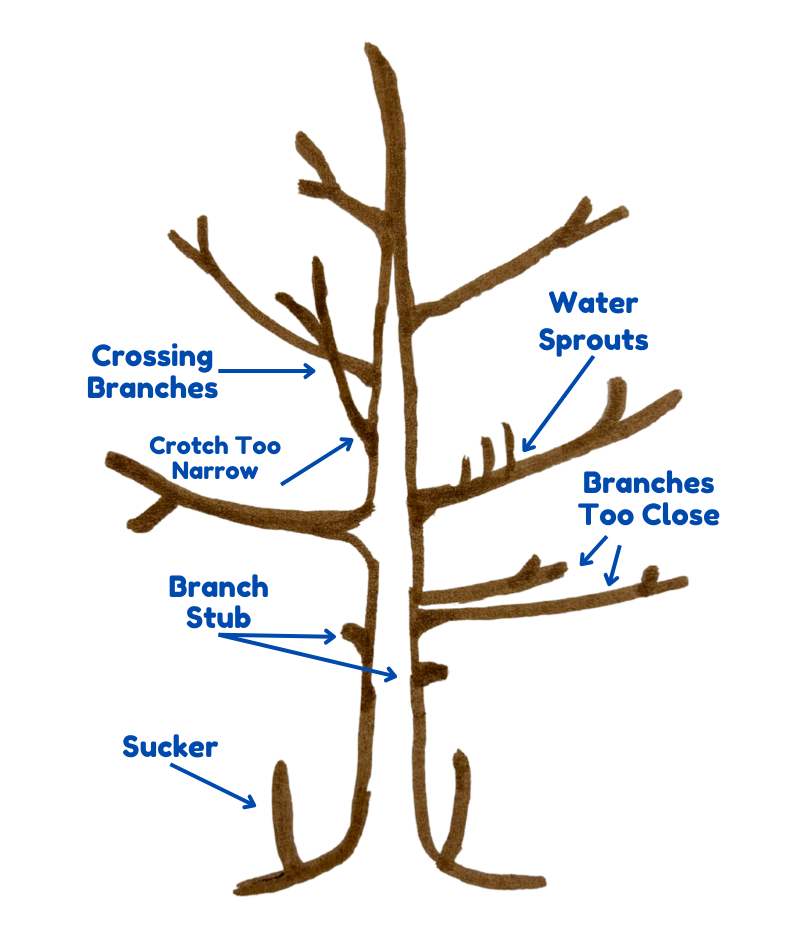
2 - Remove any branches that are crossing and rubbing together. For a shrub that’s too crowded, remove the thickest branches down to the ground first
3 - Remove water sprouts
4 - Stand back and observe the shape of the tree. If anything is not pleasing about the look (lopsided growth or branches growing too close together or at a sharp angle to the trunk, for example), begin removing or trimming back one unsightly branch at a time. Observing the shape between each cut
5 - Remove any suckers or stubs
Follow The ⅓ Rule!
Once you start, pruning can be fun, but be careful not to get too carried away. Trim up to ⅓ off of an established plant (not a newly transplanted tree or shrub) in one growing season - maximum. Cutting off too much can stress the plant and impact its overall health.
Lastly, know that you can always hire a certified arborist if the task is too much or the tree is simply too large!
Other Resources:
- City of Moose Jaw: Pruning Trees
- Landscape Ontario: Pruning Shrubs and Evergreens
- Ontario Government: Pruning Fruit Trees
- University of Georgia: Pruning Ornamental Plants
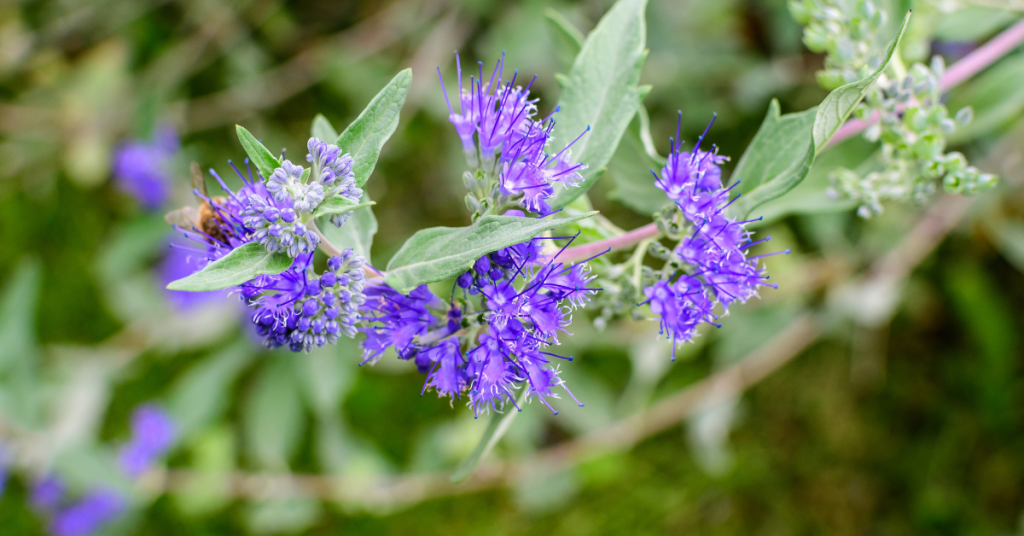
Looking for something that blooms in the garden when everything else is fading? Bluebeard (aka Caryopteris or Blue Mist) blooms from late summer until frost sets in!
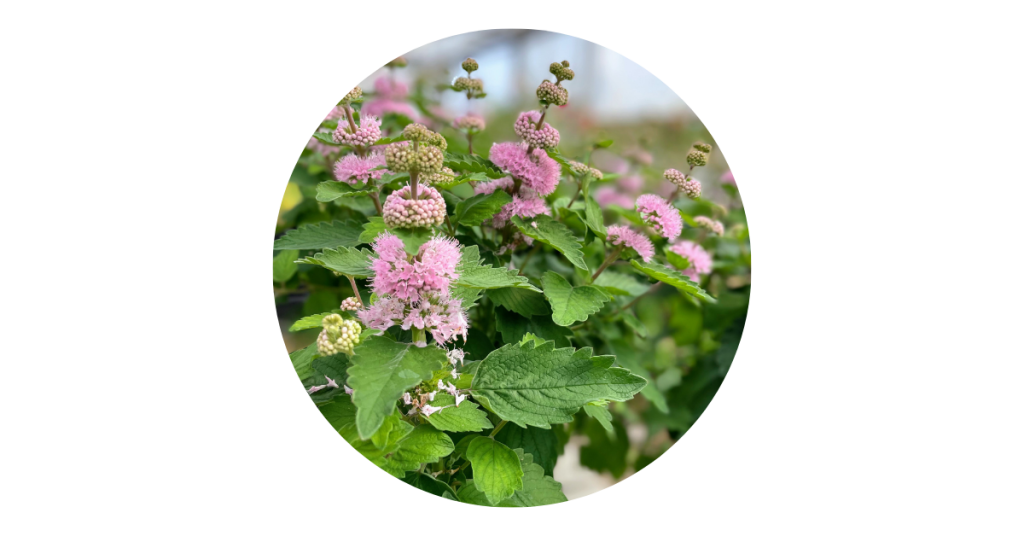
This shrub-like perennial thrives in full sun and sandy soil with good drainage. In exchange for these conditions, it provides an abundance of blooms in vivid, genuine blue (a colour that’s very difficult to find in the garden) or it can have pink or blueish-purple flowers depending on the hybrid variety. Foliage can range from soft grey to golden yellow to dark and glossy green, depending on the variety. Intrigued?
Bluebeard is a great perennial shrub for almost any size of garden and does well here in Norfolk County. Plants grow in a range from two to four feet in height and width and in a well-behaved, compact mound.
Beautiful Blooms
Such a unique flower! Bluebeards form fluffy clusters of flowers, like clouds or mist and can bloom from July until there’s a frost. Like most flowering plants, deadheading spent flowers will promote continued blooming.
Bluebeard flowers have a mildly sweet scent and are full of nectar for pollinator friends like bees, hummingbirds and butterflies. The features don’t stop there! Birds love the seeds that form in the Fall too.
Planting & Care
Find a nice, sunny spot with ample space for the plant to grow. Bluebeard aren’t heavy feeders and don’t need fertilizer. Some compost in the planting hole is all that’s needed. After that, top dress with some compost each Spring.
Water in new plants thoroughly after planting them. Once established, they don’t need watering unless it’s an extremely dry season.
Crown rot from consistently over-watering, or from being planted in wet, heavy soil is the only disease to be concerned about. Branches will begin to die, one by one, if this plant has crown rot.
While Bluebeard will tolerate drought and shade, the amount of flowers will be greatly reduced.
Pruning
Bluebeard’s foliage and flowers form on new branches or new growth. So, early each Spring, cut the stems down by at least half. Cutting them down to 12-18” does not harm the plant. It will send up new shoots, and it’s those new shoots that produce leaves and blooms!
You may find that established plants have some dead wood in the centre. If this happens, prune out any dead wood, and that will ensure that your shrub stays looking full and happy.
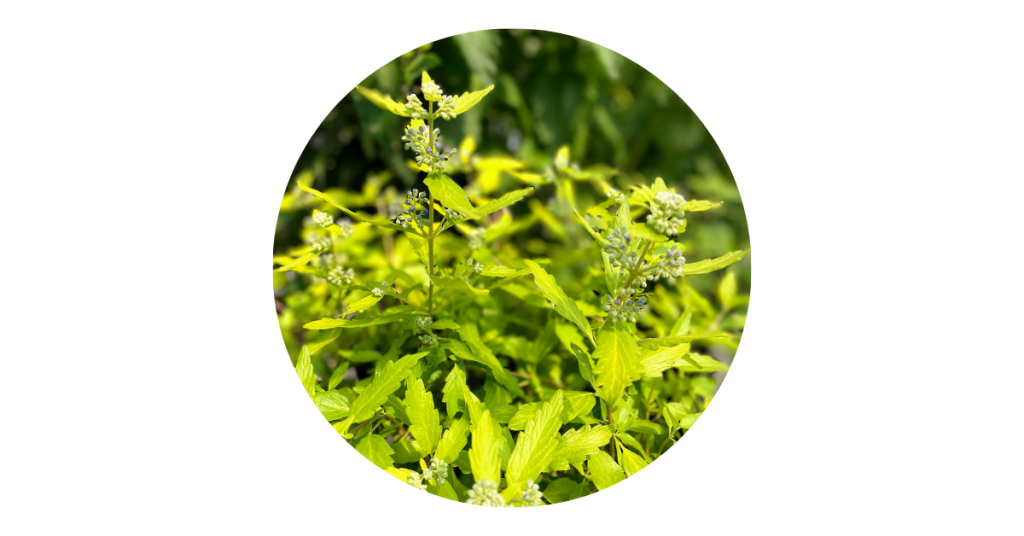
Sunshine Blue Bluebeard
Grows 2-3’ tall.
An extremely hardy variety with gold foliage and blue blooms.

One final note. Sometimes Bluebeard is called “blue mist spirea”. However, Bluebeard or Caryopteris is not related to spirea.
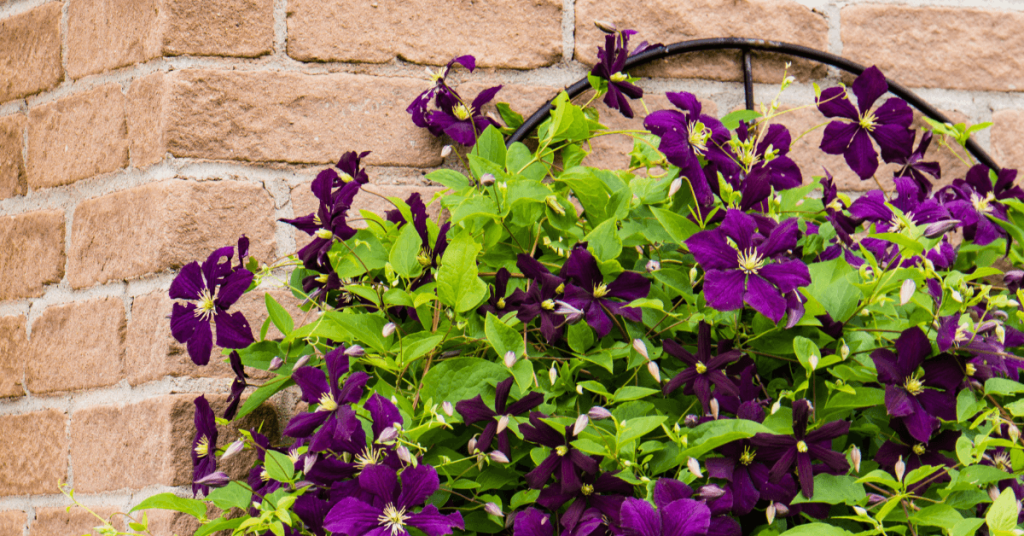
Clematis, the climbing plant that looks far too elegant and exotic to be growing in Ontario! Not only beautiful, Clematis gets along well with climbing roses (this is a gorgeous combination), trees, shrubs, and perennials. Different varieties of Clematis can also be grown together and provide a succession of blooms!
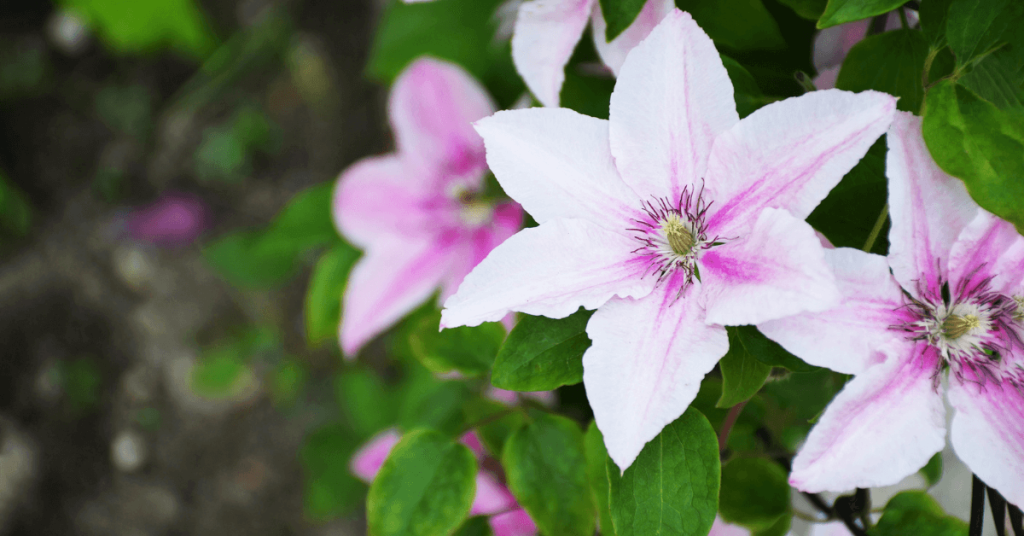
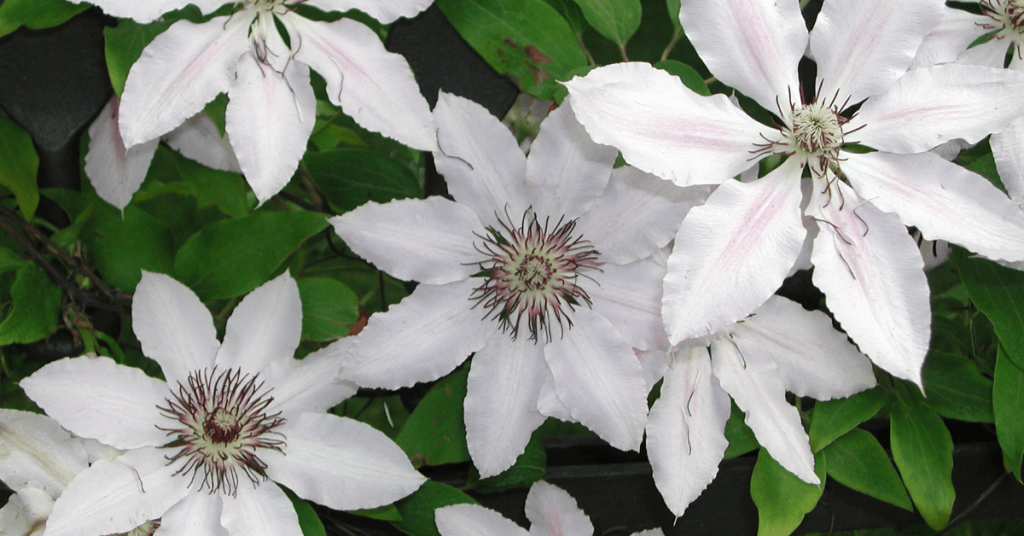
The variety of shapes, sizes, and colours available make Clematis a very desirable plant. Ranging from delicate, white, bell-shaped blossoms to dreamy, pastel rosettes, or sumptuous, deep purple double-flowers, and everything in between.
A stroll through the garden centre is a must to peruse Clematis labels and choose the ones that are most appealing to you. The varieties that we have will all suit our southern Ontario climate.
While the blooms vary widely, planting Clematis is straightforward. A few simple considerations when planting will help avoid root stress or Clematis Wilt, which are common problems when the location is wrong and the soil isn’t enriched. Here are some simple steps to ensure success!
Location, location, location!
Clematis like at least 6 hours of sunlight a day, but not an excessively hot location. Some shade in the late afternoon will extend the length of time that a bloom looks good.
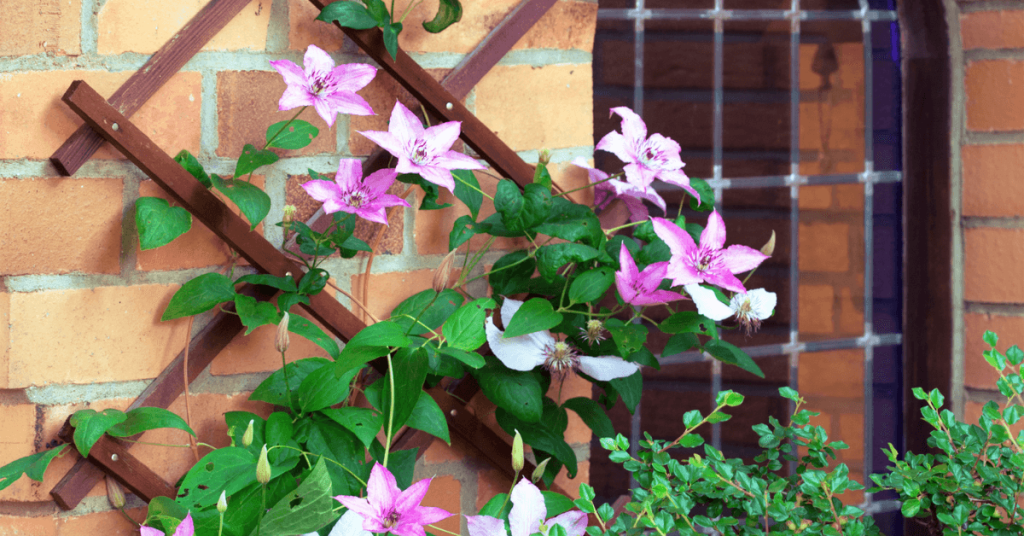
Provide Support
A trellis, archway, arbor, or even a shrub or tree, all make excellent supports for your clematis. Install a well-secured support system first, to avoid damaging your clematis roots.
Soil is the Key
Fertile, well-drained soil is essential to successfully growing Clematis. These vines are heavy feeders and require nutrients to produce their show-stopping flowers. Prepare your soil by mixing in plenty of compost or well-rotted manure.
Prepare the Planting Site
Dig a hole that’s as deep as it is wide. Use the plant as your guide and dig approximately 13 cm or 5 inches deeper than the root ball. Add some of the soil that’s been amended with compost, then check to see that your plant is sitting at the right height - the top of the root ball should be even with the soil around it. Once the root ball is sitting at the right height, backfill the rest of the hole with more amended soil and gently firm the soil around the plant with your hands.
Watering
Water deeply after planting, and keep the soil and root ball moist, not water-logged, throughout the season. Be sure to water at soil level, not with an overhead sprinkler which can scorch leaves and flowers.
Mulch
Mulch the soil around your plant to help suppress weeds and maintain moisture. Compost, organic shredded bark, or straw works well.
Fertilizer
Fertilize regularly throughout the season, or apply a slow-release fertilizer at the beginning of the season to maximize the blooming potential of your Clematis. For more information about fertilizer, see this article about caring for annuals and perennials.
Pruning
Pruning instructions are often included on your plant label as requirements vary from variety to variety. If in doubt, there are many growers who recommend pruning early blooming Clematis a little, after they bloom, to maintain the desired shape of the plant. For later blooming types, cut the vines right back to 45-60 cm in early spring.
Following these steps will provide a healthy environment for your Clematis to thrive. But be careful, Clematis are like potato chips - bet you can’t have just one!
If you have some space in your flower or vegetable garden, growing herbs is definitely worth it! Many are drought tolerant, do well in containers, require very little care, and can provide a bountiful harvest all summer long.
Buying herbs at the grocery store is often pricey. Growing them at home, using the tips below, helps to ensure a steady supply for a fraction of the price.
If you’re not accustomed to adding herbs to meals at home, buying a plant is a great way to experiment and see which ones you like. If you try Cilantro, for example, and don’t like it, place it in a nice pot and take it as a hostess gift the next time someone invites you to a barbeque. Especially if you’re coming over to our house, we love it!
Herb Growing Tips
- Like many other plants, there are perennial and annual herbs (annuals don’t survive an Ontario winter and need to be planted each year). Perennial or annual may determine where you plant your herbs in the garden.
- Most herbs are drought tolerant and enjoy full sun. The amount of water and sun can vary slightly, so it’s good to note watering and light needs for the herbs you’re growing.
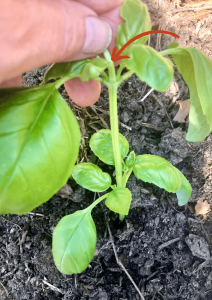
- The more you trim herbs, or “give them a haircut”, the more your plant will thrive. Start trimming them early - when they’re about 4 inches tall, and do it often! This will make your plants more sturdy and bushy.
- Regular pruning ensures that your herbs don’t flower! While this is the goal with many other plants, it’s not what you want with herbs. A plant will focus on producing flowers and seeds, and stop producing the leaves that you want to harvest for herbs!
Here’s a list of our favourite herbs to grow in Southern Ontario, and how to care for them.
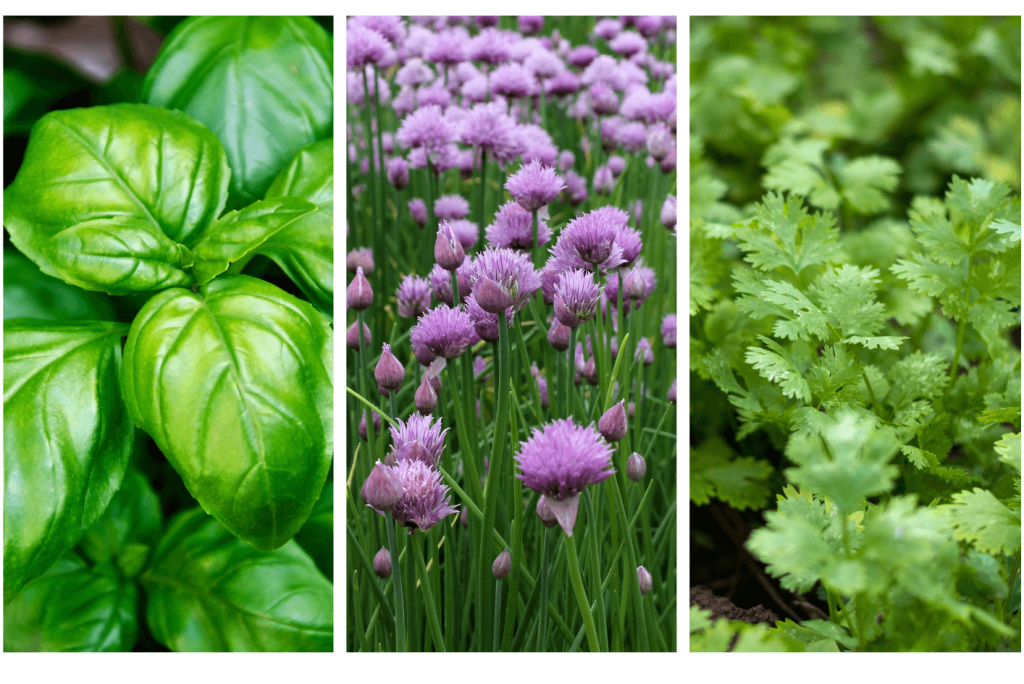
Basil - Annual
If you’ve planted tomatoes, it just makes sense to add a few basil plants! The tomatoes will love them, and so will you on your toasted tomato sandwiches. Basil loves full sun, and evenly moist soil.
Chives - Perennial
Chives are one herb that you may want to allow to flower. Its blossoms are great for flavouring vinegar, and the plant will still produce mildly onion-flavoured stems. Chives like full sun but will still grow in partial shade, and once established they only need watering during dry spells.
Cilantro - Annual
To some people with a very specific gene Cilantro tastes like soap! For everyone else, it’s one of the most delicious herbs and a taco wouldn’t be the same without it. Cilantro prefers part shade, but will tolerate full sun. It can be allowed to dry out, but it may flower prematurely if it gets too dry.
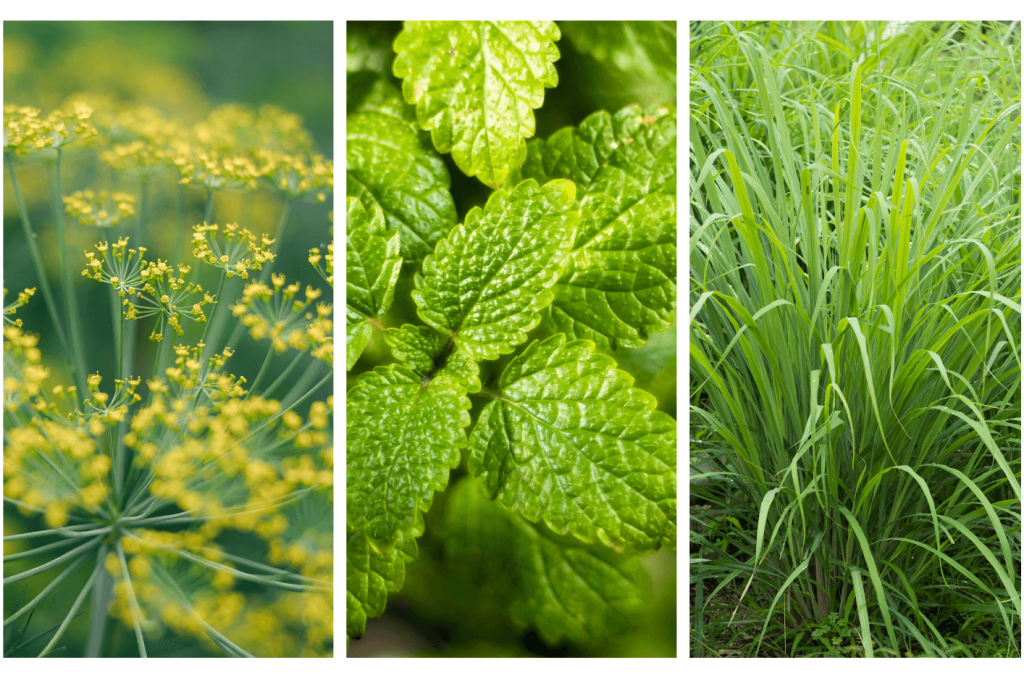
Dill - Annual
While Dill is considered an annual, many people in Ontario find that if you allow it to eventually go to seed, it will reseed and grow again the following season. No guarantees. But worth a try, right? Dill plants love full sun, and their roots just slightly moist.
Lemon Balm - Perennial
Fresh leaves can be used to make tea all summer long, or can be dried for winter use. But this versatile herb can be used for many things from pesto to cookies! Grow Lemon Balm in full sun to partial shade, and keep the soil moist for optimal growth.
Lemongrass - Annual
A staple in Thai cooking, Lemongrass is a great addition if you love to cook. Full sun and moist soil will keep this herb happy and producing lots of lemony stalks. You might want to try bringing it indoors for the winter as well.
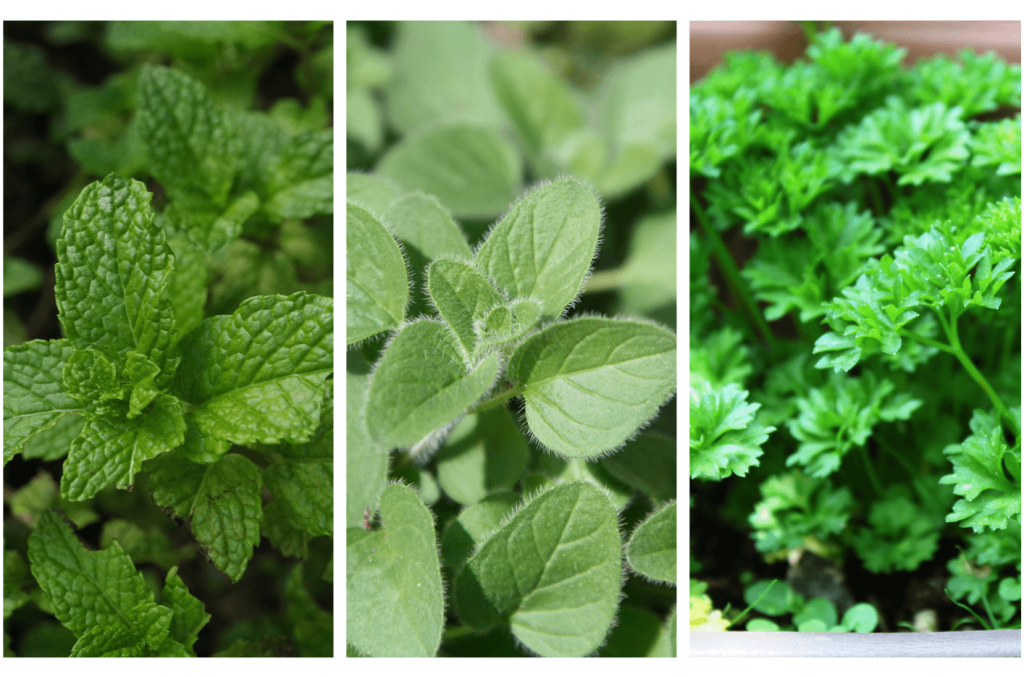
Mint - Perennial
This herb comes in so many variations that are just simply delicious - spearmint, peppermint, apple mint, chocolate mint, and more! But this is one plant you’ll want to keep in a pot, well away from garden soil. It’s also one to trim before it sets seeds or you will have a garden that’s full of mint! It can be invasive. It will thrive in full sun but will stand some shade, and it likes moist soil.
Oregano - Perennial
For obvious reasons, (tomato sauce) Oregano is a great addition to the garden. It will spread and reseed throughout the garden if you let it go to seed, but some people like this feature and use it as a groundcover or border for a perennial bed. Oregano likes full sun to partial shade and once it’s established it is very drought tolerant.
Parsley (flat and curly) - Annual
There was a time when every restaurant meal was adorned with a sprig of Parsley. It’s pretty. But it’s also an underrated culinary herb and can add wonderful flavour to soups and stews as well as other savoury dishes. Keep this plant moist and in full sun to part shade.

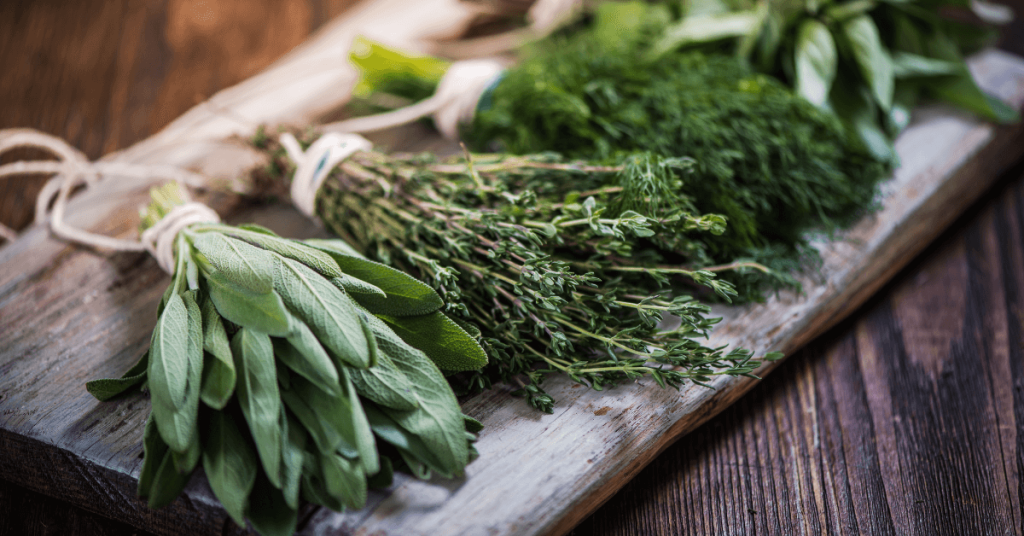
Rosemary - Annual
Is anyone else addicted to bread with olive oil, salt and Rosemary? It can’t just be us! This is another garden staple that loves full sun and slightly moist soil. It can also be brought indoors for the winter, but be sure to keep the soil from drying out completely.
Sage - Perennial
Perennial, with a caveat. In Ontario, it’s best to provide some winter protection for this plant if you want it to survive the winter. I’ve had reasonable success with bringing it indoors for the winter, or it can be treated as an annual. Sage likes full sun and moist soil but don’t overwater this one! It does love the heat of summer and will produce a nice big plant once temperatures heat up.
Thyme - Perennial
Thyme is just so good in so many things - vegetables, meats, soups, and of course stuffing! It’s easy to grow if it has well-drained soil and full sun. Once it’s established it is moderately drought tolerant and can be harvested from early Spring until Winter.
Like all herbs - don’t forget to give it frequent haircuts!
At Eising Garden Centre you’ll also find many more herbs to grow and enjoy. Do stop by and give them a try!
Every year, more and more people discover the beauty of the plentitude of showy blossoms on fruit trees around April and May. It’s a memorable display to be sure. Those blossoms of course set the fruit to be harvested later in the season - the absolute best time to have a fruit tree in your yard, and the reason we think that planting fruit trees is an investment that’s well worth your time.
Luckily, here in Norfolk County we are able to grow many types of fruit and at Eising you can find a wide variety (based on availability): Apples, Pears, Cherries, Peaches, Nectarines, and Plums. We also have lots of fruit bearing shrubs available too. Is your mouth watering yet?!
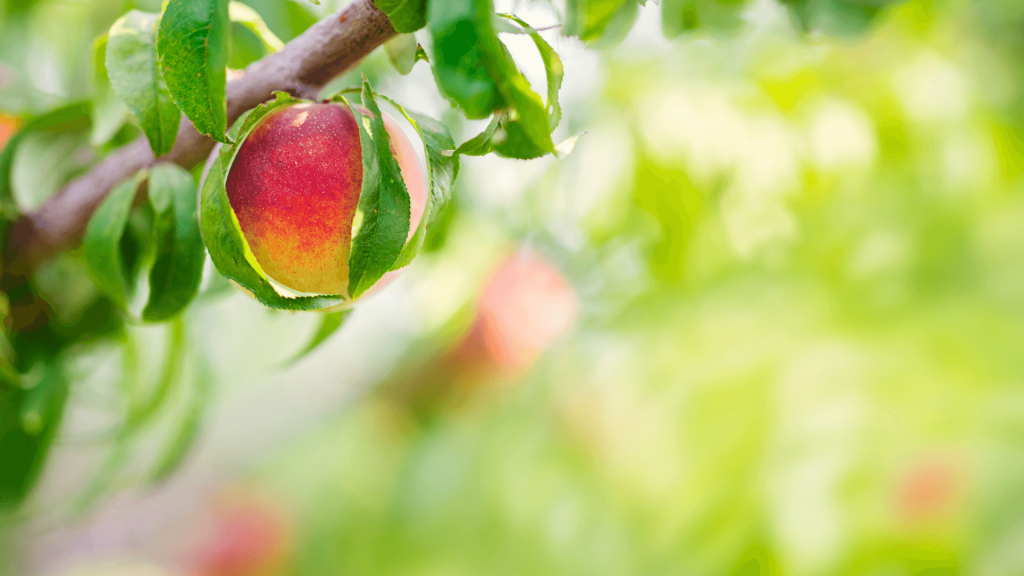
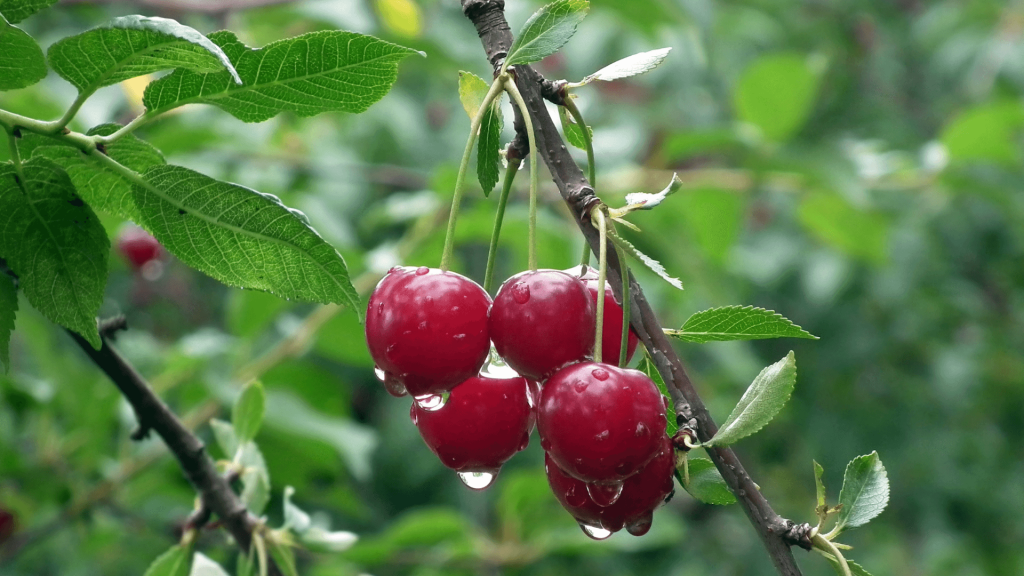
Spring is the recommended time of year to plant a fruit tree. Depending on the weather, it’s best to get your tree in the ground between early April and early May.
Want to give growing fruit trees a try? Here’s a list of what you’ll need and 6 steps to guide you through the process.
What you will need:
- Spade or shovel
- Compost or well rotted manure
- Fruit trees
- Bone Meal fertilizer
- Tree stakes
- Mulch
- Tree guards
- Pruners
Part One - Preparation
1 - Select a location in your yard that gets full sun and allows enough space for the mature width of the tree. There are more and more dwarf varieties available that make this task easier. If the location is sheltered that’s ideal, and good drainage is a must. Fruit trees do not like “wet feet”.
2 - Prepare the soil by digging it up well and incorporating compost or well rotted manure.
3 - Select the tree(s) for your site. For example Honeycrisp, if it’s apples you want, a variety that is great for cooking or eating fresh from the tree. It’s also important to keep in mind that with certain types of fruit trees you will need to plant at least two different varieties (not the same) in order for them to pollinate and produce fruit. It’s best to research which varieties to plant together as some fruit trees flower at different times that others. Flowering and pollination timing is essential for producing fruit! It’s a good idea to also check the tags on the trees for suggestions, or ask an Eising staff member if you have any questions about selecting your trees.
Part Two - Planting
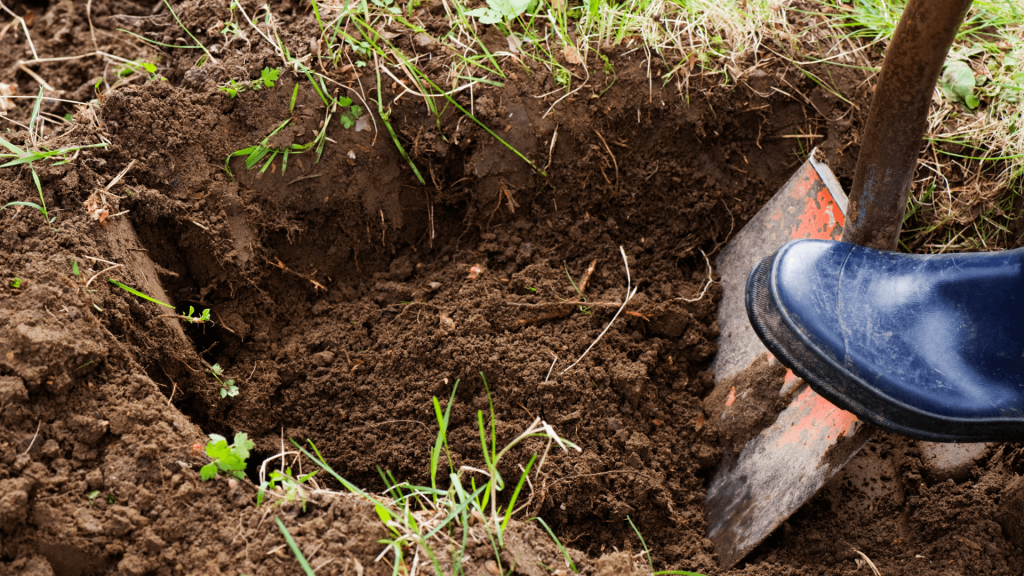
1 - To plant your trees, start by digging a hole in your prepared soil that’s twice as big as the root ball of each tree and amend the soil with Bone Meal fertilizer. This will soften the surrounding soil, and provide space for backfill with nutrient dense soil for the roots.
Test the depth of the hole you’ve dug - the soil on the top of the root ball should end up being at the same height as the soil around the hole it’s going into.
Place the tree in the hole, and place a tree stake beside the root ball. Backfill the remainder of the hole with the amended soil. Firm the tree into the ground by gently tamping the soil around the roots with your feet, then water thoroughly.
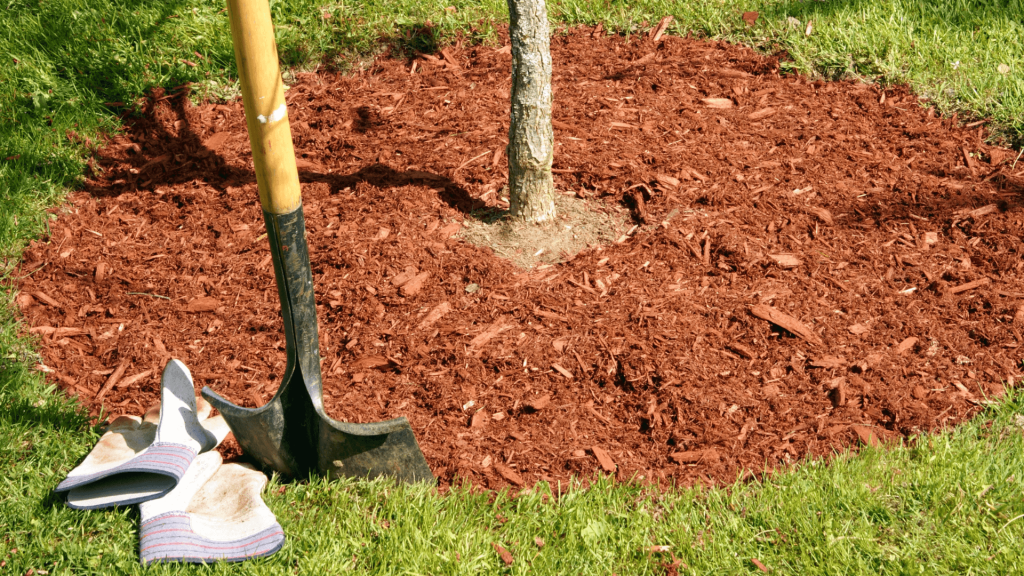
2 - Secure your tree to the stake and add a good, thick layer of mulch. Staking your trees during their first two years in the ground will provide important stability which allows the roots to become firmly established. Add a thick enough layer of mulch to suppress weeds and retain moisture - lawn clippings, wood chips, old straw or other organic matter will help to conserve moisture while the tree is getting established and will also act as a fertilizer as it breaks down into the soil.
Here’s a bonus tip: keep the mulch away from the trunk of the tree! As the organic matter in your mulch breaks down, you don’t want it also breaking down the bark on your tree. While we’re focussed on the trunk, it’s also a very good idea at this point to add a tree guard to the bottom of the tree to prevent rodent damage.
3 - Lastly, get out a nice sharp and clean pair of pruning shears. Prune your tree to remove any dead or broken branches, then trim anything that makes the tree look off balance. After this initial pruning, a good pruning each spring to remove any dead or crowded branches in the interior or top of the tree will help keep your tree healthy. If you’ve never pruned a tree before, consult this guide or enlist the help of a friend who has done it. Once someone shows you how easy it is, pruning will be a breeze.
When you follow these steps you will be setting yourself up for success. Fertilize regularly with bonemeal the first year to help your trees get established. After that, a slow release fertilizer can be added each year. Pruning your trees, fertilizing, and adding a layer of compost and mulch each spring can help ensure that they stay in good health, and produce a nice crop of fruit in the fall when you can enjoy the fruits of your labour!

We tend to get a lot of questions about rose care, and while roses do require more maintenance than other common shrubs, they’re by no means difficult to look after. A little bit of regular upkeep leads to some pretty impressive results, so if you’re a gardening novice, it’s definitely a worthwhile project. Here’s how you can grow and care for roses in Simcoe, Ontario.
Planting Roses In Southern Ontario
Depending on the variety you choose, you can use roses for border plants, garden bed accents, climbing plants to train over arbours and patio lattice, or as container plants. Whatever location or growing medium you select, just ensure it’s suited to the size and growth habit of your chosen rose variety, since there are so many different kinds to choose from. That being said, almost all roses will need at least 6 hours of direct sun every day, so make sure your chosen location has plenty of light.

The best soil for roses has excellent drainage and high nutrients, to set your rose bushes off to a good start, you’ll want to loosen up the soil thoroughly. Ideally, you’ll want sandier, loamy soil with a lot of compost mixed in.
If you’ve purchased a rose bush with bare roots, you’ll want to soak the root ball in water for up to 24 hours before planting. If it’s a potted rose, you won’t have to worry about that step. Plant your roses about 1.5–2 feet deep to fit their large root system, then fill the hole back up with the soil, compost and bone meal mix. Mound it up slightly around the base of the plant.

How Often Should I Water Roses?
Generally, roses need about 1-3 inches of water per week. The thing is, roses are pretty susceptible to mildew and other fungal diseases if they get soggy and don’t receive much air circulation. That means you’ll want to avoid getting the leaves wet whenever possible and stick to watering the soil directly. The easiest way to do this is with a trickle hose set up near the base of the plant. Just turn it on and leave it for a while, so it thoroughly saturates the ground.
If we experience a lot of rain in a short period, you can skip on watering, and should check your roses regularly for any signs of bacteria or fungal growth. Remove any damaged pieces with sanitized shears, wiping the blades clean between every cut, and disposing of the damaged parts safely in the garbage, not the compost bin.
Rose Care: Mulch, Fertilizer, And More
Applying a layer of mulch on top of the soil around your roses will help to retain moisture and control weeds. Some gardeners insist that cocoa bean shells are the best mulch for roses, but we’ve found that classic bark mulch still works perfectly fine.

In spring, feed your roses with a fertilizer formulated specifically for roses. For best performance and blooms, apply the fertilizer every 2-3 weeks during the growing season. There are also special fertilizers made for transplanting, easing the transition when planting your rose. Be sure to water your rose before and after applying fertilizer as their roots are susceptible to being burnt.
Since there are so many types of roses, this means there are different times of the seasons and different styles of pruning. Use a pruning saw or hand pruners to remove any damaged branches or awkward pieces that jut out too far. If there are some densely packed areas with branches, it may help to thin them out a bit to help prevent fungal growth.
We have so many spectacular colours and varieties of roses to grow in Southern Ontario. Visit Eising to see our full collection, or check out our online store! We have citywide delivery and curbside pickup available all summer long.