
How To Keep Your Orchid Alive
By Ava Green
Orchids have become very popular gifts, and a great hobby for indoor plant enthusiasts who discover the wide range of colours and shapes available. Orchids are also loved for their long-lasting and exotic blooms.
While some may choose to only enjoy these tropical plants as long as they’re blooming, orchid-lovers look forward to nurturing the plant and encouraging it to flower regularly. It may be a little daunting at first, but once orchids grace you with their stunningly beautiful blossoms, you will find that a little bit of care is very worthwhile!

It’s estimated that there are 25,000 different species of orchids and over 100,000 hybrids! The ones you’ll find most readily in Ontario stores are Phalaenopsis or moth orchid, because it’s fairly easy to grow. Phalaenopsis are the best choice for beginners.

Other orchids you may find easily are Cattleyas (Corsage Orchids), Cymbidiums (Boat Orchids) and Dendrobium orchids.
While all of these may be orchids, they don’t necessarily require the same care, so it’s a good idea to check the tag for the type you have and its specific care requirements. The following is a general guide to light, water, fertilizer, and growing medium for the most commonly found orchids, but it does not apply to all breeds.
Light and Air
For most orchids, light, and lots of it, is the general rule. Place your plants within 3 feet of a window (not to the side) in the sun. South, east, and west-facing windows are all fine for maximizing the light your plant receives.
Orchids also enjoy a breeze or circulating air in your house. They do not like temperature extremes, though 15 to 20 degrees Celsius is safe. Keep in mind that the more warmth and air movement there is, the more often you will need to water your orchid.
Water
A general rule is to use water that is not hard and has not been softened with salt. Salt will kill an orchid. Rainwater, reverse osmosis, or distilled water are good choices. Chlorinated water is not an issue for orchids - high sodium levels are.
The biggest issue many people have is either over-watering or underwatering their orchids. Here is the method we recommend:
Every 5-7 days, place the pot in a container or the sink, then fill it with enough water to cover the top of the pot. Be careful not to let water collect in the crook at the base of the leaves, as standing water will rot the leaves and the plant. Once the plant’s growing medium is thoroughly soaked, remove it from the water and allow the pot to fully drain in the sink before placing it back in its saucer.
We prefer using a container of water rather than the sink, so the remaining water can be used to water other plants.
Here’s the best watering advice we can give you: look at the overall health of both the plant AND its root system. Full, plump leaves and vibrant, green roots indicate that your plant is getting enough moisture. Puckered leaves and a silver sheen on the roots indicate insufficient water. Mushy, brown leaves and roots are signs of rot caused by too much water.

You may hear of another watering method that involves using ice cubes, but it’s controversial and not widely recommended. To quote the American Orchid Society, “Ice is for cocktails, not orchids. Never use ice on tropical plants to water them.”
“Soil” and Nutrients
Most orchids naturally grow high up in trees, where their roots cling to bark and absorb moisture from the air. At home, we try to mimic those conditions, which is why orchids are typically planted in chunky mediums like bark, coconut husk, charcoal, or perlite rather than traditional soil. While many of the roots stay inside the pot, it’s completely normal for some to grow up and over the edge.

These “escapee” roots might look a little wild, but don’t worry, there’s nothing wrong with your orchid. In fact, those aerial roots are a sign that the plant is healthy and doing exactly what orchids do in nature.
It’s worth noting that not all orchids grow the same way. Many, like Dendrobiums, are epiphytic (growing on trees) or lithophytic (growing on rocks), though some orchid varieties are terrestrial and grow in the ground. The good news is that the growing medium your orchid comes in is chosen specifically for that variety, so you can trust it’s in the right environment.
The bark that your orchid is planted in will slowly break down and become mushy. It’s a very good idea to repot your plant every two years.
It’s generally recommended to feed most orchids, and bloom time dictates which fertilizer to use and how often to feed. Begin by using a water-soluble 20-20-20 fertilizer, mixing it at ¼ the amount recommended for other houseplants. Apply this solution every 2 weeks in the summer and every 3 weeks in the winter.

“The orchid, with its many forms, is a reminder that life is full of surprises.” — Leonardo da Vinci.

Lastly, here’s an orchid fun fact: While we have been talking about tropical orchids in this article, there are also orchids that grow right here in Ontario! That’s right, there are over 50 species in this province, including the much-loved Pink Lady’s Slipper (Cypripedium acaule).
Resources for more detailed and specific information:
Toronto Master Gardeners - https://www.torontomastergardeners.ca/gardeningguides/growing-orchids-a-toronto-master-gardeners-guide/
Canadian Orchid Congress - https://canadianorchidcongress.ca/basics/growing-orchids/
American Orchid Society - https://www.aos.org/orchid-care/indoor-orchid-care
Ontario Wildflowers - https://ontariowildflowers.com/main/group.php?id=18
Peat moss is probably a familiar term if you’ve ever browsed through a garden centre, but you might be unsure of how and why it’s used. Many potting soils actually come with a bit of peat moss already mixed in, but you can also buy it on its own. Mixing peat into your soil can offer major benefits, but there are some important things to keep in mind before you start adding fistfuls of peat into all your plant containers!
What is Peat Moss, and Why Are People Mixing It With Soil?
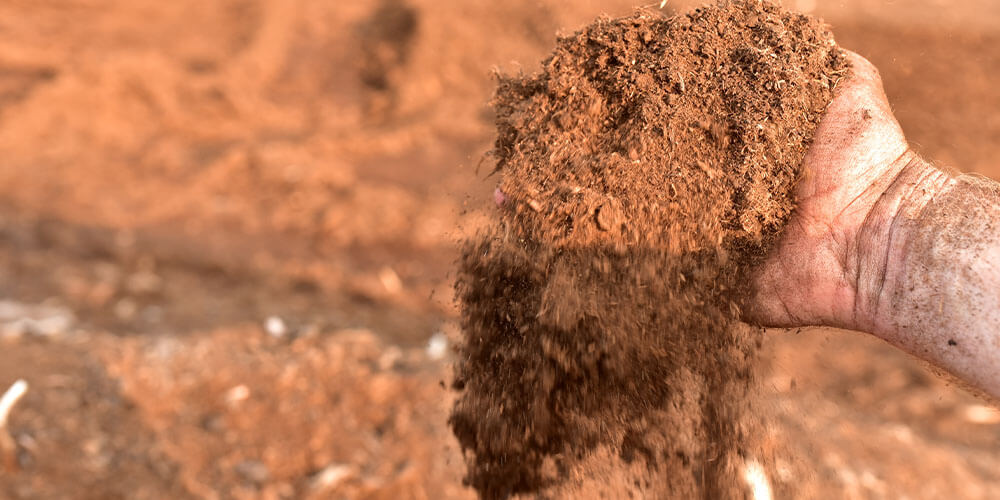
Peat moss is a material that grows on top of bogs, usually here in Canada. It’s used as a natural potting medium because its loose, spongy texture has amazing moisture retention for plants, as well as many other benefits. The thing is, it takes thousands of years for peat moss to develop, so it isn’t exactly an easily renewable resource. However, by using it sparingly as an additive to soils, we can still reap all the benefits without having to use that much.
What Does Mixing in Peat Moss Do To Soil?
There are so many different kinds of soil. Some soils are heavy and full of clay; others are sandy and low in nutrients. Some are acidic, and some are more alkaline. The kind of soil you want usually depends on the type of plants you’re growing, but generally speaking, peat moss helps improve soils of all different kinds. You can add it into your soil to achieve any of the following results:
- Help drier, sandier soils retain moisture for longer
- Help heavy clay soils loosen up and have better drainage
- Increase the amount of organic material in the soil, which breaks down over time to provide nutrients
- Make standard potting mediums more suitable for epiphytic plants like orchids and staghorn ferns
- Reduce and slow down soil compaction and decomposition
- Reduce high alkalinity in soils
- Lower soil pH levels for plants like blueberries which prefer acidic soils
- Retain soil nutrients, so they don’t get flushed out from water
While compost is often used for improving drainage and balancing pH, one of the advantages of peat moss is that there’s no risk of any hidden weed seeds or pathogens. Compost can be a wonderful thing if you’ve got a good batch, but if your compost pile is contaminated, your garden plants could suffer.
Peat Moss and Soil Acidity
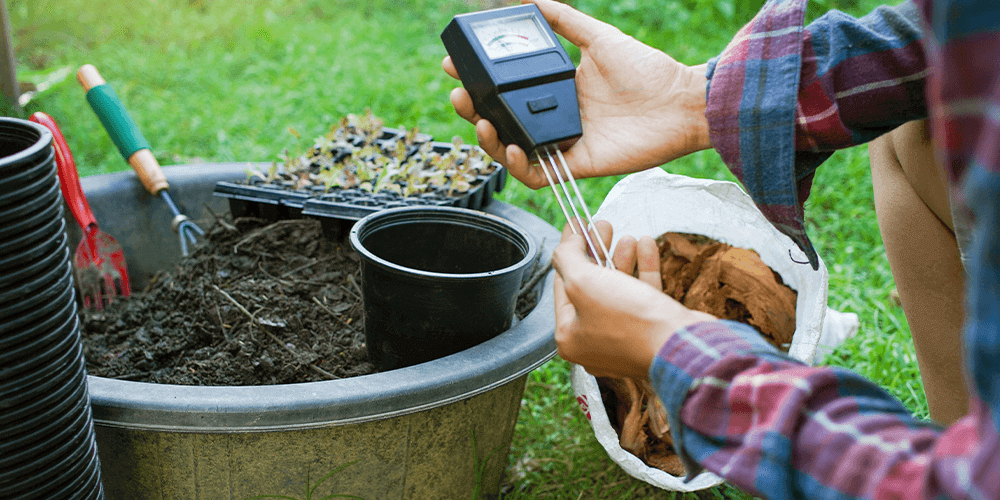
Most plants thrive in soils with fairly balanced pH levels, but there are some that prefer slightly more acidic, or slightly more alkaline soils. Since peat moss is acidic, it has the effect of reducing pH levels in alkaline soils. If a soil test indicates that your soil is too alkaline, mixing in some peat moss will help bring it down. However, if you’ve already got acidic soil, consider adding some lime to counterbalance the acidity—lime the soil amendment, not lime the fruit!
Properly Mixing Peat Moss Into Soil
Before you add peat moss to soil, you should soak it in water for a few minutes first. Simply put some moss in a bin, fill it with water and let it sit. Remove the moist moss, give it a little squeeze to remove excess water, and then mix it into your soil at a 1:1 ratio. You can add more or less depending on what you’re trying to achieve with your soil composition. Hot tip: you can also add some liquid fertilizer into the water when soaking your peat moss, to fortify it with extra nutrients for your plants!
Impacting the Environment
As mentioned before, peat moss is a natural resource that takes thousands of years to develop. There are some environmental impacts to harvesting peat moss, so it’s good to be aware of the effects before you go out and buy bags and bags of the stuff. But don’t worry—a little bit of peat moss goes a very long way, so you really don’t need to use much at all!
Healthy plants help to remove a great deal of carbon dioxide from the atmosphere, so in a way, it all evens out by growing healthy plants, you’re still doing your part to make the world a greener place! Just remember to be conscious about your consumption and avoid wasting materials whenever possible.