
By Ava Green
Is there anything sweeter than the scent of Lilacs in the spring? These beloved shrubs are remarkably easy to grow and will reward you with weeks of fragrant blooms for little or no effort. But a bit of attention can make a big difference, especially if you’ve noticed your blooms getting smaller or fewer with each passing year.
To help your lilac put on its best show, keep these steps in mind:
- Plant in full sun, at least 6 hours of direct sunlight a day, in well-draining soil
- Water newer plants during prolonged periods of drought until established (the first 3 years)
- Feed your lilacs annually with a balanced fertilizer (10-10-10, for example)
- Follow spacing instructions and prune yearly. Pruning is a very important step, and it’s well worth it.
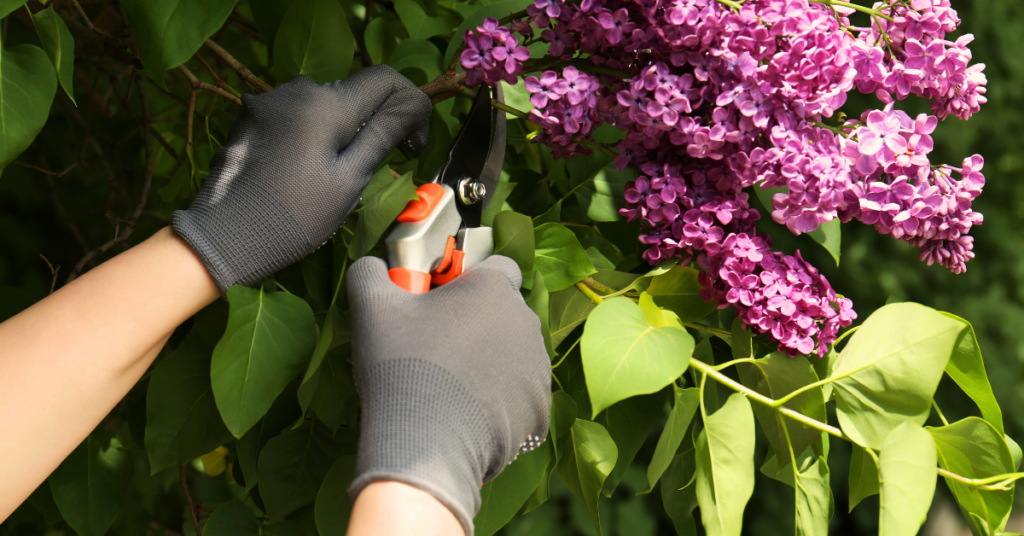
Knowing When to Prune is Key
Timing is everything when it comes to pruning your lilacs. After the blooms fade, you have a two-week window to prune before the shrub sets its buds for next year's flowers. Yes, they set buds this year that will bloom next year! Pruning lilacs in the fall or the early spring risks cutting off all of the flower buds for the following year. Mark your calendar and prune promptly after flowering.
It also helps to understand how lilacs grow: Younger, thinner lilac stems produce more flowers. Older, thicker stems are more prone to disease and pests. Keeping this in mind will help with pruning decisions.
How To Prune Young Lilacs
If your lilac has been in the ground for less than three years, leave it alone; it doesn’t need pruning yet. Many young lilacs won’t bloom during those first few years.
After three years, once your shrub is established, begin by removing just one of the thickest, oldest stems down to the ground every 2 years. This gentle approach prevents the shrub from becoming overgrown while encouraging newer, flower-producing growth.
How To Prune Older, Overgrown Lilacs
If your lilac has been neglected or grown out of control, you have two options:
Option 1: Gradual Rejuvenation
Begin by removing any damaged stems, as these invite pests that can harm the entire shrub. Next, remove only the largest, oldest stems by cutting them right down to the ground. The key is to remove no more than one-third of the living wood (dead stems don’t count toward that total). Leave the younger, thinner stems intact so your shrub can still bloom the following year. Repeat this process each spring for three years, and you’ll gradually restore the shrub to its full, flowering potential without sacrificing a single bloom season.
Option 2: Full Cutback
For a severely overgrown lilac that has been largely ignored, a complete cutback is often the most practical solution. Cut the entire shrub as close to the ground as possible, either in early spring or immediately after blooming. Yes, this breaks the general rule of never removing more than one-third of live wood, but lilacs are remarkably resilient and respond well to this kind of hard reset. By the end of summer, you will have healthy new stems of three to five feet tall. While the shrub won’t bloom for approximately three years after a full cutback, the long-term results are well worth the wait.

Deadheading Your Lilacs
Deadheading, or removing spent flower clusters after the blooms fade, is a simple task that’s separate from pruning, and can be done during that same two-week post-bloom window. When you trim off faded blooms, the plant redirects its energy from seed production toward building bigger, healthier buds for the next year. It takes only minutes and can make a meaningful difference in the size and abundance of next year’s flowers.
A Note on Lawns and Lilacs
If your lilac grows near a lawn, be mindful of how much fertilizer you’re applying to the surrounding grass. Lawn fertilizers are typically high in nitrogen, which encourages lush leaf growth, but too much nitrogen reaching your lilac’s roots will suppress flower production.
Worthy Rewards
Lilacs are remarkably long-lived, often outlasting the gardens and even the homes they were planted beside. So whether you’re nursing a young shrub through its first few years or breathing new life into an old, overgrown beauty, the effort you put in now is an investment that will keep rewarding you, and perhaps generations after you. Every single spring!
By Dave Zeldon and Ely Schweyer
Starting the first week of January, seed packets of many vegetable garden delicacies began arriving at your local garden centres. It’s a great time to plan your gardens and purchase your seeds while the selection is good but don't sow your seeds too early!

If started too soon, your plants will be leggy and overgrown long before you can transplant them into the garden. The general rule of thumb (even if yours isn't green), is if the seed packet recommends sowing four to six weeks before the last frost date, it's better to pick the four - rather than the six-week date (to calculate the sowing date, count back from the third week of May).
In this blog post, we’ll discuss the proper timing of the beneficial companion planting practice, to ensure an organic triple-play of pesticide reduction, nutrient sharing, and the fruits of your labour actually tasting better!
What is Companion Planting?
The use of companion plants is an organic approach embracing plant diversity that involves growing certain different types of plants near each other. By mixing a variety of plants together you confuse harmful insects (i.e., the ‘Three Sisters,’ corn, beans, and squash). When you plant certain vegetables together or alongside flowers or herbs, you can often camouflage the scent of a given plant so that its potential enemies can't find it. For example, if you plant onions and carrots together, the Carrot Rust Fly can no longer detect the scent of its "prey," the carrot.
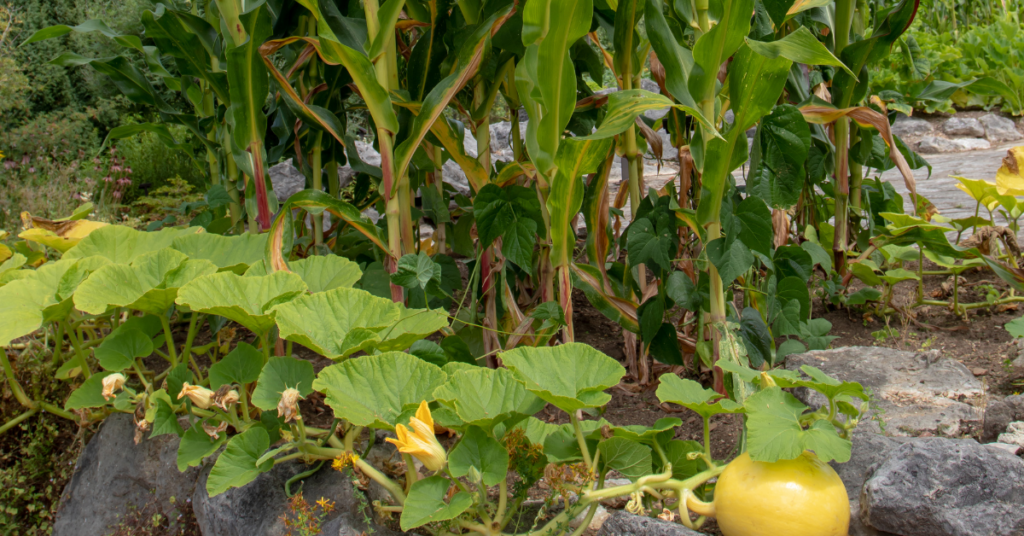
☝️ Plants also share nutrients and amend the soil below ground – in the instance of the Three Sisters, beans fix the nitrogen content of the soil for corn, who has long lost its ability to produce its own nitrogen.
What to Plant?
Herbs Make Excellent Companion Plants
Instead of grouping them all together in a corner, plant them in among your vegetables. Tarragon and marjoram give off a scent that repels most insects. Sage, rosemary, and thyme repel insects that feed on the different plants of the cabbage family. Plant these herbs near your cabbage, cauliflower, and brussels sprouts. Coriander attracts parasitic wasps that are very useful in controlling all sorts of pests.
🖱️ See more on companion planting with herbs here.

Why Not Try Flowers in the Vegetable Patch?
Nothing will make your vegetables happier! Plant borders of alyssum and cosmos; these attract beneficial insects and repel certain harmful ones. Marigolds protect tomatoes from threadworms, and nasturtiums and petunias attract aphids. If you plant them near your tomatoes, the aphids will choose the flowers instead of your tomatoes.
Meet My Plant Friends!
Plant friends are plants that can be grouped together because they mutually help each other grow. Basil stimulates the growth of Tomatoes and enhances the quality of the yield. Chamomile improves the growth and taste of cabbage and onions. It has been found that peas and beans enhance the growth of cucumbers and potatoes. Peas and beans also repel the Colorado Potato Beetle that commonly attacks potatoes and eggplant.
Once you’ve decided who is going where, it’s time to focus on when who is going where.
When To Plant?
It is important to know when the last spring frost date is for your area. Many plants need to be planted after the last frost, so that they don't freeze their little buds off! Follow this guide so that you can have healthy, sturdy little plants that will become good friends in your garden this summer.
| Ten Weeks Before Last Frost Sow indoors: broccoli, brussels sprouts, cabbage, cauliflower, eggplant, lettuce, peppers, and onion |
| Eight Weeks Before Last Frost Sow indoors: tomatoes Sow outdoors: spinach |
| Five Weeks Before Last Frost Sow indoors: marigolds (do not transplant until after last frost) Sow outdoors: peas Transplant: broccoli, cabbage, cauliflower, onion |
| Four Weeks Before Last Frost Sow indoors: cantaloupe, cucumbers, okra, pumpkins, squash, and watermelon |
| Three Weeks Before Last Frost Sow outdoors: carrots Transplant: brussels sprouts, hardened off frost-hardy herbs like chives and oregano |
| Week of Last Frost Sow outdoors: pole beans Transplant: cantaloupe, eggplant, lettuce, okra, peppers, pumpkins, squash, tomatoes, and watermelon |
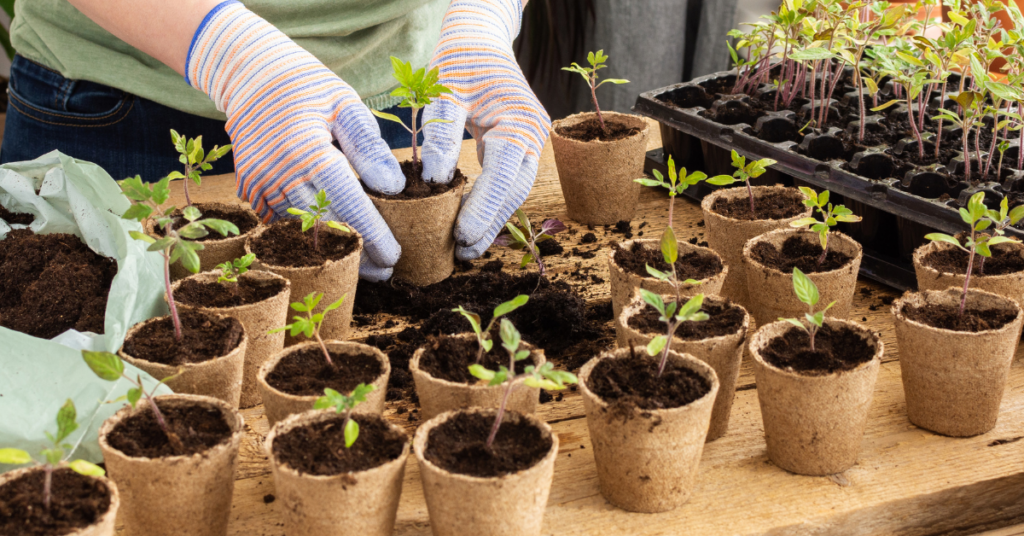
BONUS: Tips on Ensuring Your Seeds Have the Best Start!
🌱 To ensure success it is always best to use fresh, sterile seed-starting mixture (available from garden centres). Moisten mixture about an hour before sowing; it shouldn't be soggy, just as damp as a wrung-out sponge.
🌱 Follow the information contained on seed packets in terms of timing, lighting requirements, sowing depth, and optimal germination and growing temperatures.
🌱 Lightly water freshly sown flats, then cover with plastic dome lid, or if reusing containers try placing them inside a plastic zip-lock bag. At the first signs of germination, uncover or remove from plastic bag.
🌱 As the seedlings develop, wait until the top of the soil looks dry, water carefully using a small watering can with a fine spray. Avoid over watering: soggy soil and poor air circulation can lead to damping off, a fungal disease that can kill seedlings.
🌱 Locate your seeding flat in a bright window but grow lights or cool fluorescent tubes are better. Keep seedlings about eight to 10 centimetres from light source to prevent plants from becoming too spindly. Plug lights into an automatic timer set for 16 hours on, eight hours off. Be careful if you’re using the windowsill method though, as extremes in temperature may occur from hot drying sunny days to frigid evenings.
🌱 When seedlings have two sets of true leaves (the first leaves are called cotyledons — or seed leaves — so wait for the true ones, start feeding once a week with a balanced (20-20-20), water-soluble fertilizer at half-strength, working up to full strength after a few weeks.
🌱 Finally, the plants which have been raised under sheltered conditions must now be hardened off (see more here) before planting out. Gradually lower the temperature and reduce the watering while exposing the plants to brighter light for seven days prior moving them out to a cold frame. Keep an eye on the weather as sudden changes, as it often happens in spring, could spell disaster to your young plants.
We hope your garden is biodiverse and fruitful this year! For more information – and companion plants – visit Eising Greenhouse and Garden Centre this spring! 🌿