
By Dave Zeldon and Ely Schweyer
Many home gardeners are really missing their harvest of fresh vegetables these wintry days – and many beginners have New Year’s resolutions to become greener thumbs.
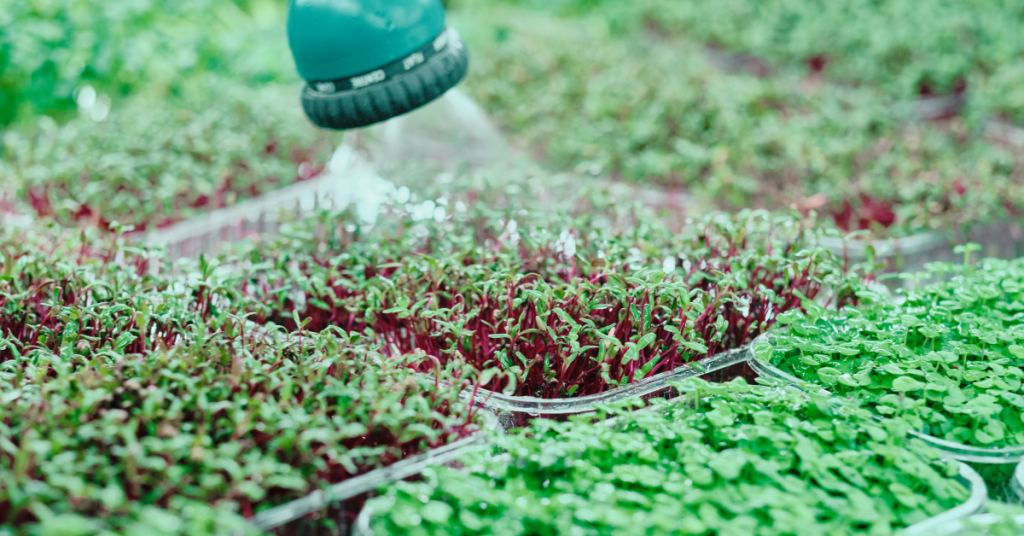
If you’re looking for something kid friendly, easy on the budget, and nutritious to do this winter, you may want to try microgreen farming!

Seeds to Start
The seeds of many vegetables and beans are suitable for hydroponic sprouting into tasty young shoots that will be ready for the table in less than a week!
Seeds such as alfalfa, broccoli, clover, lentil, mung bean, mustard, onion, radish and soybean are excellent choices for this activity plus they are invaluable in terms of their nutritional content.
Sprouting seeds on your kitchen counter takes only minutes a day, and the reward is a steady supply of fresh, crunchy shoots.
It is important to start by purchasing some packaged seed expressly for sprouting. The directions will indicate how much is needed to produce 100 grams of sprouts. The seed-to-sprout ratio can differ substantially - anywhere from 1.5 to 8.5 units of sprouts or more per one unit of seed - so follow directions carefully and make sure your jar is large enough to accommodate all the sprouts while still leaving room for good air circulation. As a rule, begin with 1 tbsp. (15 mL) of seeds for small varieties such as alfalfa and radish, 2 to 3 tbsp. (30 to 45 mL) for medium ones such as lentil, and up to 4 tbsp. (60 mL) for large seeds such as beans and peas.
Seeds to Sprouts
Simply put seeds into jar and position screening over opening, using an elastic band to hold the covering in place. Fill jar one-third full of warm (about 40°C) water and swirl seeds around for a minute or so. With the covering in place, drain water. Refill jar one-third full of cool water and let seeds soak for four to eight hours.
Next, begin daily regimen of rinsing seeds three times a day at roughly eight-hour intervals. Drain and refill jar with cool water, swirl seeds for about 30 seconds and drain again. Then, invert the jar so screening is at the bottom and rest it at a 45-degree angle in the bowl. Place on the kitchen counter out of direct light (place bean shoots in complete darkness, as they often taste sweeter when they're grown this way). Repeat this process for three to five days.

Simple Sustenance
You can start to harvest your sprouts once they're three to five centimetres long. Rinse and drain them thoroughly and place them in an airtight container and refrigerate immediately; they should remain fresh for up to five days.
Clover, alfalfa, radish, and mustard seeds give rise to the delicious sandwich booster sprouts. Sprouts are one of the most concentrated natural sources of vitamins, minerals, enzymes, and amino acids.
Plants inside the home help bring life to a long winter, if you’re looking for more information – or plants – visit Eising Greenhouse and Garden Centre! 🌱
By Dave Zeldon and Ely Schweyer
This is the time of year that most garden centres will have on display their wide variety of Amaryllis bulbs, including the evermore popular waxed dipped. These enormous bulbs that are appearing now will be ready to burst into bloom within 4-8 weeks after planting.
Non-Wax Dipped: Planting
All Amaryllis need is a bit of commercial potting soil that should not cover the shoulders of the bulb (try leaving about 1/3rd of the bulb showing above the soil line), with the nose (or narrow end) of the bulb peeping well over the top of the pot. Make sure that you use a well-drained container that is 3-4” bigger in diameter than the bulb itself.
☝️A heavy clay pot will prevent this top-heavy plant from toppling over. To achieve continuous bloom, plant at intervals of two weeks for stunning colour in your home.

Non-Wax Dipped: Care
Once leaves emerge, fertilize once a month with a 20-20-20 water soluble fertilizer for houseplants. Water sparingly and wait for the miracle in a warm sunny room. Sub-irrigation or watering from the bottom of the drip tray will keep the surface soil dry, thus keeping and bulb rot organisms and those pesky fungus gnats at bay.
Non-Wax Dipped: It's Not Done Yet!
When blooming is over, remove the scape (or flower stock) and place the plant in a sunny spot and continue to water. This is to allow the leaves to regenerate the bulb. In springtime, when all danger of frost has passed, bring the bulb outdoors and let it spend its holidays in a shady spot. In some varieties the leaves will die back in September to give the plant a rest for a couple months. Stop watering and store the bulb on its side in a cool place for about eight weeks, when the leaves will once again begin to emerge.
Amaryllis can go 3-4 years without repotting as they don’t mind a little crowding. Try growing a couple of bulbs in larger pots to see if you can get a clump of flowers from the offshoots or babies that will develop after a couple of years.
Or, Try One of These Wax Dipped Bulbs!
Now growing more popular are the care-free waxed-bulb Amaryllis!



Experienced growers and beginners alike love that these waxed bulbs do not need to be planted or watered! Each of these robust bulbs are carefully prepared in festive-coloured wax, allowing you the freedom to place them among your holiday decorations.
Simply keep the bulbs at an ambient room temperature of at least 16C (70F) for beautiful blooms in five to six weeks.
These novelty items are low commitment! Their only fault is their lack of longevity - gardeners don’t get to enjoy them after year as these waxed bulbs were designed to be a one-use throwaway item!
BUT with a little luck and perseverance you may be able to save the bulb for next season after blooming. All you have to do is to carefully remove the wax layer, remove the flower stalk and place the bulb and with its remaining leaves into a pot of good growing media, allowing the leaves to regenerate the food stores in the expired bulb.
If you’re looking for more information – or perhaps, Amaryllis – visit Eising Greenhouse and Garden Centre! Happy Holidays! ✨