
How to Identify These Annoying Little Gnats
By Ava Green
Do you have tiny flies buzzing around your home and have no idea where they came from? Before you can get rid of them, you need to know what you're dealing with. Most people assume they're fruit flies, but there's a good chance they're not.
There are three common culprits:

- Drain flies breed in moist drains. Keep drains closed when not in use.
- Fruit flies hover around overripe produce.
- Fungus gnats, the most commonly misidentified of the three, love the damp soil in your houseplants, and they're the ones most likely buzzing around the house.
Fungus Gnats are Probably Already in Your Home
Every time you bring a plant indoors, whether it's brand new or returning after a summer outside, there's a very good chance it's carrying fungus gnat eggs in its soil. When you purchase bagged soil, it will often contain fungus gnat eggs as well. They're small, they're sneaky, and here's the most important thing to know: they multiply fast. Left unmanaged, a handful of gnats can turn into hundreds within weeks.
What Makes Fungus Gnats Thrive?
Fungus gnats love warm, moist conditions and organic material, like your potting soil. Adult gnats lay eggs in damp soil, which gives their larvae everything they need to develop.
The good news? Once you understand what they need to survive, stopping them is very easy and straightforward.
7 Proven Ways to Get Rid of Fungus Gnats
1. Quarantine any new or returning plants for 4 weeks. This single step prevents gnats from spreading to your other houseplants while you treat the soil.

2. Use yellow sticky traps. These inexpensive traps attract and catch adult gnats before they can lay more eggs. Place one directly into the soil near your plant. Putting a sticky trap in a planter, whether it’s a new plant or one you’ve had a while, is also a good way to monitor whether or not you have pests in your plants.
3. Let the top inch of soil dry out completely between waterings. Fungus gnats need moist soil to lay their eggs. Deny them that, and you deny them a future. To test whether the soil has dried out, poke one of your fingers in it about an inch to check for moisture.
4. Cover the soil surface with coarse sand or vermiculite. A layer of sharp, gritty material on top of the soil is uninviting to egg-laying adult gnats. Make sure to use coarse sand, fine sand won't do the trick.
5. Switch to bottom watering. This is the best watering method for a number of reasons, including discouraging fungus gnats. Fill a tub or sink one-quarter full and set your pot in it for about 30 minutes allowing water to be absorbed into the soil via the drainage hole in the pot. When the soil and roots absorb water from below, it keeps the top layer of soil, where gnats want to lay their eggs, dry and uninviting. Make sure the water level covers no more than one-third of the pot, not the entire pot.
6. Try Mosquito Dunks (the secret weapon most gardeners don't know about). These contain BTI, a naturally occurring bacterium that is harmless to humans, pets, and plants, but lethal to fungus gnat larvae. Simply follow the package instructions and water your plants as normal. Water activates mosquito dunks.
7. Water with diluted hydrogen peroxide once a week. Mix one part 3% hydrogen peroxide with four parts water (so ¼ cup peroxide to 1 cup water). Apply this solution once a week for three weeks, and let the soil surface dry out between each application. It kills larvae on contact. Don't overdo it though. Too much, too often can damage roots.
Don’t Forget Your Fruit Bowl: Try This Banana Trick
Fungus gnats aren't just plant pests, they're also drawn to fruit, especially bananas. The stem end of a bunch of bananas is a prime spot for gnat eggs. The fix is simple: as soon as you get home from the grocery store, rinse your bananas under lukewarm running water and give the stem a gentle scrub with a soft brush. It takes about a minute and can prevent a whole new infestation before it starts.
The Bottom Line
Fungus gnats feel impossible to eliminate because most people only address the adults they can see and not the larvae multiplying in damp soil. Use these tips in combination for the best results, and remember: even a fresh bag of potting soil can carry eggs, so treat new soil with BTI or a hydrogen peroxide solution before use.
Stick with it for a few weeks and your home and your plants will be gnat-free.
By Dave Zeldon and Ely Schweyer
As plant people, we’ve all experienced that moment when we realize the novelty phase of that plant we brought home from the garden centre has worn off. The plant isn’t standing quite as tall, the flowers aren’t as bold, and the leaves are unravelling smaller or not at all. What is this magic they perform in the greenhouse? Perhaps you’ve provided sufficient lighting and adequate watering; there’s just one thing that is often overlooked because dirt is dirt, isn’t it?
97% percent of plant tissue is made up of carbon, hydrogen, and oxygen pulled from the air and water, the remaining 3% is comprised of 16 other elements taken up from the soil. The quality of soil then is crucial to your plant’s health. Whether your plants are in pots or in ground, each soil type you could provide your plant offers something unique and may lack in another.
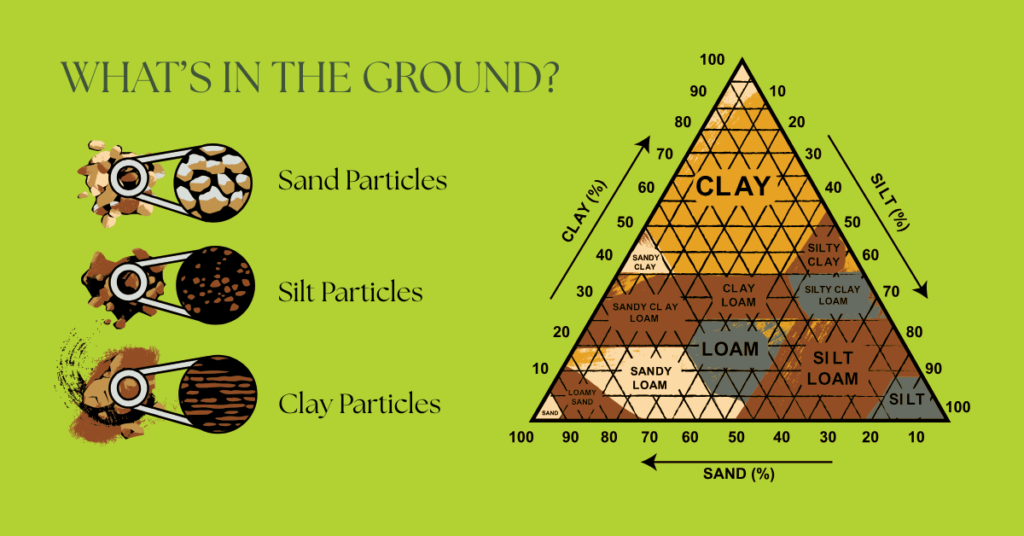
*Clay particles are even smaller than silt particles.
Resist the Urge to Slam Your Plant in Potting Soil
There’s bags and bags of rocks, sand, bark, manure, and moss on the shelves, yet the common buyer seems to always opt for potting mix. It’s fair; organic matter is usually great for plants and simple to use. However, most people don’t realize it’s merely an ingredient.
Strictly using potting mix is like attempting to make a loaf of bread out of only flour. All those bags of other materials on the shelves are also components for a successful plant diet!
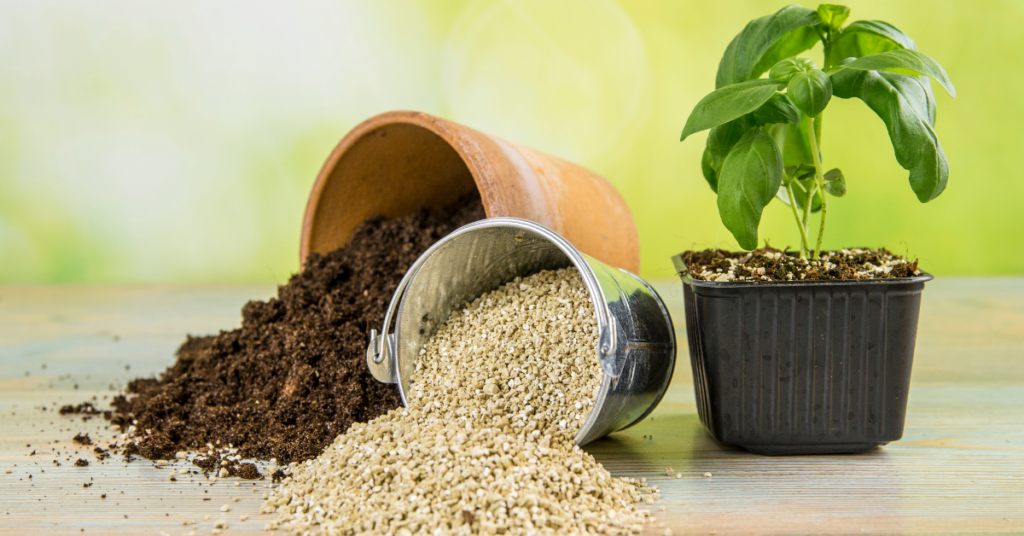
Potting mix is a great base material, however, alone it presents risks of compacting, becoming waterlogged, can mold easily, and over time will become depleted of nutrients. Consider mixing the following ingredients into your pots, ground and raised beds to meet your plant’s required nutrients, pH level, and volume of moisture.
🖱️Use our Plant Finder to find some details on your plant! We try our best to keep this updated!
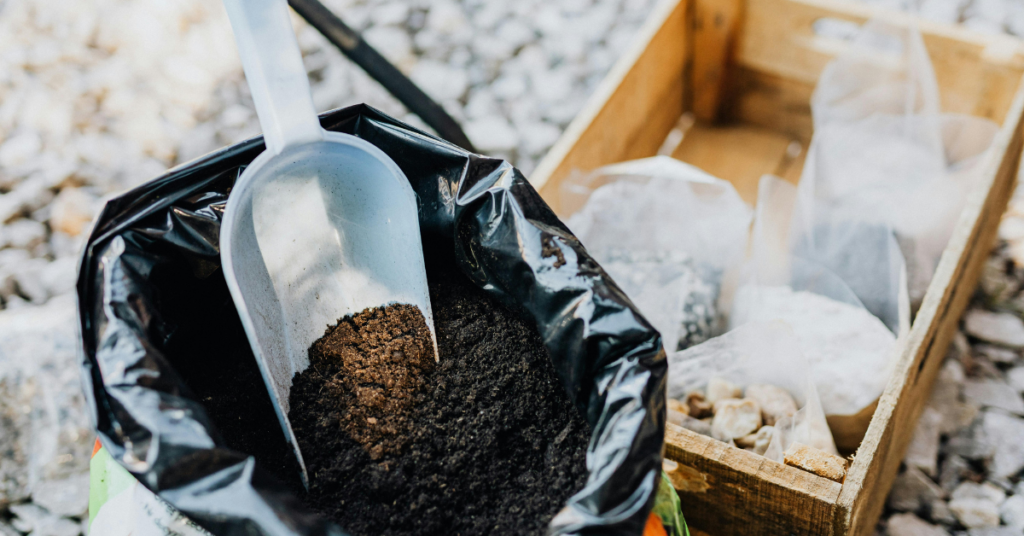
👍 Rule of Green Thumb: Plant roots can help you to determine the medium needed – thick, robust roots (i.e., yucca) typically enjoy chunkier materials, and smaller, delicate roots (i.e., begonias) enjoy finer materials.
Mulch and Bark Bites
- Mulch is the organic slow-release fertilizer, as it slowly decomposes, it lowers soil pH. However, may eventually compact soil once fully broken down.
- In the meantime, it creates shelves in the soil that create air pockets and prevent the soil from compacting. Mulch is a great short term medium for arid potted plants.
- If kept too wet, it can harbour fungus gnat larvae.
- Make sure when sourcing your mulch it doesn’t contain any black walnut.
🖱️ See more on mulching here.
Sphagnum Peat Moss
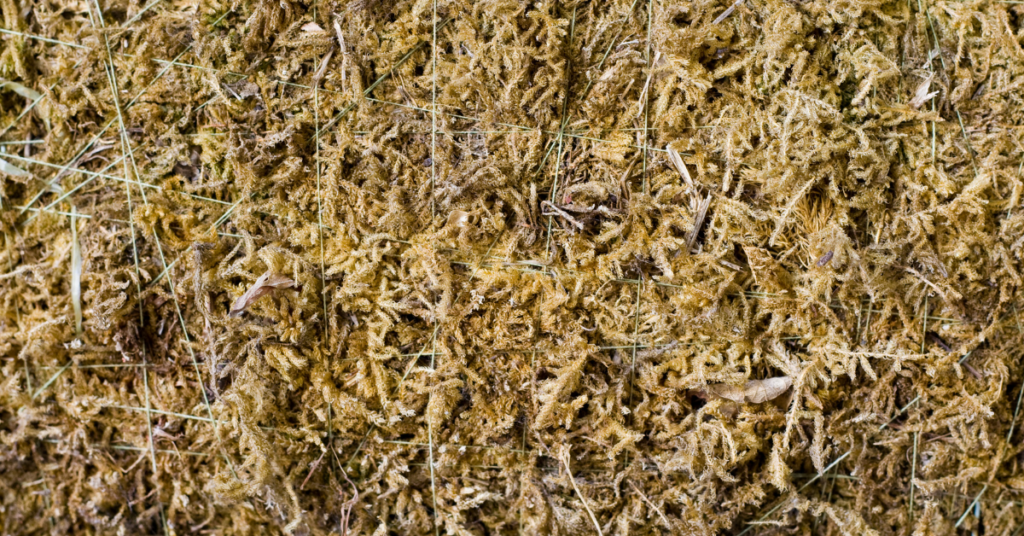
- Peat moss is used to help retain moisture and lower pH in the soil given it is harvested from bogs.
- Retains nutrients very well.
- It is difficult to rehydrate once it loses moisture.
Coconut Coir
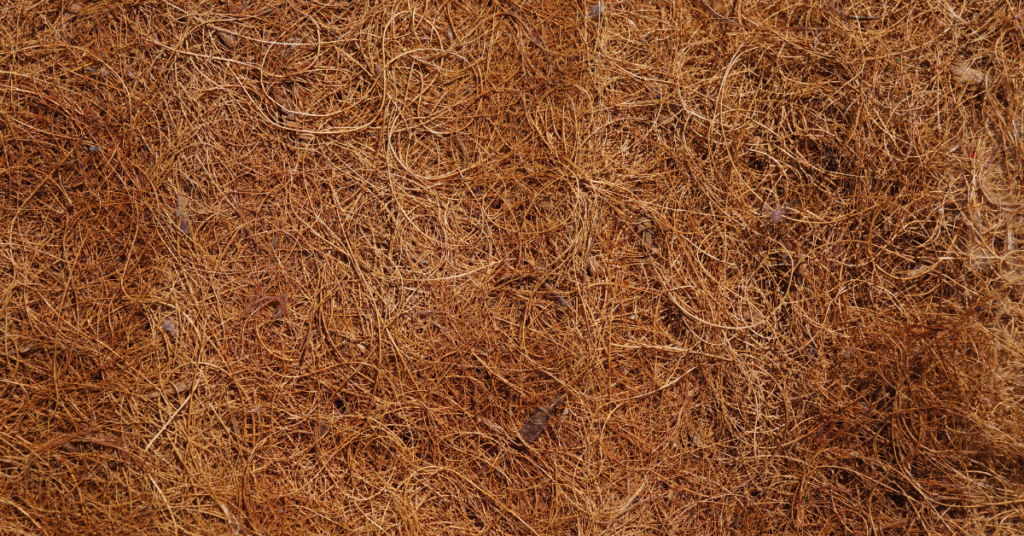
- Coco coir, much like peat moss is used to keep the soil moist and keep pH low, however it lasts longer and is possibly less invasive to harvest.
Sand
- Grains are relatively large and do not bind, allowing for excellent drainage depending on grade.
- Adds weight to top heavy plants.
- Has no ability to store minerals itself, however, pH can vary by its content of shells, minerals like silica, or fine organic matter.
Manure & Compost
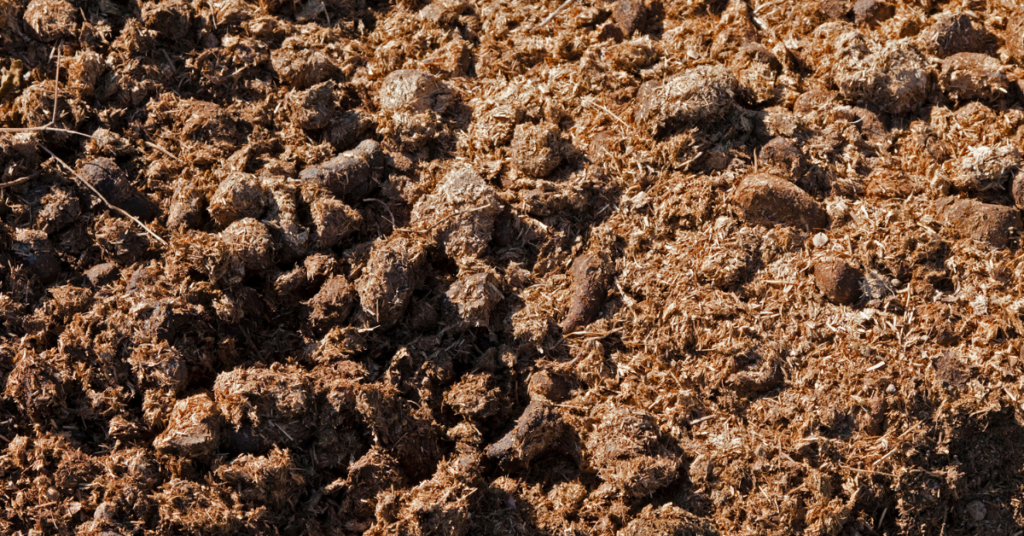
- Source these organic by products locally and ensure they’re not too hot. These additions can significantly lower pH.
- Sheep manure is usually near free of weed seeds as sheep digest seeds better than cattle and horses!
Perlite
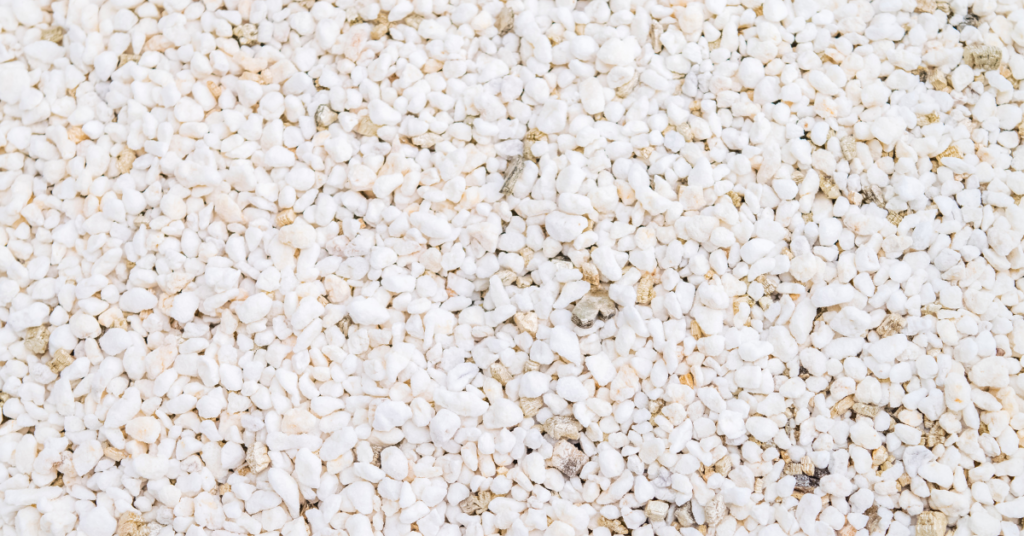
- Perlite is a volcanic byproduct (so it floats like pumice) that helps drainage in the soil and prevents compaction – vital in the case of starting seeds.
- If a rockier, well-draining medium is required for your plant, consider perlite.
- Perlite can expand holding trace amounts of water.
- Perlite has a neutral, slightly acidic pH.
- Make sure when sourcing perlite, that you are not being sold Styrofoam balls.
Vermiculite
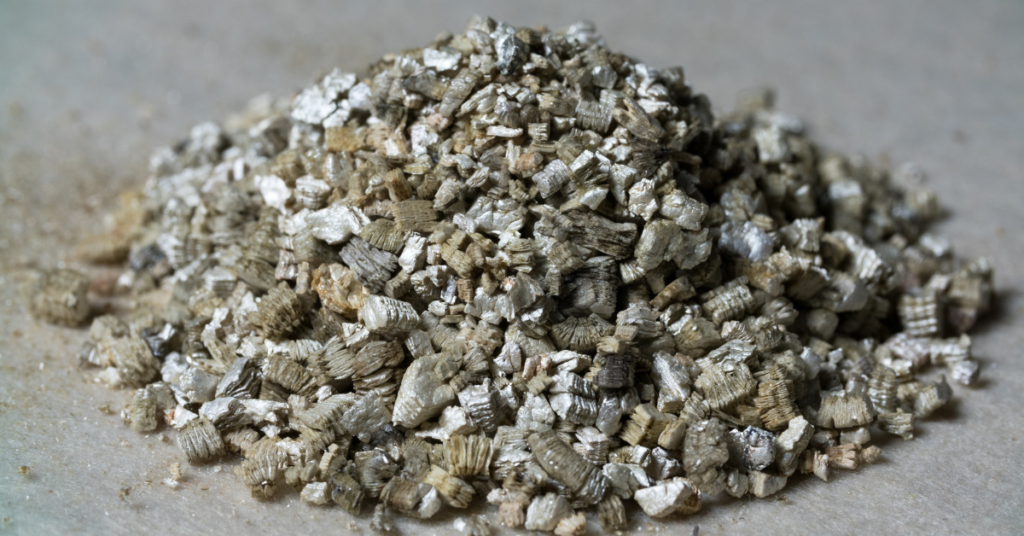
- Vermiculite is a recycled mineral used similarly to perlite, and too has a neutral, slightly acidic pH.
- Expands with water content.
- Can contain amounts of potassium and magnesium (as well as good cation exchange capacity).
- Runs the potential risk of introducing asbestos into your soil.
Calcined Clay Materials
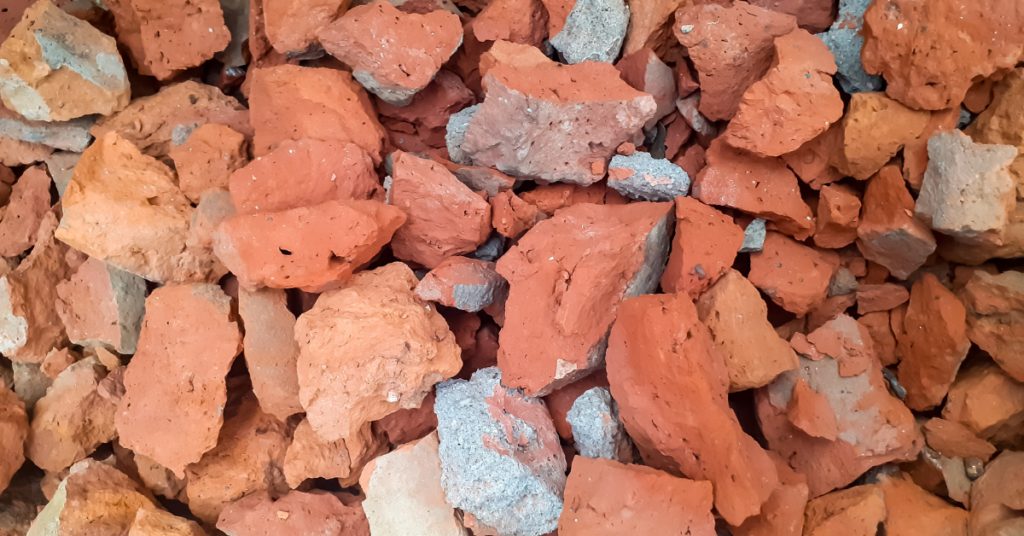
- Clay materials like recycled brick bits, pottery, or lecca are typically used for arid plants as it improves aeration and drainage.
- Can raise pH.
- Can retain some water.
- High cation exchange.
- Can also be used for starting robust cuttings when kept moist.
- Probably not ideal for inground amendments.
Maintaining Your Plant’s Dietary Needs
Perhaps we’ve crafted the perfect soil type for your plant – your plant thanks you – but over time, we will end up in the same staling predicament. Why? Because with each thorough watering, we leech the soil of the provided nutrients. Best we use the plant-specific required fertilizer for your plant to prevent nutrient loss.
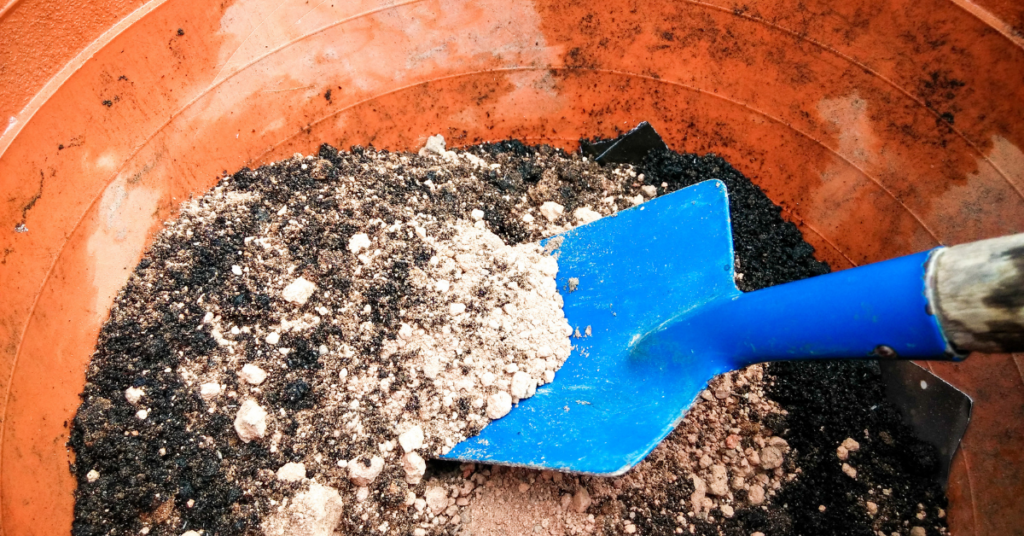
Organic sources of fertilizer such as bonemeal, composts, and manures, along with the application of lime, will improve the physical condition of the soil in terms of water and element holding ability. Unfortunately, in many cases though, manures and lime alone cannot be depended upon to provide enough available nutrients in soils with low essential element reserves.
Let’s talk about commercial fertilizers, which can help target your plant’s exact needs much like vitamins and supplements!
The Scoop on Fertilizers
Of the essential 16 elements your plant pulls from the soil, Nitrogen (N), Phosphorus (P), and Potassium (K) are the most critical for good plant growth. You’ll recognize the three numbers appearing on your commercial fertilizer labels known as the fertilizer analysis of the product, representing the percentage of each of the three "macronutrients" in the order of N, P & K.
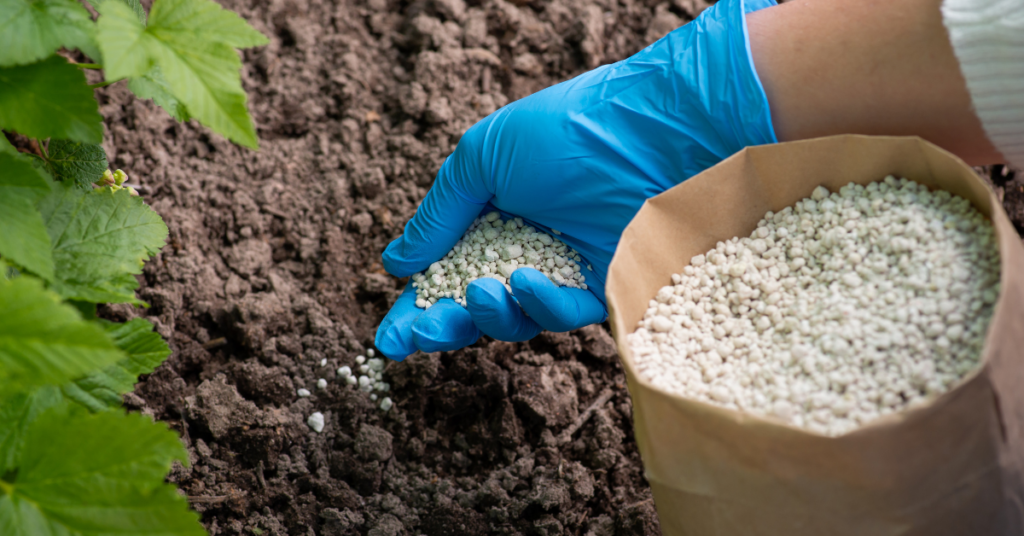
Nitrogen (N) is necessary for green leafy or vegetative growth which is important in crops like corn, cabbage, and potatoes.
☝️ It is important to remember that you should not use a fertilizer which is high in nitrogen late in the summer on your perennials, as it may cause a boost of growth which will only freeze as the cold weather sets in. Also, too much nitrogen in the analysis could cause too much lush, leafy growth thus inhibiting the desired flowering aspect of a plant species.
Phosphorus (P) promotes the development of flowers, fruit and roots. Crops like tomatoes, cauliflower and garden flowers.
Potassium (K) boosts plant hardiness, stem strength, resistance to disease and drought which is important to all crops, but especially in potatoes, celery and rhubarb.
👍 Rule of Green Thumb: For foliage plants, provide them with shade and lots of nitrogen, and for flowering and fruiting plants, provide them with lots of sun and lots of phosphorus!

Amending Clay
Hello Haldimand and Eastern Norfolk!
We’re presented with the challenge of compacted, often shallow and waterlogged clay, which proves difficult but not impossible.
Clay becomes compacted and waterlogged as it is the smallest soil particle – smaller than a grain of sand, and even smaller than silt – with rough edges that allow it to interlock and bind. In this instance, roots cannot penetrate further into the soil, are susceptible to root rot, and air pockets are slim to none.
This, however, can be fixed with the addition and renewal of the above materials.
Mindful that you don’t create a watery bowl in the ground (score the edges the area being worked), you can add organic matter (i.e., manure, compost, and potting soil) for nutrients, as well as mulch, sand and perlite for aeration and drainage. Annual soil particle aggregation in clay soils increases air porosity (air pockets) and is accomplished by the incorporation of organic matter that breaks down to form humus.
🖱️ See more here for planting trees in clay.
We hope this soil and fertilizer guide helps you provide all the vital nutrients to your beloved plants in ground and above ground! For more information - and soil – visit Eising Greenhouse and Garden Centre! 🌱
By: Dave Zeldon and Ely Schweyer with tips from Mary K, Zach C, Sandy M, and Jeanine LT!
Now is the time to prep our outdoor landscapes for the coming cold weather and the ensuing spring! Perhaps your autumn is calmer than your spring, and this is the best time to clean up and begin new projects. The following are some simple but effective tips to get your yard winter-ready - so your spring will be a little more pleasant for you!
Planting
When warm weather still allows it, plant trees, shrubs, perennials, and bulbs to allow them to establish for budding and blooming next spring.
Pond Care
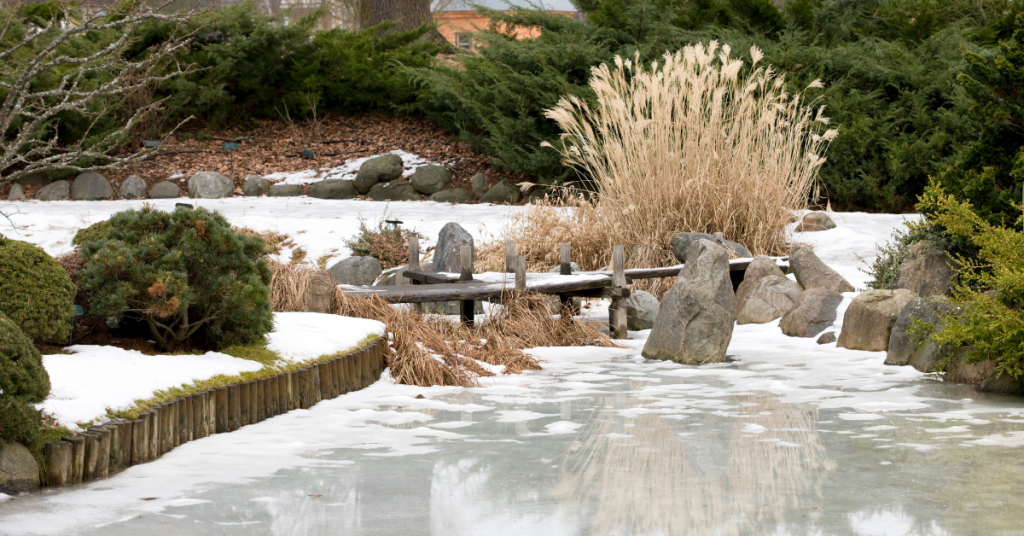
Mary, our perennials gal, suggests not removing any water from your pond but instead aerating it all winter. She skims out the leaves to maintain the balance of the nitrogen cycle in the water and suggests waiting to do a big pond clean out in the spring, as that’s when the water’s culture can bounce back easier.
Fertilizing
After top growth of your landscape plants ceases, reduce your annual fertilizer application by up to half of the requirement. Autumn is a major root growth period for woody and herbaceous perennials; roots will grow and absorb nutrients whenever soil temperatures remain above 5 °C but can be over fertilized quickly in these cooling temperatures.
Produce gardens could benefit at this time from a top layer of compost that will break down during the winter so it isn't too 'hot' for spring planting.
Leaf Litter
Here’s our pitch on the ‘leave it – don’t leave it’ debate: It DEPENDS.
Ideally, we should leave litter leaf on the ground for our pollinator friends and endangered species like fireflies to hide out in the winter. But, there are appropriate situations in which to remove leaf litter.
- When they’re covering your bulbs and tender perennials, remove SOME. Leaf litter acts as a ground insulant, which can amplify our temperamental zone 6b temperatures. This freezing and thawing can often confuse and kill early spring bulbs and tender perennials.
- Zach, our trees and shrubs guy, suggests that if a tree shedding leaves has been diagnosed with pests and fungi, remove the leaf matter to reduce the spread to other plants. Diseased matter should always be removed in a quarantined fashion and taken to a landfill or burned.
☝️Please note: Unless diseased, compost your leaves, they contain vital nutrients specific to the plants they came from!

Lawncare
With autumn mowing practices you have the opportunity for the addition of much needed organic matter for your lawn, which is also an excellent source of slow release nutrients. Keep mower blades sharp since leaves can be tougher than grass. Raise the mower height up and mow leaves when they are lightly wet (e.g., morning dew). This will keep the leaves from blowing all over and will prevent the mower from getting bogged down in wet leaves.
See more on general lawncare in Dave's Lawncare 101 post.
Clean Up
Now is a good time to wash your tools with soap and water to prevent diseases spreading from plant to plant.
☝️Mary's tip is to spray garden tools with PAM before use, so the dirt slides right off them!

Pruning Perennials
Mary, our perennials gal, suggests leaving things until frost to cut back. This way they're easier to compost. Make sure to leave seedheads (i.e., coneflowers and black-eyed Susans) for wildlife, and things like hydrangeas for winter interest.
☝️Make sure if things are cut back, to leave them sticking up enough you can still find them in the spring!
Dividing and Moving Perennials
Moving or dividing perennials in the autumn is a great way to reduce your work next spring. The cool, moist weather is an ideal time for perennial roots to become well established.
👍The rule of green thumb for moving perennials: If the plant blooms between early spring and late June, then early fall division/moving is ideal. If the plant blooms after late June, then early spring division is ideal (except for Peonies which should only moved or divided in the fall, Poppies in August, Irises in July & Lilies in the Fall).

Overwintering Trees
Zach and Sandy from trees and shrubs suggest a couple of things to help your favourite trees along this winter:
- To reduce winter injury in evergreens: Keep properly watered throughout the growing season and into the fall is another way to reduce winter injury. Decrease watering slightly in September to encourage hardening off, then water thoroughly in October until freeze-up.
- Cedars - Spray cedars with antidesiccant spray (available at Eising GC) or wrap in burlap (with stakes to create dead air space) so wind doesn't dry out and burn tips.
- Fruit trees - In late fall, spray fruit trees with sulfur-horticultural oil (available at Eising GC) for protection against fungi and pests overwintering in the bark.
- Ornamental trees - wrap the base of young trees to protect from chewing rodents.
- Pruning trees - trees that prefer winter pruning rather than spring pruning are maples, oaks, birches, and elms, as well as with fruiting trees such as apples and pears. This ensures blight and pests will not affect the tree's open wounds.
If you missed the frosty deadline for transplanting trees, Sandy suggests insulating unplanted potted trees to help them best survive the coming winter. Here are some methods:
- Double-pot your tree with an insulative barrier (i.e., burlap, straw, mulch, etc.) stuffed between the two pots and securely cover the top with tarp to deflect moisture.
- Bury your potted tree in the ground, level with the top of the pot (don’t forget to dig it back up!) and mulch the area.
- Huddle all of your unplanted trees and plants together when using the above methods.
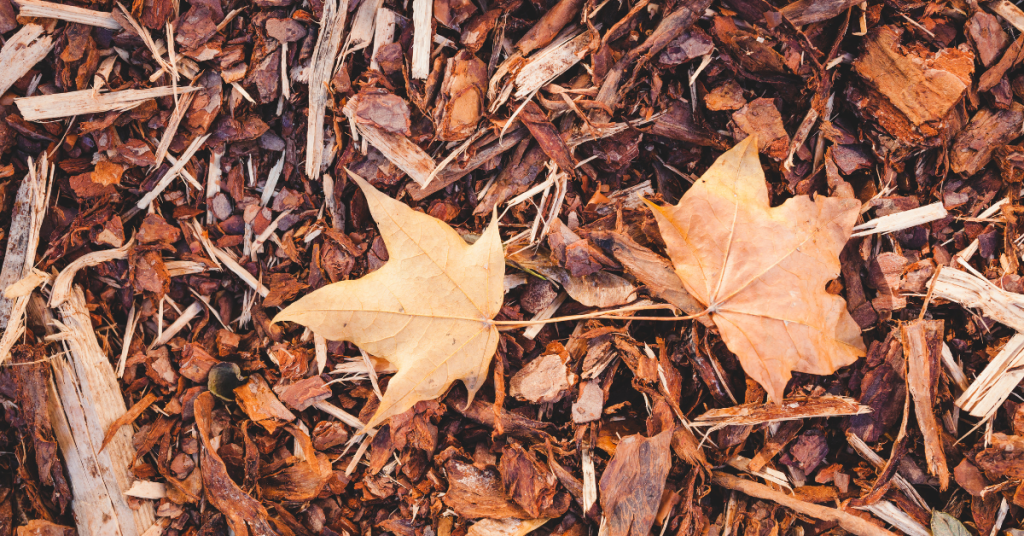
Mulching
Mulching is one of the simplest and most beneficial practices you can do for your garden. Just by simply placing a protective layer of material over the bare soil will benefit the soil as it decomposes providing the much-needed organic matter which improves root growth, the infiltration of water and the nutrient-holding capacity of the soil while reducing soil erosion.
A good layer of mulch allows the soil to warm more slowly in the spring, so perennials aren't fooled into breaking dormancy too early, as you want the ground to stay cold until it really is spring!
☝️Make sure your mulch application won't stunt the growth of your plants come spring as discussed in our Transplant Troubleshooting blog post!
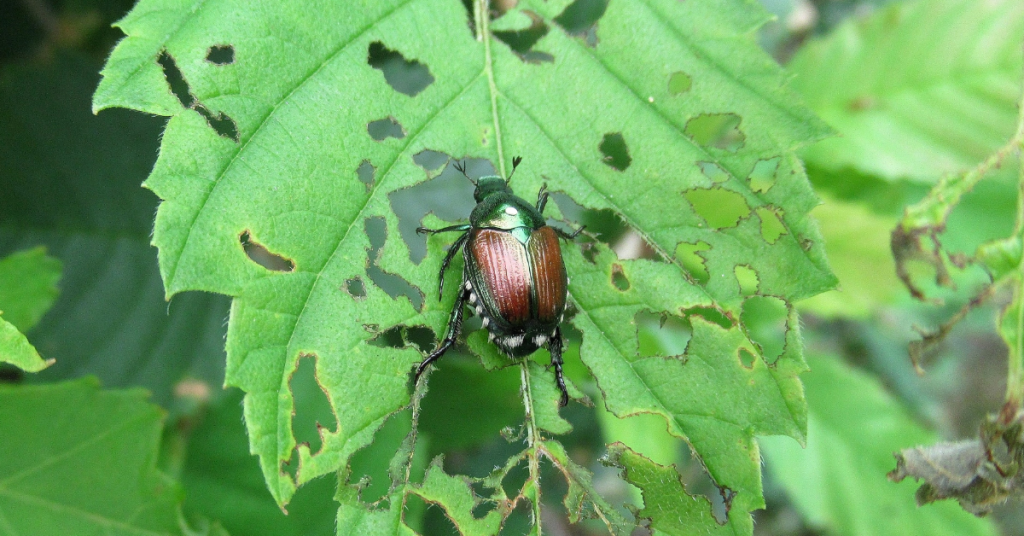
Japanese Beetle Prevention
Nematodes are microscopic worms that should be applied to lawns that have been ravaged by grubs especially of the Japanese Beetle. Nematodes have a short shelf life and must be refrigerated until they are applied. Normally, they are sprayed onto the lawn from mid-May to mid-June and then again (for best practice) from mid-August to mid-September.
Pots
To prevent freezing and cracking, Mary suggests emptying and turning your pots upside down. You can disinfect at this time too.
Design Time!
Jeanine, from production, suggests writing down what worked best in your produce garden this year so you can implement it again in the spring.
With the trees and land being barren enough you can see its contour, now is a great time to plan ahead for spring landscaping! Don't forget Eising GC would love to offer help with your landscape designing!
We hope these tips help your landscape plants enjoy your winter abode as much as you do this season, for more information - and plants – visit Eising Greenhouse and Garden Centre! 🍁
By: Ava Green
As temperatures begin to cool down, autumn colours set in and surround us with the beauty that is fall in southern Ontario. Suddenly summer is gone and it’s time to think about creating a cozy atmosphere inside and outside that is inspired by the world around us.
Autumn Outside
Whether you gather items from the garden or from the garden centre for a display, there are lots of natural materials all around us to draw from. Take some plumes from ornamental grasses and put them in decorative buckets. Add branches with colourful leaves or dried seed pods, and pumpkins or mums for a pop of colour. A bland background becomes the perfect backdrop.
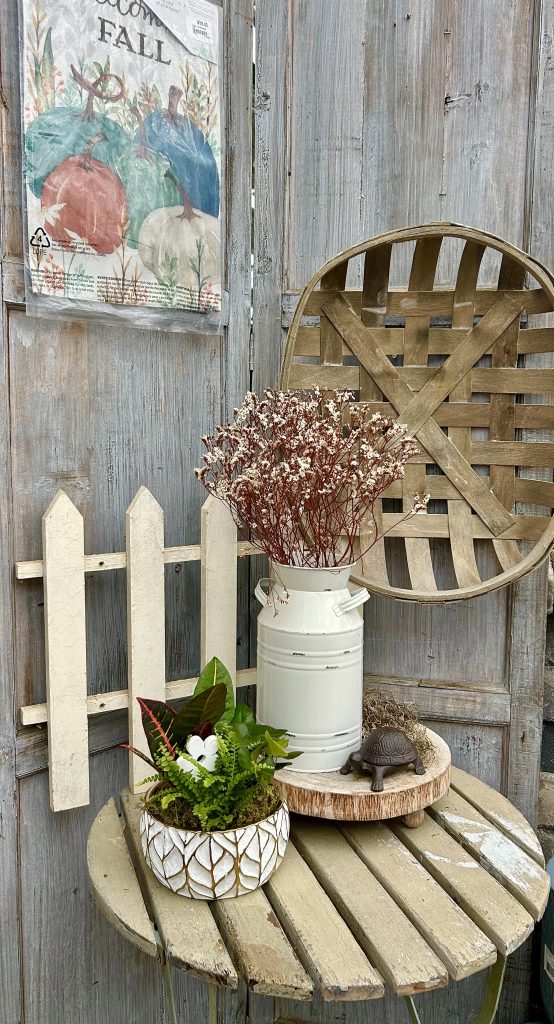

Looking for something to grow? Create fall planters with sunflowers, ornamental kale, ornamental peppers, live grasses, and, of course, fall mums.
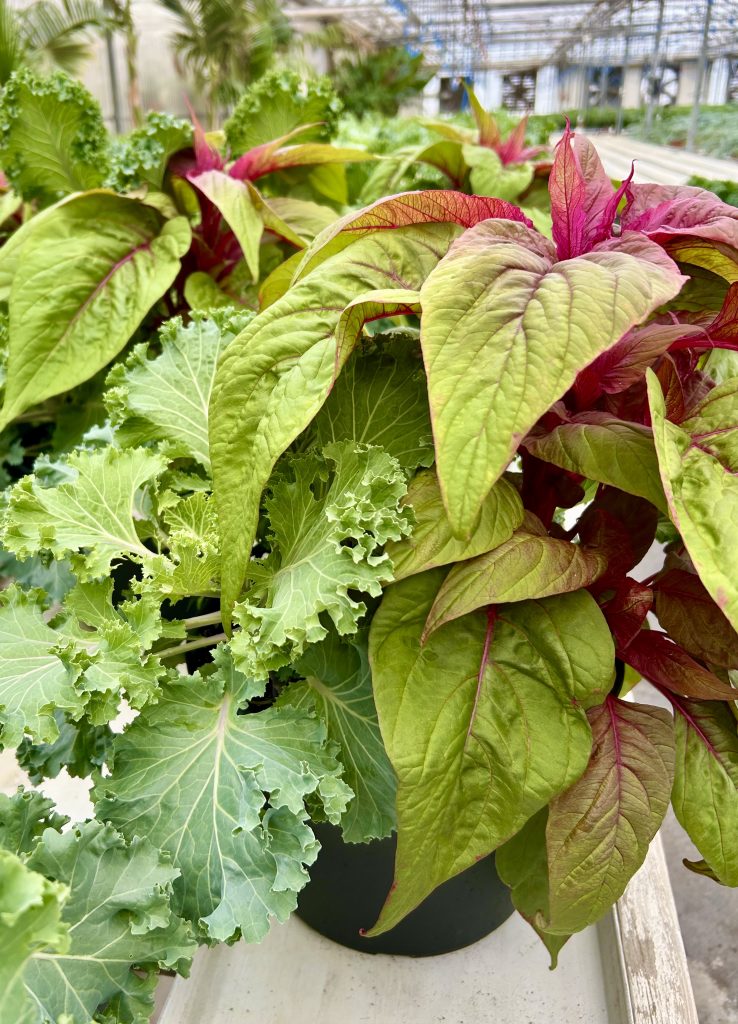
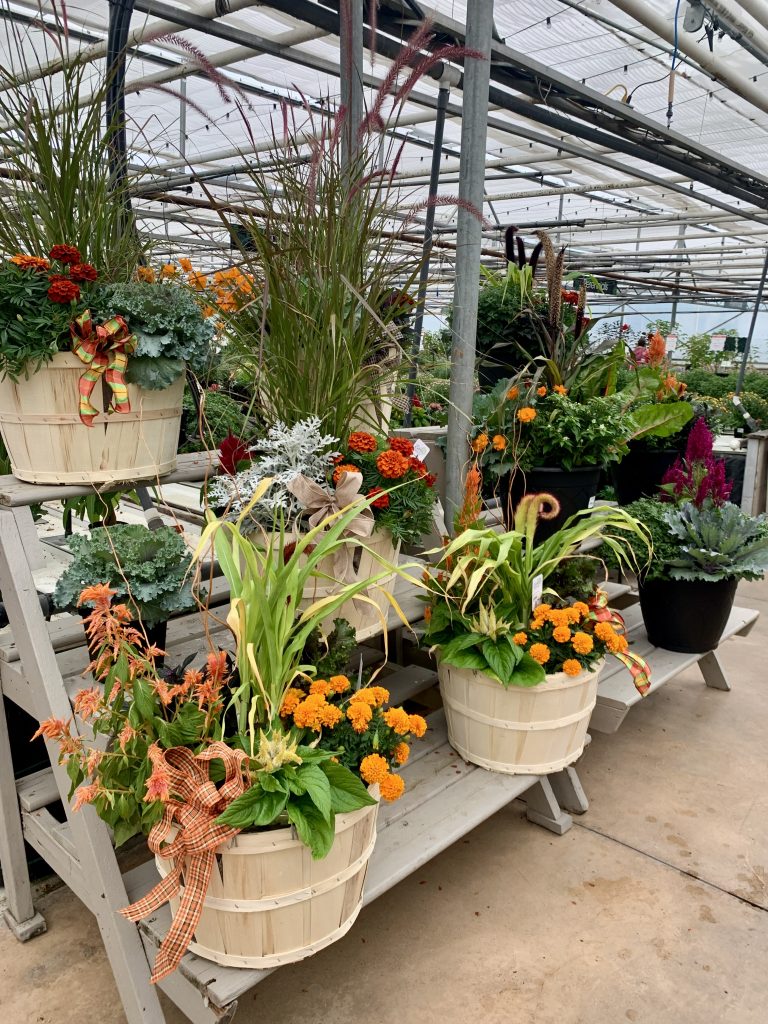
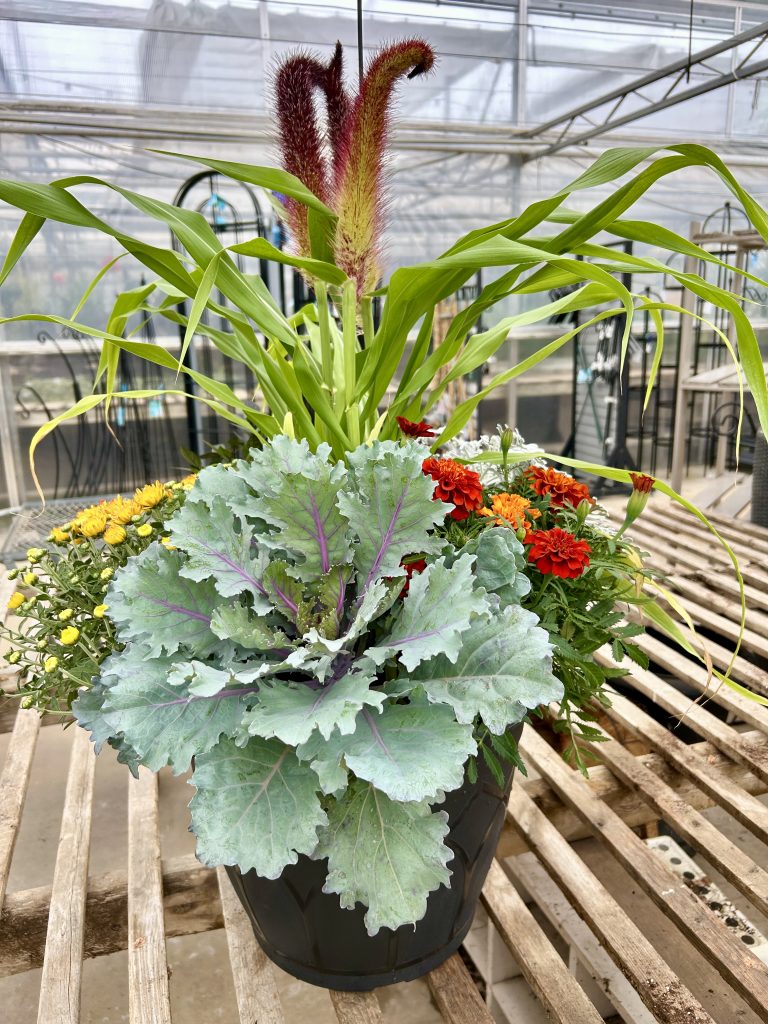
We offer beautifully festive arrangements with a variety of ornamental fall plants, as well as individual plants to decorate an outdoor table, or as a planter creating a warm welcome on your front porch (watch here: Jeanine create a fall planter on our IG).

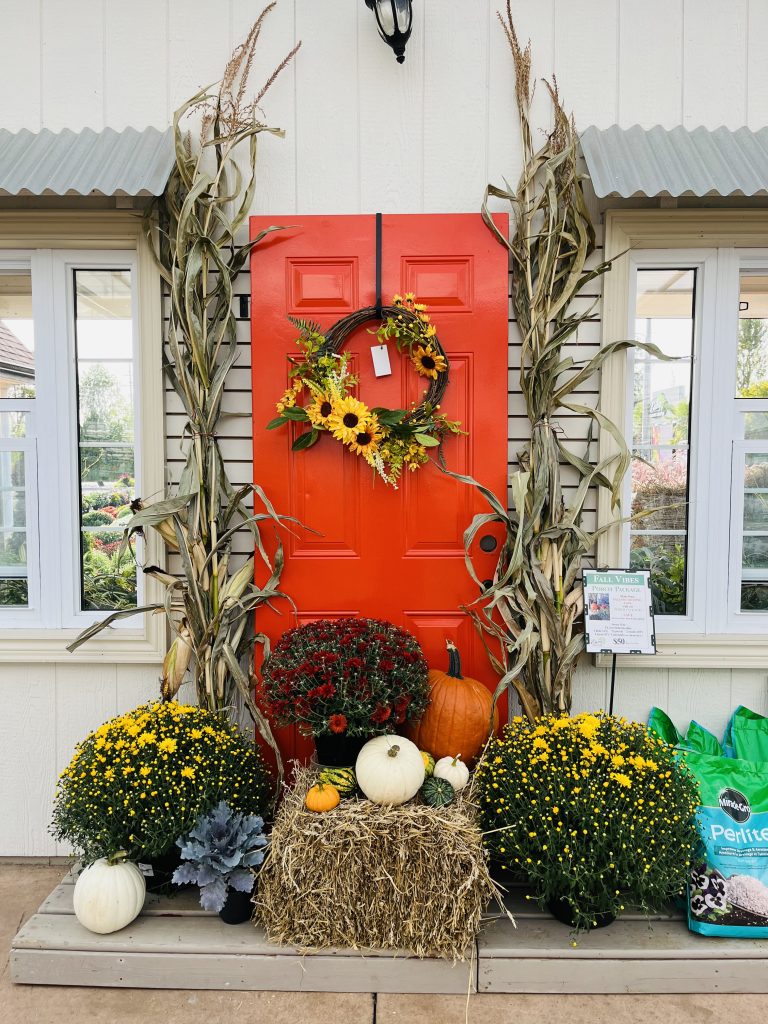
Eising’s popular Porch Packages make it easy to decorate the entryway to your home. But don’t wait, they sell out quickly!
Autumn Inside
When there are fall colours outside, autumn displays inside create continuity that will carry your indoor decorating right into the holiday season in December.
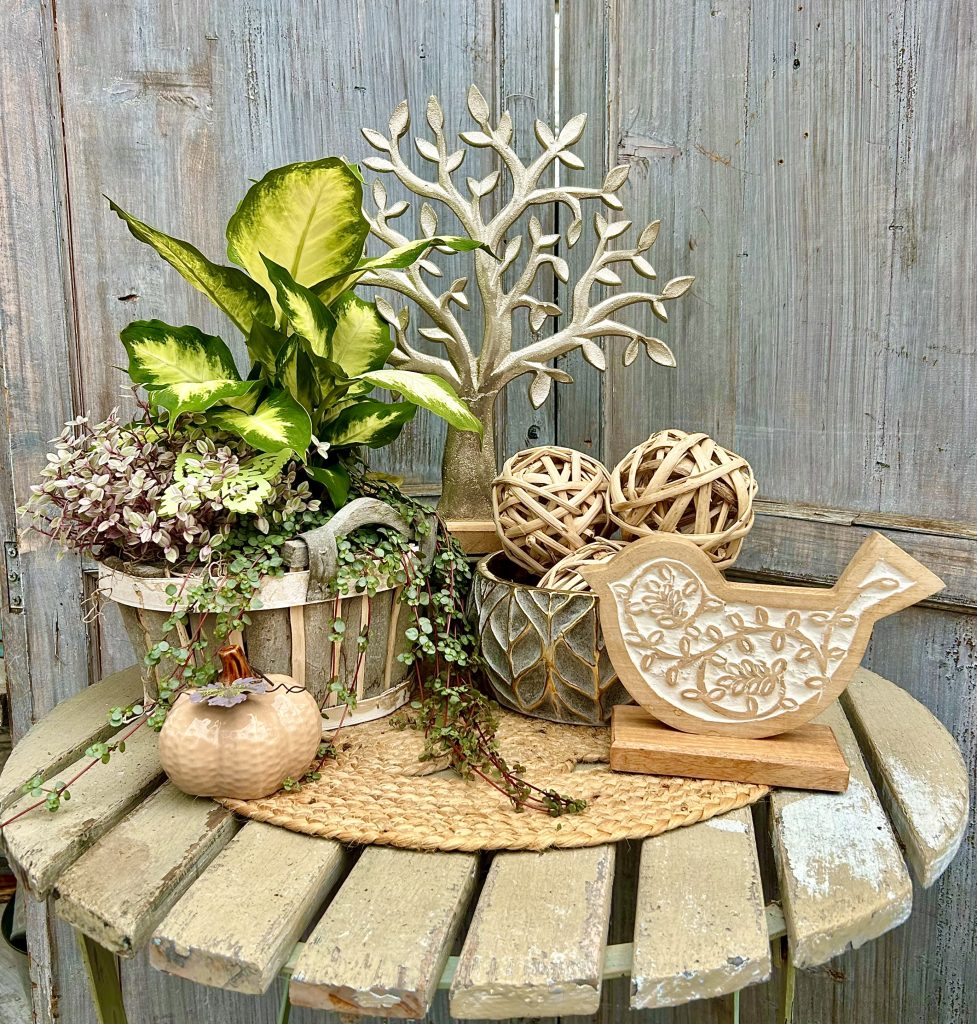
Displays that are vibrant, warm, rustic or whimsical are fun and easy to make. Here are some basic design principles that will help you get started, along with examples we’ve created using items in the Eisng shop.
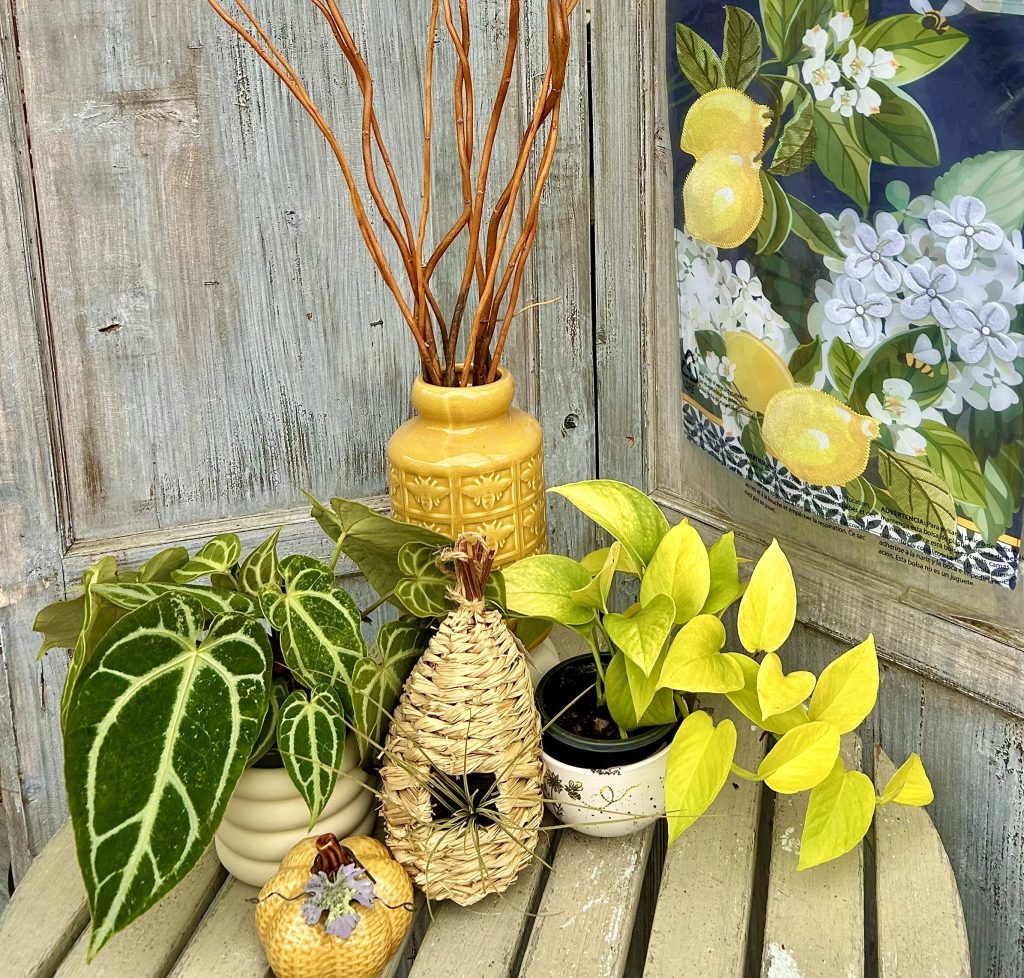
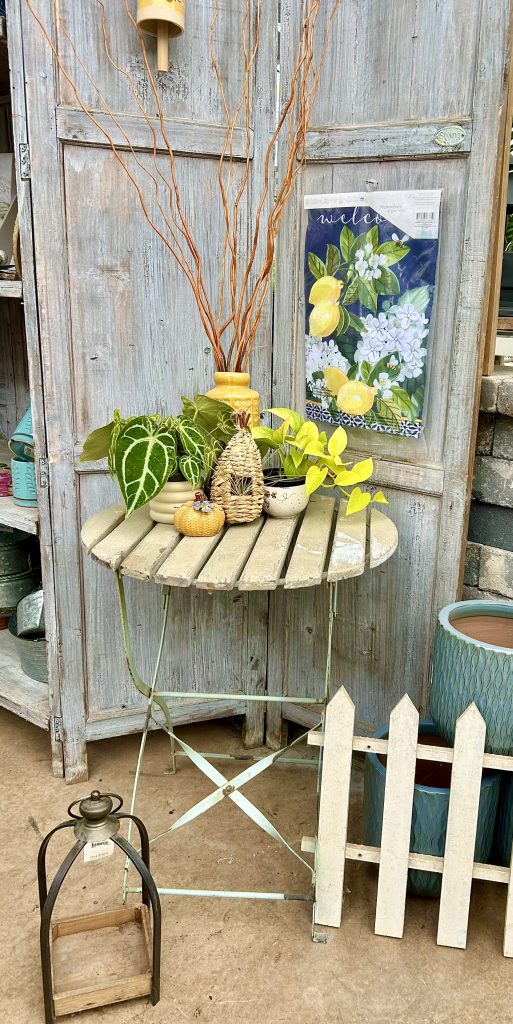
The Rule of Odds
Using an odd number of items (3, 5 or 7) is always more appealing. Why? For some reason, odd numbers are just more harmonious for us to take in. Designers and photographers call it the rule of odds.
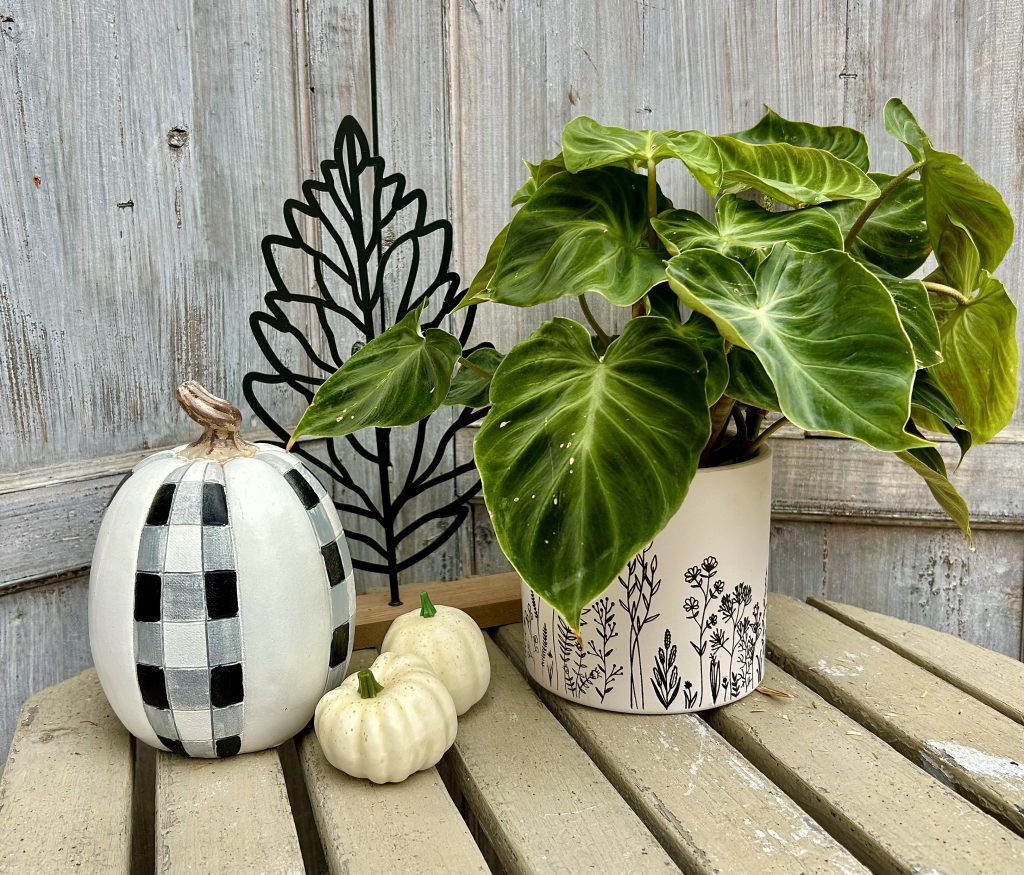
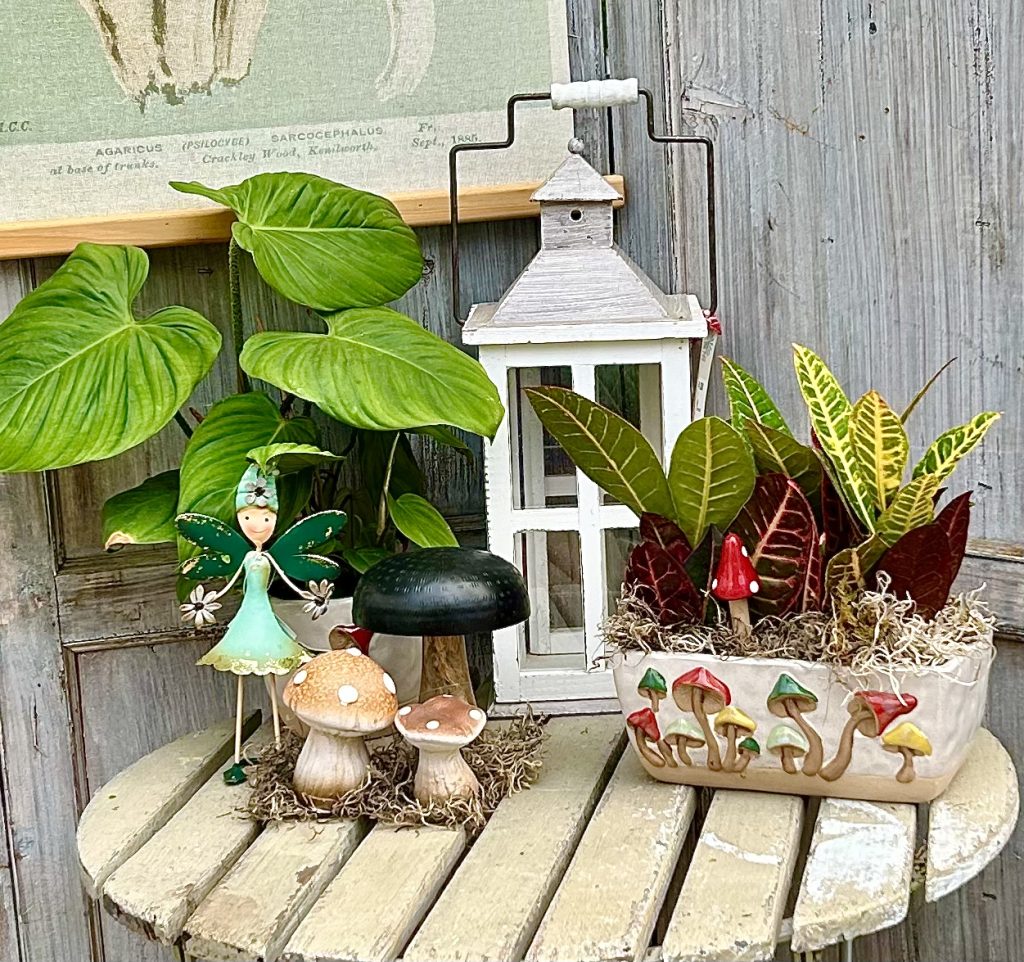
Pick a Theme
Pick a theme like a common colour, a shape, a design or motif. Look for containers or items you can include that fit in with your theme.
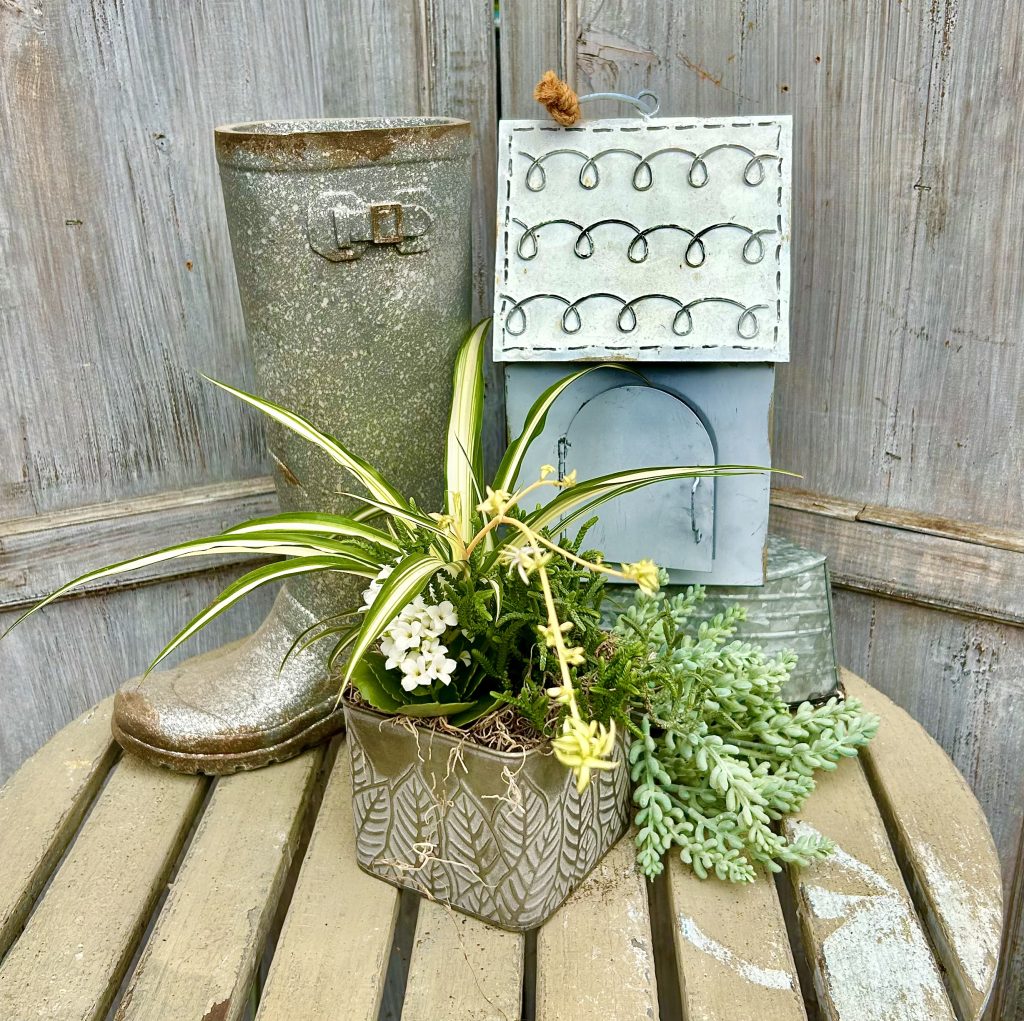
Like the arrangements we offer at Eising Garden Centre, include the following in your designs:
- a thriller like a beautiful vase or container, a tropical plant, or fresh or dried flowers
- a spiller like a plant, dried or silk leaves or moss around the base of containers
- and a filler like foliage plants, fruit, candy, mini pumpkins and gourds, or moss
Size and Scale
Scale is important! Keep the display short if it’s for the centre of a dining table so that guests can see each other across the table! Create taller displays if you’re decorating a corner table or a mantlepiece.
Light it Up
Adding light, including flameless candles or fairy lights, instantly brings warmth to any display.
Aromatics
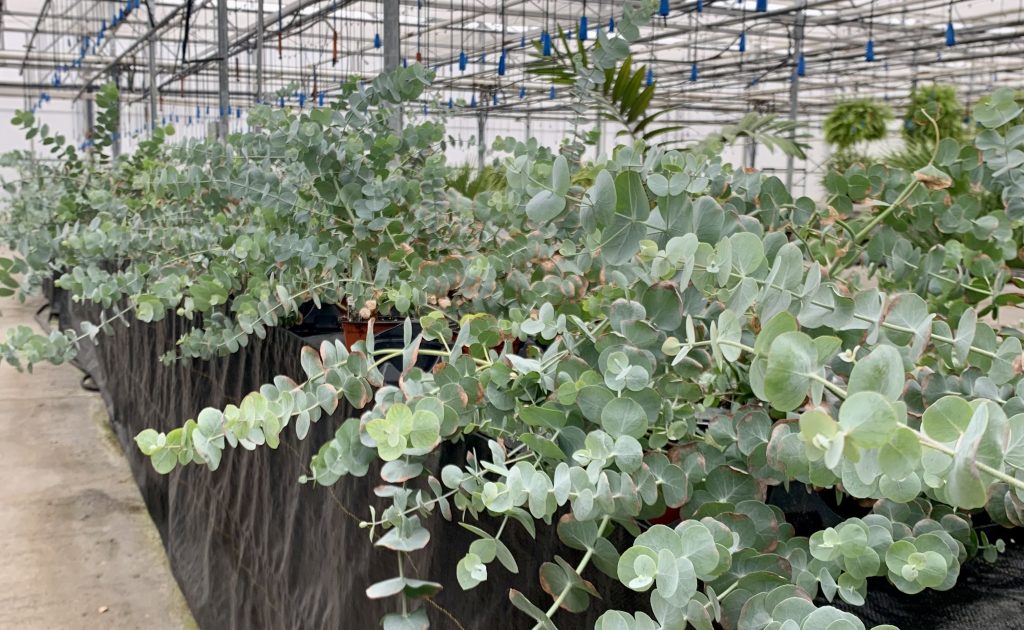
Include scent: using plants like eucalyptus, or fruit like apples or oranges, and spices like whole cloves and cinnamon sticks all add a homey touch.
We would love to see what you create and hope this has sparked your creativity. Don’t forget to tag @Eising Greenhouses & Garden Centre on your Instagram and Facebook posts when you share your decorations online - we would love to see them!
By: Ava Green
More than just a name, the brands we love and trust at Sassyfras not only have a great reputation but also offer excellent quality, fit, and, importantly, style. We trust their track record and can enthusiastically recommend these brands to you!
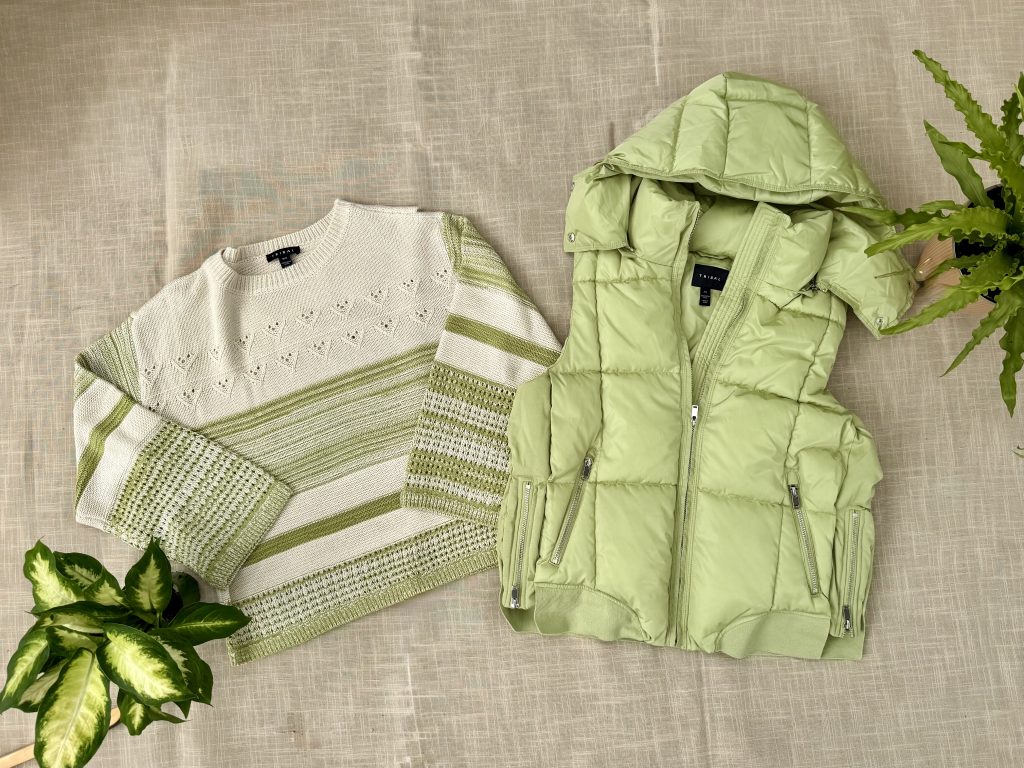
Tribal
Founded more than 50 years ago in Montreal, their mission still remains the same - to make women look and feel their best, no matter what they’re doing. They know first-hand what that is because women design Tribal clothing for women. Consistent fit and premium fabrics are hallmarks of their quality garments.
Habitat
Comfort, fit and detail are the priorities for clothing from the Habitat brand. Founder and designer Suzanne Connelly is committed to creating clothing that fits well and suits customers’ tastes. This is not fast fashion that you’ll find everywhere, Habitat produces limited quantities for specialty boutiques - like Sassyfras!
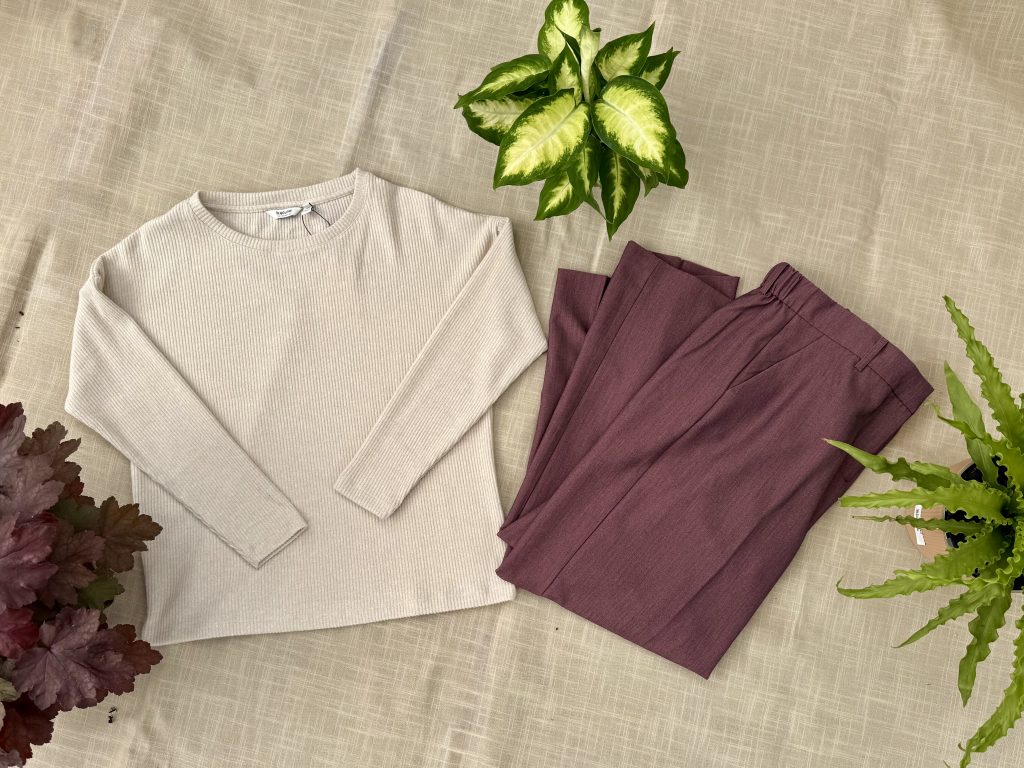
b.Young 🍁
Great quality designs with value for your money have been the focus of b.Young since their inception in 1991 in Denmark. Creating timeless pieces using improved processes with an eye on the environmental impact of textile production, their goal is to produce pieces that will last. This is a brand that creates beautiful styles with integrity.
Culture Clothing
Daring to be different, and urging you to be you, Culture Clothing is a brand that stands out. Whether you’re looking for a piece that’s comfy and classic or a colourful statement piece, this is a brand worth checking out!
Soya Concept
Fashionable, colourful, and feminine for everything from shirts to skirts that are made for women. With a focus on sustainability, high-quality fabrics, affordable prices, and the latest trends, Soya Concept is a brand that aims to earn your loyalty.

Point Zero🍁
One of Canada’s leading clothing brands for men and women since 1979, Point Zero has lots to offer. Based in the heart of Montreal’s fashion district, this Canadian company is focused on great design, superior quality, and trendy fashions all at an attractive price. Additionally, they focus on their ecological footprint in terms of materials and the manufacturing process. An admirable brand that’s homegrown.
Dévia 🍁
Based in Montreal, Devia clothing is proudly designed and made in Canada. With a passion for fashion, they create inspiring and eclectic designs at affordable prices.
Terrera 🍁
Earth-friendly fibres, conscious production, and a commitment to giving back make Terrera an outstanding, sustainable, Canadian company. We think you’ll fall in love with their comfortable, easy-to-wear bamboo basics like bralettes, undies and leggings all created to fit and flatter women.
Moffi
Unique, high-quality clothing with sophisticated details and elegant design. Moffi is designed to appeal to every woman.
What’s In Store For You?
Step into Sassyfras at Eising Garden Centre and explore our carefully curated collection of trusted clothing brands. We’re here to provide great personal service and high-quality pieces from brands you’ll be proud to wear!
For tomato lovers, picking a warm, flavourful tomato right off the plant for a sandwich, burger, or salad is a sure sign of summer! I eagerly await the day the first fruit begins to turn red, knowing that I am a day or two away from the first of many toasted tomato sandwiches for the season!
By the end of June, your tomato plants should be in the ground or pot, staked, and well on their way to producing fruit. But how do you keep your plants healthy all summer so that you can maximize your investment? Here are a few tips to help keep your tomato sandwiches coming until frost!

Water
Water early in the morning and water deeply. For tomatoes, consistent moisture is best.
Keep the water on the ground, not on the foliage. This is important because damp foliage can lead to diseases like early blight, which can ultimately cause the entire plant to die. Mulching around the base of plants will reduce the amount of water that can splash up onto the leaves. A soaker hose or drip line is also a great way to ensure that water stays on the ground, rather than on the plant.
Pruning
Reducing the amount of foliage on a tomato plant is necessary for a couple of reasons: good air flow, which reduces the chance of powdery mildew forming, and less foliage means that the plant can send energy to growing fruit instead of lots of leaves.
Follow these easy steps when you prune your tomato plants:
- Before you begin, remember to follow the rule for pruning - no more than ⅓ of a plant should be removed at a time.
- Use clean scissors or pruning shears to cut the leaves off the bottom of the plant. Remove any leaves that are touching the ground. These are particularly susceptible to mildew formation.

When fruit starts forming, remove the leaves from the bottom of the plant up to the first or lowest fruit.
Remove suckers ongoingly. What are suckers? When you look at your tomato plant, you will see the main stem that comes up from the ground, and branches of leaves that come out of the main stem. As the plant grows, suckers begin to form in the “Y” between the main stem and a branch of leaves. Suckers won’t harm a plant; they just make it very unruly and reduce airflow.

If your tomatoes are indeterminate (growing into a tall vine), remove the top of the plant when frost is forecasted at the end of the season. Topping the plant allows energy to ripen the fruit that’s already set, rather than being used to continue growing the vine.

NOTE: Some gardeners like to leave suckers on determinate tomato plants as this can increase the yield.
TIP: Tomatoes ripen from the inside out. That means that by the time you see fruit beginning to flush on the outside, the inside is already ripe. If you have competition for tomatoes from pesky critters, or when there’s a chance of frost in the weather forecast, you can pick fruit that has just begun to turn colour and leave it on the kitchen counter to continue to ripen.
Fertilizer
Using organic material is one of the best ways to feed your crop. A good layer of compost, 1-2 inches, in the spring when you’re planting and again in the fall each year is one of the best ways to improve your soil structure in the garden, and it also adds lots of nutrition.
If you missed this step when planting your garden, you can always add a layer of compost around your plants or use other organic fertilizers, such as compost tea, seaweed, worm castings, or fish emulsion.
Alternatively, you can use a fertilizer that’s formulated especially for tomatoes - these usually have a ratio like 3-4-6 or 4-7-10. Follow label directions for amounts and err on the side of caution. Using less fertilizer is always better than using too much, as an excess can stress the plant and make it more prone to disease.
Following these simple steps for tomato care will help to ensure your plants stay healthy and producing fruit, but if you should have problems, here are some great resources to identify tomato issues:
- Ontario.ca: Bacterial diseases of tomato: bacterial spot, bacterial speck and bacterial canker
- Guelph.ca: Healthy Landscapes – Plant List Native and Drought-Tolerant Plants