
Expert Picks You Can Plant Right Now
By Ava Green
Looking for a flowering shrub that delivers season after season? We asked our experts at Eising Garden Centre to share their top picks, the ones that customers and staff love most, and they delivered. Whether you’re looking for spring blooms, fall colour, wildlife and pollinator value, or a shrub to suit your space, there’s something on this list for every garden.
Fuji Cherry ‘Little Twist’, Prunus incisa ‘CarltonLT’
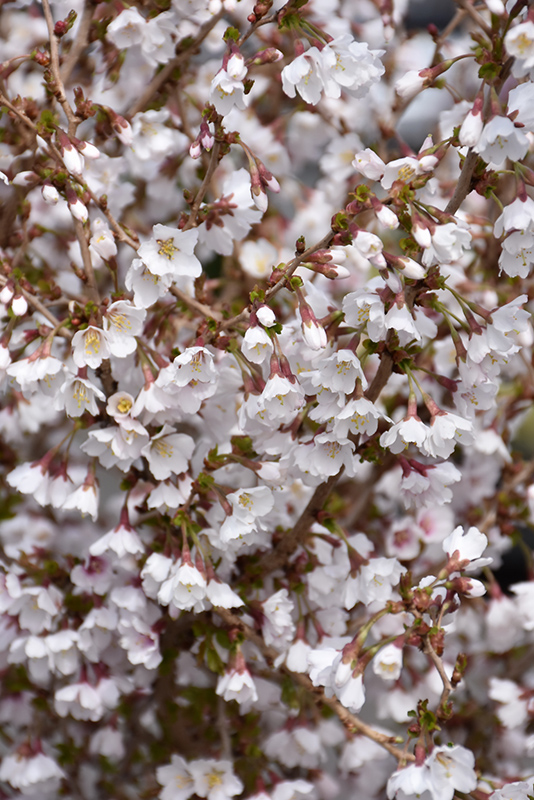
As an accent in a small garden, or planted in a grouping in a larger garden, this multi-stemmed shrub is a gem!
In early spring, crimson buds emerge before the leaves appear. Little Twist then produces clusters of lightly scented white, bell-shaped flowers with soft pink centres that grow along its stems, a stunning early-season display. It is a deciduous shrub, and leaves begin as green before shifting to coppery-bronze, then deepen to a rich burgundy in fall. Smooth, dark red bark adds interest in the winter once the leaves are gone.
This slow-growing, multi-stemmed shrub makes a striking feature in your garden.
Best for: Small gardens, accent planting, four-season interest. | Sun: Full sun | Mature size: 6 ft. tall × 6 ft. wide
Downy Serviceberry, Amelanchier canadensis
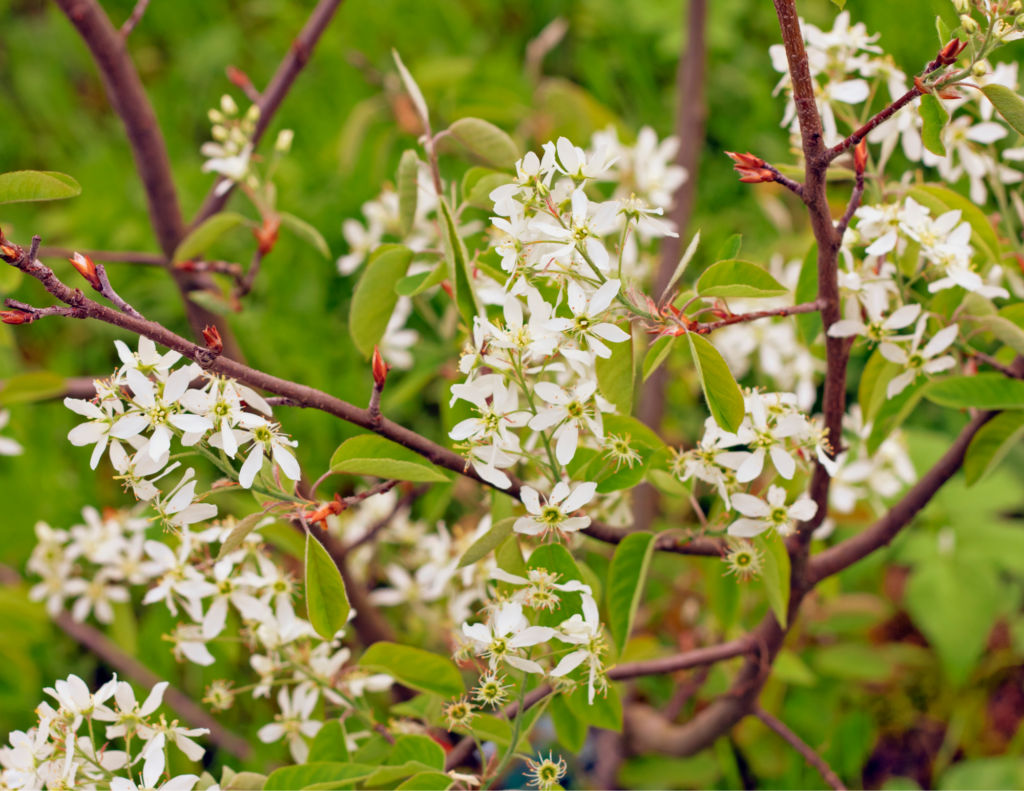
One of the most rewarding native shrubs you can plant, Downy Serviceberry earns its place in the garden from spring right through to fall. Showy clusters of fragrant white flowers in early spring, followed by small, sweet, edible purple-blue berries in early summer that are wonderful for making jam and an absolute favourite for birds. Come fall, the foliage puts on a spectacular show in shades of yellow, red, and orange.
As a bonus, choosing a native plant like Serviceberry supports local pollinators and wildlife, making it as ecologically valuable as it is beautiful. It works well as a specimen plant on it’s own, in a grouping or hedge, or naturalized in a larger landscape.
Best for: Wildlife gardens, naturalized areas, multi-season interest | Sun: Full sun to part shade | Mature size: 20 ft. tall × 10 ft. wide
Amur Privet, Ligustrum Amurense
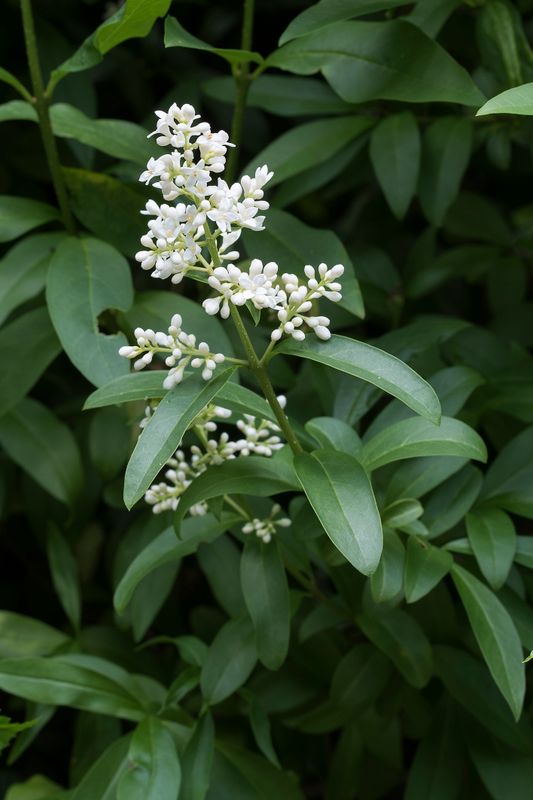
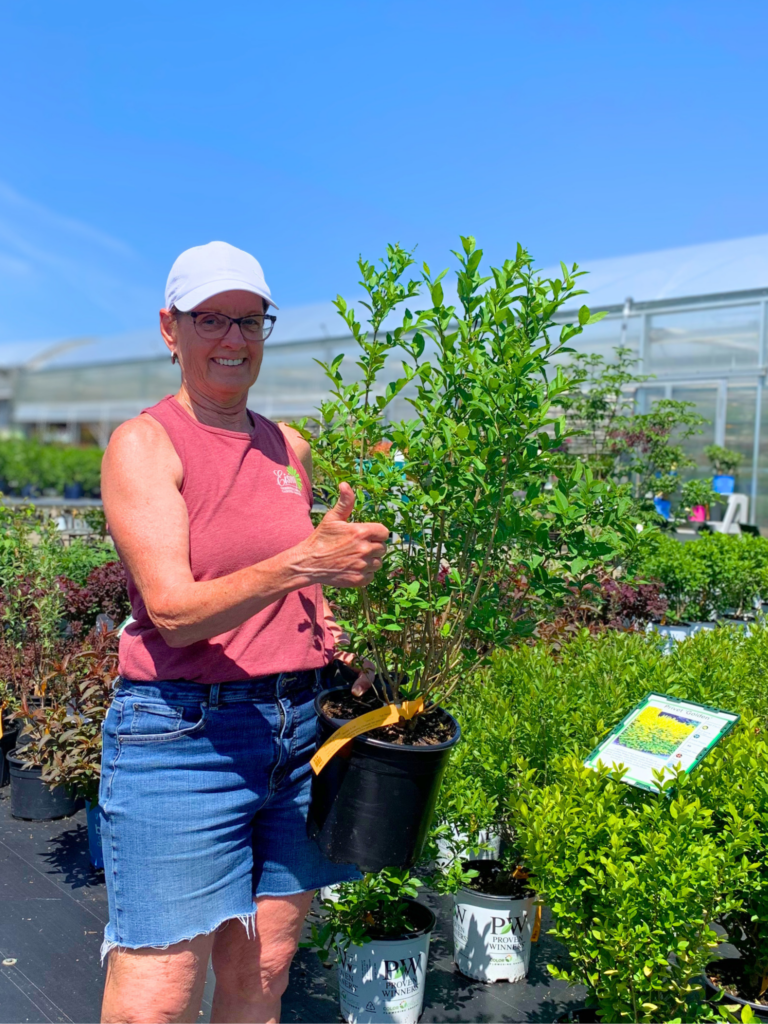
Amur Privet
When fast growth and privacy matter, Amur Privet is one of the best choices available. This dense, dark green shrub produces white flower panicles in late spring and small black berries in fall. It responds exceptionally well to pruning after it blooms, making it an ideal candidate for a formal or informal hedge. If you need to fill a space quickly and create structure in your garden, this is a reliable, low-maintenance option.
Best for: Hedging, screening, fast coverage | Sun: Full sun to part shade | Mature size: 12–15 ft. tall × 8–15 ft. wide
Viburnum ‘Fragrant Snowball’, Viburnum Opulus ‘Roseum’
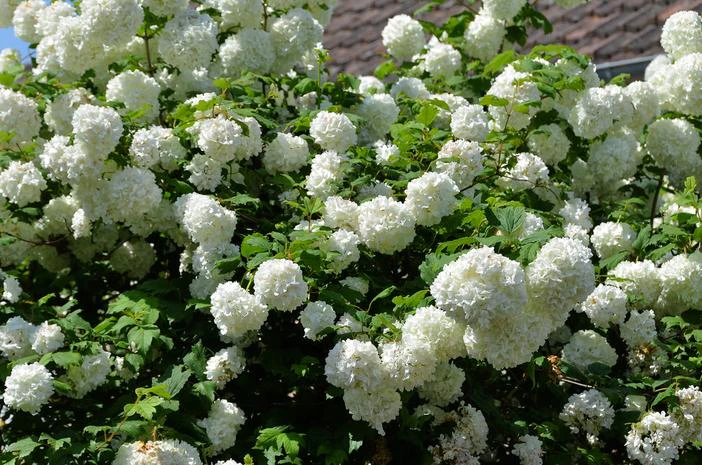
Few shrubs stop people in their tracks quite like Fragrant Snowball Viburnum in full bloom. Large, rounded clusters of sweetly scented white flowers cover the plant in spring, creating a display that’s hard to match. While it doesn’t produce fruit, it earns its place again in the fall when the foliage transitions to rich shades of purple.
Pruning after it blooms will help to keep it a manageable size and encourage healthy new growth. It’s also available as a standard, or tree form, which matures to a more compact 6 to 8 feet tall.
Sun or part shade are best for this deciduous shrub, a beautiful, solitary accent plant for the garden growing 12 feet high and 10 feet wide. As a standard, it is smaller, maturing at 6 to 8 feet tall and 5 to 6 feet wide.
Best for: Specimen planting, cottage gardens, fragrance | Sun: Full sun to part shade | Mature size: 12 ft. tall × 10 ft. wide (shrub); 6–8 ft. tall (standard)
Snowbelle Mockorange, Philadelphus ‘Snowbelle’
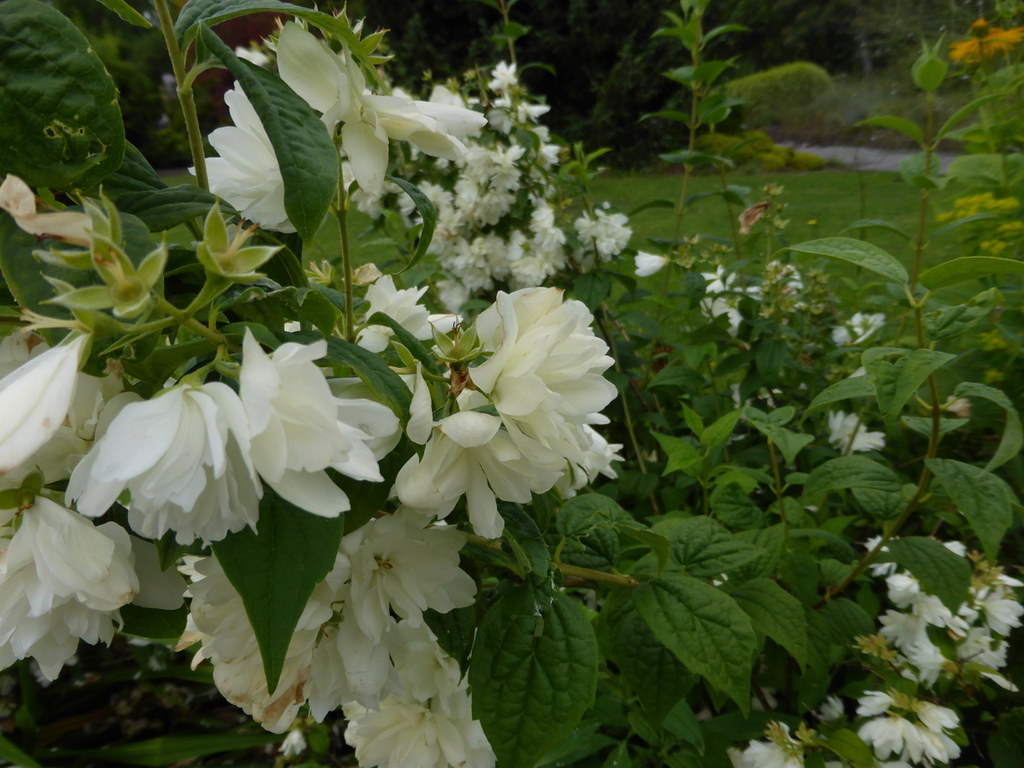
Don’t let its compact size fool you; when Snowbelle Mockorange blooms in early summer, it puts on a big show. This dense, mounded shrub is blanketed in sweetly fragrant double white blooms that are absolutely irresistible to bees and butterflies. Once the flowers fade, its rich, dark-green deciduous foliage makes it a lovely backdrop for other blooming plants in the border.
Growing just four feet tall and wide, it’s one of the best choices for smaller beds, borders and foundation plantings. It prefers full sun but handles part shade as well.
Best for: Small borders, foundation planting, fragrance | Sun: Full sun to part shade | Mature size: 4 ft. tall × 4 ft. wide
More Flowering Shrubs Worth Exploring
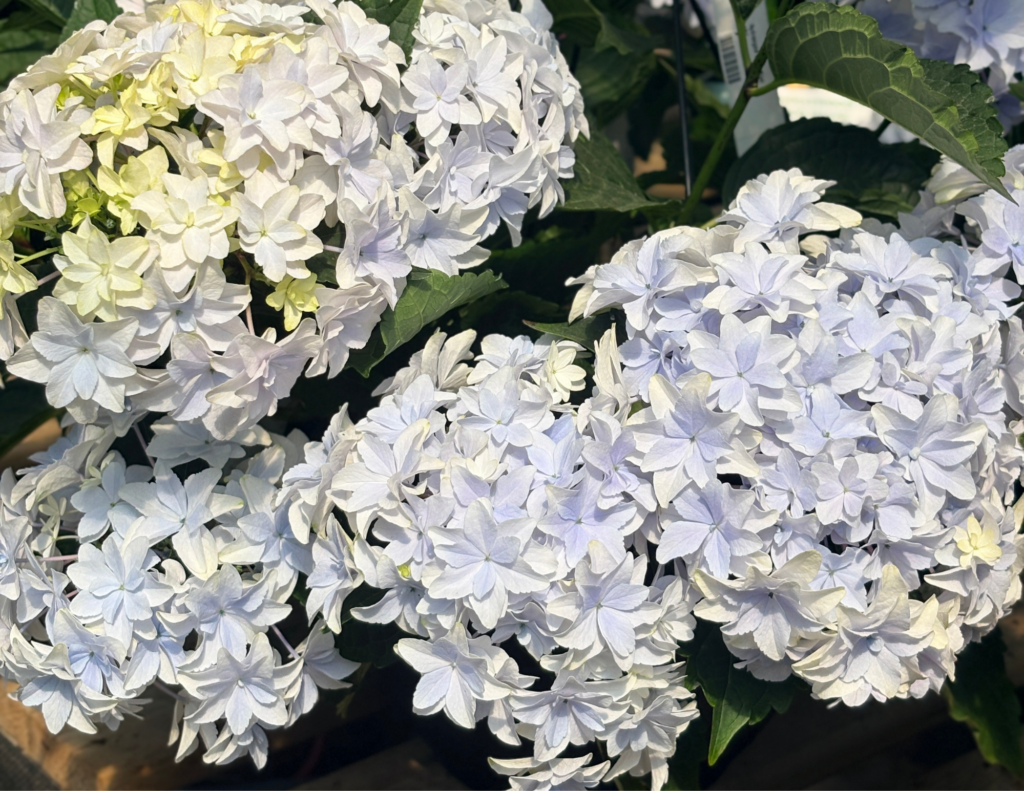
This is just the beginning! At Eising Garden Centre, we also carry a wonderful selection of Azalea, Eastern Redbud, Kwanzan Flowering Cherry, Hydrangea, Dogwood, Butterfly Bush, Beauty Bush, Lilac, Rose of Sharon, Forsythia, and Potentilla, to name a few.
The best way to find the right flowering shrub for your garden is to come in and see them in person, and right now is the perfect time to plant. Stop by and chat with Zach or Donna, who are always happy to help you find exactly what you’re looking for, based on your space, soil, and vision. We’re here to help you make the most of every corner of your garden!
By Dave Zeldon and Ely Schweyer
Starting the first week of January, seed packets of many vegetable garden delicacies began arriving at your local garden centres. It’s a great time to plan your gardens and purchase your seeds while the selection is good but don't sow your seeds too early!

If started too soon, your plants will be leggy and overgrown long before you can transplant them into the garden. The general rule of thumb (even if yours isn't green), is if the seed packet recommends sowing four to six weeks before the last frost date, it's better to pick the four - rather than the six-week date (to calculate the sowing date, count back from the third week of May).
In this blog post, we’ll discuss the proper timing of the beneficial companion planting practice, to ensure an organic triple-play of pesticide reduction, nutrient sharing, and the fruits of your labour actually tasting better!
What is Companion Planting?
The use of companion plants is an organic approach embracing plant diversity that involves growing certain different types of plants near each other. By mixing a variety of plants together you confuse harmful insects (i.e., the ‘Three Sisters,’ corn, beans, and squash). When you plant certain vegetables together or alongside flowers or herbs, you can often camouflage the scent of a given plant so that its potential enemies can't find it. For example, if you plant onions and carrots together, the Carrot Rust Fly can no longer detect the scent of its "prey," the carrot.
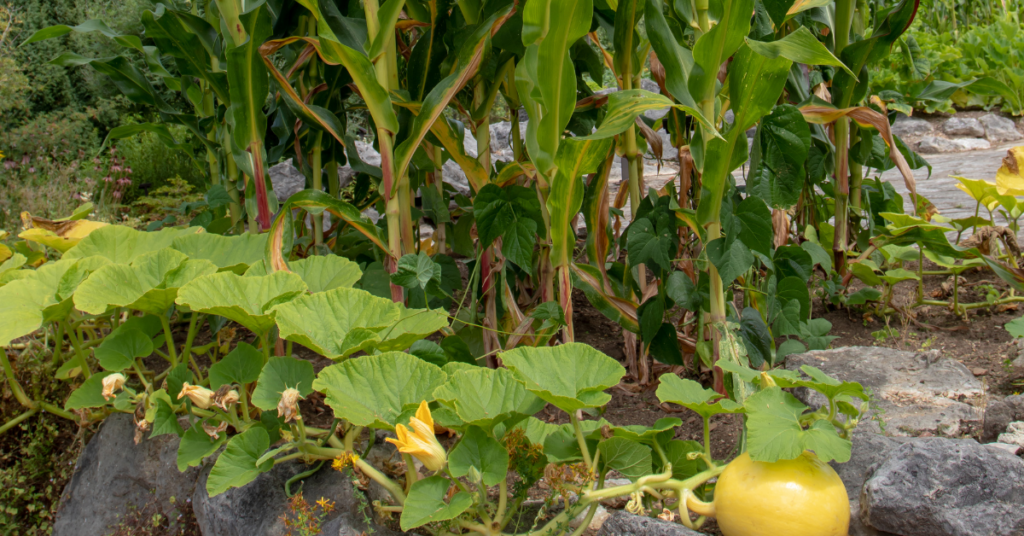
☝️ Plants also share nutrients and amend the soil below ground – in the instance of the Three Sisters, beans fix the nitrogen content of the soil for corn, who has long lost its ability to produce its own nitrogen.
What to Plant?
Herbs Make Excellent Companion Plants
Instead of grouping them all together in a corner, plant them in among your vegetables. Tarragon and marjoram give off a scent that repels most insects. Sage, rosemary, and thyme repel insects that feed on the different plants of the cabbage family. Plant these herbs near your cabbage, cauliflower, and brussels sprouts. Coriander attracts parasitic wasps that are very useful in controlling all sorts of pests.
🖱️ See more on companion planting with herbs here.

Why Not Try Flowers in the Vegetable Patch?
Nothing will make your vegetables happier! Plant borders of alyssum and cosmos; these attract beneficial insects and repel certain harmful ones. Marigolds protect tomatoes from threadworms, and nasturtiums and petunias attract aphids. If you plant them near your tomatoes, the aphids will choose the flowers instead of your tomatoes.
Meet My Plant Friends!
Plant friends are plants that can be grouped together because they mutually help each other grow. Basil stimulates the growth of Tomatoes and enhances the quality of the yield. Chamomile improves the growth and taste of cabbage and onions. It has been found that peas and beans enhance the growth of cucumbers and potatoes. Peas and beans also repel the Colorado Potato Beetle that commonly attacks potatoes and eggplant.
Once you’ve decided who is going where, it’s time to focus on when who is going where.
When To Plant?
It is important to know when the last spring frost date is for your area. Many plants need to be planted after the last frost, so that they don't freeze their little buds off! Follow this guide so that you can have healthy, sturdy little plants that will become good friends in your garden this summer.
| Ten Weeks Before Last Frost Sow indoors: broccoli, brussels sprouts, cabbage, cauliflower, eggplant, lettuce, peppers, and onion |
| Eight Weeks Before Last Frost Sow indoors: tomatoes Sow outdoors: spinach |
| Five Weeks Before Last Frost Sow indoors: marigolds (do not transplant until after last frost) Sow outdoors: peas Transplant: broccoli, cabbage, cauliflower, onion |
| Four Weeks Before Last Frost Sow indoors: cantaloupe, cucumbers, okra, pumpkins, squash, and watermelon |
| Three Weeks Before Last Frost Sow outdoors: carrots Transplant: brussels sprouts, hardened off frost-hardy herbs like chives and oregano |
| Week of Last Frost Sow outdoors: pole beans Transplant: cantaloupe, eggplant, lettuce, okra, peppers, pumpkins, squash, tomatoes, and watermelon |

BONUS: Tips on Ensuring Your Seeds Have the Best Start!
🌱 To ensure success it is always best to use fresh, sterile seed-starting mixture (available from garden centres). Moisten mixture about an hour before sowing; it shouldn't be soggy, just as damp as a wrung-out sponge.
🌱 Follow the information contained on seed packets in terms of timing, lighting requirements, sowing depth, and optimal germination and growing temperatures.
🌱 Lightly water freshly sown flats, then cover with plastic dome lid, or if reusing containers try placing them inside a plastic zip-lock bag. At the first signs of germination, uncover or remove from plastic bag.
🌱 As the seedlings develop, wait until the top of the soil looks dry, water carefully using a small watering can with a fine spray. Avoid over watering: soggy soil and poor air circulation can lead to damping off, a fungal disease that can kill seedlings.
🌱 Locate your seeding flat in a bright window but grow lights or cool fluorescent tubes are better. Keep seedlings about eight to 10 centimetres from light source to prevent plants from becoming too spindly. Plug lights into an automatic timer set for 16 hours on, eight hours off. Be careful if you’re using the windowsill method though, as extremes in temperature may occur from hot drying sunny days to frigid evenings.
🌱 When seedlings have two sets of true leaves (the first leaves are called cotyledons — or seed leaves — so wait for the true ones, start feeding once a week with a balanced (20-20-20), water-soluble fertilizer at half-strength, working up to full strength after a few weeks.
🌱 Finally, the plants which have been raised under sheltered conditions must now be hardened off (see more here) before planting out. Gradually lower the temperature and reduce the watering while exposing the plants to brighter light for seven days prior moving them out to a cold frame. Keep an eye on the weather as sudden changes, as it often happens in spring, could spell disaster to your young plants.
We hope your garden is biodiverse and fruitful this year! For more information – and companion plants – visit Eising Greenhouse and Garden Centre this spring! 🌿
By: Dave Zeldon and Ely Schweyer
If you can’t wait for Mother Nature’s next great colour show, the time is now (mid September) to get rolling on those early spring flowering bulbs! Even though you can start planting in October or early November, buying bulbs now is advantageous as the selection at your local garden centre is at their best. Being the very first to bloom during the last dreary days of winter, bulbs announce that spring is returning once more, and as you think about the colourful show of tulips and daffodils next year, remember all spring’s groundwork begins now!
Your bulbs may be planted in your lawn, rock beds, at the foot of trees and bushes, in annual or perennial flower beds, or even in flower stands and pots. Combining the emerging fresh colors and textures of bulbs with the established foliage creates a harmonious relationship opportune for a complimenting or contrasting garden-scape. With a bit of planning and creative selection you can easily extend the joy of having spring flowering bulbs in your garden from a few weeks to several months, furthermore, planting bulbs amongst perennials offers that the new growth of the perennials will hide the fading foliage of the bulbs once they have finished flowering! Not long after the fading of the bulbs most perennials themselves will bloom, smoothly extending the sequence of flowering plants for you to enjoy.
Read on for all there is to know about planting bulbs!
Buying Your Bulbs:
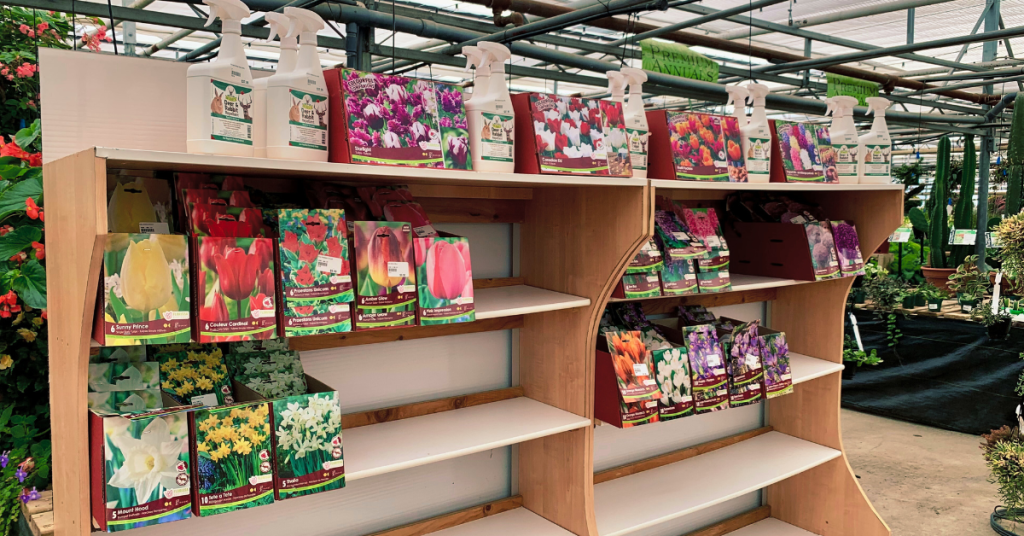
When buying, look for nice, plump, firm, bulbs. Avoid those with scars or that feel spongy to the touch. The general rule is the larger the bulb the bigger the plant. If you're buying daffodils, look for bulbs that have two or more "noses" as you will get extra flowers for free!
To have a good display of colour in your garden, right from March to the end of June. Be sure to check the blooming times on the packages and get a variety of early, mid and late-blooming spring bulbs.
👉 Tip: To extend the season, plant some bulbs in places where the sun beats down in early spring and some in cooler, shady areas of the garden allowing them to emerge in later spring.
Planting Your Bulbs:
When planting, the soil must be warm enough under the surface to stimulate a little root growth prior to the winter freeze. Winter chilling is necessary to break the flower bud dormancy (vernalization) to have our bulbs produce blooms in the spring (see below how to force bulbs if you’re reading this in the spring).
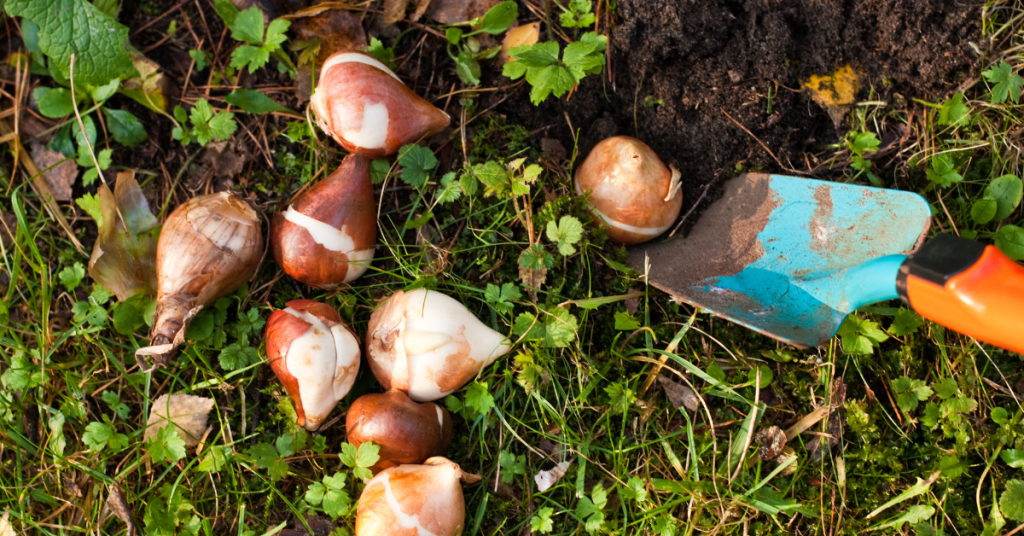
Remember to plant your bulbs with the pointed end up! If it doesn't seem to have a pointed end, look for the flatter side and evidence of roots, which is the end that goes down. If you still can't be sure, plant the bulb on its side and it will figure out the proper direction by itself!
The rule of thumb is to plant the bulb two or three times as deep as the bulb is tall. The depth is to the base of the bulb, not the top. Typically, 8 inches (20 cm) for big bulbs such as daffodils, tulips and hyacinths and 5 inches (13 cm) for small bulbs like grape hyacinths and crocus. Plant in well-drained soil, cover up, water well and wait for spring.
In a wide hole, place bulbs - so they aren't touching - in threes, fives, or sevens per hole for the most natural look. You can throw a handful of bonemeal in the planting hole and mix it lightly with the soil, this will give your bulbs a good boost for the best bloom. Water to the depth of the hole.
Tulips, daffodils and other spring-flowering bulbs require a long period of cool temperatures to undergo the biochemical process that allows them to flower. So, in the fall, get them in the ground ideally six weeks before hard freezes to give them the time they need to develop strong roots.
Fertilizing Bulbs:
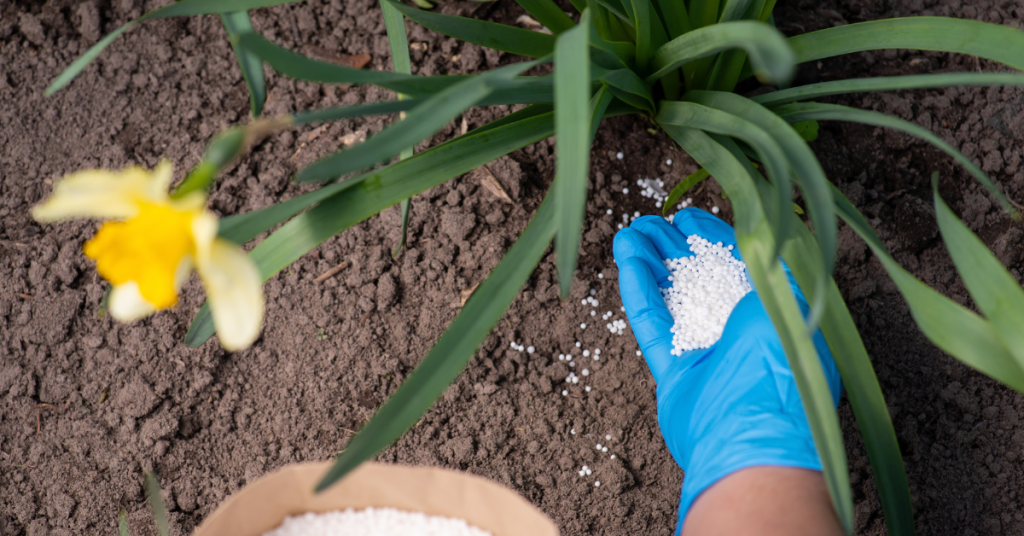
Bulbs contain the nutrients they need to bloom their first year, but a fertilizing program will keep plants healthy and ward off diseases and pests. Compost and manure are two good organic fertilizers that not only enrich the soil but ensure a good soil structure for bulbs. Additionally, organic supplements can be used to add nutritional balance. Compound mineral fertilizers can also be applied, however, check the label to see if fertilizing is appropriate for your bulbs and the best time of year to do so. Top-dressing with fertilizers like 9-9-6 slow release or either 8-8-8 or 10-10-10 soluble fertilizers are examples.
Once a bed of spring flowering bulbs are established, the process of naturalizing occurs which simply means that a bulb flowers again after the first year and starts producing more bulbs on their own. However, they will need your help to get the food they require to recharge and regenerate for the next season's bloom.
Some Helpful Tips:
- Squirrels enjoy the taste of tulip bulbs if they are easily accessible but not so with daffodil bulbs; interplanting the two together and/or mulching the garden will help protect them.
- Resist the urge to tidy up fading foliage or mow over it as the plants require about six weeks to build up reserves for the next season.
- Deadhead the tulips as the formation of seeds will sap the energy from the bulb. Daffodils & other bulbs do not require this action.
Forcing Bulbs:
Now if you can't wait for spring to smell the fragrant hyacinths, or you missed the fall planting, why not try your hand at bulb forcing?
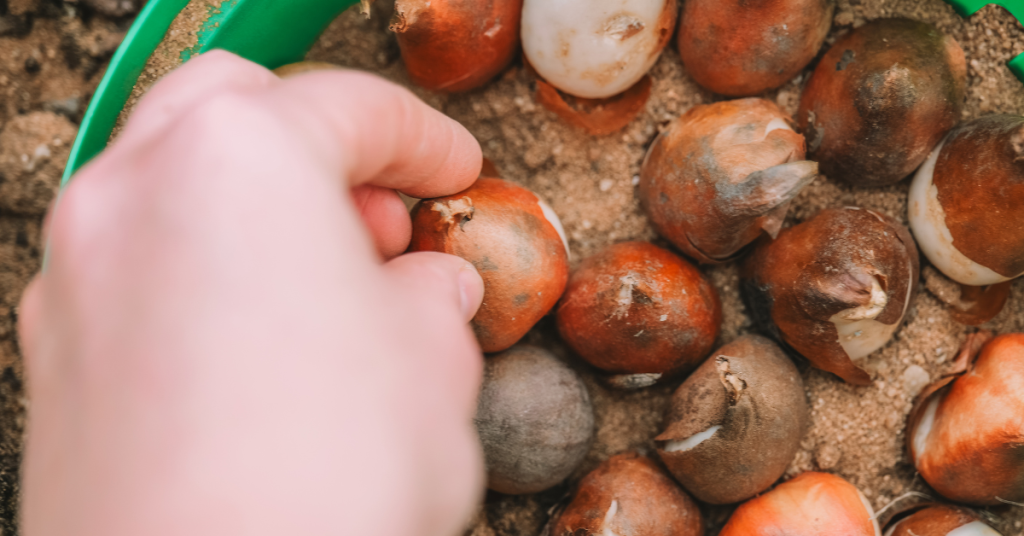
All you have to do is plant any extra bulbs in a pot with a drainage hole. Choose a pot that is at least twice as deep as the bulbs to allow for proper root growth. Fill the pot half full of soilless potting mix. Then place as many bulbs as possible in the pot, without letting them touch. For a thick show, layer more than one kind of bulb in the same pot; place larger bulbs on the bottom as they will grow around the smaller ones. A six inch-wide pot holds up to six tulips, three narcissus (daffodils), or 15 minor bulbs, such as crocuses or grape hyacinths.
Cover the bulbs with potting mix, leaving their tips showing. Water the bulbs thoroughly. Label with name and date; loosely cover pot with a paper bag. Place in cool (1-7 degrees Celsius or 35-45 degrees Fahrenheit), dark place for chilling such as an unheated attic, basement, or attached garage or in a 12 inch-deep trench covered in a tarp.
Check moisture in pot periodically keeping the soil damp but not wet. When chilling is complete, you'll see roots poking out of the bottom of the pot and green sprouts emerging at the bulb tips. It's time to move the potted bulbs into a warm room.
Chilling and Blooming Times:
- Daffodils: 12-15 weeks of chilling; 2-3 weeks to bloom after chilling.
- Tulips: 10-16 weeks of chilling; 2-3 weeks to bloom after chilling.
- Crocus: 8-15 weeks of chilling; 2-3 weeks to bloom after chilling.
- Grape hyacinth (Muscari): 8-15 weeks of chilling; 2-3 weeks to bloom after chilling.
- Iris reticulata: 13-15 weeks of chilling; 2-3 weeks to bloom after chilling.
- Snowdrop (Galanthus): 15 weeks of chilling; 2 weeks to bloom after chilling.
- Hyacinth: 12-15 weeks of chilling; 2-3 weeks to bloom after chilling.
We wish you all the best with your bulb planting this autumn! For more information - and bulbs - stop by Eising Greenhouse and Garden Centre this fall!