
How to Identify These Annoying Little Gnats
By Ava Green
Do you have tiny flies buzzing around your home and have no idea where they came from? Before you can get rid of them, you need to know what you're dealing with. Most people assume they're fruit flies, but there's a good chance they're not.
There are three common culprits:
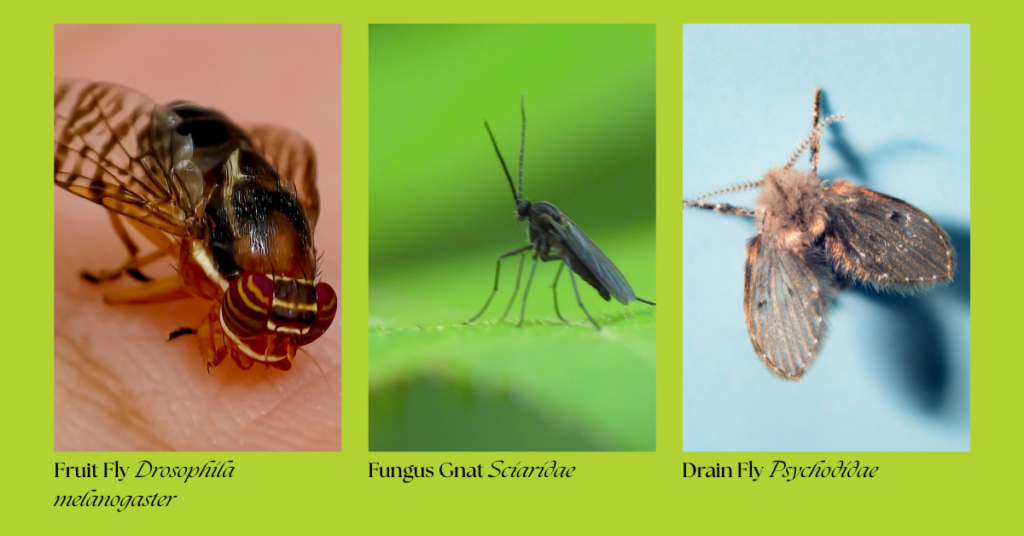
- Drain flies breed in moist drains. Keep drains closed when not in use.
- Fruit flies hover around overripe produce.
- Fungus gnats, the most commonly misidentified of the three, love the damp soil in your houseplants, and they're the ones most likely buzzing around the house.
Fungus Gnats are Probably Already in Your Home
Every time you bring a plant indoors, whether it's brand new or returning after a summer outside, there's a very good chance it's carrying fungus gnat eggs in its soil. When you purchase bagged soil, it will often contain fungus gnat eggs as well. They're small, they're sneaky, and here's the most important thing to know: they multiply fast. Left unmanaged, a handful of gnats can turn into hundreds within weeks.
What Makes Fungus Gnats Thrive?
Fungus gnats love warm, moist conditions and organic material, like your potting soil. Adult gnats lay eggs in damp soil, which gives their larvae everything they need to develop.
The good news? Once you understand what they need to survive, stopping them is very easy and straightforward.
7 Proven Ways to Get Rid of Fungus Gnats
1. Quarantine any new or returning plants for 4 weeks. This single step prevents gnats from spreading to your other houseplants while you treat the soil.
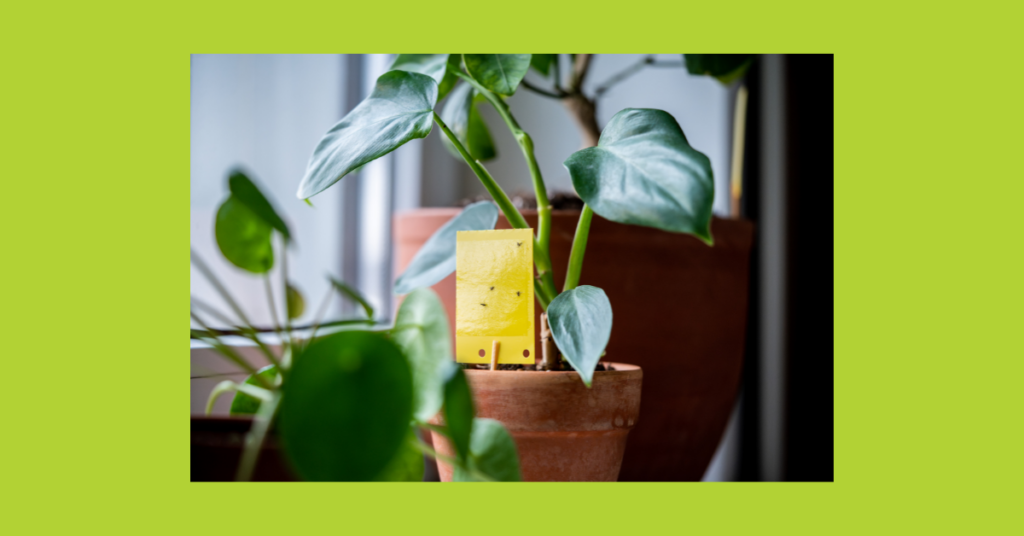
2. Use yellow sticky traps. These inexpensive traps attract and catch adult gnats before they can lay more eggs. Place one directly into the soil near your plant. Putting a sticky trap in a planter, whether it’s a new plant or one you’ve had a while, is also a good way to monitor whether or not you have pests in your plants.
3. Let the top inch of soil dry out completely between waterings. Fungus gnats need moist soil to lay their eggs. Deny them that, and you deny them a future. To test whether the soil has dried out, poke one of your fingers in it about an inch to check for moisture.
4. Cover the soil surface with coarse sand or vermiculite. A layer of sharp, gritty material on top of the soil is uninviting to egg-laying adult gnats. Make sure to use coarse sand, fine sand won't do the trick.
5. Switch to bottom watering. This is the best watering method for a number of reasons, including discouraging fungus gnats. Fill a tub or sink one-quarter full and set your pot in it for about 30 minutes allowing water to be absorbed into the soil via the drainage hole in the pot. When the soil and roots absorb water from below, it keeps the top layer of soil, where gnats want to lay their eggs, dry and uninviting. Make sure the water level covers no more than one-third of the pot, not the entire pot.
6. Try Mosquito Dunks (the secret weapon most gardeners don't know about). These contain BTI, a naturally occurring bacterium that is harmless to humans, pets, and plants, but lethal to fungus gnat larvae. Simply follow the package instructions and water your plants as normal. Water activates mosquito dunks.
7. Water with diluted hydrogen peroxide once a week. Mix one part 3% hydrogen peroxide with four parts water (so ¼ cup peroxide to 1 cup water). Apply this solution once a week for three weeks, and let the soil surface dry out between each application. It kills larvae on contact. Don't overdo it though. Too much, too often can damage roots.
Don’t Forget Your Fruit Bowl: Try This Banana Trick
Fungus gnats aren't just plant pests, they're also drawn to fruit, especially bananas. The stem end of a bunch of bananas is a prime spot for gnat eggs. The fix is simple: as soon as you get home from the grocery store, rinse your bananas under lukewarm running water and give the stem a gentle scrub with a soft brush. It takes about a minute and can prevent a whole new infestation before it starts.
The Bottom Line
Fungus gnats feel impossible to eliminate because most people only address the adults they can see and not the larvae multiplying in damp soil. Use these tips in combination for the best results, and remember: even a fresh bag of potting soil can carry eggs, so treat new soil with BTI or a hydrogen peroxide solution before use.
Stick with it for a few weeks and your home and your plants will be gnat-free.
By: Dave Zeldon and Ely Schweyer
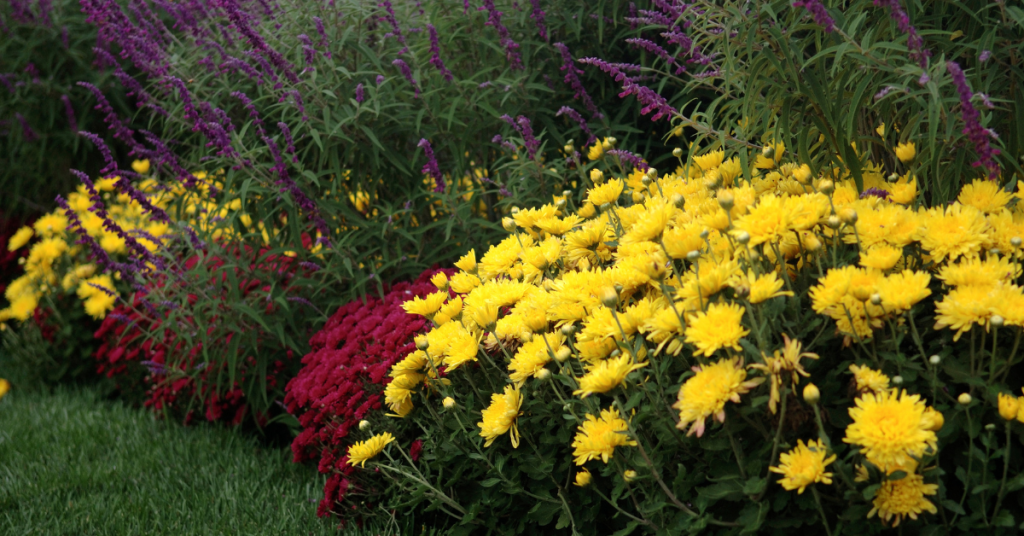
The classic fall-blooming Chrysanthemum varieties of burnt amber, golden yellow, and deep burgundy blooms have been enormously popular for years, and as each new fall season rolls around, there always seems to be new varietal introductions – like multicoloured pinks with the hues of sunrises - to enhance your front porch display of pumpkins, corn stalks, and gourds.
These robust plants will produce blooms for weeks, even in the coolest of autumn weather. Their hardiness even offers versatility when it comes to their display; some gardeners prefer less labour-intensive groundskeeping and leave them in their original store pots, whereas others prefer to transplant these flowers into larger planters, window boxes, or into flowerbeds to add an easy seasonal flair.
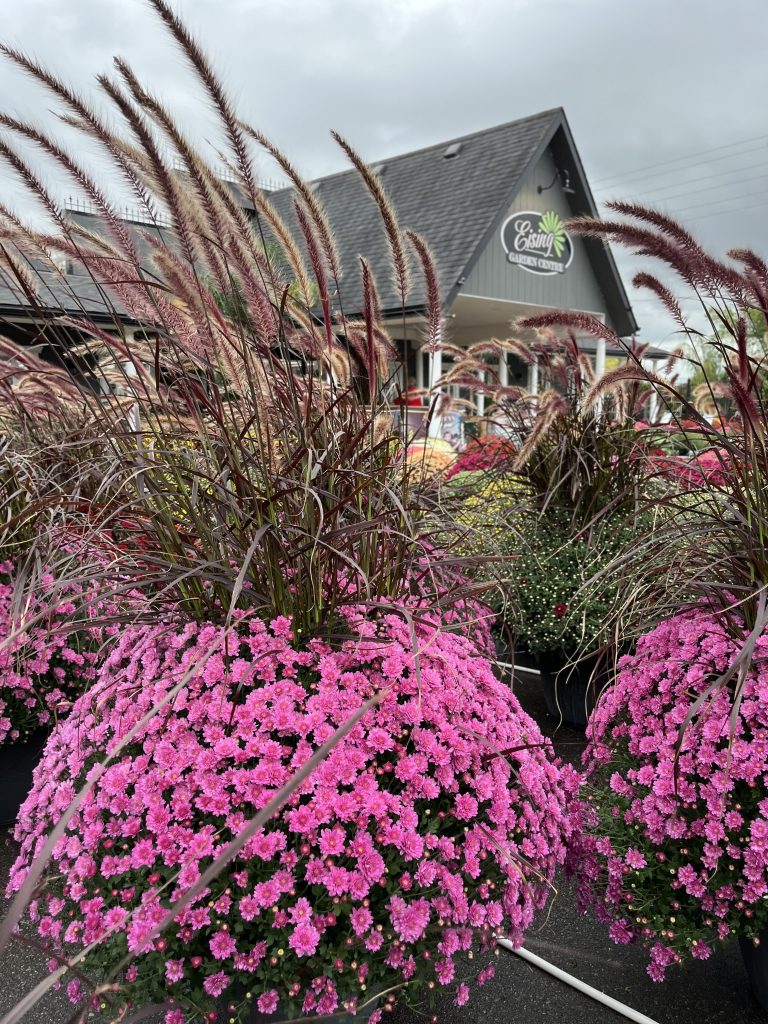
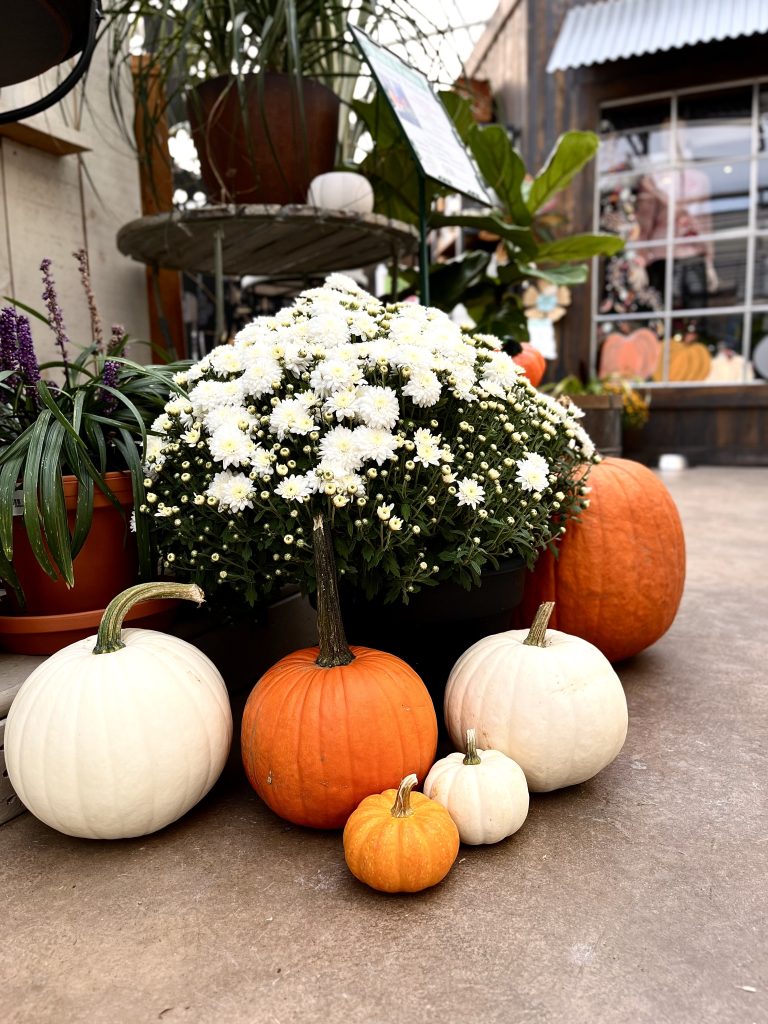

While resilient, these plants still need some TLC. Try these tips to keep your Mums looking fresh throughout the fall.
- Choose green plants with tightly closed buds. This way when your Mums do bloom, you will be able to keep those colourful displays for much longer.
- The Mums' foliage should have a deep green colour and lots of growth at the garden centre.
- Also, make sure the soil in the container is moist when purchasing your plant, as dried out Mums may have already suffered damage.
- You'll find out in short order that your potted Mums are very thirsty plants! Water them daily and make sure the soil remains moist. A shot of liquid fertilizer to the irrigation water once a week would be great as well.
Over-Wintering Mums
Modern Mum breeding is aimed primarily at creating plants that look good in their pots at their point of purchase, sacrificing the plant’s hardiness and performance for future years - meaning when home gardeners try to overwinter these big potted plants, they are not usually successful.

All Mum plants at garden centres are hardy, meaning that they are perennials in most climates. However, if these plants are put in the ground from August on, most won't make it through winter. The reason is that Mums planted late in the season are near, or at, the flowering stage, when their energy is focused into blooming, and they won't grow roots to sustain plants through the winter. This is why Mums should be planted in the spring if you want a perennial plant that has a spectacular autumn show!
If you really adore your fall purchase though, you can try to over-winter your Chrysanthemums in the basement or a dark, cold closet, after the first frost. Water well and place in an area where it is totally dark and 0°C to 10°C. The plants will hibernate for the winter if you keep their roots damp. Check the pots weekly.
In the spring, gradually acclimate your Mum plants to light and plant them out in the garden after the last killing frost, remembering to pinch them twice prior to the first of August for a full, lush plant.
We hope this helps you to enjoy your Mums just a little bit longer! Use our Plant Finder to search for a sample of our Mum selection by your preferred colour. You can find many Mum varieties and more information at Eising Greenhouse and Garden Centre, please stop in for a visit this autumn!