By: Ava Green
Spring is the time of year known for new beginnings, and it’s also a very busy season in the garden as we hurry to get everything planted for the summer growing season here in Southern Ontario. But, did you know that fall is also an ideal time to get planting?
Similar to spring conditions, the cooler temperatures and more frequent rainfall make it easier for new plants to transition. This also decreases transplant stress. There’s time for roots to become established, and by springtime, you’ll be enjoying your plants instead of being busy planting them!
Don’t wait too long, though! At Eising Greenhouses, we recommend planting perennials, trees and shrubs before Thanksgiving weekend to give your new plants a little time to settle in before a hard frost arrives. A hard frost, or freeze, is when the temperature dips below zero for an extended period of time, killing tender plants.
What to Plant in Fall
Spring-Flowering Bulbs
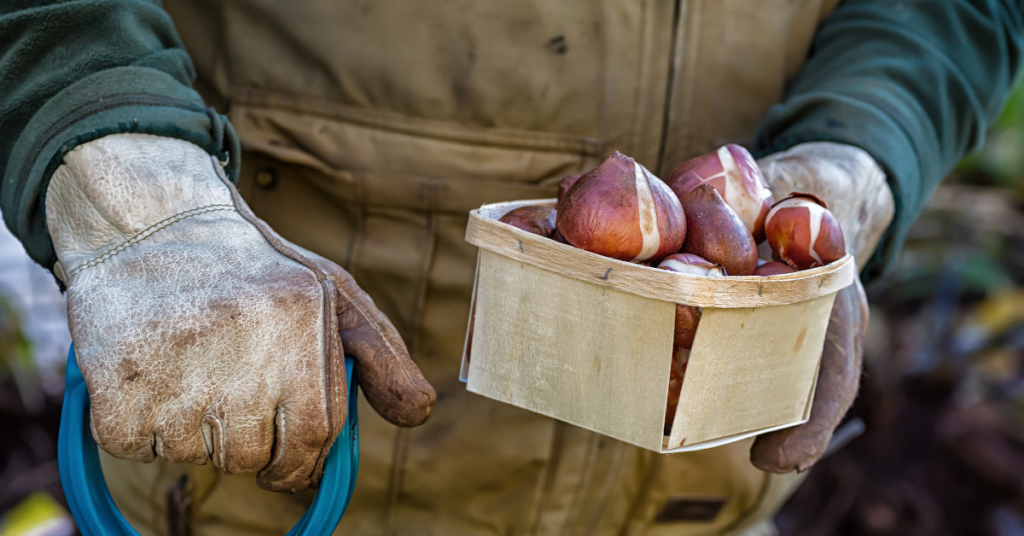
Tulips, Daffodils, Hyacinths, Crocus, Fritillaria and Alliums are just some of the bulbs that need to be planted in the fall in order to enjoy their flowers in the spring. Tulips especially appreciate being planted in cooler weather, but all of these bulbs require a cold period of about 12 weeks in order to grow in the spring. Many bulbs can be planted right up until the ground freezes. But why wait?!
👉 TIPS: While Tulips can be tasty and tempting for squirrels, rabbits and deer, many bulbs like Alliums, Frittilaria and Daffodils are not so delectable. Tamping down the soil after planting your bulbs makes it more difficult for critters to sniff them out. Laying some chicken wire over the area can also help deter from your bulbs becoming a meal for a critter.
Be sure to choose an area to plant your bulbs in that does not stay wet so the bulbs don’t rot.
Garlic
While some folks choose to plant garlic in the early spring, many people choose to plant it in the fall. Why not get started now? When you plant your garlic in autumn, you will have a crop that’s ready for harvest next summer.
Plant, Divide, and Transplant Perennials
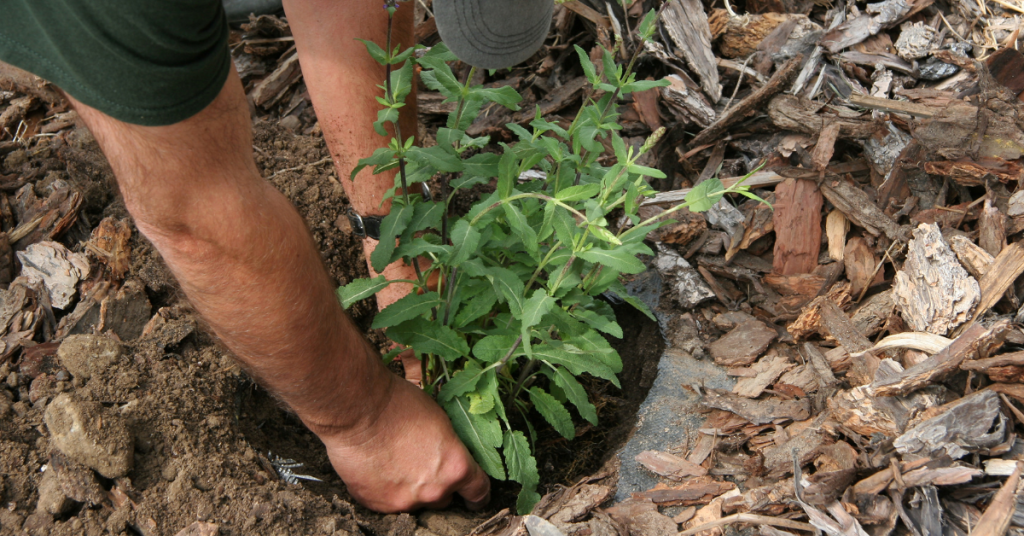
Yes, you can still plant perennial flowers in the fall! Whether you’re purchasing new plants or moving plants around, autumn is a great time of year to do it.
It’s also a great time to divide and transplant spring and summer blooming perennials. Why divide your plants? It’s a great way to revitalize the plant and also to create new plants.
Whether you’re planting, dividing or transplanting perennials, it’s best to do it 4-6 weeks before the first hard frost so that they have time to become established in the soil. Perennial plants will be available for sale at Eising Greenhouses until Thanksgiving weekend, so don’t delay too much!
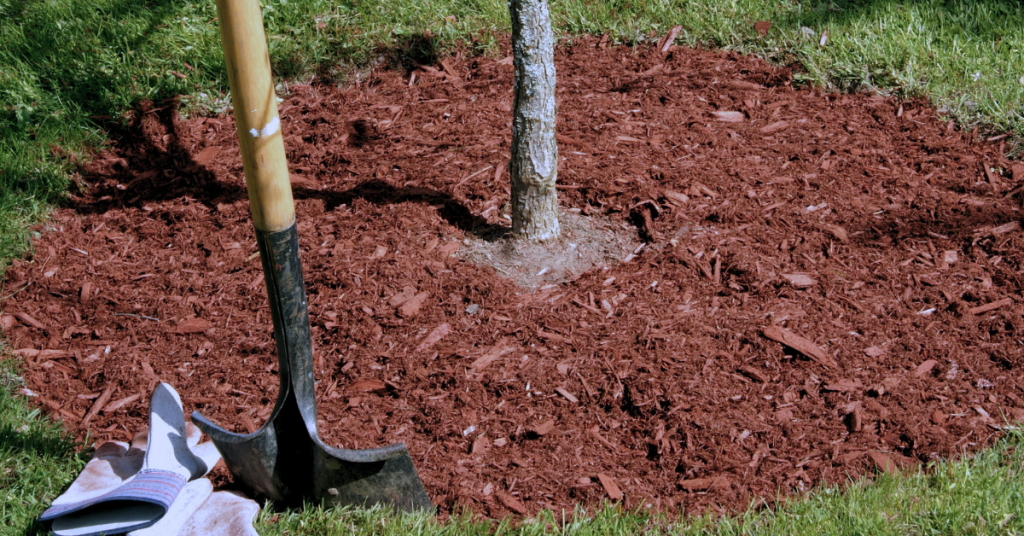
Trees and Shrubs
Container-grown or burlap-wrapped trees and shrubs can be planted as long as you can get a shovel in the ground! However, it’s a good idea to give them a few weeks in your garden before it freezes if you can.
It’s especially nice to see what a tree or shrub will look like in the fall before you plant it.
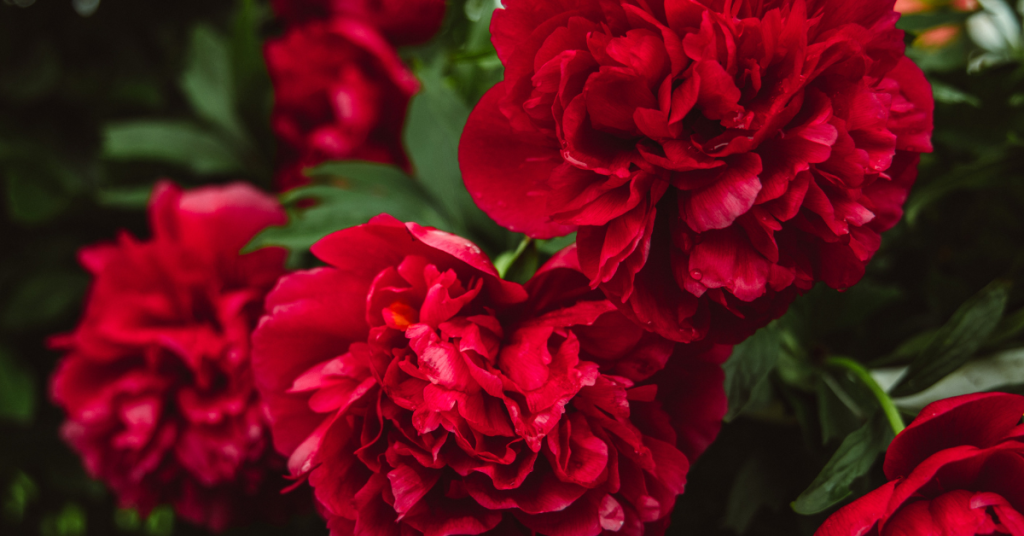
Peonies
Autumn is the best time to plant and establish roots so your peony is ready to bloom in spring! Planting them 4-6 weeks before the first hard frost will help your plant become established before cold weather descends.
👉 TIP: Be sure to add mulch to trees, shrubs and perennials after planting. But keep the mulch away from the trunks or stems. It’s never a good idea to put decaying plant material right up against a living plant!
Come in and take a look at what’s available, then enjoy the cool fall weather for planting!
Resources: If you’re new to dividing perennials, here’s a handy helper - A Guide to Dividing Perennials by the Toronto Master Gardeners
Fall is the time to plant garlic if you want to harvest them next summer. Why grow your own garlic? Like any vegetable, fresh garlic just tastes great. It’s also very satisfying to plant one little clove and get a whole head of garlic from it. Think of it as a garlic bank: put in a little effort in the Fall, and next summer you will profit from that small investment in spades!
If you’ve never planted garlic, it’s quite an easy crop to grow. Just follow these seasonal steps to help you get started. Hint: Mid-October to early November is when the majority of the work takes place.
FALL
Choose a location that is in the sunniest area of the garden. Lots of sun will produce large heads of garlic.
Prepare the soil in late summer, or as early in the Fall as possible. Or prepare the day before you plant if you can’t get to it sooner! Amending the soil is an often missed step but it will provide valuable nutrients for your garlic throughout the seasons.
Add organic compost like mushroom or sea compost, composted green waste, aged or composted manure, or a mix of any of these. Variety is best and all are great options. If you’re starting a new, raised bed, mix a ratio of 75% compost with 25% vermiculite to create a nice, light soil for your plants. This mix can also be added on top of the soil of an existing bed, making harvesting easier next summer!
Choose a garlic variety based on the flavour and size you like. There is softneck or hardneck garlic, but hardneck is recommended for growing in Canada. Also, hardneck varieties produce scapes which are a bonus crop - you can read more about that below. Red Russian, Music and Chesnock are just a few of the popular varieties grown in Ontario.
Separate the garlic cloves, or teeth, from the heads. As you’re breaking down the heads of garlic, it’s important to choose the largest cloves to plant. Starting with large cloves will increase your chances of growing large heads of garlic. Set aside any small cloves to cook with.
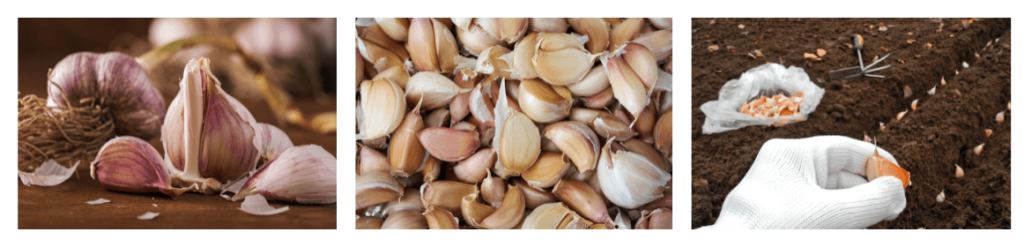
Planting! Sometime between early October to mid-November is a good range to get your garlic in the ground in Norfolk County. Basically, 4 to 6 weeks before the ground is frozen.
Here’s how to get your garlic in the ground!
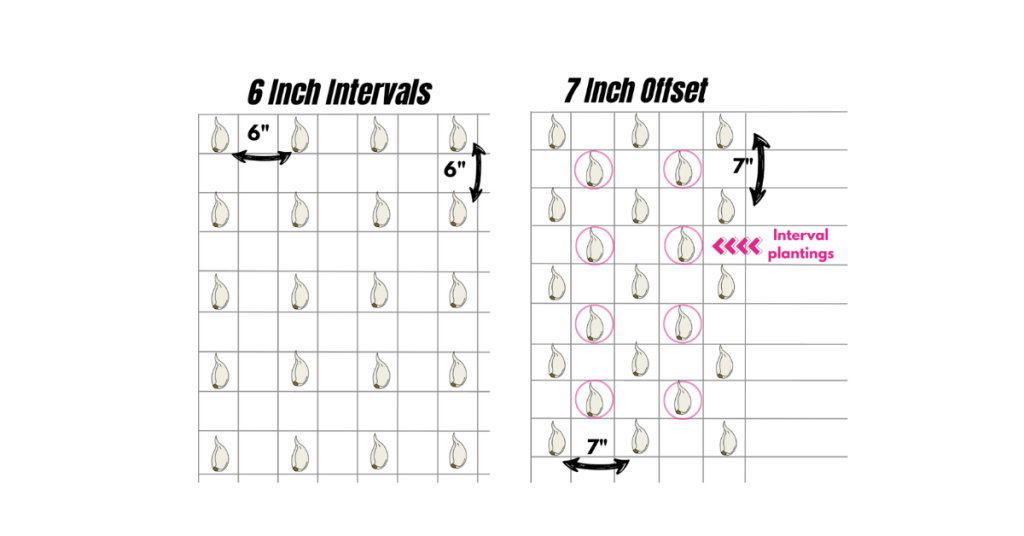
- When it comes to spacing, there are two options.
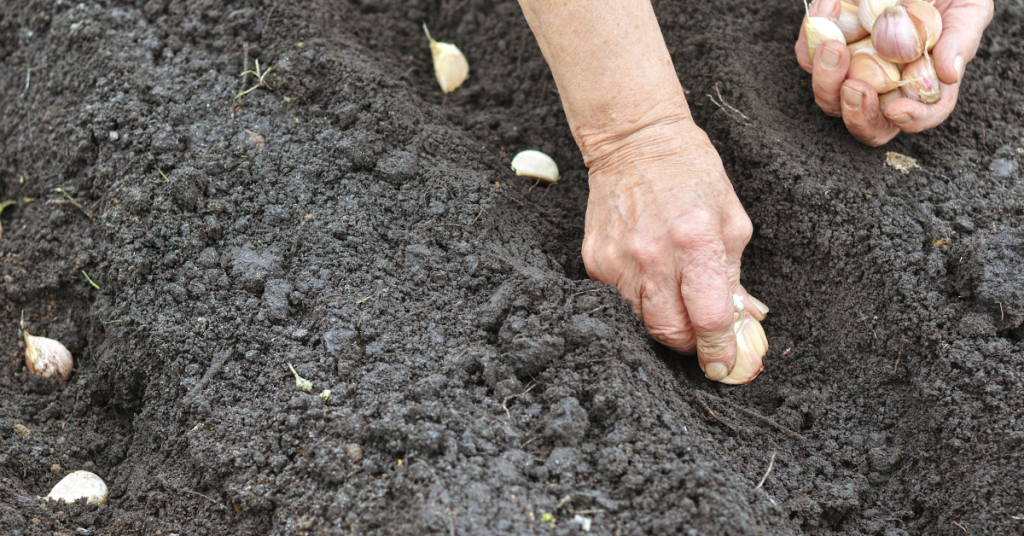
Using a dibber or a hand trowel, create 3 to 4” deep holes in one of the following patterns:
a) Make holes that are approximately 6” apart and in rows that are 6” apart.
b) Make holes that are approximately 7” apart and in rows that are 7” apart. Then, go halfway between each row and make an offset row. This method is best if you don’t have a lot of space and will not impact the growth of the garlic.
2. Place a handful of worm castings or organic 4:4:4 fertilizer in each hole and mix into the soil a bit.
3. Place ONE clove in each hole, with the pointy end facing up and the flat end down.
4. Backfill with surrounding soil so that each clove is covered 2-3”. This acts as protection during the cold winter months.
5. Top with leaf mulch, leaves, or straw, and water in your garlic if there is no rain in the forecast for several days.
SPRING
This is the time to check on your garlic and give it a little more nutrition.
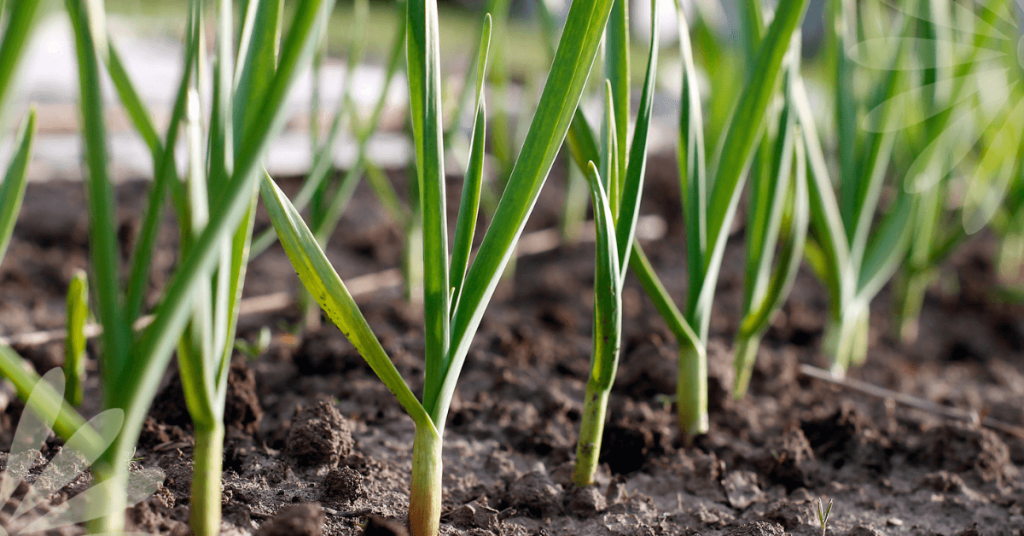
Look for signs of first growth in February or March, depending on how warm the weather is. When you see 3”- 4” of growth, remove the mulch from around each plant, or from the bed, and add it to the compost pile.
Add nutrients by amending the soil with 1 tablespoon of 4:4:4 organic fertilizer per square foot of the garden, or add a 1”- 2” layer of fresh compost.
Water deeply from now on when the soil dries out. And that’s it! Your garlic is well set up to go into a BIG growth cycle.
SUMMER
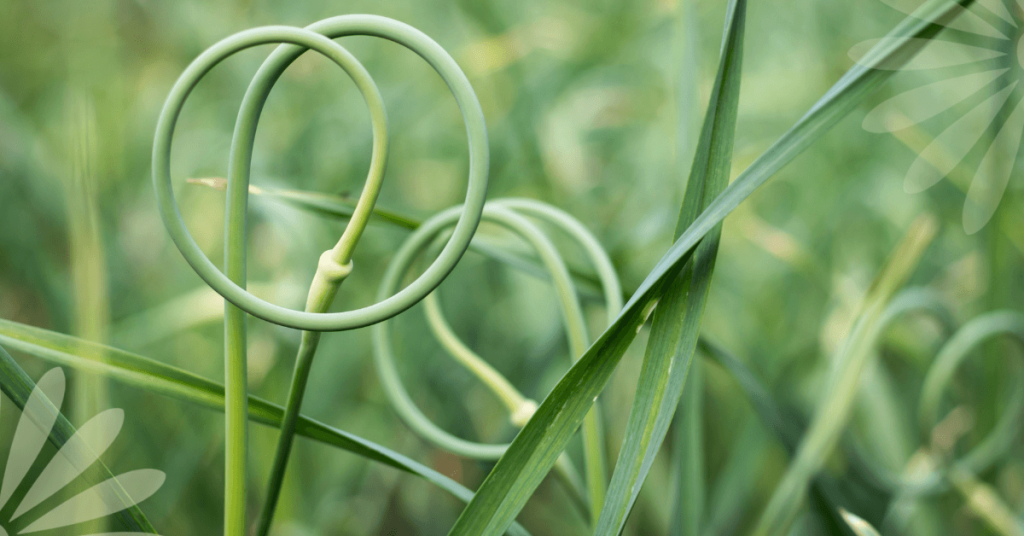
Remove the scapes! Around mid-June look for the top of the stem of each plant to curl around forming what’s referred to as a “scape”. These curls, or scapes NEED to be removed so that the energy from the plant goes into growing the bulb, not into growing the seed head that is part of the curly scape. One full loop is a good time to cut or snap off the scape just above the top foliage.
All of the growth in the bulb happens once you remove the scape!
Here’s the bonus - garlic scapes are delicious! Chop them up and add them to soups, stews or anything you’re grilling. They also make excellent pesto!
Water and check your garlic for any pests throughout the growing season, just as you would with any other plants.
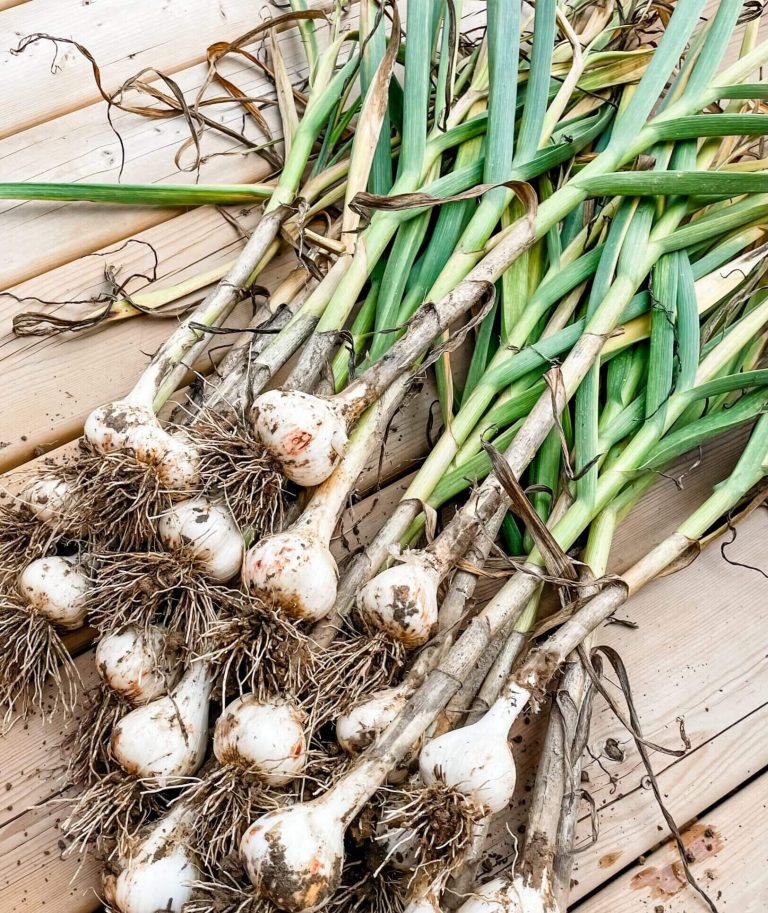
Harvest! Sometime in July, you will start to notice that the bottom leaves of your plant are dying. Don’t worry! The leaves on the plant correspond with the protective layers forming around the outside of your bulb, and they’re getting ready for harvest.
Around mid-July, 4 or 5 of the bottom leaves will be dead and this is your sign that it’s time to harvest your bulbs.
- Stop watering your garlic 4 to 5 days before harvesting.
- Use a pitchfork or shovel to loosen the soil, keeping well away from each plant so that you don’t slice through the garlic heads.
- Gently pull up each bulb and shake off any soil hanging on to the roots. Resist the urge to wash the bulbs as moisture at this stage will promote mould or rot!
Cure your garlic harvest by hanging it in a cool, dry place that’s out of the sun and has good airflow for 2 to 3 weeks. You may need to use a fan for this step.
Once cured, trim off the stems leaving 1-2” and the roots, and store in a dark, cool and dry spot in the house. Well-cured and stored garlic can last until sometime between December and February… unless you’re cooking, canning, and freezing with it and use most of it up! But don’t forget to save the biggest cloves to plant again in the Fall!