
How to Identify These Annoying Little Gnats
By Ava Green
Do you have tiny flies buzzing around your home and have no idea where they came from? Before you can get rid of them, you need to know what you're dealing with. Most people assume they're fruit flies, but there's a good chance they're not.
There are three common culprits:
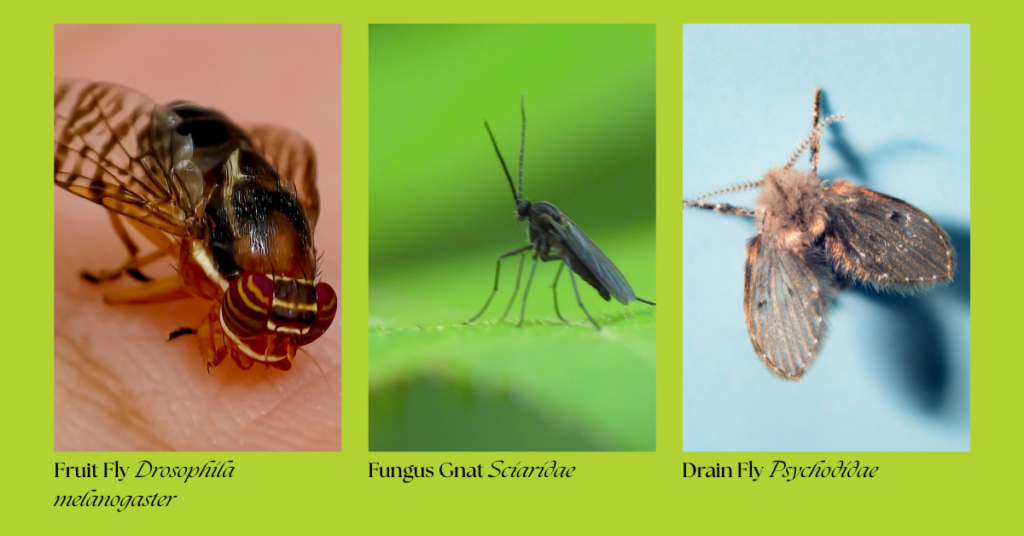
- Drain flies breed in moist drains. Keep drains closed when not in use.
- Fruit flies hover around overripe produce.
- Fungus gnats, the most commonly misidentified of the three, love the damp soil in your houseplants, and they're the ones most likely buzzing around the house.
Fungus Gnats are Probably Already in Your Home
Every time you bring a plant indoors, whether it's brand new or returning after a summer outside, there's a very good chance it's carrying fungus gnat eggs in its soil. When you purchase bagged soil, it will often contain fungus gnat eggs as well. They're small, they're sneaky, and here's the most important thing to know: they multiply fast. Left unmanaged, a handful of gnats can turn into hundreds within weeks.
What Makes Fungus Gnats Thrive?
Fungus gnats love warm, moist conditions and organic material, like your potting soil. Adult gnats lay eggs in damp soil, which gives their larvae everything they need to develop.
The good news? Once you understand what they need to survive, stopping them is very easy and straightforward.
7 Proven Ways to Get Rid of Fungus Gnats
1. Quarantine any new or returning plants for 4 weeks. This single step prevents gnats from spreading to your other houseplants while you treat the soil.
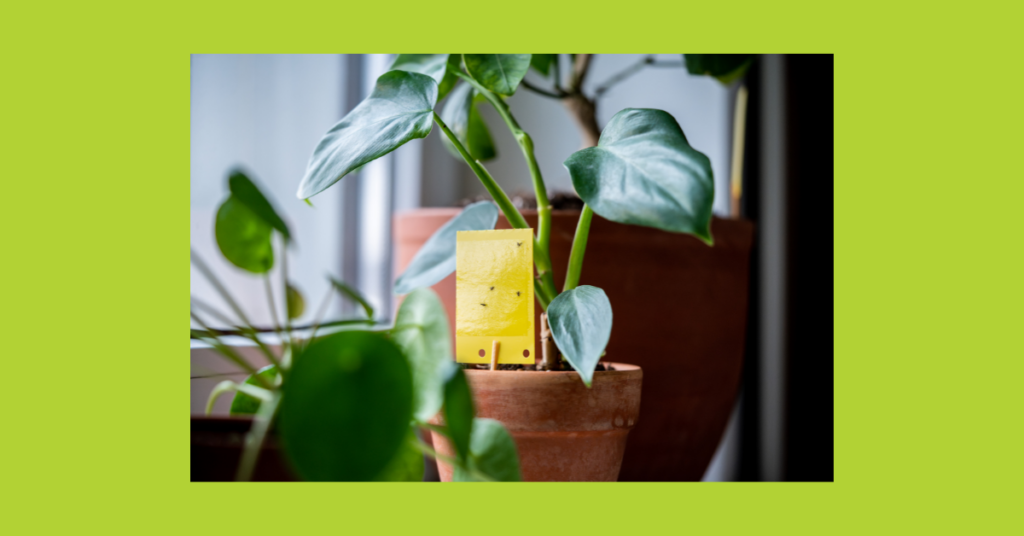
2. Use yellow sticky traps. These inexpensive traps attract and catch adult gnats before they can lay more eggs. Place one directly into the soil near your plant. Putting a sticky trap in a planter, whether it’s a new plant or one you’ve had a while, is also a good way to monitor whether or not you have pests in your plants.
3. Let the top inch of soil dry out completely between waterings. Fungus gnats need moist soil to lay their eggs. Deny them that, and you deny them a future. To test whether the soil has dried out, poke one of your fingers in it about an inch to check for moisture.
4. Cover the soil surface with coarse sand or vermiculite. A layer of sharp, gritty material on top of the soil is uninviting to egg-laying adult gnats. Make sure to use coarse sand, fine sand won't do the trick.
5. Switch to bottom watering. This is the best watering method for a number of reasons, including discouraging fungus gnats. Fill a tub or sink one-quarter full and set your pot in it for about 30 minutes allowing water to be absorbed into the soil via the drainage hole in the pot. When the soil and roots absorb water from below, it keeps the top layer of soil, where gnats want to lay their eggs, dry and uninviting. Make sure the water level covers no more than one-third of the pot, not the entire pot.
6. Try Mosquito Dunks (the secret weapon most gardeners don't know about). These contain BTI, a naturally occurring bacterium that is harmless to humans, pets, and plants, but lethal to fungus gnat larvae. Simply follow the package instructions and water your plants as normal. Water activates mosquito dunks.
7. Water with diluted hydrogen peroxide once a week. Mix one part 3% hydrogen peroxide with four parts water (so ¼ cup peroxide to 1 cup water). Apply this solution once a week for three weeks, and let the soil surface dry out between each application. It kills larvae on contact. Don't overdo it though. Too much, too often can damage roots.
Don’t Forget Your Fruit Bowl: Try This Banana Trick
Fungus gnats aren't just plant pests, they're also drawn to fruit, especially bananas. The stem end of a bunch of bananas is a prime spot for gnat eggs. The fix is simple: as soon as you get home from the grocery store, rinse your bananas under lukewarm running water and give the stem a gentle scrub with a soft brush. It takes about a minute and can prevent a whole new infestation before it starts.
The Bottom Line
Fungus gnats feel impossible to eliminate because most people only address the adults they can see and not the larvae multiplying in damp soil. Use these tips in combination for the best results, and remember: even a fresh bag of potting soil can carry eggs, so treat new soil with BTI or a hydrogen peroxide solution before use.
Stick with it for a few weeks and your home and your plants will be gnat-free.
By Dave Zeldon and Ely Schweyer
This is a question we hear daily during the spring, summer and, especially, the fall. Unfortunately, many homeowners do not see any adverse changes occurring in their trees until they look dead, or nearly so.
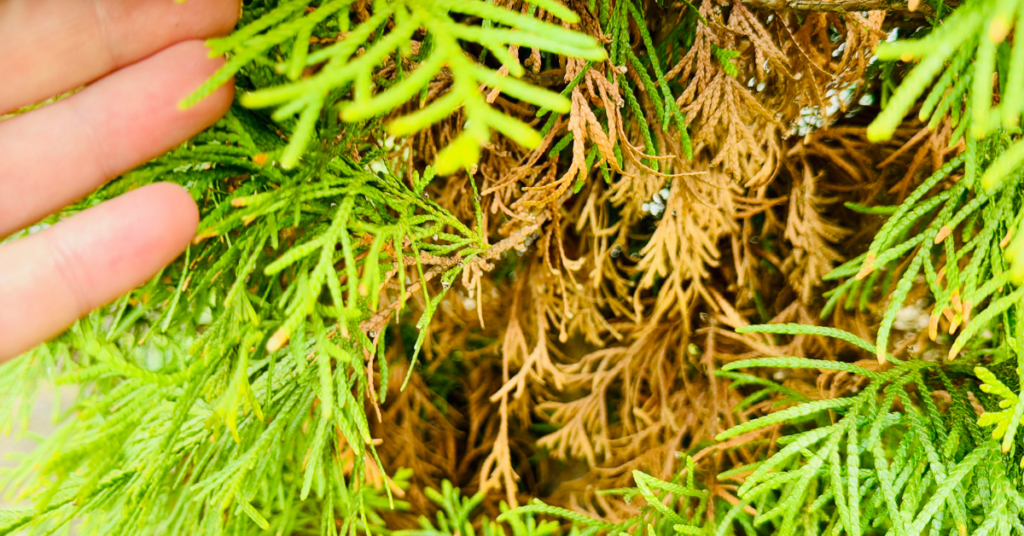
You Might Not Need to Panic Yet
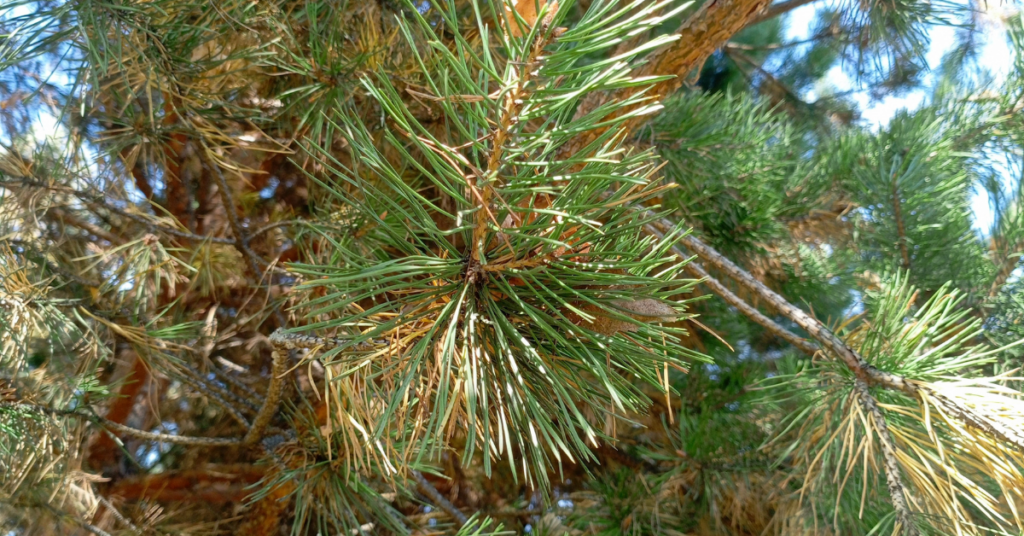
The discolouration and dropping of evergreen needles are a natural phenomenon and the main cause of needle loss in the wild. Evergreen needles, as the name implies, survive for a lengthy period, and in fact usually have a life span of five to seven years on healthy trees, however, they must be shed. The needles first start to die in the central and lower part of the tree, and this change progresses upward over time. You will see spruce trees naturally lose needles as they get older.
Age is an important factor here in causing needle loss and branch death, however, in landscape plantings of coniferous evergreen trees, pests and disease are likely the major cause of needle loss and dying branches. If there is a sudden fall of a very large number of brown needles and leaves, this signals to us that there is something drastically wrong!
This can happen as early as a year or two after a tree is planted. This is especially true in Haldimand and Eastern Norfolk County where heavy clay soils predominate. Spruce trees, for example, do not grow well on clay soils.
When You DO Need to Worry
Here are some of the more common problems, apart from natural aging that afflict spruce trees, the probable causes and ways of treating the problem.
☝️Unfortunately, these majestic trees, the most popular evergreen planted on our residential properties, incur many other pest and disease problems not dealt with here.
Symptom: Rusty brown needles that eventually fall.
Likely causes:
1. Internal fungus disease (called Cytospora or white blister canker). This creates cracks in the bark causing resin to drip and leave grey-white dripping streaks on the bark. The fungus also causes open wounds or blisters on tops of branches. These wounds can be greyish white or greyish blue in colour, eventually turning brown and black.
2. Feeding by spider mites which leave fine, poorly formed webs in the needles, especially near the ends of the twigs.
Best treatments:
1. Properly aerate and fertilize tree out to a distance of half its height in all directions, where possible.
2. Pressure wash thoroughly once a month with water only, all needles and branches as high as possible on the tree. Water pressure dislodges spider mites.
Symptom: Chewed up ends of twigs in June.
Likely cause:
Spruce bud worms which develop in the needle cluster that arises from a bud.
Best treatment:
Spray the biological pesticide, BTK (eg. Dipel), onto the entire tree when feeding is first noticed in early spring, to kill the young caterpillars.
Symptom: Black sooty mold covering twigs and needles.
Likely causes:
1. Spruce bud scales, ball-shaped insects, initially light brown in colour but eventually turning black. Often two to five scale balls cluster in one location on the twig; honey dew excretions from scales become infected with sooty mold.
2. An overhanging shade tree such as oak, maple or elm may have heavily infested leaves with aphids whose honey dew secretions become infected with sooty mold.
Best treatment:
1. Pressure wash tree using water only to dislodge young scales (called nymphs) in May and early June while they are in the crawling stage. Scale nymphs fall to the ground where they cease to be a threat to the tree.
2. Spray shade tree in early spring with insecticidal soap to control aphids. The problems of other coniferous evergreens such as pines, firs, cedars and junipers can usually be treated with correct diagnosis, though some diseases are lethal.
We hope these help you troubleshoot common issues often found in evergreen trees! For more information - and evergreens – visit Eising Greenhouse and Garden Centre! 🌲