
At some point, garden life calls to many of us. Even if you’ve never nurtured a plant before, planting something and keeping it alive offers a fun, low-cost, and highly rewarding experience. Whether you opt for a few potted plants on a patio or balcony, join a community garden, dedicate part of your yard to flowers, herbs, trees, or vegetables, install raised beds, or set aside a corner of your property to attract pollinators, it’s exciting to consider the possibilities!
The Benefits of Gardening
Stress Release
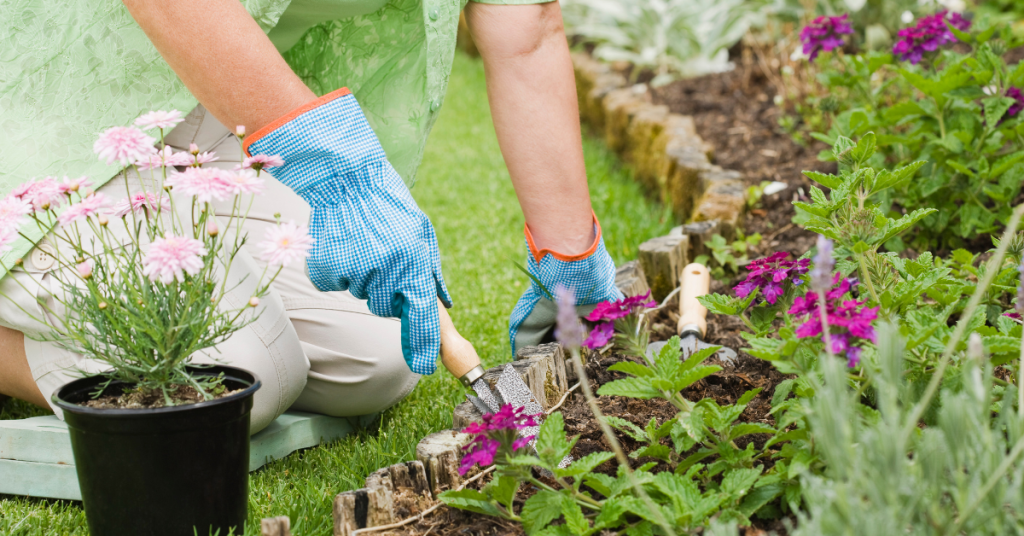
Nature has a calming effect, and gardening helps you stay grounded in the present moment, freeing your mind from worries about the past or future. For example, the repetitive task of weeding allows your brain to focus, turning the activity into a form of mindful meditation. Meditation doesn’t always involve sitting in solitude on a mountain—it can be as simple as engaging in repetitive tasks like planting or weeding. This process reduces stress and anxiety, ultimately leading to greater happiness.
Boosting Happiness
Speaking of happiness, research shows that certain bacteria in the soil get under fingernails and also get inhaled while you garden. This bacteria can boost your healthy gut flora and release happiness chemicals like serotonin. A healthy gut flora supports a strong immune system, making that dirt-under-the-nails gardener’s manicure well worth it.
Strength & Flexibility
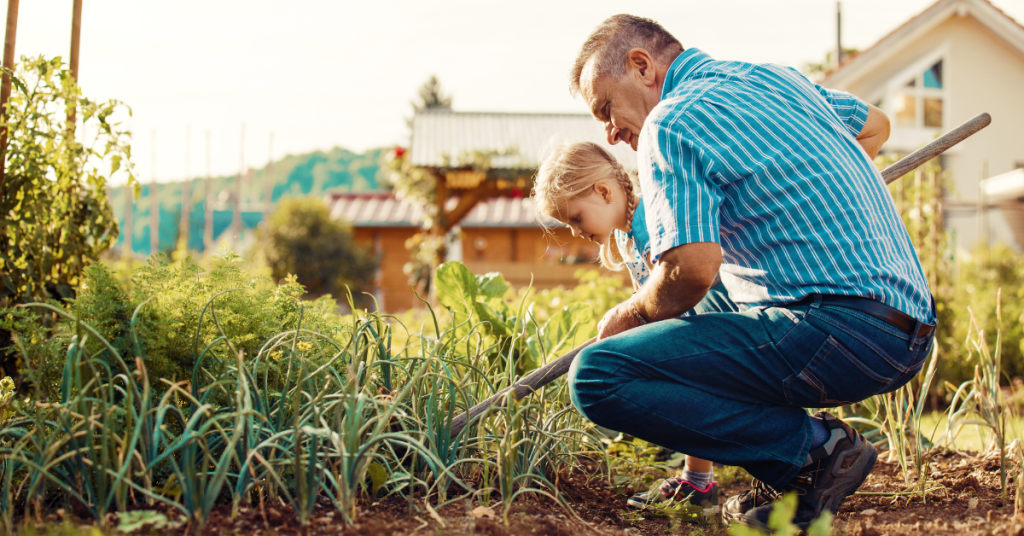
At the start of each gardening season, you might hear from fellow gardeners about their sore muscles—backs, hands, shoulders, hips, and so on. The physical demands of gardening can be challenging at first, but over time, they help build muscle strength and improve flexibility.
If you find working in the garden too strenuous, try kneeling on a soft pad or using a small stool to sit on. Consider using a shovel or rake to assist you in moving up and down to your knees or the stool. Opt for smaller pots and smaller bags of soil and mulch - they’re easier to carry.
Growing Food & Healthy Eating
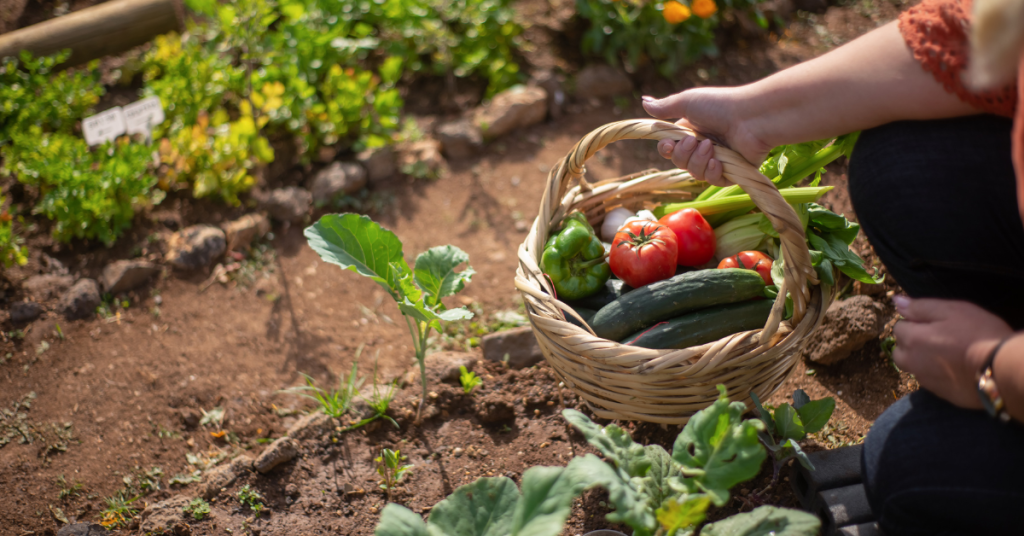
Anyone who’s tasted fresh, homegrown vegetables knows just how delicious they can be. Growing your own produce also encourages you to eat more fruits and vegetables, which naturally leads to better health. The fibre in these foods supports the healthy gut flora mentioned earlier, too!
The Perks of Being Outdoors
All the benefits of gardening—stress relief, happiness, strength, flexibility, and healthy eating contribute to your overall physical and mental well-being. But there’s more.
While outdoors, you absorb vitamin D from the sun, which boosts calcium levels in your body, promoting strong bones and a robust immune system.
Being outside and working in the garden also improves your sleep. After a day of gardening, you’re likely to feel pleasantly tired, helping you fall asleep faster and enjoy a deeper rest. Good quality sleep is essential for overall health, just as important as diet and exercise.
Finally, spending time outdoors encourages deeper breathing, which increases oxygen levels in your blood and boosts serotonin. Deep breathing also aids digestion and helps clear stagnant air from your lungs. Try stepping outside and taking a nice, deep breath. It just feels good, doesn’t it?
While your initial goals for gardening may include harvesting delicious vegetables or creating beautiful bouquets, you’ll also be improving your health in ways you might not have expected!
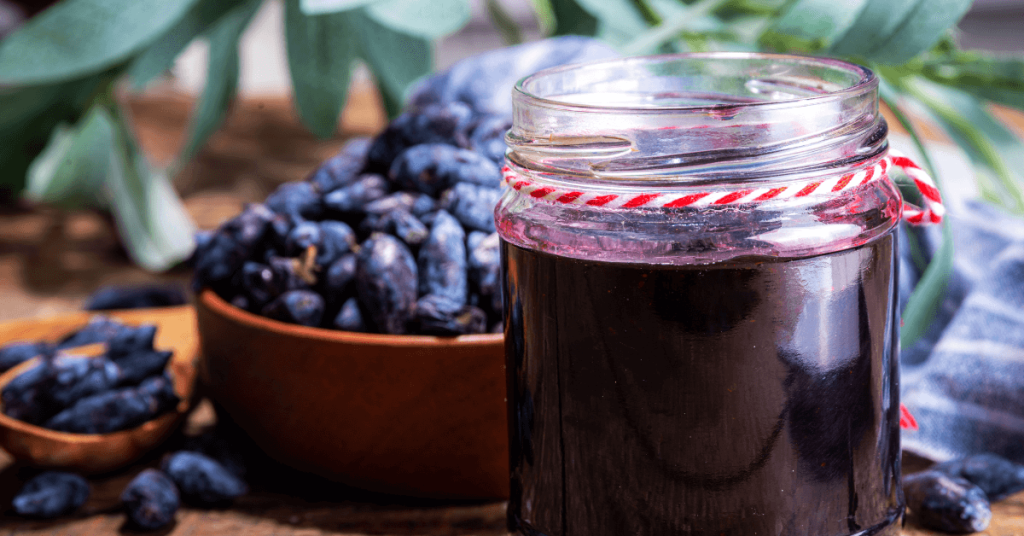
You're probably not alone if you’ve never heard of Haskap berries. Haskap, Honeyberry, Swamp Fly Honeysuckle and Edible Honeysuckle are just some of the many names for one outstanding fruit shrub! Let’s stick with one name, Haskap.
Nutritious and Delicious
Haskap fruit looks like an elongated blueberry but has a unique taste similar to that of a raspberry. It’s juicy, flavourful, and full of nutrition. This berry is high in vitamin C, A, potassium, and fibre and has triple the antioxidants found in blueberries!
Growing Haskaps
Unlike blueberries, Haskaps do not require highly acidic soil or any special soil at all.
Haskaps are drought tolerant, extremely cold tolerant, need very little pruning, have no thorns and don’t sucker. This means they are well-behaved and don’t spread beyond their globe-shaped bushes.

To produce fruit, Haskaps need:
- at least one other Haskap shrub nearby
- the shrubs must be of at least two different varieties
- the varieties must bloom at the same time for cross-pollination to take place
Haskaps do not like chemical fertilizers. Compost or composted manure near the base of the shrub will provide all the nutrients new plants need, and an application of the same each spring afterward.
For optimal fruit production, Haskaps love full sun and open space. Their shallow roots do not like to be crowded by weeds or other plants. A wide circle of mulch should be placed at its base to prevent weeds or other plants from growing around the shrub. However, be sure to keep the mulch away from the stems. That tip is important for all mulched plants, trees, and shrubs.
Harvest Time
Before the fruit on your Haskap shrub begins to form, it’s a good time to cover it with bird netting. Birds love Haskap berries as much as we do! Even if the fruit is under-ripe, birds will eat it.
Figuring out when the berries are ripe is a bit of an experiment, as they can be dark blue on the outside for several days before they are fully ripe on the inside. Because the fruit does not ripen after picking, it is best to taste a berry to see if the inside is still green. Ripe fruit will be completely purple on the inside.
Haskaps may begin producing a few berries their first year, and the amount of fruit will increase yearly. A little initial patience will pay off in spades because a mature shrub will produce 6 to 10 pounds of fruit—enough to eat, freeze, make jam, ice cream, juice, wine, or maybe even share!
More Resources
Every year, more and more people discover the beauty of the plentitude of showy blossoms on fruit trees around April and May. It’s a memorable display to be sure. Those blossoms of course set the fruit to be harvested later in the season - the absolute best time to have a fruit tree in your yard, and the reason we think that planting fruit trees is an investment that’s well worth your time.
Luckily, here in Norfolk County we are able to grow many types of fruit and at Eising you can find a wide variety (based on availability): Apples, Pears, Cherries, Peaches, Nectarines, and Plums. We also have lots of fruit bearing shrubs available too. Is your mouth watering yet?!
Spring is the recommended time of year to plant a fruit tree. Depending on the weather, it’s best to get your tree in the ground between early April and early May.
Want to give growing fruit trees a try? Here’s a list of what you’ll need and 6 steps to guide you through the process.
What you will need:
- Spade or shovel
- Compost or well rotted manure
- Fruit trees
- Bone Meal fertilizer
- Tree stakes
- Mulch
- Tree guards
- Pruners
Part One - Preparation
1 - Select a location in your yard that gets full sun and allows enough space for the mature width of the tree. There are more and more dwarf varieties available that make this task easier. If the location is sheltered that’s ideal, and good drainage is a must. Fruit trees do not like “wet feet”.
2 - Prepare the soil by digging it up well and incorporating compost or well rotted manure.
3 - Select the tree(s) for your site. For example Honeycrisp, if it’s apples you want, a variety that is great for cooking or eating fresh from the tree. It’s also important to keep in mind that with certain types of fruit trees you will need to plant at least two different varieties (not the same) in order for them to pollinate and produce fruit. It’s best to research which varieties to plant together as some fruit trees flower at different times that others. Flowering and pollination timing is essential for producing fruit! It’s a good idea to also check the tags on the trees for suggestions, or ask an Eising staff member if you have any questions about selecting your trees.
Part Two - Planting
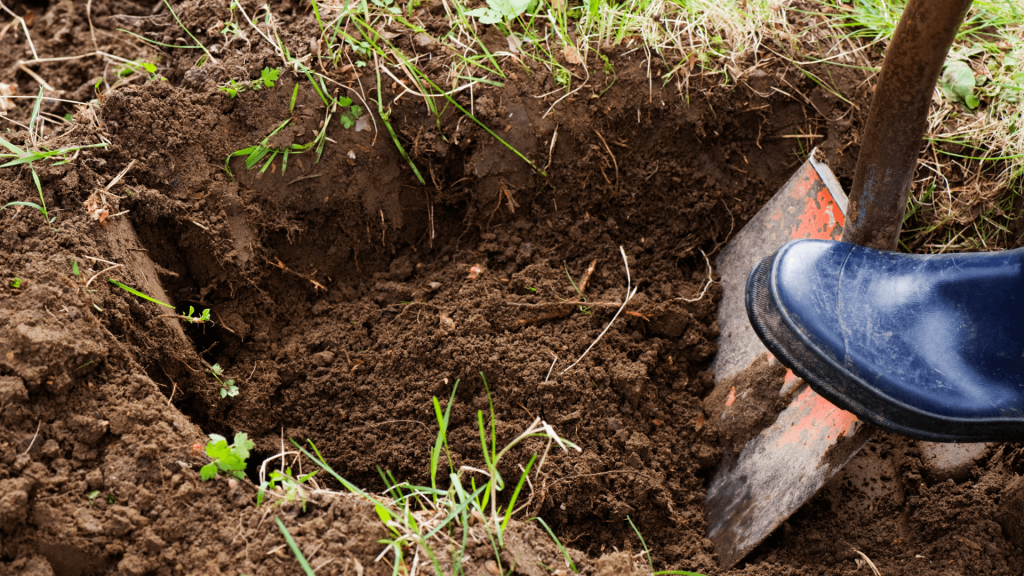
1 - To plant your trees, start by digging a hole in your prepared soil that’s twice as big as the root ball of each tree and amend the soil with Bone Meal fertilizer. This will soften the surrounding soil, and provide space for backfill with nutrient dense soil for the roots.
Test the depth of the hole you’ve dug - the soil on the top of the root ball should end up being at the same height as the soil around the hole it’s going into.
Place the tree in the hole, and place a tree stake beside the root ball. Backfill the remainder of the hole with the amended soil. Firm the tree into the ground by gently tamping the soil around the roots with your feet, then water thoroughly.
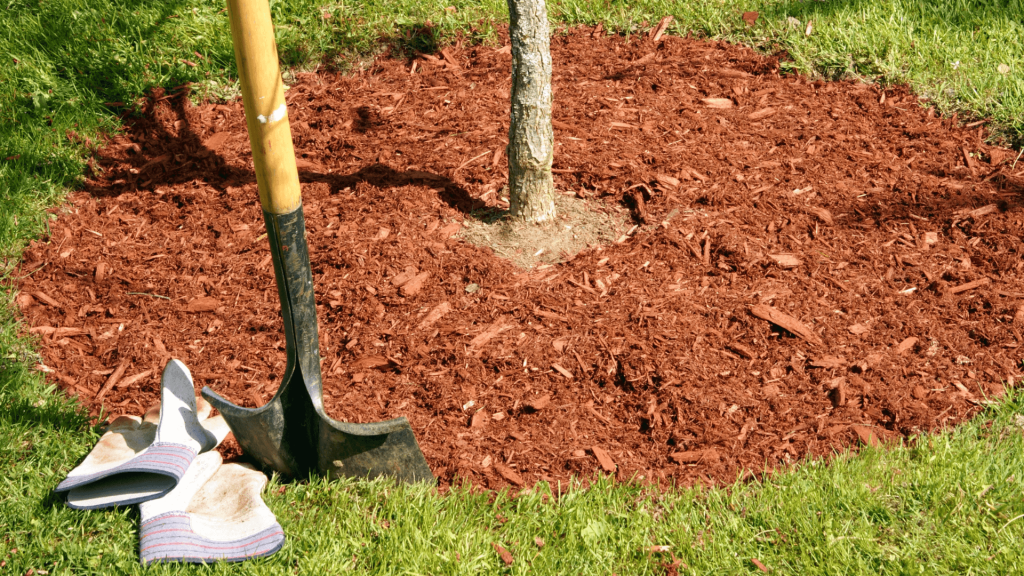
2 - Secure your tree to the stake and add a good, thick layer of mulch. Staking your trees during their first two years in the ground will provide important stability which allows the roots to become firmly established. Add a thick enough layer of mulch to suppress weeds and retain moisture - lawn clippings, wood chips, old straw or other organic matter will help to conserve moisture while the tree is getting established and will also act as a fertilizer as it breaks down into the soil.
Here’s a bonus tip: keep the mulch away from the trunk of the tree! As the organic matter in your mulch breaks down, you don’t want it also breaking down the bark on your tree. While we’re focussed on the trunk, it’s also a very good idea at this point to add a tree guard to the bottom of the tree to prevent rodent damage.
3 - Lastly, get out a nice sharp and clean pair of pruning shears. Prune your tree to remove any dead or broken branches, then trim anything that makes the tree look off balance. After this initial pruning, a good pruning each spring to remove any dead or crowded branches in the interior or top of the tree will help keep your tree healthy. If you’ve never pruned a tree before, consult this guide or enlist the help of a friend who has done it. Once someone shows you how easy it is, pruning will be a breeze.
When you follow these steps you will be setting yourself up for success. Fertilize regularly with bonemeal the first year to help your trees get established. After that, a slow release fertilizer can be added each year. Pruning your trees, fertilizing, and adding a layer of compost and mulch each spring can help ensure that they stay in good health, and produce a nice crop of fruit in the fall when you can enjoy the fruits of your labour!

We’re fortunate here in Simcoe—our weather is mild enough that we can grow a pretty impressive variety of delicious fruit trees. There are loads of benefits to growing fruit trees, the most obvious one being the large amount of fruit you can harvest every year. On top of that, they’re seriously beautiful, especially when they’re in bloom, and they can help increase your property value significantly! Want to try and grow your own? Here are the best fruit tree varieties for our neck of the woods.
5 Fruit Trees For Southern Ontario Gardens
Having your own backyard orchard is totally possible, so long as you pick the right kinds of fruit trees to grow. There are many different varieties of each kind of fruit tree, and it’s important to keep in mind that some are self-pollinating, while some others aren’t. The ones that don’t self-pollinate will need to be grown in groups of two or more, so check with one of the experts at our garden centre to make sure you’ve got everything you’ll need to successfully grow fruit.
There’s nothing quite like freshly picked fruit right off the tree, and it’s definitely a nice bonus to get it for free instead of shelling out money for imported fruits from the supermarket. Here are some of our favourites fruit trees for Southern Ontario:

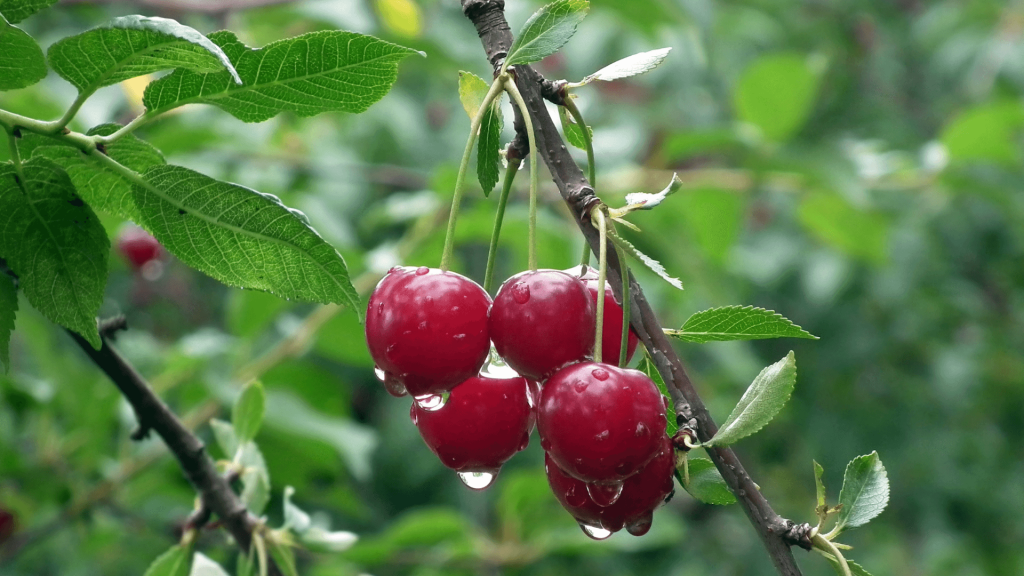
Cherry: The gorgeous blossoms of the cherry tree are truly in a league of their own—the colour and the fragrance are so breathtaking! And, of course, all that tasty fruit definitely sweetens the deal. When choosing your cherry tree variety, always check to see if it’s a sour cherry or sweet cherry tree. The sour fruits are usually used for baking or cooking, but you can snack on the sweet ones with no problem. Black cherry trees are the most popular, and their fruits are usually ripe by late June or early July. Harvest them by nipping them off with pruning shears, because the branches are a little too delicate for you to pull them.
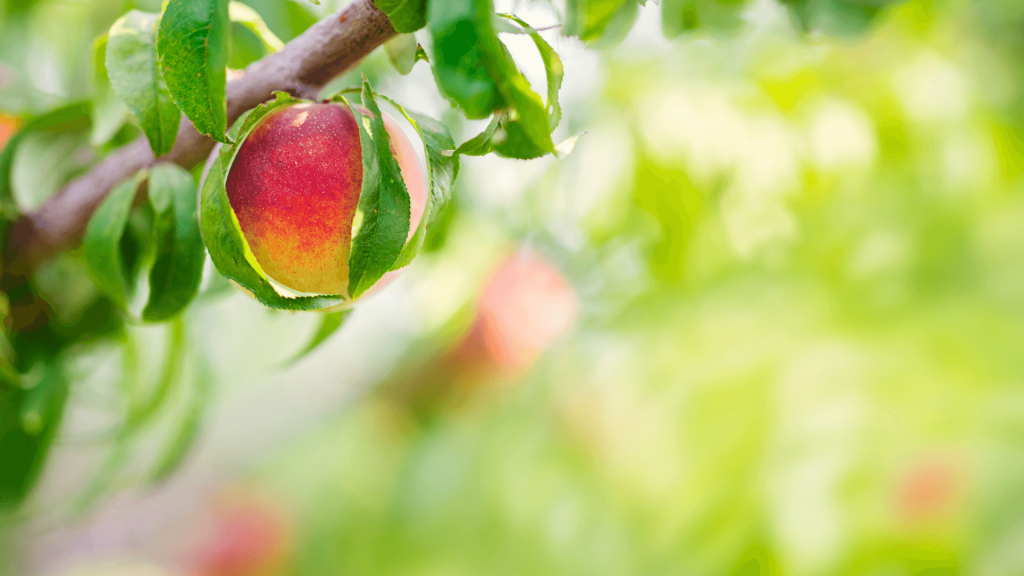
Peach: Fuzzy golden peaches are so tangy and perfect—having your own peach tree is really quite the luxury! Luckily, they’re pretty easy to maintain. Peach trees are technically self-pollinating, but as with all fruit trees, you’ll get the best yields if you keep two peach trees of different varieties on the same property. Make sure you plant your tree, or trees, in a spot that gets plenty of sunshine, with healthy soil that drains well. Plant them in the spring when the weather is mild, and once they’re mature, you can harvest your peaches in July or August. Regularly pruning your peach tree will help to increase your crop yield, but that little extra effort will definitely be worth the payoff of buckets full of fresh, juicy peaches.

Pear: These are definitely one of the most low-maintenance fruit trees to grow, but none of them are self-pollinating, so you’ll definitely want to plant at least two of different varieties. Thankfully, they aren’t very large, so you shouldn’t have too much trouble making space for them. Plant them in the spring, in an area with full sun and plenty of air circulation, which will help to prevent the buildup of mildew or other fungi. Depending on your chosen variety, it can take anywhere from three to 10 years for your pear trees to start bearing fruit, so you’ll need to be patient, but we think it’s definitely worth the wait! Pears usually begin to ripen by the end of the summer through until October, so you can enjoy a nice late-season harvest.

Plum: Few things are as refreshing on a hot day than a frosty, cold plum straight out of the cooler. If you’re a fan of these juicy purple fruits, then you absolutely should grow your own plum trees because the amount of fruit they produce is incredible! Some trees will continue producing fruit from May all the way until October, so there will be plenty to go around. Plums are the perfect fruit tree for beginners because they’re super hardy and low-maintenance. One thorough pruning in the spring will help a lot, though, because thinning out the weaker branches will prevent major breakage later on when the fruits grow and get all plumped up.
Apple: Ah yes, the classic apple tree, how could we ever forget? This much-loved fruit tree has so many different delicious varieties, and the fruits are so versatile. Dinner guests will be fawning over your pies and dessert crumbles made with garden grown, organic apples from your own backyard! Apple trees can be planted in the spring or fall, and they like lots of water for those first few months after planting. You won’t have to prune them much, but you may notice they’re a bit more prone to pests, so you’ll want to regularly inspect your tree and spray with natural pesticides when needed.
Need any guidance on how to plant your own trees successfully? We’d be happy to help walk you through the process! Don’t hesitate to contact us at Eising; we’ll help you on your way to creating your very own home orchard. Don’t forget, we just launched our online store, and we have curbside pickup and delivery options available, so getting your garden plants and supplies is now easier than ever!
Making your own compost is a great way to save money and reduce your carbon footprint—plus, it saves you a trip to the store! With summer coming up, our vegetable plants and fast-growing annuals will be hungry for soil nutrients, and having the perfect organic fertilizer on hand makes it that much easier to have a healthy, thriving garden. Plus, it can cut your total household waste in half, so it’s twice as good for the environment! Less trash in our landfills means less methane gas gets released, which Mother Nature will surely appreciate.
Want to start making your own compost at home using kitchen scraps that would otherwise end in the garbage? Once you get the hang of it, it’s really pretty simple, and the end product will be so worth it. Here are the basics of making compost, so your garden will be well-fed this year.
What Goes In A Compost Bin?
One of the things that people find the most confusing when beginning to compost is figuring out what goes in the bin, and what stays out. There are all sorts of different kitchen scraps that we can generate in a day, but some of them can contaminate the compost bin and introduce harmful bacteria instead of the good kind. Having a little cheat sheet posted on the fridge will make it easier for you to navigate the do’s and don’ts of composting, so we compiled this list for you to use as a reference.

Things You Can Always Compost
- Fruit and vegetable scraps
- Eggshells
- Dye-free cardboard
- Coffee grounds
- Grass clippings
- Leaves and stems (unless they show signs of disease)
- Straw
- Pine needles
- Untreated paper
- Cotton and wool
- Sawdust and untreated woodchips
Things You Can Compost In Smaller Amounts
- Citrus fruit peels
- Herbivore manure (ex: rabbits, birds, horses)
- Printed cardboard
- Teabags
- Black and white newspaper
- Hair and pet fur
Things That Shouldn’t Go In the Compost
- Dairy
- Meat
- Bones
- Metal
- Chemically-treated wood
- Diseased plants
- Plastic
- Weeds
- Oils and fats
- Diapers
- Carnivore animal droppings (no dog or cat waste!)
If there’s anything you want to toss in the bin but aren’t entirely sure about, go online and do a quick Google search as to whether or not the item is compostable.

The Different Types Of Compost Bins
There are three different types of compost bins you can use at home: aerobic, anaerobic, and vermicomposting bins. Each one breaks down waste a little differently, and there are a few pros and cons, so we’ve listed out the basics of each type so that you can choose accordingly.
Aerobic Compost Bins: These bins have a crank that helps to turn the inner contents, helping to aerate the waste so it breaks down faster. While they’re a little more expensive, they’re neater and more compact than other composters, so you can place them pretty much anywhere in the yard.
Anaerobic Compost Bins: A cheaper, more basic alternative to the aerobic bin, the anaerobic bin is pretty much just a lidded bin with no turn crank. You simply toss your scraps in and let it break down over time. It’s a slower, and somewhat stinkier process, but they’re pretty cost-effective, and you can even find online tutorials on how to build your own using materials you may already have at home. It’s a good idea to add an even ratio of dry leaves (save that fall leaf litter!) and household waste to keep odours to a minimum. Use a stick or shovel to mix up the decomposing matter every month or so, to speed up decomposition and prevent methane from building up in the container.
Vermicomposting Bins: Now, this one might seem a little weird if you’re squeamish around bugs, but hear us out: vermicomposting is a super effective way to turn trash into treasure. Vermicomposting bins are full of tiny worms that quickly break down the scraps and release them into a lower compartment in the bin, so you can retrieve your compost without having to touch the worms. The resulting compost is super nutrient-rich and easy to spread through the soil.
Composting is great for your garden, great for the environment, and great for your wallet too. Remember, if you need any supplies to help you get started, feel free to check out our brand new online store, and we can arrange curbside pickup for your order!