
By: Dave Zeldon and Ely Schweyer with tips from Mary K, Zach C, Sandy M, and Jeanine LT!
Now is the time to prep our outdoor landscapes for the coming cold weather and the ensuing spring! Perhaps your autumn is calmer than your spring, and this is the best time to clean up and begin new projects. The following are some simple but effective tips to get your yard winter-ready - so your spring will be a little more pleasant for you!
Planting
When warm weather still allows it, plant trees, shrubs, perennials, and bulbs to allow them to establish for budding and blooming next spring.
Pond Care
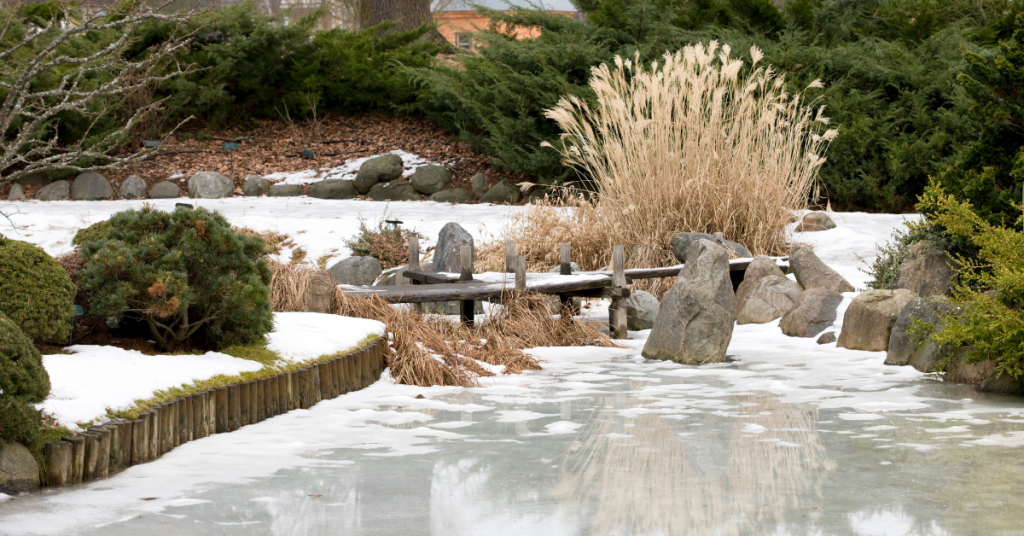
Mary, our perennials gal, suggests not removing any water from your pond but instead aerating it all winter. She skims out the leaves to maintain the balance of the nitrogen cycle in the water and suggests waiting to do a big pond clean out in the spring, as that’s when the water’s culture can bounce back easier.
Fertilizing
After top growth of your landscape plants ceases, reduce your annual fertilizer application by up to half of the requirement. Autumn is a major root growth period for woody and herbaceous perennials; roots will grow and absorb nutrients whenever soil temperatures remain above 5 °C but can be over fertilized quickly in these cooling temperatures.
Produce gardens could benefit at this time from a top layer of compost that will break down during the winter so it isn't too 'hot' for spring planting.
Leaf Litter
Here’s our pitch on the ‘leave it – don’t leave it’ debate: It DEPENDS.
Ideally, we should leave litter leaf on the ground for our pollinator friends and endangered species like fireflies to hide out in the winter. But, there are appropriate situations in which to remove leaf litter.
- When they’re covering your bulbs and tender perennials, remove SOME. Leaf litter acts as a ground insulant, which can amplify our temperamental zone 6b temperatures. This freezing and thawing can often confuse and kill early spring bulbs and tender perennials.
- Zach, our trees and shrubs guy, suggests that if a tree shedding leaves has been diagnosed with pests and fungi, remove the leaf matter to reduce the spread to other plants. Diseased matter should always be removed in a quarantined fashion and taken to a landfill or burned.
☝️Please note: Unless diseased, compost your leaves, they contain vital nutrients specific to the plants they came from!
Lawncare
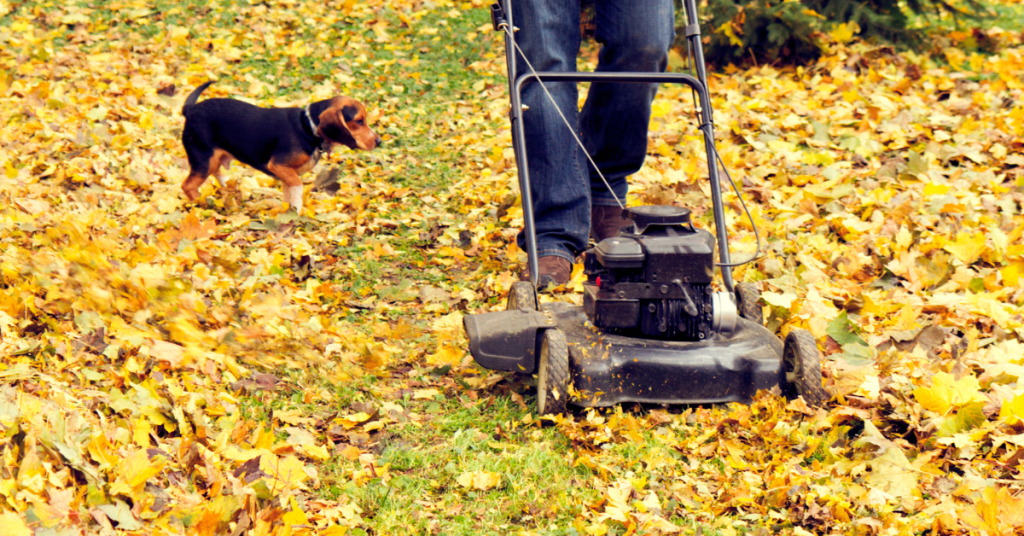
With autumn mowing practices you have the opportunity for the addition of much needed organic matter for your lawn, which is also an excellent source of slow release nutrients. Keep mower blades sharp since leaves can be tougher than grass. Raise the mower height up and mow leaves when they are lightly wet (e.g., morning dew). This will keep the leaves from blowing all over and will prevent the mower from getting bogged down in wet leaves.
See more on general lawncare in Dave's Lawncare 101 post.
Clean Up
Now is a good time to wash your tools with soap and water to prevent diseases spreading from plant to plant.
☝️Mary's tip is to spray garden tools with PAM before use, so the dirt slides right off them!
Pruning Perennials
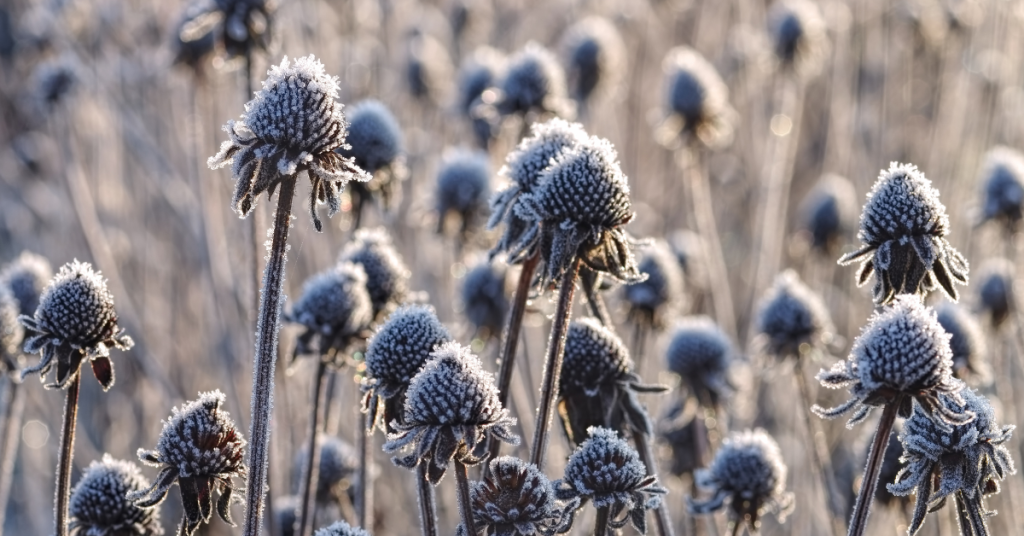
Mary, our perennials gal, suggests leaving things until frost to cut back. This way they're easier to compost. Make sure to leave seedheads (i.e., coneflowers and black-eyed Susans) for wildlife, and things like hydrangeas for winter interest.
☝️Make sure if things are cut back, to leave them sticking up enough you can still find them in the spring!
Dividing and Moving Perennials
Moving or dividing perennials in the autumn is a great way to reduce your work next spring. The cool, moist weather is an ideal time for perennial roots to become well established.
👍The rule of green thumb for moving perennials: If the plant blooms between early spring and late June, then early fall division/moving is ideal. If the plant blooms after late June, then early spring division is ideal (except for Peonies which should only moved or divided in the fall, Poppies in August, Irises in July & Lilies in the Fall).
Overwintering Trees
Zach and Sandy from trees and shrubs suggest a couple of things to help your favourite trees along this winter:
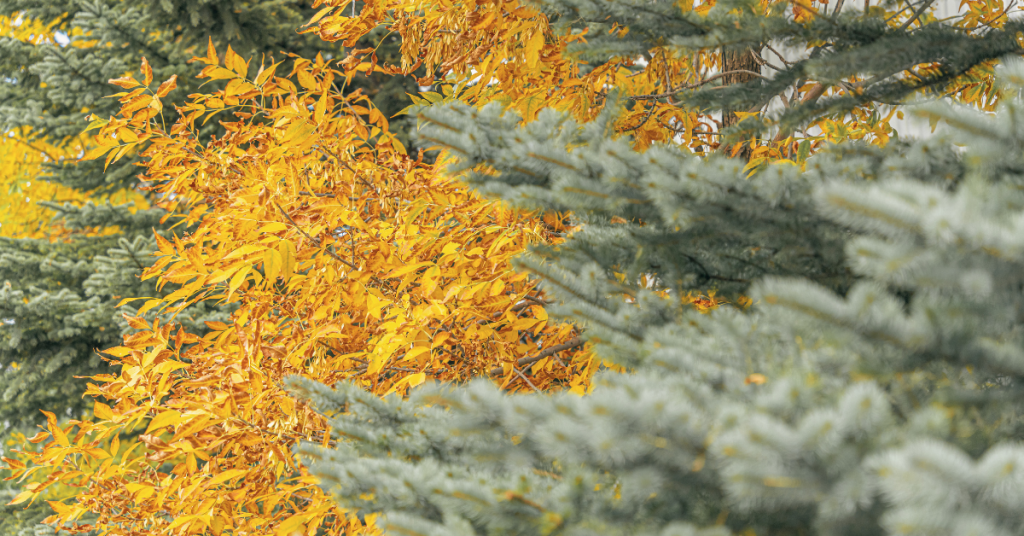
- To reduce winter injury in evergreens: Keep properly watered throughout the growing season and into the fall is another way to reduce winter injury. Decrease watering slightly in September to encourage hardening off, then water thoroughly in October until freeze-up.
- Cedars - Spray cedars with antidesiccant spray (available at Eising GC) or wrap in burlap (with stakes to create dead air space) so wind doesn't dry out and burn tips.
- Fruit trees - In late fall, spray fruit trees with sulfur-horticultural oil (available at Eising GC) for protection against fungi and pests overwintering in the bark.
- Ornamental trees - wrap the base of young trees to protect from chewing rodents.
- Pruning trees - trees that prefer winter pruning rather than spring pruning are maples, oaks, birches, and elms, as well as with fruiting trees such as apples and pears. This ensures blight and pests will not affect the tree's open wounds.
If you missed the frosty deadline for transplanting trees, Sandy suggests insulating unplanted potted trees to help them best survive the coming winter. Here are some methods:
- Double-pot your tree with an insulative barrier (i.e., burlap, straw, mulch, etc.) stuffed between the two pots and securely cover the top with tarp to deflect moisture.
- Bury your potted tree in the ground, level with the top of the pot (don’t forget to dig it back up!) and mulch the area.
- Huddle all of your unplanted trees and plants together when using the above methods.
Mulching
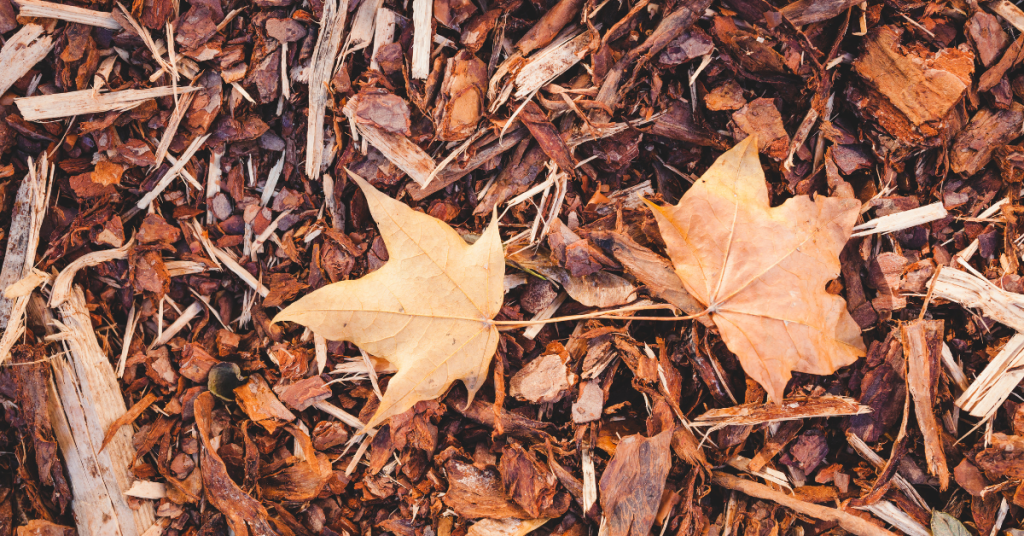
Mulching is one of the simplest and most beneficial practices you can do for your garden. Just by simply placing a protective layer of material over the bare soil will benefit the soil as it decomposes providing the much-needed organic matter which improves root growth, the infiltration of water and the nutrient-holding capacity of the soil while reducing soil erosion.
A good layer of mulch allows the soil to warm more slowly in the spring, so perennials aren't fooled into breaking dormancy too early, as you want the ground to stay cold until it really is spring!
☝️Make sure your mulch application won't stunt the growth of your plants come spring as discussed in our Transplant Troubleshooting blog post!
Japanese Beetle Prevention
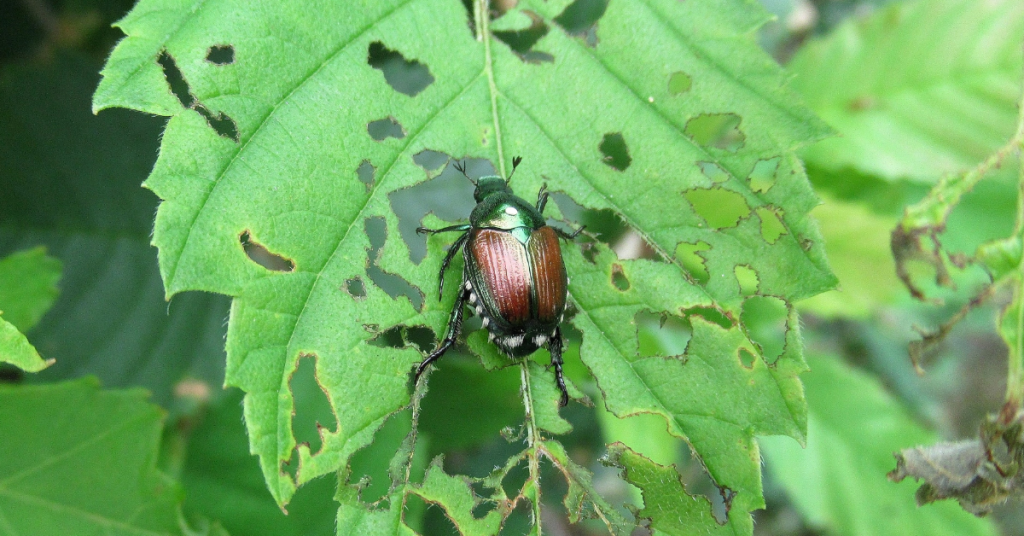
Nematodes are microscopic worms that should be applied to lawns that have been ravaged by grubs especially of the Japanese Beetle. Nematodes have a short shelf life and must be refrigerated until they are applied. Normally, they are sprayed onto the lawn from mid-May to mid-June and then again (for best practice) from mid-August to mid-September.
Pots
To prevent freezing and cracking, Mary suggests emptying and turning your pots upside down. You can disinfect at this time too.
Design Time!
Jeanine, from production, suggests writing down what worked best in your produce garden this year so you can implement it again in the spring.
With the trees and land being barren enough you can see its contour, now is a great time to plan ahead for spring landscaping! Don't forget Eising GC would love to offer help with your landscape designing!
We hope these tips help your landscape plants enjoy your winter abode as much as you do this season, for more information - and plants – visit Eising Greenhouse and Garden Centre! 🍁
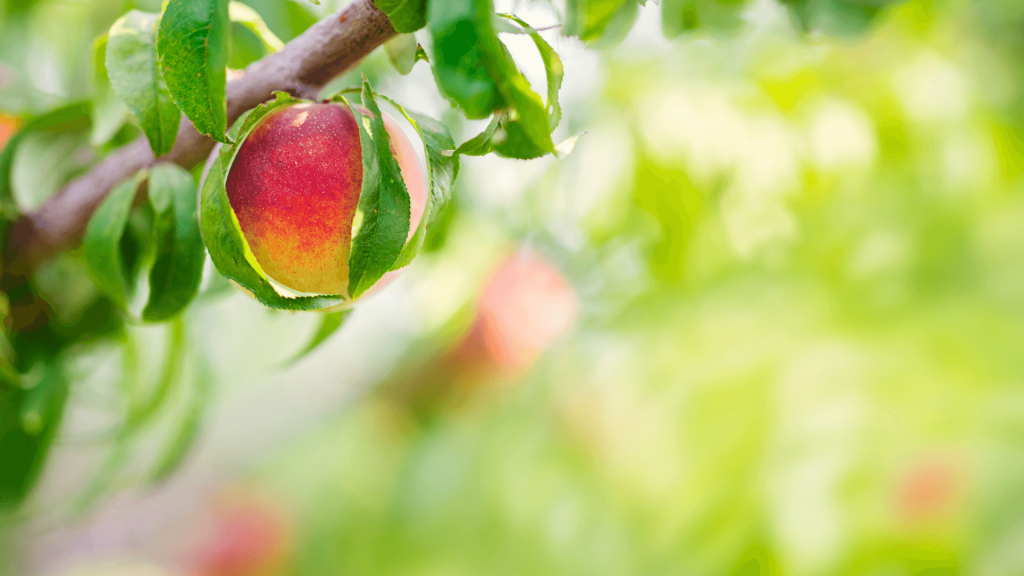
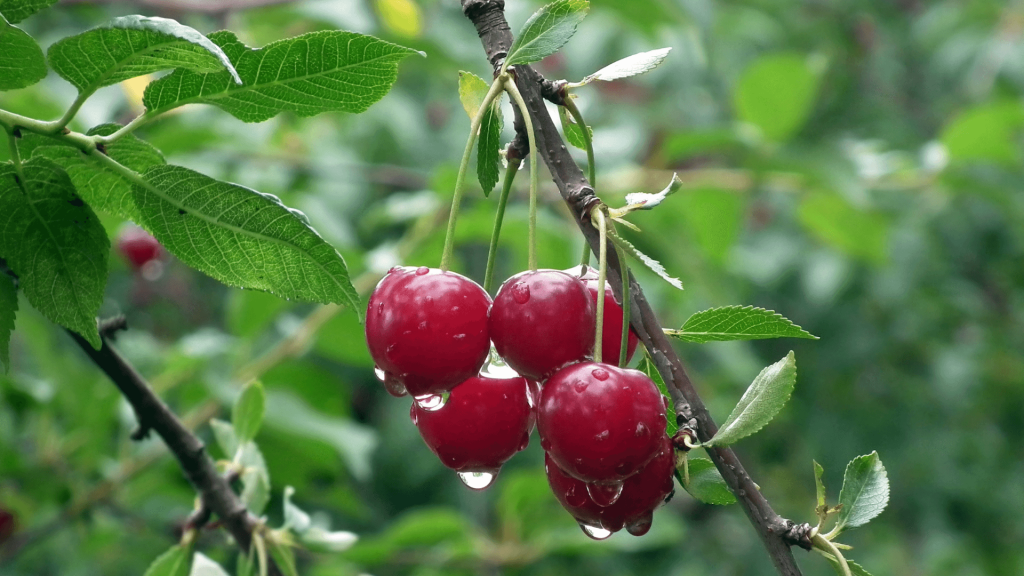
Every year, more and more people discover the beauty of the plentitude of showy blossoms on fruit trees around April and May. It’s a memorable display to be sure. Those blossoms of course set the fruit to be harvested later in the season - the absolute best time to have a fruit tree in your yard, and the reason we think that planting fruit trees is an investment that’s well worth your time.
Luckily, here in Norfolk County we are able to grow many types of fruit and at Eising you can find a wide variety (based on availability): Apples, Pears, Cherries, Peaches, Nectarines, and Plums. We also have lots of fruit bearing shrubs available too. Is your mouth watering yet?!
Spring is the recommended time of year to plant a fruit tree. Depending on the weather, it’s best to get your tree in the ground between early April and early May.
Want to give growing fruit trees a try? Here’s a list of what you’ll need and 6 steps to guide you through the process.
What you will need:
- Spade or shovel
- Compost or well rotted manure
- Fruit trees
- Bone Meal fertilizer
- Tree stakes
- Mulch
- Tree guards
- Pruners
Part One - Preparation
1 - Select a location in your yard that gets full sun and allows enough space for the mature width of the tree. There are more and more dwarf varieties available that make this task easier. If the location is sheltered that’s ideal, and good drainage is a must. Fruit trees do not like “wet feet”.
2 - Prepare the soil by digging it up well and incorporating compost or well rotted manure.
3 - Select the tree(s) for your site. For example Honeycrisp, if it’s apples you want, a variety that is great for cooking or eating fresh from the tree. It’s also important to keep in mind that with certain types of fruit trees you will need to plant at least two different varieties (not the same) in order for them to pollinate and produce fruit. It’s best to research which varieties to plant together as some fruit trees flower at different times that others. Flowering and pollination timing is essential for producing fruit! It’s a good idea to also check the tags on the trees for suggestions, or ask an Eising staff member if you have any questions about selecting your trees.
Part Two - Planting
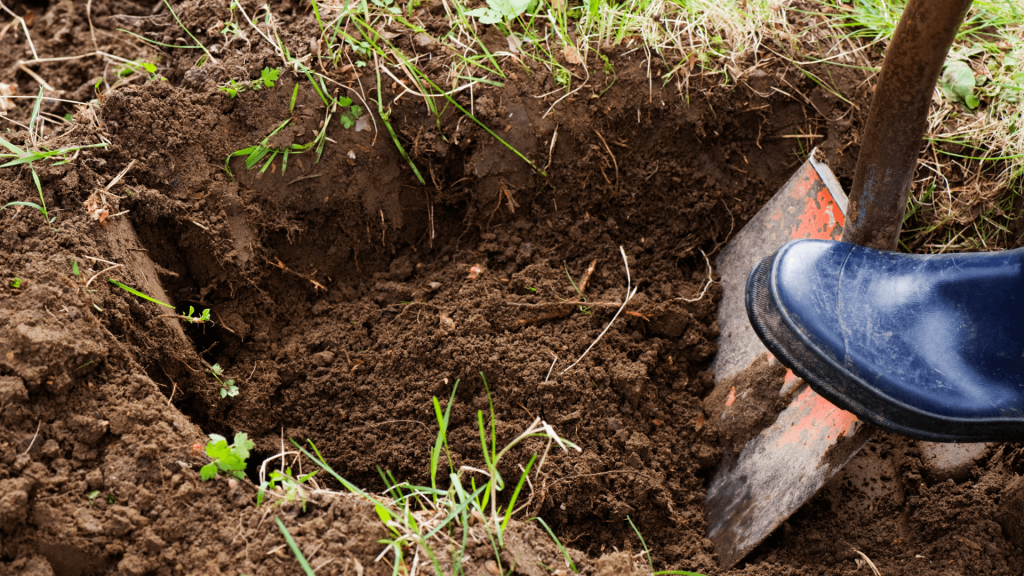
1 - To plant your trees, start by digging a hole in your prepared soil that’s twice as big as the root ball of each tree and amend the soil with Bone Meal fertilizer. This will soften the surrounding soil, and provide space for backfill with nutrient dense soil for the roots.
Test the depth of the hole you’ve dug - the soil on the top of the root ball should end up being at the same height as the soil around the hole it’s going into.
Place the tree in the hole, and place a tree stake beside the root ball. Backfill the remainder of the hole with the amended soil. Firm the tree into the ground by gently tamping the soil around the roots with your feet, then water thoroughly.
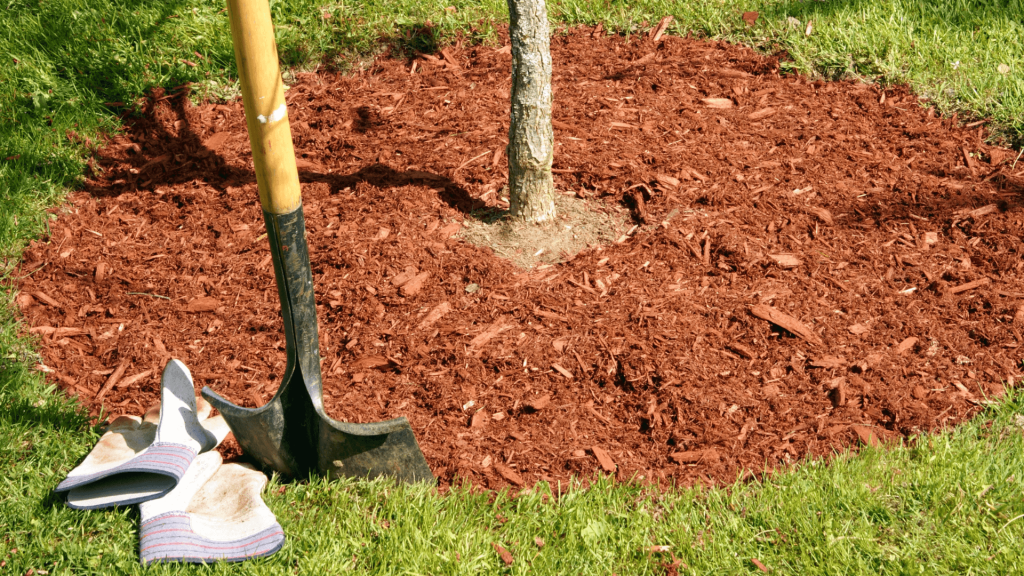
2 - Secure your tree to the stake and add a good, thick layer of mulch. Staking your trees during their first two years in the ground will provide important stability which allows the roots to become firmly established. Add a thick enough layer of mulch to suppress weeds and retain moisture - lawn clippings, wood chips, old straw or other organic matter will help to conserve moisture while the tree is getting established and will also act as a fertilizer as it breaks down into the soil.
Here’s a bonus tip: keep the mulch away from the trunk of the tree! As the organic matter in your mulch breaks down, you don’t want it also breaking down the bark on your tree. While we’re focussed on the trunk, it’s also a very good idea at this point to add a tree guard to the bottom of the tree to prevent rodent damage.
3 - Lastly, get out a nice sharp and clean pair of pruning shears. Prune your tree to remove any dead or broken branches, then trim anything that makes the tree look off balance. After this initial pruning, a good pruning each spring to remove any dead or crowded branches in the interior or top of the tree will help keep your tree healthy. If you’ve never pruned a tree before, consult this guide or enlist the help of a friend who has done it. Once someone shows you how easy it is, pruning will be a breeze.
When you follow these steps you will be setting yourself up for success. Fertilize regularly with bonemeal the first year to help your trees get established. After that, a slow release fertilizer can be added each year. Pruning your trees, fertilizing, and adding a layer of compost and mulch each spring can help ensure that they stay in good health, and produce a nice crop of fruit in the fall when you can enjoy the fruits of your labour!
