
By Ava Green
Is there anything sweeter than the scent of Lilacs in the spring? These beloved shrubs are remarkably easy to grow and will reward you with weeks of fragrant blooms for little or no effort. But a bit of attention can make a big difference, especially if you’ve noticed your blooms getting smaller or fewer with each passing year.
To help your lilac put on its best show, keep these steps in mind:
- Plant in full sun, at least 6 hours of direct sunlight a day, in well-draining soil
- Water newer plants during prolonged periods of drought until established (the first 3 years)
- Feed your lilacs annually with a balanced fertilizer (10-10-10, for example)
- Follow spacing instructions and prune yearly. Pruning is a very important step, and it’s well worth it.
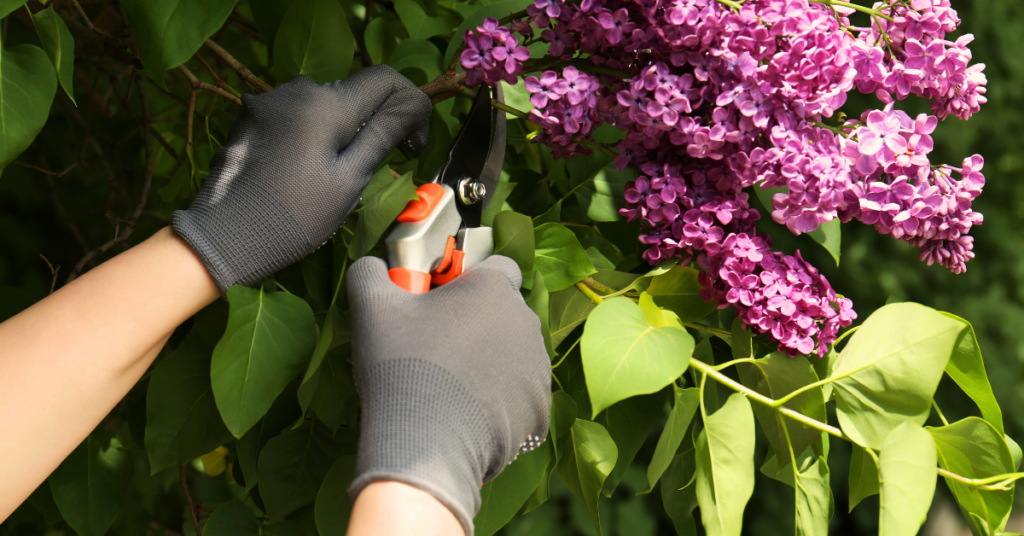
Knowing When to Prune is Key
Timing is everything when it comes to pruning your lilacs. After the blooms fade, you have a two-week window to prune before the shrub sets its buds for next year's flowers. Yes, they set buds this year that will bloom next year! Pruning lilacs in the fall or the early spring risks cutting off all of the flower buds for the following year. Mark your calendar and prune promptly after flowering.
It also helps to understand how lilacs grow: Younger, thinner lilac stems produce more flowers. Older, thicker stems are more prone to disease and pests. Keeping this in mind will help with pruning decisions.
How To Prune Young Lilacs
If your lilac has been in the ground for less than three years, leave it alone; it doesn’t need pruning yet. Many young lilacs won’t bloom during those first few years.
After three years, once your shrub is established, begin by removing just one of the thickest, oldest stems down to the ground every 2 years. This gentle approach prevents the shrub from becoming overgrown while encouraging newer, flower-producing growth.
How To Prune Older, Overgrown Lilacs
If your lilac has been neglected or grown out of control, you have two options:
Option 1: Gradual Rejuvenation
Begin by removing any damaged stems, as these invite pests that can harm the entire shrub. Next, remove only the largest, oldest stems by cutting them right down to the ground. The key is to remove no more than one-third of the living wood (dead stems don’t count toward that total). Leave the younger, thinner stems intact so your shrub can still bloom the following year. Repeat this process each spring for three years, and you’ll gradually restore the shrub to its full, flowering potential without sacrificing a single bloom season.
Option 2: Full Cutback
For a severely overgrown lilac that has been largely ignored, a complete cutback is often the most practical solution. Cut the entire shrub as close to the ground as possible, either in early spring or immediately after blooming. Yes, this breaks the general rule of never removing more than one-third of live wood, but lilacs are remarkably resilient and respond well to this kind of hard reset. By the end of summer, you will have healthy new stems of three to five feet tall. While the shrub won’t bloom for approximately three years after a full cutback, the long-term results are well worth the wait.

Deadheading Your Lilacs
Deadheading, or removing spent flower clusters after the blooms fade, is a simple task that’s separate from pruning, and can be done during that same two-week post-bloom window. When you trim off faded blooms, the plant redirects its energy from seed production toward building bigger, healthier buds for the next year. It takes only minutes and can make a meaningful difference in the size and abundance of next year’s flowers.
A Note on Lawns and Lilacs
If your lilac grows near a lawn, be mindful of how much fertilizer you’re applying to the surrounding grass. Lawn fertilizers are typically high in nitrogen, which encourages lush leaf growth, but too much nitrogen reaching your lilac’s roots will suppress flower production.
Worthy Rewards
Lilacs are remarkably long-lived, often outlasting the gardens and even the homes they were planted beside. So whether you’re nursing a young shrub through its first few years or breathing new life into an old, overgrown beauty, the effort you put in now is an investment that will keep rewarding you, and perhaps generations after you. Every single spring!
How to Keep Your Hanging Basket as Gorgeous as the Day You Brought it Home, All Summer Long!
By Dave Zeldon and Ely Schweyer
Remember your Mother's Day hanging basket with its variety of colours, textures, and plant combinations? Maybe there was Verbena cascading elegantly with their colourful star like blossoms, double Begonias for the porch in spectacular shades of reds, pinks, and burgundies, and of course the vigorously growing Petunias and Geraniums, to name just a few. But as the Summer goes on, they just don’t seem to have that same stamina.
To keep your hanging baskets in great shape and avoid the dry, wilted, bald spotted, leggy look that occurs to containers every August, one should follow these easy tips.
Watering
Plastic, fibre, and especially moss lined baskets dry out quickly. They should be checked twice daily and watered every day. Be sure to wet the moss sides as well.
Try to maintain uniform soil moisture. When watering, fill the top of the container with pooling water until it ‘pees,’ and allow it to drip out of the bottom of the basket every time you apply water. Frequent severe wilting will impact upon the quality of the basket.
At this time of year, one could take the basket down and soak it in a tub of water for 20 minutes to hydrate the entire root ball, once every week.

Deadheading
Remove spent flowers on a weekly basis (this is called deadheading) to prevent plants from going to seed. This will encourage more flower production. Part of the beauty of the mixed basket is its prolonged display, just like in your garden.
Check for Pests!
During your weekly deadheading, keep a watchful eye out for aphids, whiteflies, and caterpillars. If you see any, try a quick spray of insecticidal soap to keep them from becoming an infestation.
🖱️ If you're noticing fungus gnats in your hanging baskets, find more on eradicating them here!
Pruning
Not every plant in the basket will be at its peak all season.
Cutting plants back after a flush of bloom will tidy them up and prepare them for a fresh crop of flowers. Meanwhile, other varieties will begin putting on a show. This is especially true for Petunias.
A good cut back of long, lanky branches will reap benefits.
Fertilizing
Daily watering means nutrients can leach out of the soil before the plants can absorb them. The baskets should have both slow release granular added to the growing media and a weekly feeding of 15-30-15 soluble fertilizer. Use a solution containing micronutrients, as plants like Petunias need extra iron.
Sheltering
It has been suggested, if possible, that during stretches of extreme heat, give your baskets a break and move them to a cooler, shaded spot to de-stress for a couple of days. This is also suggested when heading on vacation. Your flowers will rebound to their former beautiful selves!
We hope this long term hanging basket care guide helps you enjoy your purchase all summer long! For more information - and beautiful plants – visit Eising Greenhouse and Garden Centre! 🌸
By Dave Zeldon and Ely Schweyer
As plant people, we’ve all experienced that moment when we realize the novelty phase of that plant we brought home from the garden centre has worn off. The plant isn’t standing quite as tall, the flowers aren’t as bold, and the leaves are unravelling smaller or not at all. What is this magic they perform in the greenhouse? Perhaps you’ve provided sufficient lighting and adequate watering; there’s just one thing that is often overlooked because dirt is dirt, isn’t it?
97% percent of plant tissue is made up of carbon, hydrogen, and oxygen pulled from the air and water, the remaining 3% is comprised of 16 other elements taken up from the soil. The quality of soil then is crucial to your plant’s health. Whether your plants are in pots or in ground, each soil type you could provide your plant offers something unique and may lack in another.
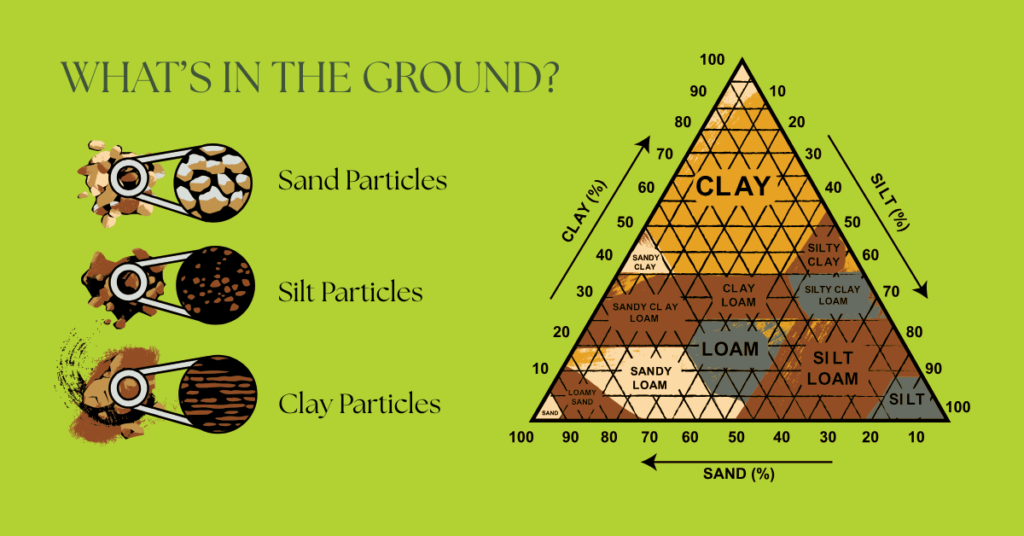
*Clay particles are even smaller than silt particles.
Resist the Urge to Slam Your Plant in Potting Soil
There’s bags and bags of rocks, sand, bark, manure, and moss on the shelves, yet the common buyer seems to always opt for potting mix. It’s fair; organic matter is usually great for plants and simple to use. However, most people don’t realize it’s merely an ingredient.
Strictly using potting mix is like attempting to make a loaf of bread out of only flour. All those bags of other materials on the shelves are also components for a successful plant diet!
Potting mix is a great base material, however, alone it presents risks of compacting, becoming waterlogged, can mold easily, and over time will become depleted of nutrients. Consider mixing the following ingredients into your pots, ground and raised beds to meet your plant’s required nutrients, pH level, and volume of moisture.
🖱️Use our Plant Finder to find some details on your plant! We try our best to keep this updated!
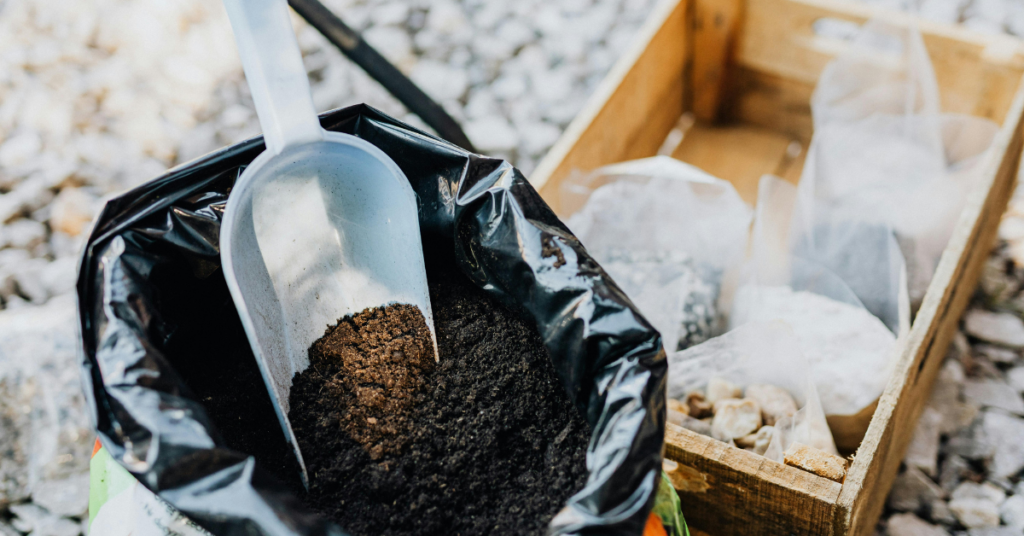
👍 Rule of Green Thumb: Plant roots can help you to determine the medium needed – thick, robust roots (i.e., yucca) typically enjoy chunkier materials, and smaller, delicate roots (i.e., begonias) enjoy finer materials.
Mulch and Bark Bites
- Mulch is the organic slow-release fertilizer, as it slowly decomposes, it lowers soil pH. However, may eventually compact soil once fully broken down.
- In the meantime, it creates shelves in the soil that create air pockets and prevent the soil from compacting. Mulch is a great short term medium for arid potted plants.
- If kept too wet, it can harbour fungus gnat larvae.
- Make sure when sourcing your mulch it doesn’t contain any black walnut.
🖱️ See more on mulching here.
Sphagnum Peat Moss
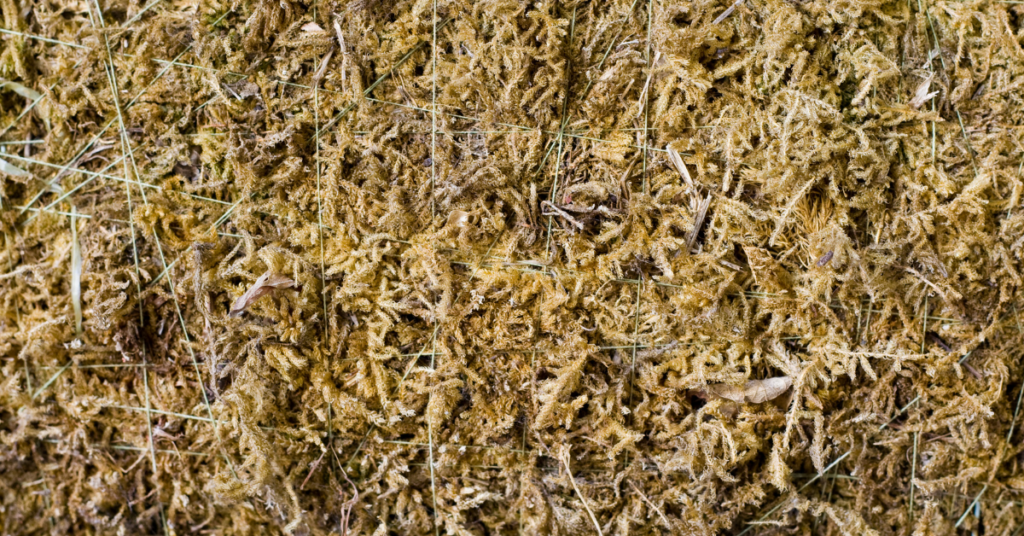
- Peat moss is used to help retain moisture and lower pH in the soil given it is harvested from bogs.
- Retains nutrients very well.
- It is difficult to rehydrate once it loses moisture.
Coconut Coir
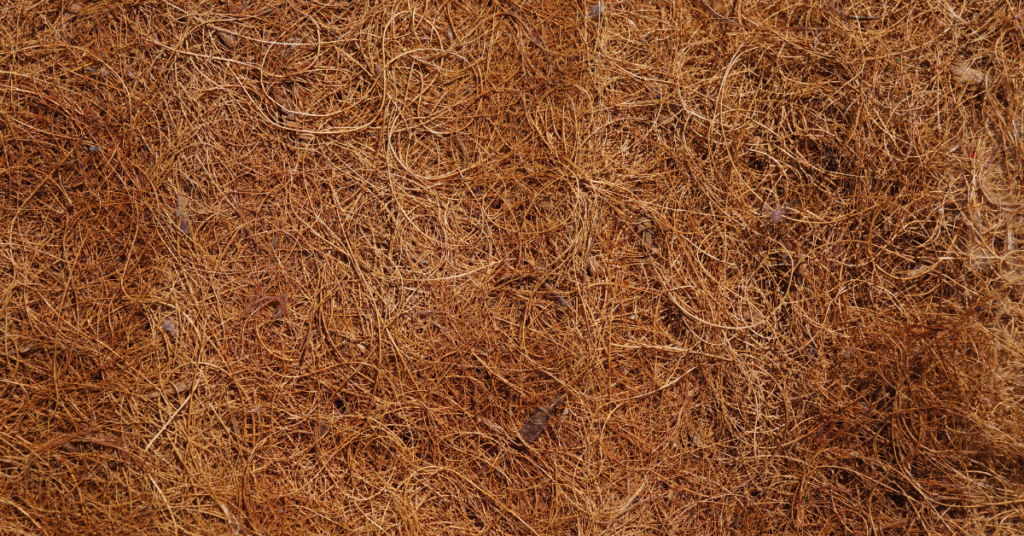
- Coco coir, much like peat moss is used to keep the soil moist and keep pH low, however it lasts longer and is possibly less invasive to harvest.
Sand
- Grains are relatively large and do not bind, allowing for excellent drainage depending on grade.
- Adds weight to top heavy plants.
- Has no ability to store minerals itself, however, pH can vary by its content of shells, minerals like silica, or fine organic matter.
Manure & Compost
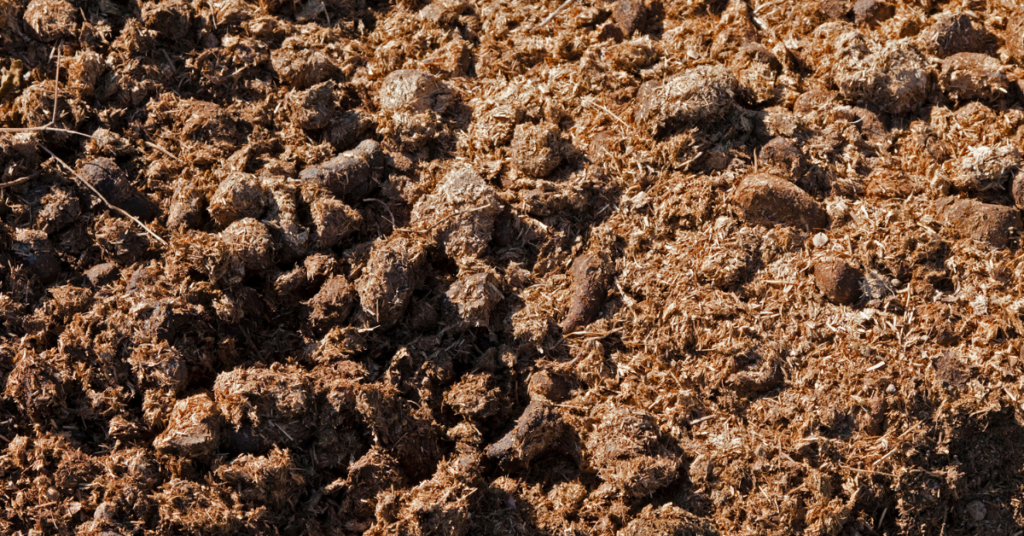
- Source these organic by products locally and ensure they’re not too hot. These additions can significantly lower pH.
- Sheep manure is usually near free of weed seeds as sheep digest seeds better than cattle and horses!
Perlite
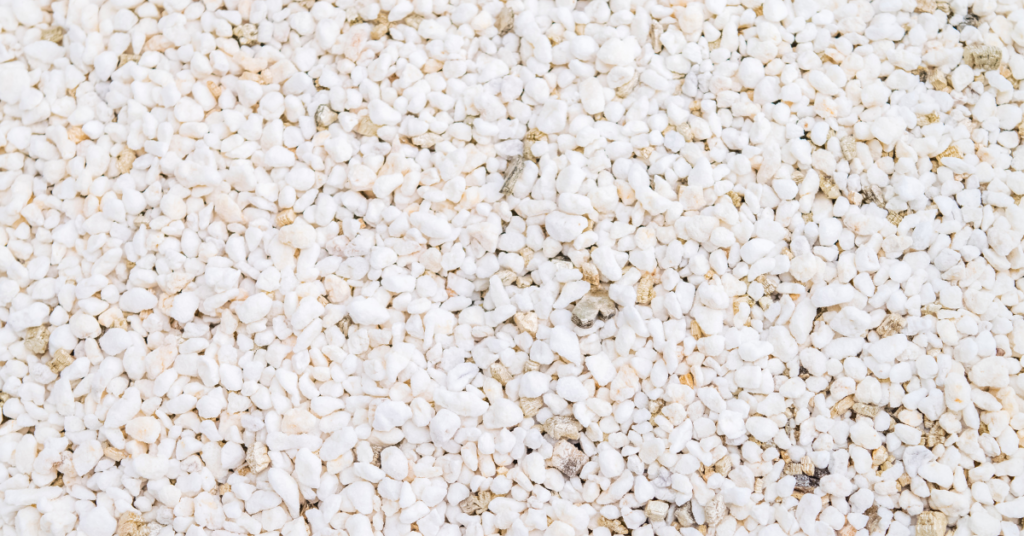
- Perlite is a volcanic byproduct (so it floats like pumice) that helps drainage in the soil and prevents compaction – vital in the case of starting seeds.
- If a rockier, well-draining medium is required for your plant, consider perlite.
- Perlite can expand holding trace amounts of water.
- Perlite has a neutral, slightly acidic pH.
- Make sure when sourcing perlite, that you are not being sold Styrofoam balls.
Vermiculite
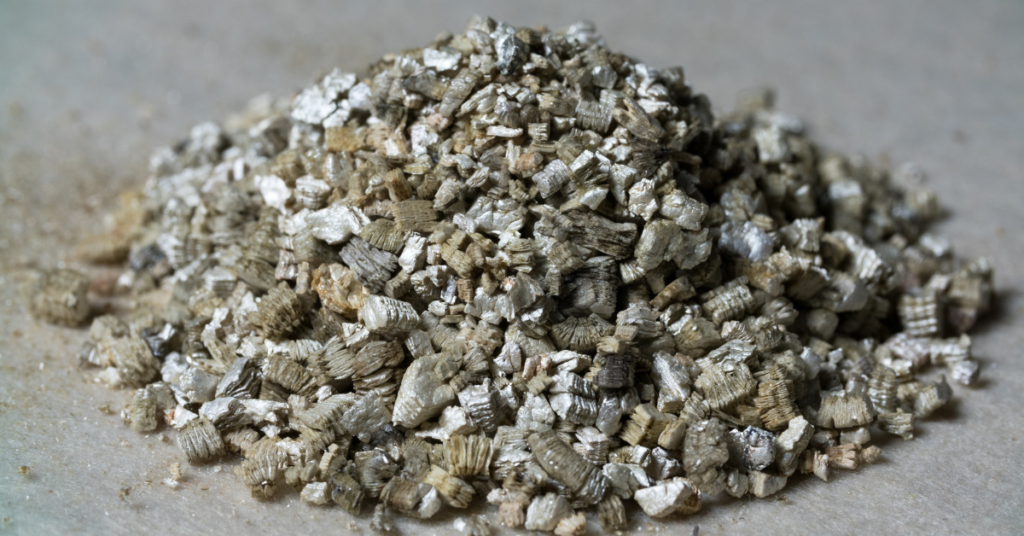
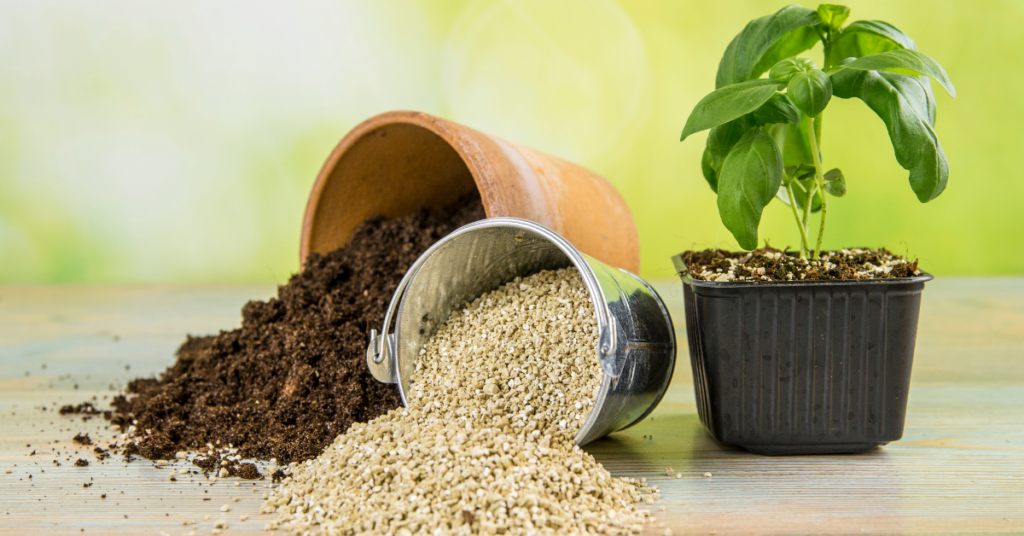
- Vermiculite is a recycled mineral used similarly to perlite, and too has a neutral, slightly acidic pH.
- Expands with water content.
- Can contain amounts of potassium and magnesium (as well as good cation exchange capacity).
- Runs the potential risk of introducing asbestos into your soil.
Calcined Clay Materials
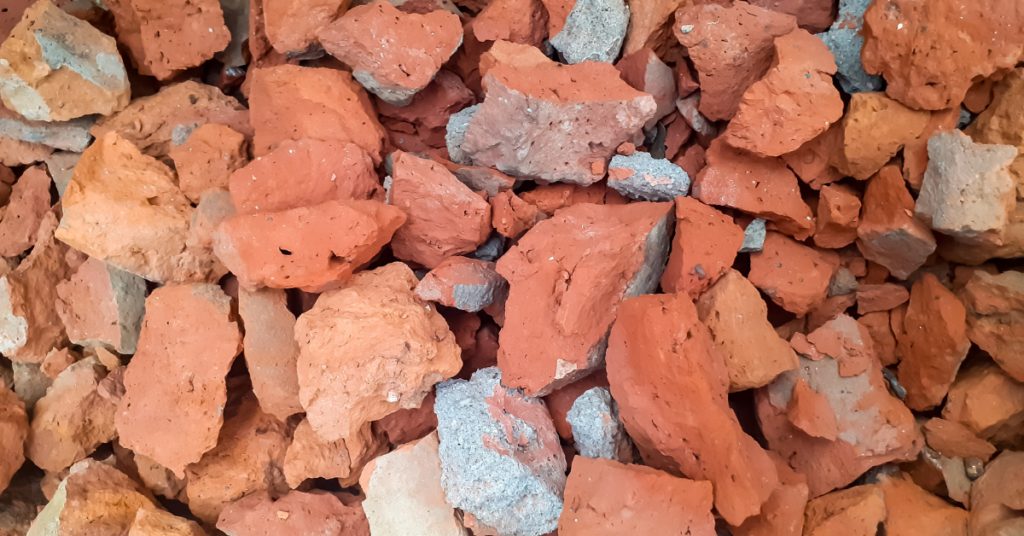
- Clay materials like recycled brick bits, pottery, or lecca are typically used for arid plants as it improves aeration and drainage.
- Can raise pH.
- Can retain some water.
- High cation exchange.
- Can also be used for starting robust cuttings when kept moist.
- Probably not ideal for inground amendments.
Maintaining Your Plant’s Dietary Needs
Perhaps we’ve crafted the perfect soil type for your plant – your plant thanks you – but over time, we will end up in the same staling predicament. Why? Because with each thorough watering, we leech the soil of the provided nutrients. Best we use the plant-specific required fertilizer for your plant to prevent nutrient loss.
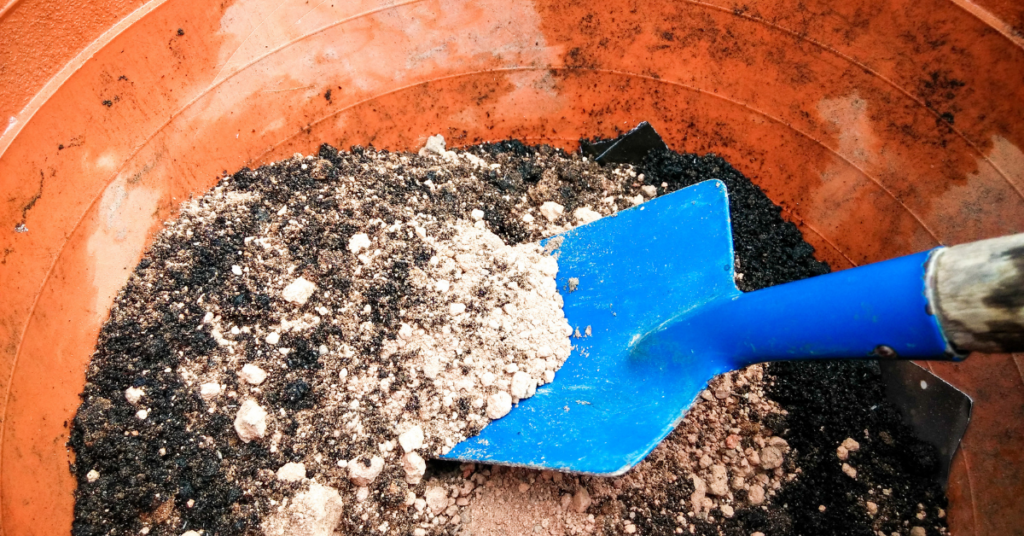
Organic sources of fertilizer such as bonemeal, composts, and manures, along with the application of lime, will improve the physical condition of the soil in terms of water and element holding ability. Unfortunately, in many cases though, manures and lime alone cannot be depended upon to provide enough available nutrients in soils with low essential element reserves.
Let’s talk about commercial fertilizers, which can help target your plant’s exact needs much like vitamins and supplements!
The Scoop on Fertilizers
Of the essential 16 elements your plant pulls from the soil, Nitrogen (N), Phosphorus (P), and Potassium (K) are the most critical for good plant growth. You’ll recognize the three numbers appearing on your commercial fertilizer labels known as the fertilizer analysis of the product, representing the percentage of each of the three "macronutrients" in the order of N, P & K.
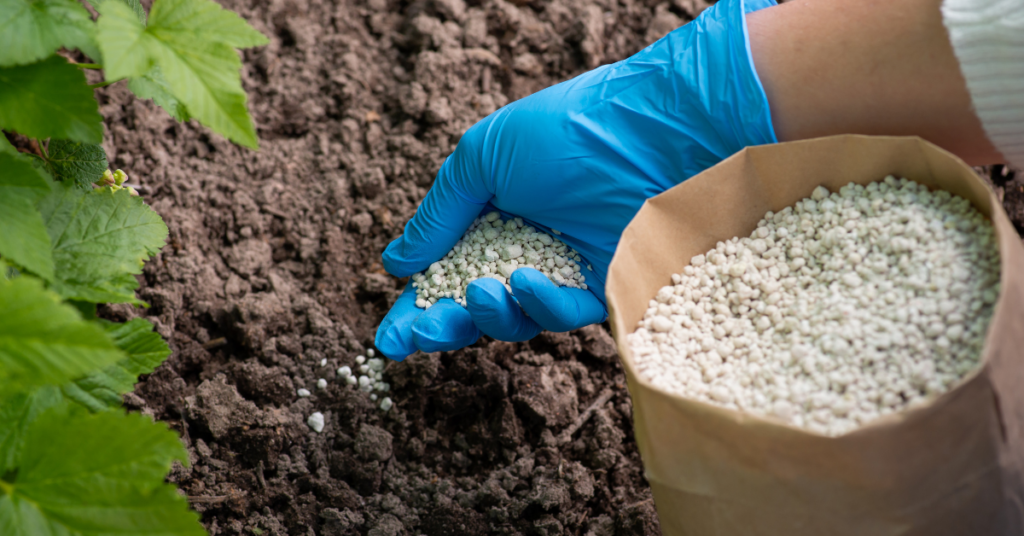
Nitrogen (N) is necessary for green leafy or vegetative growth which is important in crops like corn, cabbage, and potatoes.
☝️ It is important to remember that you should not use a fertilizer which is high in nitrogen late in the summer on your perennials, as it may cause a boost of growth which will only freeze as the cold weather sets in. Also, too much nitrogen in the analysis could cause too much lush, leafy growth thus inhibiting the desired flowering aspect of a plant species.
Phosphorus (P) promotes the development of flowers, fruit and roots. Crops like tomatoes, cauliflower and garden flowers.
Potassium (K) boosts plant hardiness, stem strength, resistance to disease and drought which is important to all crops, but especially in potatoes, celery and rhubarb.
👍 Rule of Green Thumb: For foliage plants, provide them with shade and lots of nitrogen, and for flowering and fruiting plants, provide them with lots of sun and lots of phosphorus!

Amending Clay
Hello Haldimand and Eastern Norfolk!
We’re presented with the challenge of compacted, often shallow and waterlogged clay, which proves difficult but not impossible.
Clay becomes compacted and waterlogged as it is the smallest soil particle – smaller than a grain of sand, and even smaller than silt – with rough edges that allow it to interlock and bind. In this instance, roots cannot penetrate further into the soil, are susceptible to root rot, and air pockets are slim to none.
This, however, can be fixed with the addition and renewal of the above materials.
Mindful that you don’t create a watery bowl in the ground (score the edges the area being worked), you can add organic matter (i.e., manure, compost, and potting soil) for nutrients, as well as mulch, sand and perlite for aeration and drainage. Annual soil particle aggregation in clay soils increases air porosity (air pockets) and is accomplished by the incorporation of organic matter that breaks down to form humus.
🖱️ See more here for planting trees in clay.
We hope this soil and fertilizer guide helps you provide all the vital nutrients to your beloved plants in ground and above ground! For more information - and soil – visit Eising Greenhouse and Garden Centre! 🌱
By Dave Zeldon and Ely Schweyer
This is the time of year that most garden centres will have on display their wide variety of Amaryllis bulbs, including the evermore popular waxed dipped. These enormous bulbs that are appearing now will be ready to burst into bloom within 4-8 weeks after planting.
Non-Wax Dipped: Planting
All Amaryllis need is a bit of commercial potting soil that should not cover the shoulders of the bulb (try leaving about 1/3rd of the bulb showing above the soil line), with the nose (or narrow end) of the bulb peeping well over the top of the pot. Make sure that you use a well-drained container that is 3-4” bigger in diameter than the bulb itself.
☝️A heavy clay pot will prevent this top-heavy plant from toppling over. To achieve continuous bloom, plant at intervals of two weeks for stunning colour in your home.

Non-Wax Dipped: Care
Once leaves emerge, fertilize once a month with a 20-20-20 water soluble fertilizer for houseplants. Water sparingly and wait for the miracle in a warm sunny room. Sub-irrigation or watering from the bottom of the drip tray will keep the surface soil dry, thus keeping and bulb rot organisms and those pesky fungus gnats at bay.
Non-Wax Dipped: It's Not Done Yet!
When blooming is over, remove the scape (or flower stock) and place the plant in a sunny spot and continue to water. This is to allow the leaves to regenerate the bulb. In springtime, when all danger of frost has passed, bring the bulb outdoors and let it spend its holidays in a shady spot. In some varieties the leaves will die back in September to give the plant a rest for a couple months. Stop watering and store the bulb on its side in a cool place for about eight weeks, when the leaves will once again begin to emerge.
Amaryllis can go 3-4 years without repotting as they don’t mind a little crowding. Try growing a couple of bulbs in larger pots to see if you can get a clump of flowers from the offshoots or babies that will develop after a couple of years.
Or, Try One of These Wax Dipped Bulbs!
Now growing more popular are the care-free waxed-bulb Amaryllis!



Experienced growers and beginners alike love that these waxed bulbs do not need to be planted or watered! Each of these robust bulbs are carefully prepared in festive-coloured wax, allowing you the freedom to place them among your holiday decorations.
Simply keep the bulbs at an ambient room temperature of at least 16C (70F) for beautiful blooms in five to six weeks.
These novelty items are low commitment! Their only fault is their lack of longevity - gardeners don’t get to enjoy them after year as these waxed bulbs were designed to be a one-use throwaway item!
BUT with a little luck and perseverance you may be able to save the bulb for next season after blooming. All you have to do is to carefully remove the wax layer, remove the flower stalk and place the bulb and with its remaining leaves into a pot of good growing media, allowing the leaves to regenerate the food stores in the expired bulb.
If you’re looking for more information – or perhaps, Amaryllis – visit Eising Greenhouse and Garden Centre! Happy Holidays! ✨
By: Dave Zeldon and Ely Schweyer
If you’ve ever wondered how the warm weather succulent came to be a seasonally regarded indoor plant, or how to keep one going, read on!
History and Cultural Significance
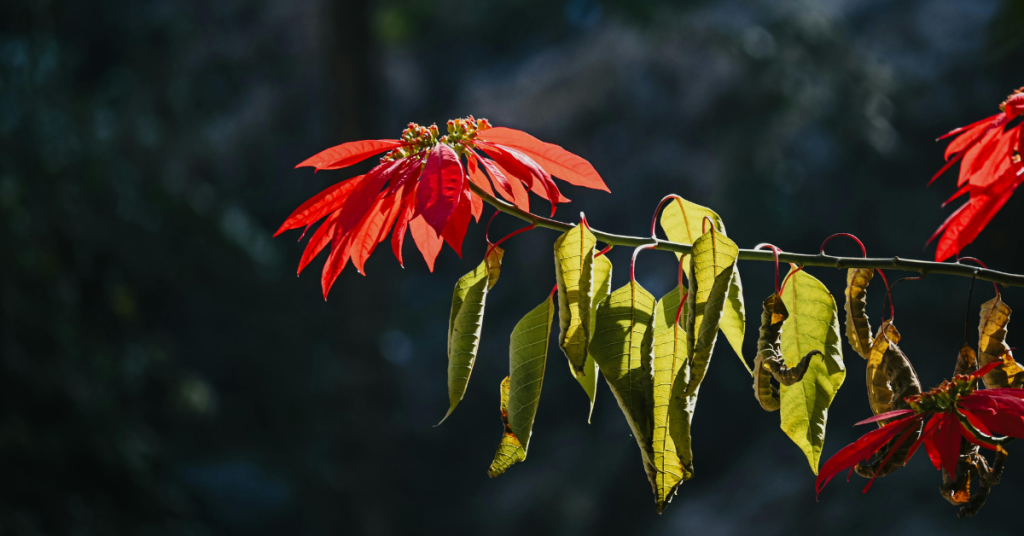
The Poinsettia was named after Joel Roberts Poinsett, the first U.S. Minister to Mexico. He introduced this native Mexican the United States in 1828. In the Mexican Christmas tradition, the star-shaped leaf pattern is said to symbolize the Star of Bethlehem, and the red colour represents the blood sacrifice through the crucifixion of Jesus.
Since the species is native to Mexico and found in the wild in deciduous tropical forest at moderate elevations, we then have a challenge to keep this plant alive and in a healthy form in our colder, northern climate.
It's Just A Rumour!
There is a common misconception that the poinsettia is highly toxic. This is not true.
Yes, it may be mildly irritating to the skin or the stomach if it is eaten, but otherwise, there have been no documented cases of poisoning. The origin of this myth could be found in the fact that most plants of the spurge genus (Euphorbia) are indeed toxic. Fortunately, this family member is a good one!

Here are Some Helpful Hints to Get the Most Longevity Out of Your Plant:
☝️Unsleeve the plant as soon as possible as the leaves may become droopy if left too long in the wrapper. Fortunately, the plant should recover in a few days if this does occur.
☝️If you want to try to keep your plant until next Christmas then fertilize after the blooming season with an all-purpose fertilizer, repot it later in the early Summer and then introduce it to 12 hours of uninterrupted darkness come September.
For more information on Poinsettia care (i.e., temperature, lighting, and watering), visit Ava's blog Caring for Poinsettias.
If you’re looking for more information – or perhaps a Poinsettia – visit Eising Greenhouse and Garden Centre! Happy Holidays! ✨
By: Dave Zeldon and Ely Schweyer
Most experts agree that we shouldn't bother bringing in our favourite summer potted plants for the winter and that we should buy new again the next season. But this seems to go against our sensibilities after paying good money earlier in the season. Why not try to save that bay tree, those Rosemary, and French Tarragon containers, as well as expensive Phormium, Mandeville, Passionflower, and Jasmine plants?
The secret to indoor survival for summer plants is to slow down their growth during the winter, so they’re ready to be put outside again once all the danger of frost has passed. How? A few weeks before fall frosts are expected, gradually introduce plants to life indoors by moving them inside (to a quarantined spot*) for half a day, working up to a full day over a week or so. Don't wait until nighttime temperatures are only slightly above freezing as the plants may go into shock and drop leaves!
How to Keep These Guys Comfy During the Winter Months?
- It is suggested that you should prune back excessive growth and re-pot with new lighter growing media.
- Place them in the sunniest location you have and then water sparingly but regularly over the Winter.
- Raising humidity by using a humidifier helps too.
- Resist the urge to fertilize these plants until just before you reintroduce them to outdoor living.
- Perhaps just for fun, you could repot them into the appropriate seasonal pots and planters!
It Seems They Brought Others in With Them - And They're Not Nice House Guests
*Before long, you may notice some unwanted guests, such as thrips and spider mites, on and around your precious plants as their natural predators are no longer present to keep their populations at bay. In many cases, it may be too late, and your plants may have to be discarded before the Holidays, but that’s not always the case!
Common problems that make themselves apparent indoors would be the brown soft scale insect, whiteflies, mealybugs, aphids, spider mites and most often, fungus gnats (those pesky little black flies).
Fungus gnats are considered to be the most common nuisance in houseplants. Sometimes their sheer numbers just hovering around an attractive plant take away from its appeal.
Basic Fungus Gnat Control Measures:
The fastest and easiest method of control is to catch the flying adults with yellow sticky cards. The large cards can be cut into little strips and mounted onto little wooden splints (popsicle sticks) then placed around the base of the plant out of the line of sight.
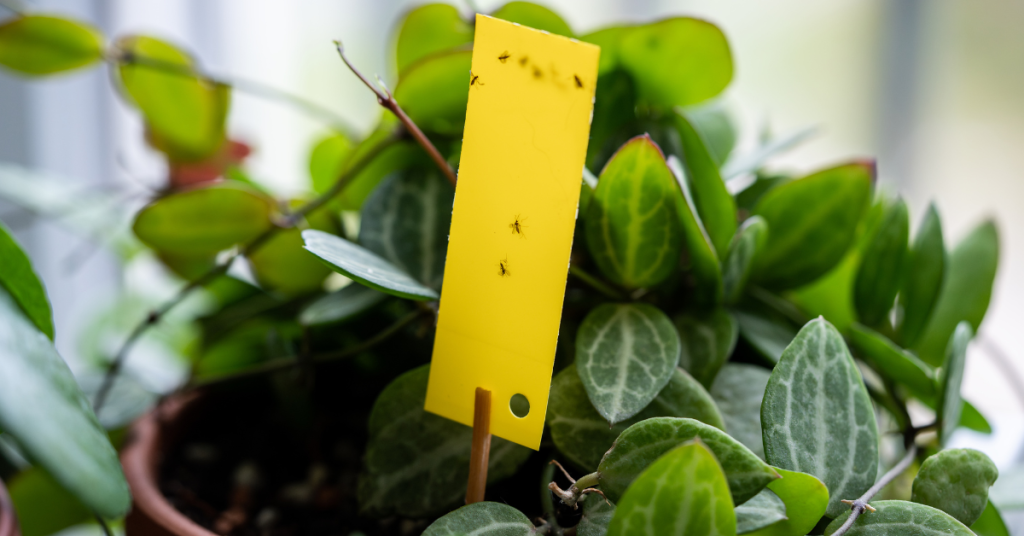
The chances are that the adults have already deposited eggs in the growing media (soil) of the plant as it is rich in organic matter, so we can disrupt its life cycle by:
- Subirrigation - water your potted plant from the bottom by adding water to the saucer it is sitting in. This will dry out the soil surface making it uninhabitable for the hatching larvae.
- Trapping larvae - If the surface soil it already very wet, try placing a few potato discs or slices on the surface of the soil. This will attract the larvae as they migrate to the potato to feed. Simply replace the discs every five days or so with fresh slices to eliminate the next generation of adults.
- Inoculating the soil with beneficial nematodes. Most garden centres will carry the Guardian line of beneficial nematode products.
We hope this helps your plants enjoy your winter abode as much as you do this season, for more information - and plants – visit Eising Greenhouse and Garden Centre!