
By Dave Zeldon and Ely Schweyer
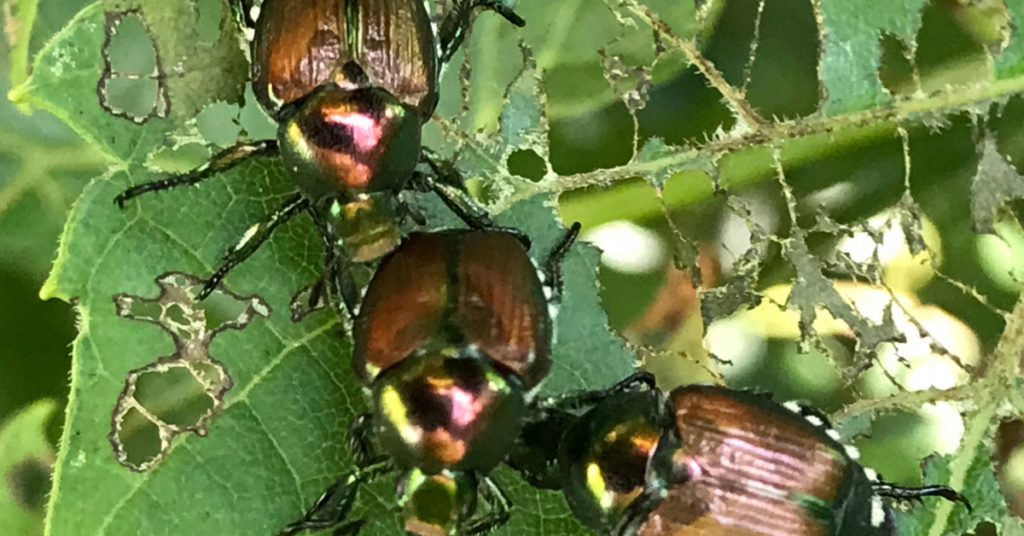
In late June and early July we will be witnessing the annual invasion of the Japanese Beetle on many of our favourite landscape plantings including Hollyhocks, Dahlias, Hibiscus, Roses, Grapes, and Raspberries.
Adult beetles skeletonize foliage.
Many of us have tried the various means available to curb this yearly destruction like pheromone traps, Nematode lawn inoculation, hand picking, and concoctive sprays. But still, we get substantive damage.
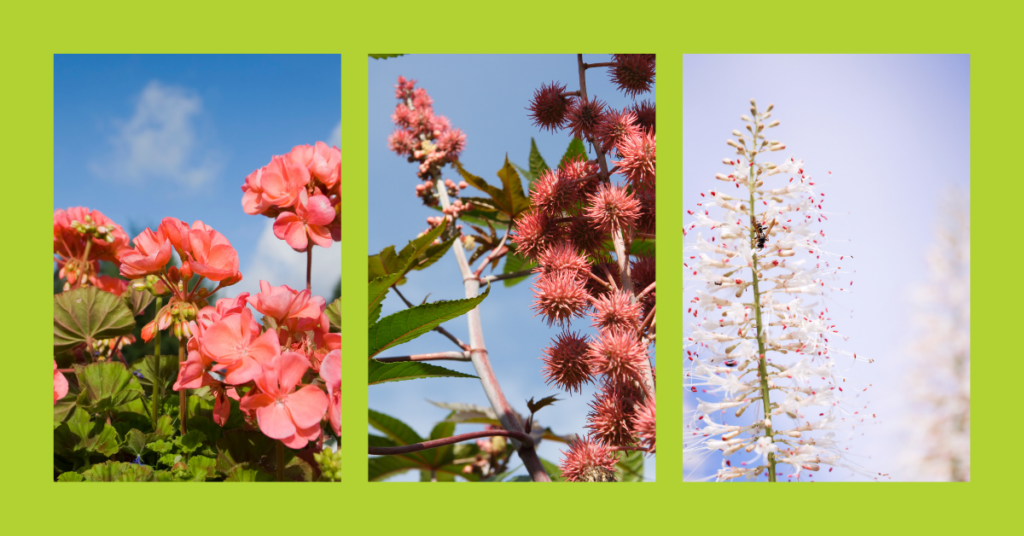
Interestingly enough, some plants such as Geranium, Castor Bean, and the flowers of Bottlebrush Buckeye, will cause paralysis and death of these beetles when eaten.
Maybe it’s Time We Look at Whole New Approach
Why not slowly invest in a landscape makeover? One with Japanese Beetle resistant plants!
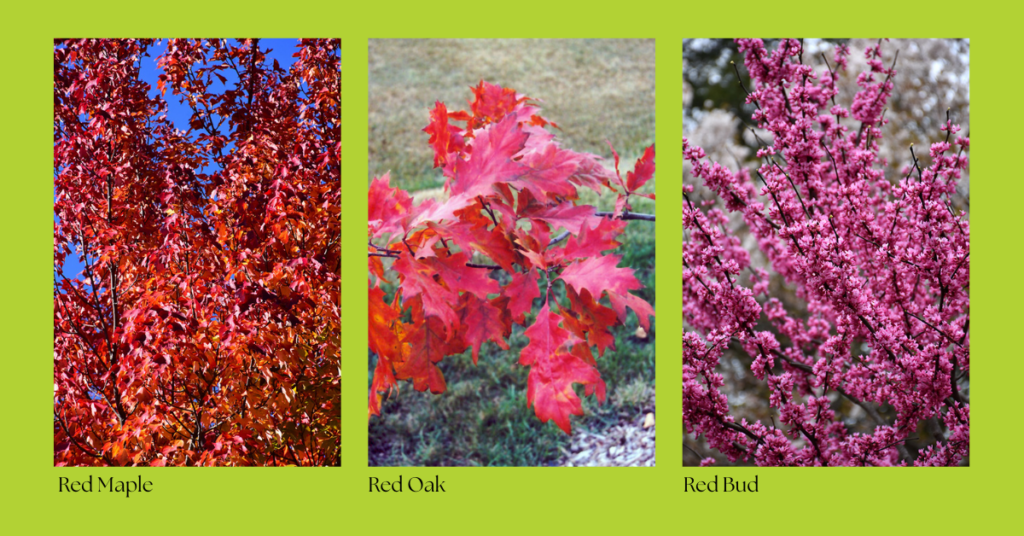
Trees such as Red Maple, Red Oak, Hickory, and Redbud could replace the susceptible Japanese Maple, Norway Maple, Pin Oak, Linden, and Mountain Ash.
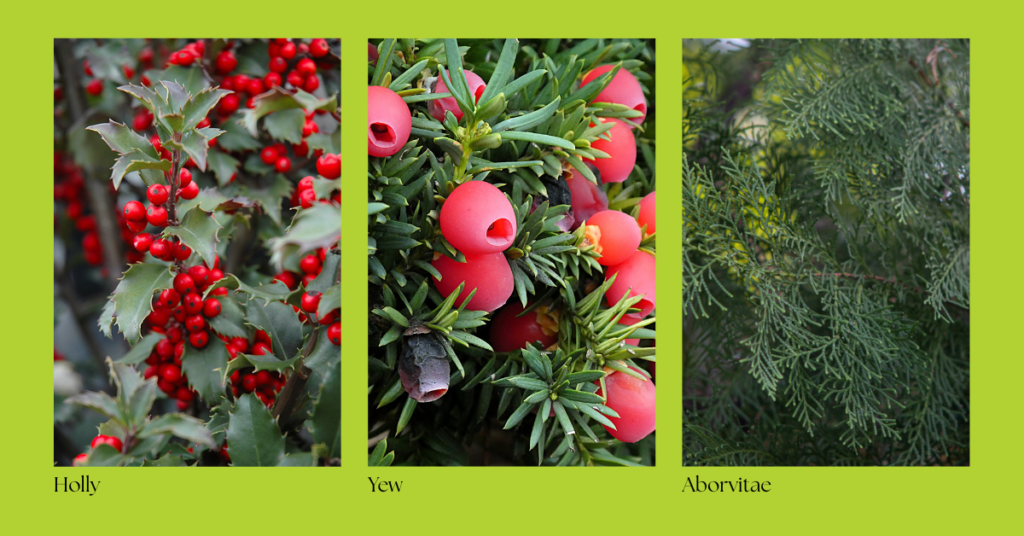
Why not consider growing more Evergreens such as Holly, Yew, Boxwood, and Aborvitae instead of the prone Virginia Creeper, Apple and Plum family of trees, and Birches.
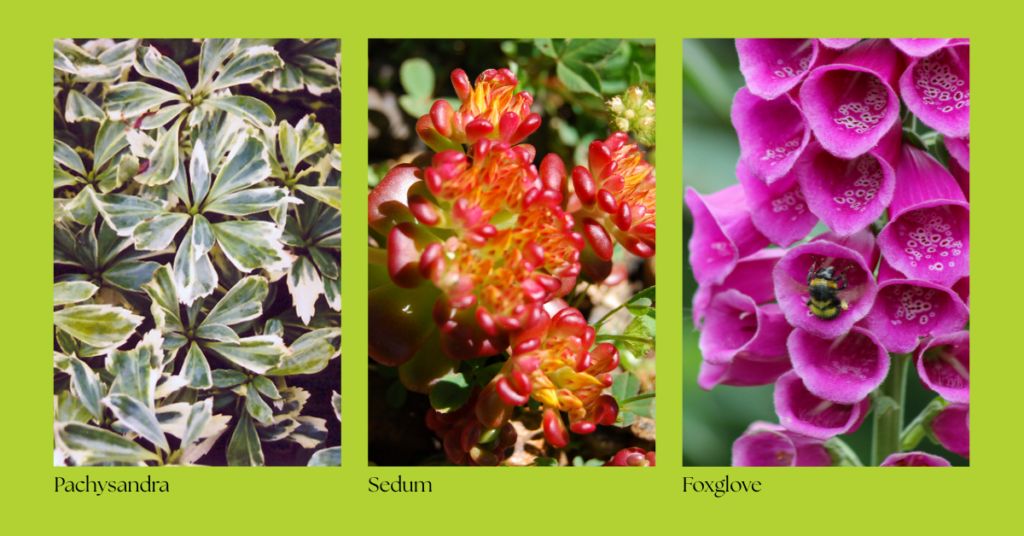
You also may want to contemplate planting perennials such as Coral-Bells, Hostas, Pachysandra, Sedum and Foxglove as opposed to the Japanese Beetle standard menu fare of Evening Primrose, Hydrangea, Clematis, Potentilla, and Zinnia.
Yes, we do have some preventative measures at our disposal to battle the Japanese Beetle (find how to use beneficial nematodes in our fall chore blog) but due to the nature of this pest, it will inevitably win the war. If we continue to grow the some 400+ preferred host plants in our landscape, providing an adequate food source for this invasive pest rather than replacing them with resistant species, surely this pest will make gardening a chore instead of the pleasure it should be.
We hope this article will aid in the prevention of Japanese Beetles in your garden space! For more information – and Japanese Beetle resistant plants – visit Eising Greenhouse and Garden Centre! 🪲
By: Dave Zeldon and Ely Schweyer
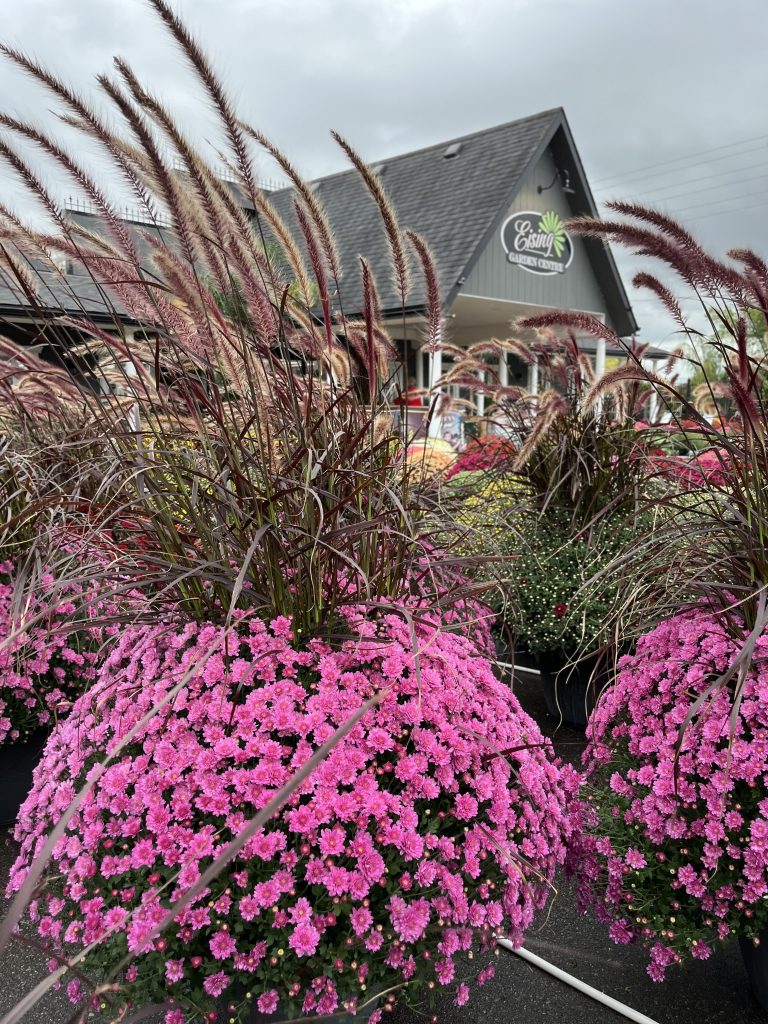
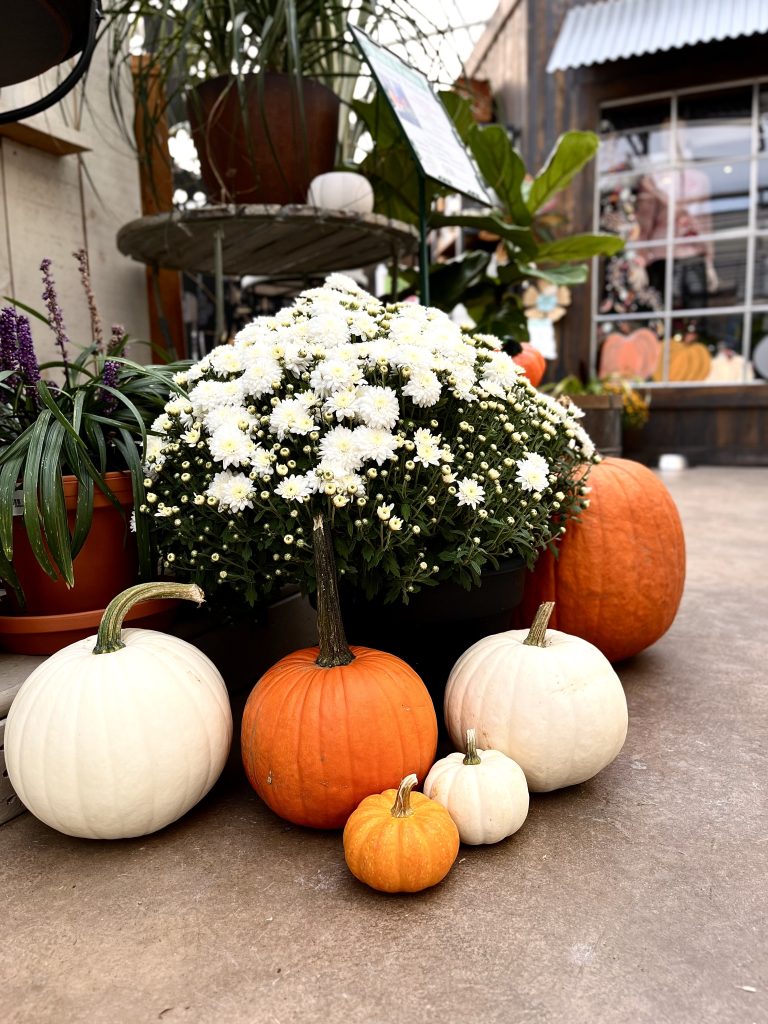
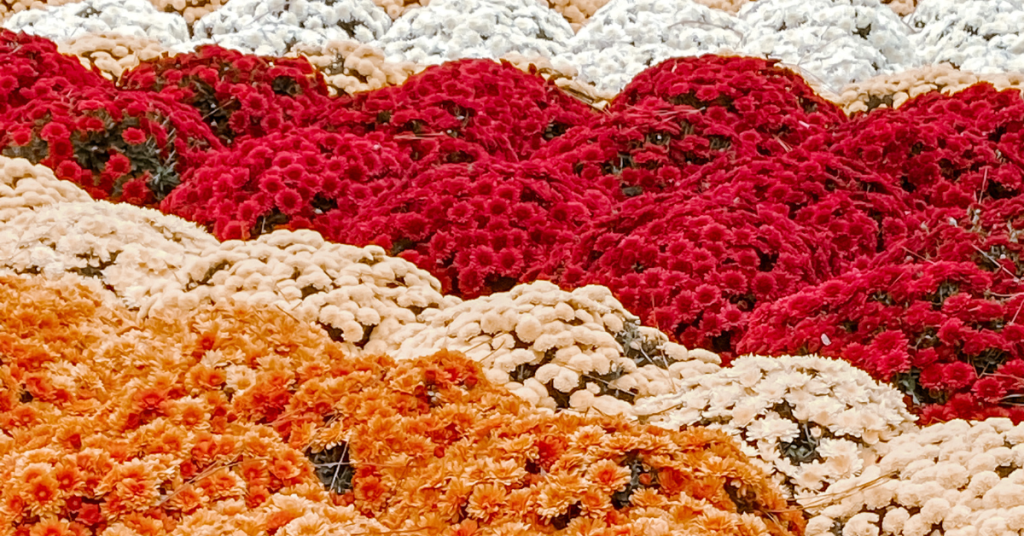
The classic fall-blooming Chrysanthemum varieties of burnt amber, golden yellow, and deep burgundy blooms have been enormously popular for years, and as each new fall season rolls around, there always seems to be new varietal introductions – like multicoloured pinks with the hues of sunrises - to enhance your front porch display of pumpkins, corn stalks, and gourds.
These robust plants will produce blooms for weeks, even in the coolest of autumn weather. Their hardiness even offers versatility when it comes to their display; some gardeners prefer less labour-intensive groundskeeping and leave them in their original store pots, whereas others prefer to transplant these flowers into larger planters, window boxes, or into flowerbeds to add an easy seasonal flair.

While resilient, these plants still need some TLC. Try these tips to keep your Mums looking fresh throughout the fall.
- Choose green plants with tightly closed buds. This way when your Mums do bloom, you will be able to keep those colourful displays for much longer.
- The Mums' foliage should have a deep green colour and lots of growth at the garden centre.
- Also, make sure the soil in the container is moist when purchasing your plant, as dried out Mums may have already suffered damage.
- You'll find out in short order that your potted Mums are very thirsty plants! Water them daily and make sure the soil remains moist. A shot of liquid fertilizer to the irrigation water once a week would be great as well.
Over-Wintering Mums
Modern Mum breeding is aimed primarily at creating plants that look good in their pots at their point of purchase, sacrificing the plant’s hardiness and performance for future years - meaning when home gardeners try to overwinter these big potted plants, they are not usually successful.
All Mum plants at garden centres are hardy, meaning that they are perennials in most climates. However, if these plants are put in the ground from August on, most won't make it through winter. The reason is that Mums planted late in the season are near, or at, the flowering stage, when their energy is focused into blooming, and they won't grow roots to sustain plants through the winter. This is why Mums should be planted in the spring if you want a perennial plant that has a spectacular autumn show!
If you really adore your fall purchase though, you can try to over-winter your Chrysanthemums in the basement or a dark, cold closet, after the first frost. Water well and place in an area where it is totally dark and 0°C to 10°C. The plants will hibernate for the winter if you keep their roots damp. Check the pots weekly.
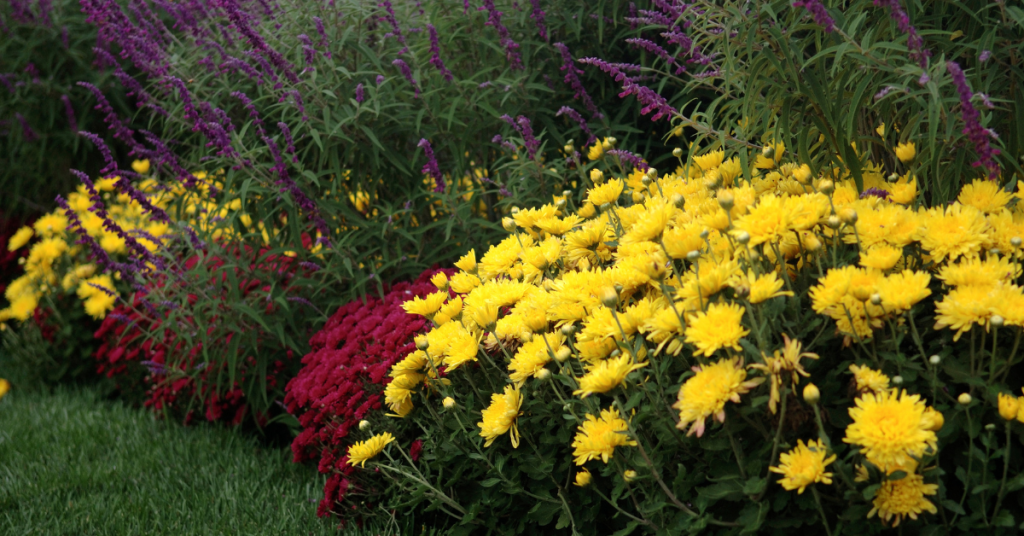
In the spring, gradually acclimate your Mum plants to light and plant them out in the garden after the last killing frost, remembering to pinch them twice prior to the first of August for a full, lush plant.
We hope this helps you to enjoy your Mums just a little bit longer! Use our Plant Finder to search for a sample of our Mum selection by your preferred colour. You can find many Mum varieties and more information at Eising Greenhouse and Garden Centre, please stop in for a visit this autumn!
Pruning is an essential part of gardening. Essential, but a little intimidating at first because it’s a broad subject. That said, there are some basic rules that apply to most trees and shrubs that will get you started.
There are a number of reasons to prune; the most obvious is for safety, to keep a branch from doing damage or harm by falling or rubbing against something like a building or another tree. Other important reasons include:
- Removing dead, diseased or damaged wood
- Shaping to make a plant bushier, reduce the size and bulk, or slow down growth
- Thinning to increase light penetration and airflow and reduce the possibility of disease
- Rejuvenation to encourage growth, blooming and fruit
Correctly pruning trees and shrubs can help with everything listed above and, most importantly, help maintain the health of your plants. Proper techniques and timing ensure the best results.
The Right Tools
You may need fewer tools to prune than you think!
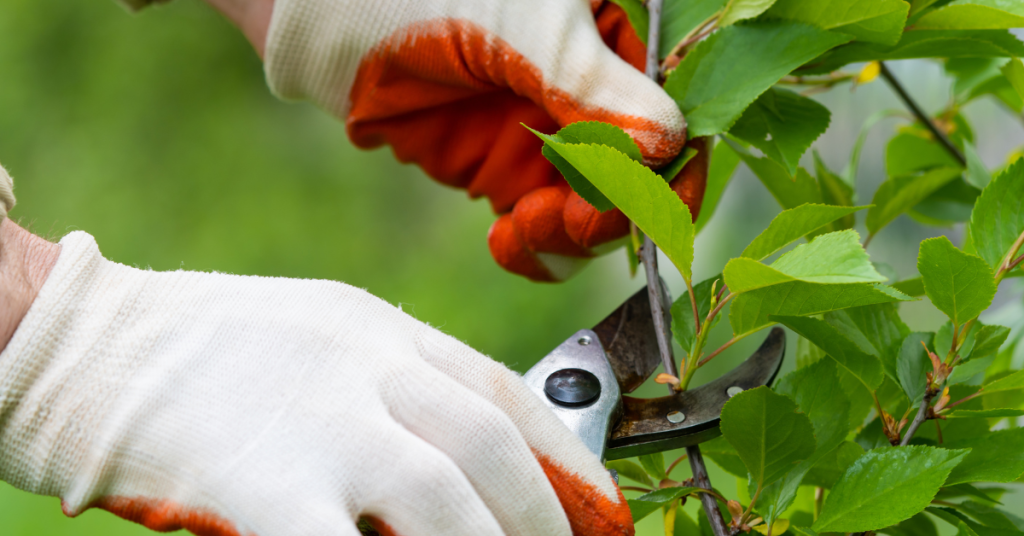
Secateurs or hand pruners work well on smaller branches.
Loppers or lopping shears have longer handles for more leverage and are ideal for medium-sized branches.
A pruning saw works best for larger branches.
Electric or manual hedge shears are best for cutting a tidy wall of foliage like hedges and shaped evergreens.
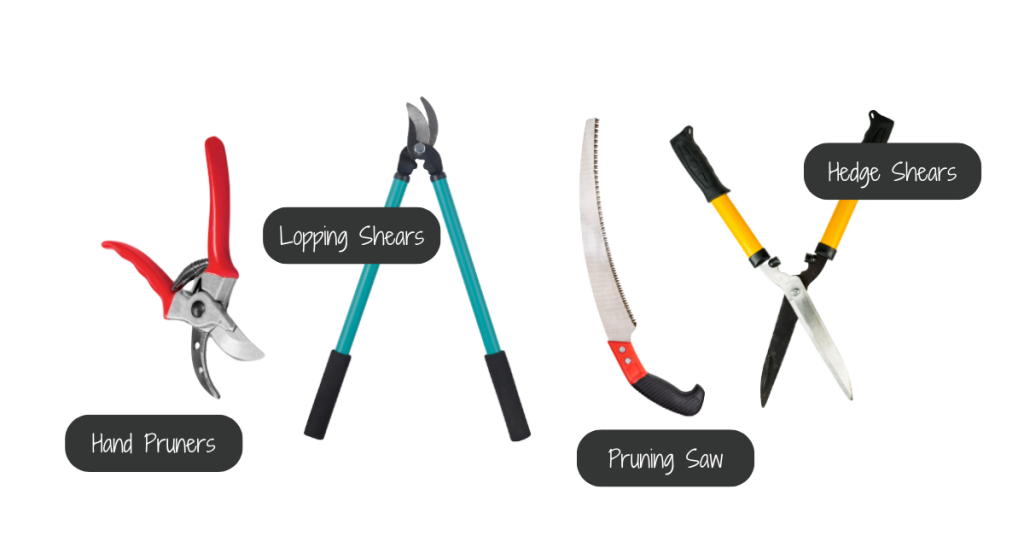
The key with garden tools is to make sure they’re sharp and sterile. This can prevent the spread of disease. Clean tool blades with rubbing alcohol after trimming each branch.
When to Prune
Pruning timing requires some research as it depends on the species of the plant and the result you’re aiming to achieve. For example, some trees may be best pruned in the winter while they’re dormant and buds have not yet appeared. To shape a tree, it’s easier to prune before the leaves have formed so that all of the branches can clearly be seen. Pruning early in the gardening season will invigorate the tree. Conversely, pruning after the tree has formed leaves in June will tend to slow down growth.
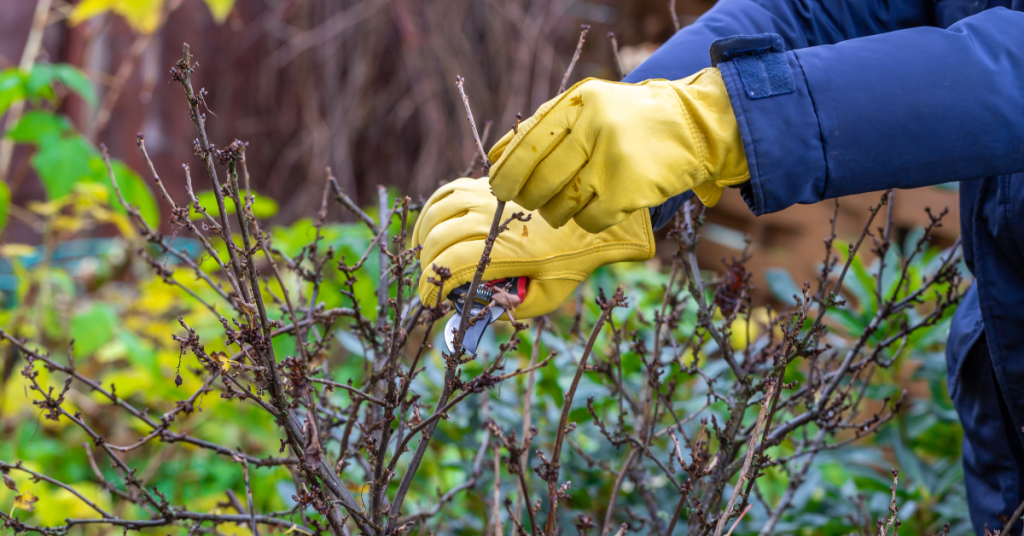
When pruning flowering trees and bushes, there are other timing considerations. Some ornamentals bloom on branches that grew the previous year. Pruning those branches too early will result in fewer or no blooms. For these plants, it’s best to wait until after they have bloomed.
If you’re unsure about pruning timing for your tree or shrub, this is a fairly comprehensive list to use as a guide. We have also linked other resources below this article.
In general, late fall or early winter is not the time to prune any plant as it encourages new growth, which may be damaged by colder weather.
Pruning Techniques
While some trees may require specific care (pines, for example), here are the basic techniques for pruning trees and shrubs. It’s a good idea to know these basics before you head out to begin cutting branches.
Examine the branch, buds and shoots before cutting. Cutting above a bud facing away from the trunk of the tree will have the branch continue to grow in that direction.

Cut on a 45° angle just above a bud whenever possible. Keep your cut above the lowest bud (the bud closest to the trunk), or the branch will die back.
Before removing a large branch, cut ⅔ off the end of the length to reduce the weight. Once the bulk of the branch has been removed, then cut the rest of the branch away from the trunk by cutting close to, but not into, the “collar” of the branch where it meets the trunk of the tree.

Now You’re Ready to Begin Cutting!
Now that you know the techniques for pruning, where do you begin? Here’s a logical set of steps to follow:
1 - Remove any dead or diseased wood
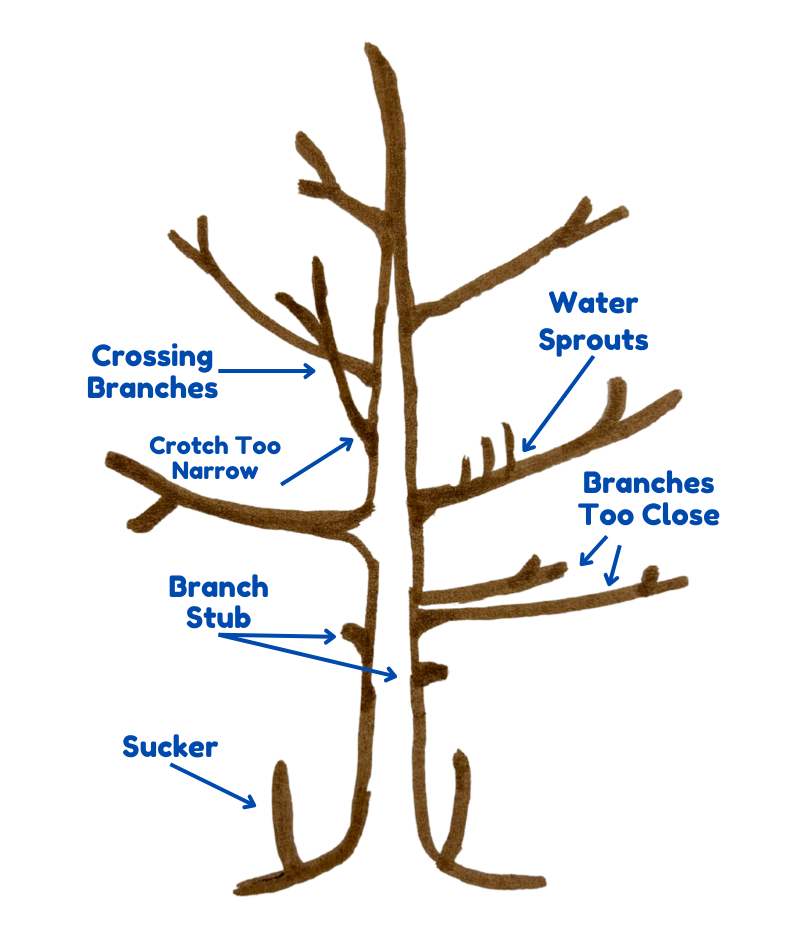
2 - Remove any branches that are crossing and rubbing together. For a shrub that’s too crowded, remove the thickest branches down to the ground first
3 - Remove water sprouts
4 - Stand back and observe the shape of the tree. If anything is not pleasing about the look (lopsided growth or branches growing too close together or at a sharp angle to the trunk, for example), begin removing or trimming back one unsightly branch at a time. Observing the shape between each cut
5 - Remove any suckers or stubs
Follow The ⅓ Rule!
Once you start, pruning can be fun, but be careful not to get too carried away. Trim up to ⅓ off of an established plant (not a newly transplanted tree or shrub) in one growing season - maximum. Cutting off too much can stress the plant and impact its overall health.
Lastly, know that you can always hire a certified arborist if the task is too much or the tree is simply too large!
Other Resources:
- City of Moose Jaw: Pruning Trees
- Landscape Ontario: Pruning Shrubs and Evergreens
- Ontario Government: Pruning Fruit Trees
- University of Georgia: Pruning Ornamental Plants
Rabbits are some of the most common garden pests in Simcoe. We can’t blame them from loving our plants—after all, we have that in common—but the damage they leave behind can be devastating. Here’s how to keep rabbits from eating your plants.
What Does Rabbit Damage Look Like?
If you notice small ball-shaped droppings around your garden, you’ve stumbled upon a dead giveaway that rabbits have stopped by. Thanks to their tendency to gnaw and nibble, the rabbit damage you’re most likely to spot will look like chewed-up bark on small trees and shrubs, or large chunks of plants that have been munched away. Rabbits have also been known to damage other materials found around the yard—like patio furniture, garden hoses, boots, and shoes.
How to Protect Your Garden From Rabbits
Once you know your yard has become a hangout for local rabbits, you’ll want to send a clear message that you’re closed for business. These methods are easy, effective, and humane.

Preventing Rabbits from Nesting
Rabbits’ ability to hide is their primary natural defence against predators. Most yards are chock full of perfect hiding places for rabbits to make their homes and raise their babies. Thatch left on top of lawn, tall grass and weeds, and shrubs sitting low to the ground are some of the most popular rabbit habitats.
Keep shrubs pruned to keep the first 6” of the plant clear of branches and foliage. While trimming and removing weeds and thatch, work gently at first. Rabbits hide their babies in these areas, so you’ll want to make sure you can give the mother rabbit a chance to move her warren before you go over the area with a mower or weed wacker.
Finally, take care of the man-made structures in the area. Clean up any piles of junk or overturned wheelbarrows. Finish by sealing cracks in your fencing or around your house so rabbits can’t nestle through.

Rabbit Repellent
If the rabbits in your yard are really out of control and trying the deterrent methods above aren’t working, a repellent is a very effective last resort. There are a few rabbit repellent products on the market to choose from; some emit an odour rabbits hate, some have an unpleasant flavour, some play a tone that keeps rabbits away. A combination of at least two is the most effective way to go. (Just make sure to keep any chemical products out of edible gardens, for obvious reasons.
Predators
If you want to outsource your rabbit problem, keep in mind that rabbits have a few natural predators in the Simcoe area. Try installing an owl house on your property to bring in a free rabbit patrol service. Coyotes are common rabbit predators in the area, and while you may understandably be a bit hesitant to invite them into your yard, if you have a bad rabbit problem, it’s probably a good idea to refrain from scaring them away or deterring them from your yard.

Rabbit Control Myths
You may have heard some of these ideas for controlling rabbits. Not only are they potentially dangerous, we promise you they don’t work as well as our harm-free solutions.
Pesticides and poisons are never worth the risk. Rabbits are very good at sensing when a substance will harm them. You’re more likely to accidentally poison nearby pets.
Scarecrows aren’t effective against rabbits at all. The only time they aren’t tacky is at Halloween!
Flashing lights and noise makers might work while they’re in use, but what’s the point of having a garden that not even you can enjoy?
Rabbits are a nuisance in the garden, but they’re also gentle beings that don’t deserve to be controlled in inhumane ways. Fortunately, these cruelty-free tactics can help to restore harmony between your garden and the neighbourhood bunnies.