By Ava Green
Is there anything sweeter than the scent of Lilacs in the spring? These beloved shrubs are remarkably easy to grow and will reward you with weeks of fragrant blooms for little or no effort. But a bit of attention can make a big difference, especially if you’ve noticed your blooms getting smaller or fewer with each passing year.
To help your lilac put on its best show, keep these steps in mind:
- Plant in full sun, at least 6 hours of direct sunlight a day, in well-draining soil
- Water newer plants during prolonged periods of drought until established (the first 3 years)
- Feed your lilacs annually with a balanced fertilizer (10-10-10, for example)
- Follow spacing instructions and prune yearly. Pruning is a very important step, and it’s well worth it.
Knowing When to Prune is Key
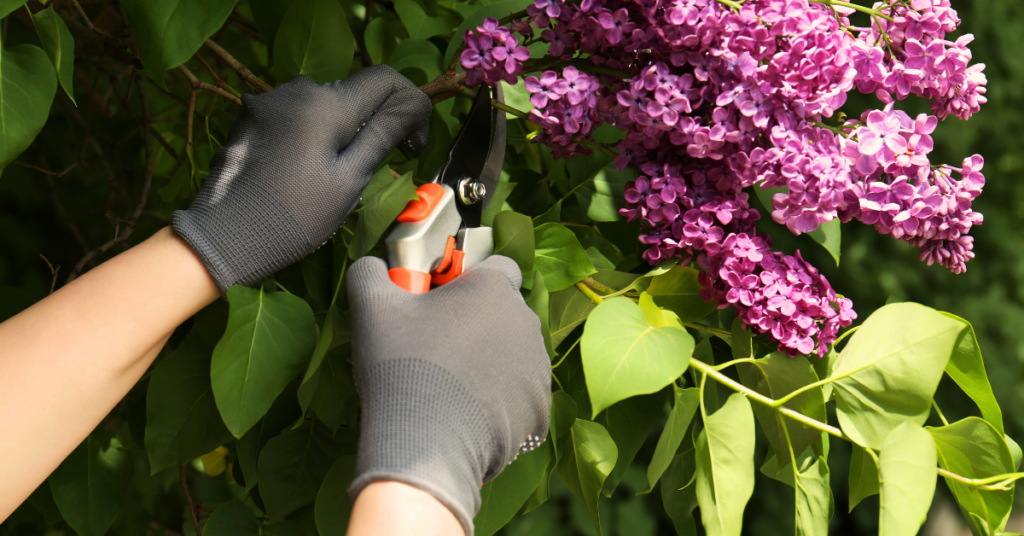
Timing is everything when it comes to pruning your lilacs. After the blooms fade, you have a two-week window to prune before the shrub sets its buds for next year's flowers. Yes, they set buds this year that will bloom next year! Pruning lilacs in the fall or the early spring risks cutting off all of the flower buds for the following year. Mark your calendar and prune promptly after flowering.
It also helps to understand how lilacs grow: Younger, thinner lilac stems produce more flowers. Older, thicker stems are more prone to disease and pests. Keeping this in mind will help with pruning decisions.
How To Prune Young Lilacs
If your lilac has been in the ground for less than three years, leave it alone; it doesn’t need pruning yet. Many young lilacs won’t bloom during those first few years.
After three years, once your shrub is established, begin by removing just one of the thickest, oldest stems down to the ground every 2 years. This gentle approach prevents the shrub from becoming overgrown while encouraging newer, flower-producing growth.
How To Prune Older, Overgrown Lilacs
If your lilac has been neglected or grown out of control, you have two options:
Option 1: Gradual Rejuvenation
Begin by removing any damaged stems, as these invite pests that can harm the entire shrub. Next, remove only the largest, oldest stems by cutting them right down to the ground. The key is to remove no more than one-third of the living wood (dead stems don’t count toward that total). Leave the younger, thinner stems intact so your shrub can still bloom the following year. Repeat this process each spring for three years, and you’ll gradually restore the shrub to its full, flowering potential without sacrificing a single bloom season.
Option 2: Full Cutback
For a severely overgrown lilac that has been largely ignored, a complete cutback is often the most practical solution. Cut the entire shrub as close to the ground as possible, either in early spring or immediately after blooming. Yes, this breaks the general rule of never removing more than one-third of live wood, but lilacs are remarkably resilient and respond well to this kind of hard reset. By the end of summer, you will have healthy new stems of three to five feet tall. While the shrub won’t bloom for approximately three years after a full cutback, the long-term results are well worth the wait.
Deadheading Your Lilacs
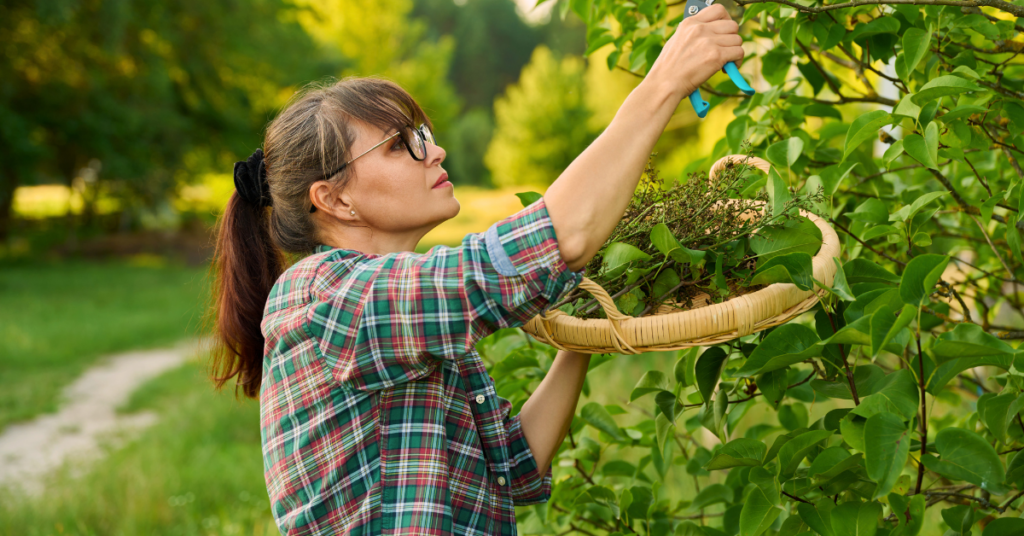
Deadheading, or removing spent flower clusters after the blooms fade, is a simple task that’s separate from pruning, and can be done during that same two-week post-bloom window. When you trim off faded blooms, the plant redirects its energy from seed production toward building bigger, healthier buds for the next year. It takes only minutes and can make a meaningful difference in the size and abundance of next year’s flowers.
A Note on Lawns and Lilacs
If your lilac grows near a lawn, be mindful of how much fertilizer you’re applying to the surrounding grass. Lawn fertilizers are typically high in nitrogen, which encourages lush leaf growth, but too much nitrogen reaching your lilac’s roots will suppress flower production.
Worthy Rewards
Lilacs are remarkably long-lived, often outlasting the gardens and even the homes they were planted beside. So whether you’re nursing a young shrub through its first few years or breathing new life into an old, overgrown beauty, the effort you put in now is an investment that will keep rewarding you, and perhaps generations after you. Every single spring!
Pruning is an essential part of gardening. Essential, but a little intimidating at first because it’s a broad subject. That said, there are some basic rules that apply to most trees and shrubs that will get you started.
There are a number of reasons to prune; the most obvious is for safety, to keep a branch from doing damage or harm by falling or rubbing against something like a building or another tree. Other important reasons include:
- Removing dead, diseased or damaged wood
- Shaping to make a plant bushier, reduce the size and bulk, or slow down growth
- Thinning to increase light penetration and airflow and reduce the possibility of disease
- Rejuvenation to encourage growth, blooming and fruit
Correctly pruning trees and shrubs can help with everything listed above and, most importantly, help maintain the health of your plants. Proper techniques and timing ensure the best results.
The Right Tools
You may need fewer tools to prune than you think!
Secateurs or hand pruners work well on smaller branches.
Loppers or lopping shears have longer handles for more leverage and are ideal for medium-sized branches.
A pruning saw works best for larger branches.
Electric or manual hedge shears are best for cutting a tidy wall of foliage like hedges and shaped evergreens.
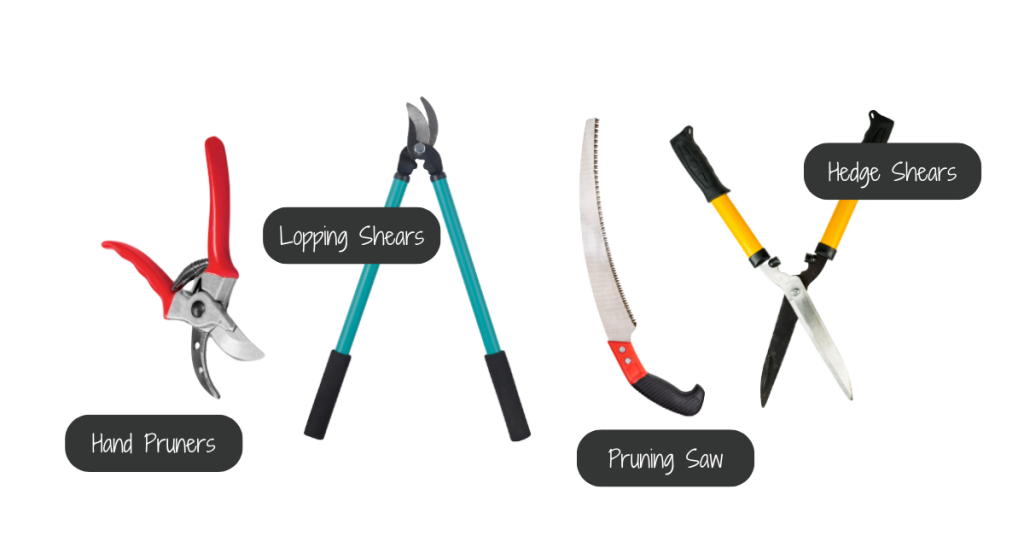
The key with garden tools is to make sure they’re sharp and sterile. This can prevent the spread of disease. Clean tool blades with rubbing alcohol after trimming each branch.
When to Prune
Pruning timing requires some research as it depends on the species of the plant and the result you’re aiming to achieve. For example, some trees may be best pruned in the winter while they’re dormant and buds have not yet appeared. To shape a tree, it’s easier to prune before the leaves have formed so that all of the branches can clearly be seen. Pruning early in the gardening season will invigorate the tree. Conversely, pruning after the tree has formed leaves in June will tend to slow down growth.
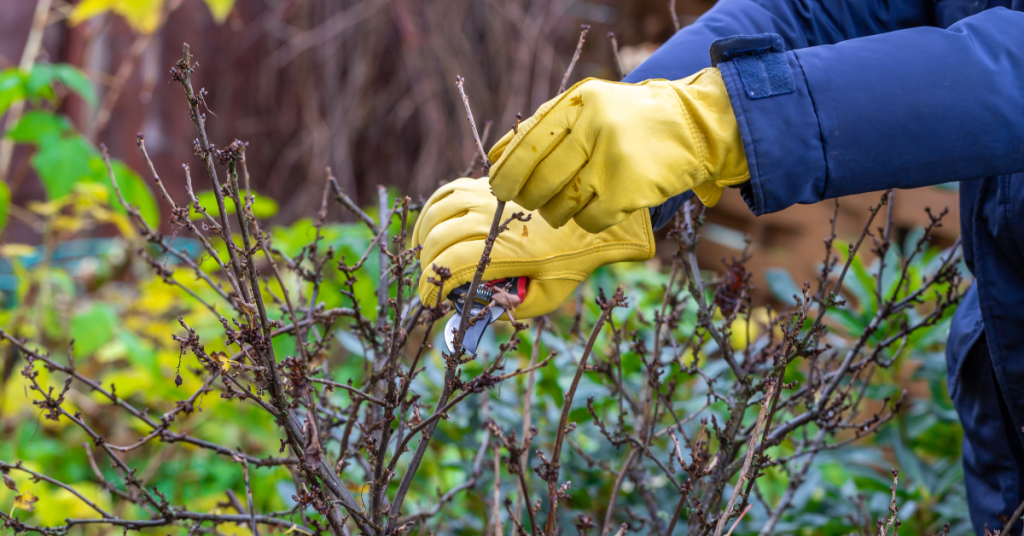
When pruning flowering trees and bushes, there are other timing considerations. Some ornamentals bloom on branches that grew the previous year. Pruning those branches too early will result in fewer or no blooms. For these plants, it’s best to wait until after they have bloomed.
If you’re unsure about pruning timing for your tree or shrub, this is a fairly comprehensive list to use as a guide. We have also linked other resources below this article.
In general, late fall or early winter is not the time to prune any plant as it encourages new growth, which may be damaged by colder weather.
Pruning Techniques
While some trees may require specific care (pines, for example), here are the basic techniques for pruning trees and shrubs. It’s a good idea to know these basics before you head out to begin cutting branches.
Examine the branch, buds and shoots before cutting. Cutting above a bud facing away from the trunk of the tree will have the branch continue to grow in that direction.

Cut on a 45° angle just above a bud whenever possible. Keep your cut above the lowest bud (the bud closest to the trunk), or the branch will die back.
Before removing a large branch, cut ⅔ off the end of the length to reduce the weight. Once the bulk of the branch has been removed, then cut the rest of the branch away from the trunk by cutting close to, but not into, the “collar” of the branch where it meets the trunk of the tree.

Now You’re Ready to Begin Cutting!
Now that you know the techniques for pruning, where do you begin? Here’s a logical set of steps to follow:
1 - Remove any dead or diseased wood
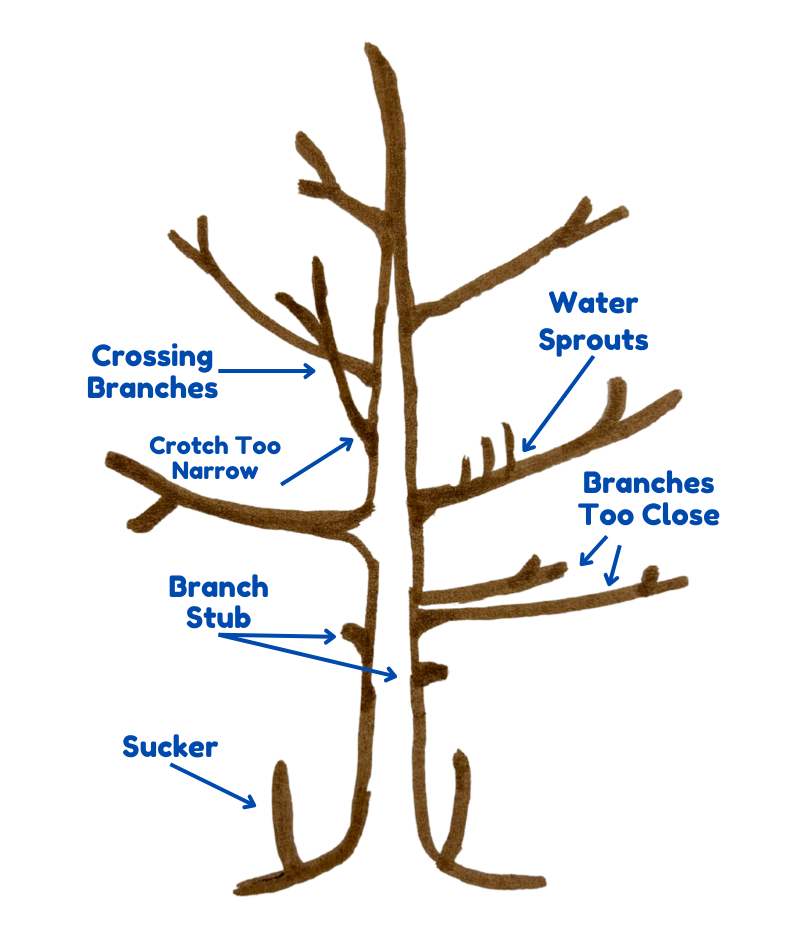
2 - Remove any branches that are crossing and rubbing together. For a shrub that’s too crowded, remove the thickest branches down to the ground first
3 - Remove water sprouts
4 - Stand back and observe the shape of the tree. If anything is not pleasing about the look (lopsided growth or branches growing too close together or at a sharp angle to the trunk, for example), begin removing or trimming back one unsightly branch at a time. Observing the shape between each cut
5 - Remove any suckers or stubs
Follow The ⅓ Rule!
Once you start, pruning can be fun, but be careful not to get too carried away. Trim up to ⅓ off of an established plant (not a newly transplanted tree or shrub) in one growing season - maximum. Cutting off too much can stress the plant and impact its overall health.
Lastly, know that you can always hire a certified arborist if the task is too much or the tree is simply too large!
Other Resources:
- City of Moose Jaw: Pruning Trees
- Landscape Ontario: Pruning Shrubs and Evergreens
- Ontario Government: Pruning Fruit Trees
- University of Georgia: Pruning Ornamental Plants
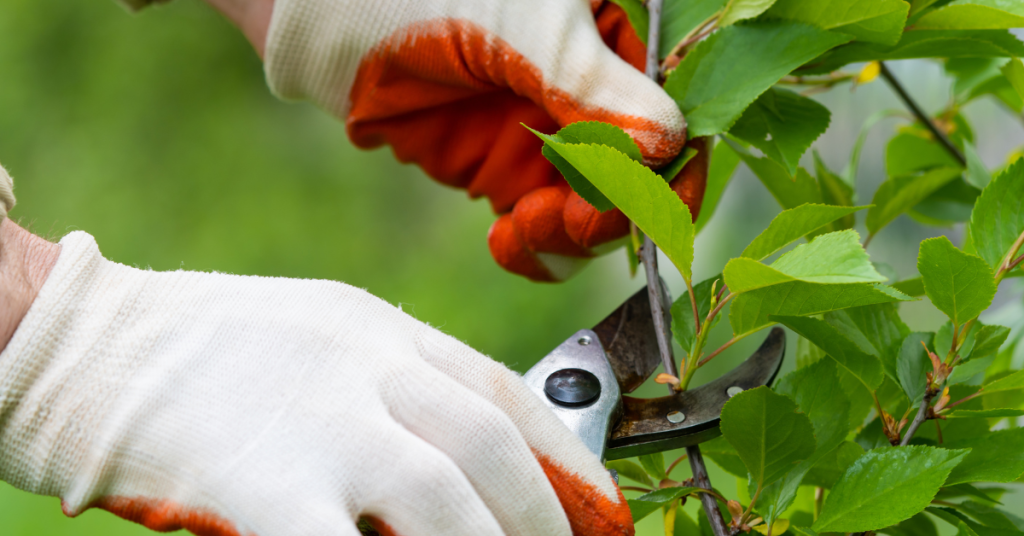
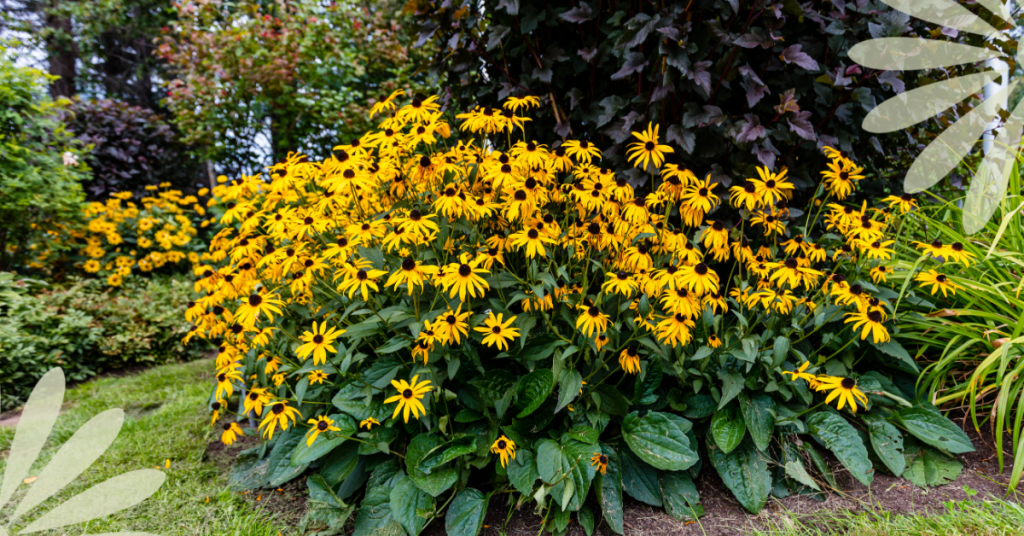
During the dog days of summer, having a resilient, dependable, and beautiful perennial flower in your garden is terrific. Meet the Black-Eyed Susan. They are quick to establish and mature, and perfect for a perennial border, cutting garden, or naturalized garden. Depending on the variety, they will grow 1-3 feet tall and spread about 2 feet wide, making them a show-stopping spectacle!
If that and the cheerful, dark-centred, golden-yellow, daisy-shaped flowers aren’t enough to draw you in, here are more reasons we love these plants!
Long Blooming
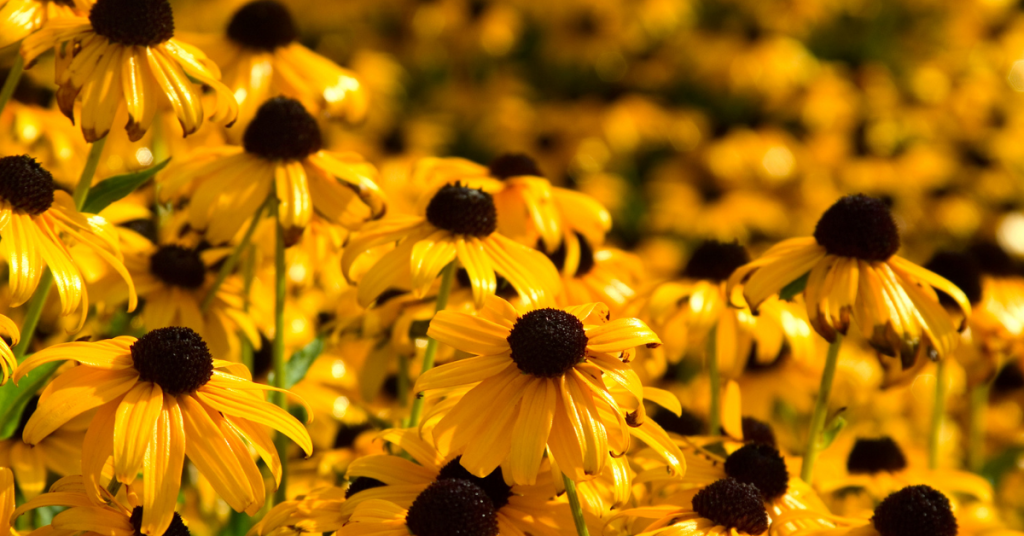
Black-Eyed Susan (Latin name: Rudbeckia) is a prolific bloomer whose flowers can last from July to October. At a time in the season when many other flowers can look weary, Rudbeckia is a shining star. Its flowers grow on sturdy stems, which adds to their resilience.
Easy to Grow
Rudbeckia are robust! They are drought—and heat-tolerant and generally do well in hard-to-grow locations. Once established, they do not require frequent watering. Rudbeckia hirta is an Ontario native plant, and exceptionally hardy.
Plant Black-Eyed Susan in full sun to partial shade and almost any type of soil. They are adaptable, generally trouble-free and do not require any extra care.
Pollinator-friendly
We aren’t the only ones who love Rudbeckia; butterflies, birds and bees do, too. This makes Black-Eyed Susan a perfect partner for other pollinator-friendly plants like Monarda (aka Wild Bergamot and Bee Balm), Gaillardia (Blanket flower), Yarrow and Echinacea (aka Coneflower).
Who doesn’t love Black-Eyed Susans? Because of the course hairs on the stems, this is a plant that rabbits and deer don’t care for.
Black-Eyed Susan is perfect to grow in a border, bed, planter, or in a field as a mass planting. It’s resilient, attractive, low maintenance and a beneficial addition to any garden!