By: Dave Zeldon and Ely Schweyer
Spring and early fall are generally the best times for planting trees. It has been found that newly planted trees thrive when exposed to moderate temperatures and rainfall, as they need time to root and acclimatize before the onset of intense heat and dryness of summer or the freezing temperatures of winter.
Now whilst planting different types of trees differ in detail, all trees eventually end up in a hole. But remember not just any old hole will do.
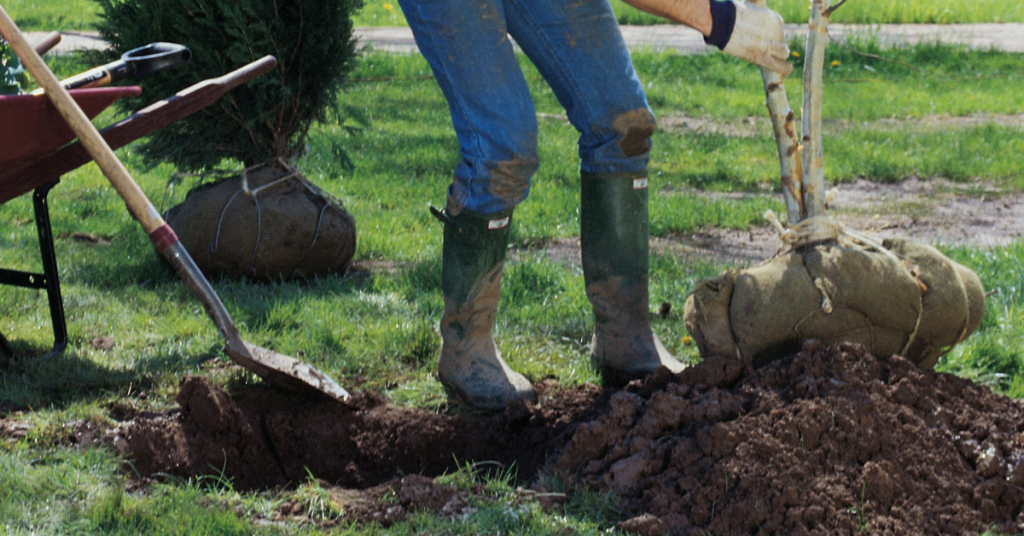
Let’s Get Digging!
1. Some trees are buried too deeply, causing the tree roots to decline in health and condition. We have a whole other article dedicated to transplanting depth if you wish to read more, but here’s the just of it: Poor tree health results in reduced growth rate, atypical leaf size and colour, increased disease susceptibility, and reduced cold hardiness. Always make sure that the root collar flare is visible after planting; if settling occurs, reset the tree to the proper depth.
👉 Note: Many times, homeowners build a raised bed garden around an existing tree in the yard (thus burying the root collar flare) only to find within a year or two their favourite tree now is in decline. Don’t bury that root collar flare!
2. As a general rule, trees should be transplanted no deeper than the soil in which they were originally grown. The width of the hole should be at least three times the diameter of the root ball or container or the spread of the roots in the case of bareroot trees. This will provide the tree with enough worked earth for its root structure to establish itself.
3. When digging in poorly drained clay soil, it is important to avoid 'glazing'. Glazing occurs when the sides and bottom of a hole become smoothed forming a barrier, through which water has difficulty passing. To break up the glaze, use a fork to work the bottom and drag the points along the sides of the completed hole. Also, raising the centre bottom of the hole slightly higher than the surrounding area. This allows water to disperse, reducing the possibility of water pooling in the planting zone.
4. The backfill soil should be a mixture of composted manure and topsoil. The mixture should then be placed in the hole surrounding the tree just to the height of the ball or slightly lower to allow for some settling. Be careful not to compress the backfill soil as this may prevent water from reaching the roots and the roots from expanding beyond the ball.
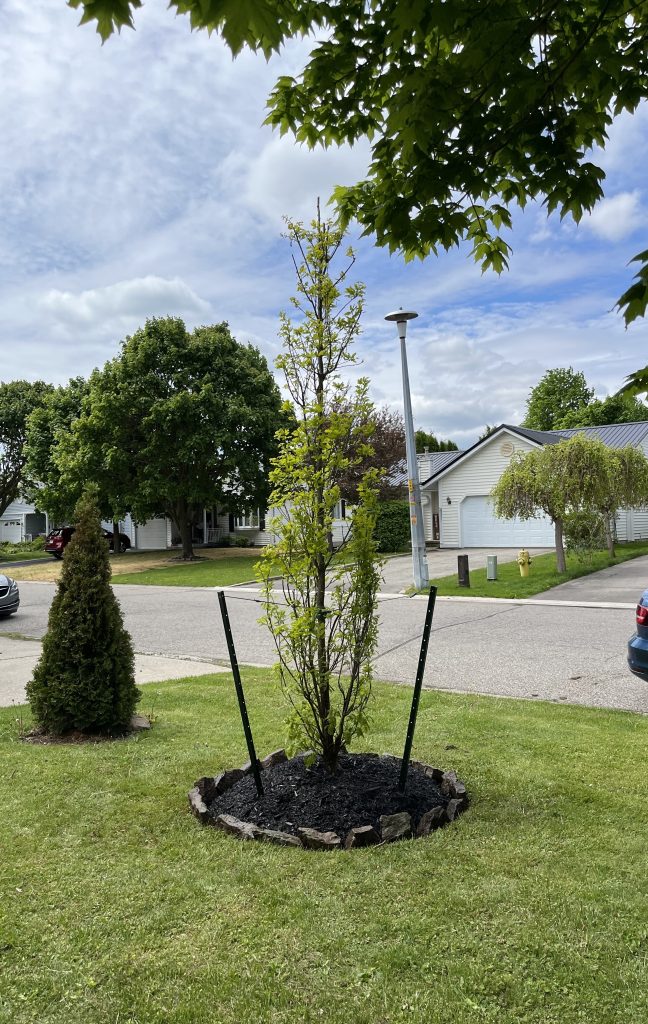
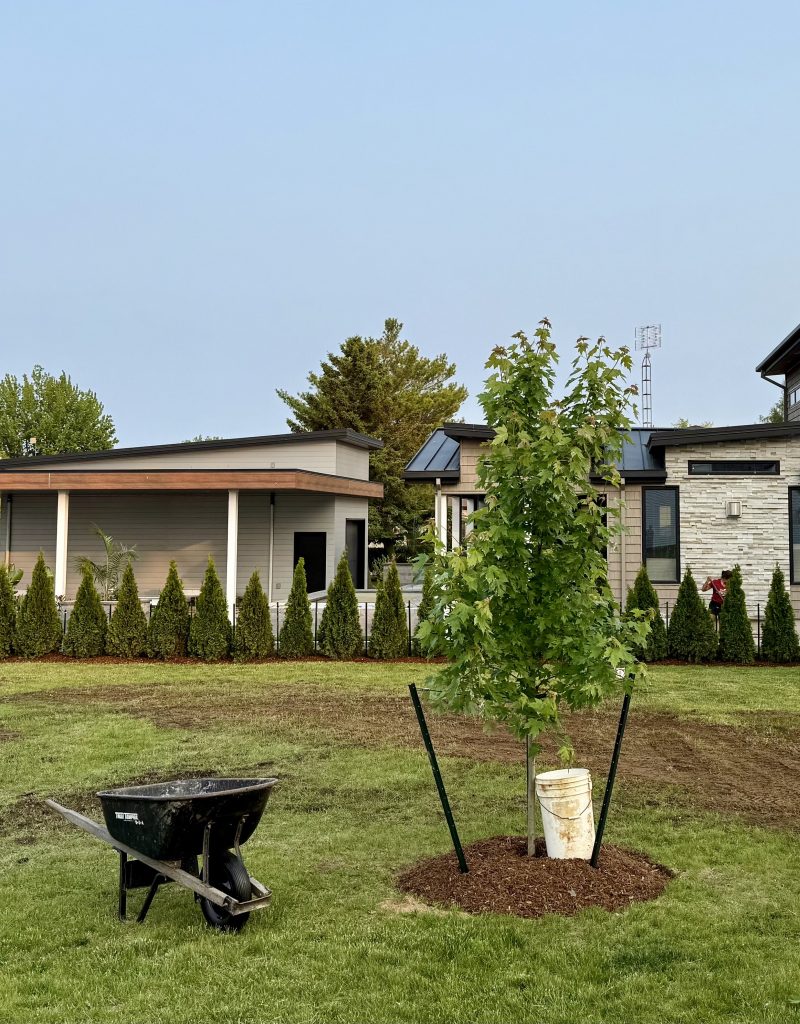
Jobs well done by the Eising landscaping team!
Standing On Its Own Roots
Young trees should be able to support their own weight when they are transplanted. If the tree is unable to do so, try thinning out the upper branches to reduce wind resistance. If that is not enough, you may have to stake a tree.
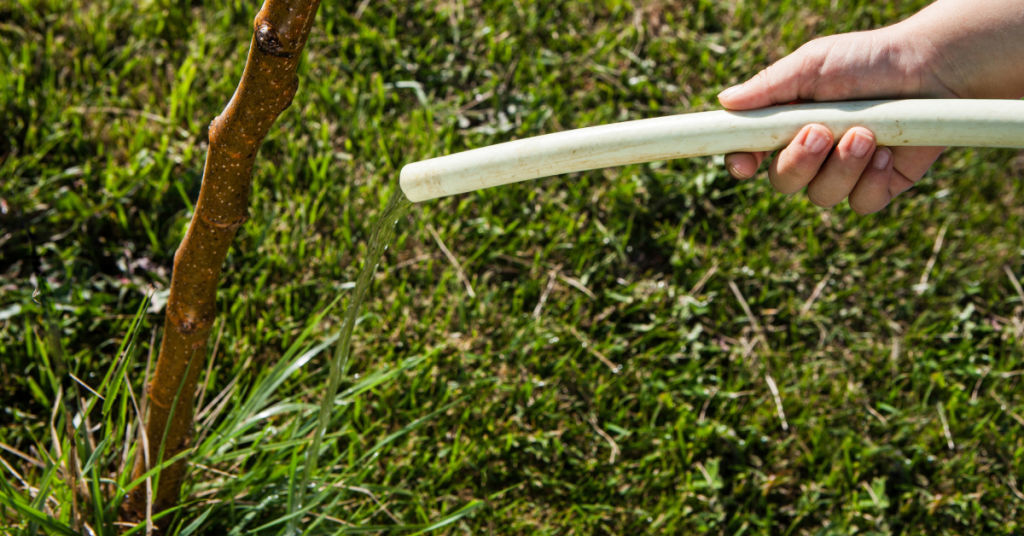
Watering Your New Tree
Newly planted trees should be watered at the time of planting. In addition, during the first growing season, they should be watered at least once a week in the absence of a good rain.
👉 Remember: Regular deep soakings are better than frequent light wettings.
We hope these tips can help you encourage the longevity of your new tree! For more information - and trees - visit our Trees & Shrubs section at Eising Greenhouse and Garden Centre. We hope to see you soon!
Pruning is an essential part of gardening. Essential, but a little intimidating at first because it’s a broad subject. That said, there are some basic rules that apply to most trees and shrubs that will get you started.
There are a number of reasons to prune; the most obvious is for safety, to keep a branch from doing damage or harm by falling or rubbing against something like a building or another tree. Other important reasons include:
- Removing dead, diseased or damaged wood
- Shaping to make a plant bushier, reduce the size and bulk, or slow down growth
- Thinning to increase light penetration and airflow and reduce the possibility of disease
- Rejuvenation to encourage growth, blooming and fruit
Correctly pruning trees and shrubs can help with everything listed above and, most importantly, help maintain the health of your plants. Proper techniques and timing ensure the best results.
The Right Tools
You may need fewer tools to prune than you think!
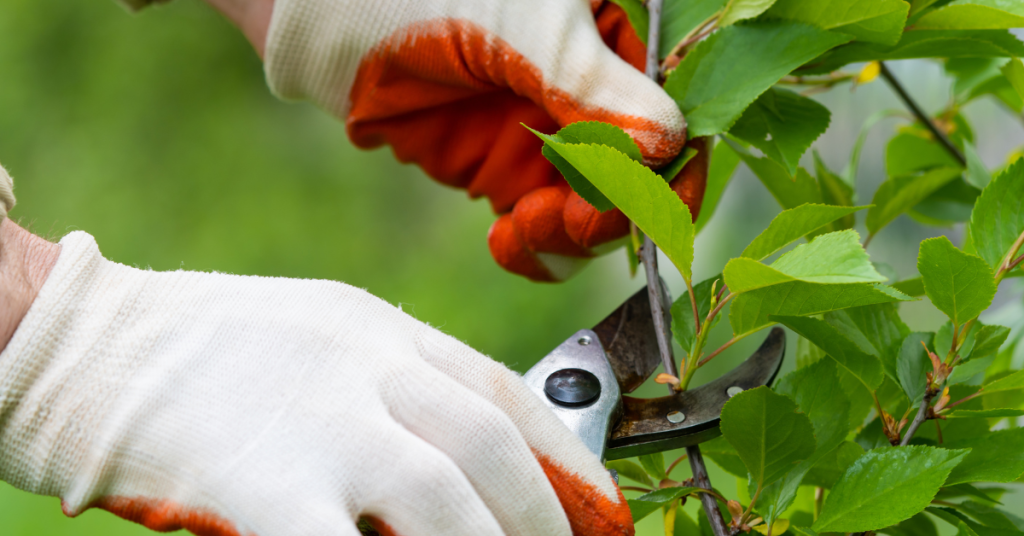
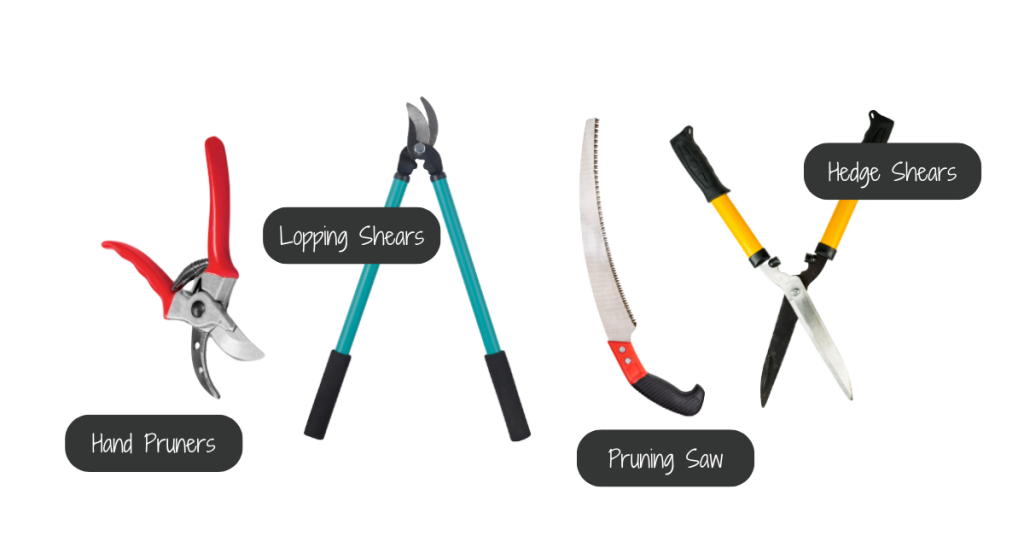
Secateurs or hand pruners work well on smaller branches.
Loppers or lopping shears have longer handles for more leverage and are ideal for medium-sized branches.
A pruning saw works best for larger branches.
Electric or manual hedge shears are best for cutting a tidy wall of foliage like hedges and shaped evergreens.
The key with garden tools is to make sure they’re sharp and sterile. This can prevent the spread of disease. Clean tool blades with rubbing alcohol after trimming each branch.
When to Prune
Pruning timing requires some research as it depends on the species of the plant and the result you’re aiming to achieve. For example, some trees may be best pruned in the winter while they’re dormant and buds have not yet appeared. To shape a tree, it’s easier to prune before the leaves have formed so that all of the branches can clearly be seen. Pruning early in the gardening season will invigorate the tree. Conversely, pruning after the tree has formed leaves in June will tend to slow down growth.
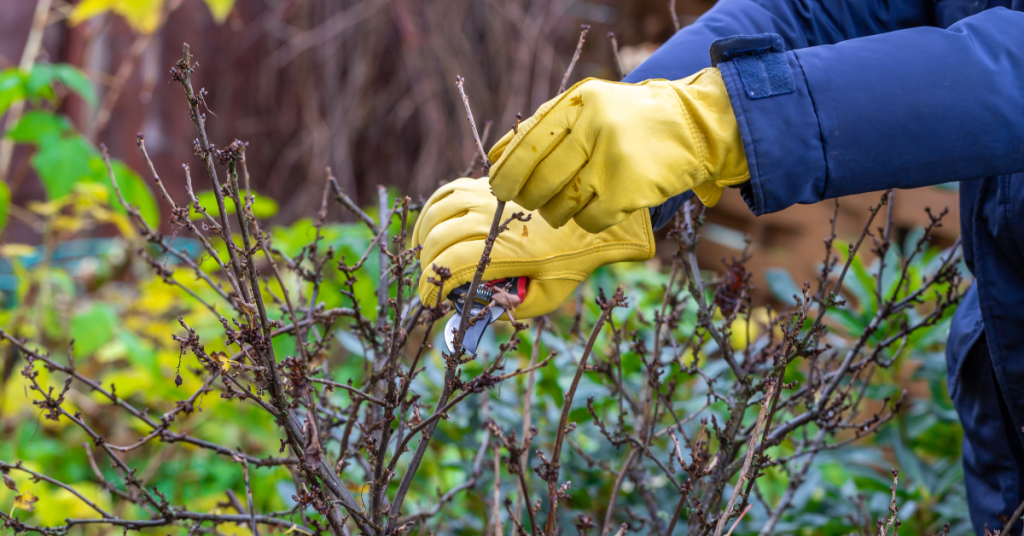
When pruning flowering trees and bushes, there are other timing considerations. Some ornamentals bloom on branches that grew the previous year. Pruning those branches too early will result in fewer or no blooms. For these plants, it’s best to wait until after they have bloomed.
If you’re unsure about pruning timing for your tree or shrub, this is a fairly comprehensive list to use as a guide. We have also linked other resources below this article.
In general, late fall or early winter is not the time to prune any plant as it encourages new growth, which may be damaged by colder weather.
Pruning Techniques
While some trees may require specific care (pines, for example), here are the basic techniques for pruning trees and shrubs. It’s a good idea to know these basics before you head out to begin cutting branches.
Examine the branch, buds and shoots before cutting. Cutting above a bud facing away from the trunk of the tree will have the branch continue to grow in that direction.

Cut on a 45° angle just above a bud whenever possible. Keep your cut above the lowest bud (the bud closest to the trunk), or the branch will die back.
Before removing a large branch, cut ⅔ off the end of the length to reduce the weight. Once the bulk of the branch has been removed, then cut the rest of the branch away from the trunk by cutting close to, but not into, the “collar” of the branch where it meets the trunk of the tree.

Now You’re Ready to Begin Cutting!
Now that you know the techniques for pruning, where do you begin? Here’s a logical set of steps to follow:
1 - Remove any dead or diseased wood
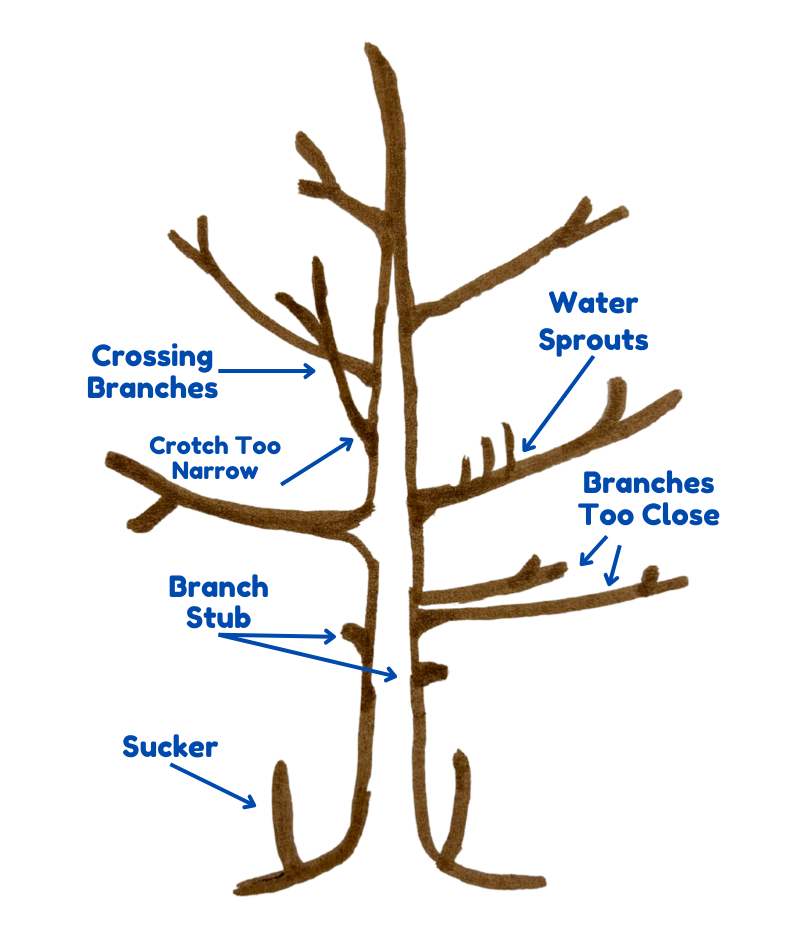
2 - Remove any branches that are crossing and rubbing together. For a shrub that’s too crowded, remove the thickest branches down to the ground first
3 - Remove water sprouts
4 - Stand back and observe the shape of the tree. If anything is not pleasing about the look (lopsided growth or branches growing too close together or at a sharp angle to the trunk, for example), begin removing or trimming back one unsightly branch at a time. Observing the shape between each cut
5 - Remove any suckers or stubs
Follow The ⅓ Rule!
Once you start, pruning can be fun, but be careful not to get too carried away. Trim up to ⅓ off of an established plant (not a newly transplanted tree or shrub) in one growing season - maximum. Cutting off too much can stress the plant and impact its overall health.
Lastly, know that you can always hire a certified arborist if the task is too much or the tree is simply too large!
Other Resources:
- City of Moose Jaw: Pruning Trees
- Landscape Ontario: Pruning Shrubs and Evergreens
- Ontario Government: Pruning Fruit Trees
- University of Georgia: Pruning Ornamental Plants