
The Queen of the Classic Garden Border
By Ava Green
Tall, stately, and undeniably dramatic, the Delphinium or Larkspur is one of those perennial plants that stops people in their tracks. When given the right conditions, its towering floral spikes are magnificent. For gardeners who love a classic English border, nothing else compares. Yes, Delphiniums have lots of preferences, but tend to them, and they will reward you with a floral display that makes every bit of effort worthwhile.
Choosing Your Delphiniums
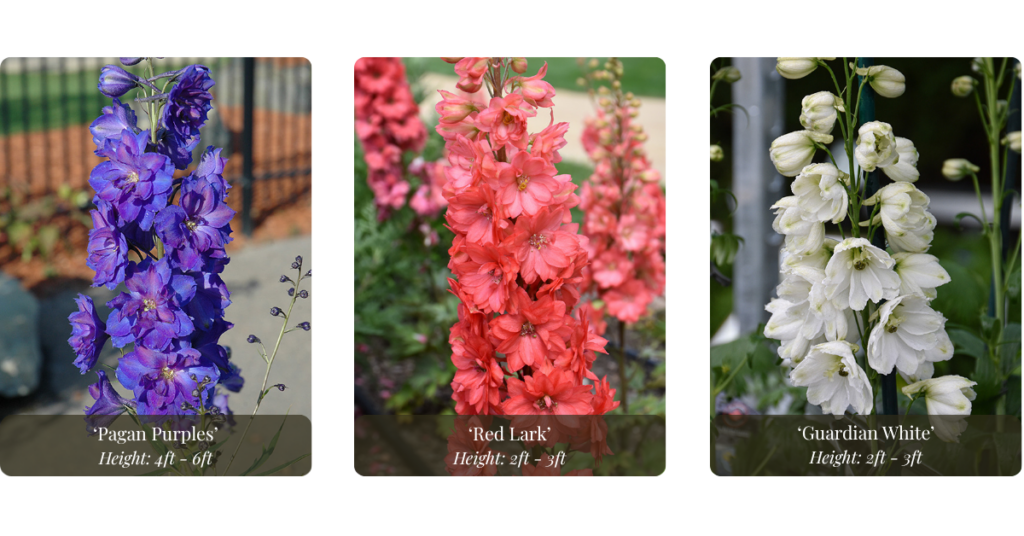
With a wide number of varieties to choose from, there’s one that’s sure to fit every garden. Heights range from a modest 36 inches to an impressive 72 inches tall (Yes, 6 feet!), with a spread of 24 to 36 inches depending on the variety. So whether you have a compact border or a large sweeping bed, there’s a Delphinium to suit your space.
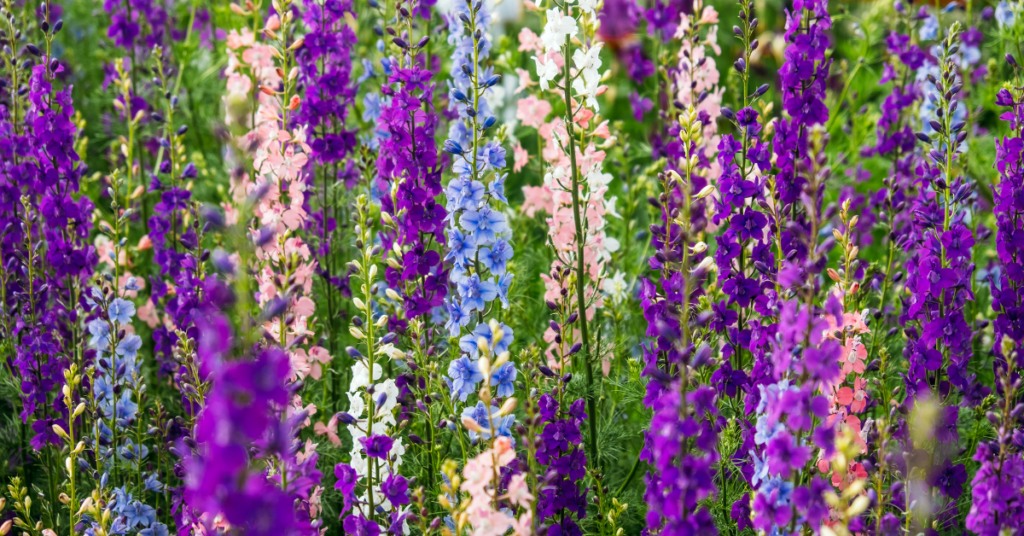
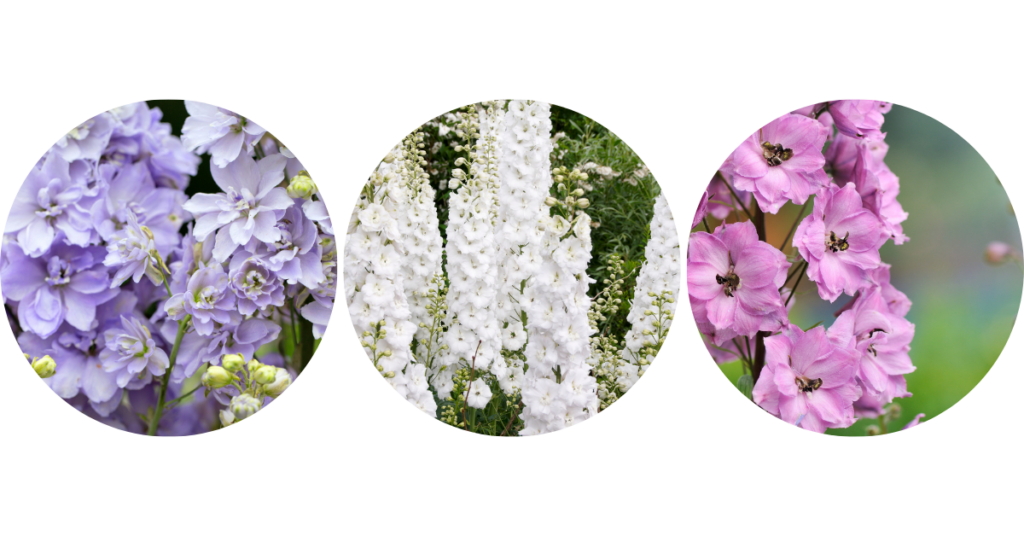
Their colour palette is equally diverse: rich blues and purples, soft pinks, crisp whites, and beautiful bicolours. Few flowers offer such a wide range.
Planting
While Delphiniums prefer abundant moisture, be sure to plant the crown of the plant (where the stems meet the root ball) at soil level to avoid crown rot. Planting them too deeply is the most common way to lose these plants.
Spring and Fall are the ideal times to plant, giving roots a chance to establish themselves in cooler, more forgiving conditions. That said, a cool, overcast summer day works well too, just avoid planting during hot or humid spells. Spacing will depend on the variety you choose, so check the tag and give each plant the room it needs to breathe.
Growing
Delphiniums are what gardeners affectionately call “Goldilocks plants”, they like things just right. Full sun, protection from strong winds, and fertile, humus-rich soil with excellent drainage are keys to success. They also love manure mixed into the soil to enrich their growing conditions.
Their height is both their greatest asset and vulnerability. Because Delphinium flower stalks have hollow centres, they break easily if they’re exposed to the wind. Planting them in a sheltered spot is genuinely important. Once plants reach about 12 inches tall, stake each flower spike individually, or place a tomato cage around a clump early in the season before it’s needed. It’s much easier to stake proactively than to rescue a snapped stem after the fact.
Delphiniums are hungry plants and will perform best when fed generously. A dose of fertilizer, compost, or well-rotted manure in both spring and summer keeps them healthy and productive throughout the season.
Finally, don’t overlook dividing. Each spring, simply dig up the plant and cut the root ball in half. Now you have two plants for your border, or one to keep and one to share!
The Show
All that care pays off in late spring and early summer, when Delphiniums put on one of the most spectacular displays in the garden. Tall, densely packed spikes covered in richly coloured blooms rise above the border like beacons. Bold, beautiful, and completely unforgettable.
Once the first flush of flowers begins to fade, and before the blooms turn to seed pods, cut the spent spikes back to just above the foliage. This encourages the plant to produce a second, smaller flush of blooms later in the season and extends the show! As the old foliage fades, trim it away to allow the fresh new growth to replace it.
Inspiration
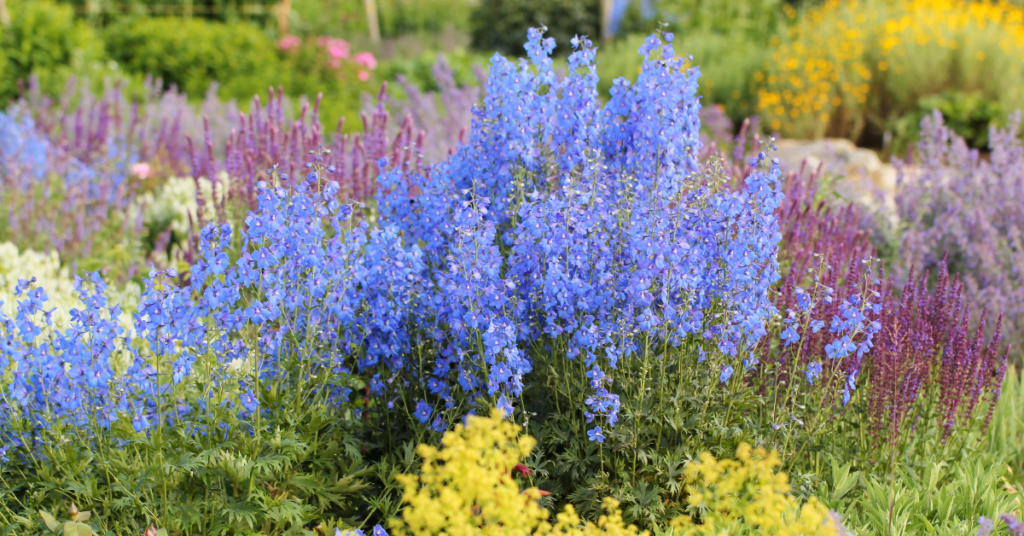
There are plants you fit into a garden, and then there are plants you plan a garden around. Delphiniums belong firmly in the second category. Their height, colour, and presence make them one of the most inspiring and rewarding perennials a gardener can grow.
Stop by Eising Garden Centre to see what Delphinium varieties we have available this season. Our team is always happy to help you find the right fit for your garden and set you up for success.
By: Dave Zeldon and Ely Schweyer
Bearing in mind that a lawn is a very unnatural situation in that we are trying to sustain a large area with very little plant diversity (monoculture), in the eye of the homeowner, lawns may remain an important part of the domestic landscape! As well as in very necessary areas like tile beds, paths, roadsides, and recreational areas, lawns provide a background that enhances the overall effect of the home and the various gardens and landscape features.
From nematodes to dog pee spots, the following tips will help you to maintain a healthy lawn naturally.
Mowing
Of all the cultural practices, mowing exerts the greatest influence on growth, development, and ease of management. By keeping the grass blade height between 6 & 8 cm (2.5 to 3 inches) high you'll be able to produce a more competitive lawn against young and germinating weeds.
Grass Species Selection
Seed mixtures with Titanium Tall Fescue have shown to be more drought, disease, and insect resistant than many other lawn grasses such as the traditional Kentucky bluegrasses. Tall fescue roots penetrate deeper into the soil providing better regrowth and wear tolerance, making it ideal for heavy foot traffic areas and recreational areas.
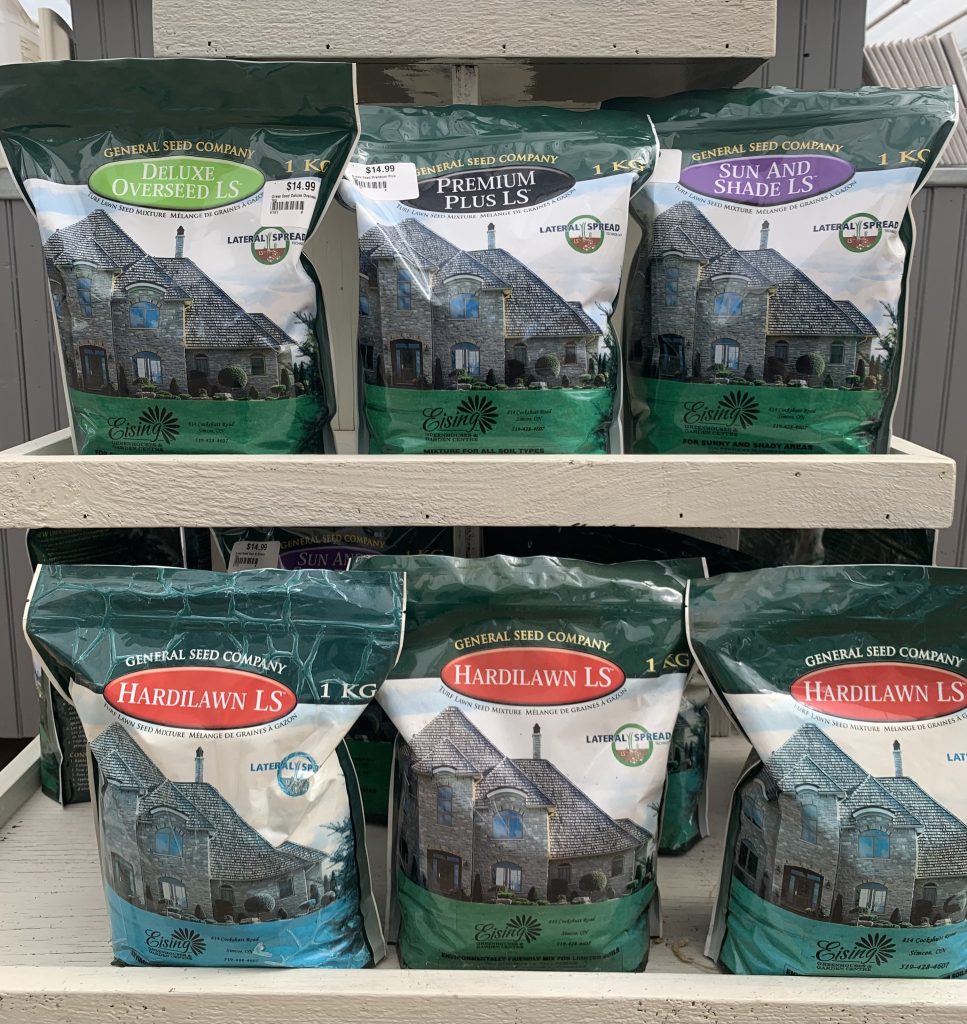
Carried by Eising Garden Centre
Time of Sowing
The best time to establish a lawn from seed is late summer and early fall (mid-August to mid-September) in southern Ontario. During this period, soil moisture and temperature conditions are optimal for germination and establishment. There is also less competition from germinating weeds in the fall. Make sure that seeding is done early in the fall so that the grass is well established before winter. The plants are then well rooted and more drought- and heat-tolerant the following summer.
Seed the shady areas in the fall for best results. Trees will have shed their leaves by then, so plenty of light is available for the new growth. The grass also gets off to an early start in the spring before the trees leaf out.
Spring seeding should be done as soon as the ground can be worked. Slow, irregular germination may result if the seed is sown when the soil is too cold and damp. (Soil Temp. around 15oC is ideal and there is also strong competition from germinating weeds during the spring. When practical, wait until weed seeds germinate, work the land to kill them and then sow the grass seed. ) If you choose to plant your new lawn in the spring, begin just as soon as the soil is dry enough to work, preferably mid-April to mid-May. This will give your new grass time to get well established before the hot, dry weather sets in.
Fall is often a better time to start your lawn, from mid-August to the end of September. Your seedbed is less likely to dry out at this time of year, and the grass should be well established before winter.
Watering
Your typical lawn needs about 2.5 cm (one inch) of water per week through either rain or irrigation. If irrigating, water in the morning as more will be absorbed as opposed to being lost to evaporation in the sun and the warmer temperatures later in the day.
Fertilization
Lawns require relatively large amounts of nitrogen-based fertilizers which should be applied several times during the growing season. Since lawn clippings are high in nutrients, especially nitrogen, much of your initial nitrogen fertilizer investment may be recycled back into your lawn! A fertilizer with a nitrogen, phosphorus, and potassium ratio of 4:1:2 (e.g., 20-5-10) is normally the best in most situations. It should be noted though, that a soil nutrient test can accurately determine the actual needs of your lawn including lime if the pH is too low.
(Lawn Liming Rate: 20-50 lbs/1000 ft2)
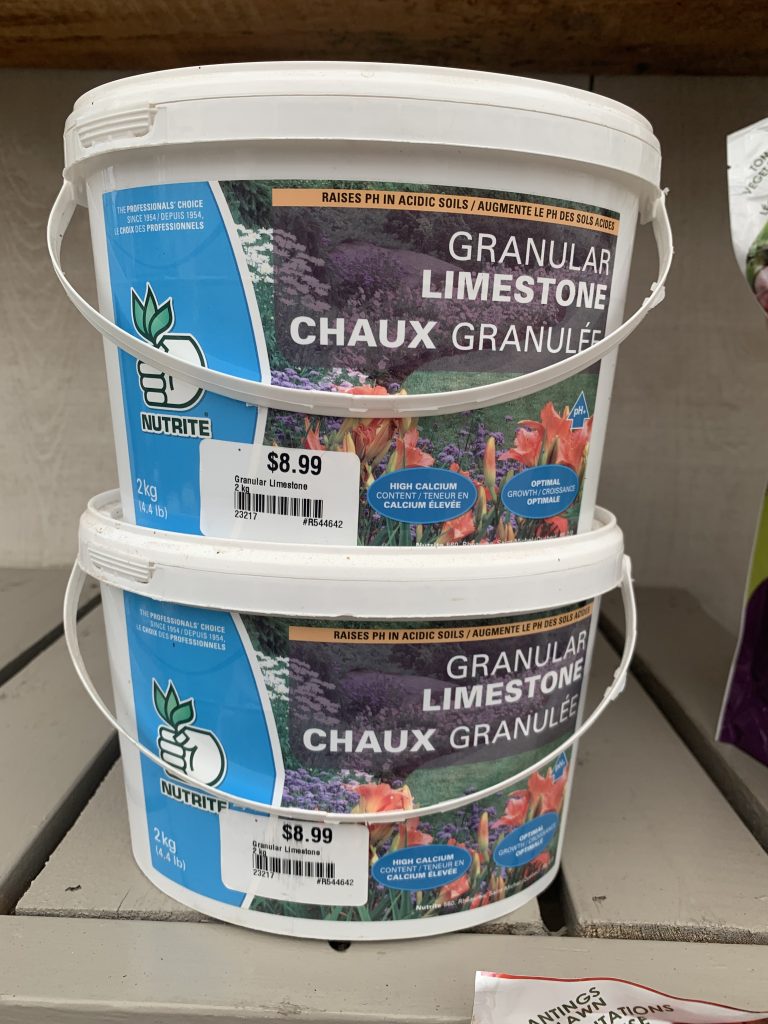
Carried by Eising Garden Centre
Corn Gluten
An application of this product early in the spring and then later on in the summer will inhibit the growth of weeds from germinating seeds especially the annual problem, crabgrass. Established weeds though have to be dug out by hand.
Dog Pee Spots
There is a misconception that the pH level of your dog’s pee is leaving those unsightly spots in your lawn, when it is in fact the high concentration of nitrogen and salts being introduced into the soil. To prevent this, should you see your four-legged friend raising its leg or popping a squat, give that spot a good watering to dilute the minerals. In addition to this, ensuring your dog is well hydrated will help to water down their urine. However, your lawn may already have several severe yellow and bald patches. You may opt to resod or reseed the area, but the soil is what’s affected. Before giving up altogether and adding a scree to the affected area, Eising Greenhouse and Garden Centre offers a fertilizer to help balance and remedy your dog pee spots!
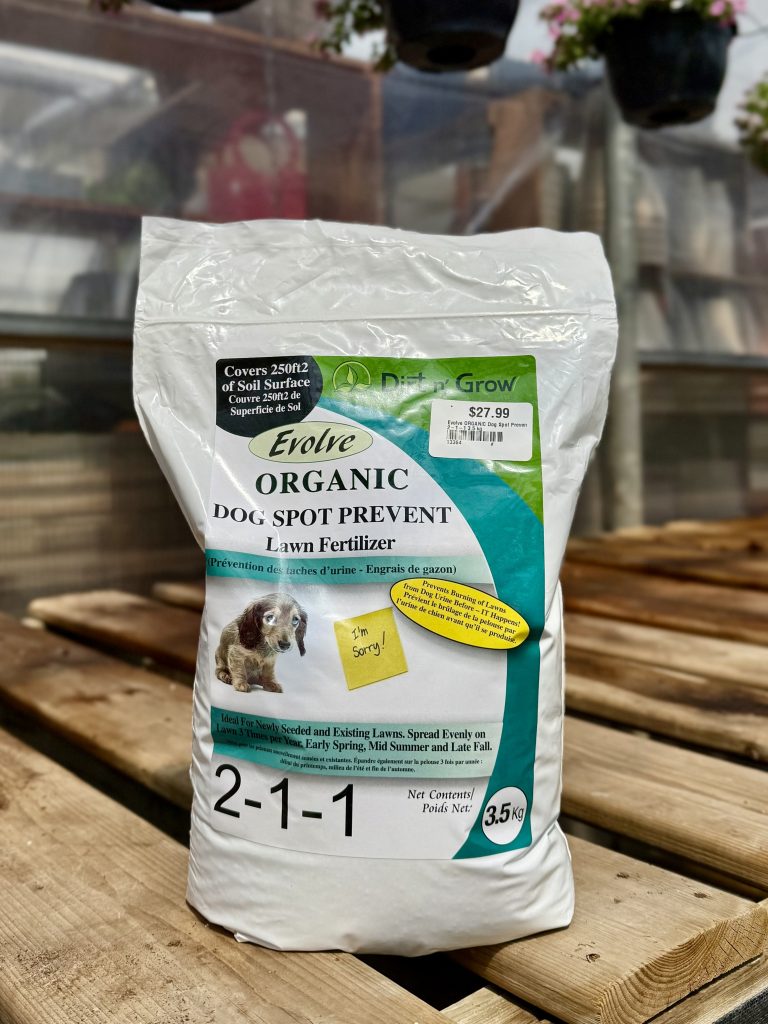
Carried by Eising Garden Centre
Thatch Control
Thatch is a layer of dead leaves, stems and roots that intermingle with the living plants above the soil surface. A one-inch layer of thatch is desirable as it has a cushioning effect against compaction and an insulating effect in cold weather. De-thatching a lawn is an extreme measure that may be considered if the drainage is poor. Lawn aeration may be required as well as the lawn and the soil below must establish a drainage pattern.
Nematodes - Aid Against Japanese Beetles and More!
If the Japanese Beetle has been destroying certain plants in your landscape plantings or their grubs have been feeding on the roots of your lawn, causing unsightly brown patches maybe it's time to use Mother Nature's secret weapon: Beneficial Nematodes.
Beneficial Nematodes are a natural way to control Japanese Beetle grubs and over some 200 species other pest insects in your lawn while having no detrimental effect on Ladybugs, Earthworms, and other helpful beneficial insects.
Nematodes are naturally occurring microscopic worms of the soil and are used to control soil pest insects in their larvae or grub stages while not posing any health or environmental risks to humans or animals. The beneficial Nematodes enter the JB larva via mouth, anus, or respiratory openings and begins to feed. This causes specific bacteria to emerge from the intestinal tract of the Nematode, spreading inside the insect and multiply very rapidly; the bacteria convert host tissue into products which can easily be taken up by the Nematodes, ceasing the soil dwelling pest insect within a few days. Beneficial Nematodes are effective against not only the larval or grub stage of Japanese Beetles, but the Northern Masked Chafer, European Chafer, Rose Chafer, Crane Fly larvae (Leather Jackets), Oriental Beetles, and June Beetles.
The nematode product you purchase should contain two genera: Steinernema and Heterorhabditis for better grub control.
Beneficial Nematodes are very easy to use. Mix with water and spray on the lawn with a water-can, irrigation system, or a hose-end sprayer. Most homeowners spray at a rate of 10 million nematodes per 600 square feet on grub damaged lawns. After an application, keep the soil moist during the first two weeks for the nematodes to get established.
In Ontario, there are two windows of opportunity to apply Beneficial Nematodes to be effective against the JB grub stage.
The first application should be in May as the soil warms up and then again at the end of August or the first two weeks of September as the JB are hatching into their first larval stage.
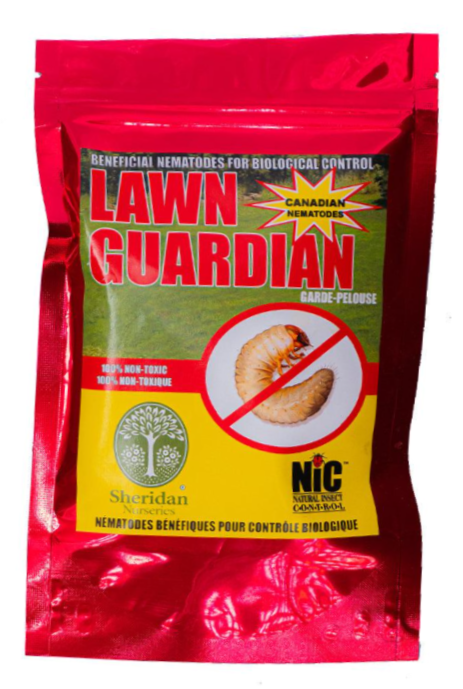
We hope these tips help to ensure your healthiest lawn! For more information – and lawncare products - visit Eising Greenhouse and Garden Centre! 🌾