
By: Ava Green
As temperatures begin to cool down, autumn colours set in and surround us with the beauty that is fall in southern Ontario. Suddenly summer is gone and it’s time to think about creating a cozy atmosphere inside and outside that is inspired by the world around us.
Autumn Outside
Whether you gather items from the garden or from the garden centre for a display, there are lots of natural materials all around us to draw from. Take some plumes from ornamental grasses and put them in decorative buckets. Add branches with colourful leaves or dried seed pods, and pumpkins or mums for a pop of colour. A bland background becomes the perfect backdrop.
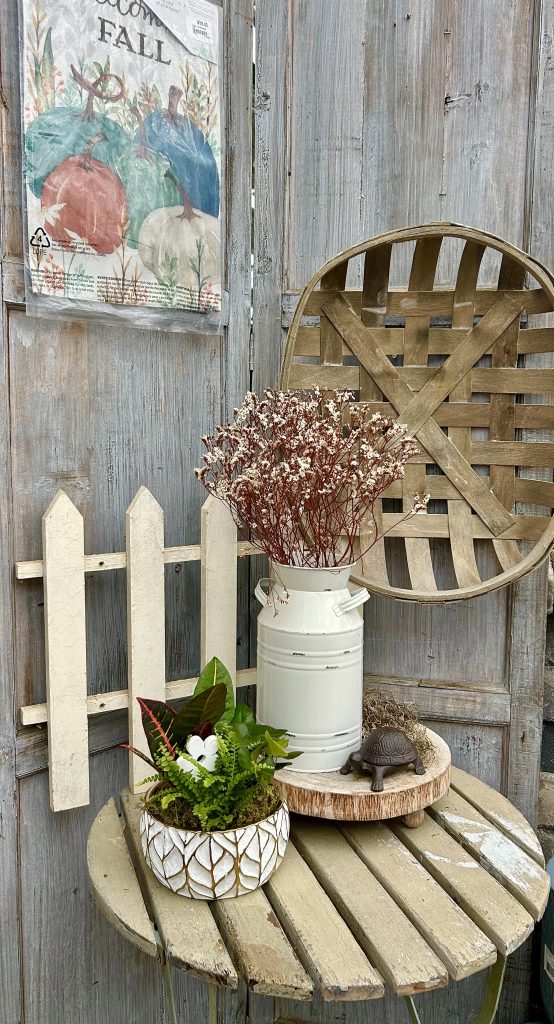
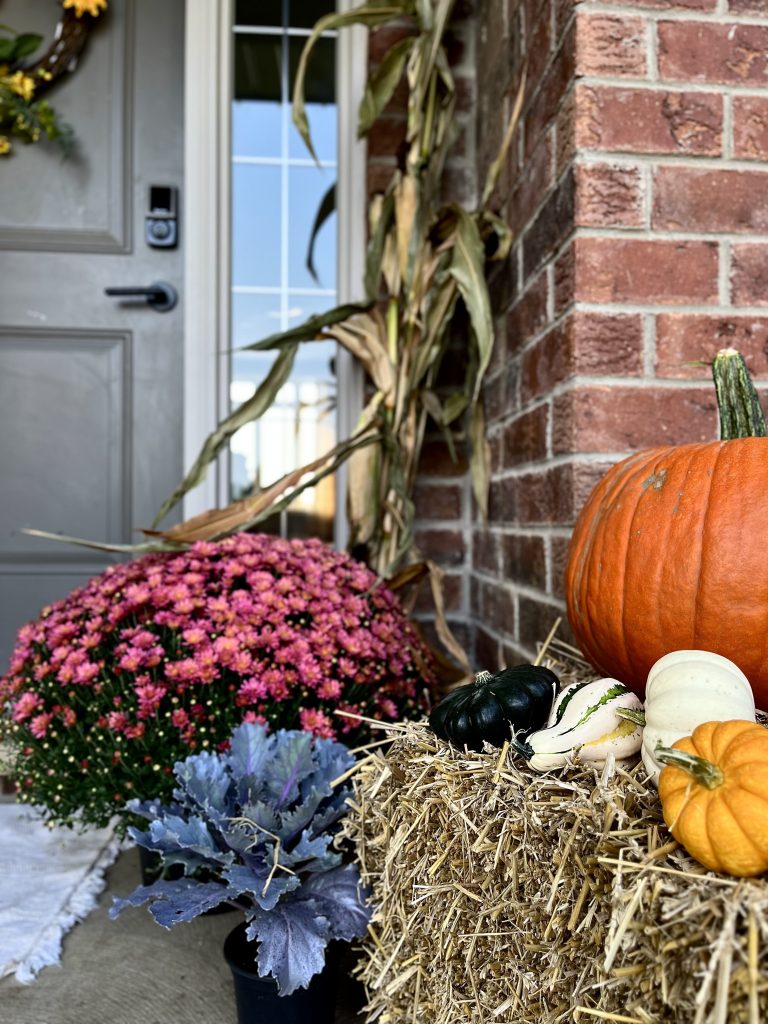
Looking for something to grow? Create fall planters with sunflowers, ornamental kale, ornamental peppers, live grasses, and, of course, fall mums.
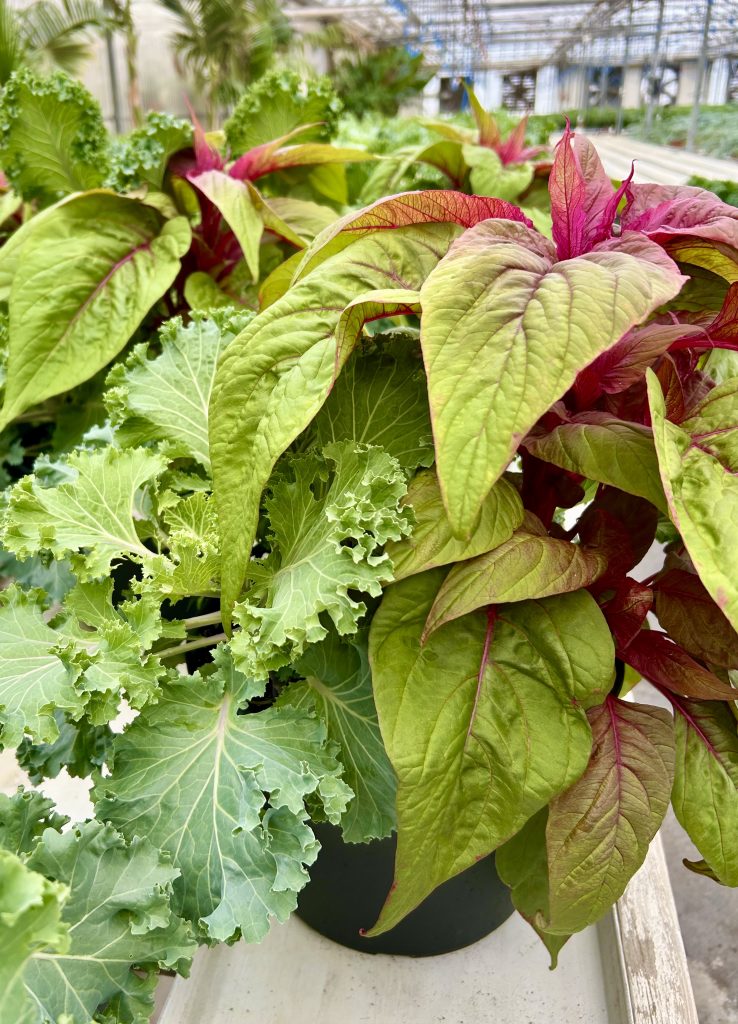
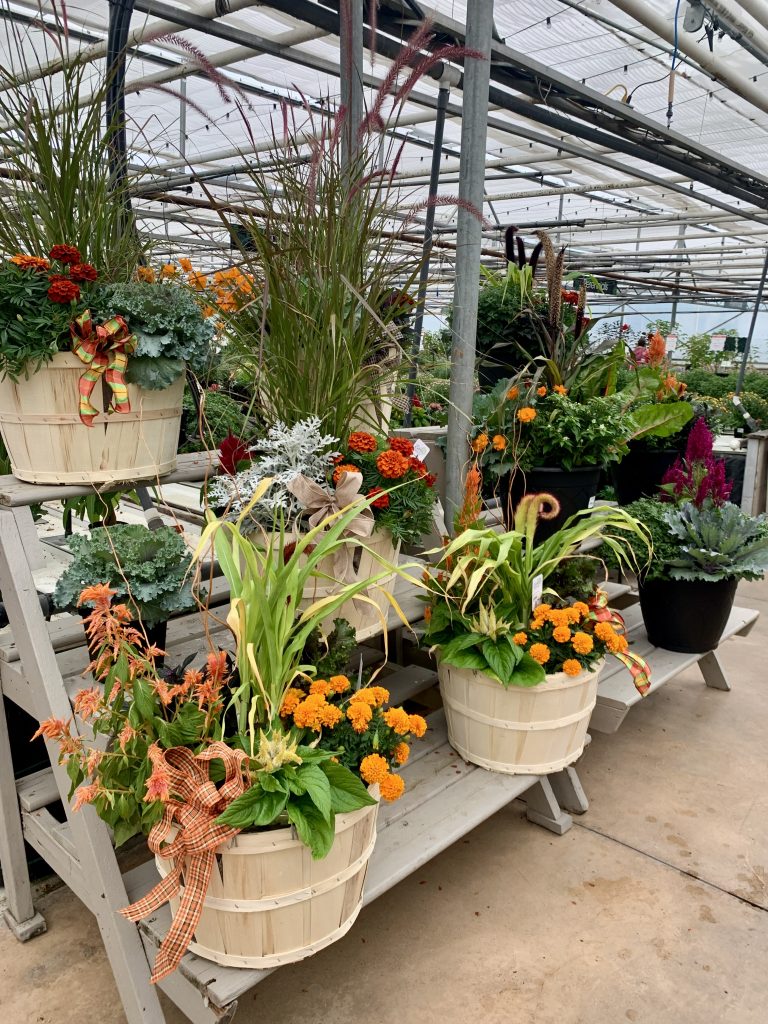
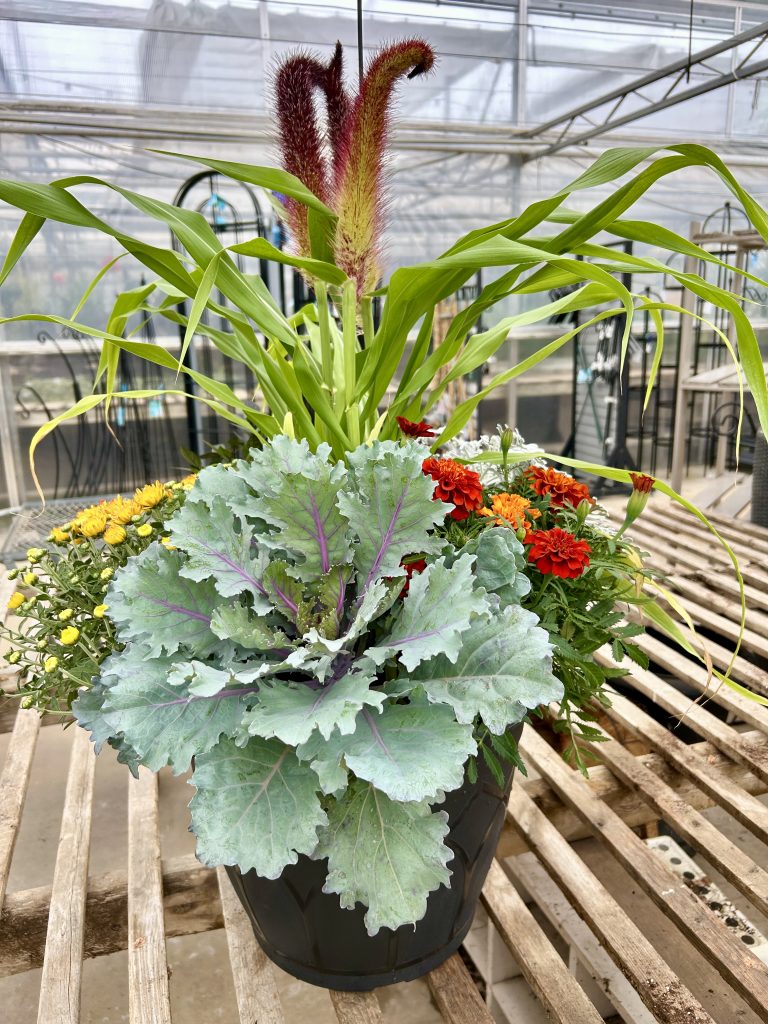
We offer beautifully festive arrangements with a variety of ornamental fall plants, as well as individual plants to decorate an outdoor table, or as a planter creating a warm welcome on your front porch (watch here: Jeanine create a fall planter on our IG).
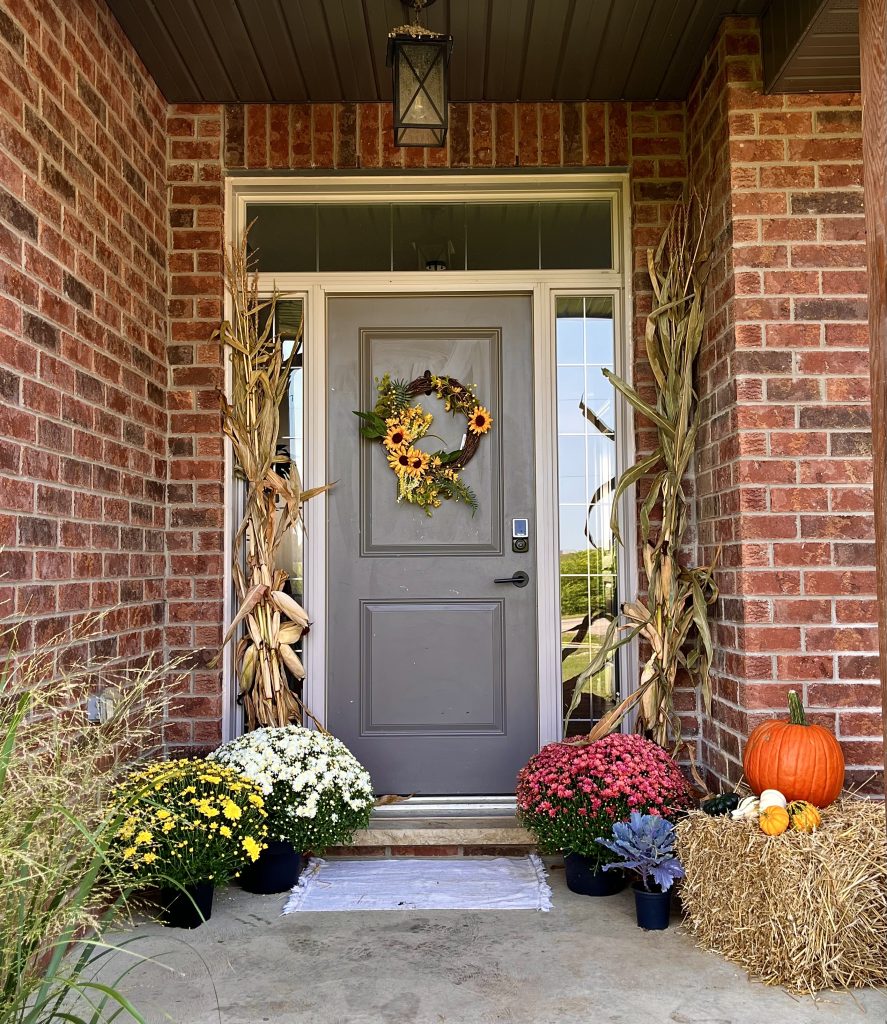
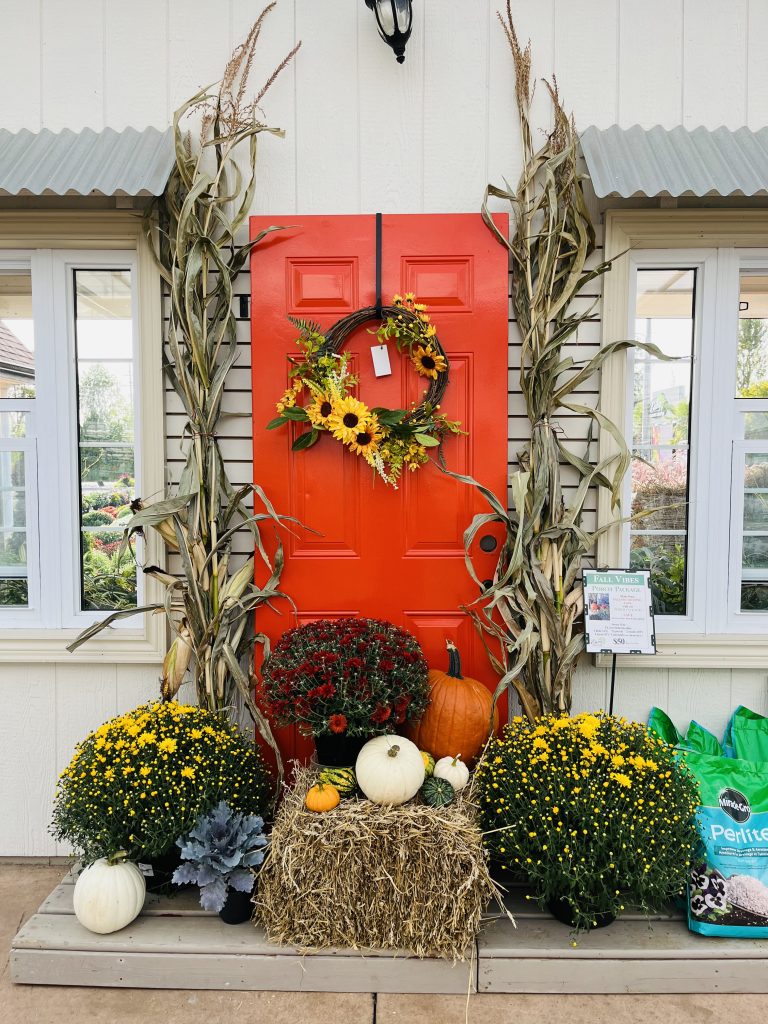
Eising’s popular Porch Packages make it easy to decorate the entryway to your home. But don’t wait, they sell out quickly!
Autumn Inside
When there are fall colours outside, autumn displays inside create continuity that will carry your indoor decorating right into the holiday season in December.
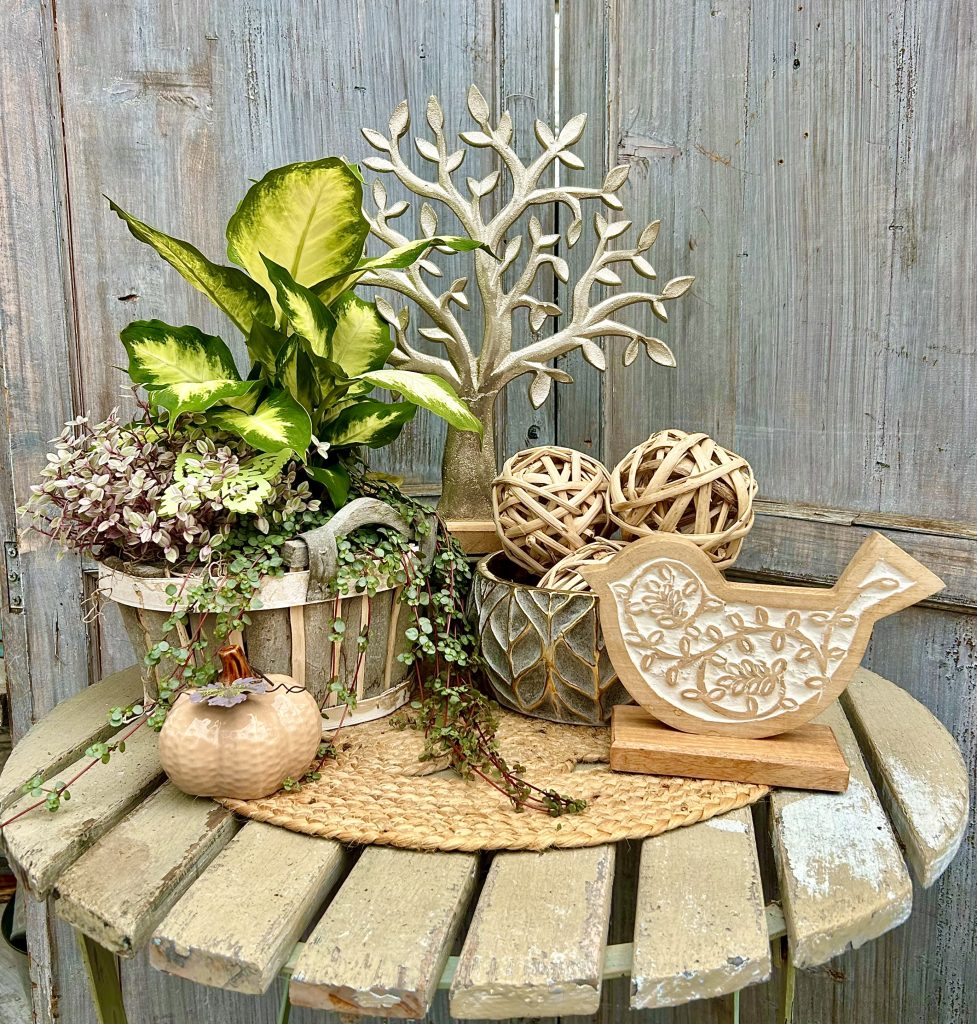
Displays that are vibrant, warm, rustic or whimsical are fun and easy to make. Here are some basic design principles that will help you get started, along with examples we’ve created using items in the Eisng shop.
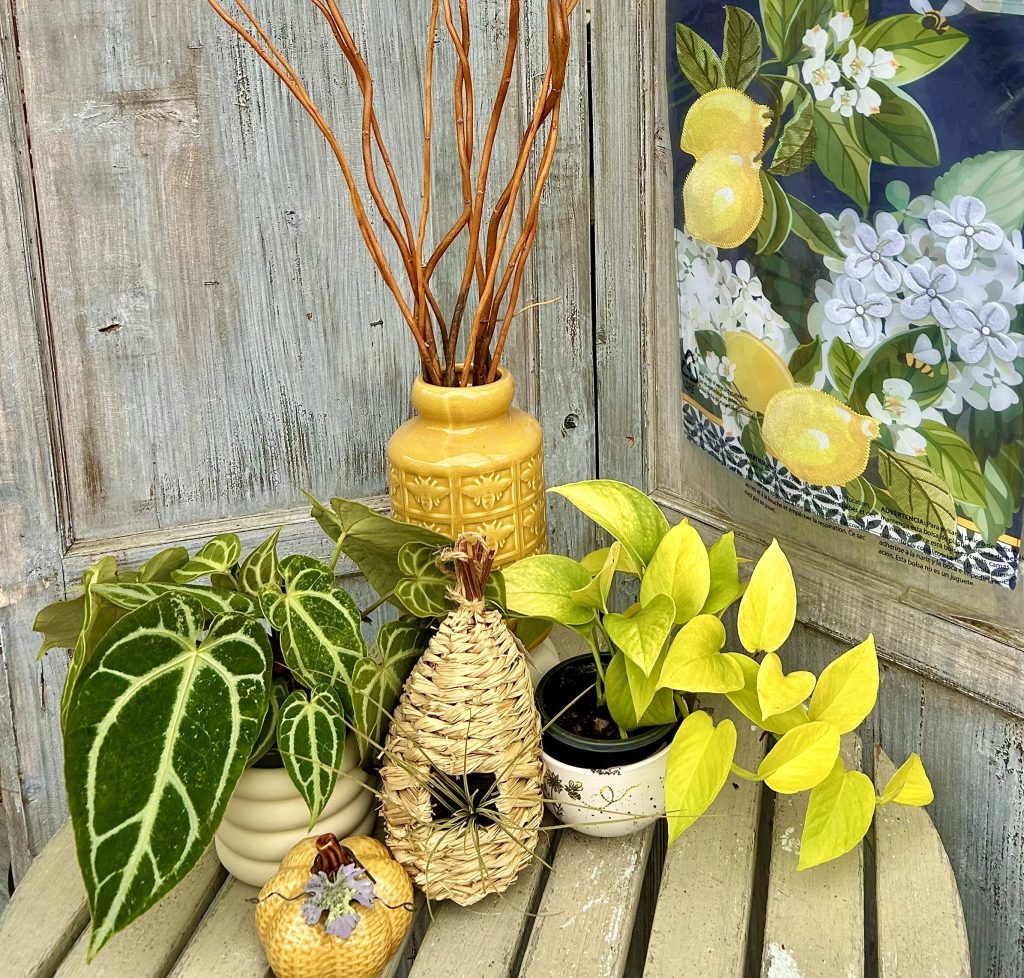
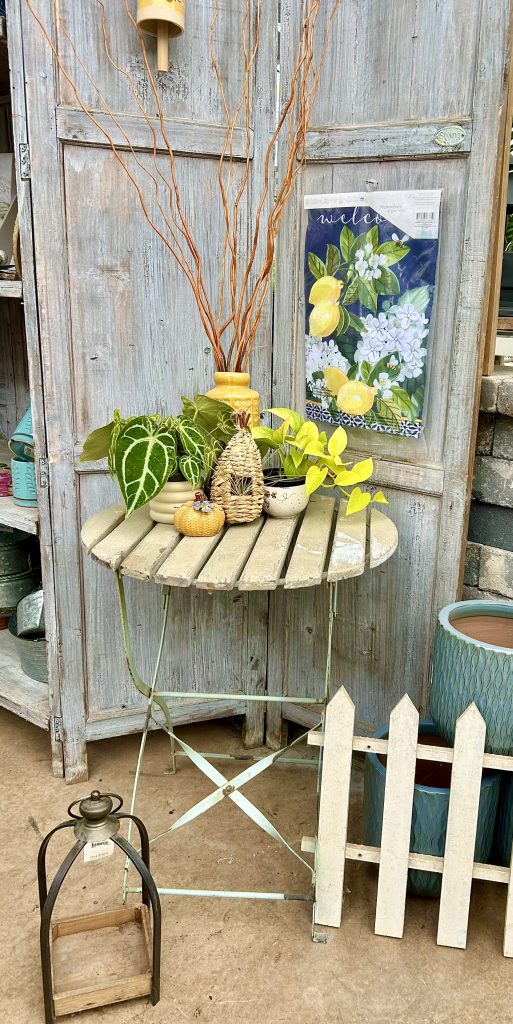
The Rule of Odds
Using an odd number of items (3, 5 or 7) is always more appealing. Why? For some reason, odd numbers are just more harmonious for us to take in. Designers and photographers call it the rule of odds.
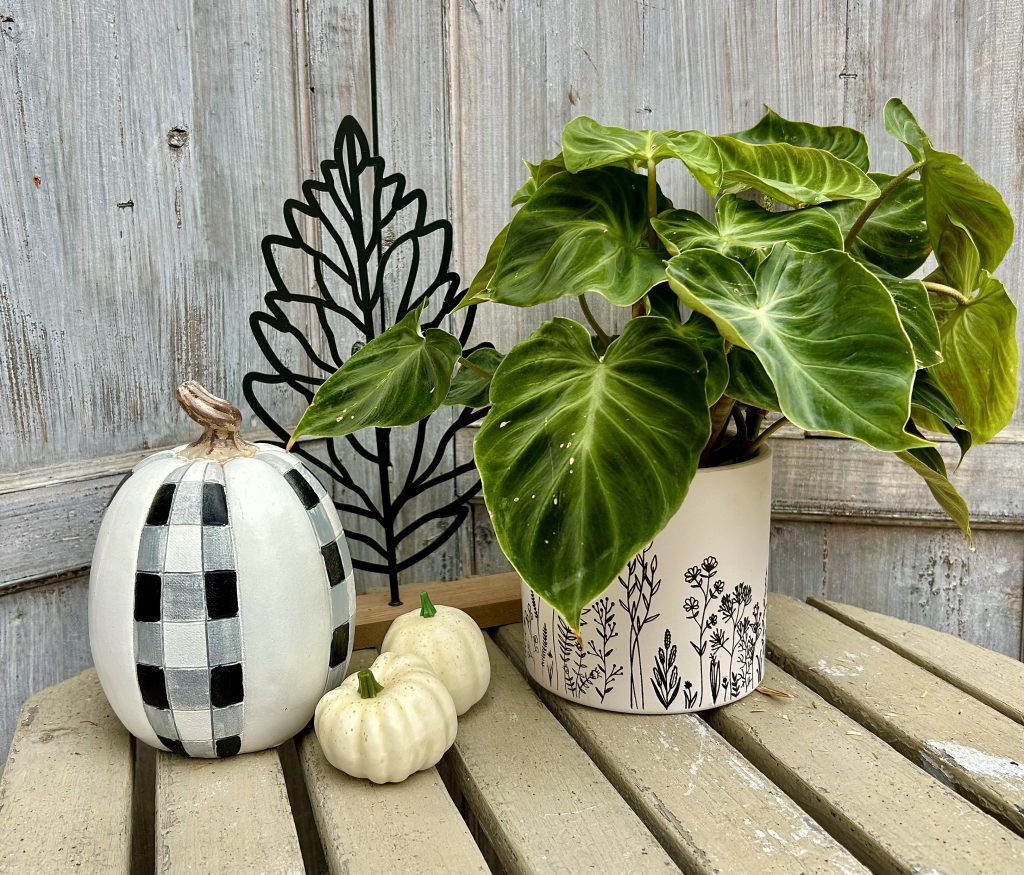
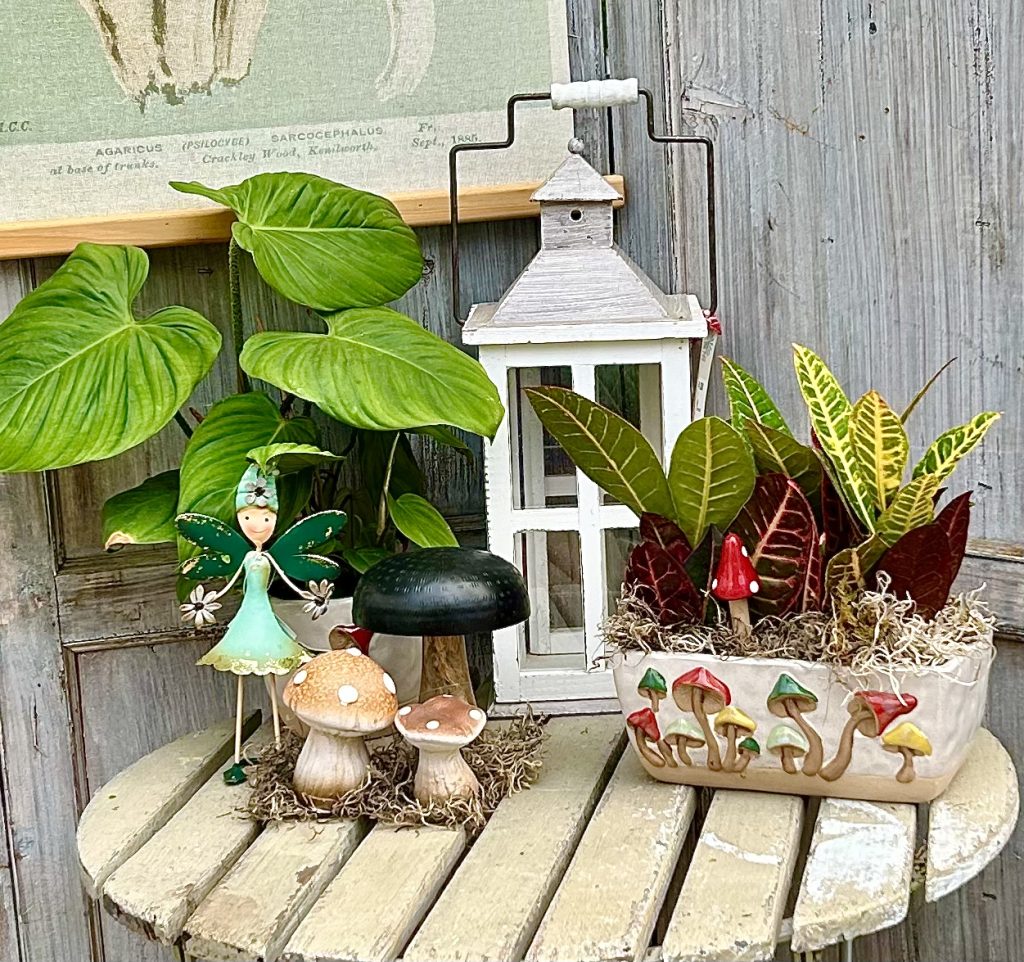
Pick a Theme
Pick a theme like a common colour, a shape, a design or motif. Look for containers or items you can include that fit in with your theme.
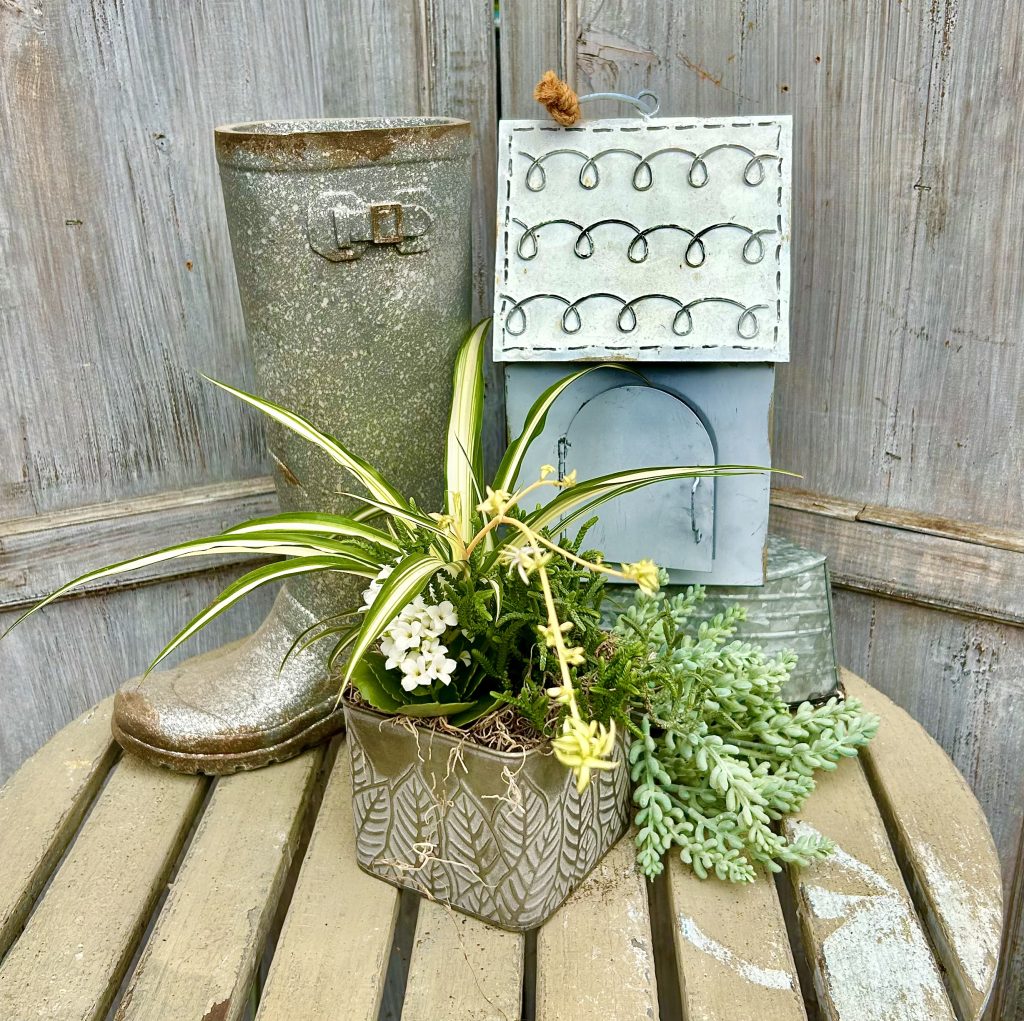
Like the arrangements we offer at Eising Garden Centre, include the following in your designs:
- a thriller like a beautiful vase or container, a tropical plant, or fresh or dried flowers
- a spiller like a plant, dried or silk leaves or moss around the base of containers
- and a filler like foliage plants, fruit, candy, mini pumpkins and gourds, or moss
Size and Scale
Scale is important! Keep the display short if it’s for the centre of a dining table so that guests can see each other across the table! Create taller displays if you’re decorating a corner table or a mantlepiece.
Light it Up
Adding light, including flameless candles or fairy lights, instantly brings warmth to any display.
Aromatics
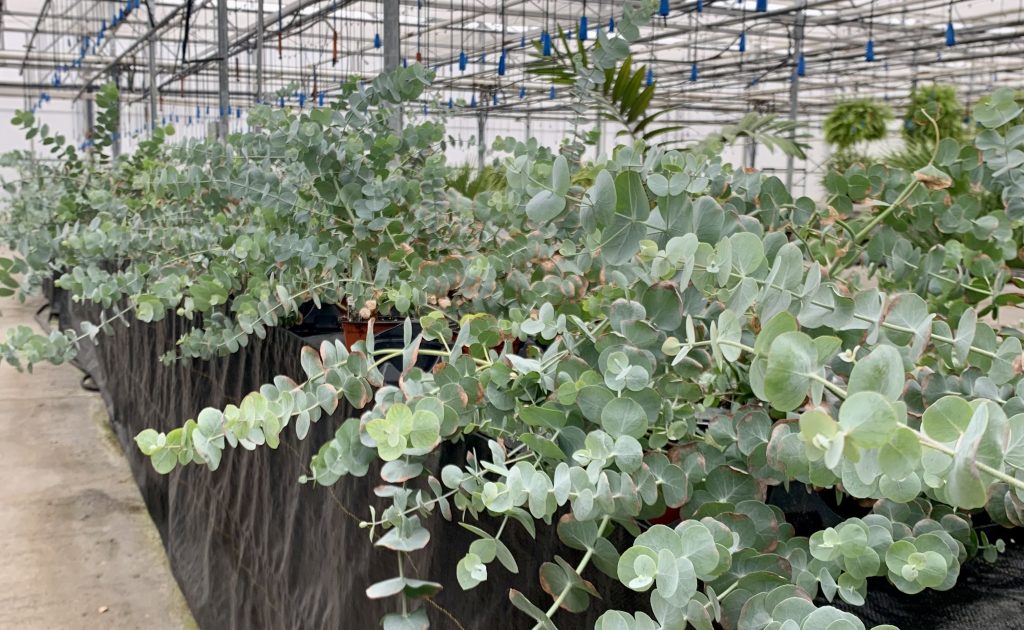
Include scent: using plants like eucalyptus, or fruit like apples or oranges, and spices like whole cloves and cinnamon sticks all add a homey touch.
We would love to see what you create and hope this has sparked your creativity. Don’t forget to tag @Eising Greenhouses & Garden Centre on your Instagram and Facebook posts when you share your decorations online - we would love to see them!
Every year, more and more people discover the beauty of the plentitude of showy blossoms on fruit trees around April and May. It’s a memorable display to be sure. Those blossoms of course set the fruit to be harvested later in the season - the absolute best time to have a fruit tree in your yard, and the reason we think that planting fruit trees is an investment that’s well worth your time.
Luckily, here in Norfolk County we are able to grow many types of fruit and at Eising you can find a wide variety (based on availability): Apples, Pears, Cherries, Peaches, Nectarines, and Plums. We also have lots of fruit bearing shrubs available too. Is your mouth watering yet?!
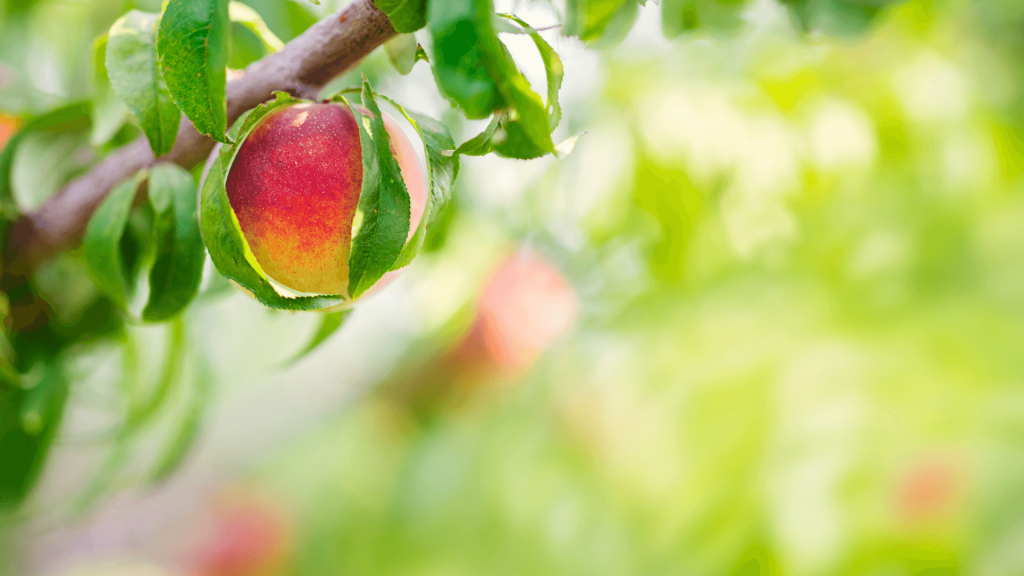
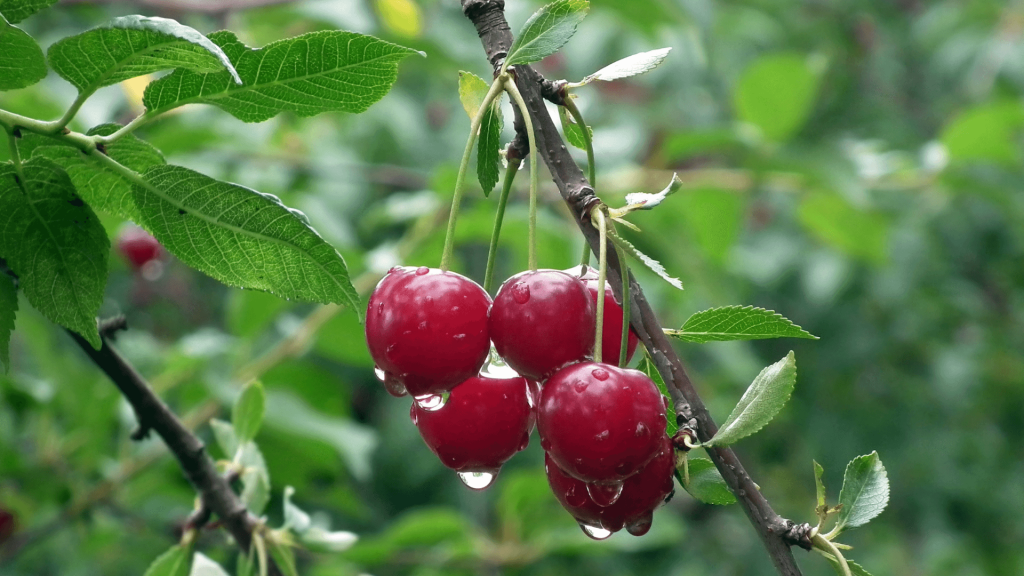
Spring is the recommended time of year to plant a fruit tree. Depending on the weather, it’s best to get your tree in the ground between early April and early May.
Want to give growing fruit trees a try? Here’s a list of what you’ll need and 6 steps to guide you through the process.
What you will need:
- Spade or shovel
- Compost or well rotted manure
- Fruit trees
- Bone Meal fertilizer
- Tree stakes
- Mulch
- Tree guards
- Pruners
Part One - Preparation
1 - Select a location in your yard that gets full sun and allows enough space for the mature width of the tree. There are more and more dwarf varieties available that make this task easier. If the location is sheltered that’s ideal, and good drainage is a must. Fruit trees do not like “wet feet”.
2 - Prepare the soil by digging it up well and incorporating compost or well rotted manure.
3 - Select the tree(s) for your site. For example Honeycrisp, if it’s apples you want, a variety that is great for cooking or eating fresh from the tree. It’s also important to keep in mind that with certain types of fruit trees you will need to plant at least two different varieties (not the same) in order for them to pollinate and produce fruit. It’s best to research which varieties to plant together as some fruit trees flower at different times that others. Flowering and pollination timing is essential for producing fruit! It’s a good idea to also check the tags on the trees for suggestions, or ask an Eising staff member if you have any questions about selecting your trees.
Part Two - Planting
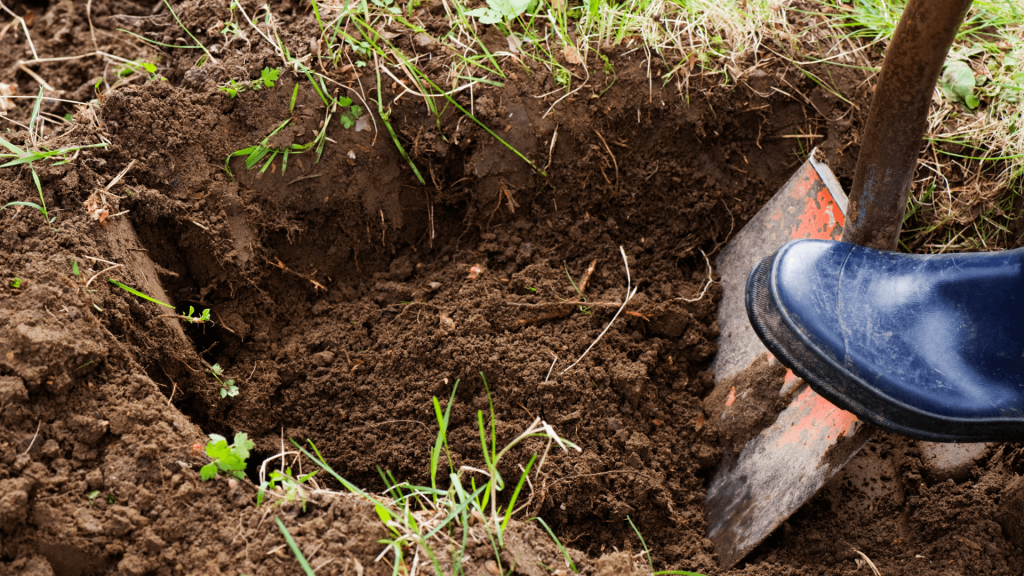
1 - To plant your trees, start by digging a hole in your prepared soil that’s twice as big as the root ball of each tree and amend the soil with Bone Meal fertilizer. This will soften the surrounding soil, and provide space for backfill with nutrient dense soil for the roots.
Test the depth of the hole you’ve dug - the soil on the top of the root ball should end up being at the same height as the soil around the hole it’s going into.
Place the tree in the hole, and place a tree stake beside the root ball. Backfill the remainder of the hole with the amended soil. Firm the tree into the ground by gently tamping the soil around the roots with your feet, then water thoroughly.
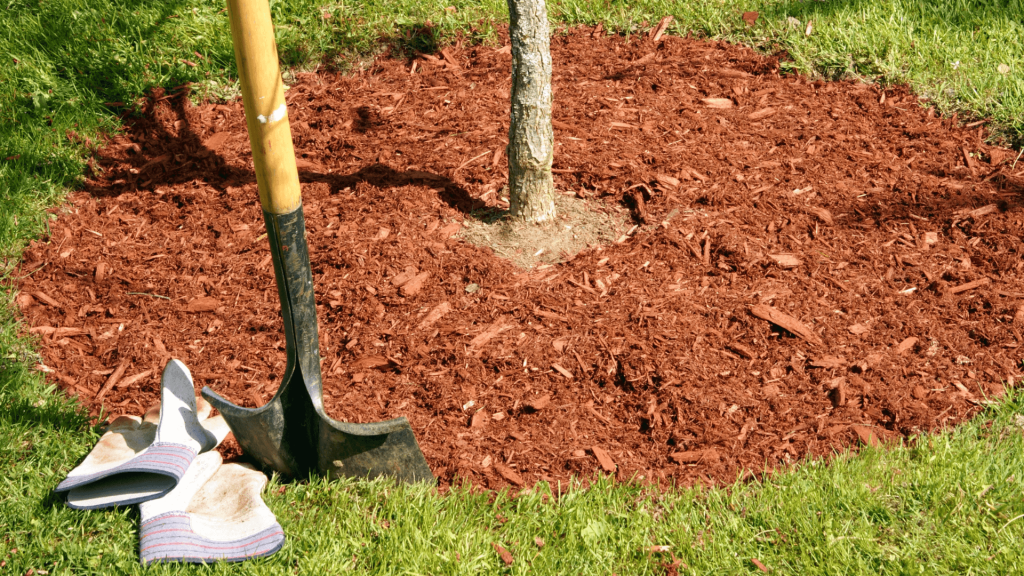
2 - Secure your tree to the stake and add a good, thick layer of mulch. Staking your trees during their first two years in the ground will provide important stability which allows the roots to become firmly established. Add a thick enough layer of mulch to suppress weeds and retain moisture - lawn clippings, wood chips, old straw or other organic matter will help to conserve moisture while the tree is getting established and will also act as a fertilizer as it breaks down into the soil.
Here’s a bonus tip: keep the mulch away from the trunk of the tree! As the organic matter in your mulch breaks down, you don’t want it also breaking down the bark on your tree. While we’re focussed on the trunk, it’s also a very good idea at this point to add a tree guard to the bottom of the tree to prevent rodent damage.
3 - Lastly, get out a nice sharp and clean pair of pruning shears. Prune your tree to remove any dead or broken branches, then trim anything that makes the tree look off balance. After this initial pruning, a good pruning each spring to remove any dead or crowded branches in the interior or top of the tree will help keep your tree healthy. If you’ve never pruned a tree before, consult this guide or enlist the help of a friend who has done it. Once someone shows you how easy it is, pruning will be a breeze.
When you follow these steps you will be setting yourself up for success. Fertilize regularly with bonemeal the first year to help your trees get established. After that, a slow release fertilizer can be added each year. Pruning your trees, fertilizing, and adding a layer of compost and mulch each spring can help ensure that they stay in good health, and produce a nice crop of fruit in the fall when you can enjoy the fruits of your labour!
