By Ava Green
Is there anything sweeter than the scent of Lilacs in the spring? These beloved shrubs are remarkably easy to grow and will reward you with weeks of fragrant blooms for little or no effort. But a bit of attention can make a big difference, especially if you’ve noticed your blooms getting smaller or fewer with each passing year.
To help your lilac put on its best show, keep these steps in mind:
- Plant in full sun, at least 6 hours of direct sunlight a day, in well-draining soil
- Water newer plants during prolonged periods of drought until established (the first 3 years)
- Feed your lilacs annually with a balanced fertilizer (10-10-10, for example)
- Follow spacing instructions and prune yearly. Pruning is a very important step, and it’s well worth it.
Knowing When to Prune is Key
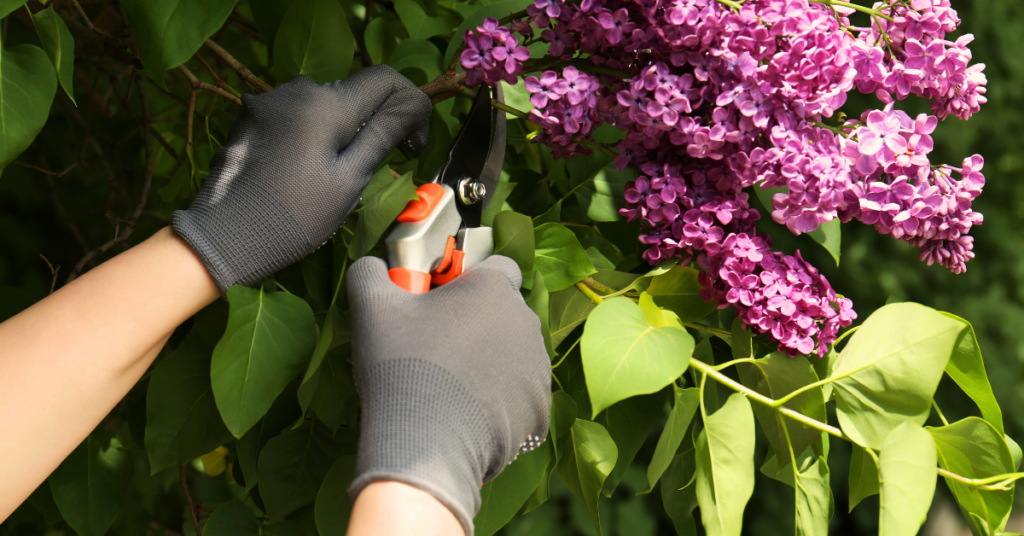
Timing is everything when it comes to pruning your lilacs. After the blooms fade, you have a two-week window to prune before the shrub sets its buds for next year's flowers. Yes, they set buds this year that will bloom next year! Pruning lilacs in the fall or the early spring risks cutting off all of the flower buds for the following year. Mark your calendar and prune promptly after flowering.
It also helps to understand how lilacs grow: Younger, thinner lilac stems produce more flowers. Older, thicker stems are more prone to disease and pests. Keeping this in mind will help with pruning decisions.
How To Prune Young Lilacs
If your lilac has been in the ground for less than three years, leave it alone; it doesn’t need pruning yet. Many young lilacs won’t bloom during those first few years.
After three years, once your shrub is established, begin by removing just one of the thickest, oldest stems down to the ground every 2 years. This gentle approach prevents the shrub from becoming overgrown while encouraging newer, flower-producing growth.
How To Prune Older, Overgrown Lilacs
If your lilac has been neglected or grown out of control, you have two options:
Option 1: Gradual Rejuvenation
Begin by removing any damaged stems, as these invite pests that can harm the entire shrub. Next, remove only the largest, oldest stems by cutting them right down to the ground. The key is to remove no more than one-third of the living wood (dead stems don’t count toward that total). Leave the younger, thinner stems intact so your shrub can still bloom the following year. Repeat this process each spring for three years, and you’ll gradually restore the shrub to its full, flowering potential without sacrificing a single bloom season.
Option 2: Full Cutback
For a severely overgrown lilac that has been largely ignored, a complete cutback is often the most practical solution. Cut the entire shrub as close to the ground as possible, either in early spring or immediately after blooming. Yes, this breaks the general rule of never removing more than one-third of live wood, but lilacs are remarkably resilient and respond well to this kind of hard reset. By the end of summer, you will have healthy new stems of three to five feet tall. While the shrub won’t bloom for approximately three years after a full cutback, the long-term results are well worth the wait.

Deadheading Your Lilacs
Deadheading, or removing spent flower clusters after the blooms fade, is a simple task that’s separate from pruning, and can be done during that same two-week post-bloom window. When you trim off faded blooms, the plant redirects its energy from seed production toward building bigger, healthier buds for the next year. It takes only minutes and can make a meaningful difference in the size and abundance of next year’s flowers.
A Note on Lawns and Lilacs
If your lilac grows near a lawn, be mindful of how much fertilizer you’re applying to the surrounding grass. Lawn fertilizers are typically high in nitrogen, which encourages lush leaf growth, but too much nitrogen reaching your lilac’s roots will suppress flower production.
Worthy Rewards
Lilacs are remarkably long-lived, often outlasting the gardens and even the homes they were planted beside. So whether you’re nursing a young shrub through its first few years or breathing new life into an old, overgrown beauty, the effort you put in now is an investment that will keep rewarding you, and perhaps generations after you. Every single spring!
By: Dave Zeldon and Ely Schweyer
Most experts agree that we shouldn't bother bringing in our favourite summer potted plants for the winter and that we should buy new again the next season. But this seems to go against our sensibilities after paying good money earlier in the season. Why not try to save that bay tree, those Rosemary, and French Tarragon containers, as well as expensive Phormium, Mandeville, Passionflower, and Jasmine plants?
The secret to indoor survival for summer plants is to slow down their growth during the winter, so they’re ready to be put outside again once all the danger of frost has passed. How? A few weeks before fall frosts are expected, gradually introduce plants to life indoors by moving them inside (to a quarantined spot*) for half a day, working up to a full day over a week or so. Don't wait until nighttime temperatures are only slightly above freezing as the plants may go into shock and drop leaves!
How to Keep These Guys Comfy During the Winter Months?
- It is suggested that you should prune back excessive growth and re-pot with new lighter growing media.
- Place them in the sunniest location you have and then water sparingly but regularly over the Winter.
- Raising humidity by using a humidifier helps too.
- Resist the urge to fertilize these plants until just before you reintroduce them to outdoor living.
- Perhaps just for fun, you could repot them into the appropriate seasonal pots and planters!
It Seems They Brought Others in With Them - And They're Not Nice House Guests
*Before long, you may notice some unwanted guests, such as thrips and spider mites, on and around your precious plants as their natural predators are no longer present to keep their populations at bay. In many cases, it may be too late, and your plants may have to be discarded before the Holidays, but that’s not always the case!
Common problems that make themselves apparent indoors would be the brown soft scale insect, whiteflies, mealybugs, aphids, spider mites and most often, fungus gnats (those pesky little black flies).
Fungus gnats are considered to be the most common nuisance in houseplants. Sometimes their sheer numbers just hovering around an attractive plant take away from its appeal.
Basic Fungus Gnat Control Measures:
The fastest and easiest method of control is to catch the flying adults with yellow sticky cards. The large cards can be cut into little strips and mounted onto little wooden splints (popsicle sticks) then placed around the base of the plant out of the line of sight.

The chances are that the adults have already deposited eggs in the growing media (soil) of the plant as it is rich in organic matter, so we can disrupt its life cycle by:
- Subirrigation - water your potted plant from the bottom by adding water to the saucer it is sitting in. This will dry out the soil surface making it uninhabitable for the hatching larvae.
- Trapping larvae - If the surface soil it already very wet, try placing a few potato discs or slices on the surface of the soil. This will attract the larvae as they migrate to the potato to feed. Simply replace the discs every five days or so with fresh slices to eliminate the next generation of adults.
- Inoculating the soil with beneficial nematodes. Most garden centres will carry the Guardian line of beneficial nematode products.
We hope this helps your plants enjoy your winter abode as much as you do this season, for more information - and plants – visit Eising Greenhouse and Garden Centre!
If flowers are the divas of the garden, foliage is the harmonious backup group that makes the whole performance shine. Colour, texture, and form don’t just come from blooms—there’s a world of interesting leaves that not only set the stage but often steal the show. Flowers may be the stars, but foliage is the picture frame, the atmosphere, and often the soul of a beautiful garden.
Start with a Standout
When choosing plants—whether for a garden bed or a container—don’t just focus on flowers. Especially in shady spots, standout foliage can create all the visual impact you need. Look for leaves that draw your eye, like the delicate structure of a cutleaf Japanese maple or the bold colour variations of Heuchera (Coral Bells), which range from deep burgundy to vibrant chartreuse.
Your standout feature doesn’t have to be a plant—it could be a sculptural shrub, an ornamental tree, or even a favourite birdbath. Try placing that birdbath atop a lush carpet of Irish moss, or line a path with the spotted leaves of Pulmonaria, silvery Artemisia, or graceful ferns. Light up a shady corner with glossy Bergenia or classic Hostas, which offer endless variety in shape, texture, and hues from bright green to cool blue-ish tones.
Build the Framework
Once you’ve chosen your focal foliage, you can build your planting scheme around it in creative ways. Think of it like building a quilt—each plant contributes a piece to the overall picture.
- Create a patchwork of leaf shapes: Group together plants with small, intricate foliage for a richly textured look.
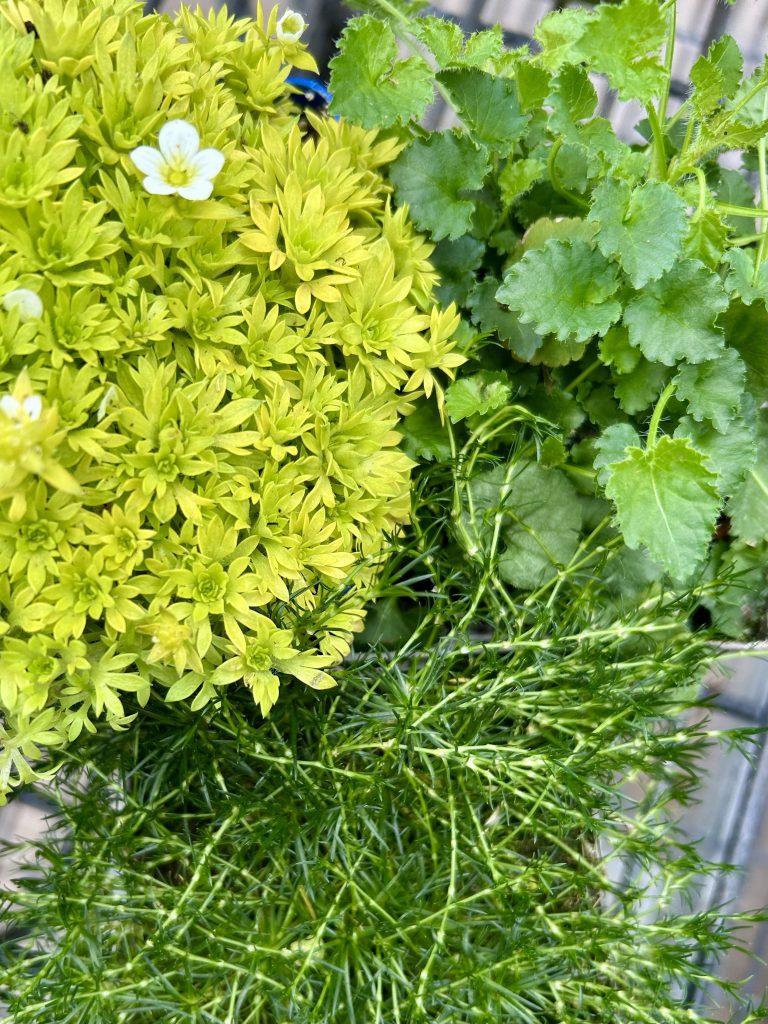
Mossy Saxifrage 'Cloth of Gold,' Sagina Subulata 'Irish Moss,' and Bellflower Campanula Carpatica 'Pearl Deep Blue'
- Echo colour tones: Pair burgundy Heuchera with other plants in similar shades, like dark-toned Euphorbia, for a cohesive palette.
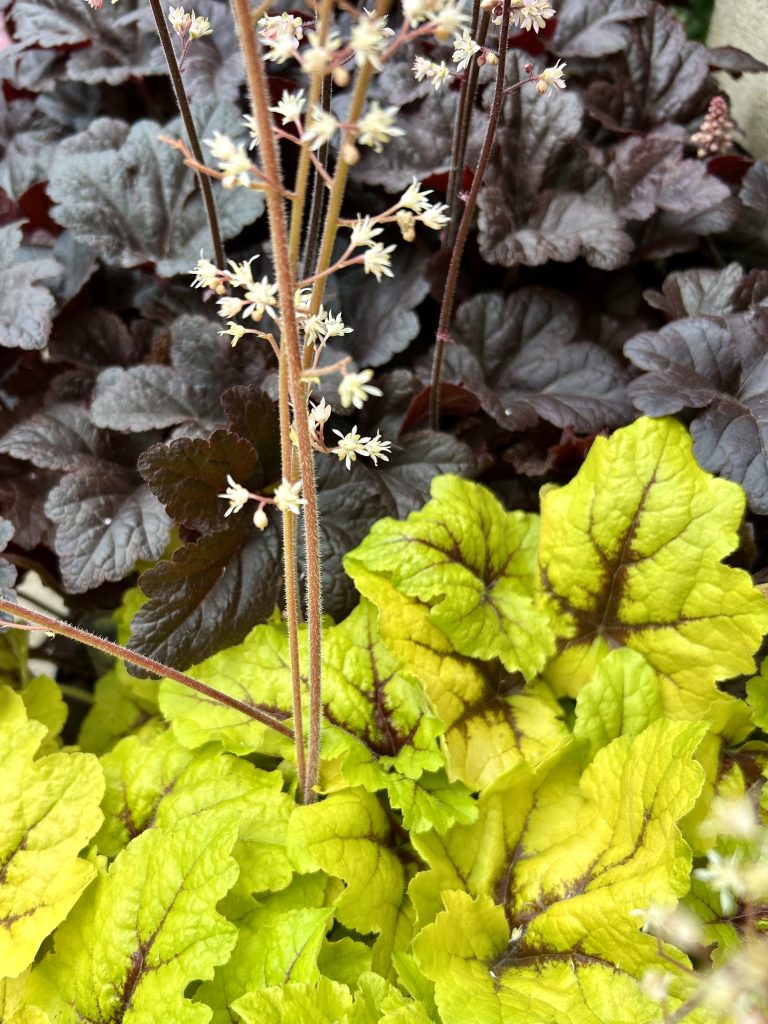
Foamy Bells 'Catching Fire,' and 'Onyx'
- Choose a colour theme: Work with warm hues like gold, rust, and copper.
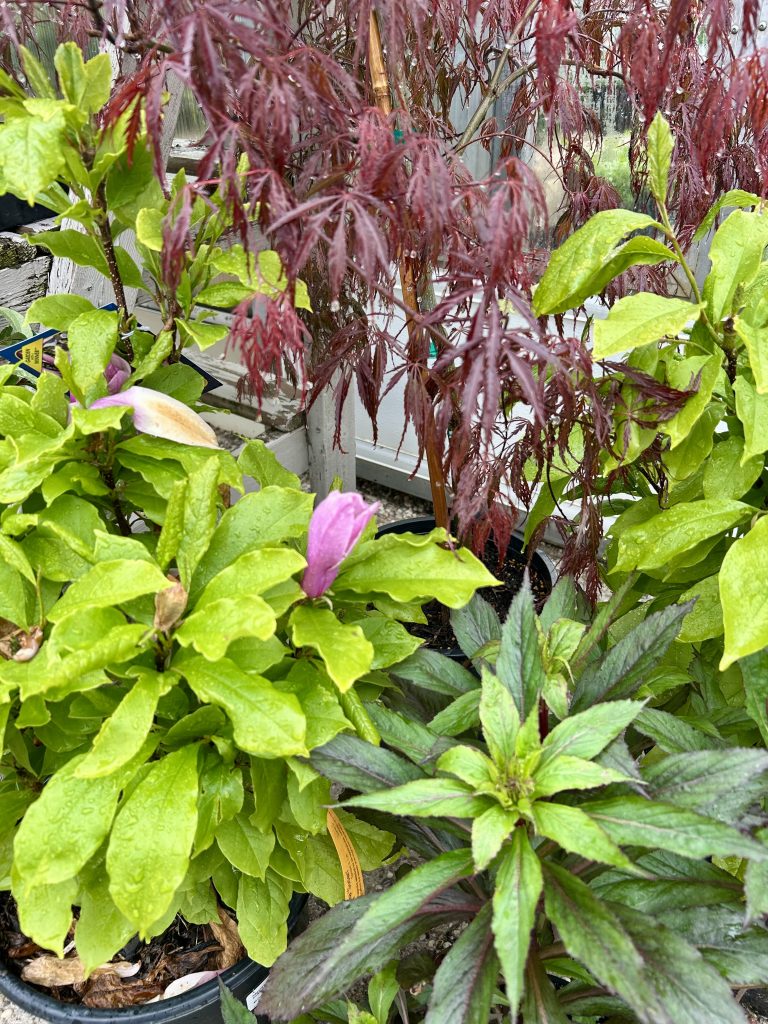
Japanese Maple 'Tamukeyama,' 'Magnolia x Soulangeana,' and Lobelia Speciosa 'Starship Scarlet'
- Mix textures, repeat colours: Choose different textures but repeat colour combinations like white and green.
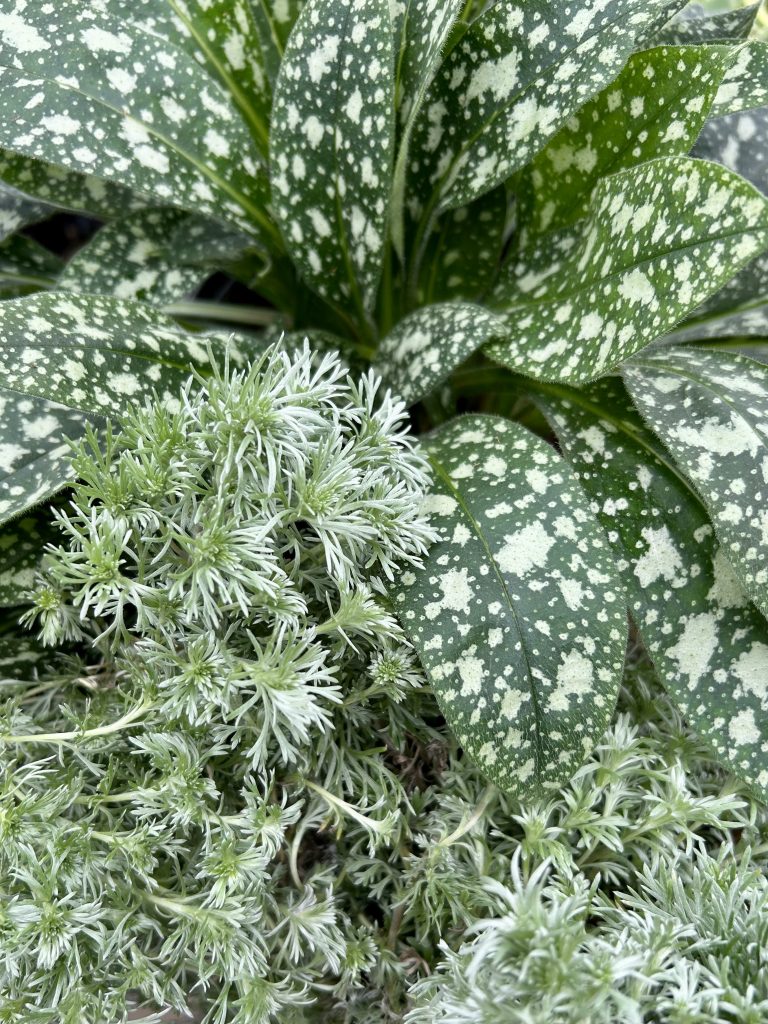
Pulmonaria 'Pink-a-Blue' and Artemesia 'Silver Mound'
Top it Off
Once your foliage framework is in place, add a statement piece to elevate it all - that favourite birdbath, a piece of artwork, an ornamental tree or shrub, or an unexpectedly showy flower. The layered, leafy backdrop with make your feature stand out even more.
Visit us at Eising Garden Centre to find all the foliage stars and supporting players you need to bring your garden vision to life!
The sight and sound of water in the garden can bring life to its surroundings and a sense of calm that we all seem to need right now.
A water garden can be created in many forms with varying degrees of simplicity or complexity. A small water feature in a half-barrel-sized container on a patio. A small to medium one in a preformed fibreglass pool or pond in the ground. An old stock tank or bathtub. A pool liner laid over a hole dug into the ground. A natural pond fed by springs. A fountain, stream or waterfall for moving water. Planning is key, but there are endless options! Just be sure to check any local zoning restrictions before you build.

Whatever the pond form, water can immediately attract nature even in the middle of an urban space. Dragonflies, birds, and frogs will show up to sip, dip and enjoy!
Water gardens also provide a space to garden with plants that bring unexpected beauty and intrigue. It’s a whole new world of native and tropical, annual and perennial plants that exist in the water or on the edge of a pond.
Three Categories of Water Garden Plants
1. Underwater or Submerged Plants

Deep-water plants with floating leaves and flowers, like water lilies and lotus, are included in this group. Often the showy main feature of a water garden, water lilies come in various sizes and colours and produce blooms from late Spring to early Fall. Hardy lilies thrive year after year with very little effort. Full sun and water 18 to 36 inches deep will give a water lily the conditions it needs.
Oxygenating plants are not showy but are also found underwater, and they are essential. Anyone who owns an aquarium knows the importance of good oxygenators to improve water quality. They compete with algae for nutrients and win the battle each time. Elodia canadensis looks a little bit like seaweed, but it’s a hardy and vigorous water perennial here in southern Ontario, which makes it a very popular choice.
2. Floating
Duckweed and Water hyacinth are examples of plants that float freely on water. No soil is required! While Water hyacinth is a problematic invasive perennial in southern U.S. climates, here in Ontario, it’s a carefree annual and probably one of the most beneficial plants for a garden pond. Water hyacinths provide much-needed shade (algae requires sunlight to thrive), and the roots absorb excess nutrients, helping control algae and purify the water. If that’s not enough, its shiny green leaves can stand up to 4 inches out of the water, and they surround a spike of lovely blueish-purple flowers. It also provides shelter for fish.


3. Shallow water or Marginal Plants
This is the bog folks! The plants grown here are also known as marginal plants. While the term bog doesn’t conjure dreamy Monet water lily paintings, the plants in this area of a pond or wetland can be beautiful, interesting and beneficial. Marginal plants and moisture-loving perennials, grow in the soil just below the water's surface or in consistently wet soil. They are beneficial because they keep water clear by keeping algae at bay. However, as previously mentioned there are many beautiful and interesting plants that grow on the pond's edge.
Here are just a few:
- Cattail - Hardy
- Water Iris - Hardy
- Variegated Sweet Flag - Hardy
- Corkscrew Rush - Hardy
- Pickerel Rush - Hardy
- Dwarf Papyrus - Tropical
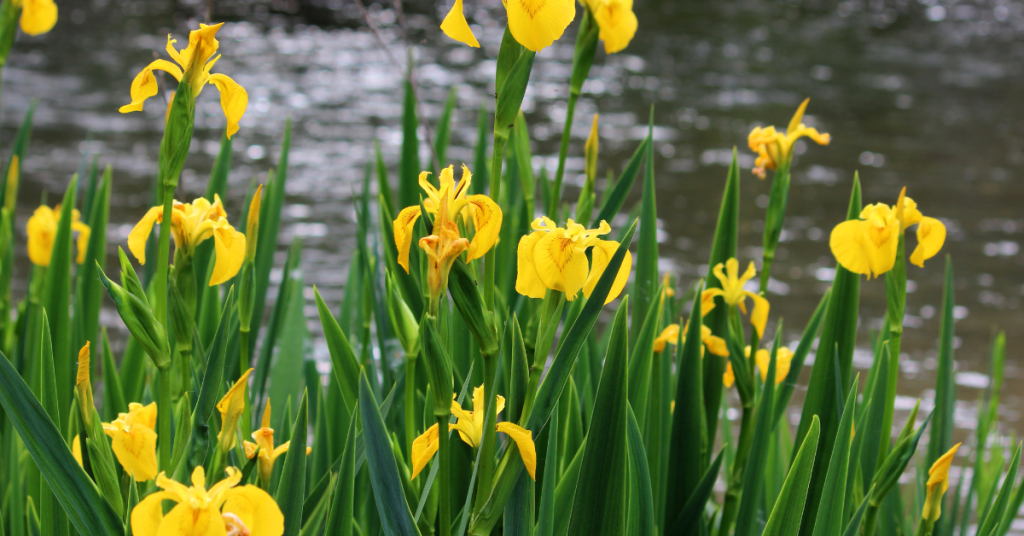

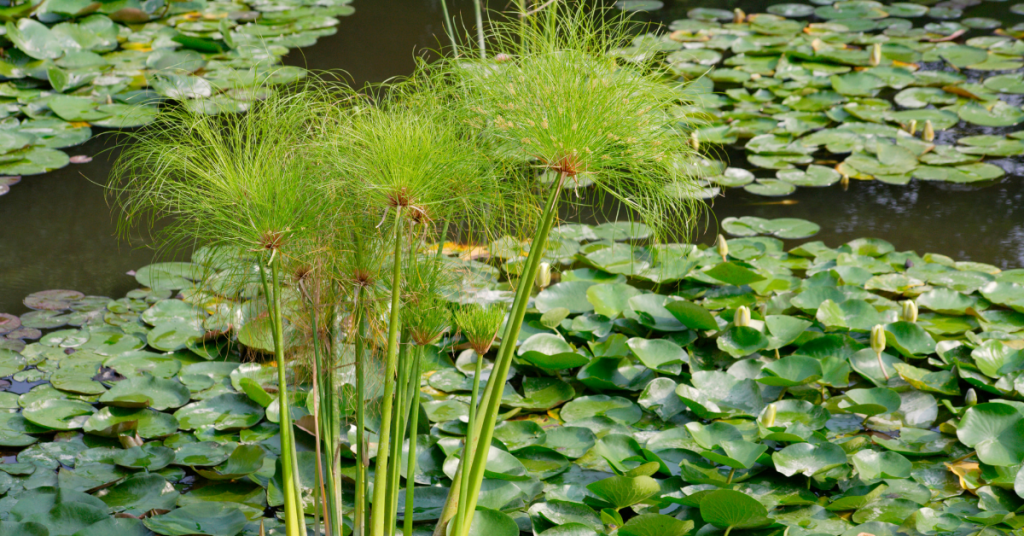
Growing plants in and around a water garden can be a very satisfying project. Curious guests will love to chat about it and ask questions making it a great conversation starter. It also provides a peaceful spot in your backyard to relax and watch the dragonflies whiz by!
It’s the question we probably hear the most when it comes to flower gardens…”What can I buy that will flower all season long?” While some annuals bloom for a very long time, no plant will bloom from early Spring to late Fall, and no vegetable plant will produce for that duration either. The solution? Succession Planting! It’s a simple strategy that maximizes the time your garden is blooming or producing vegetables.
What is Succession Planting?
Plant early (earlier than you think) and plant things in succession that thrive in the current weather conditions - right up until there is a hard frost. Simply plan to plant another crop or flower once one is harvested or finished blooming. Many gardeners here in southern Ontario wait until the May 24th weekend to plant everything - all at once. Succession gardening staggers planting times so there is a continuous harvest of vegetables or an everchanging series of blooming flowers. While it takes a little more planning, the results are worth it.


A Succession of Blooms
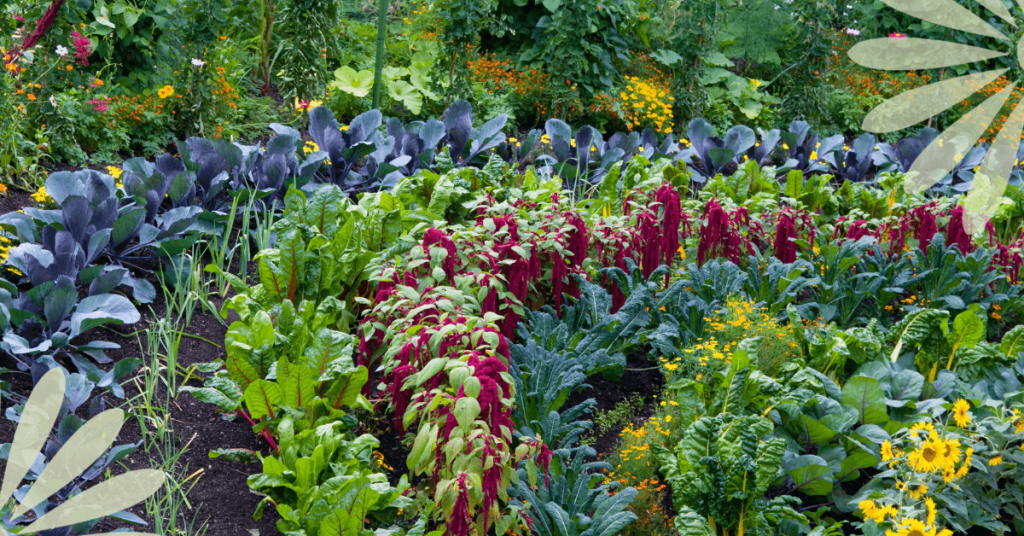
The best way to ensure a parade of colour in your garden is to choose a variety of annuals, perennials, and biennials that bloom at different times. There is a notion that a garden can only have annual flowers or just perennials, but the best results come from a mix of both. You’re allowed to mix them together! Most annuals bloom during the heat of the summer, but perennial flowers can extend the season for you by blooming in early spring or in the fall. A list of perennial bloom times can be found in this Landscape Ontario article to help you choose your plants.
Some flowering plants, like pansies, love cooler weather and are easy to purchase in the spring. A little planning and planting in the fall will provide a flush of colour from Spring bulbs like Daffodils, Crocus, and Hyacinth. Spring bulbs look great alongside early-blooming shrubs or trees like Canada Serviceberry and Forsythia.
April or early May is also an excellent time to directly sow annual flowers like sunflowers, nasturtium, borage, and herbs like cilantro and dill to give them a head start.
Cool Weather Veggies
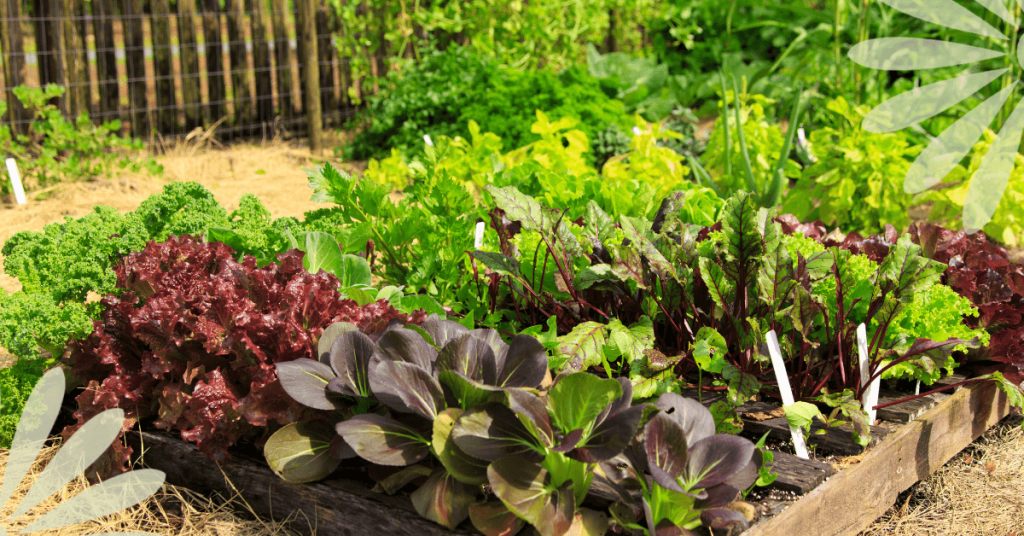
It’s surprising how many vegetables thrive in cool weather and withstand light frost. Keep tender plants indoors until the third week of April and slowly harden them off, but get outdoors any time in April and begin directly sowing fast-growing cool crops like leafy greens, root vegetables, and some herbs.
Lettuce planted in late spring will tend to “bolt” and taste bitter once hotter temperatures arrive. Lettuce loves cooler conditions. So you don’t have to wait until May 24th to sow lettuce and other vegetables. Which Vegetables? We have a list of examples for you in our article: Starting Seeds Indoors and Cold Weather Crops. Starting early means you can harvest a whole crop of vegetables before you plant heat-loving crops like peppers and tomatoes.
Sow All Season
If you’ve ever been overwhelmed by planting too much of one crop at once, you will love succession gardening. While you may be able to freeze a batch of 2,000 string beans from the entire packet of seeds you planted in one go, sometimes stretching out the harvest is nice. Plant smaller batches of beans, peas, and herbs like cilantro, dill, and basil every three weeks to ensure continuous summer harvests. This approach is also known as interval gardening.
Sow cool-weather crops like leaf lettuce, Swiss Chard, and Radishes in April or early May and again in September.
Continuous Harvest
Once your early Spring vegetables like lettuce, peas and radishes have been harvested, it’s time to sow your second crop of cool-weather veggies for harvesting in the Fall. Do you know veggies like parsnips, Brussels sprouts, peas, and kale have more flavour after a mild frost?! A mild winter this year meant we were still harvesting some Brussels sprouts in December.
Double Up
Another tip is to plant things that grow well together. For example, plant seeds for a root crop like carrots below your tomato plants, peas or bush beans in the vegetable garden. The carrot crop will be next after the tomatoes, peas or beans are done for the season. There are many combinations like this - tomatoes and basil, kale and dill, lettuce and beets, broccoli and borage, just to name a few. Doing this helps to increase the production of your plot of land and keeps the soil covered, which is always better for soil health.
One final strategy for flower succession planting is to use containers. Consider placing a well-positioned pot of annual blooms beside perennial plants resting after flowering.
Once you get started, researching companion plant combinations like these can be a fun game. These combinations will extend the time you can enjoy lots of colourful blooms and increase the amount of vegetables a garden can produce!
Come along on a little journey with me and imagine this… It’s Springtime. The sun shines, and the air finally feels warmer after a long, grey winter. You take a little trip to your favourite garden centre and find that special plant you’ve been reading about and hoping for. Of course, you buy the plant, take it home, and proudly place it on your sunny patio on this beautiful day. Two more sunny days go by, and the plant does not look good at all. It seems to be dying, so you give it lots of water, but that makes no difference. It is in fact dying. So disappointing! How could this be happening?
In our excitement to get outdoors and plant flowers, or add greenery, we forget that the plants we’ve been growing indoors or inside a greenhouse, aren’t used to the elements in the great outdoors. They’ve been sheltered indoors, out of the wind and direct sun, and watered and fertilized regularly with the utmost attention. They’ve been pampered in a plant spa and are quite literally hothouse flowers! Being plunked outside afterwards is the equivalent of us going outside in a bathing suit with no sunblock on for the first sunny, warm days of Spring, exposing our lily-white skin that’s been covered up by a parka all winter long!
Red, sunburned skin is not a great image, but hopefully, this comparison helps to explain the importance of transitioning or hardening off plants. Much like us, indoor plants need to be gradually exposed to the elements and given protection in the process.
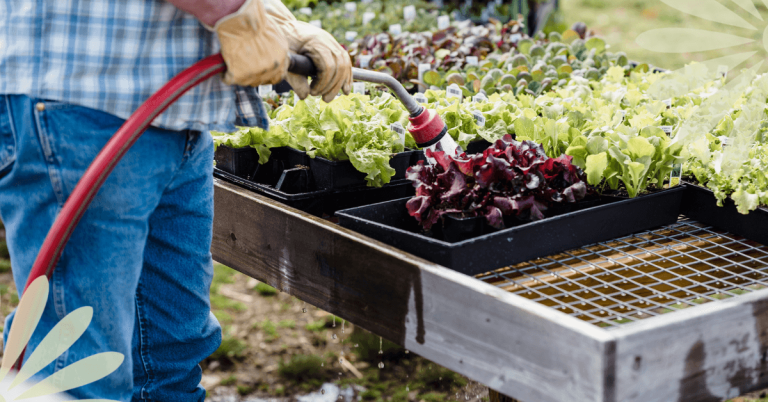
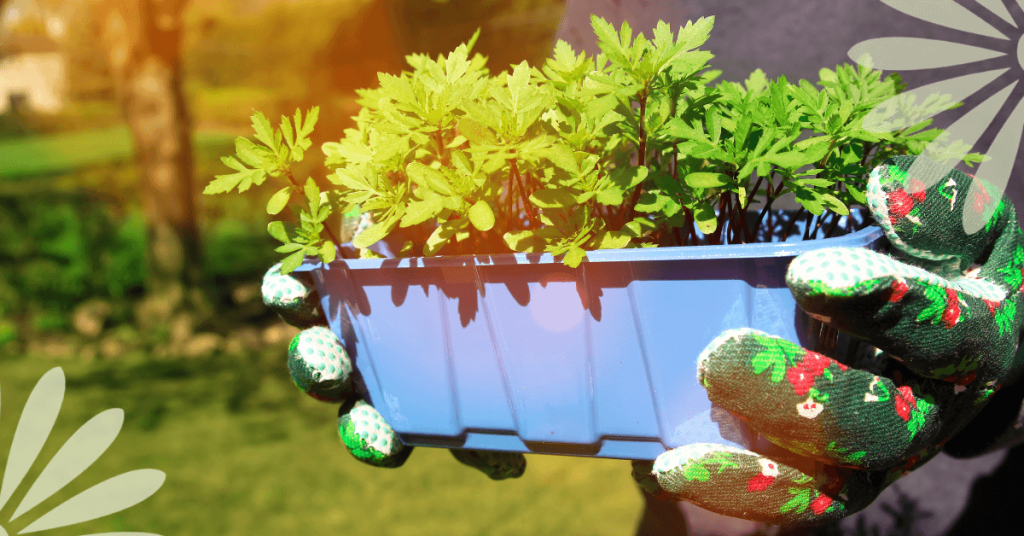
The same will be true if you have planted seeds indoors or purchased greenhouse-grown seedlings. Seedlings grown in a greenhouse, a sunny window, or under grow lights in your home need up to 14 days to acclimate to being moved from their cozy indoor space to the great outdoors.
What is Hardening Off?
Hardening off ensures that you will not lose another plant or seedling! It’s a sensible process for all the plants you’re moving from indoors to outdoors. By helping plants or seedlings to gradually toughen to withstand the elements, you prevent transplant shock, which can cause your plants to be stunted or, worse, die.
To ensure success, the process of hardening off takes up to 14 days, so you will want to begin two weeks before transplanting plants and seedlings into your garden. Houseplants may only need 7 to 10 days, but tender, tiny seedlings need the full two weeks to strengthen and get used to their new environments.
When to Harden Off
Cold-weather plants like lettuce, kale, pansies, violas, dianthus, and potted or forced spring bulbs can be hardened off once daytime temperatures consistently reach 5 Celsius, usually in April in southern Ontario.
Perennial plants, tropical houseplants, and heat-loving seedlings like most annual flowers, tomatoes, peppers, and basil should wait until temperatures are around 7-10 Celsius to begin hardening off. For vegetables and annual flowers, start hardening off around May 10 here in Norfolk County if your target is planting seedlings around May 24th.
Successfully Hardening Off Your Seedlings and Plants
Days 1 and 2
Begin on a day that is optimally warm (At least 5 Celsius for cold-weather-tolerant plants, 7 Celsius for heat-loving plants, or 15 Celsius for tropical houseplants) and place your plants or seedlings outside in full shade and protected from the wind.
If you don't have a wind-sheltered area in the shade, putting your plants in an open cardboard box is a good way to protect them from the wind at this stage.
Leave them in this protected area for 1-2 hours before returning them indoors.
Days 3 to 5
Each day, gradually increase the length of time your plants are outside and begin to place them in an area where they will get dappled shade and some wind.
Pay close attention to watering while you’re hardening off your plants as they will require more frequent watering.
Days 6 to 10
On day 6, start to increase your plant’s exposure to direct sunlight by placing them in the morning sun, which is less intense than the afternoon sun.
Begin to leave them outside overnight from this point on unless the temperature is expected to drop below 7 Celcius.
Days 10 to 14
After 10 days of acclimation, it is safe to move houseplants that require more sun to a location that meets their needs.
After 14 days of acclimation, it’s safe to transplant seedlings to their place in the garden or to large pots if you’re growing in containers.
As soon as your plants are transplanted, be sure to water them well! This will help them transition and eliminate air pockets in the soil that can harm the roots.
If the temperature drops and a fluke, unexpected freeze is forecasted after you’ve planted everything, cover your plants with row cover, cloches (you can use plastic water jugs with the bottom cut out, just leave the screw cap off to act as a vent), or cardboard boxes to protect them.
To summarize, when Spring arrives, protect your skin with sunblock, and harden off your plants before you move them outdoors!

Ah, the sanctuary of a nice, cool shade garden on a hot summer day. Lush foliage comes to mind, and maybe a nap in a hammock. But what do you do when you have a shady spot in the garden that isn’t so lush and could use a boost? A planted container or two can be just the thing!
Here’s a scenario that can happen to any of us. A plant isn’t doing well and needs to be moved. Or maybe something just didn’t survive. Now what to do with that gap? The beauty of planting in pots is that you can move them around, but also create conditions for plants that you might not have in the garden. For example, one of the toughest places to grow anything is in dry shade - tree roots can compete for space and for moisture. That’s when planting in a container, or several is the way to go.
What is a Shade Garden?
In general, a shade garden is an area that gets less than six hours of sunlight in a day. When choosing plants, remember that some will tolerate shade better than others. When it comes to plants, shady areas are divided into three categories:
- Full shade - no direct sunlight, only reflected sunlight from surrounding areas
- Partial or Semi shade - in the sun for part of the day and shade for the rest
- Light shade - sunlight that is filtered, like under a tree with smaller leaves

Choosing Containers and Pots
While containers can be made out of a variety of materials like plastic, concrete, wood or fiberglass, the key is using a pot with at least one drainage hole.
Keep in mind that smaller pots will dry out more quickly. Larger pots retain moisture longer, but when they’re full of soil and plants they get heavy. Look for a Goldilocks pot that’s “just right”, or splurge on a Schwarzenegger-sized pot if you’re looking to build up those biceps!
Whatever pot size you choose, always use a growing medium that’s designed especially for containers. At Eising Garden Centre you’ll find potting mix which is light and airy, unlike garden soil, which will compact and retain too much moisture. If you’re using a big container, you may want to use a smaller, more shallow pot as an insert, or put natural mulch in the bottom before you add potting soil. Doing this will reduce the amount of soil used, and keep the container lighter as well.
Plant Selection
This is the fun part! While many plants do well in pots, here are just some of our favourite shade plants for containers:
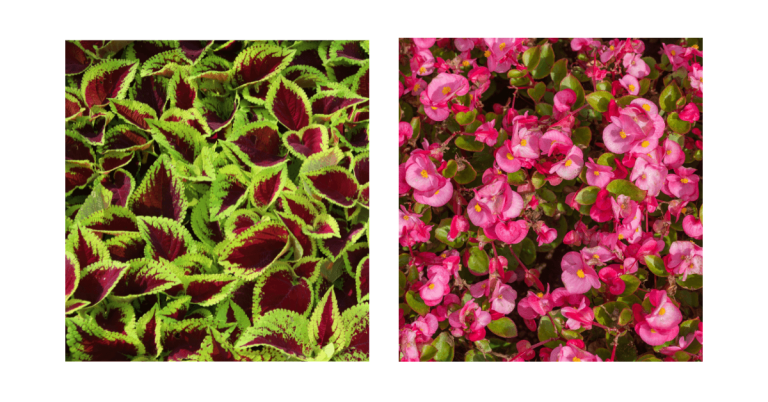
Coleus
Coleus is an annual that will grow in full shade and comes in a variety of very interesting leaf colours. This plant is known for its vibrant leaf colours, not its blooms.
Begonia
Begonias come in a wide variety of shapes and colours, making them a versatile annual for containers. Some varieties are happy in full shade, while others like light, or filtered shade. Most begonias like good drainage so their roots are not too wet.
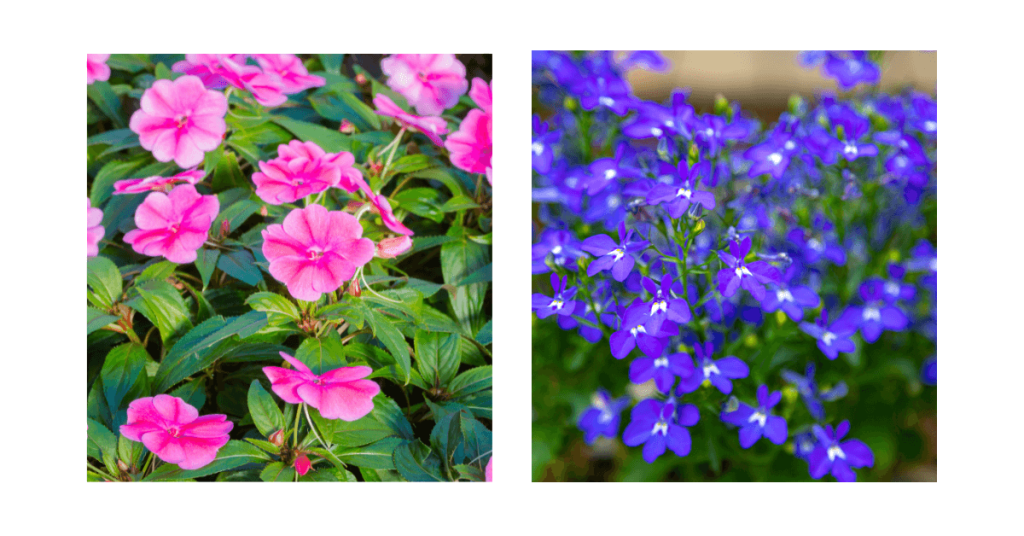
Impatiens
These annuals are popular for a reason! They come in a wide range of very brightly coloured flowers that do well in full shade.
Trailing Lobelia
The trailing type of Lobelia is an annual that grows well in shade. The masses of prolific blooms come in many pretty colours to mix and match with other plants.
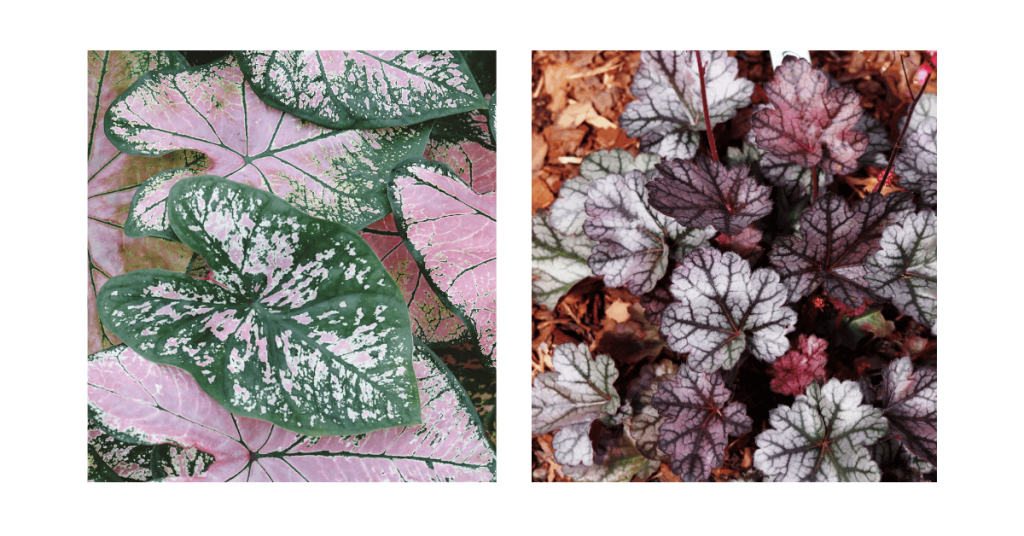
Caladium
A showy annual with vibrantly coloured leaves that will illuminate any shady area. Caladiums like partial to full shade but if you’re a pet owner be careful - this plant is toxic to cats and dogs.
Heuchera or Coral Bells
Coral Bells are perennials that also come in a wide variety of beautiful leaf colours. This plant will thrive in shade, but can also tolerate some sun and they are drought tolerant.
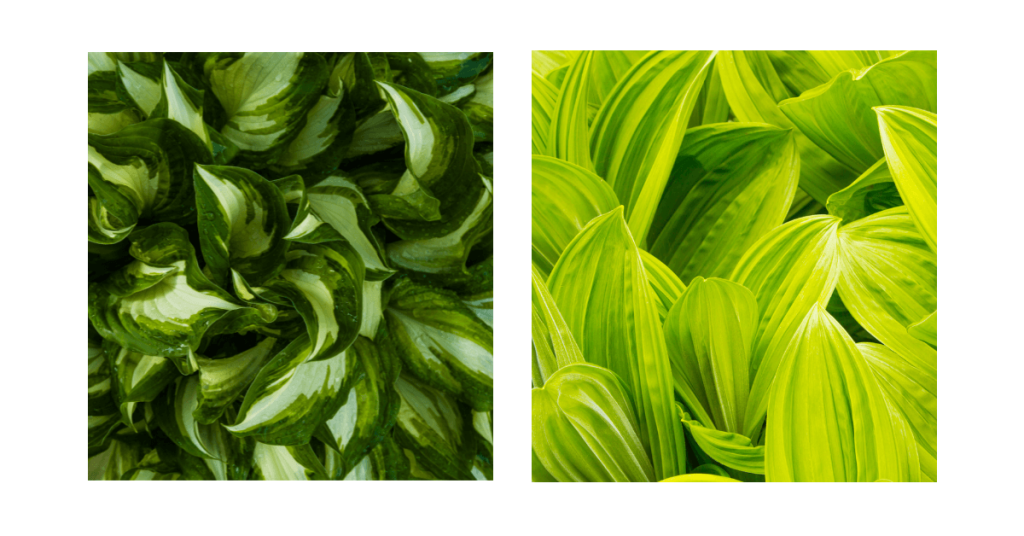
Hosta
Known for its lush foliage, this perennial comes in such a wide variety of sizes, colours, and sun tolerance, and is by far a favourite. Many people don’t think of it as a container plant but for all of the features mentioned, it makes a great choice as a potted plant.
Fertilizer
Like all plants in containers, check the moisture levels often and provide water and fertilizer throughout the growing season. This article contains more information on caring for annuals and perennials.
Design
While you can mix and match any plants for shade containers, this article about container design ideas for sun-loving annuals may inspire you!
As mentioned above, many plants will do very well in containers. It’s also fun to experiment with annuals and perennials you can’t necessarily grow in the garden, or for anyone with a patio or balcony. Don’t be afraid to mix annuals and perennials together in a container, or to use one statement plant. Some potted plants will need extra protection in the winter like perennials, small trees, and shrubs, but growing plants in containers is a great way to add a splash of colour, or include some bold foliage in tough-to-grow areas.
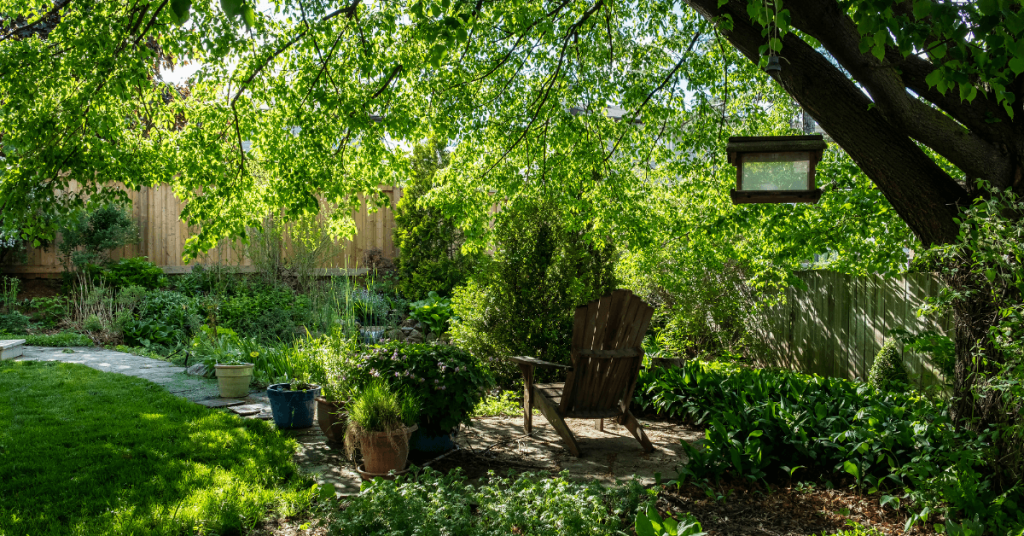
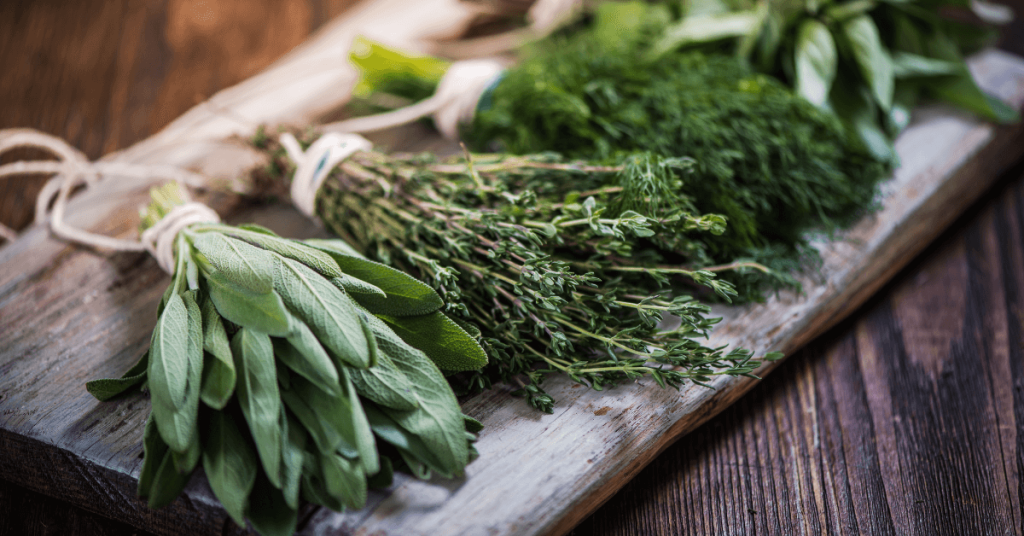
If you have some space in your flower or vegetable garden, growing herbs is definitely worth it! Many are drought tolerant, do well in containers, require very little care, and can provide a bountiful harvest all summer long.
Buying herbs at the grocery store is often pricey. Growing them at home, using the tips below, helps to ensure a steady supply for a fraction of the price.
If you’re not accustomed to adding herbs to meals at home, buying a plant is a great way to experiment and see which ones you like. If you try Cilantro, for example, and don’t like it, place it in a nice pot and take it as a hostess gift the next time someone invites you to a barbeque. Especially if you’re coming over to our house, we love it!
Herb Growing Tips
- Like many other plants, there are perennial and annual herbs (annuals don’t survive an Ontario winter and need to be planted each year). Perennial or annual may determine where you plant your herbs in the garden.
- Most herbs are drought tolerant and enjoy full sun. The amount of water and sun can vary slightly, so it’s good to note watering and light needs for the herbs you’re growing.
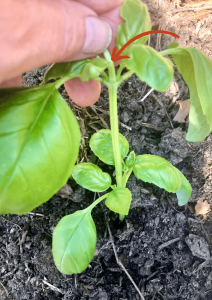
- The more you trim herbs, or “give them a haircut”, the more your plant will thrive. Start trimming them early - when they’re about 4 inches tall, and do it often! This will make your plants more sturdy and bushy.
- Regular pruning ensures that your herbs don’t flower! While this is the goal with many other plants, it’s not what you want with herbs. A plant will focus on producing flowers and seeds, and stop producing the leaves that you want to harvest for herbs!
Here’s a list of our favourite herbs to grow in Southern Ontario, and how to care for them.
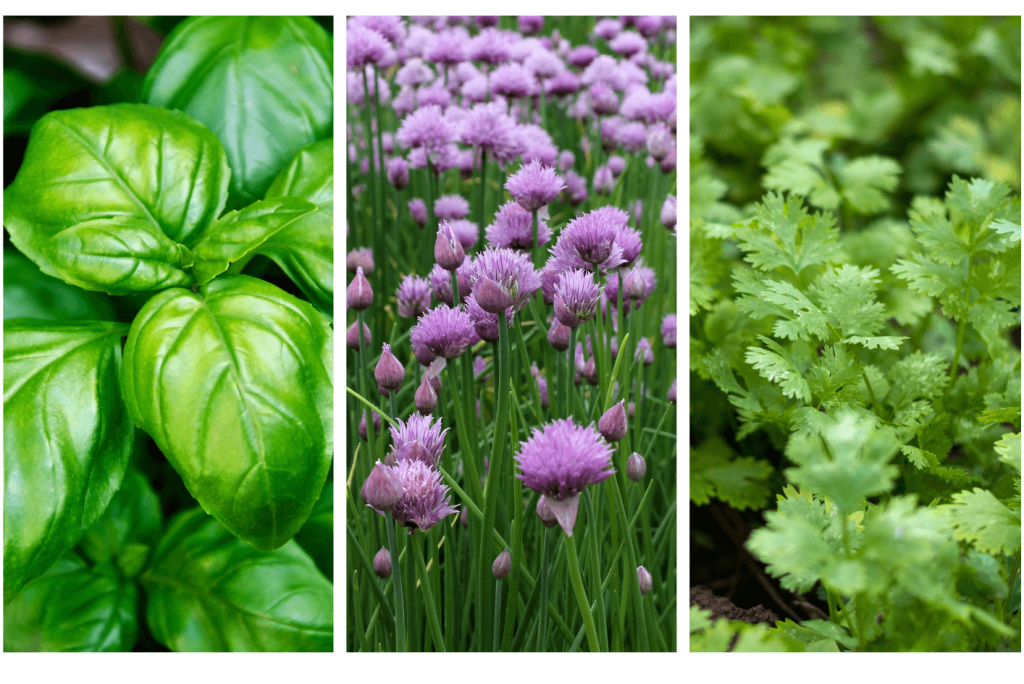
Basil - Annual
If you’ve planted tomatoes, it just makes sense to add a few basil plants! The tomatoes will love them, and so will you on your toasted tomato sandwiches. Basil loves full sun, and evenly moist soil.
Chives - Perennial
Chives are one herb that you may want to allow to flower. Its blossoms are great for flavouring vinegar, and the plant will still produce mildly onion-flavoured stems. Chives like full sun but will still grow in partial shade, and once established they only need watering during dry spells.
Cilantro - Annual
To some people with a very specific gene Cilantro tastes like soap! For everyone else, it’s one of the most delicious herbs and a taco wouldn’t be the same without it. Cilantro prefers part shade, but will tolerate full sun. It can be allowed to dry out, but it may flower prematurely if it gets too dry.
Dill - Annual
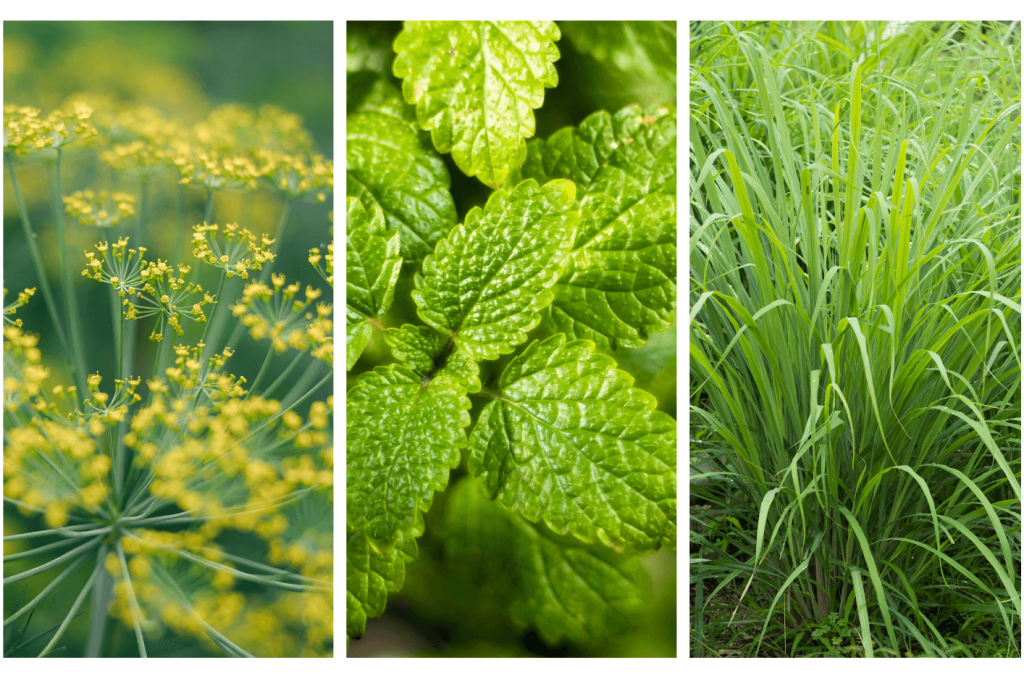
While Dill is considered an annual, many people in Ontario find that if you allow it to eventually go to seed, it will reseed and grow again the following season. No guarantees. But worth a try, right? Dill plants love full sun, and their roots just slightly moist.
Lemon Balm - Perennial
Fresh leaves can be used to make tea all summer long, or can be dried for winter use. But this versatile herb can be used for many things from pesto to cookies! Grow Lemon Balm in full sun to partial shade, and keep the soil moist for optimal growth.
Lemongrass - Annual
A staple in Thai cooking, Lemongrass is a great addition if you love to cook. Full sun and moist soil will keep this herb happy and producing lots of lemony stalks. You might want to try bringing it indoors for the winter as well.
Mint - Perennial
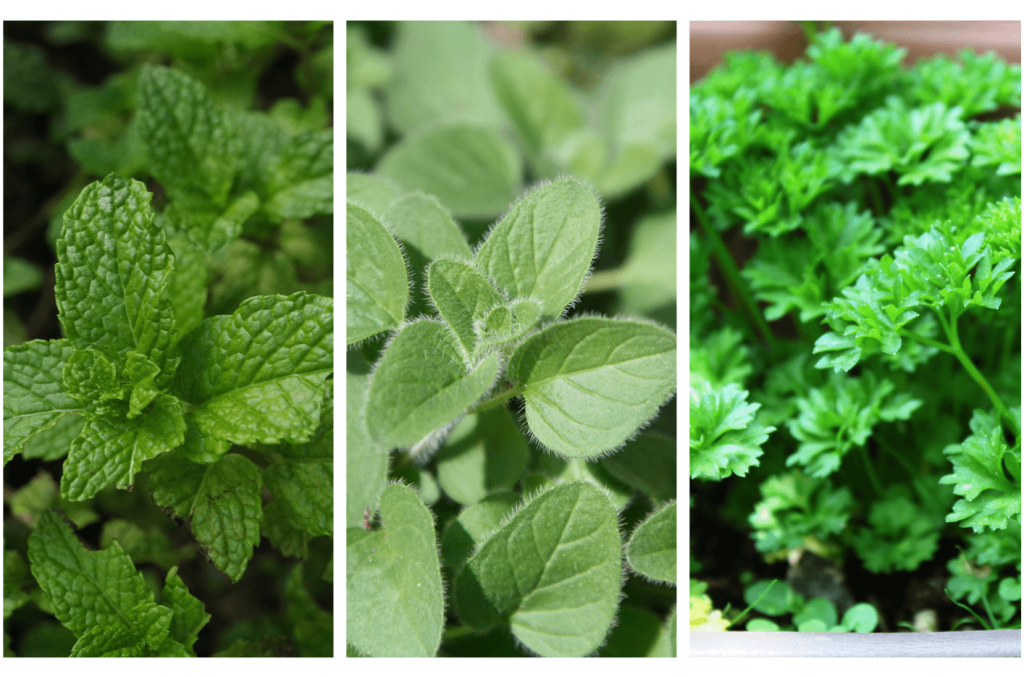
This herb comes in so many variations that are just simply delicious - spearmint, peppermint, apple mint, chocolate mint, and more! But this is one plant you’ll want to keep in a pot, well away from garden soil. It’s also one to trim before it sets seeds or you will have a garden that’s full of mint! It can be invasive. It will thrive in full sun but will stand some shade, and it likes moist soil.
Oregano - Perennial
For obvious reasons, (tomato sauce) Oregano is a great addition to the garden. It will spread and reseed throughout the garden if you let it go to seed, but some people like this feature and use it as a groundcover or border for a perennial bed. Oregano likes full sun to partial shade and once it’s established it is very drought tolerant.
Parsley (flat and curly) - Annual
There was a time when every restaurant meal was adorned with a sprig of Parsley. It’s pretty. But it’s also an underrated culinary herb and can add wonderful flavour to soups and stews as well as other savoury dishes. Keep this plant moist and in full sun to part shade.

Rosemary - Annual
Is anyone else addicted to bread with olive oil, salt and Rosemary? It can’t just be us! This is another garden staple that loves full sun and slightly moist soil. It can also be brought indoors for the winter, but be sure to keep the soil from drying out completely.
Sage - Perennial
Perennial, with a caveat. In Ontario, it’s best to provide some winter protection for this plant if you want it to survive the winter. I’ve had reasonable success with bringing it indoors for the winter, or it can be treated as an annual. Sage likes full sun and moist soil but don’t overwater this one! It does love the heat of summer and will produce a nice big plant once temperatures heat up.
Thyme - Perennial
Thyme is just so good in so many things - vegetables, meats, soups, and of course stuffing! It’s easy to grow if it has well-drained soil and full sun. Once it’s established it is moderately drought tolerant and can be harvested from early Spring until Winter.
Like all herbs - don’t forget to give it frequent haircuts!
At Eising Garden Centre you’ll also find many more herbs to grow and enjoy. Do stop by and give them a try!