
By Dave Zeldon and Ely Schweyer
Many home gardeners are really missing their harvest of fresh vegetables these wintry days – and many beginners have New Year’s resolutions to become greener thumbs.
If you’re looking for something kid friendly, easy on the budget, and nutritious to do this winter, you may want to try microgreen farming!

Seeds to Start
The seeds of many vegetables and beans are suitable for hydroponic sprouting into tasty young shoots that will be ready for the table in less than a week!
Seeds such as alfalfa, broccoli, clover, lentil, mung bean, mustard, onion, radish and soybean are excellent choices for this activity plus they are invaluable in terms of their nutritional content.
Sprouting seeds on your kitchen counter takes only minutes a day, and the reward is a steady supply of fresh, crunchy shoots.
It is important to start by purchasing some packaged seed expressly for sprouting. The directions will indicate how much is needed to produce 100 grams of sprouts. The seed-to-sprout ratio can differ substantially - anywhere from 1.5 to 8.5 units of sprouts or more per one unit of seed - so follow directions carefully and make sure your jar is large enough to accommodate all the sprouts while still leaving room for good air circulation. As a rule, begin with 1 tbsp. (15 mL) of seeds for small varieties such as alfalfa and radish, 2 to 3 tbsp. (30 to 45 mL) for medium ones such as lentil, and up to 4 tbsp. (60 mL) for large seeds such as beans and peas.
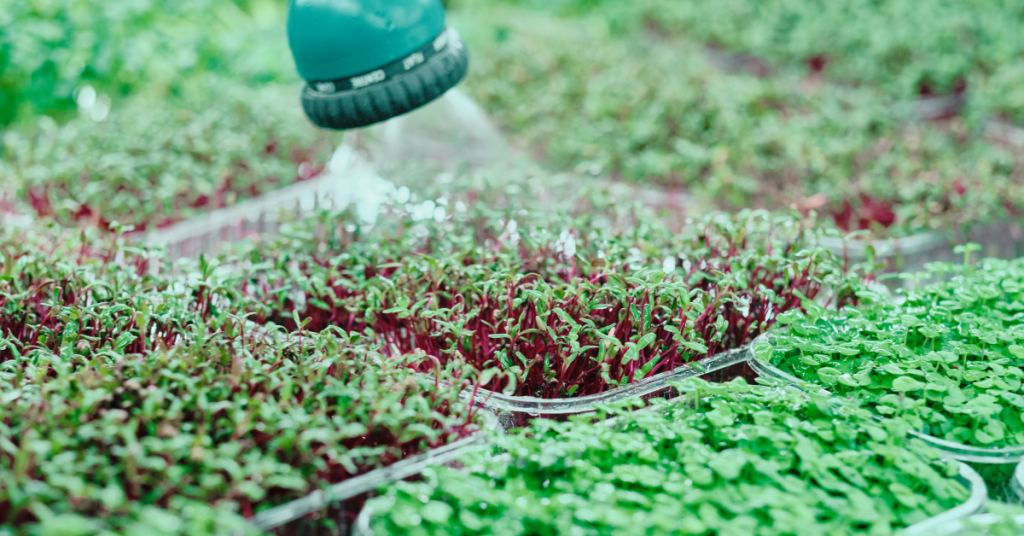
Seeds to Sprouts
Simply put seeds into jar and position screening over opening, using an elastic band to hold the covering in place. Fill jar one-third full of warm (about 40°C) water and swirl seeds around for a minute or so. With the covering in place, drain water. Refill jar one-third full of cool water and let seeds soak for four to eight hours.
Next, begin daily regimen of rinsing seeds three times a day at roughly eight-hour intervals. Drain and refill jar with cool water, swirl seeds for about 30 seconds and drain again. Then, invert the jar so screening is at the bottom and rest it at a 45-degree angle in the bowl. Place on the kitchen counter out of direct light (place bean shoots in complete darkness, as they often taste sweeter when they're grown this way). Repeat this process for three to five days.

Simple Sustenance
You can start to harvest your sprouts once they're three to five centimetres long. Rinse and drain them thoroughly and place them in an airtight container and refrigerate immediately; they should remain fresh for up to five days.
Clover, alfalfa, radish, and mustard seeds give rise to the delicious sandwich booster sprouts. Sprouts are one of the most concentrated natural sources of vitamins, minerals, enzymes, and amino acids.
Plants inside the home help bring life to a long winter, if you’re looking for more information – or plants – visit Eising Greenhouse and Garden Centre! 🌱
How To Keep Your Orchid Alive
By Ava Green
Orchids have become very popular gifts, and a great hobby for indoor plant enthusiasts who discover the wide range of colours and shapes available. Orchids are also loved for their long-lasting and exotic blooms.
While some may choose to only enjoy these tropical plants as long as they’re blooming, orchid-lovers look forward to nurturing the plant and encouraging it to flower regularly. It may be a little daunting at first, but once orchids grace you with their stunningly beautiful blossoms, you will find that a little bit of care is very worthwhile!

It’s estimated that there are 25,000 different species of orchids and over 100,000 hybrids! The ones you’ll find most readily in Ontario stores are Phalaenopsis or moth orchid, because it’s fairly easy to grow. Phalaenopsis are the best choice for beginners.

Other orchids you may find easily are Cattleyas (Corsage Orchids), Cymbidiums (Boat Orchids) and Dendrobium orchids.
While all of these may be orchids, they don’t necessarily require the same care, so it’s a good idea to check the tag for the type you have and its specific care requirements. The following is a general guide to light, water, fertilizer, and growing medium for the most commonly found orchids, but it does not apply to all breeds.
Light and Air
For most orchids, light, and lots of it, is the general rule. Place your plants within 3 feet of a window (not to the side) in the sun. South, east, and west-facing windows are all fine for maximizing the light your plant receives.
Orchids also enjoy a breeze or circulating air in your house. They do not like temperature extremes, though 15 to 20 degrees Celsius is safe. Keep in mind that the more warmth and air movement there is, the more often you will need to water your orchid.
Water
A general rule is to use water that is not hard and has not been softened with salt. Salt will kill an orchid. Rainwater, reverse osmosis, or distilled water are good choices. Chlorinated water is not an issue for orchids - high sodium levels are.
The biggest issue many people have is either over-watering or underwatering their orchids. Here is the method we recommend:
Every 5-7 days, place the pot in a container or the sink, then fill it with enough water to cover the top of the pot. Be careful not to let water collect in the crook at the base of the leaves, as standing water will rot the leaves and the plant. Once the plant’s growing medium is thoroughly soaked, remove it from the water and allow the pot to fully drain in the sink before placing it back in its saucer.
We prefer using a container of water rather than the sink, so the remaining water can be used to water other plants.
Here’s the best watering advice we can give you: look at the overall health of both the plant AND its root system. Full, plump leaves and vibrant, green roots indicate that your plant is getting enough moisture. Puckered leaves and a silver sheen on the roots indicate insufficient water. Mushy, brown leaves and roots are signs of rot caused by too much water.

You may hear of another watering method that involves using ice cubes, but it’s controversial and not widely recommended. To quote the American Orchid Society, “Ice is for cocktails, not orchids. Never use ice on tropical plants to water them.”
“Soil” and Nutrients
Most orchids naturally grow high up in trees, where their roots cling to bark and absorb moisture from the air. At home, we try to mimic those conditions, which is why orchids are typically planted in chunky mediums like bark, coconut husk, charcoal, or perlite rather than traditional soil. While many of the roots stay inside the pot, it’s completely normal for some to grow up and over the edge.

These “escapee” roots might look a little wild, but don’t worry, there’s nothing wrong with your orchid. In fact, those aerial roots are a sign that the plant is healthy and doing exactly what orchids do in nature.
It’s worth noting that not all orchids grow the same way. Many, like Dendrobiums, are epiphytic (growing on trees) or lithophytic (growing on rocks), though some orchid varieties are terrestrial and grow in the ground. The good news is that the growing medium your orchid comes in is chosen specifically for that variety, so you can trust it’s in the right environment.
The bark that your orchid is planted in will slowly break down and become mushy. It’s a very good idea to repot your plant every two years.
It’s generally recommended to feed most orchids, and bloom time dictates which fertilizer to use and how often to feed. Begin by using a water-soluble 20-20-20 fertilizer, mixing it at ¼ the amount recommended for other houseplants. Apply this solution every 2 weeks in the summer and every 3 weeks in the winter.

“The orchid, with its many forms, is a reminder that life is full of surprises.” — Leonardo da Vinci.

Lastly, here’s an orchid fun fact: While we have been talking about tropical orchids in this article, there are also orchids that grow right here in Ontario! That’s right, there are over 50 species in this province, including the much-loved Pink Lady’s Slipper (Cypripedium acaule).
Resources for more detailed and specific information:
Toronto Master Gardeners - https://www.torontomastergardeners.ca/gardeningguides/growing-orchids-a-toronto-master-gardeners-guide/
Canadian Orchid Congress - https://canadianorchidcongress.ca/basics/growing-orchids/
American Orchid Society - https://www.aos.org/orchid-care/indoor-orchid-care
Ontario Wildflowers - https://ontariowildflowers.com/main/group.php?id=18
By: Dave Zeldon and Ely Schweyer
Let’s get in depth about planting trees too deeply!
Sometimes homeowners find that their newly planted trees start showing signs of stress and become unthrifty a little while after planting, and soon their investment is altogether lost when the plant just dies. Often when we’re asked to inspect a tree in poor health, we know what to suspect.
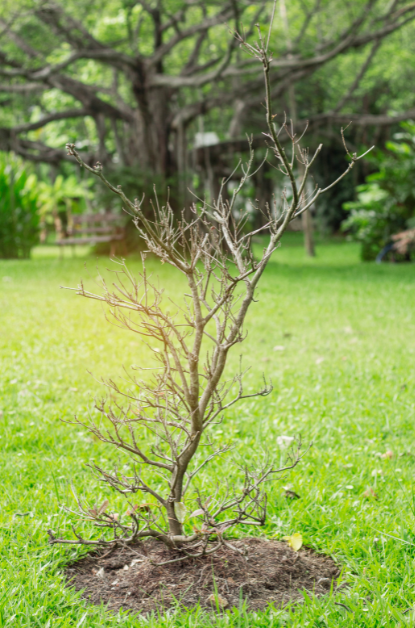
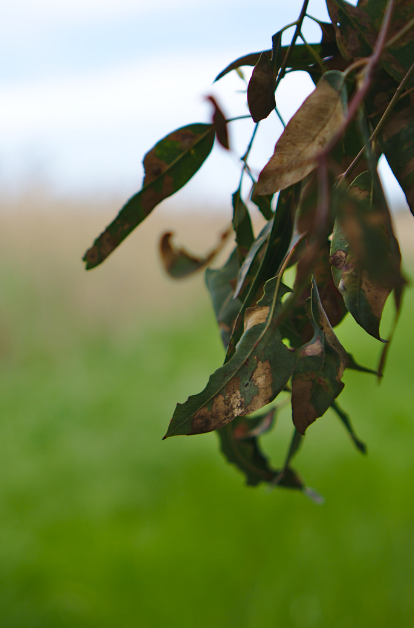
Although not readily apparent at the time of installation, the long-term effects of improperly placing the root system in the planting hole are substantial. The poor tree health that results manifests itself as reduced growth rate, atypical leaf size and colour, and increased disease susceptibility. Trees in really poor condition exhibit decay, cracks, and excessive deadwood. Sometimes trees show signs of stress within the first year of planting, but it usually takes several years for the problem to rear its ugly head.
The most common reason? Many trees are simply buried too deeply causing the tree roots to decline in health, as they cannot get the vital oxygen from the air that they require to live.
Putting Down Roots
The width of the hole your tree will call home should be at least two times the diameter of the root ball, container, or in the case of bare root trees, the spread of the roots. This will provide the tree with enough worked earth for its root structure to establish itself.
For tree roots to grow vigorously, they require water, oxygen, and warmth. An oxygen level of 25% of the soil volume is considered good for root development.
At a 5% oxygen level, growth stops, and at 2%, roots decline and die.
Since tree roots naturally grow quite shallowly in the soil profile, buried root systems are unable to obtain adequate soil oxygen and water. As a survival response, trees work to get roots closer to the soil surface where there is a more reliable source of both. The energy that a newly transplanted tree should use to overcome normal transplant stress is instead used just to survive.
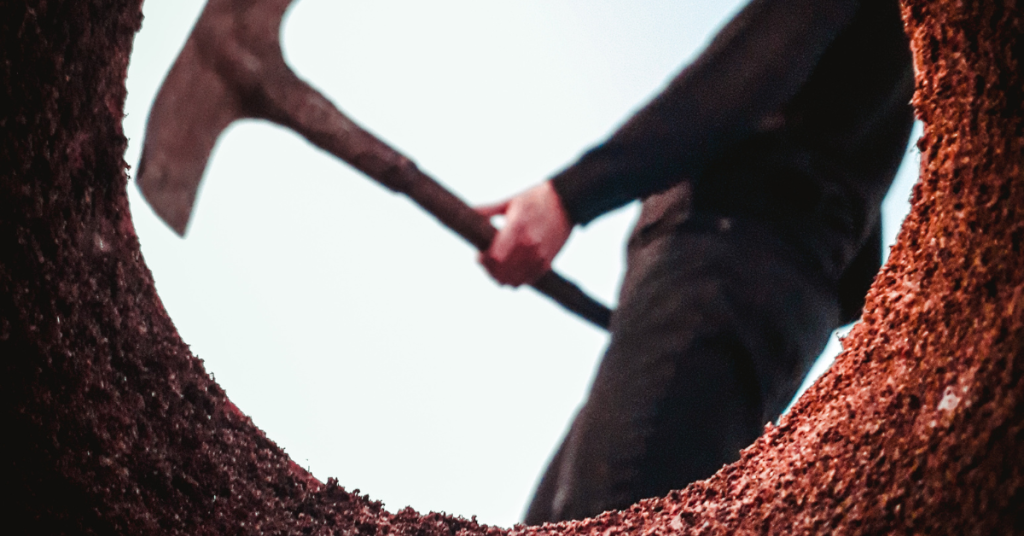
The tree expends its energy either by forcing its roots to grow upward or by creating totally new roots from dormant buds on the buried trunk, wasting all its prior growth. Some plants can survive being buried too deeply and live normal lives after developing a functional root system, others begin a long, slow decline of health resulting in either premature death or sudden failure during wind or ice storms. Let’s not risk it!
How Do I Know How Deep to Plant?
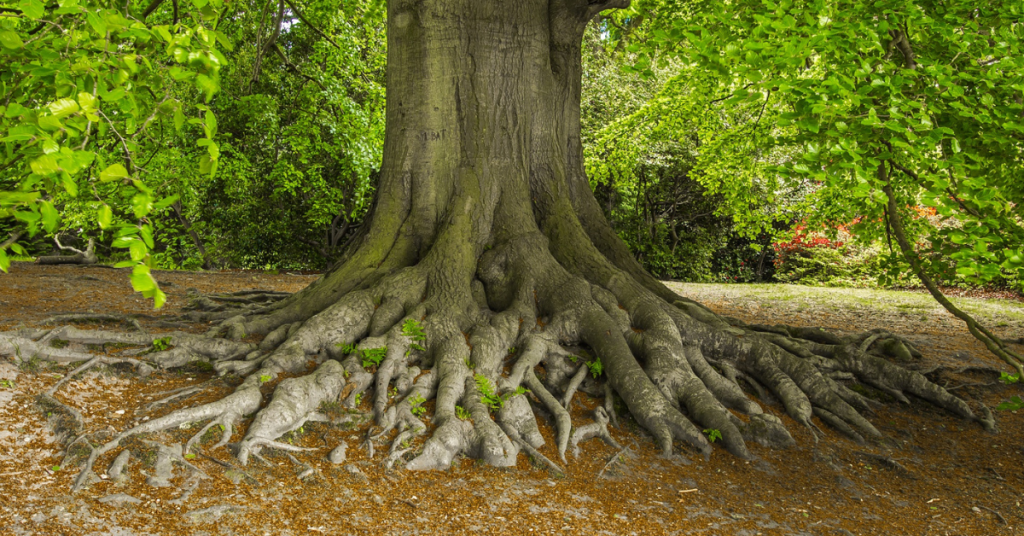
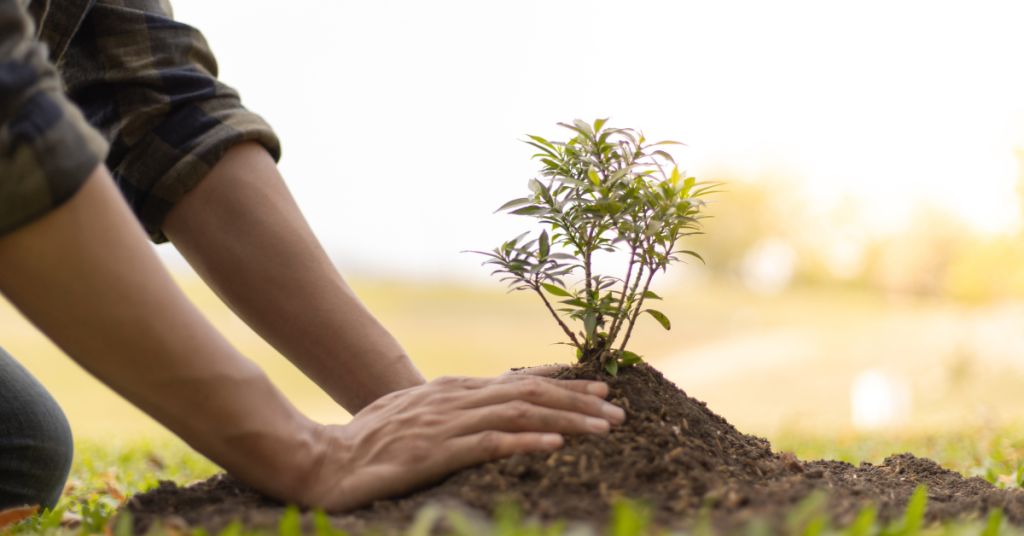
If you want your new tree to not only survive, but thrive, it needs the best start possible; it is very important that the root collar flare be visible after planting. The root collar is the part of a plant where the stem and root system meet, "flaring" where it transitions between the stem wood and the roots. Always make sure that the root collar flare is visible after planting. If settling occurs, reset the tree to the proper depth.
👉 Note: The backfilling soil should be a mixture of the original soil with composted manure or topsoil and bone meal.
But I Did Leave the Root Collar Visible… When I First Planted It
It has been observed that many times after a perfect tree planting, the homeowner then decides to build a raised-bed garden around the tree (thus burying the root collar flare – we’ve found root collar flares buried to 24 inches in mulch!) only to find that within a year or two, their young tree is dead or dying.
A common practice, often referred to as ‘volcano mulching,’ also contributes to this problem. In addition to subjecting trees to the problems associated with planting too deeply, heat from the composting mulch can literally cook a tree's trunk.
So, What is ‘Planting Proud’ Then?
The transplanting rules are amended if planting in the heavier clay soils where the practice of planting your new trees "proud" is advised. Planting proud essentially means that the root ball is left higher out of the ground level, producing a hilled effect. The soil that is normally used for back-filling is used to help to create a mound. Planting your trees this way in poorly draining clay soils prevents the ground water from collecting in an otherwise deep hole and drowning the roots of your new planting.
But, as a general rule, trees should be transplanted no deeper than the soil in which they were originally grown, and the soil level shouldn’t rise after planting. Two to three inches of wood chips is the optimum depth to mulch - and keep it an inch or two away from the trunk. If it is really desired to have the tree as a focal point in this newly built garden, then possibly a 3 foot well could be made around the tree to keep the root collar flare open to the air.
So, remember to give your tree a strong start and long life by not planting too deeply, but by leaving that root collar flare exposed! We hope these tips can help you encourage the longevity of your new tree. For more information - and trees - visit our Trees & Shrubs section at Eising Greenhouse and Garden Centre. We hope to see you soon!
You read that right. Easy houseplants exist, and there are some very cool varieties too. Easy does not mean boring!
Plenty of tropical plants are forgiving and require little fussing—you just need to know which ones and how to care for them.
These plants are generally resilient and forgiving of occasional neglect, making them perfect choices for new growers. When choosing any houseplant, consider your home's lighting conditions and the care you can provide.
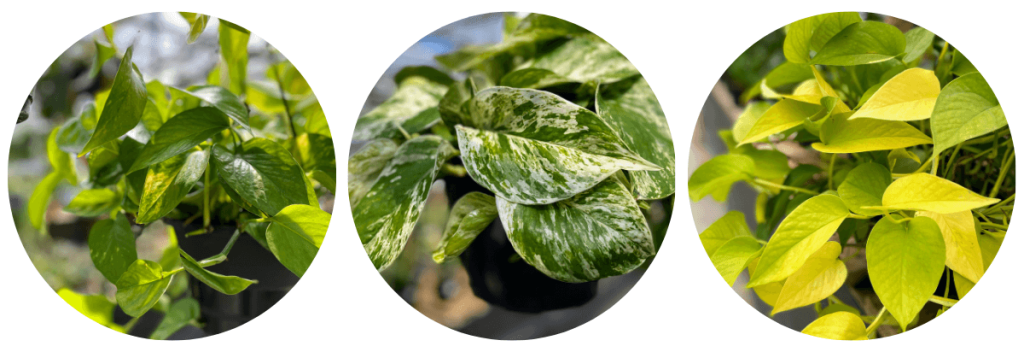
Pothos
Pothos vine is one of the easiest houseplants to grow and is perfect for beginners.
Bright and indirect light is what this plant loves, but it will also grow in low light - just not no light.
Allow the soil to dry out between waterings. Too much moisture will cause the roots to rot. The plant’s leaves will droop and let you know when it needs a drink!
Feed Pothos with a balanced fertilizer monthly in Spring and Summer only to keep it thriving.
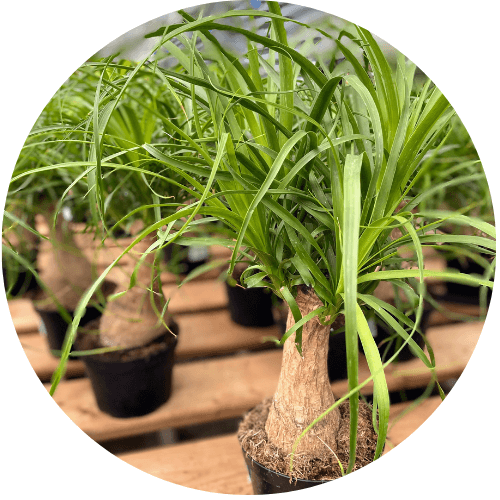
Ponytail Palm
Give this plant the brightest location in the house. It loves full sun or bright, indirect light. They will survive to 10 Celsius, but this plant loves warmer temperatures.
Be careful not to overwater Ponytail Palms. Because water is stored in the bulbous stem, they only need a drink every 7 to 10 days during the summer. In the winter, cut back to monthly watering.
Use a slow-release pellet fertilizer in the Spring for carefree maintenance.
Trimming the tips off damaged leaves will keep them healthy.
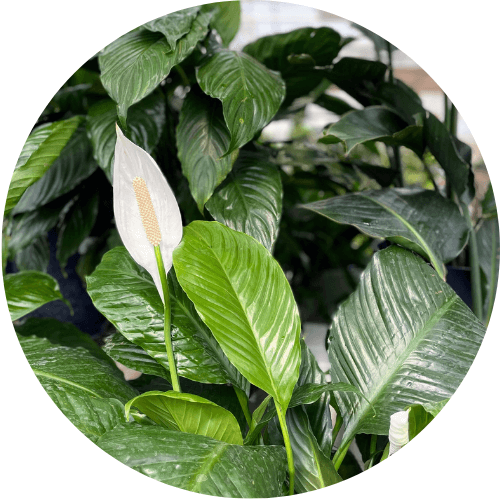
Peace Lily
This plant loves filtered or indirect sun (place it a few feet away from a sunny window or in an east-facing window) and moderately moist soil.
While Peace Lilies love moist and warm conditions, keeping them under-watered is best. Use your finger to check the soil’s moisture. Water this plant when the top inch of soil has dried out.
Use slow-release fertilizer pellets in the Spring or feed the soil weekly during the summer with liquid fertilizer. This plant enjoys frequent feeding during the growing season.
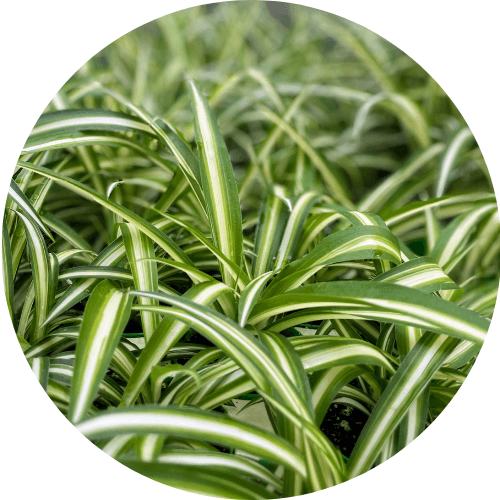
Spider Plant
Spider plants are straightforward to grow. They prefer an area with partial sun or semi-shade that is warm.
Keep the soil lightly moist, not soggy!
Use an all-purpose fertilizer during the summer months. Trim off any brown leaves as needed.
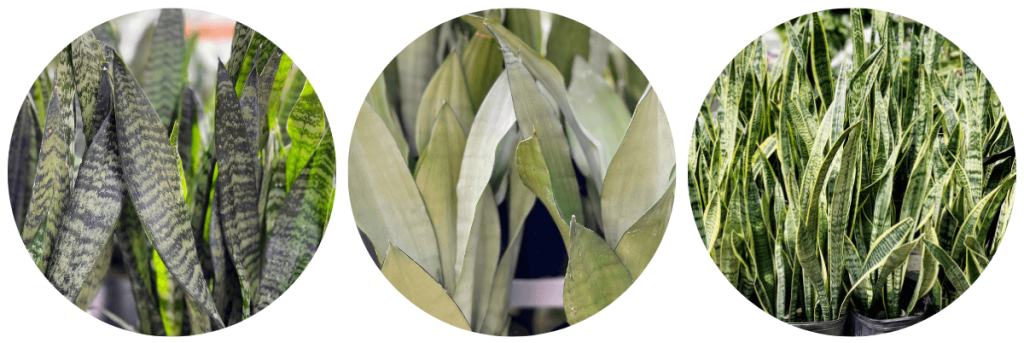
Snake Plant
Indirect sun (a few feet away from a sunny window) or a couple hours of early morning sun will keep this plant happy. These tropicals thrive in warm temperatures with no cold drafts.
Do not allow your Snake plant to sit in water! Water deeply, then let it drain only when the soil is dry.
A 10-10-10 balanced fertilizer at half strength once in the spring and again in mid-summer is all the plant food it needs!
One Final Tip
Most houseplants do not like chlorinated or treated tap water. If possible, water your plants with filtered, distilled, or rainwater. If you only have access to tap water, allow it to sit in an open container for several days until the chlorine evaporates.
Following these simple guidelines will keep your plants healthy, and in return, they will provide natural beauty to your home.