
The sight and sound of water in the garden can bring life to its surroundings and a sense of calm that we all seem to need right now.
A water garden can be created in many forms with varying degrees of simplicity or complexity. A small water feature in a half-barrel-sized container on a patio. A small to medium one in a preformed fibreglass pool or pond in the ground. An old stock tank or bathtub. A pool liner laid over a hole dug into the ground. A natural pond fed by springs. A fountain, stream or waterfall for moving water. Planning is key, but there are endless options! Just be sure to check any local zoning restrictions before you build.

Whatever the pond form, water can immediately attract nature even in the middle of an urban space. Dragonflies, birds, and frogs will show up to sip, dip and enjoy!
Water gardens also provide a space to garden with plants that bring unexpected beauty and intrigue. It’s a whole new world of native and tropical, annual and perennial plants that exist in the water or on the edge of a pond.
Three Categories of Water Garden Plants
1. Underwater or Submerged Plants
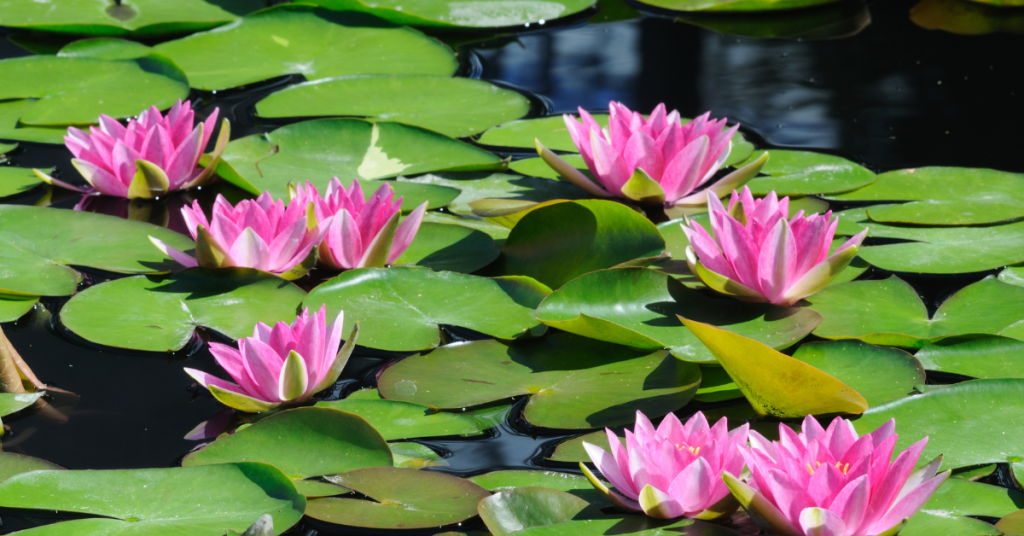
Deep-water plants with floating leaves and flowers, like water lilies and lotus, are included in this group. Often the showy main feature of a water garden, water lilies come in various sizes and colours and produce blooms from late Spring to early Fall. Hardy lilies thrive year after year with very little effort. Full sun and water 18 to 36 inches deep will give a water lily the conditions it needs.
Oxygenating plants are not showy but are also found underwater, and they are essential. Anyone who owns an aquarium knows the importance of good oxygenators to improve water quality. They compete with algae for nutrients and win the battle each time. Elodia canadensis looks a little bit like seaweed, but it’s a hardy and vigorous water perennial here in southern Ontario, which makes it a very popular choice.
2. Floating
Duckweed and Water hyacinth are examples of plants that float freely on water. No soil is required! While Water hyacinth is a problematic invasive perennial in southern U.S. climates, here in Ontario, it’s a carefree annual and probably one of the most beneficial plants for a garden pond. Water hyacinths provide much-needed shade (algae requires sunlight to thrive), and the roots absorb excess nutrients, helping control algae and purify the water. If that’s not enough, its shiny green leaves can stand up to 4 inches out of the water, and they surround a spike of lovely blueish-purple flowers. It also provides shelter for fish.

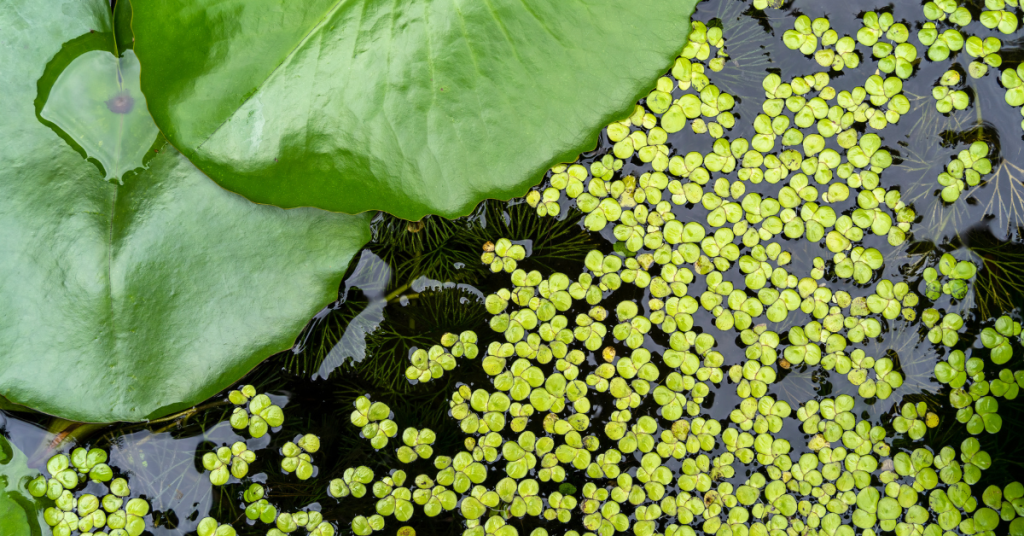
3. Shallow water or Marginal Plants
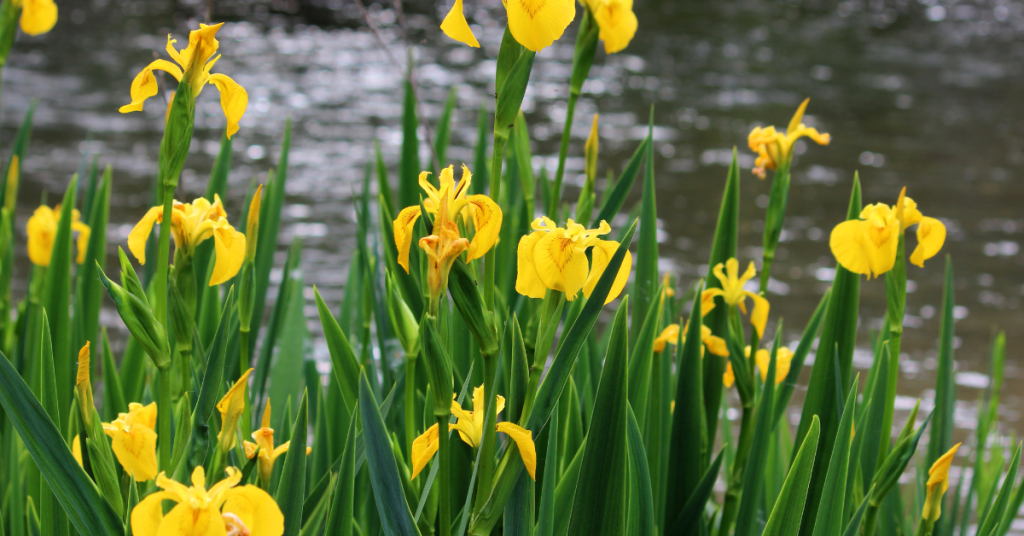
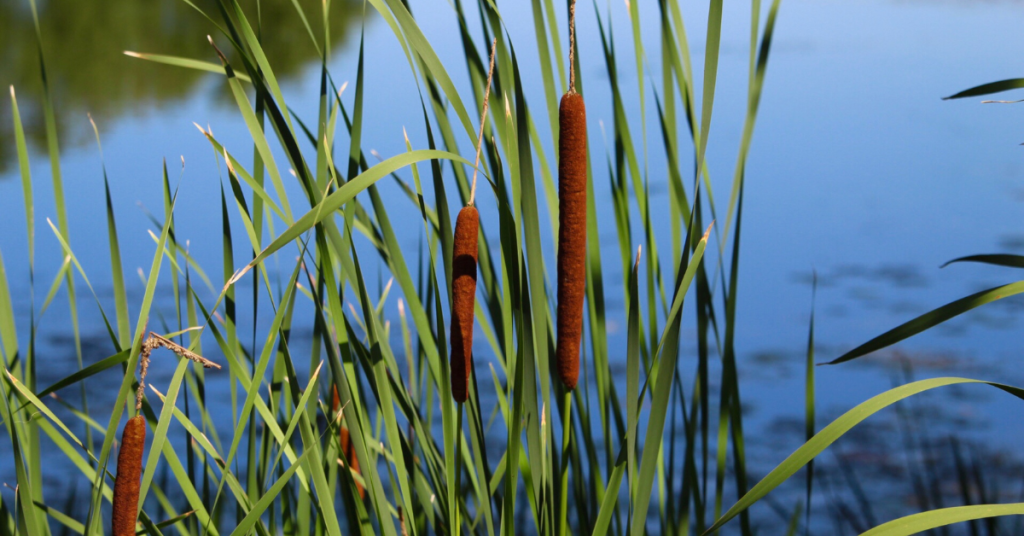
This is the bog folks! The plants grown here are also known as marginal plants. While the term bog doesn’t conjure dreamy Monet water lily paintings, the plants in this area of a pond or wetland can be beautiful, interesting and beneficial. Marginal plants and moisture-loving perennials, grow in the soil just below the water's surface or in consistently wet soil. They are beneficial because they keep water clear by keeping algae at bay. However, as previously mentioned there are many beautiful and interesting plants that grow on the pond's edge.
Here are just a few:
- Cattail - Hardy
- Water Iris - Hardy
- Variegated Sweet Flag - Hardy
- Corkscrew Rush - Hardy
- Pickerel Rush - Hardy
- Dwarf Papyrus - Tropical
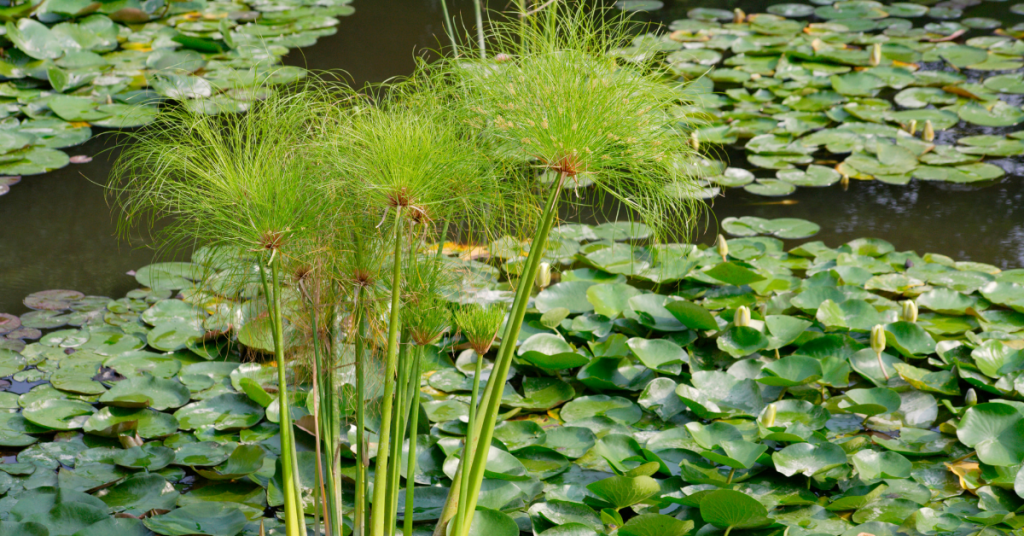
Growing plants in and around a water garden can be a very satisfying project. Curious guests will love to chat about it and ask questions making it a great conversation starter. It also provides a peaceful spot in your backyard to relax and watch the dragonflies whiz by!
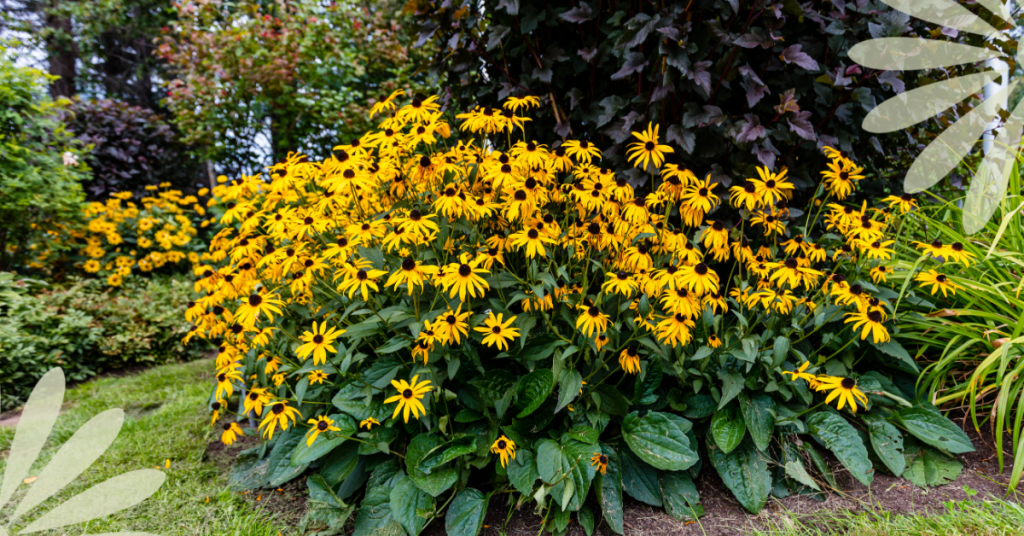
During the dog days of summer, having a resilient, dependable, and beautiful perennial flower in your garden is terrific. Meet the Black-Eyed Susan. They are quick to establish and mature, and perfect for a perennial border, cutting garden, or naturalized garden. Depending on the variety, they will grow 1-3 feet tall and spread about 2 feet wide, making them a show-stopping spectacle!
If that and the cheerful, dark-centred, golden-yellow, daisy-shaped flowers aren’t enough to draw you in, here are more reasons we love these plants!
Long Blooming
Black-Eyed Susan (Latin name: Rudbeckia) is a prolific bloomer whose flowers can last from July to October. At a time in the season when many other flowers can look weary, Rudbeckia is a shining star. Its flowers grow on sturdy stems, which adds to their resilience.

Easy to Grow
Rudbeckia are robust! They are drought—and heat-tolerant and generally do well in hard-to-grow locations. Once established, they do not require frequent watering. Rudbeckia hirta is an Ontario native plant, and exceptionally hardy.
Plant Black-Eyed Susan in full sun to partial shade and almost any type of soil. They are adaptable, generally trouble-free and do not require any extra care.
Pollinator-friendly
We aren’t the only ones who love Rudbeckia; butterflies, birds and bees do, too. This makes Black-Eyed Susan a perfect partner for other pollinator-friendly plants like Monarda (aka Wild Bergamot and Bee Balm), Gaillardia (Blanket flower), Yarrow and Echinacea (aka Coneflower).
Who doesn’t love Black-Eyed Susans? Because of the course hairs on the stems, this is a plant that rabbits and deer don’t care for.
Black-Eyed Susan is perfect to grow in a border, bed, planter, or in a field as a mass planting. It’s resilient, attractive, low maintenance and a beneficial addition to any garden!
The much-loved boxwood hedge has been a classic for centuries and is widely used in gardens worldwide. Neatly trimmed and manicured boxwood becomes the framework for containing everything from roses to riots of perennial blooms. From extensive estate gardens to small and modest yards, boxwood is a versatile shrub that earned its place by being easy to care for and prune.
Unfortunately, this staple shrub has trouble brewing, which impacts its leafy lifespan.
Since its first appearance in Ontario in 2014, the Boxwood Blight has become a significant concern for gardeners. However, the University of Guelph is not sitting idly by. They are actively researching this issue and working hard to find solutions to protect beloved boxwood shrubs.
Sometimes, being popular isn’t all it’s cracked up to be. Because Boxwood is a widely planted favourite, a new pest attracted to it, the Boxwood Moth (from Asia), has easily spread and is infecting shrubs.
Beautiful Boxwood Alternatives
Boxwood Blight and Boxwood Moth do pose severe threats to Boxwood shrubs, but here's the good news—many shrubs make great alternatives! Using a similar shrub is one of the simplest solutions to Boxwood's issues. You have lots of options to protect and diversify your garden.
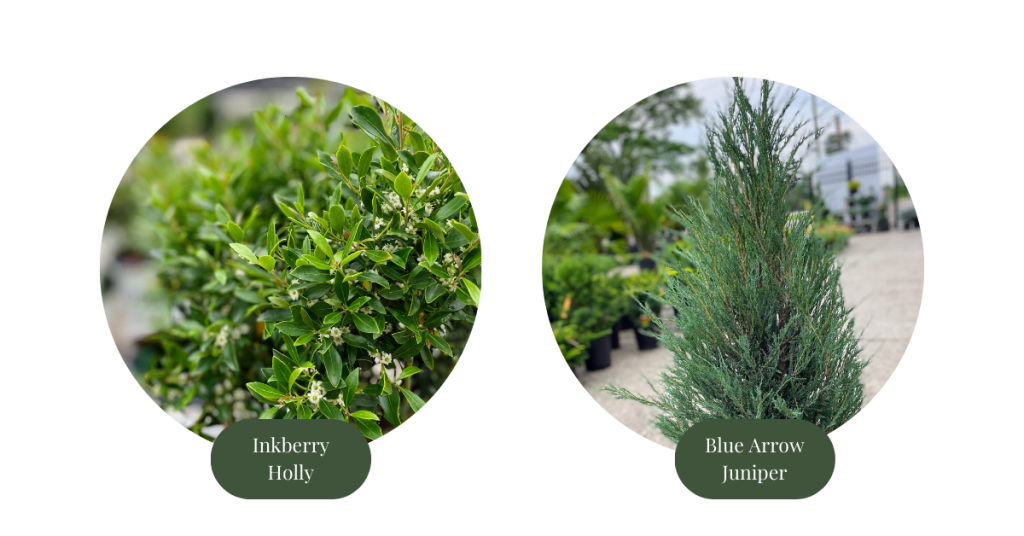
Inkberry Holly
The closest Boxwood lookalike is the Inkberry holly. It naturally grows in a rounded evergreen mound, can be trimmed like a traditional boxwood hedge, and has other enticing bonuses! Not only is it native to North America, but unlike boxwood, it blooms. In the spring, Inkberry holly is covered in showy white flowers, making it a standout alternative to boxwood. Here at Eising Greenhouses, look for Gem Box Inkberry Holly.
Upright Junipers
Blue Arrow and Moffat Blue Junipers make beautiful hedges and stand-alone accent trees. Both have an elegant upright form, striking blue evergreen foliage, and silvery blue berries from late spring to late fall. If that isn’t enticing enough, add drought tolerance to the list of features!
Showy Shapes and Standards
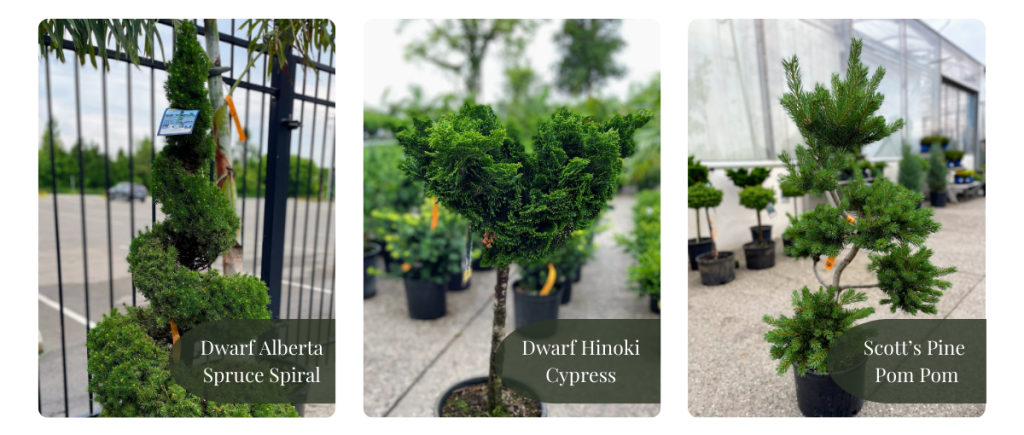
Consider a standard evergreen or a dwarf variety that has been pruned and sculpted to become a piece of art if you want to add something even more unusual. What’s a standard? It’s usually a single trunk with a plant at the top, like a compact evergreen shrub.
Standards and shaped dwarf evergreens can make a bold statement or add wonderful whimsy to your garden. We have lots to choose from, but here are a few examples to get your imagination going!
When it comes to replacing boxwood, there are many creative solutions and beautiful plants to choose from!
For more information:
Landscape Ontario - Boxwood Blight and Boxwood Moth
Toronto Master Gardeners - Rethinking Boxwood
Canada.ca - Box tree Moth
You're probably not alone if you’ve never heard of Haskap berries. Haskap, Honeyberry, Swamp Fly Honeysuckle and Edible Honeysuckle are just some of the many names for one outstanding fruit shrub! Let’s stick with one name, Haskap.
Nutritious and Delicious
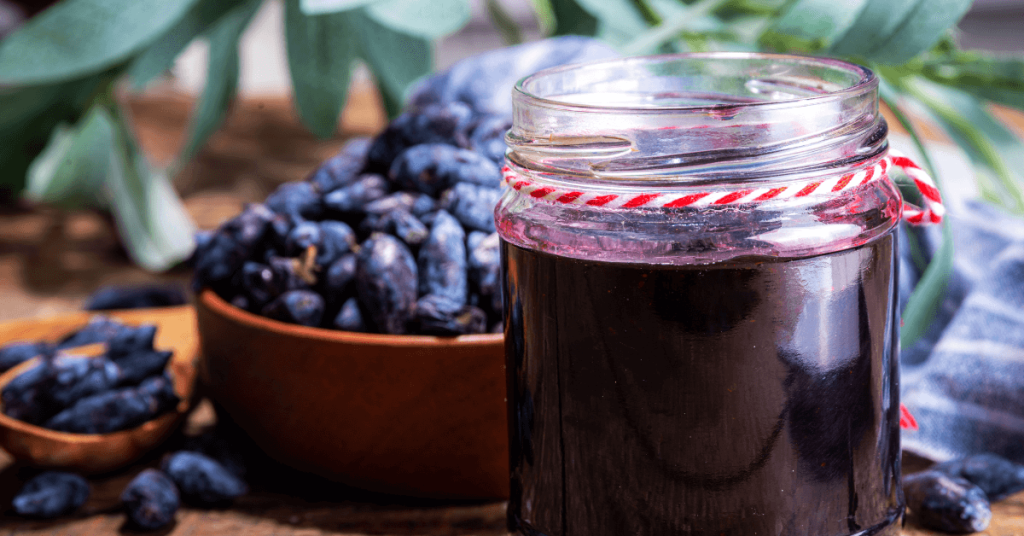
Haskap fruit looks like an elongated blueberry but has a unique taste similar to that of a raspberry. It’s juicy, flavourful, and full of nutrition. This berry is high in vitamin C, A, potassium, and fibre and has triple the antioxidants found in blueberries!
Growing Haskaps
Unlike blueberries, Haskaps do not require highly acidic soil or any special soil at all.
Haskaps are drought tolerant, extremely cold tolerant, need very little pruning, have no thorns and don’t sucker. This means they are well-behaved and don’t spread beyond their globe-shaped bushes.

To produce fruit, Haskaps need:
- at least one other Haskap shrub nearby
- the shrubs must be of at least two different varieties
- the varieties must bloom at the same time for cross-pollination to take place
Haskaps do not like chemical fertilizers. Compost or composted manure near the base of the shrub will provide all the nutrients new plants need, and an application of the same each spring afterward.
For optimal fruit production, Haskaps love full sun and open space. Their shallow roots do not like to be crowded by weeds or other plants. A wide circle of mulch should be placed at its base to prevent weeds or other plants from growing around the shrub. However, be sure to keep the mulch away from the stems. That tip is important for all mulched plants, trees, and shrubs.
Harvest Time
Before the fruit on your Haskap shrub begins to form, it’s a good time to cover it with bird netting. Birds love Haskap berries as much as we do! Even if the fruit is under-ripe, birds will eat it.
Figuring out when the berries are ripe is a bit of an experiment, as they can be dark blue on the outside for several days before they are fully ripe on the inside. Because the fruit does not ripen after picking, it is best to taste a berry to see if the inside is still green. Ripe fruit will be completely purple on the inside.
Haskaps may begin producing a few berries their first year, and the amount of fruit will increase yearly. A little initial patience will pay off in spades because a mature shrub will produce 6 to 10 pounds of fruit—enough to eat, freeze, make jam, ice cream, juice, wine, or maybe even share!
More Resources
Growing herbs can be oh so satisfying because they’re low-maintenance and provide abundant flavours. But did you know that they can also be greatly beneficial companions to many other plants in your garden?
Companion planting is a practice that organic gardeners have been utilizing for generations. It combines vegetables, fruits, flowers, and herbs grown together as part of a supportive ecosystem. More recently, scientific terms like intercropping, interplanting and polyculture have been introduced but it all describes a practice of growing multiple types of plants that support each other in building a healthy garden culture. Growing certain plants together also makes them more resilient and resistant to pests.
Why Plant Herbs?
Herbs are great supports for many other plants including other herbs, vegetables, and fruit. They can improve the flavour of neighbouring plants, discourage unwanted pests, and attract beneficial insects. The following is a compilation of some favourite herbs to include in the garden.
Basil
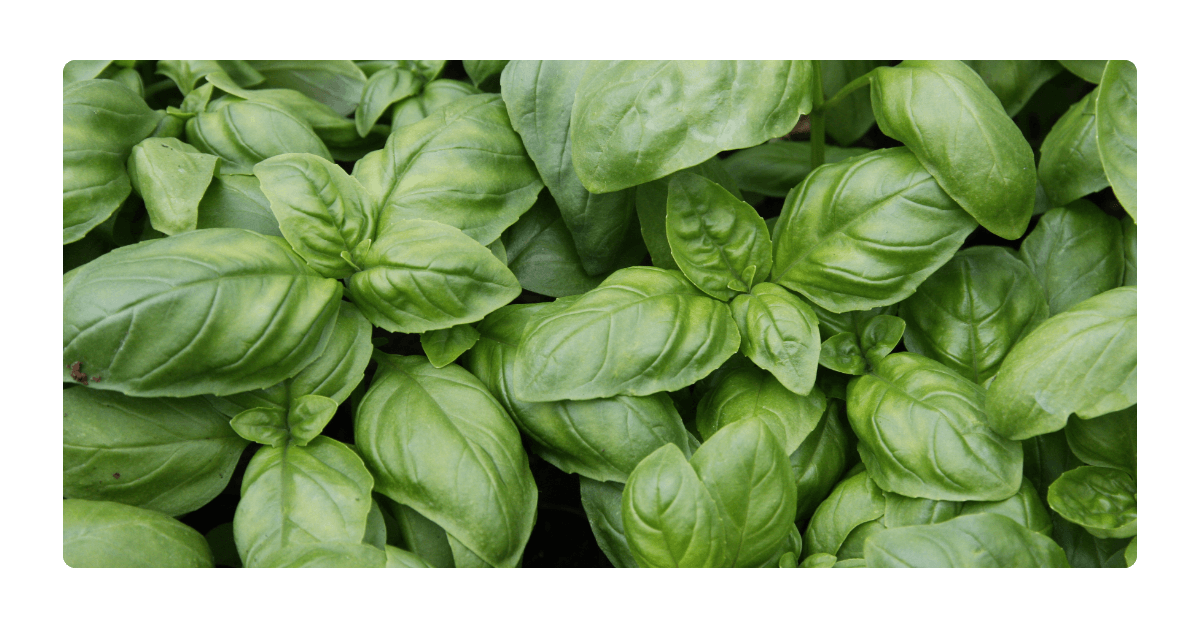
Tomatoes love Basil, which is said to improve their flavour and it will also benefit asparagus, beets, carrots, turnips, peppers and oregano.
Aphids, mites, mosquitoes, flies, thrips, asparagus beetles, and moths that lay tomato hornworms are some of the pests that Basil potentially repels. It also attracts bees to improve pollination of nearby plants.
Mint
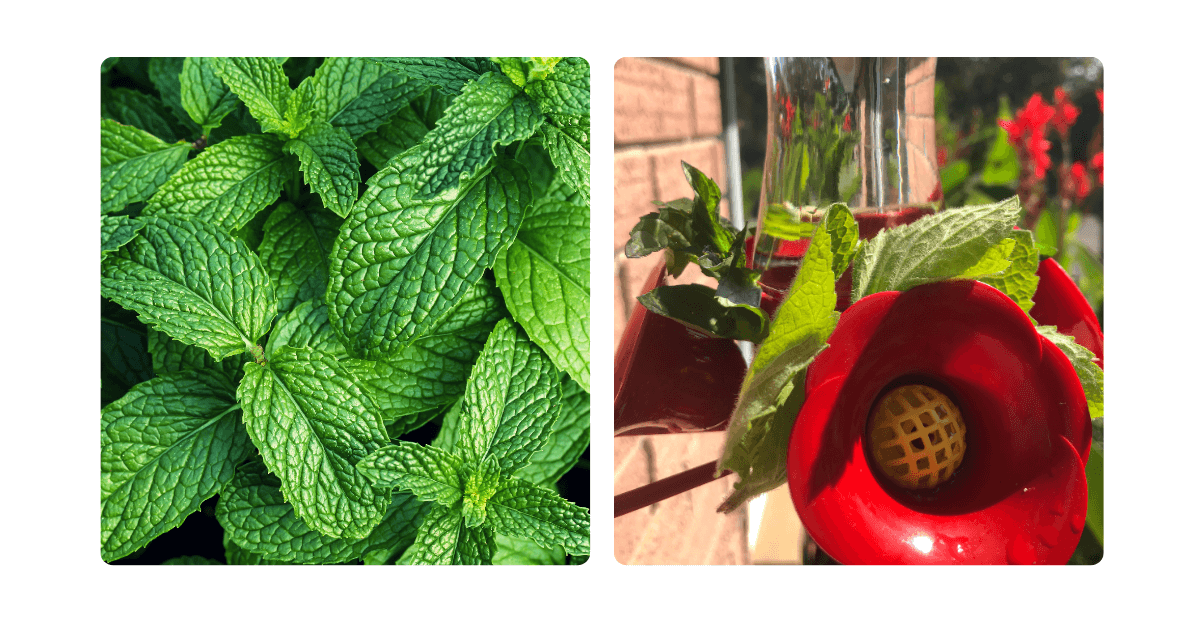
Mint is a great companion for beets, eggplant, lettuce, peas, squash, broccoli, cabbage, cauliflower and most other vegetable plants and herbs. This refreshing green repels a host of pests as well. Ants, mosquitos, spider mites, aphids and other insects steer clear of mint. Placing fresh mint on a hummingbird feeder will also deter wasps. At the same time, mint attracts many beneficial insects like ladybugs and hoverflies.
Keep mint in it’s own pot though or it will spread through the garden quickly!
Sage
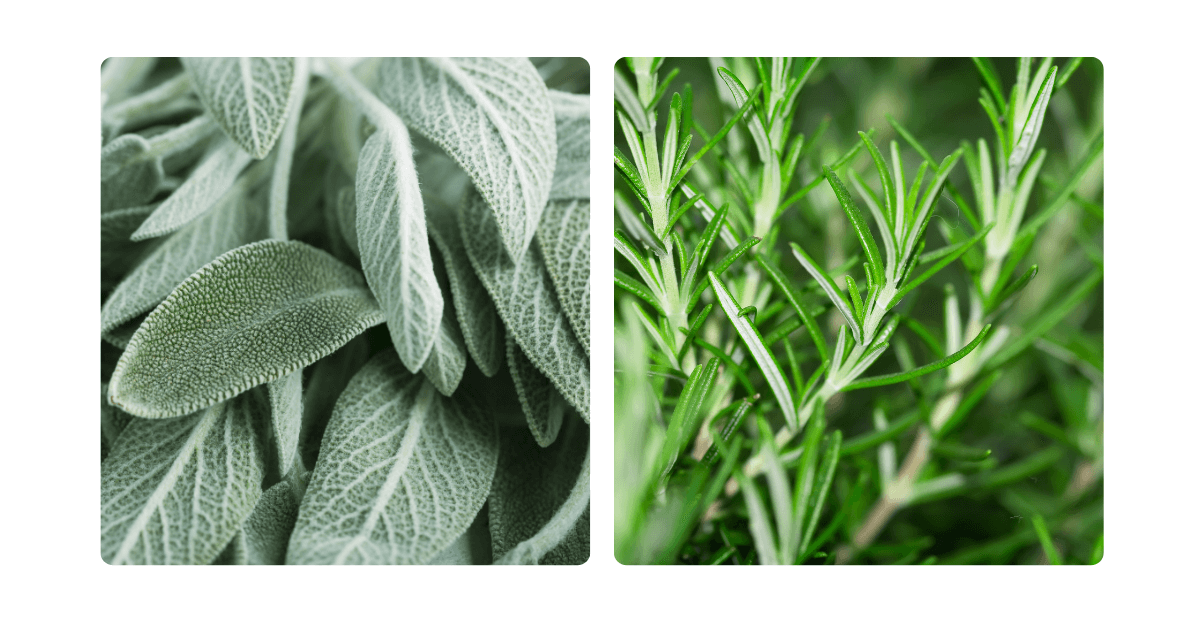
Keep Sage near your carrots and cabbage to discourage carrot flies and cabbage moths. Sage and Rosemary make great companions in the garden.
Rosemary
Brassicas like cabbage, kale, cauliflower and broccoli, as well as carrots, peppers, beans and sage are said to appreciate a Rosemary plant nearby.
This tasty herb can ward off a variety of pests like mosquitos, cabbage moths, slugs and snails.
Cilantro
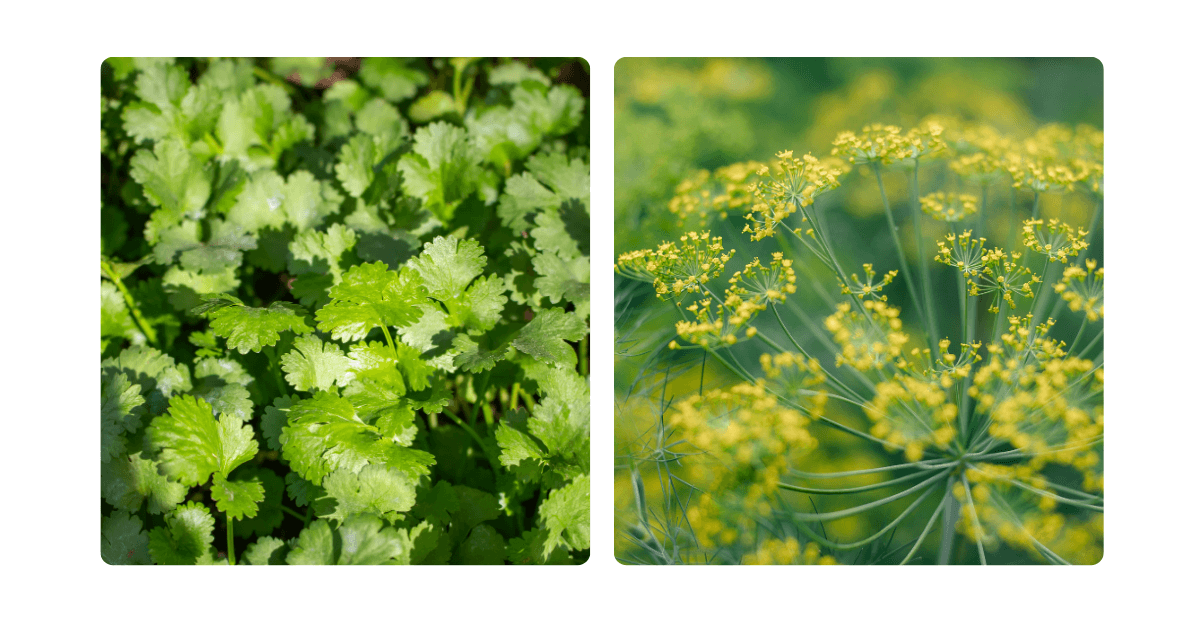
Aphids and spider mites don’t like cilantro but dill and spinach do!
Dill
One of the benefits of dill is that it attracts many beneficial insects like hoverflies, bees and parasitic wasps. This herb also draws the attention of ladybugs which eat pests like aphids and spidermites. Dill repels cabbage loopers as well.
Cucumbers, onions, corn and brassicas like cabbage, brussels sprouts and broccoli will benefit from dill near them but keep it away from cilantro and carrot so it doesn’t cross polinate with them. Tomatoes and dill don’t do well together either.
Save Some Space
Even if certain herbs don’t appeal to your taste buds, it’s worth including them in the garden for all of their neighbourly qualities. If you haven’t tried companion planting before, consider tucking an herb or two into your garden this season!
Sunny, fresh fashion trends are brightening the 2024 wardrobe landscape right now, and it is inspiring! Dreamy colours and bold florals are blooming inside Sassyfras Boutique at Eising Garden Centre. Take a look at what’s new for May and June 2024!
Bloom Boom
While there are plenty of natural colours and fabulous flowers in the greenhouses, the bold flower and foliage patterns in intense shades in Sassyfras are blooming gorgeous. Sassy floral patterns and colours are hot, hot, hot!


Flattering Frocks
Looking for a dress that you’ll want to wear all summer long? Let’s face it, nothing is cooler or more carefree on a hot day than a great dress. Check out the cheerful patterns, and a range of fabrics and fits for every occasion.
Harmonious Hues
If you've been wearing monochromatic outfits in black-on-black, try switching to pastels or the very popular primary blues available now. Pick a tone or two you love and wear it from head to toe.


Sandy Shades
For a more classic look, choose staples in neutral shades like sand, white, caramel and coffee. Layer similar colours for a polished and subdued palette that conjures images of the beach…and the coffee shop!
Keep Your Cool
Comfortable, casual and timeless, linen fabric is a popular choice for warm weather clothing. A natural fibre that’s derived from the flax plant, it’s been manufactured for thousands of years. Come in and check out the effortlessly chic brand new linen styles in store. These durable, breathable and lightweight linen creations will soon become your favourites on the hottest days of the summer.

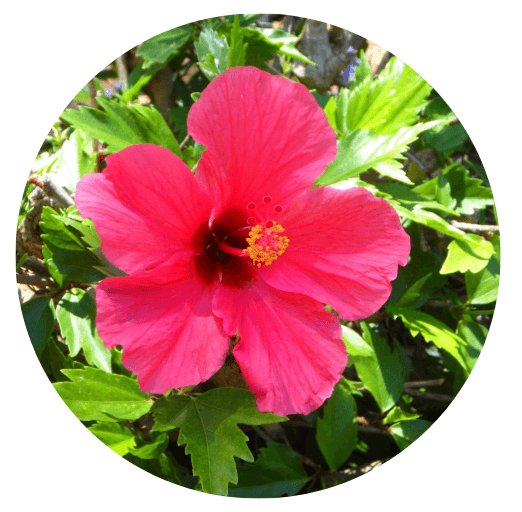
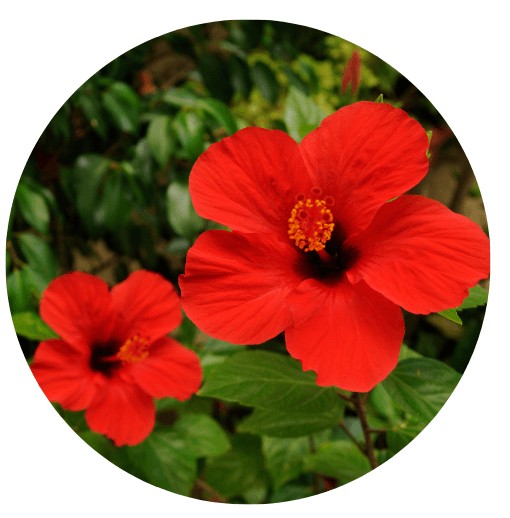
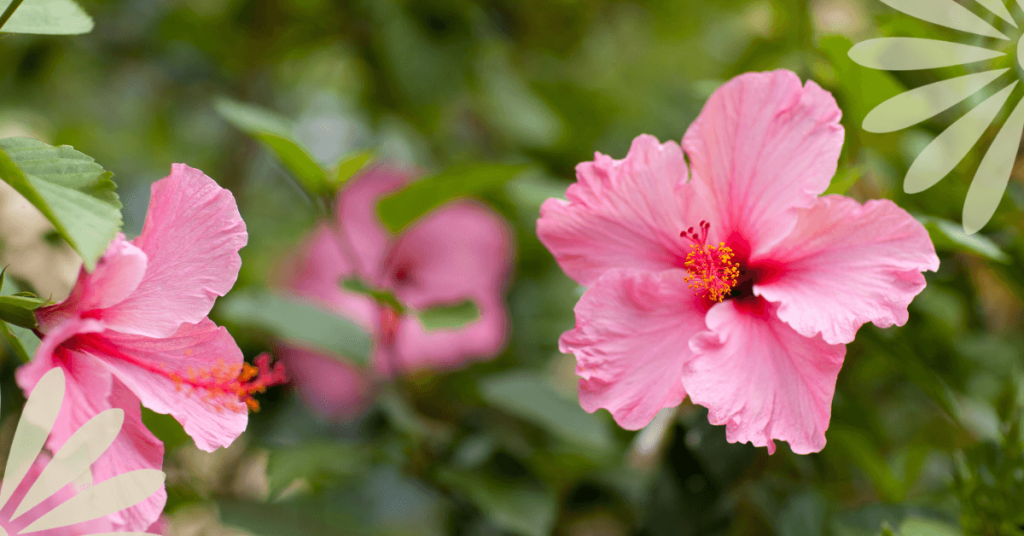
Tropical Hibiscus evokes all of the best descriptions imaginable when you see one. Showy, stunning, exotic, vibrant, impressive, large, lush, colourful and flamboyant flowers grace branches of dark, glossy, green leaves. It just seems unreal! This plant conjures up images of the tropics, but it will grow in a pot on your sunny patio or inside your home!
Tropical Paradise
If you’re looking to create your own tropical paradise, this surprisingly low-maintenance plant is a great addition. Its showy trumpet-shaped blooms make it a great focal plant and the wide variety of shapes and colours available is astounding!
Tropical Hibiscus flowers are rich in nectar, attracting hummingbirds, bees, butterflies and other beneficial pollinators to your garden.
Planting tropical Hibiscus in a pot makes it easier to move the plant to a sunny, warm location, which provides the conditions for it to thrive. Be sure to ease your plant outside by hardening it off though. If it’s been indoors or in a greenhouse, give it time to acclimate, or it will become scorched or worse, die. Hardening off is a simple process of slowly easing your plants into life outdoors.
Blooming Good
Tropical Hibiscus will bloom all summer long here in southern Ontario when provided with sun, warmth, ample water and nutrients. During the growing season, water the soil regularly to keep it evenly moist. While it loves full sun, the sun’s rays can be dehydrating. Hibiscus is a thirsty plant when it’s in bloom so don’t let the soil completely dry out. Of course, there’s a limit to how much water you use. Too much water will cause the roots to rot. The key word is “moist” - not monsoon wet! Using mulch will help to retain moisture in the pot.
To provide your plant with proper nutrition, use a time-release fertilizer in May or a balanced, diluted water-soluble fertilizer like fish emulsion about once a week over the summer months.
Each blossom lasts one day. They are short-lived, but don’t worry - Tropical Hibiscus will produce a succession of flowers during the growing season with ample light, water, and fertilizer. Once a faded bloom wilts, remove it from the plant to make way for the next one.
Looking Ahead
If you’re planning to keep your Hibiscus over the winter, here are a few tips to help.
Before the first frost, inspect the plant thoroughly for any bug hitchhikers or pests like aphids or spider mites. Give the entire plant a thorough shower and then bring it indoors. If you’ve found that your plant needs constant watering and has outgrown its pot, this is a great time for repotting before it comes indoors. Find a pot that is only 1-2” bigger than the pot it’s currently in and transplant it with some fresh, tropical potting mix.
This is another big transition for your plant, and you may find it loses some leaves unless you slowly migrate it from outdoor to indoor conditions. Place your Tropical Hibiscus in a warm, sunny window. Don’t move it to a cold basement right away, even if that will ultimately be its winter home. Just as you hardened it off in the Spring, slowly move it to a cooler location for winter storage if you don’t have a sunny, warm location. Be sure though that it ends up in an area where it’s getting at least 3 hours of direct sun each day.
At this point, stop fertilizing your tropical Hibiscus and reduce the amount of water used. Allowing the soil to dry out between waterings while the plant is dormant and not blooming is okay.
Enough talk of winter! While the weather is warm, pop an umbrella into a fruity summer drink and enjoy your beautiful tropical Hibiscus oasis!
It’s the question we probably hear the most when it comes to flower gardens…”What can I buy that will flower all season long?” While some annuals bloom for a very long time, no plant will bloom from early Spring to late Fall, and no vegetable plant will produce for that duration either. The solution? Succession Planting! It’s a simple strategy that maximizes the time your garden is blooming or producing vegetables.
What is Succession Planting?
Plant early (earlier than you think) and plant things in succession that thrive in the current weather conditions - right up until there is a hard frost. Simply plan to plant another crop or flower once one is harvested or finished blooming. Many gardeners here in southern Ontario wait until the May 24th weekend to plant everything - all at once. Succession gardening staggers planting times so there is a continuous harvest of vegetables or an everchanging series of blooming flowers. While it takes a little more planning, the results are worth it.


A Succession of Blooms
The best way to ensure a parade of colour in your garden is to choose a variety of annuals, perennials, and biennials that bloom at different times. There is a notion that a garden can only have annual flowers or just perennials, but the best results come from a mix of both. You’re allowed to mix them together! Most annuals bloom during the heat of the summer, but perennial flowers can extend the season for you by blooming in early spring or in the fall. A list of perennial bloom times can be found in this Landscape Ontario article to help you choose your plants.
Some flowering plants, like pansies, love cooler weather and are easy to purchase in the spring. A little planning and planting in the fall will provide a flush of colour from Spring bulbs like Daffodils, Crocus, and Hyacinth. Spring bulbs look great alongside early-blooming shrubs or trees like Canada Serviceberry and Forsythia.
April or early May is also an excellent time to directly sow annual flowers like sunflowers, nasturtium, borage, and herbs like cilantro and dill to give them a head start.
Cool Weather Veggies
It’s surprising how many vegetables thrive in cool weather and withstand light frost. Keep tender plants indoors until the third week of April and slowly harden them off, but get outdoors any time in April and begin directly sowing fast-growing cool crops like leafy greens, root vegetables, and some herbs.
Lettuce planted in late spring will tend to “bolt” and taste bitter once hotter temperatures arrive. Lettuce loves cooler conditions. So you don’t have to wait until May 24th to sow lettuce and other vegetables. Which Vegetables? We have a list of examples for you in our article: Starting Seeds Indoors and Cold Weather Crops. Starting early means you can harvest a whole crop of vegetables before you plant heat-loving crops like peppers and tomatoes.
Sow All Season
If you’ve ever been overwhelmed by planting too much of one crop at once, you will love succession gardening. While you may be able to freeze a batch of 2,000 string beans from the entire packet of seeds you planted in one go, sometimes stretching out the harvest is nice. Plant smaller batches of beans, peas, and herbs like cilantro, dill, and basil every three weeks to ensure continuous summer harvests. This approach is also known as interval gardening.
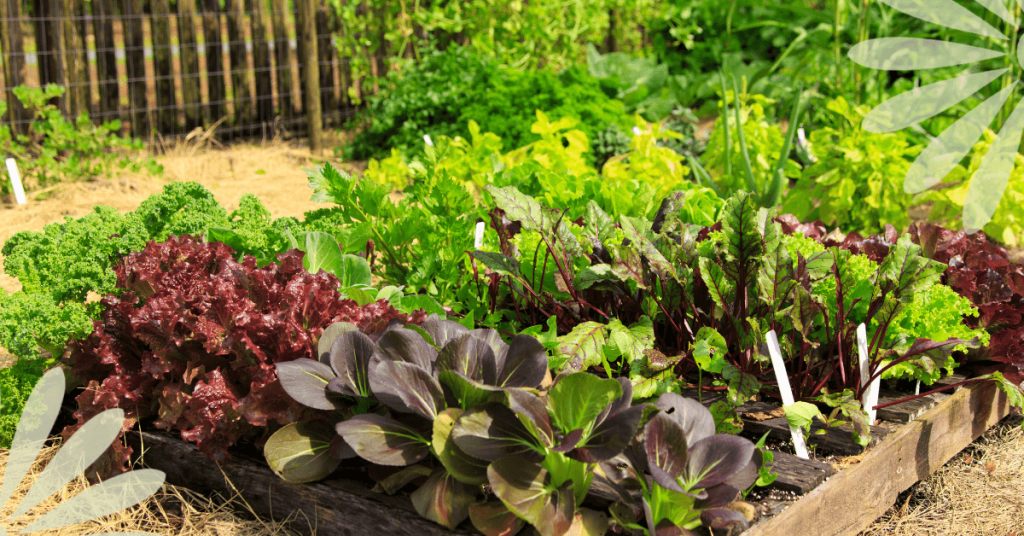
Sow cool-weather crops like leaf lettuce, Swiss Chard, and Radishes in April or early May and again in September.
Continuous Harvest
Once your early Spring vegetables like lettuce, peas and radishes have been harvested, it’s time to sow your second crop of cool-weather veggies for harvesting in the Fall. Do you know veggies like parsnips, Brussels sprouts, peas, and kale have more flavour after a mild frost?! A mild winter this year meant we were still harvesting some Brussels sprouts in December.
Double Up
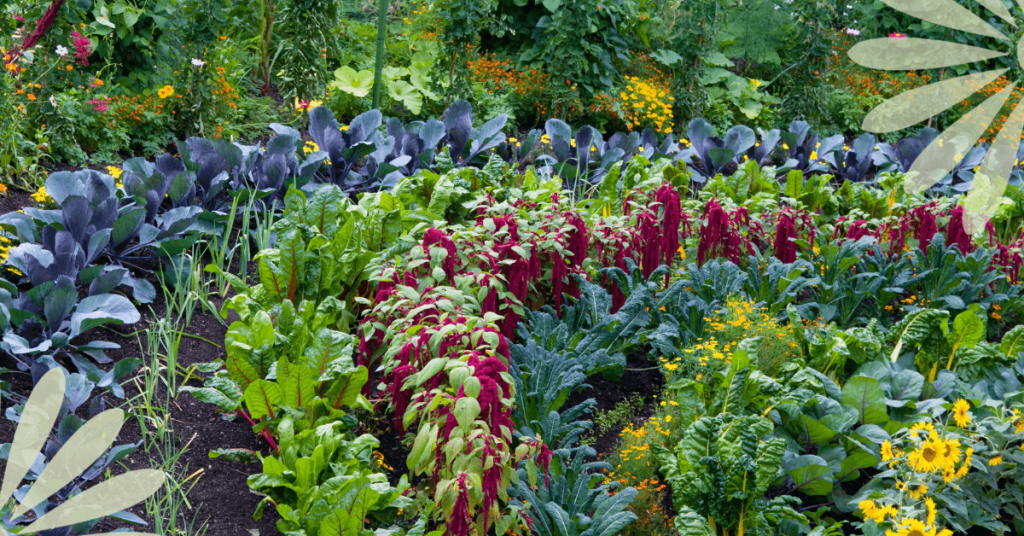
Another tip is to plant things that grow well together. For example, plant seeds for a root crop like carrots below your tomato plants, peas or bush beans in the vegetable garden. The carrot crop will be next after the tomatoes, peas or beans are done for the season. There are many combinations like this - tomatoes and basil, kale and dill, lettuce and beets, broccoli and borage, just to name a few. Doing this helps to increase the production of your plot of land and keeps the soil covered, which is always better for soil health.
One final strategy for flower succession planting is to use containers. Consider placing a well-positioned pot of annual blooms beside perennial plants resting after flowering.
Once you get started, researching companion plant combinations like these can be a fun game. These combinations will extend the time you can enjoy lots of colourful blooms and increase the amount of vegetables a garden can produce!
Come along on a little journey with me and imagine this… It’s Springtime. The sun shines, and the air finally feels warmer after a long, grey winter. You take a little trip to your favourite garden centre and find that special plant you’ve been reading about and hoping for. Of course, you buy the plant, take it home, and proudly place it on your sunny patio on this beautiful day. Two more sunny days go by, and the plant does not look good at all. It seems to be dying, so you give it lots of water, but that makes no difference. It is in fact dying. So disappointing! How could this be happening?
In our excitement to get outdoors and plant flowers, or add greenery, we forget that the plants we’ve been growing indoors or inside a greenhouse, aren’t used to the elements in the great outdoors. They’ve been sheltered indoors, out of the wind and direct sun, and watered and fertilized regularly with the utmost attention. They’ve been pampered in a plant spa and are quite literally hothouse flowers! Being plunked outside afterwards is the equivalent of us going outside in a bathing suit with no sunblock on for the first sunny, warm days of Spring, exposing our lily-white skin that’s been covered up by a parka all winter long!
Red, sunburned skin is not a great image, but hopefully, this comparison helps to explain the importance of transitioning or hardening off plants. Much like us, indoor plants need to be gradually exposed to the elements and given protection in the process.
The same will be true if you have planted seeds indoors or purchased greenhouse-grown seedlings. Seedlings grown in a greenhouse, a sunny window, or under grow lights in your home need up to 14 days to acclimate to being moved from their cozy indoor space to the great outdoors.
What is Hardening Off?
Hardening off ensures that you will not lose another plant or seedling! It’s a sensible process for all the plants you’re moving from indoors to outdoors. By helping plants or seedlings to gradually toughen to withstand the elements, you prevent transplant shock, which can cause your plants to be stunted or, worse, die.
To ensure success, the process of hardening off takes up to 14 days, so you will want to begin two weeks before transplanting plants and seedlings into your garden. Houseplants may only need 7 to 10 days, but tender, tiny seedlings need the full two weeks to strengthen and get used to their new environments.
When to Harden Off
Cold-weather plants like lettuce, kale, pansies, violas, dianthus, and potted or forced spring bulbs can be hardened off once daytime temperatures consistently reach 5 Celsius, usually in April in southern Ontario.
Perennial plants, tropical houseplants, and heat-loving seedlings like most annual flowers, tomatoes, peppers, and basil should wait until temperatures are around 7-10 Celsius to begin hardening off. For vegetables and annual flowers, start hardening off around May 10 here in Norfolk County if your target is planting seedlings around May 24th.
Successfully Hardening Off Your Seedlings and Plants
Days 1 and 2
Begin on a day that is optimally warm (At least 5 Celsius for cold-weather-tolerant plants, 7 Celsius for heat-loving plants, or 15 Celsius for tropical houseplants) and place your plants or seedlings outside in full shade and protected from the wind.
If you don't have a wind-sheltered area in the shade, putting your plants in an open cardboard box is a good way to protect them from the wind at this stage.
Leave them in this protected area for 1-2 hours before returning them indoors.
Days 3 to 5
Each day, gradually increase the length of time your plants are outside and begin to place them in an area where they will get dappled shade and some wind.
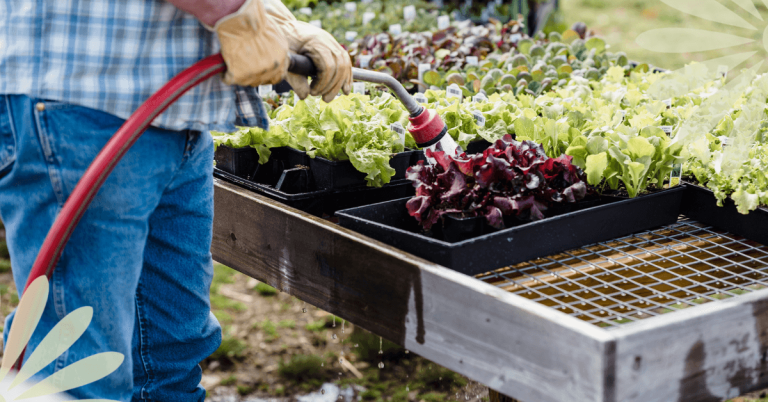
Pay close attention to watering while you’re hardening off your plants as they will require more frequent watering.
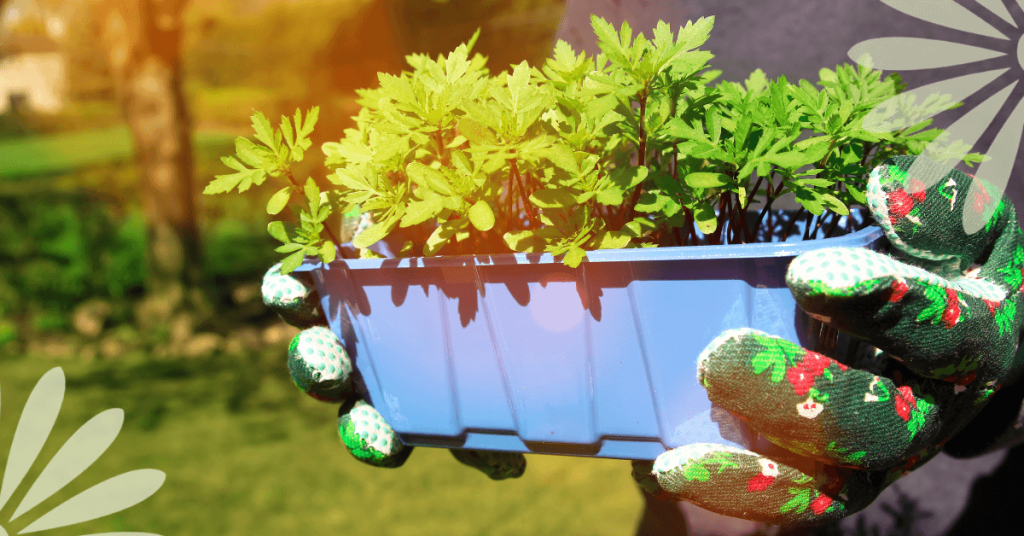
Days 6 to 10
On day 6, start to increase your plant’s exposure to direct sunlight by placing them in the morning sun, which is less intense than the afternoon sun.
Begin to leave them outside overnight from this point on unless the temperature is expected to drop below 7 Celcius.
Days 10 to 14
After 10 days of acclimation, it is safe to move houseplants that require more sun to a location that meets their needs.
After 14 days of acclimation, it’s safe to transplant seedlings to their place in the garden or to large pots if you’re growing in containers.
As soon as your plants are transplanted, be sure to water them well! This will help them transition and eliminate air pockets in the soil that can harm the roots.
If the temperature drops and a fluke, unexpected freeze is forecasted after you’ve planted everything, cover your plants with row cover, cloches (you can use plastic water jugs with the bottom cut out, just leave the screw cap off to act as a vent), or cardboard boxes to protect them.
To summarize, when Spring arrives, protect your skin with sunblock, and harden off your plants before you move them outdoors!

You read that right. Easy houseplants exist, and there are some very cool varieties too. Easy does not mean boring!
Plenty of tropical plants are forgiving and require little fussing—you just need to know which ones and how to care for them.
These plants are generally resilient and forgiving of occasional neglect, making them perfect choices for new growers. When choosing any houseplant, consider your home's lighting conditions and the care you can provide.
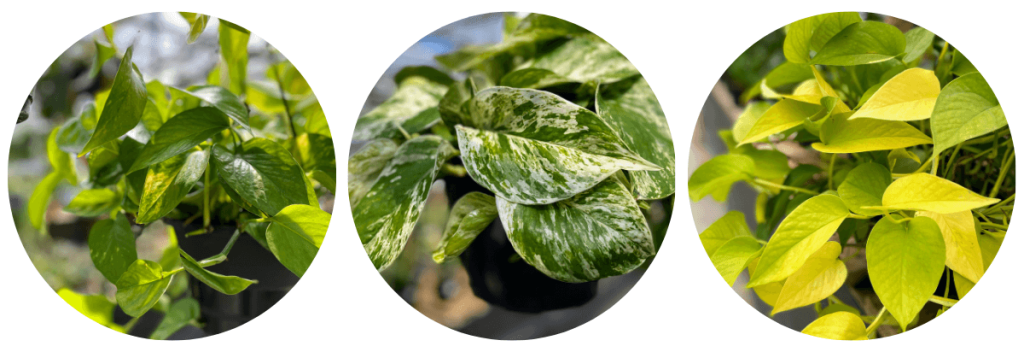
Pothos
Pothos vine is one of the easiest houseplants to grow and is perfect for beginners.
Bright and indirect light is what this plant loves, but it will also grow in low light - just not no light.
Allow the soil to dry out between waterings. Too much moisture will cause the roots to rot. The plant’s leaves will droop and let you know when it needs a drink!
Feed Pothos with a balanced fertilizer monthly in Spring and Summer only to keep it thriving.
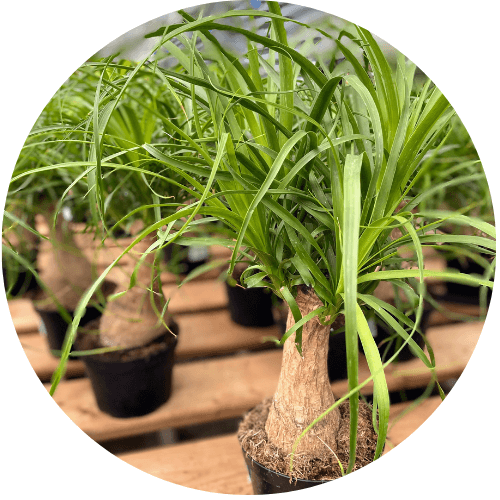
Ponytail Palm
Give this plant the brightest location in the house. It loves full sun or bright, indirect light. They will survive to 10 Celsius, but this plant loves warmer temperatures.
Be careful not to overwater Ponytail Palms. Because water is stored in the bulbous stem, they only need a drink every 7 to 10 days during the summer. In the winter, cut back to monthly watering.
Use a slow-release pellet fertilizer in the Spring for carefree maintenance.
Trimming the tips off damaged leaves will keep them healthy.
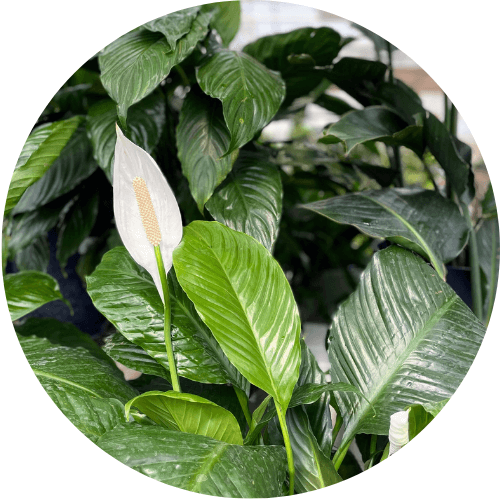
Peace Lily
This plant loves filtered or indirect sun (place it a few feet away from a sunny window or in an east-facing window) and moderately moist soil.
While Peace Lilies love moist and warm conditions, keeping them under-watered is best. Use your finger to check the soil’s moisture. Water this plant when the top inch of soil has dried out.
Use slow-release fertilizer pellets in the Spring or feed the soil weekly during the summer with liquid fertilizer. This plant enjoys frequent feeding during the growing season.
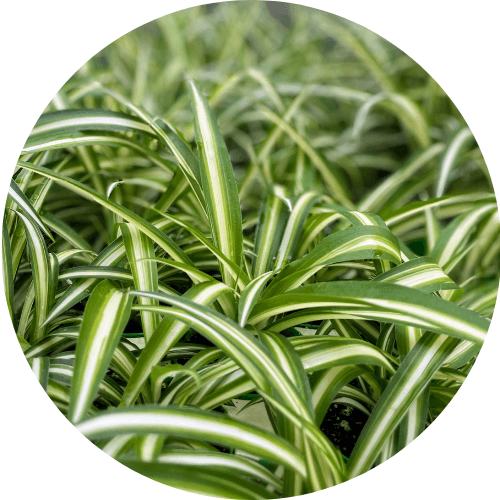
Spider Plant
Spider plants are straightforward to grow. They prefer an area with partial sun or semi-shade that is warm.
Keep the soil lightly moist, not soggy!
Use an all-purpose fertilizer during the summer months. Trim off any brown leaves as needed.
Snake Plant
Indirect sun (a few feet away from a sunny window) or a couple hours of early morning sun will keep this plant happy. These tropicals thrive in warm temperatures with no cold drafts.
Do not allow your Snake plant to sit in water! Water deeply, then let it drain only when the soil is dry.
A 10-10-10 balanced fertilizer at half strength once in the spring and again in mid-summer is all the plant food it needs!

One Final Tip
Most houseplants do not like chlorinated or treated tap water. If possible, water your plants with filtered, distilled, or rainwater. If you only have access to tap water, allow it to sit in an open container for several days until the chlorine evaporates.
Following these simple guidelines will keep your plants healthy, and in return, they will provide natural beauty to your home.